To create this fun wall hanging, I used a “page” from Maya Road’s Wavy Layer Chipboard Book. I painted the front and back a creamy white color then sponged the edges with permanent brown ink. I hand cut a piece of Basic Grey patterned paper from their Porcelain line, sponged the edges with chocolate ink, machine stitched around the edges and adhered with Tombow’s Mono Adhesive Power Bond.

I used Tombow’s Mono Aqua Liquid Glue to adhere brown glitter to Maya Road’s David Chipboard Alphabet. I used the Mono Aqua Liquid Glue to adhere the letters to the wallhanging.
The bird and leaf is punched from one of Stampin’ Up’s punches.

The flower is made by stamping several scallop circles, wadding them up in a ball
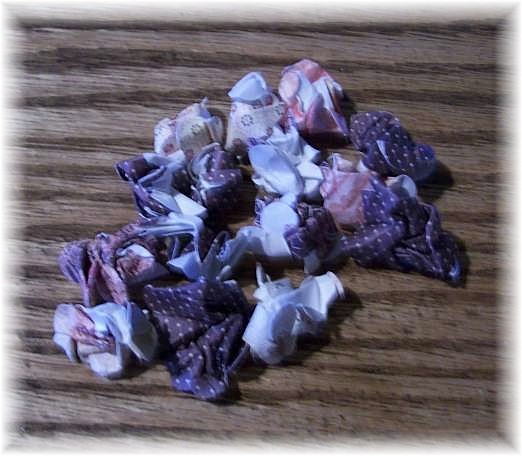
and then flattening them back out.
I made two holes with my piercer and threaded the vintage button with crochet thread for strength and knotted to the back.

I then spritzed the flower very lightly with water and one layer at a time started scrunching the flower up around the button. After the flower was completely dry, I brushed the edges with brown ink and ahdered the flower with the liquid glue.

I added a ribbon hanger with Maya Road’s Pink Sophisticate Striped Ribbon.

Beautiful wall hanging! Love the bird and flower!
I love the color combination and the shape of the wall hanger! Cute!
This is very beautiful! I love the Maya chipboard page, great use for that. You said there was stitching around the paper but I can’t really see that in this picture. I’m sure it’s lovely. And you explained it all very well. Great project!!!
wow this is such a great project.. thanks for including the instructions.. always helpful…
ohmygosh, i love this wall hanging! beautiful colors and the basic grey porcelain paper is my fav :)! love the shape. thanks for sharing :)! have a great day! *hugs* steph 🙂
so cute! Love that flower!
This is such a wonderful piece!
I had to run the make my paper flowers to try like this for the first time. I punched them out of an old dictionary and stained them up more with a little coffee;o) I can smell FUN!!
Love the flower idea! And the glittered letters are awesome! Thanks for sharing!
That is so cute!!What a great gift idea!!
GORGEOUS project! I think I may have to scraplift you! I LOVE it!!!
love the pink, red and brown color combo! Great little piece!
This is so cute. I love it right down to the color choices you made.
Lovely wall hanging.
aww.. this is gorgeous! love the wavy edge and the colors are amazing! great work!
What an adorable wall hanging!! Love the flower and the glittered letters.
Great project, Debbie!! I like the wavy chipboard – so much fun!
this is beautiful!
I really love these sort of ideas that show just how versatile 1 product can be-using the pages of an album to create multiple things.How inspirational.Bring it on.thanx again
This is perhaps my favorite project out of all you have had on the blog this week!
Ohhhhhhhh, awesome!! Love me some Maya Road!!
Pingback: A Journal of Hope « Tombow USA – Blog