Hi, Jessica from BrownPaperBunny here to show you how to create a floral self-portrait. You could make one for all the members of your family and hang them on the wall together! Here are the supplies you’ll need to get started.
Supplies:
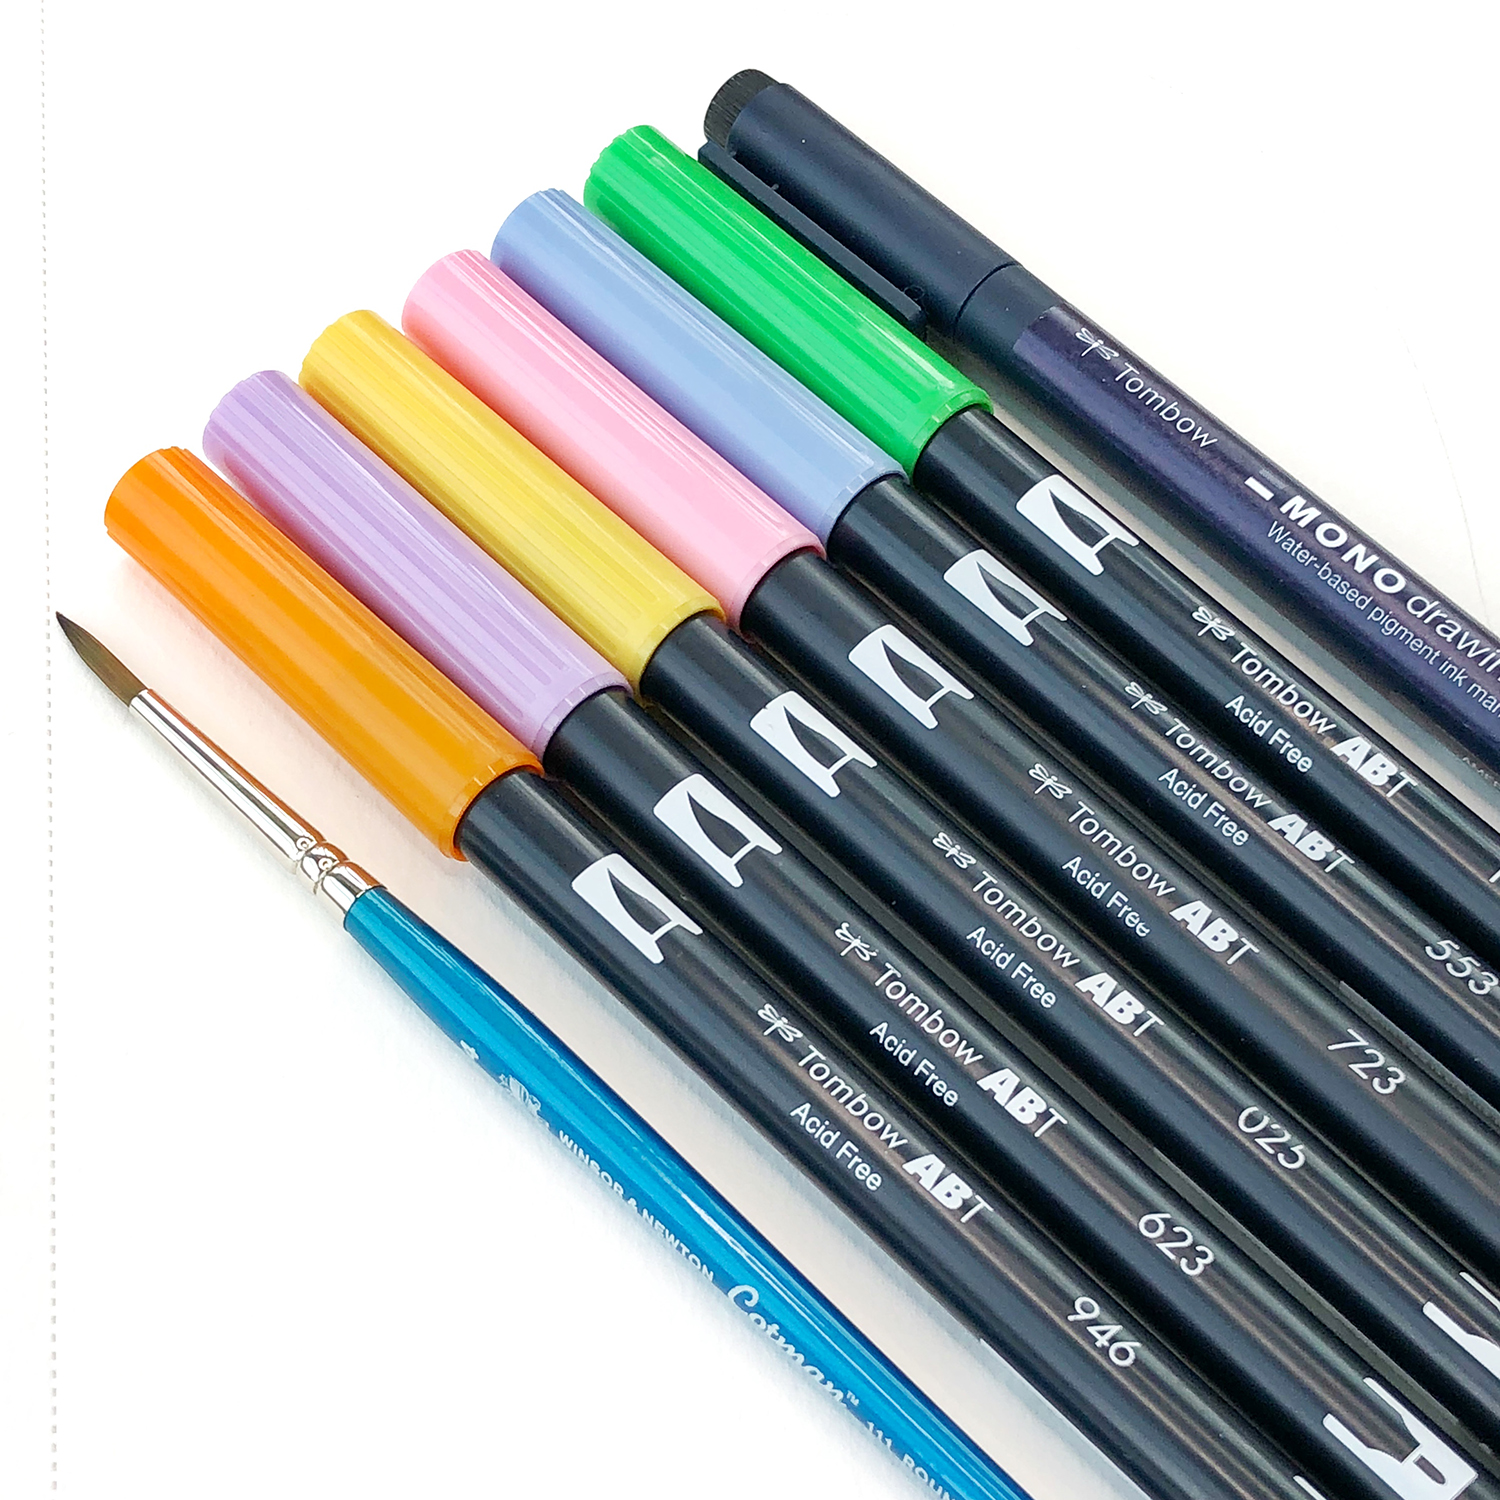
- Tombow Dual Brush Pens
- Watercolor Paper
- Tombow MONO Drawing Pen
- Tombow MONO Drawing Pencil
- Paintbrush
Step One: Draw Your Silhouette
An easy way to capture your profile silhouette is to sit near a wall with a lamp on your other side and have a friend or family member trace your shadow onto the paper. Once your silhouette has been captured you can go over it with MONO Drawing Pen to make it stand out.

Step Two: Fill Your Silhouette with Loose Floral Shapes
Using your Dual Brush Pens, fill your silhouette with loose florals. Then, with your wet paintbrush, go over the ink to give it a soft watercolor effect.
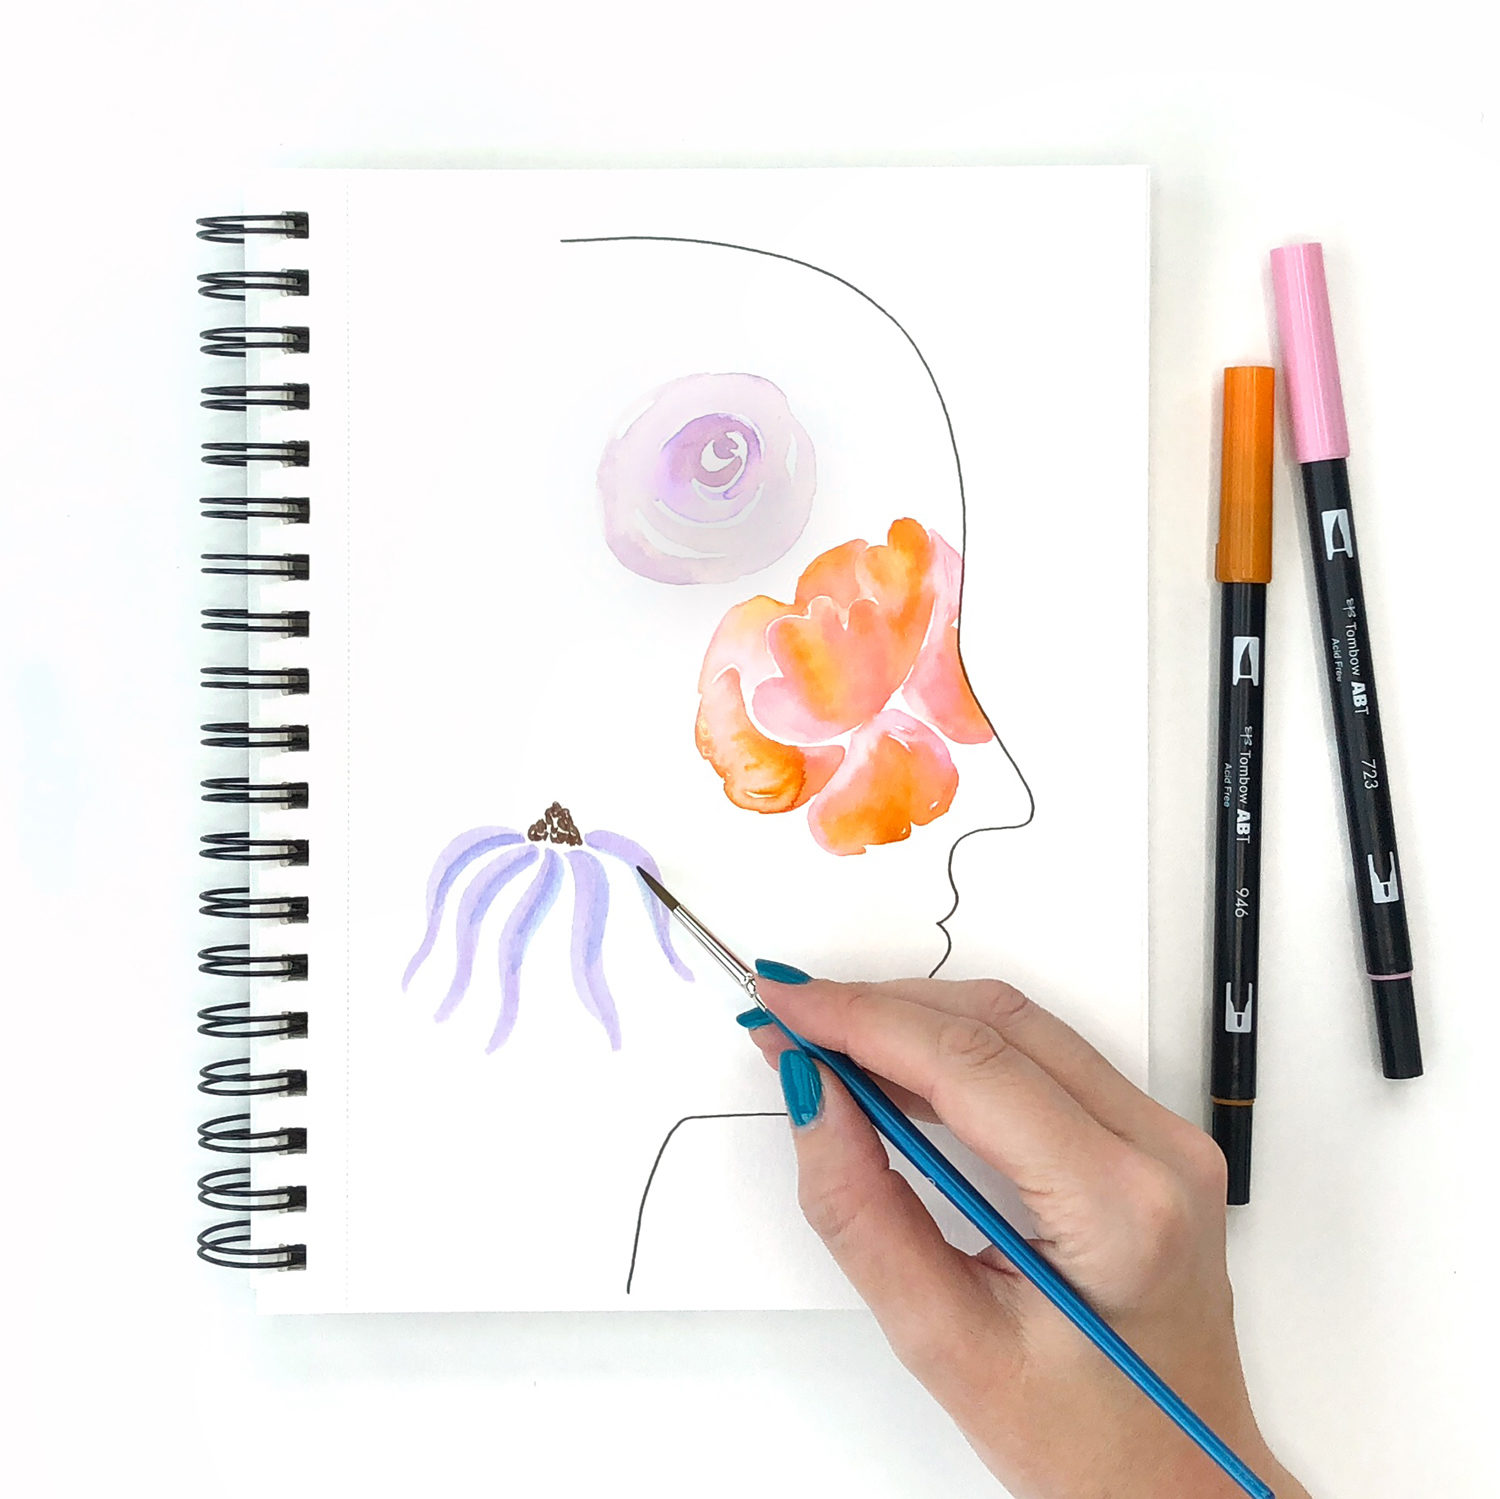
You can leave some white space, or fill everything in completely.
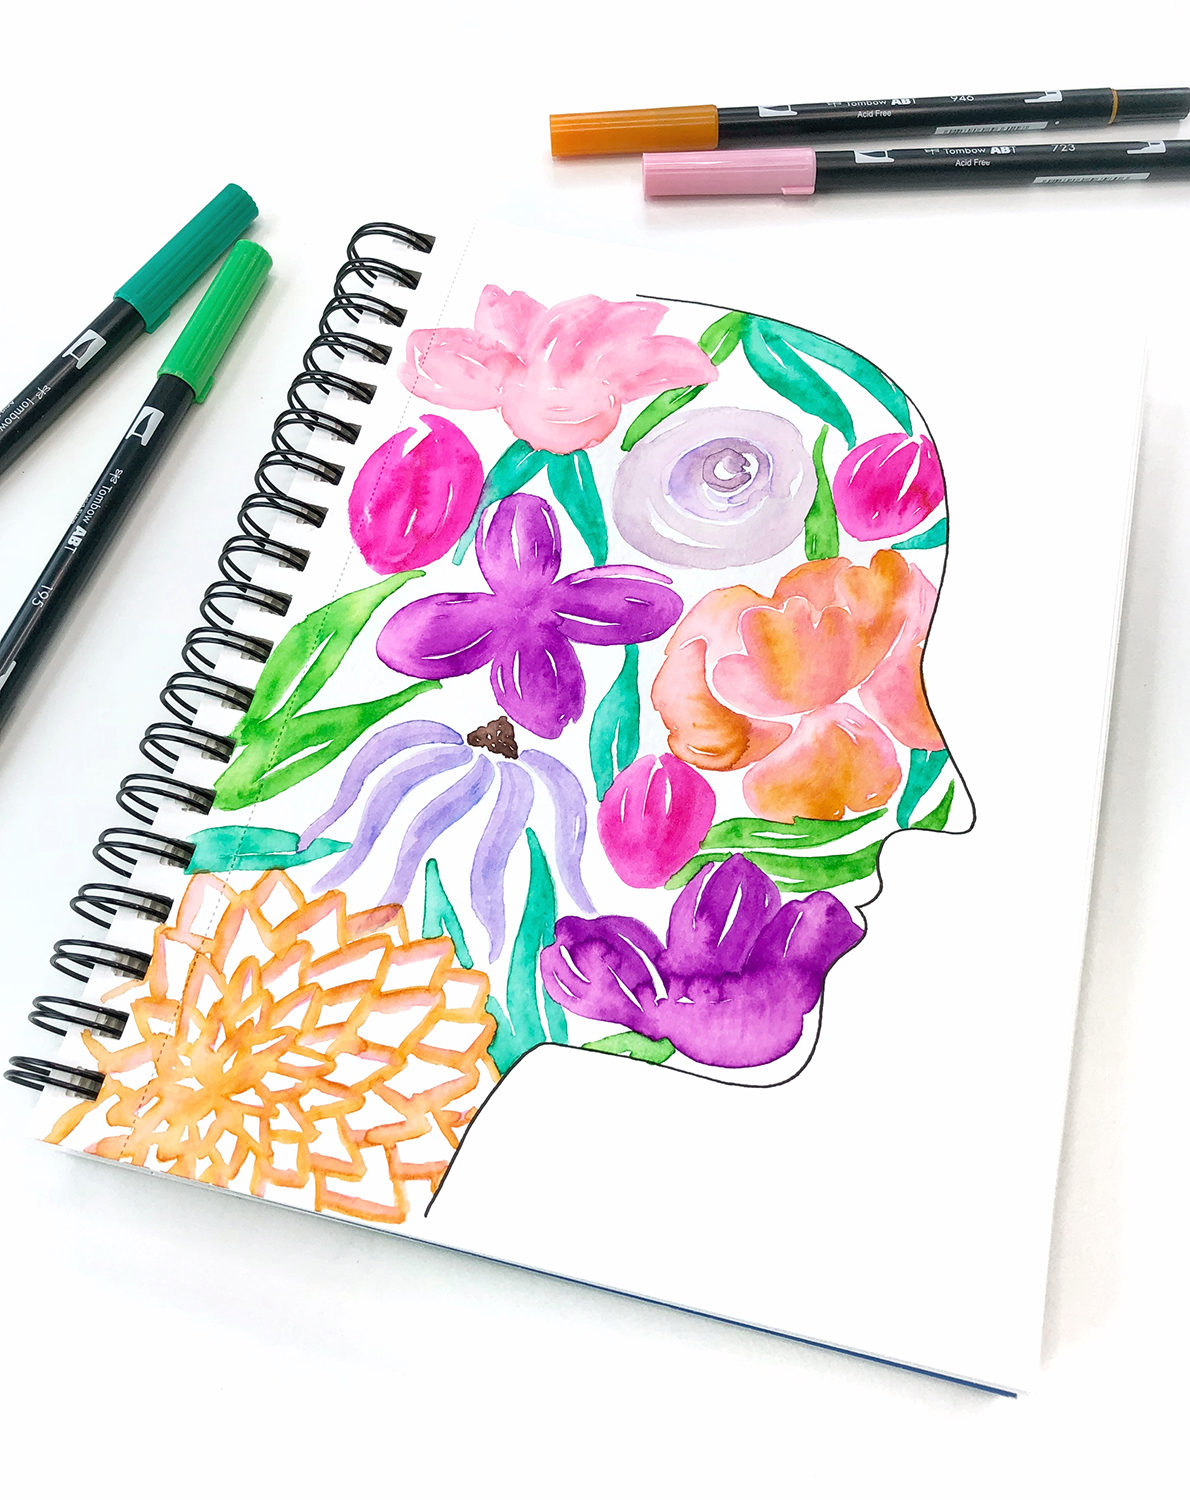
Step Three: Outline Your Flowers
This step is optional, but if you want to add a little more definition to your flower shapes, use your MONO Drawing Pen to add in some lines and details.

Voila, you’re ready to frame your self-portrait and hang it on the wall! And if flowers aren’t your thing, you could fill your silhouette with patterns, fruit, or anything else that feels like you! If you really like tennis, fill it with tennis rackets and balls. Maybe books are more your thing, you could fill it with all your favorite titles. Tell us in the comments what you’d fill yours with!
We’d love to see your finished self-portrait, so share it on social media and tag @TombowUSA and @BrownPaperBunny!
Pingback: Create Flamingo Emoji Art With Dual Brush Pens - Tombow USA Blog