Happy Thursday! Today I have some Project Life pages and a little tutorial that I filmed a while ago and forgot to share! 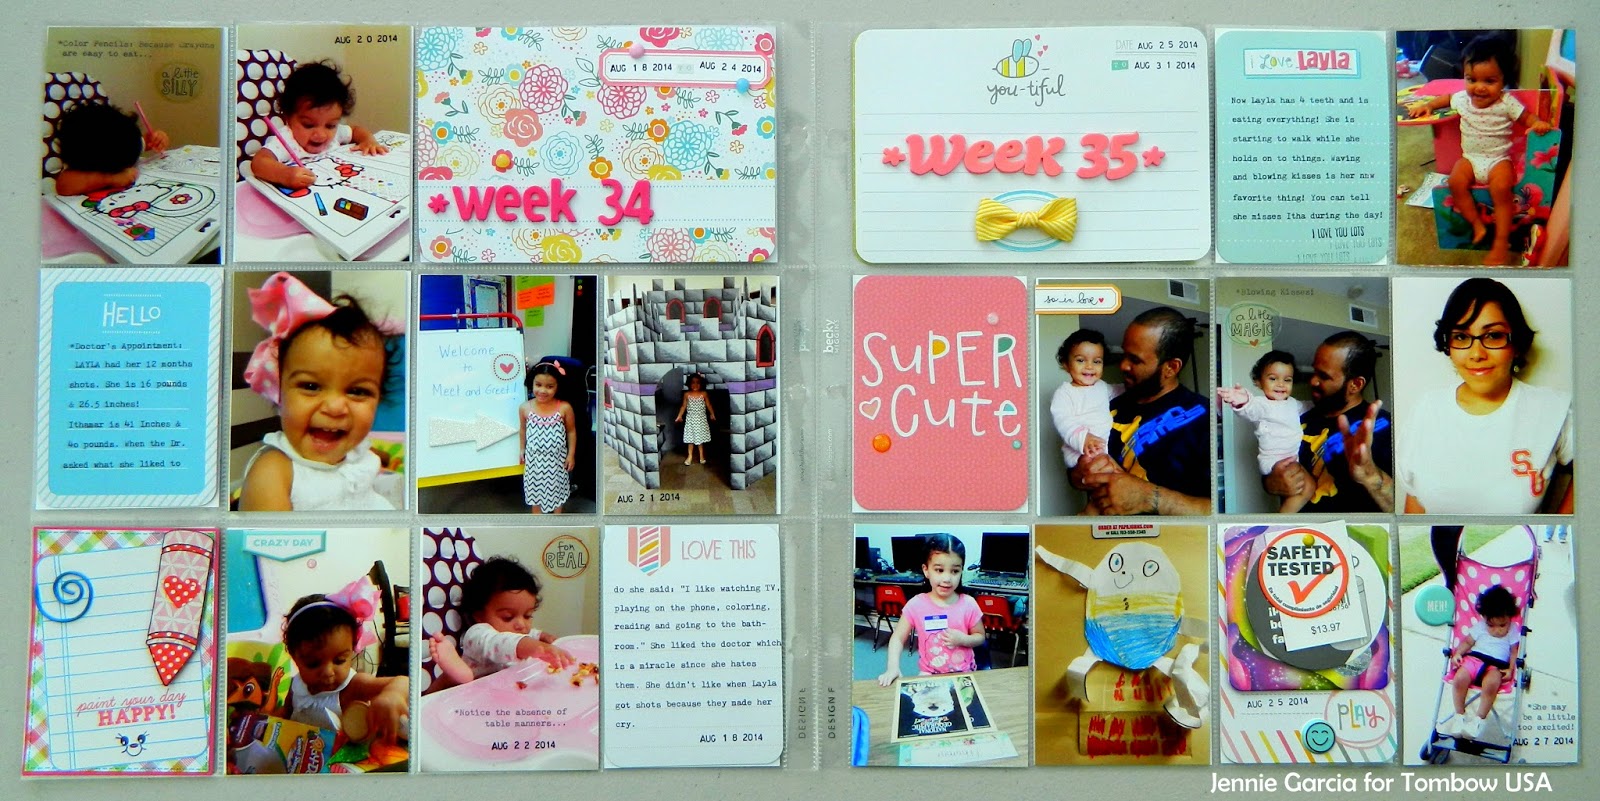
Check out THIS VIDEO for a tutorial to make these bows using the Tombow Xtreme Permanent Adhesive.
Have you tried making your own Homemade Enamel Dots? It’s super easy! Just put perler beads in the oven for 25-30 minutes at 325 degrees in parchment paper and it looks great! Make sure you use the Perler Beads brands because other brands come out a bit wonky. Once you make your batch just use the Tombow Mono Multi Liquid Glue to glue them in your project.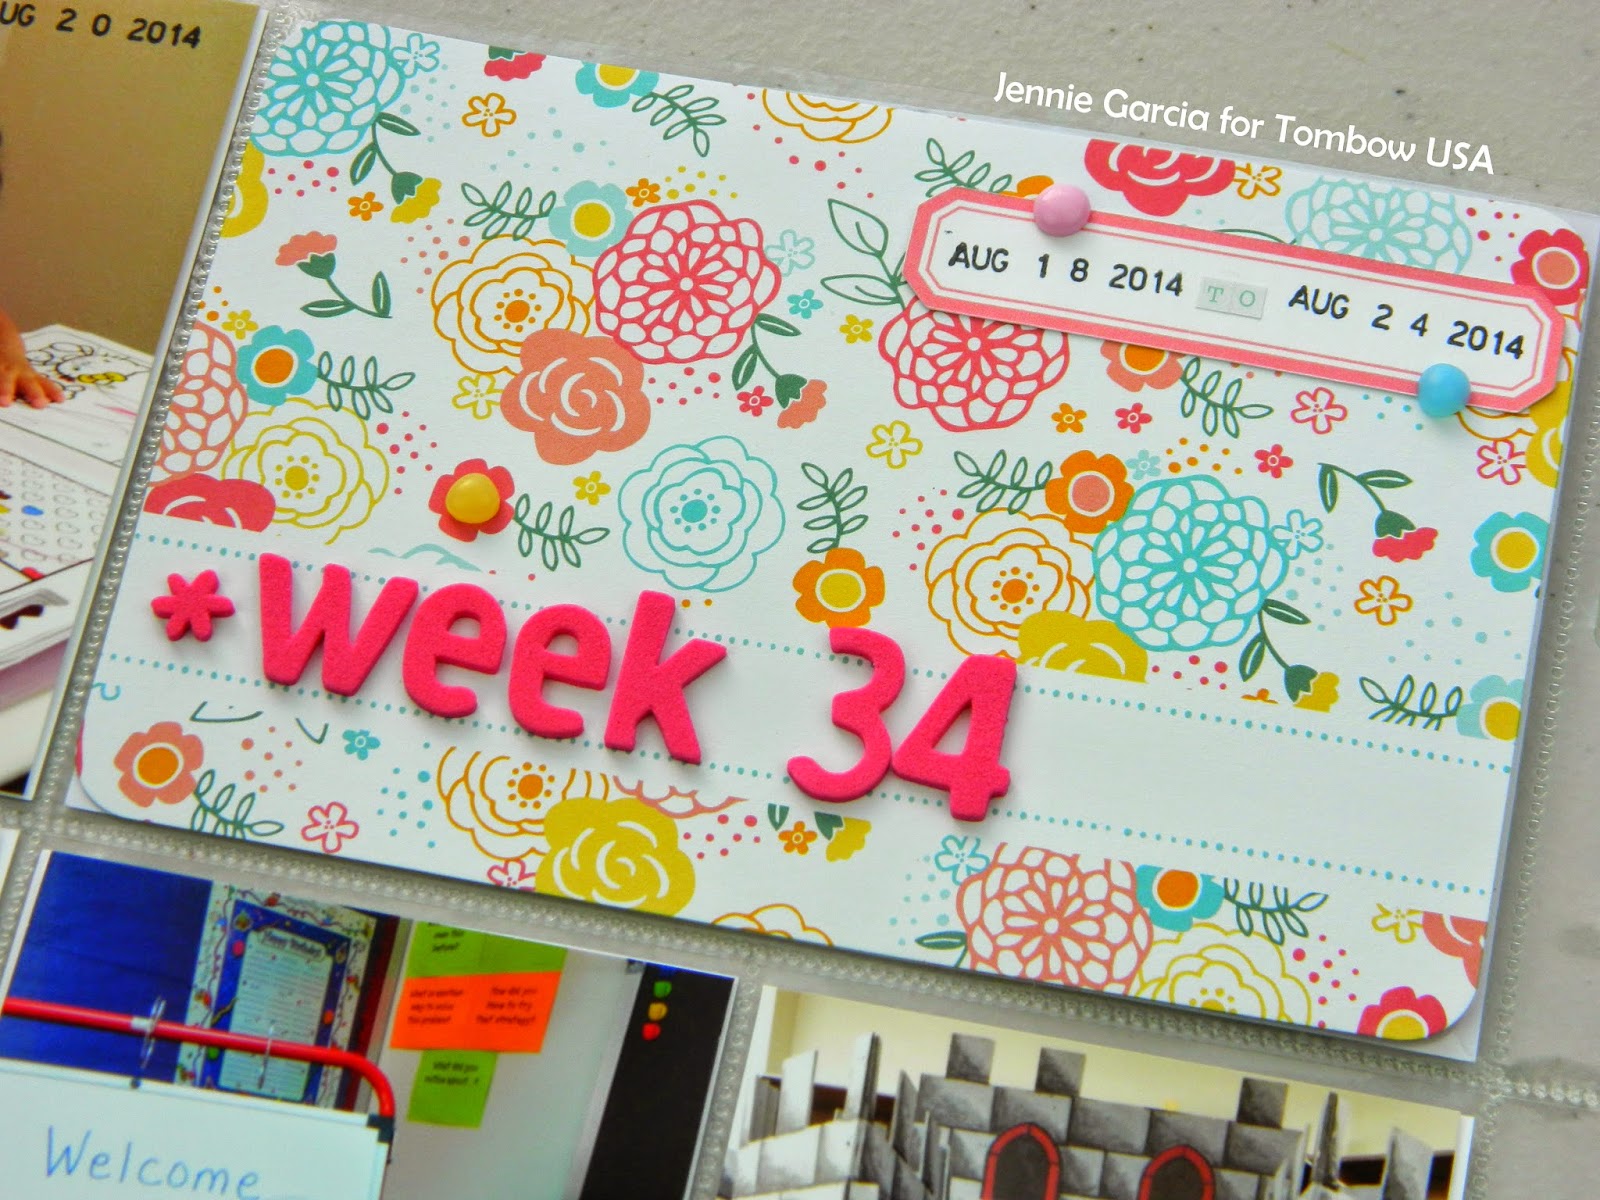
To glue the papers on the card I made in the corner I used the Tombow Mono Adhesive Permanent. 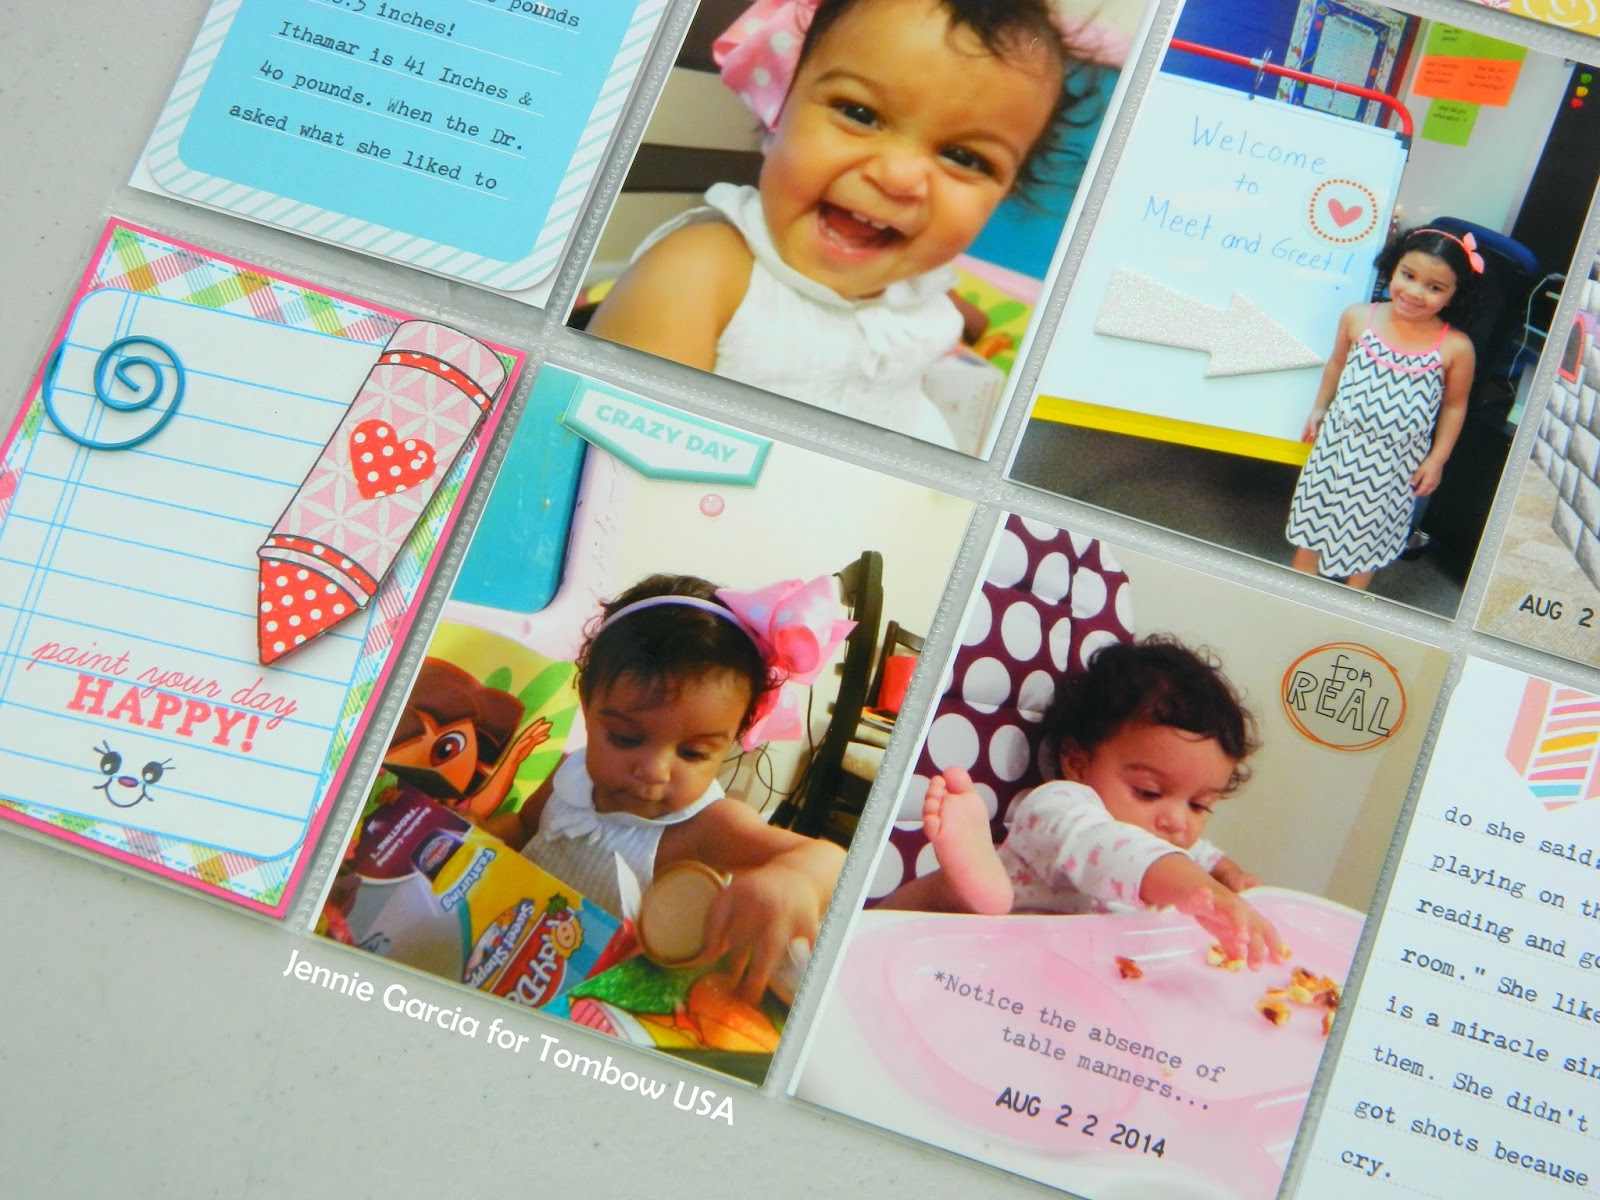
To make this tiny bow I used ribbon from May Arts and the Tombow Xtreme Permanent Adhesive! To glue the bow once it’s made, I used the Tombow Power Tabs to glue it to my project.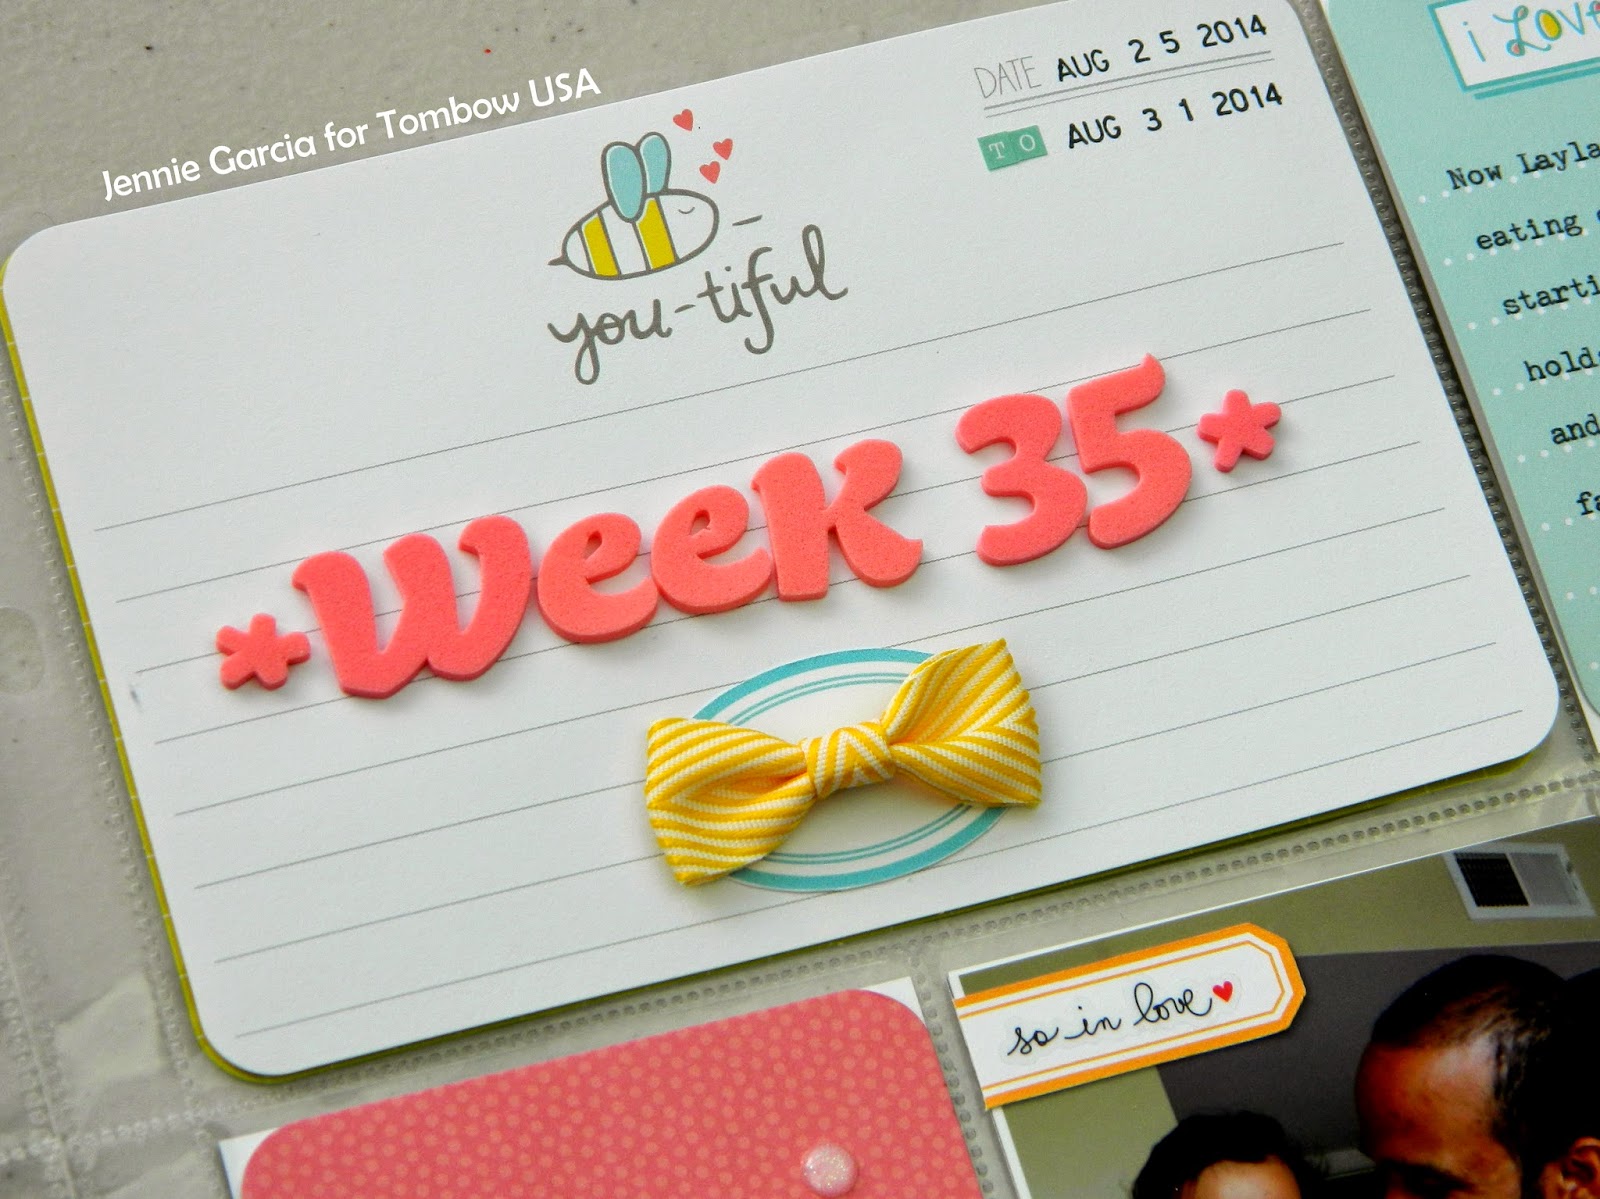
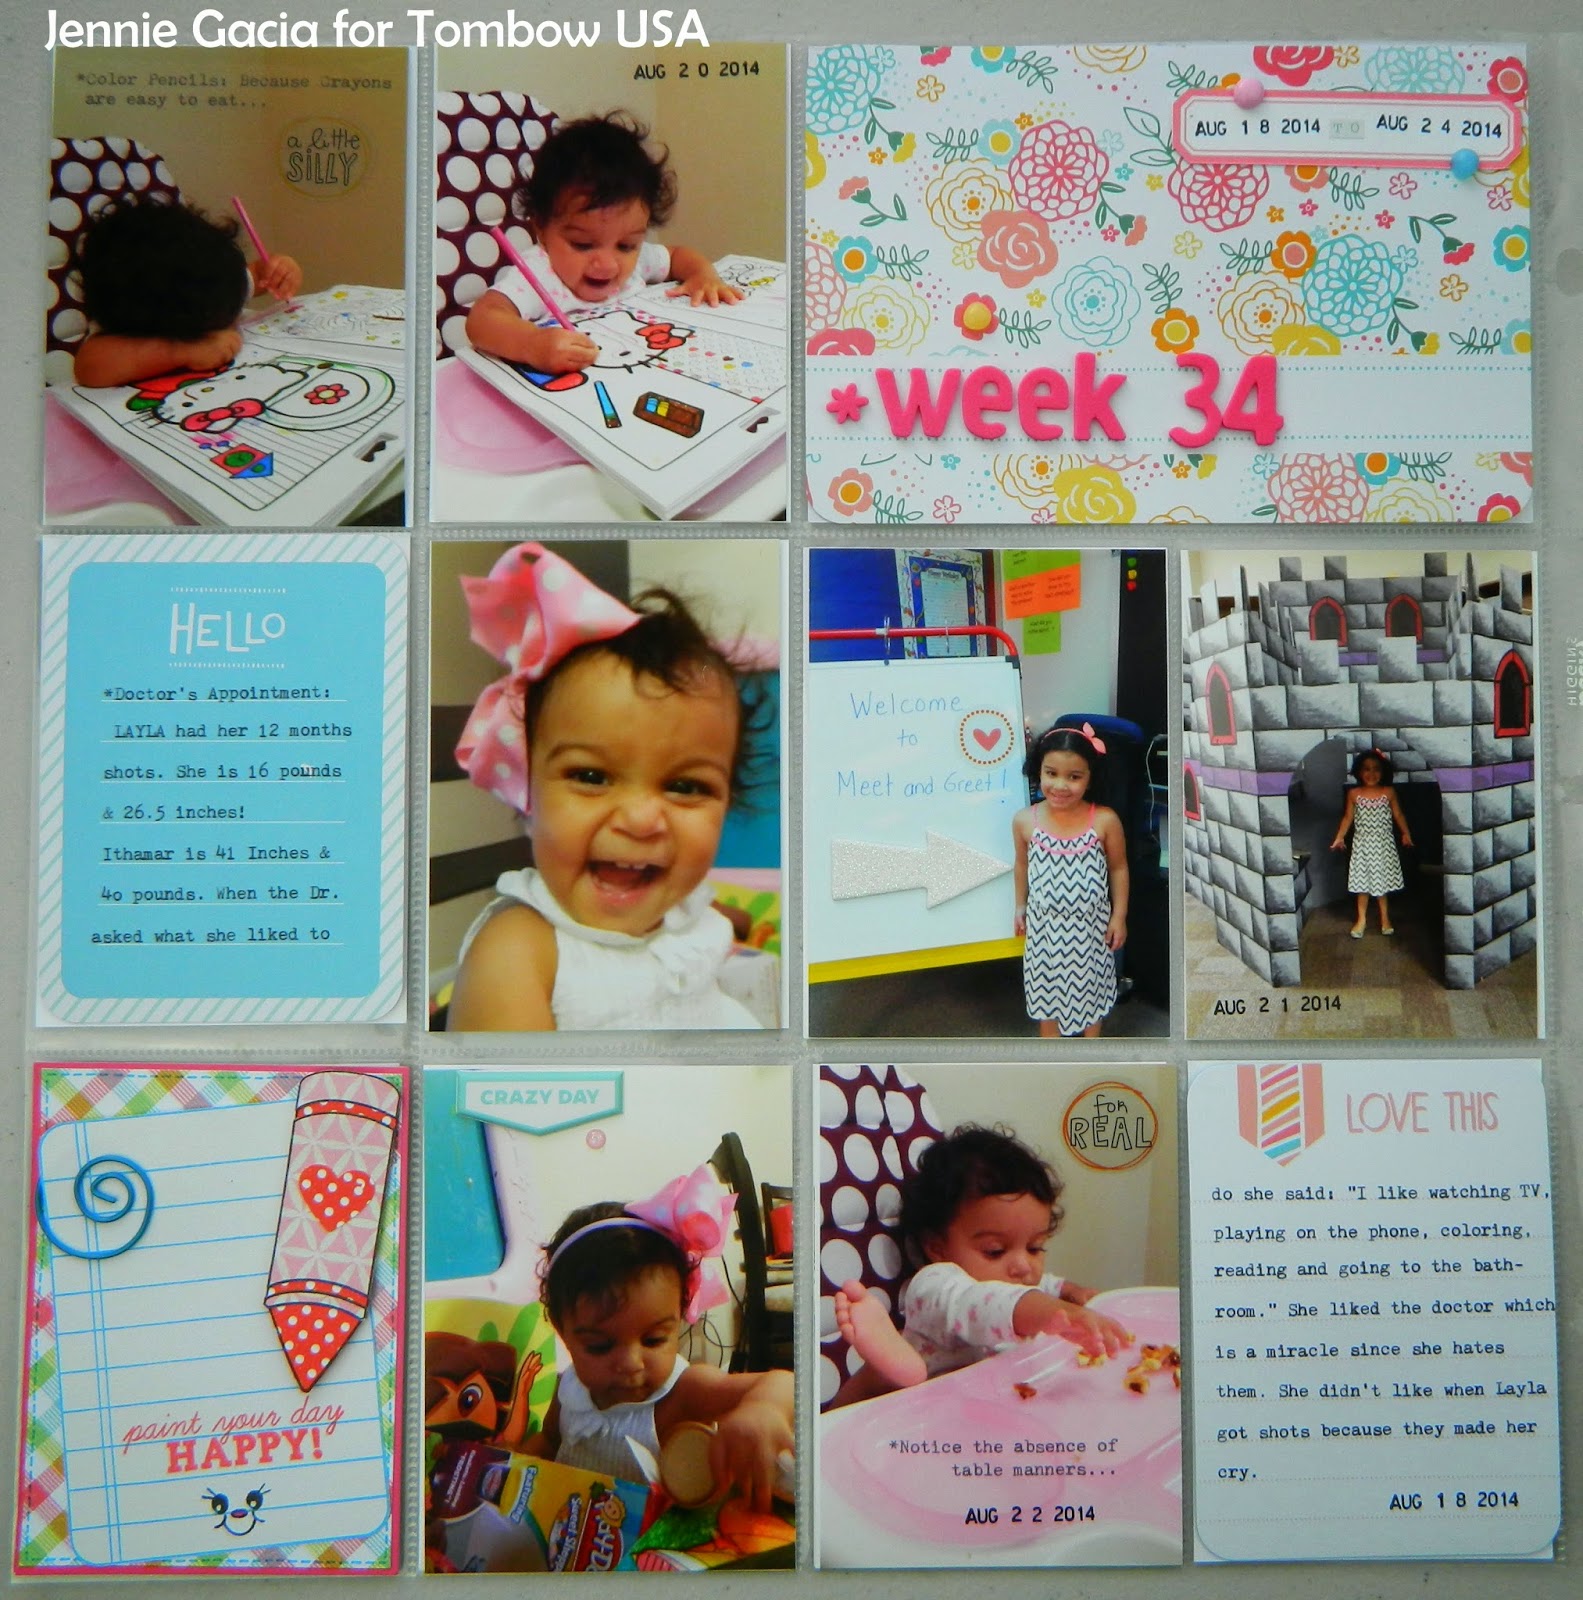
I love keeping tags, I think they will be interesting in a few years.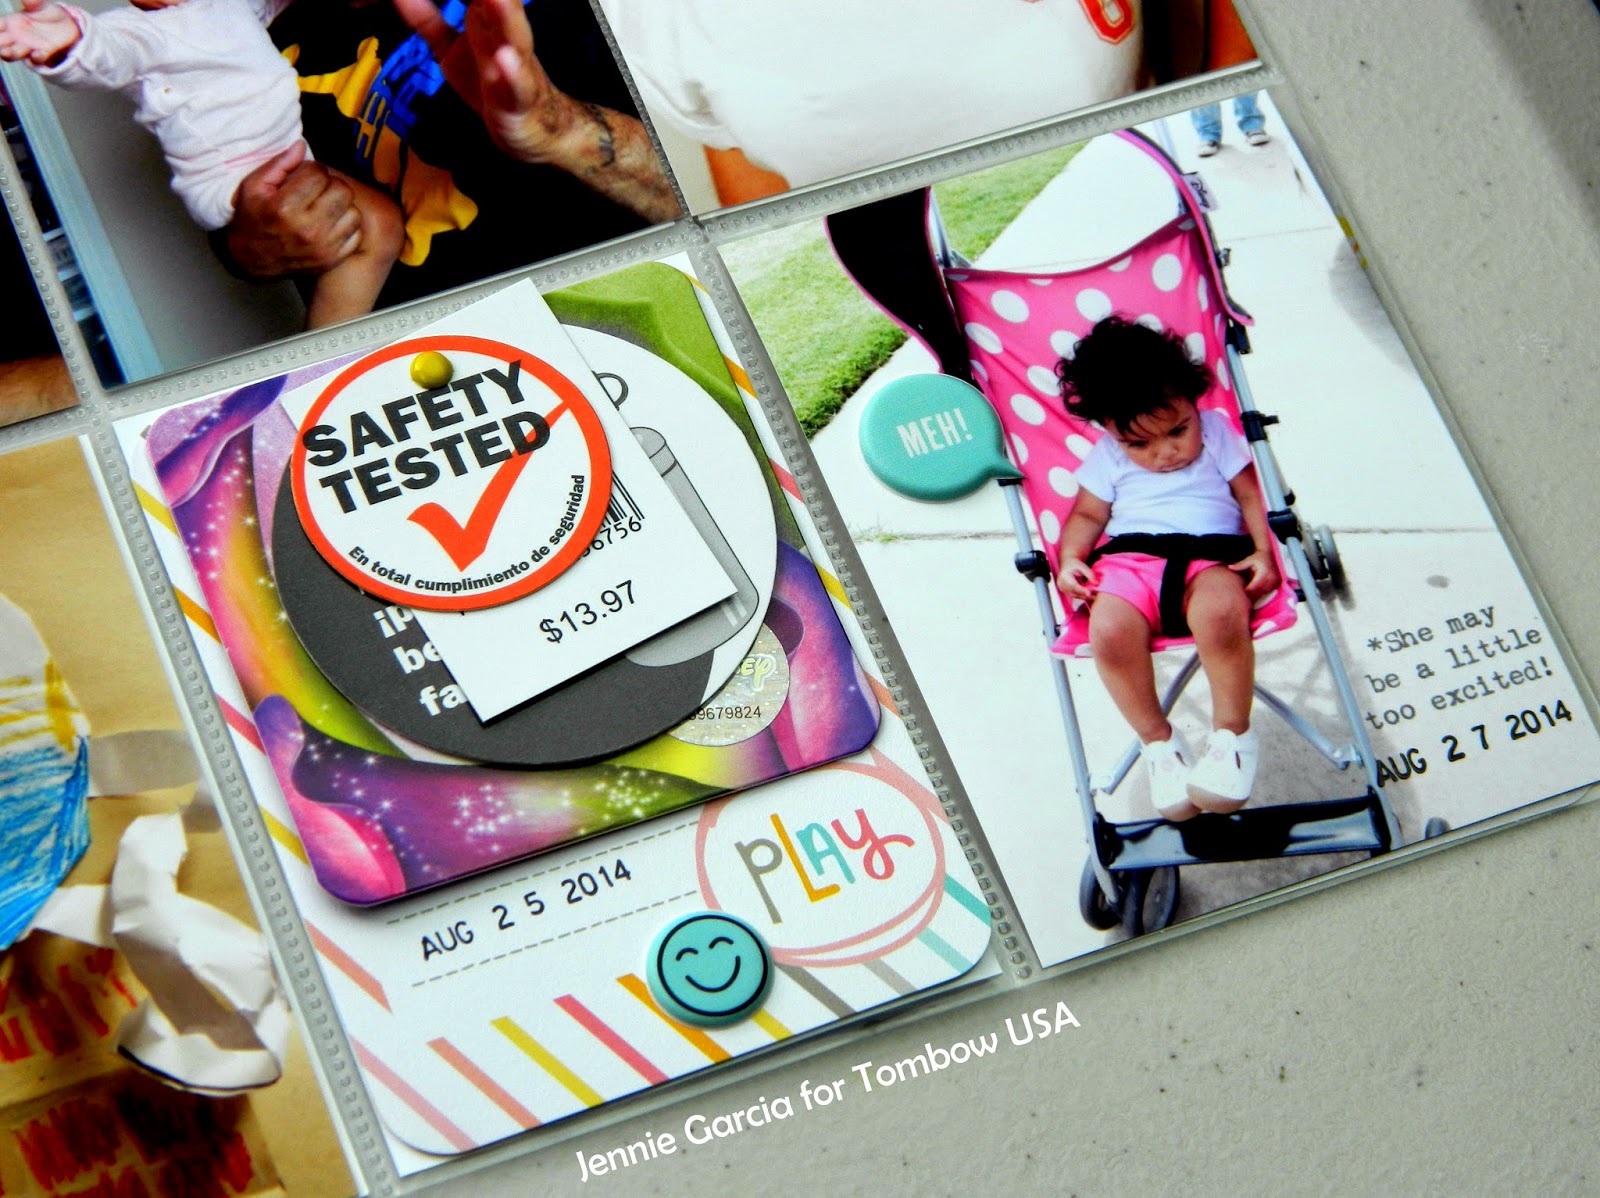
I had to add a special insert since this week my daughter started Kindergarten.
To glue the photo and other die cuts I use the Tombow Mono Adhesive Permanent.
Well, I hope you enjoyed this post and let me know how your bows turn out!
Take Care!
WOW Jennie! I can see you put so much time into each piece! So beautiful!! And thank you for the bow tutorial!!
xxDaniella
Fabulous card Debbie ,,,, I very nearly made a Christmas card for this cnaglehle too 🙂 I love this image ,, very cute and your colouring is fabulous ! Love the papers and embellies too :-)thanks for joining the HM&F Monday Challenge and hope you join us again next time too :-)luvLols x x