Up-cycled Plate Wall Decor Tutorial | Inspired By Beth Watson
Hiya! Serena Bee here and today I am sharing my project inspired by my talented and beautiful team member Beth Watson!

Beth is a wonderful mixed media scrapbooker who really loves creating works beyond the page. She does a lot of up-cycled and mixed media projects so that is what I was channeling for my project this week. So the first thing I did was head over to my local thrift store looking for items that would inspire me.
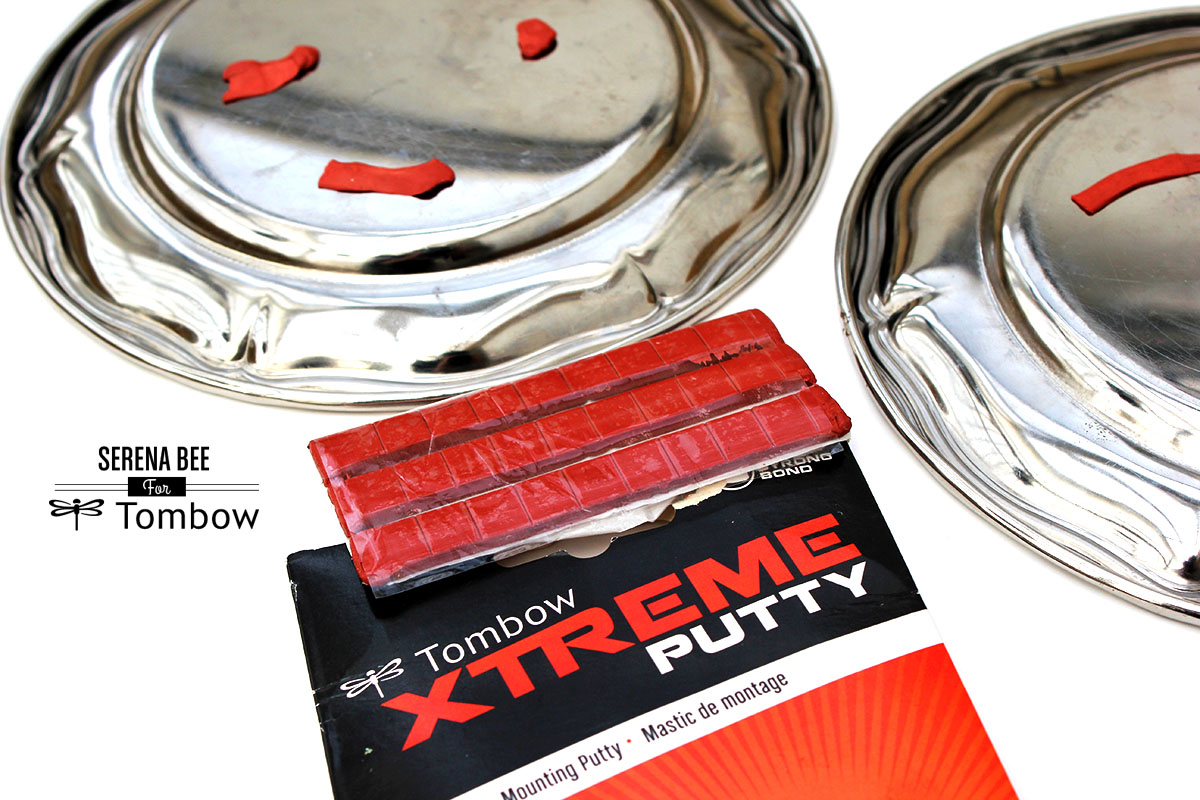
I found these stainless steel plates and the idea just came to me, “I’m going to alter these plates and make some fun wall art!”
This project can be done with any plate or dish-ware you find, I was about to alter this adorable small frying pan I found (maybe that will be a future project). So let’s get started!
What you’ll need:
-old plates or dish-ware that you can up-cycle
-Digital stamps (crop the faces to fit in the centre of your plate)
–Tombow Dual Brush Pens – Brights Palette
–Tombow Irojiten Colored Pencils
–Tombow Dual Brush Colourless Blender Pen
-a circle die or round plate
-scrapbook paper and ribbon/other embellishments
Let’s Get Started:
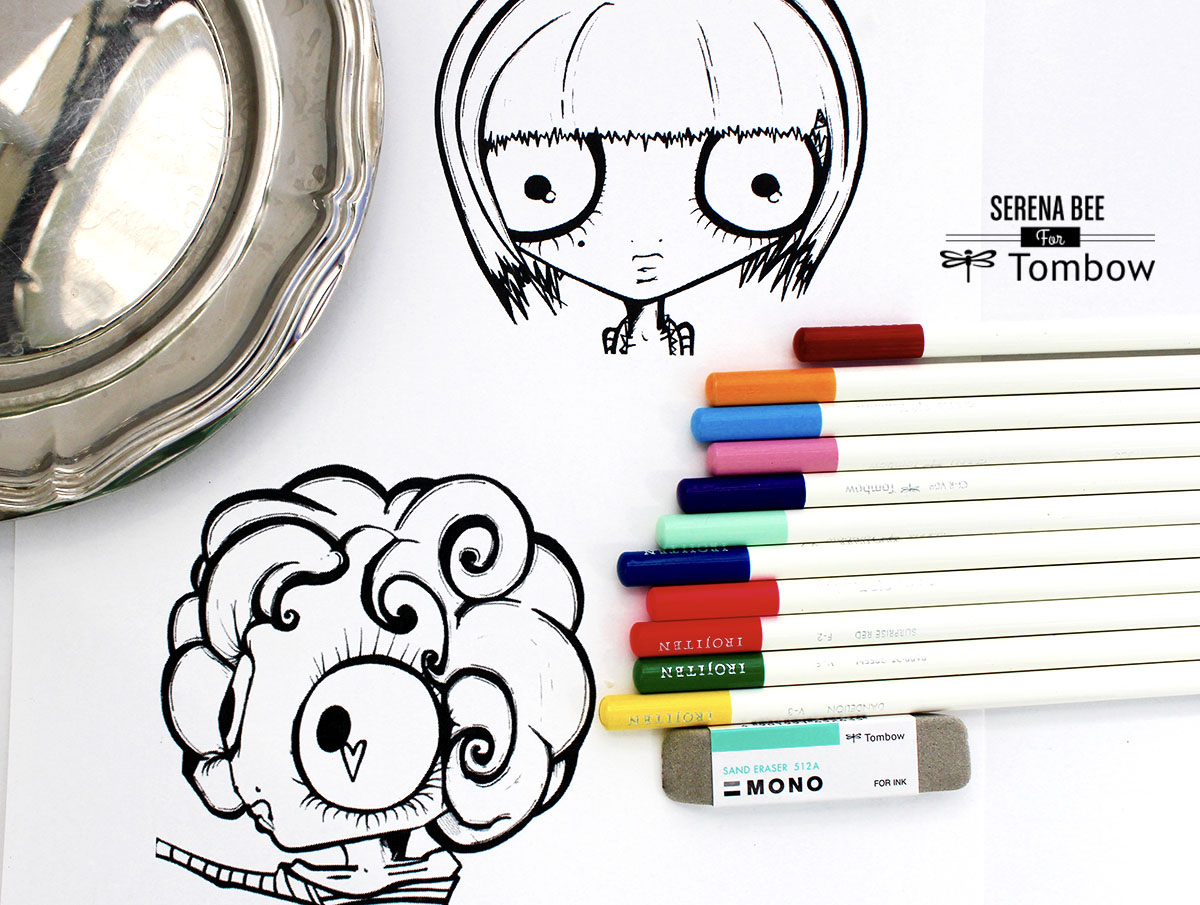
Begin by choosing a digital image that you like. I’m using images from The Octopode Factory. Digital images are the best way to go because you can alter the size of the image to make it fit in the middle of your plate. The circumference of my plate is 4.5 inches so I made sure to enlarge my digital stamps to fit that size. Next print out your image and begin coloring with the Tombow Irojiten Colored Pencils. I’m using the new Tombow Irojiten Adult Coloring sets in Tranquil and Vivid. The cool thing about these sets is that they come with a Tombow Sand Eraser which is basically the magic wand in coloring because it can fix all your little coloring mistakes!
When coloring, first add layers of various Irojiten colored pencils. Then go over it with the Tombow Dual Brush Pens to add an extra pop of color. You can then blended in all the colors using the Tombow Dual Brush Colourless Blender pen.
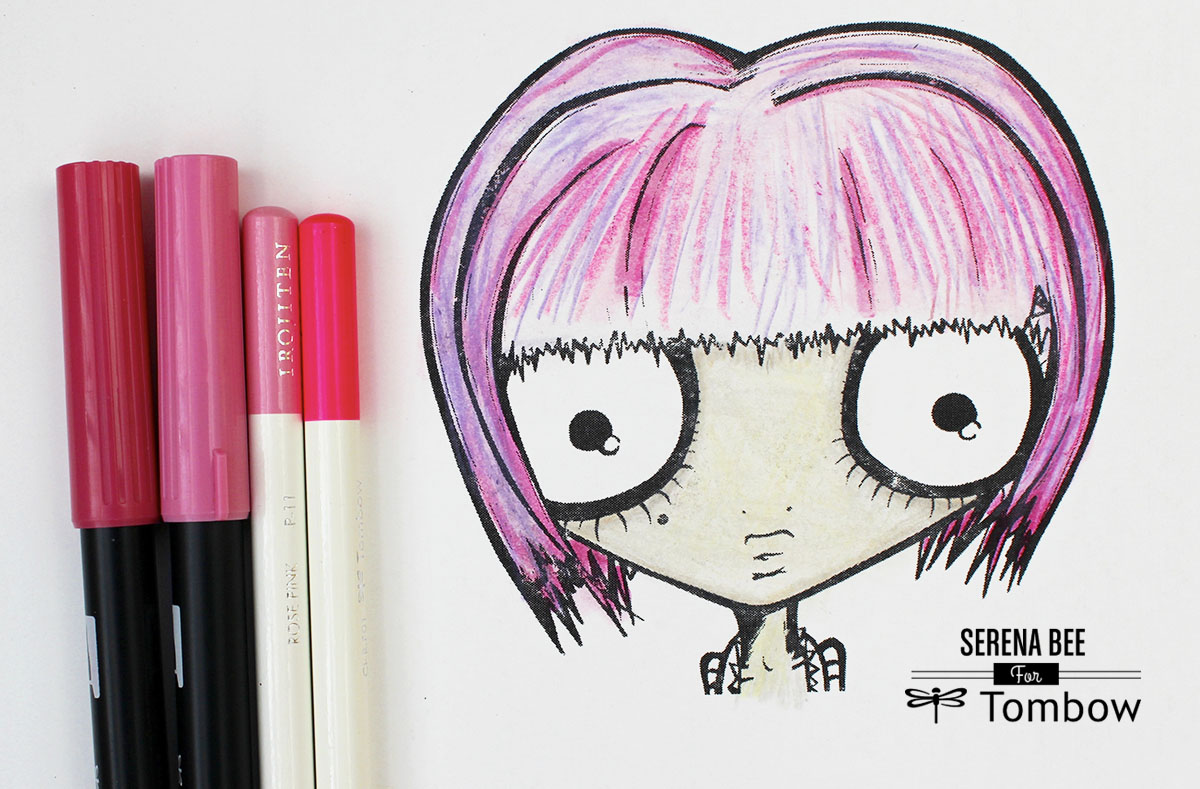
To finish it off, go over the black lines of your images with the Tombow MONO Twin Permanent Marker. Next, cut out your image and darken the edges for a cleaner finished look.
Next it is time to choose patterned paper and using circle dies, cut out a circle that fits the circumference of your plate. If you do not have a die-cutting machine you can use a round plate or bowl and trace a circle that will fit in the centre of your up-cycled plate.
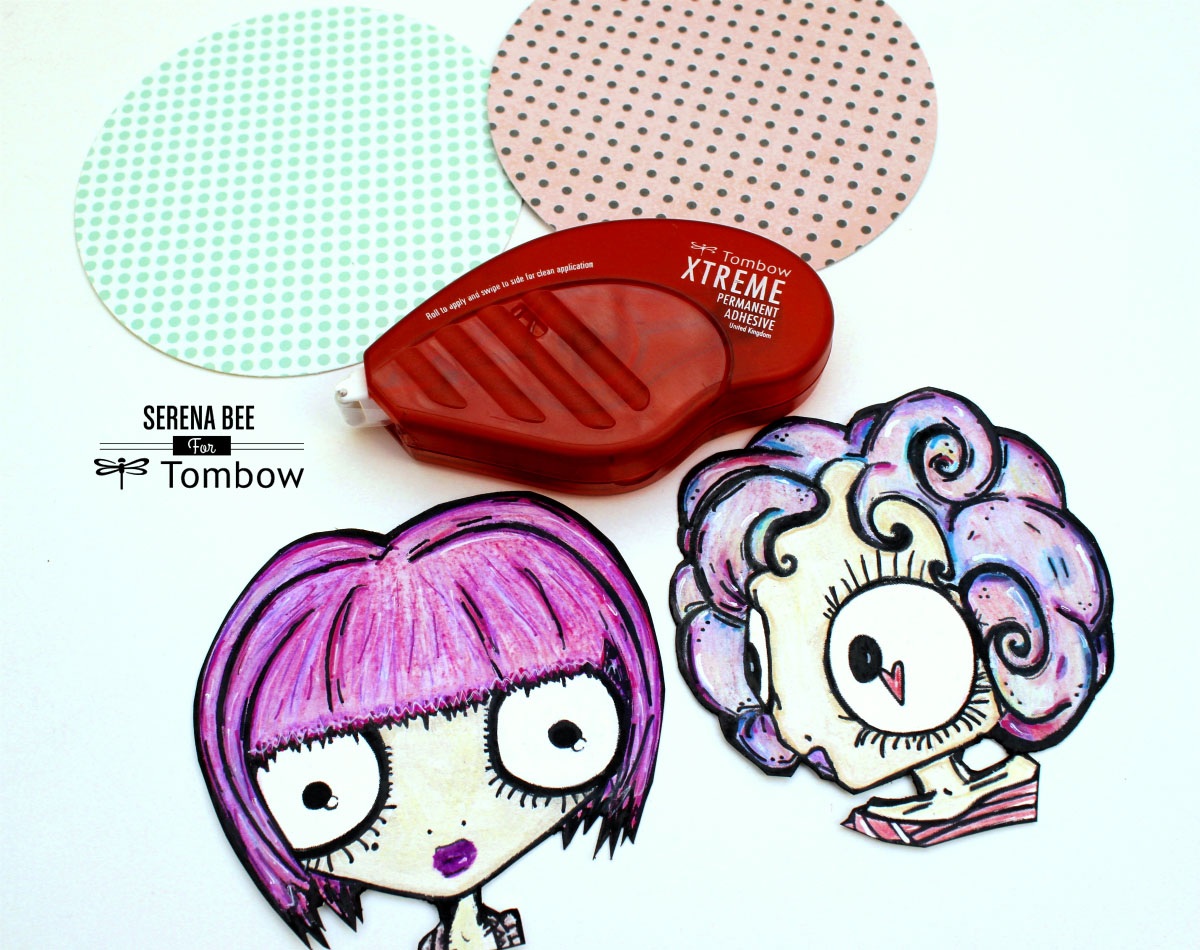
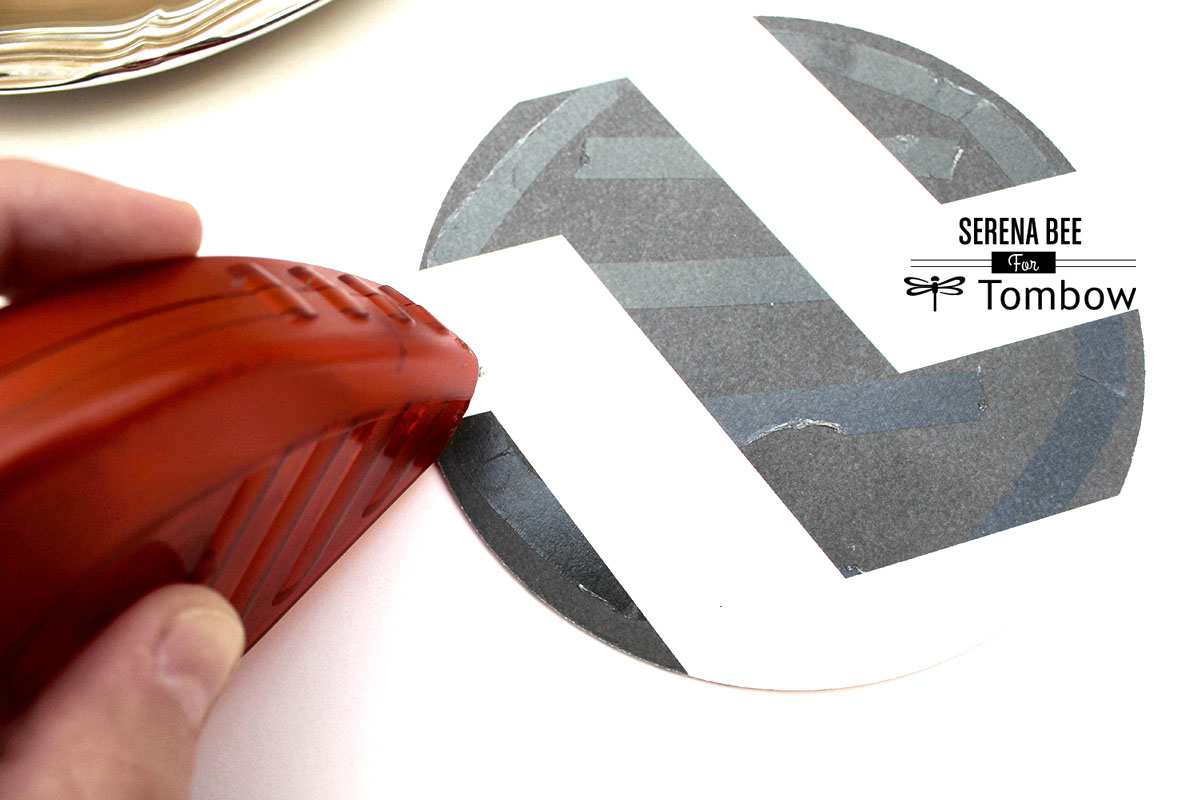
Using the Tombow Xtreme Adhesive glue your colored images to the circles and then apply the Tombow Xtreme Adhesive to the back of the circle in a circular motion and adhere it to the center of your plate.
If you are using an elaborate or decorative plate then you can stop here, if not, continue using ribbon and embellishments to further decorate your up-cycled plate. I used Crystal Stickles to add some extra sparkle to my girls as well as adhered bows using the Tombow Adhesive Tabs.
Lastly, it is time to mount your new home decor plates to your wall by using Tombow Xtreme Mounting Putty, apply some to the back of your plates.
Here is a closer look at my girls looking fab!
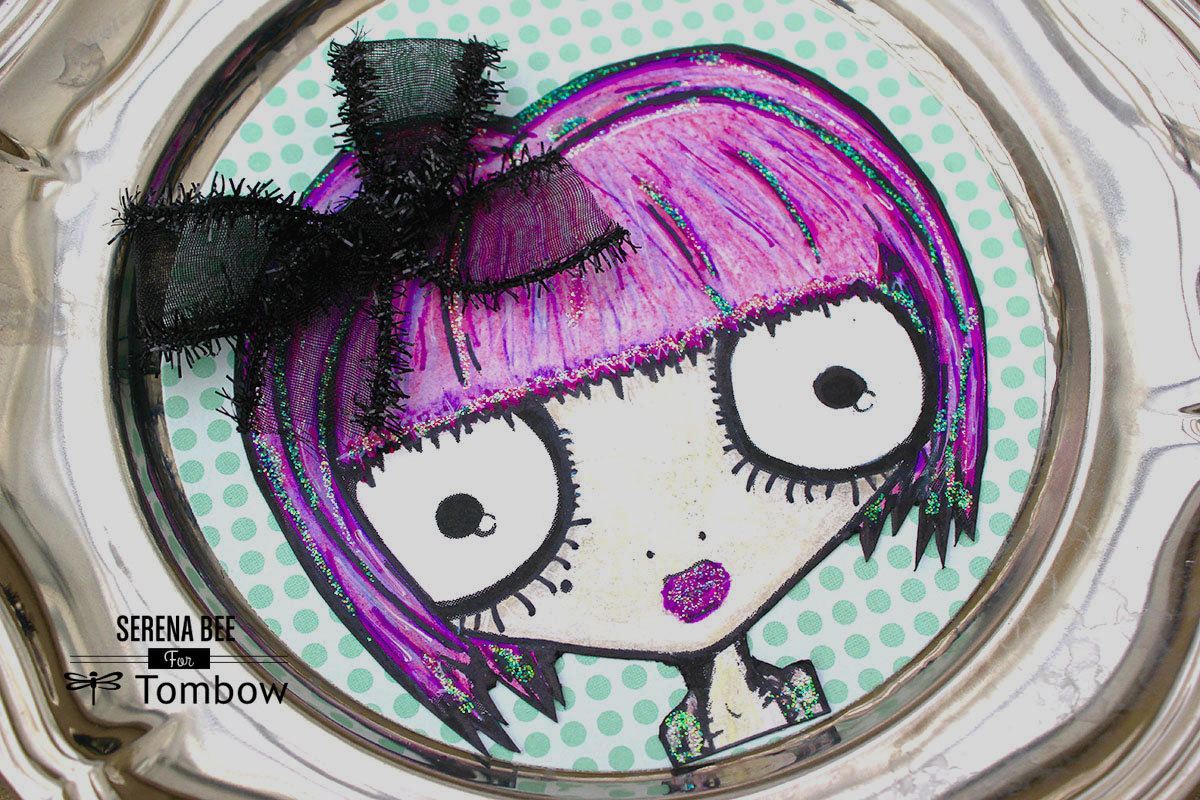
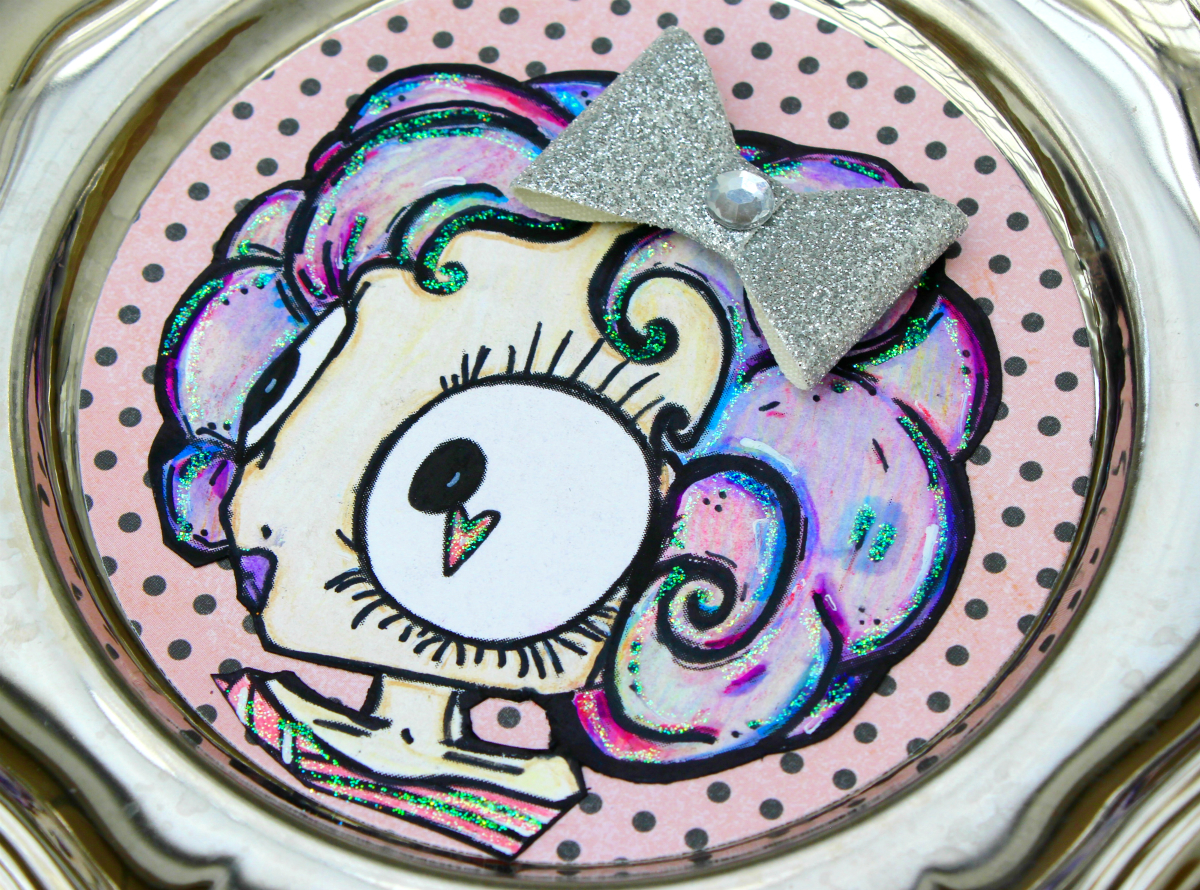
You can see the depth of color in her hair *heart eyes* and the Stickles adds the perfect sparkle!
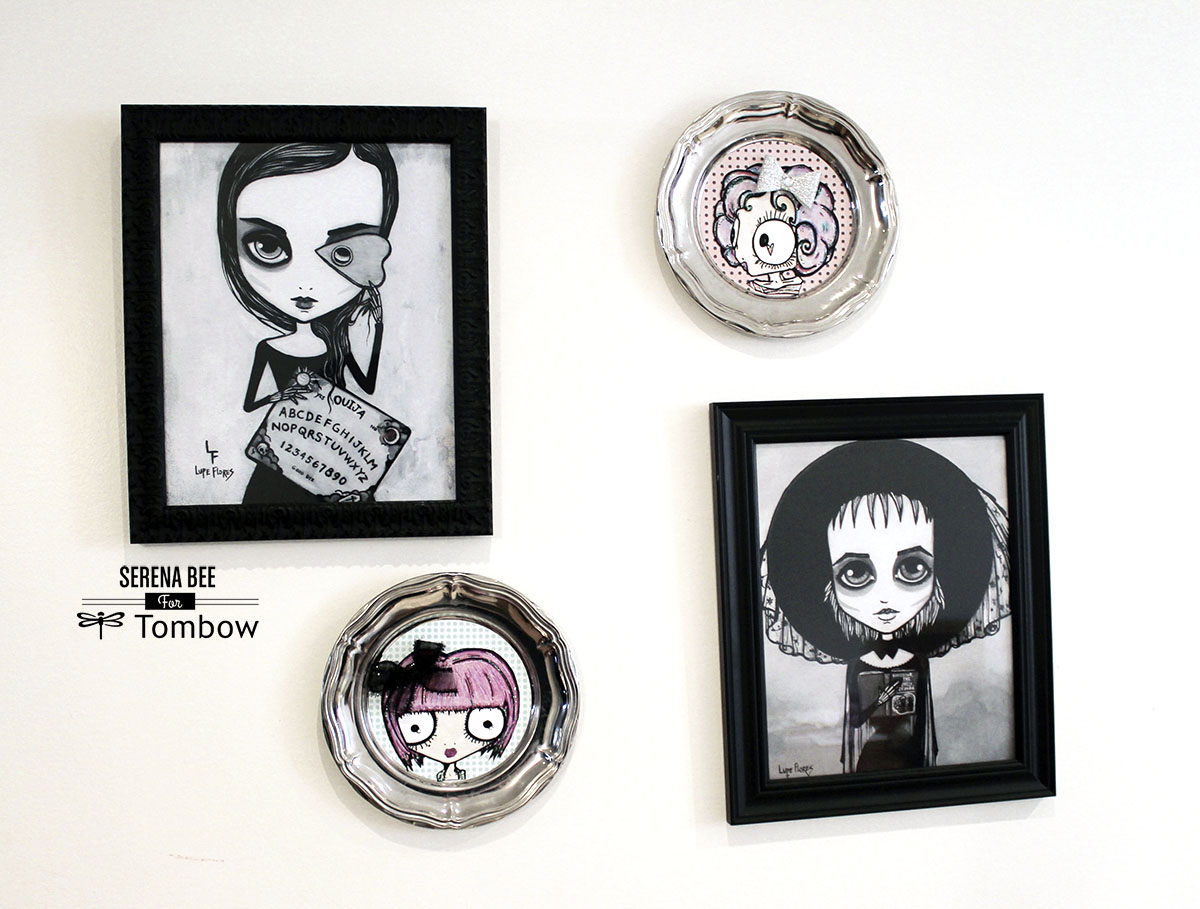
These up-cycled plates add the perfect touch to your gallery wall!
I hope that you and Beth enjoyed this tutorial. If you decide to give it a try please tag me on Instagram @seresbee so I can see!
Thanks for stopping by and have fun crafting!