Today we have a special treat for you – our friend, Senior Brand Ambassador and amazingly talented hand lettering artist Amanda Arneill has written a fantastic guest post for us as we celebrate the launch of our brand new Lettering Sets. Today, Amanda is sharing with you her top tips for working with clients. Amanda is as professional as they come, so if you’re looking to break into client work with your lettering, crafting or any other type of creative pursuit – read this post! And now, we’ll let Amanda take it away!
I love me some Tombow! Pens, pencils, markers, erasers… I just can’t get enough! On my Instagram account (@amandaarneill) and website (amandaarneill.com), I constantly show the amazing things that Tombow products help me create. Even in my online courses, I only use Tombow pens! This girl loves Tombow!
Oh, who am I? My name is Amanda Arneill and I’m a hand lettering artist. My two main goals are to inspire people to pick up this super addictive and amazeballs hobby and to make you laugh by lettering out the ridiculous things that my children say (#saidaroundhere). I’m a teacher by trade but a letterer by passion and now I combine the two by teaching others to be awesome at hand lettering.
Okay, I don’t know how far into your lettering journey you were when you discovered Tombow pens, but since I found them, I haven’t looked back. I would say that (by a conservative estimate), when I’m lettering, I use Tombow pens 96.742% of the time. I have their pens in every purse I carry, in all of the cracks between couch cushions and even in my car. Hey, you never know when you’ll need to pull over to letter something super important!
So when the fantabulous Brittany at Tombow asked me to create the artwork for the packaging of their new sets, I jumped at the chance to put my mark on something that I already love so much! And let me say that, with Brittany heading this up, Tombow USA was a dream to work with.
Now, how exactly did I make my mark? Well, let’s chat about that a bit! I could simply take you step by step through the creation of the sets but that won’t help you in your lettering journey. Instead, I want to use this post to give you advice about how to create custom pieces for a client. I firmly believe that everything I share should help you in your lettering journey and this isn’t any different!
For any custom piece there are 5 distinct steps that you have to take and 3 of these steps come before any work is even done! This is suuuuper important because, before you commit the time, materials and creation effort to the project, you need to make sure that both you and the client are in agreement about all of the “un-fun” stuff that has to be covered.
No matter how big or small your next custom order may be, I’ve made a Custom Project Cheatsheet that you can download right here (and if you haven’t had a custom order yet but you would love to do one, you should totally download it too!). This sheet is like the holy grail of your custom pieces because, rather than searching through millions of email threads, all of the important info for a project can be found in one place (a huge timesaver!) and you won’t be missing a single necessary detail.
Step 1: PROJECT SCOPE
Before you get started on any project, you always need to know exactly what you’re getting yourself into! Brittany had an incredibly detailed idea of what she wanted on each page and area of the pen packages.
Here’s a tip to any of you working with clients… the more detailed the clients are with their vision, the easier it is for you to make it come to life. While Brittany gave me all of the freedom to make her vision a reality on paper, she knew exactly what was important to her and what information she wanted included. That helps so much because, when you know what’s important to the client, you can make sure that you deliver!
With Project Scope you need to have an idea of exactly what the client is expecting at the end. If they say they want an 8×10 piece with their vows written on it you need to know exactly how long their vows were (one paragraph or 10 pages single spaced at 12 point font?) and if they expect any extras like a wreath, watercolour flowers or a hand drawn picture of their tabby cat as the best man. The scope of the project will directly impact the time, materials, size and pricing of the custom work, so you need to head into the pricing decision fully informed.
Step 2: TECHNICAL STUFF: size, file type, timeline, materials, color.
It’s not the most fun stuff but every piece needs to fit into a certain frame or, in this case, plastic casing. The tiny details of size, due date, type of paper to use, color for the piece or final file type (jpeg, tiff, AI, etc) are so important to make sure that your clients get exactly what they want. By writing all of this stuff down in one place on the Custom Project Cheatsheet, you never have to worry about missing any of these details ever again. Phew!
Step 3: PRICING
Aaaah! I don’t know about you, but my stomach flips over when it comes to talking about pricing with a client. A basic guideline for pricing is to consider the time that you will be putting in (from the very first email response to creating draft after draft to giving the client the final piece) and to determine an amount that reflects that time. You are the one who knows exactly how long a project will take and your pricing needs to reflect that! Because decisions can be paralysing for me (does anyone else find the sheer number of yogurt choices in the grocery store overwhelming?!), I find it easiest to set a base price for any client work and then to move up set $15 – 20 dollar increments from there. Unless it is a much larger scale project like this Tombow job, having a limited number of pricing options (like $45, $60, $75 and $90 to choose from) takes so much of the humming and hawing out of the process of pricing.
Step 4: CREATION and COLLABORATION
This is where the fun finally begins!!
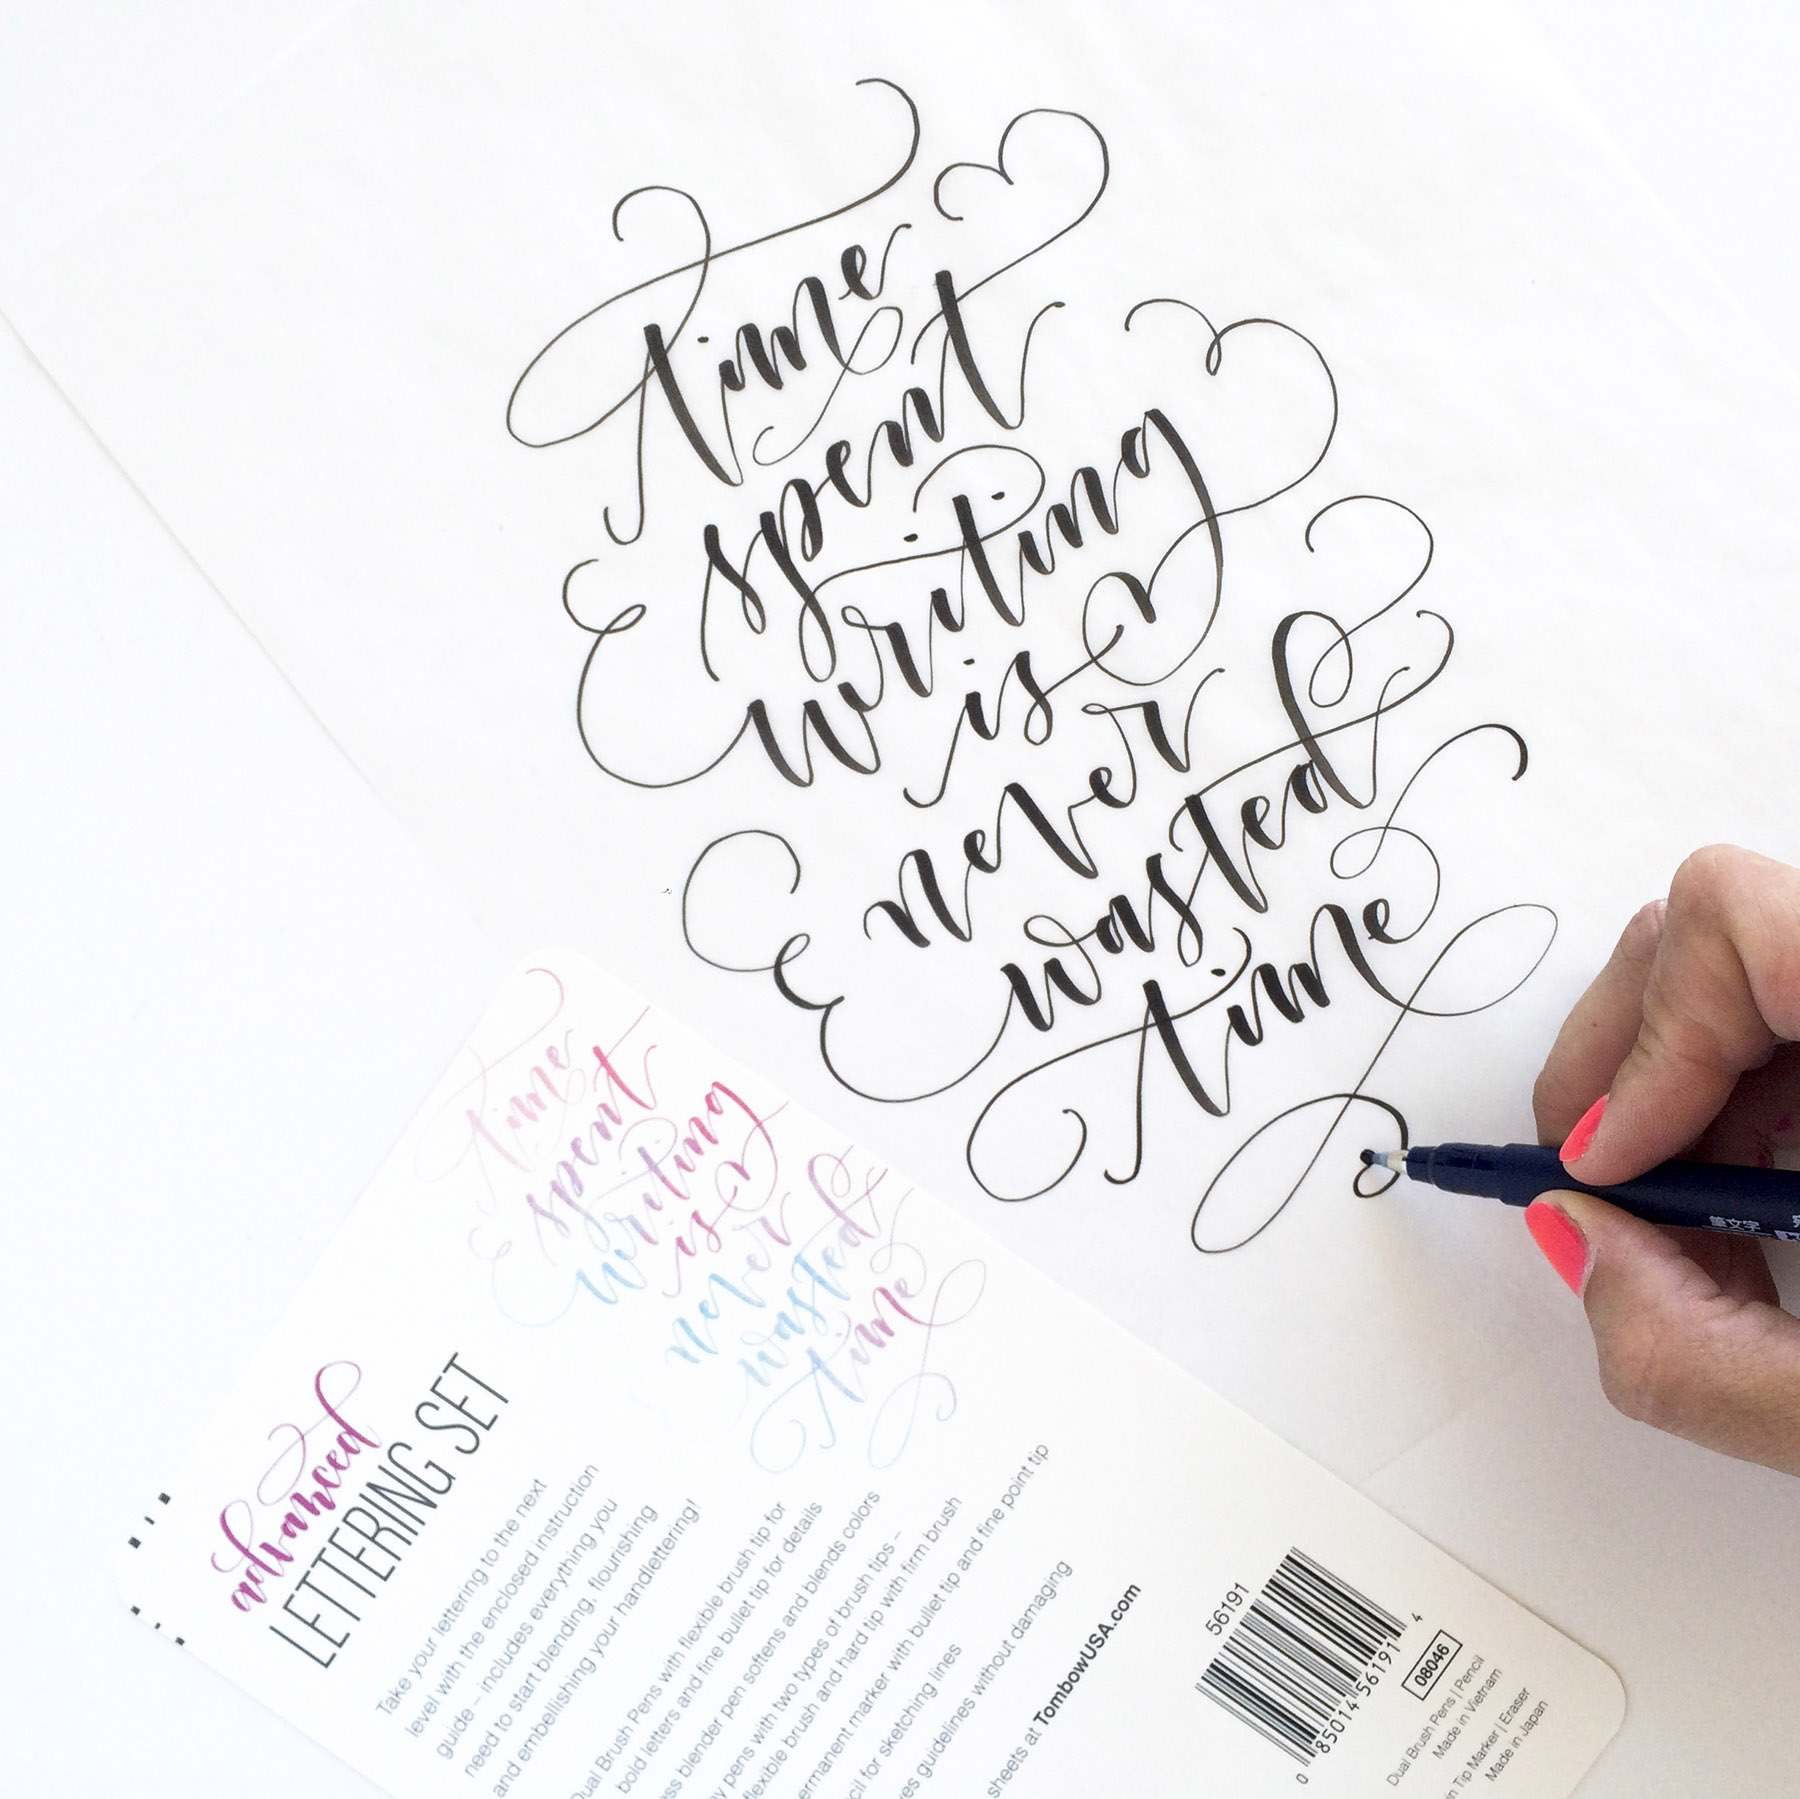
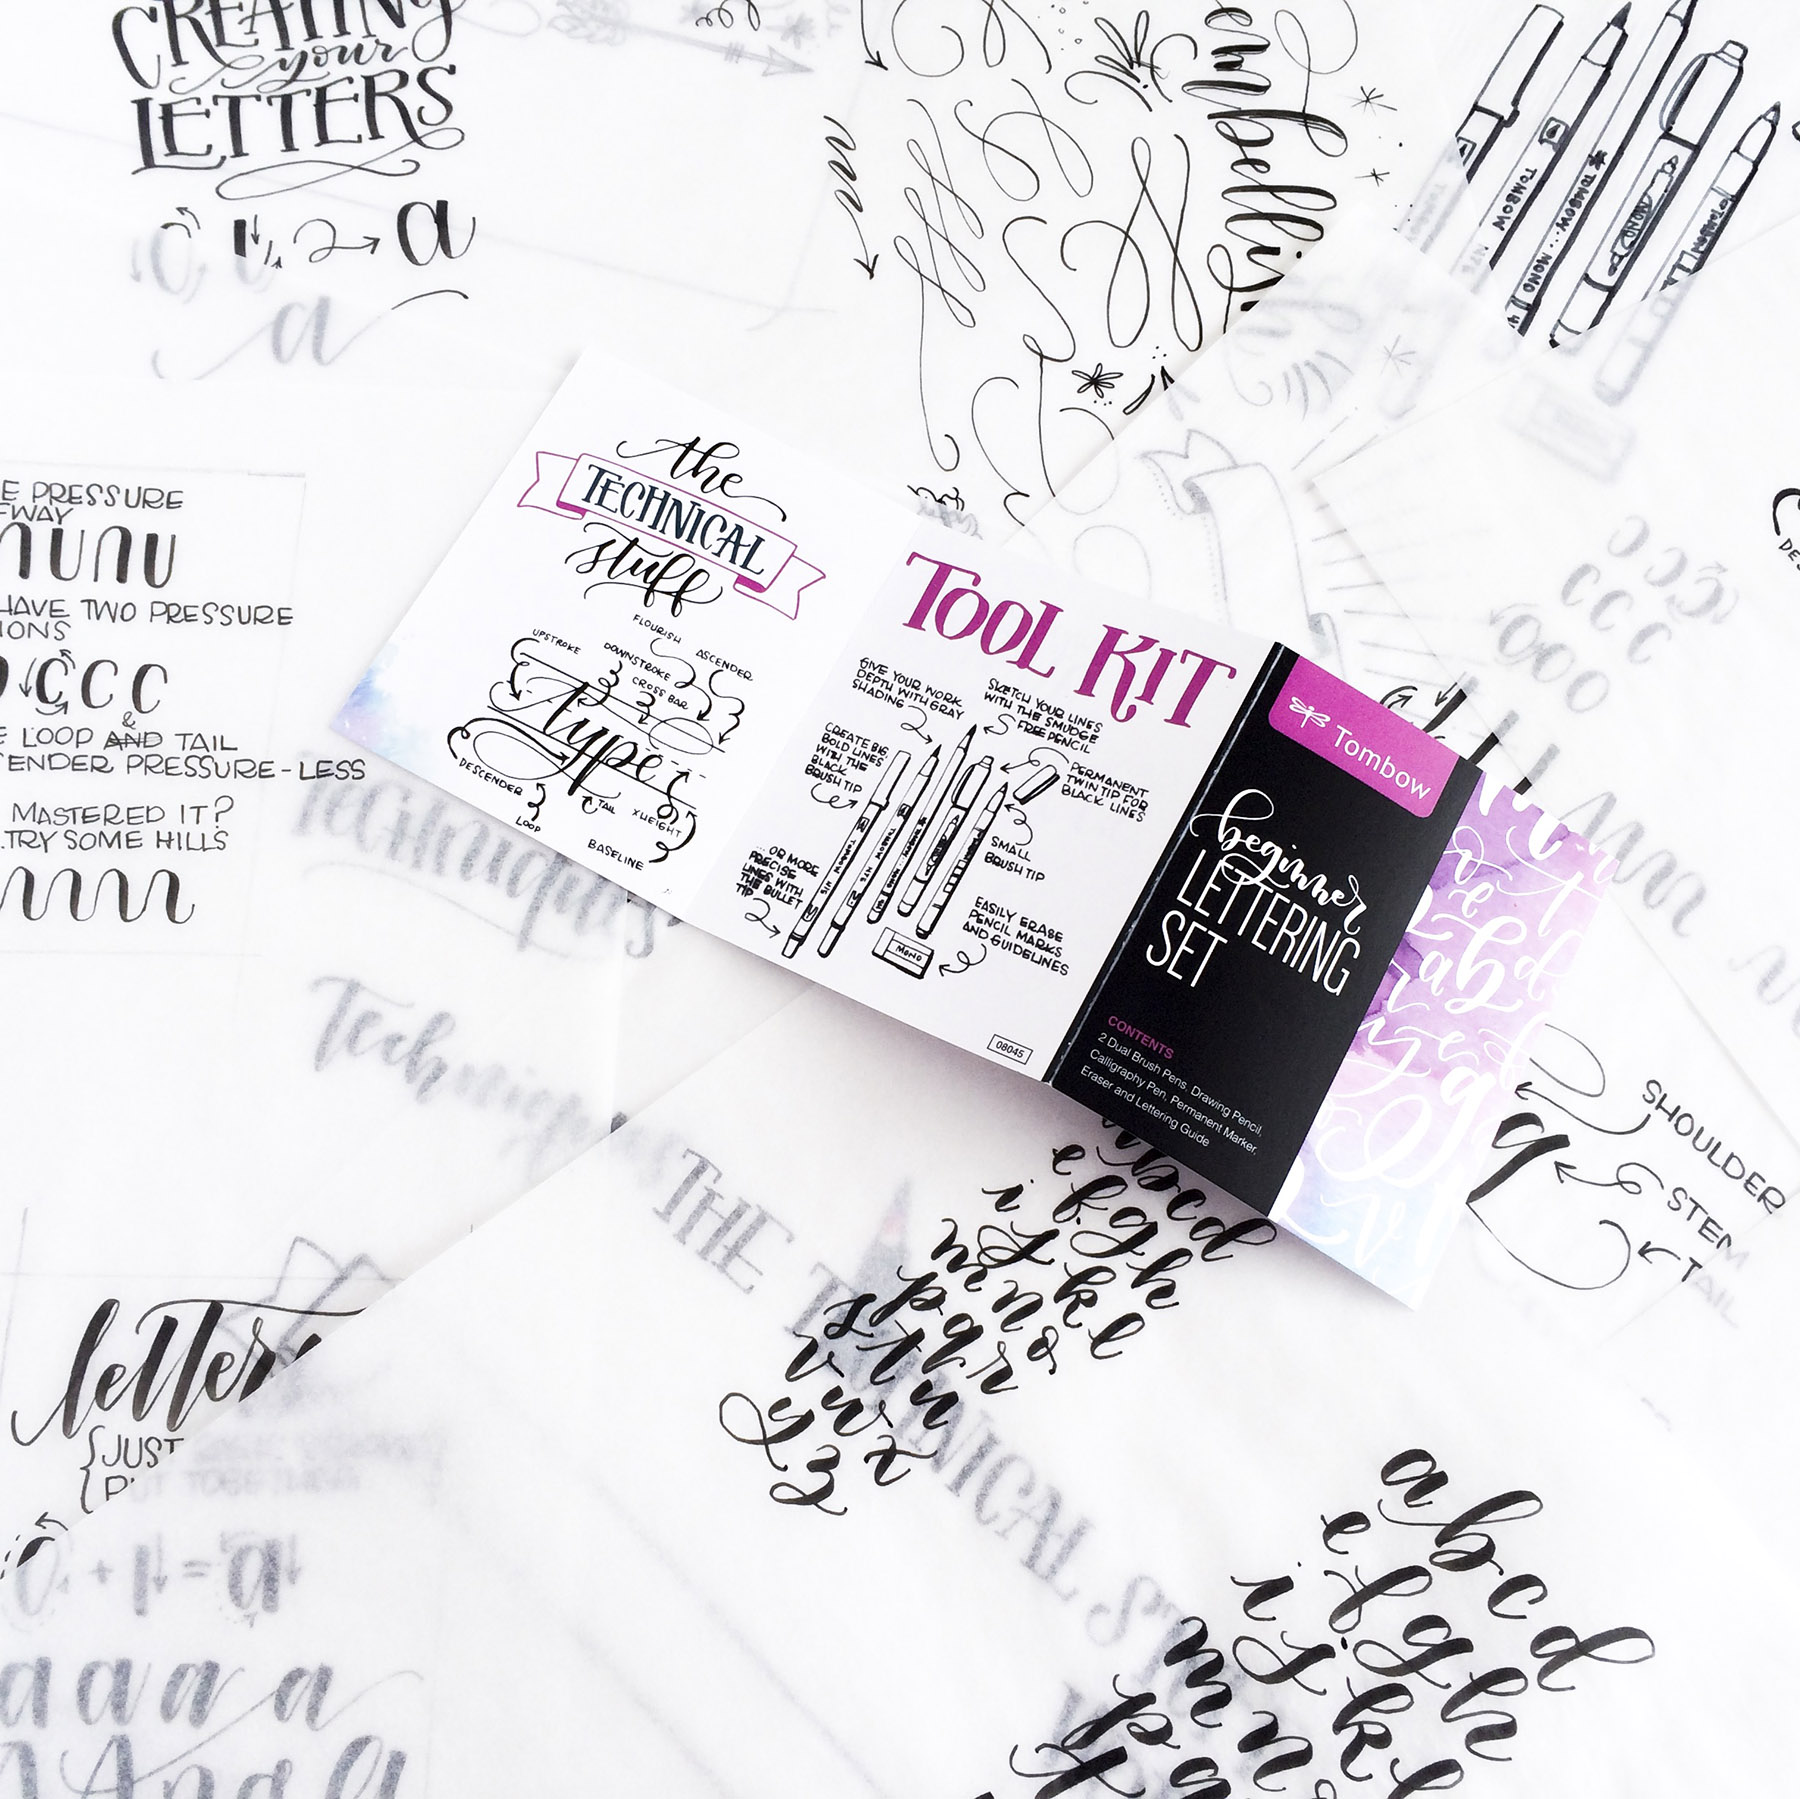
In order to make the 6 small pages in each package, I filled more than fifty 9×12 pieces of paper with lettering! Every night after my kids went to bed, I would pull out my folder of sketches and continue to polish and perfect the pieces until the scale and style were exactly what I wanted.

If you’re a lettering artist, you know that your work very rarely comes together on the first go. You try out different style combinations, compositions and sizing. At some point, you start to think that you are singlehandedly keeping the recycling guy in business with the amount of paper that you’re using!
But then the skies part and you start to find magical glimpses of something great in your work.
I know that some people say that you shouldn’t go back to your client with these initial sketches because you’re the artist and you know what’s best, but I always see this as more of a team effort. They have the vision and I have the tools to make it happen. We’re both in it together.
In order to make sure that I’m visually interpreting what my client is imagining, to show them that there is work happening before a final piece and to ensure that I don’t waste time perfecting a piece that they hate, I love to give the client a sneak peek of the work in progress. It is exciting for both of us because they see the direction of the piece and I can get their feedback on small things that they want to see changed (which used to make me sad but now I see it as giving me the opportunity to deliver something totally perfect for them!).
On my Custom Project Cheatsheet, I always record the date of this sneak peek and notes with the client’s feedback. Again, this helps me keep everything in one place and ensures that I don’t miss any detail.
After the sneak peek, I do another whole set of drafts before moving on to the final piece.
Step 5: FINAL PIECE
I don’t think there is anything as exciting as delivering the final piece to the client!
Before I send any final piece off, I always take lots of photos to add the work to my portfolio (aka Instagram account). I use these photos in the future as inspiration for myself and for future clients. Then the final pieces on their way to the client.
With the Tombow packaging, I didn’t even have to drive up to the post office because they just needed a digital file to pass on to their designer. Brittany was so fantastic and sent me little glimpses of the packages as they were being created and it was so exciting to see the gorgeous colour choices and perfect placement.
And then came the day when the whole package arrived at my house. I couldn’t rip open the box fast enough! It is always so exciting to see how your client is using the work that you do! After any project, I highly suggest asking your client to send you photos of your work in their space. There’s something so satisfying about seeing it in action.
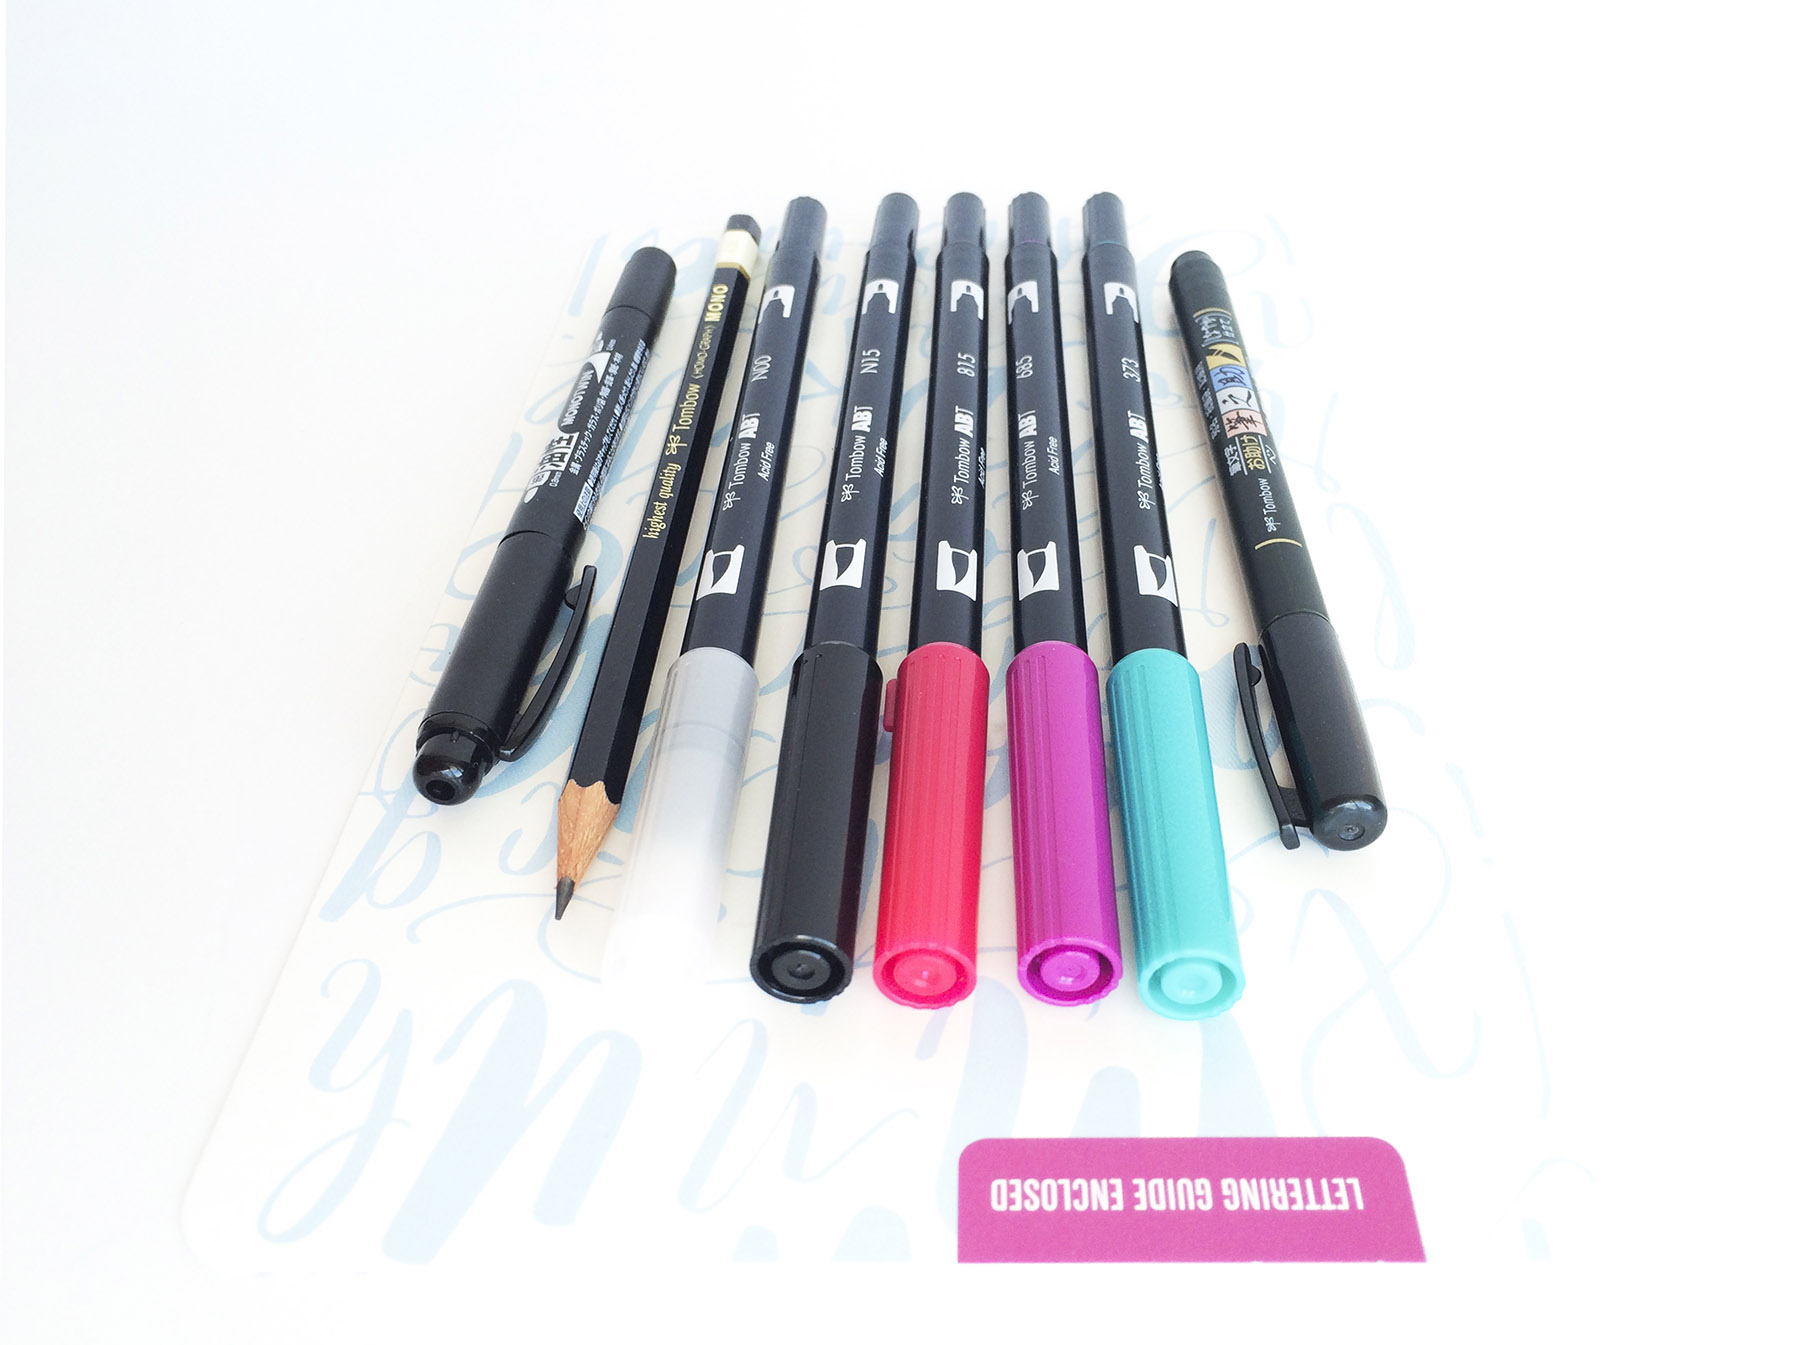
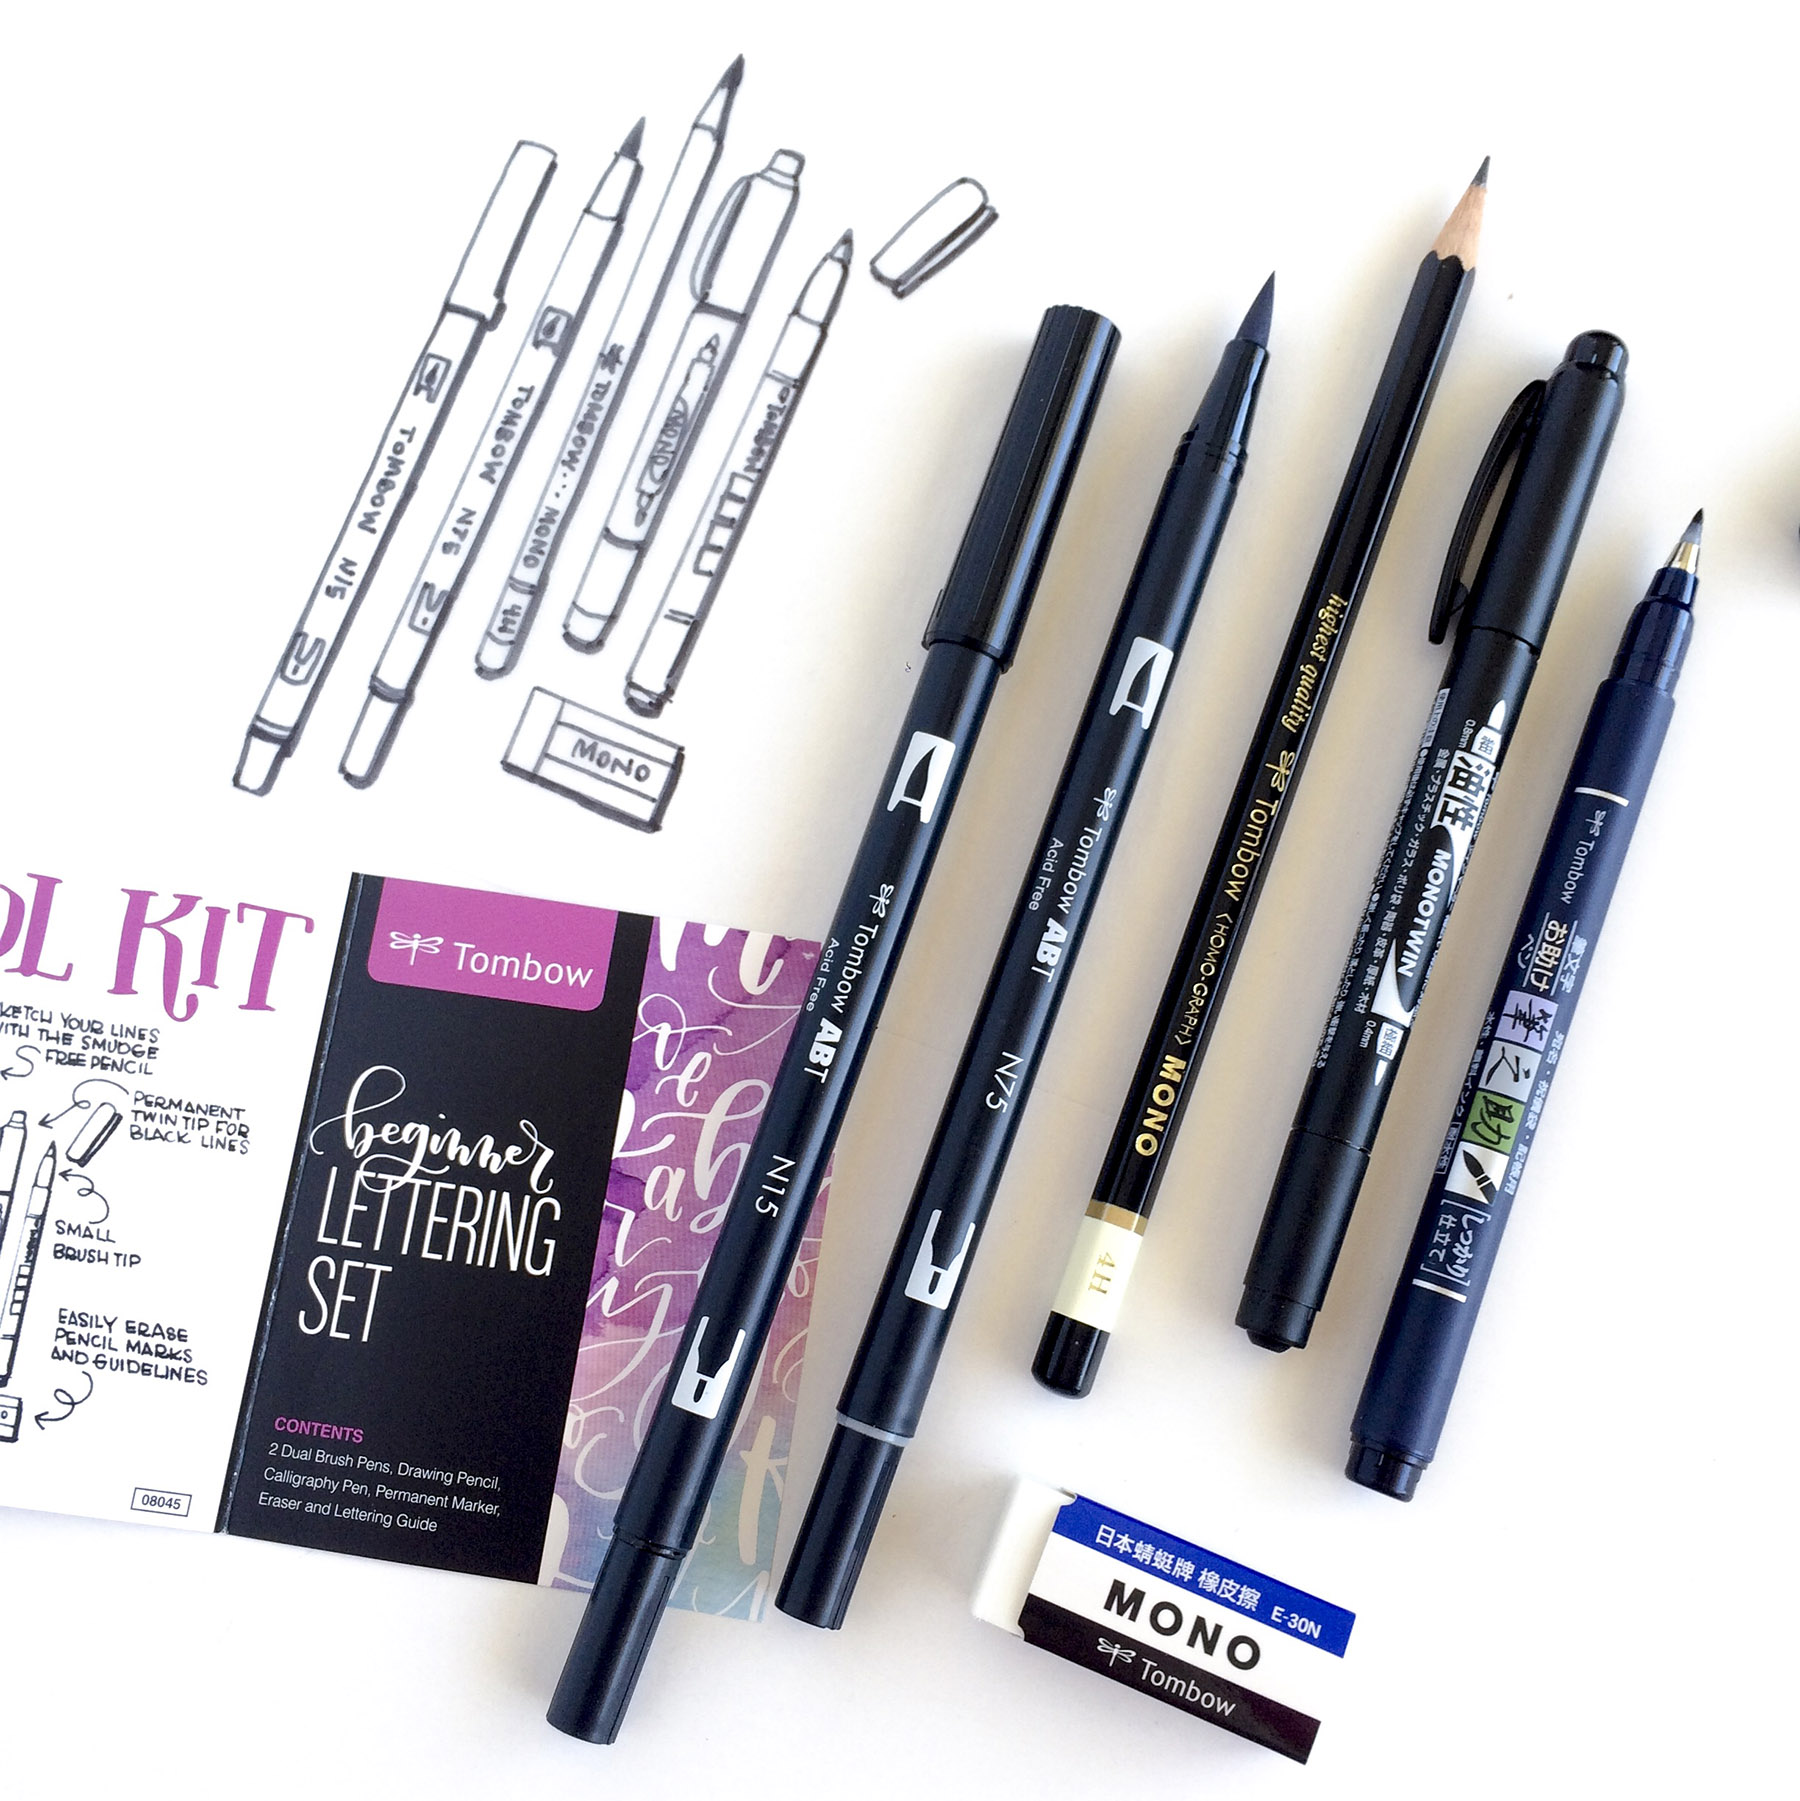
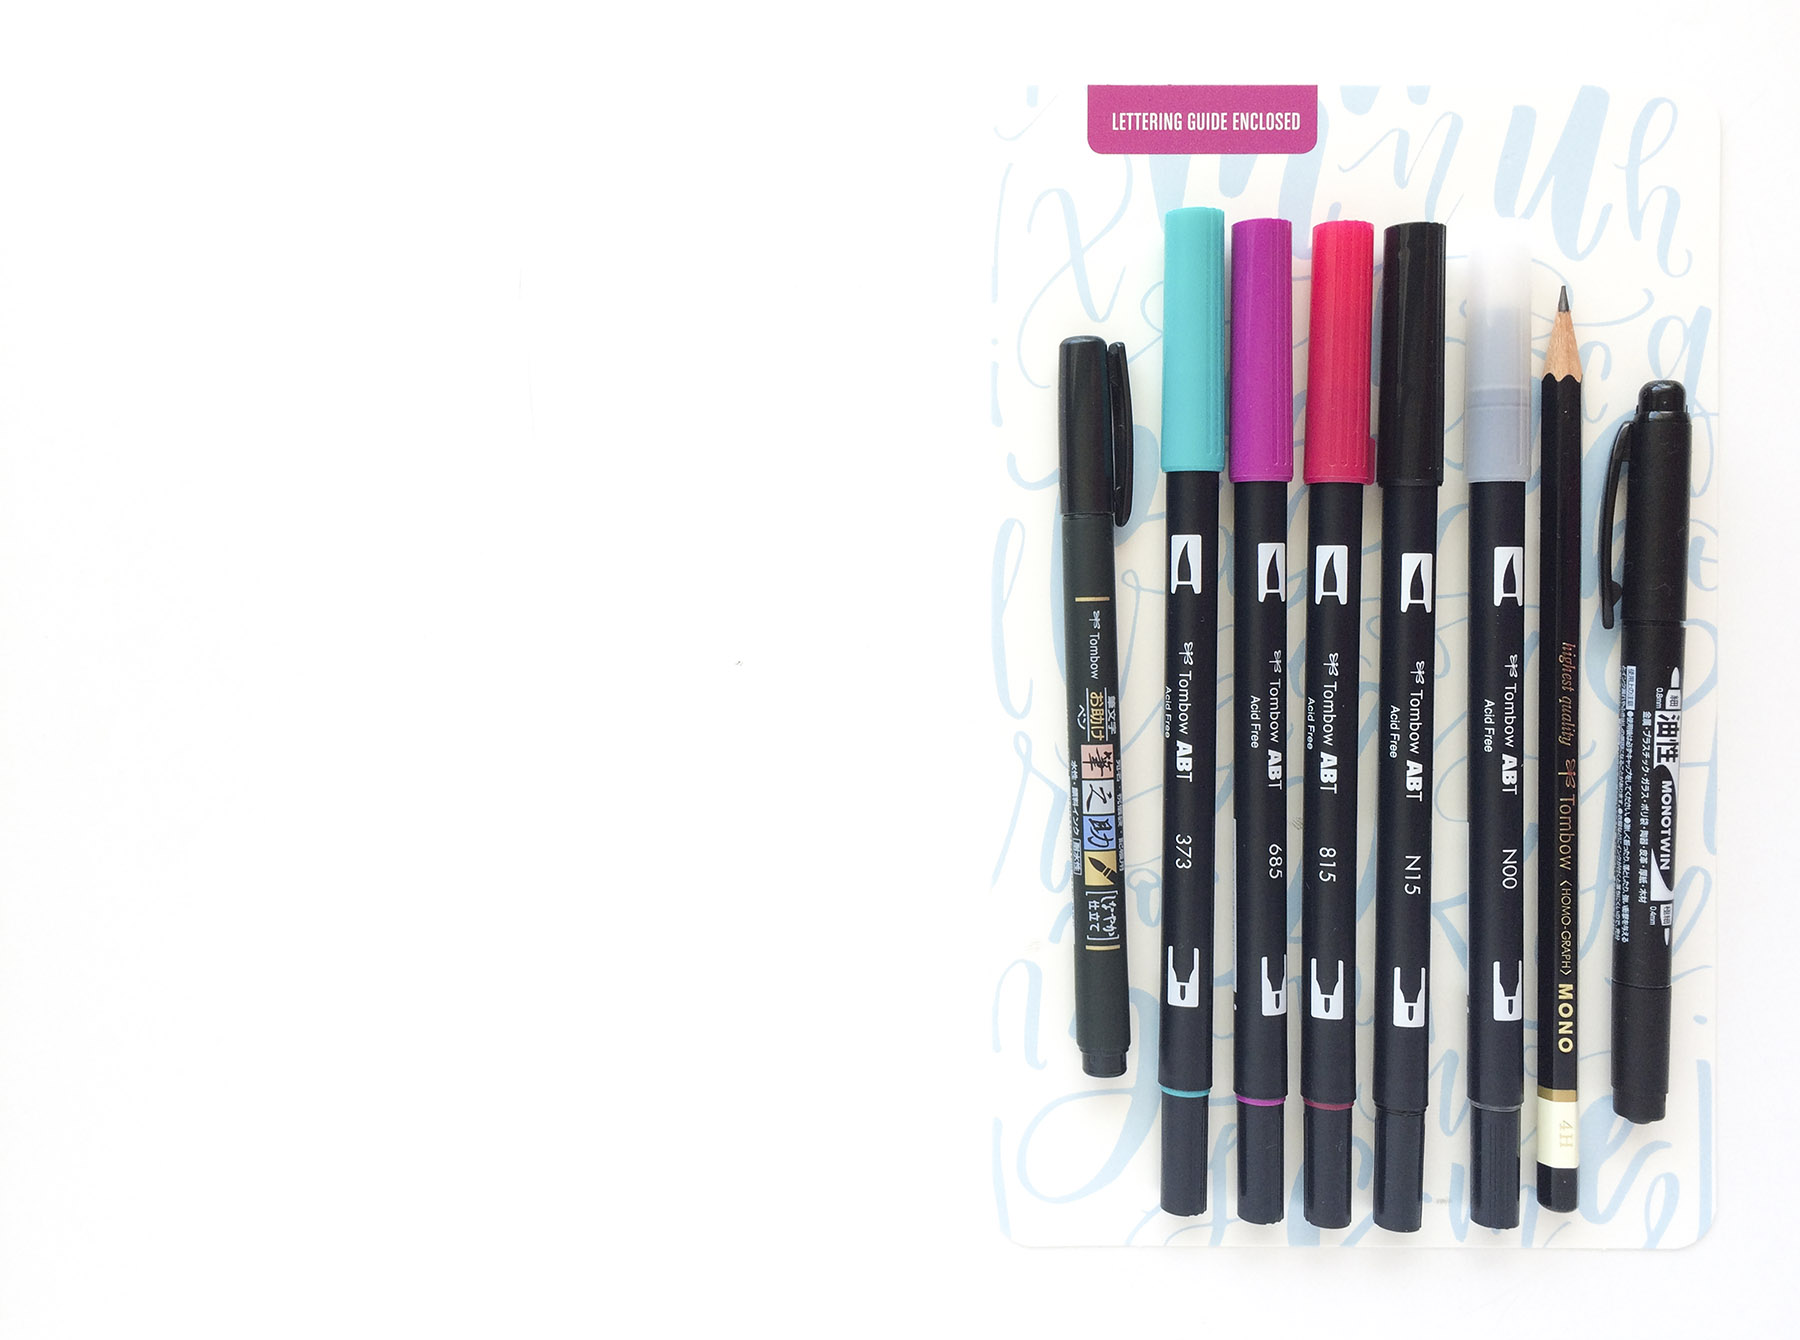
And I know that these lettering sets will be getting some serious action! Not only do they have every single pen that a beginner or more advanced lettering lover would need, but they come with the little booklet of tricks that I had the honor of helping make come to life. Everything you need all in one place! Is it any wonder that I love Tombow so much?!

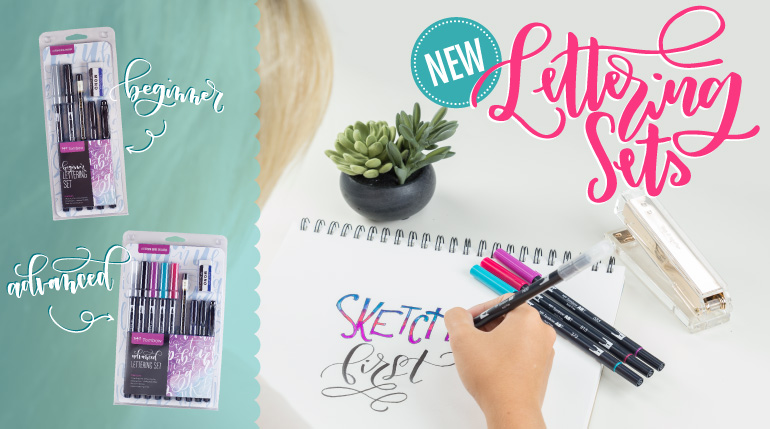
Grab the new Lettering Sets at www.tombowusa.com today!