Happy Tuesday Crafters!
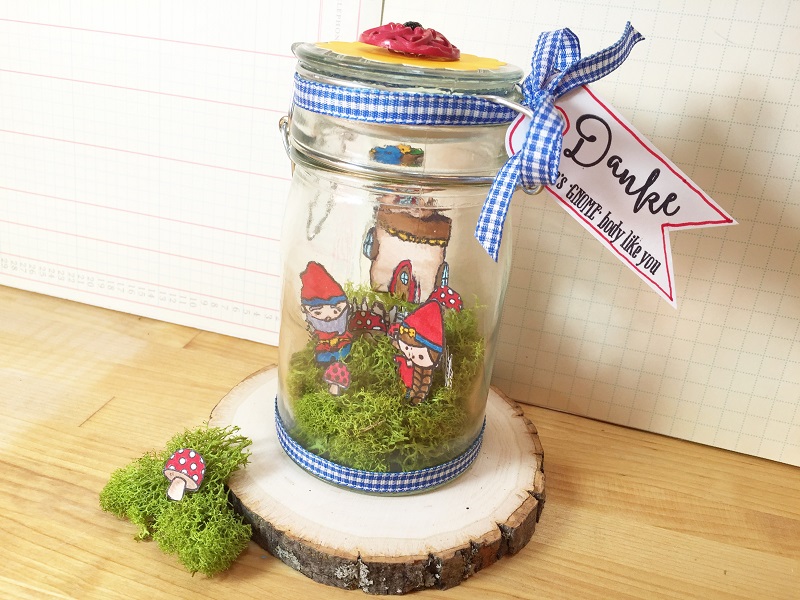
Beth here on the BLOG (not Instagram LOL!) today sharing the quick and easy steps on How to build a Gnome Home featuring our partner for this week – Sweet Stamp Shop – and of course Dual Brush Pens and Adhesives from Tombow USA!
Now on to my project!
Step One:
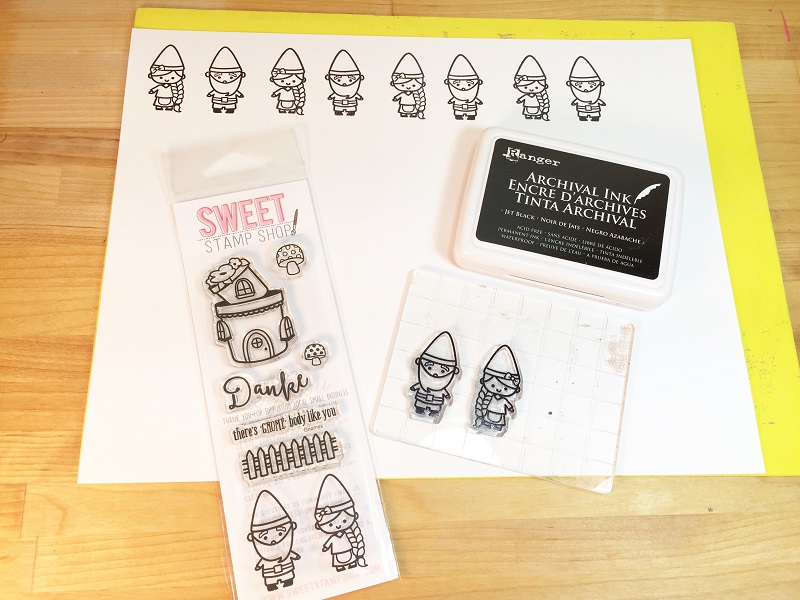
Stamp all images from the Sweet Stamp Shop Gnome 2 x 6 Set onto white card stock four times using black archival ink. Archival ink is permanent and will not bleed when colored with Tombow Dual Brush Pens. These Sweet Stamp Shop stamps are clear, which allows you to line up and match the elements included with ease, like I did with the fence stamp.
Step Two:
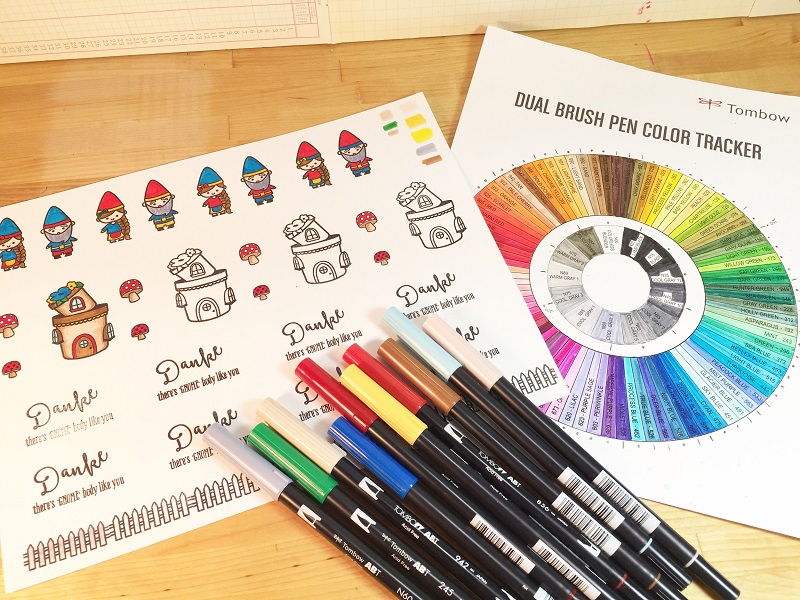
Select Gnome friendly colors of Tombow Dual Brush Pens and COLOR! This is the part I love after a long day at work, so relaxing. I always use my Tombow Dual Brush Pen Color Tracker when selecting colors, then I make a color swatch sample in the corner of my stamp sheet to make sure I like the colors I have selected. If you don’t have a Dual Brush Pen Color Tracker, then you can download your copy HERE to print and color. I used 850 Flesh; 856 Chinese Red; N60 Cool Grey 6; 977 Saddle Brown; 025 Light Orange; 476 Cyan; 847 Crimson; 942 Tan; 451 Sky Blue and 245 Sap Green.
Step Three:
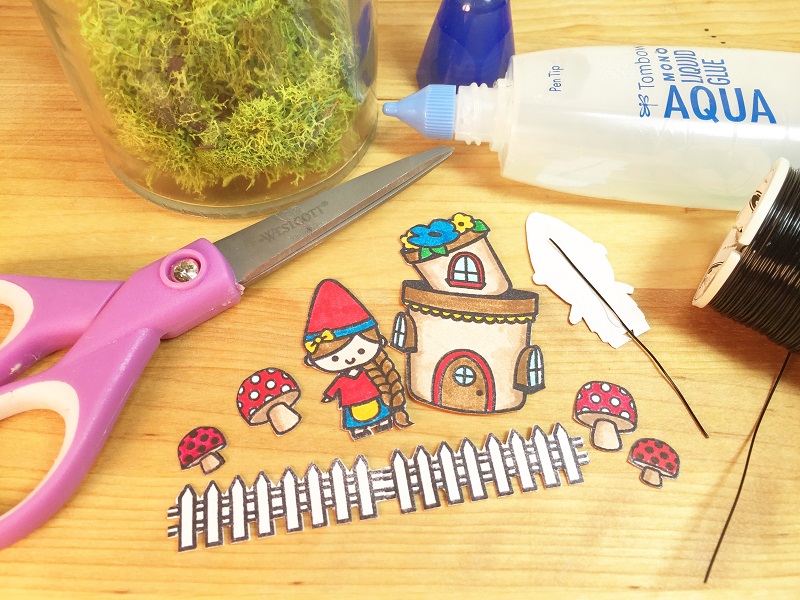
Once you are pleased with your colors, then the cutting begins! Fussy cut each element from the card stock, flip over, then cut lengths of 24 gauge black wire. Attach wire to back of each element with Tombow MONO Aqua Liquid Glue, let dry.
Step Four:
Create your Gnome Home! I selected a hinged lid glass jar that I had in my craft stash that is about 2″ around and 4″ tall. Apply a bit of Tombow MONO Aqua Liquid Glue to the inside bottom of your jar, then place sections of reindeer moss at the bottom of the jar. Arrange with a pair of tweezers, then push down to hold in place. Arrange your Gnomes and their accessories into the glass jar using tweezers and a bit of MONO Aqua Glue on each wire to secure in place.
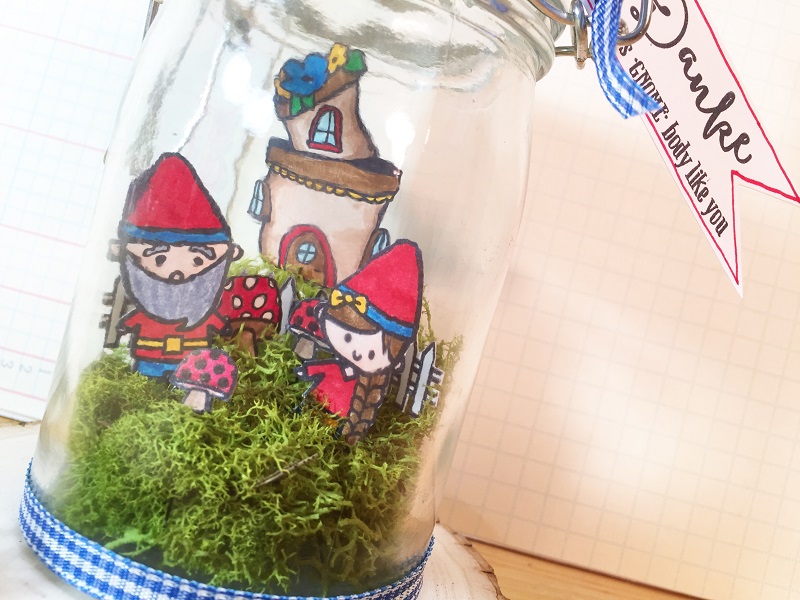
Step Five:
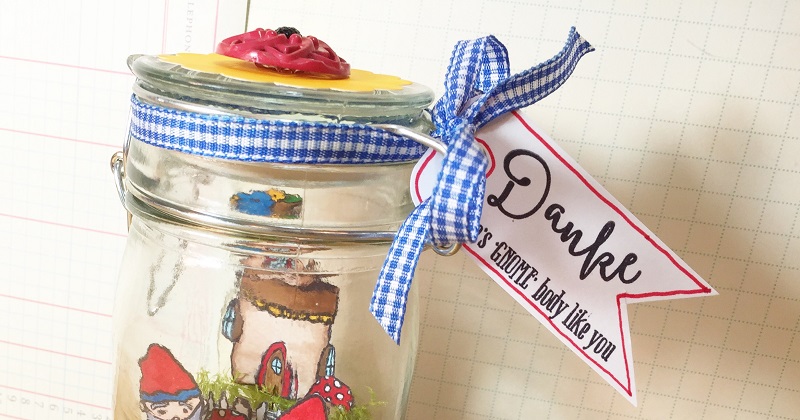
The Gnomes looked cute, but the jar looked bare, so I embellished the jar! A scalloped circle on the top, punched from white card stock colored with the brush tip of the Tombow Dual Brush Pen 025 Light Orange, layered with a red button and a black rhinestone, all attached with Tombow Extreme Adhesive. Cut out a flag from the sentiment included in this set Danke – There’s “GNOME” body like you! outlined with the fine tip of the Tombow Dual Brush Pen 856 Chinese Red and tied onto the jar with bright blue gingham ribbon. The finishing touch is to attach a section of the gingham ribbon to the base of the jar with Tombow Xtreme Adhesive.
This Gnome Home goes together in about an hour and would make the perfect Thank You gift when combined with a gift card for that special Teacher or thoughtful Neighbor.
Be sure to check out the Sweet Stamp Shop blog and the Tombow Instagram for TONS more inspiration.
Now, our cute Gnomes need names, so leave a comment below to let me know what YOU would name the Gnomes!
Thanks for stopping by! -Beth