Hi Tombow Friends! This is Jennie! One of my favorite things to do is organizing my art materials. I love this Tombow Zippered Marker Storage Case. I’ve wanted to customize mine for a while. In this post, I’m going to take you through the process of customizing the Tombow Zippered Marker Storage Case with the Tombow MONO Twin Permanent Markers.
Supplies:
Step One: Sketch your idea!
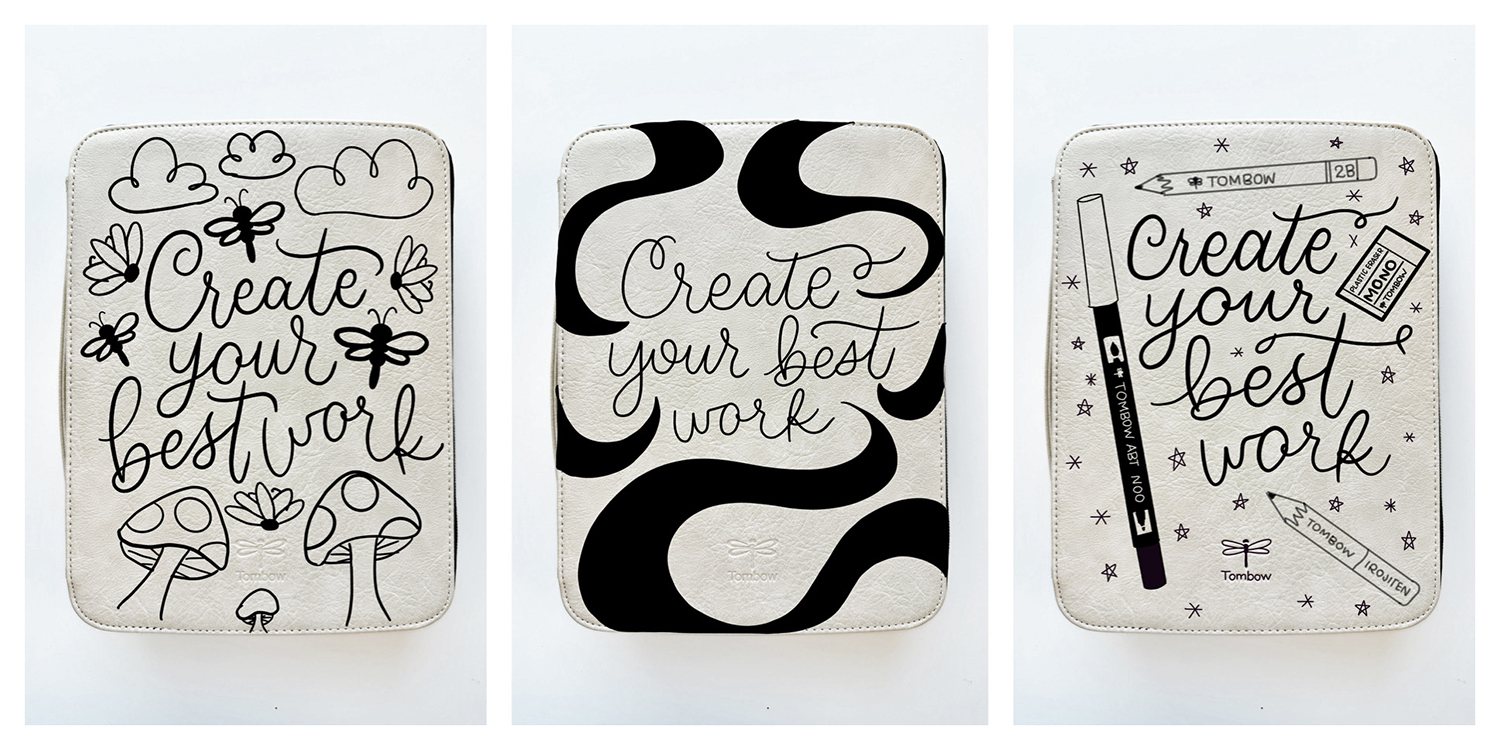
I took a photo of my Tombow Zippered Marker Storage Case and used the Procreate app to sketch a few ideas. Doodling around the Tombow logo was important to me. I also wanted the stitching to frame the design. That is why I preferred the photo to doodling on a piece of paper. I tried a few ideas and I chose my last sketch.
Step Two: Trace the Marker Storage Case.
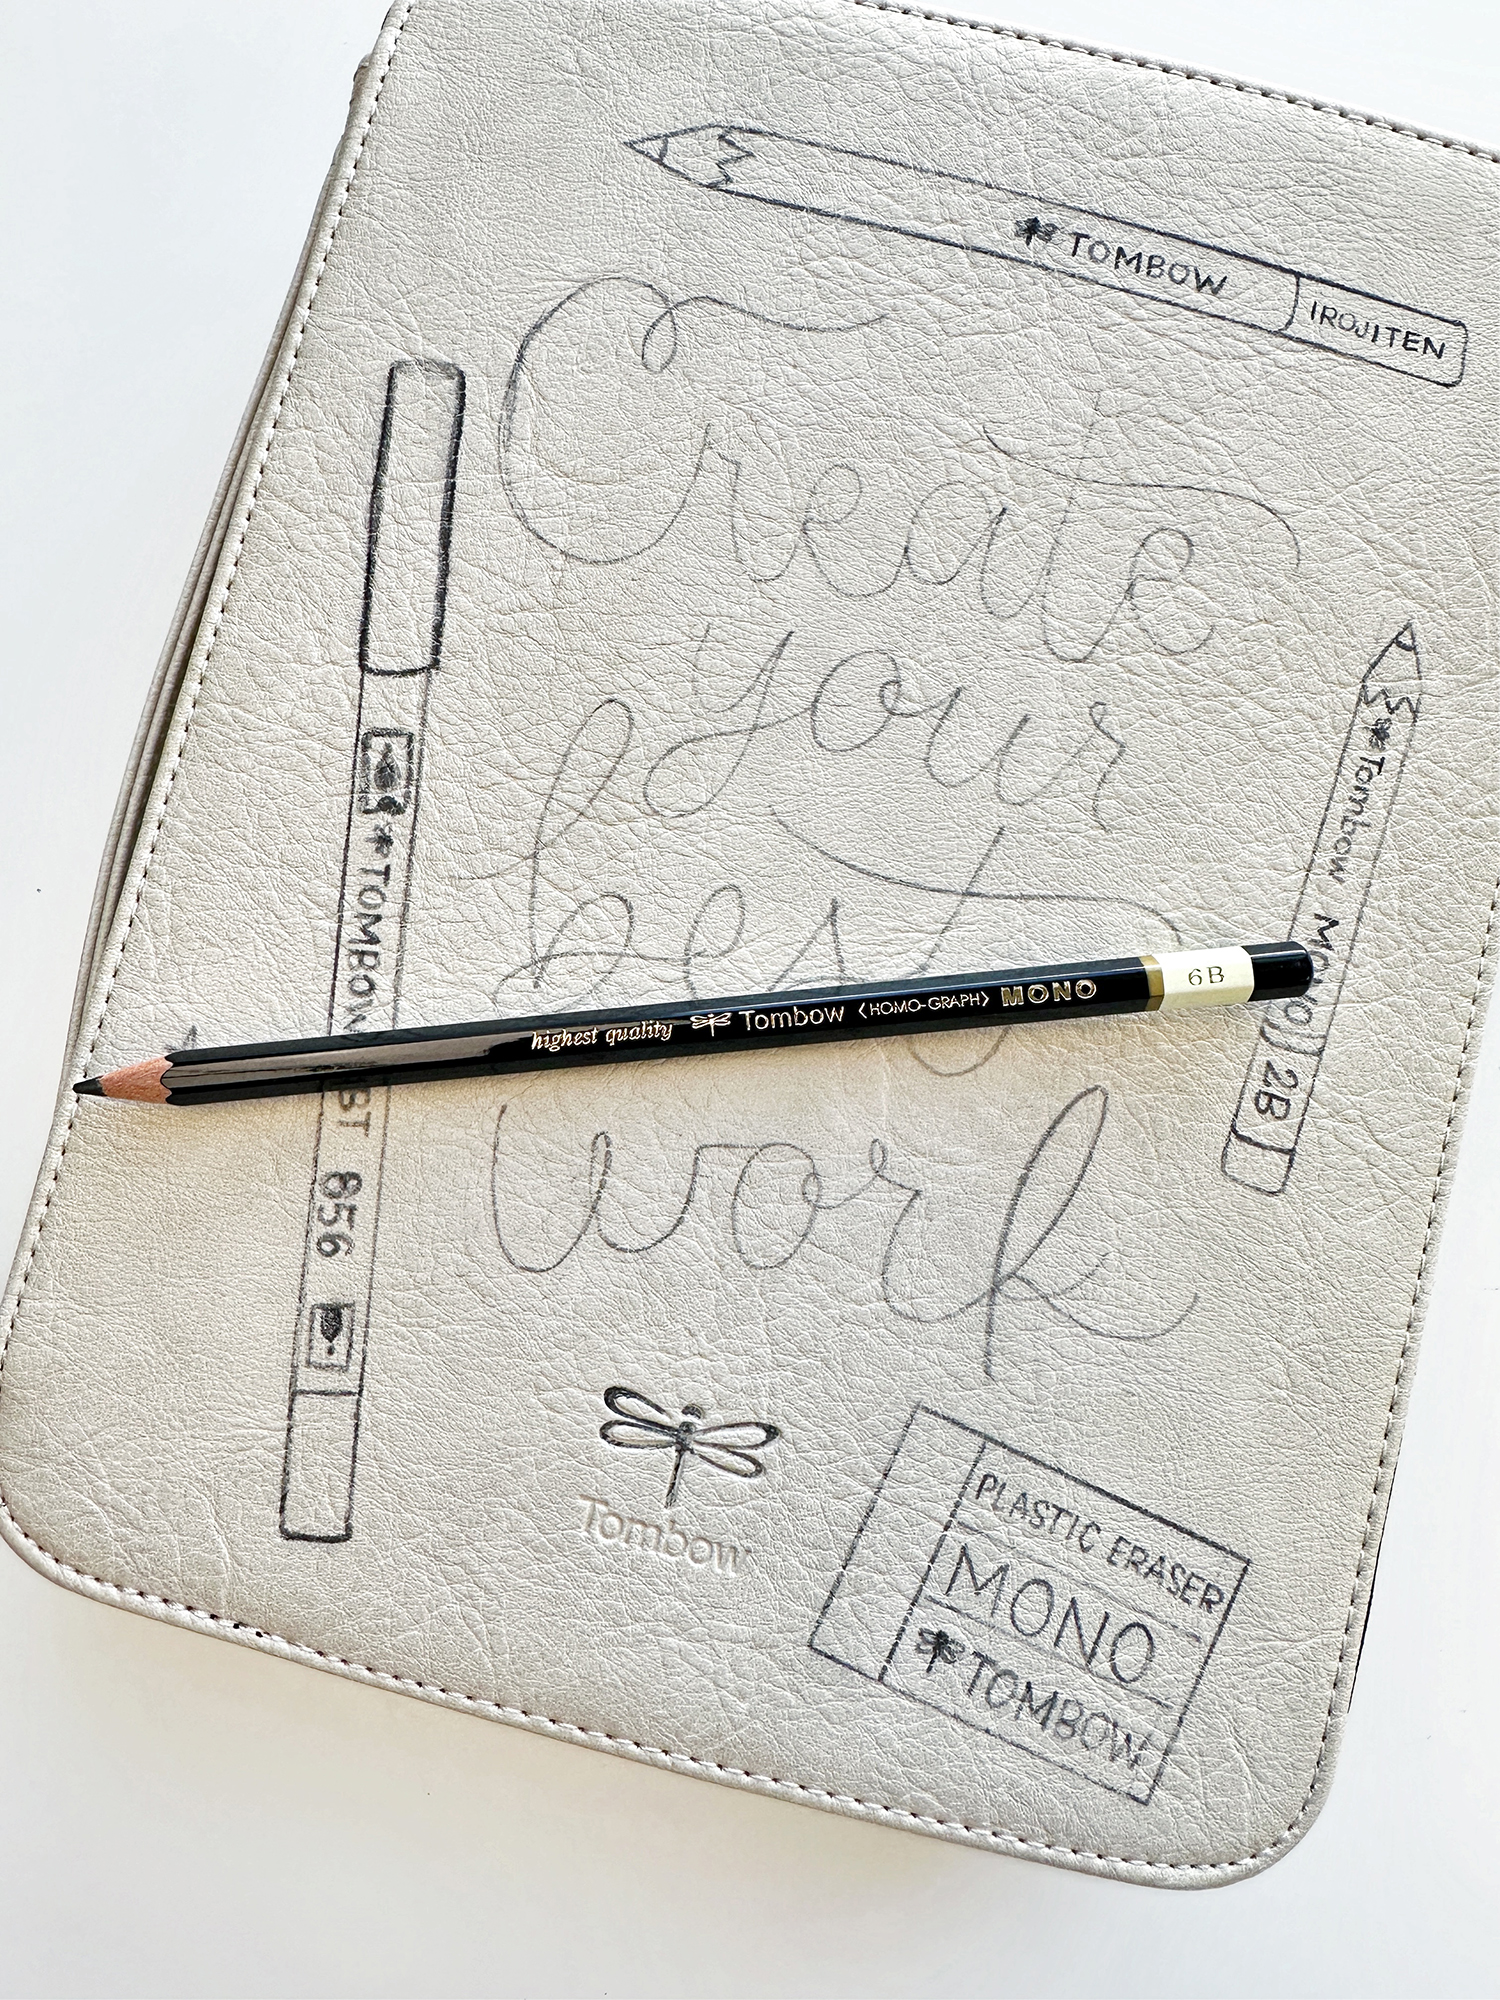
Use a pencil to sketch the idea on the Tombow Zippered Marker Storage Case. I used the 5B Tombow MONO Drawing Pencil because the B pencils have darker and looser graphite. The H pencil wouldn’t be dark enough and it could scratch the cover. I made a few mistakes and I used the Tombow MONO Sand Eraser to erase them.
Step Three: Color!
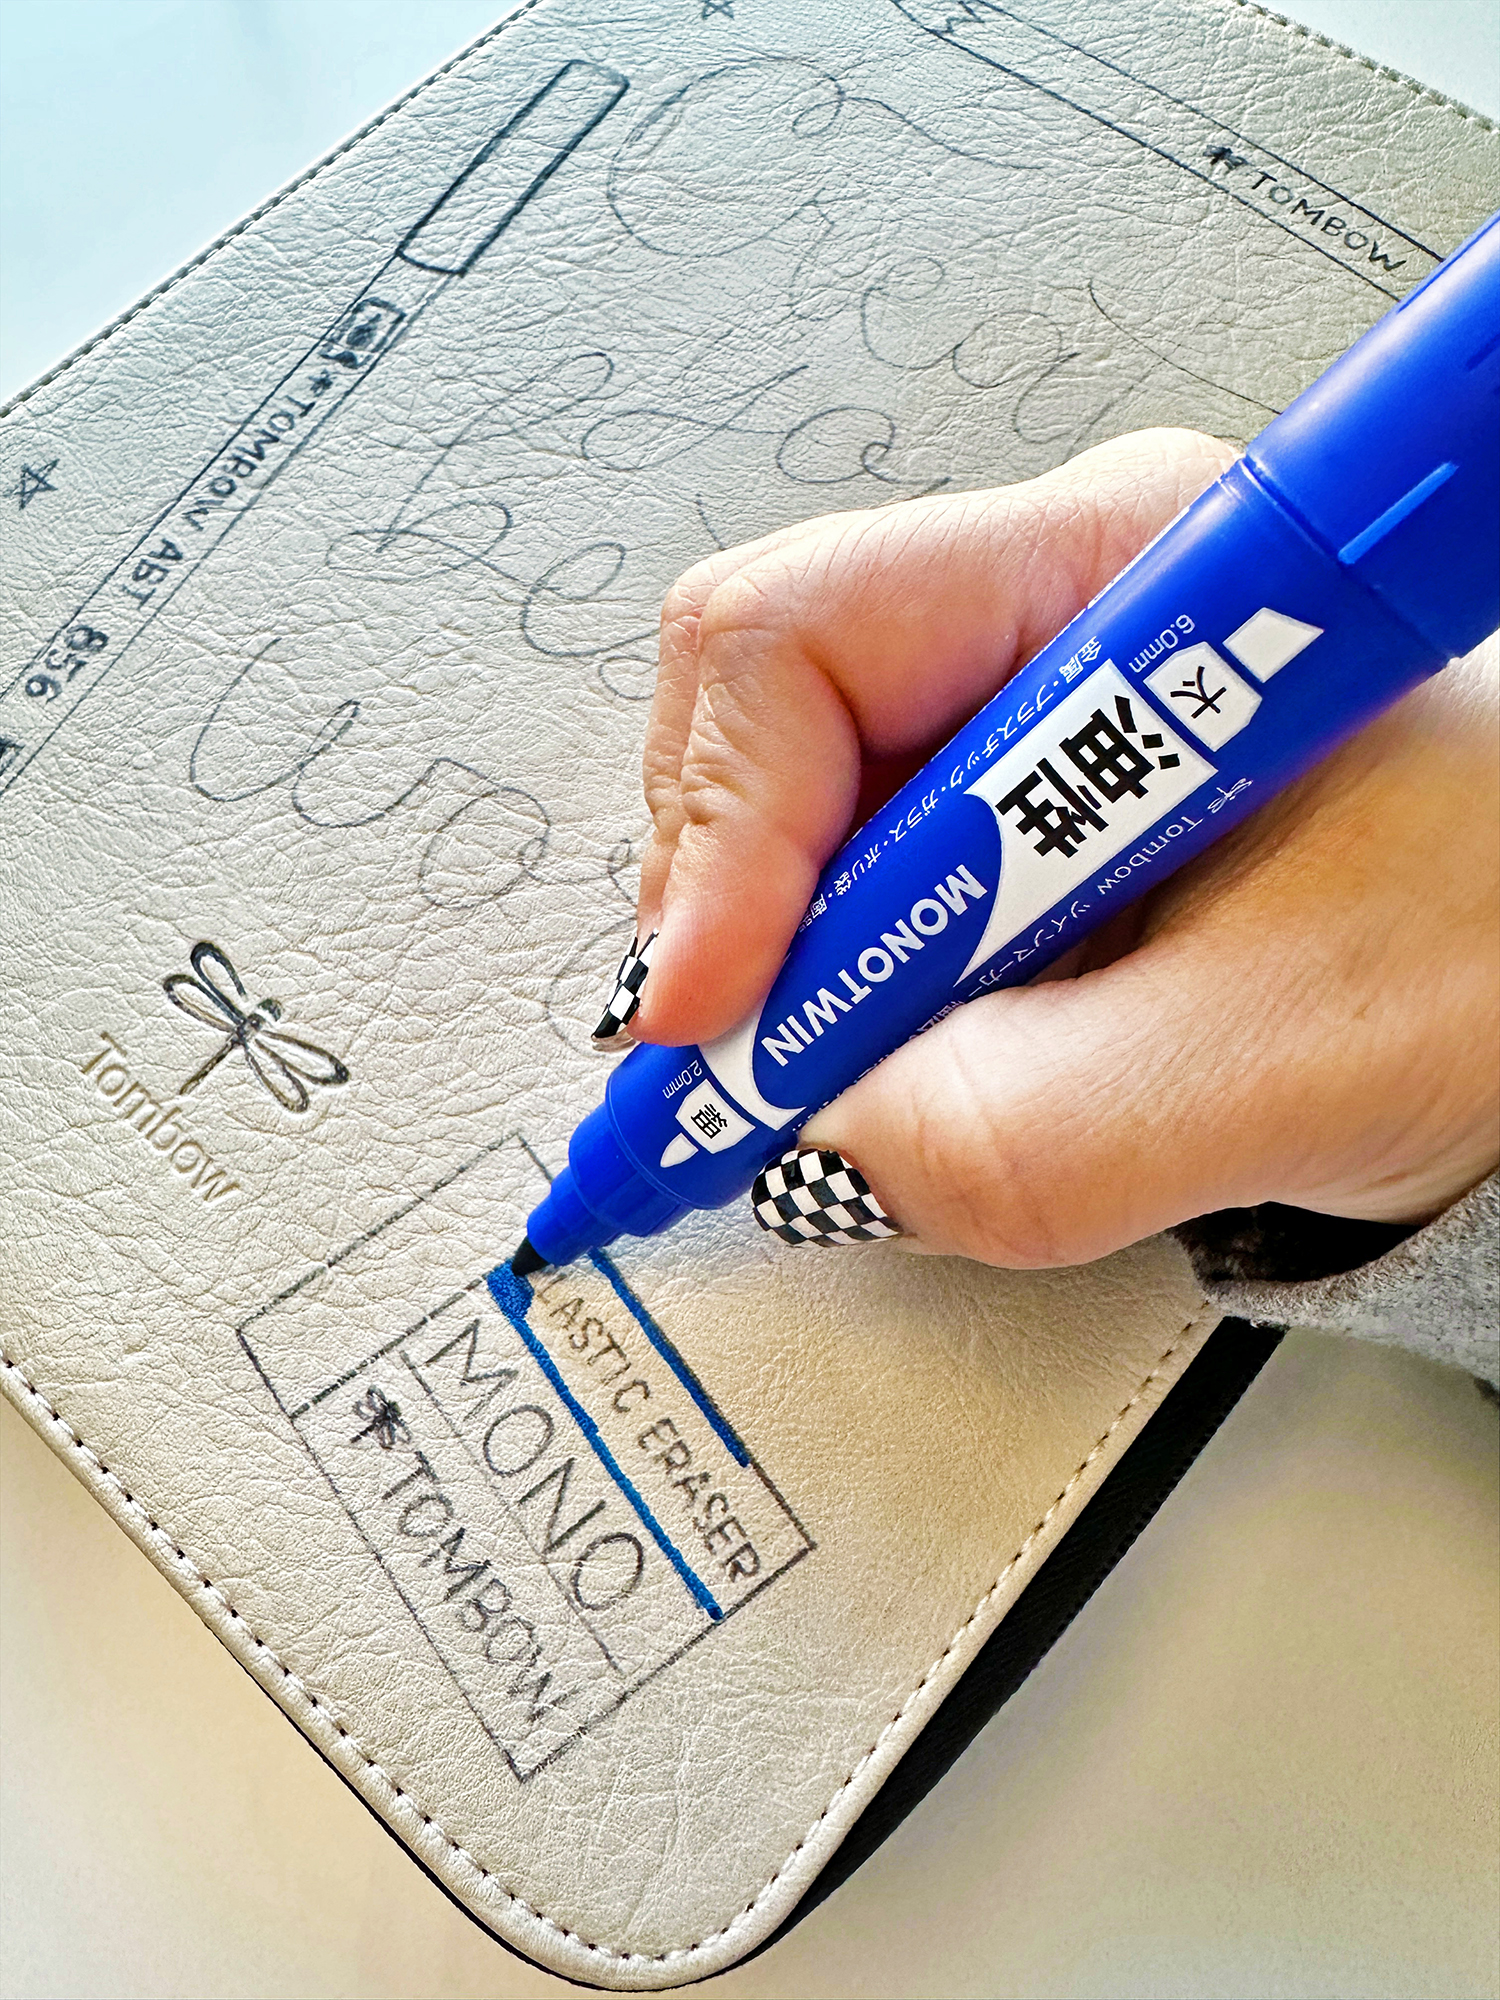
Before using black I used the Tombow MONO Twin Permanent Markers in blue and red. I only used the red and blue in three areas to create a visual triangle.
Step Four: Time for the Tombow MONO Twin Permanent Marker!
For smaller and thinner lines use the Tombow MONO Twin Permanent Marker. For the bigger spaces, use the Tombow MONO Twin Permanent Marker Fine & Chisel Tips.
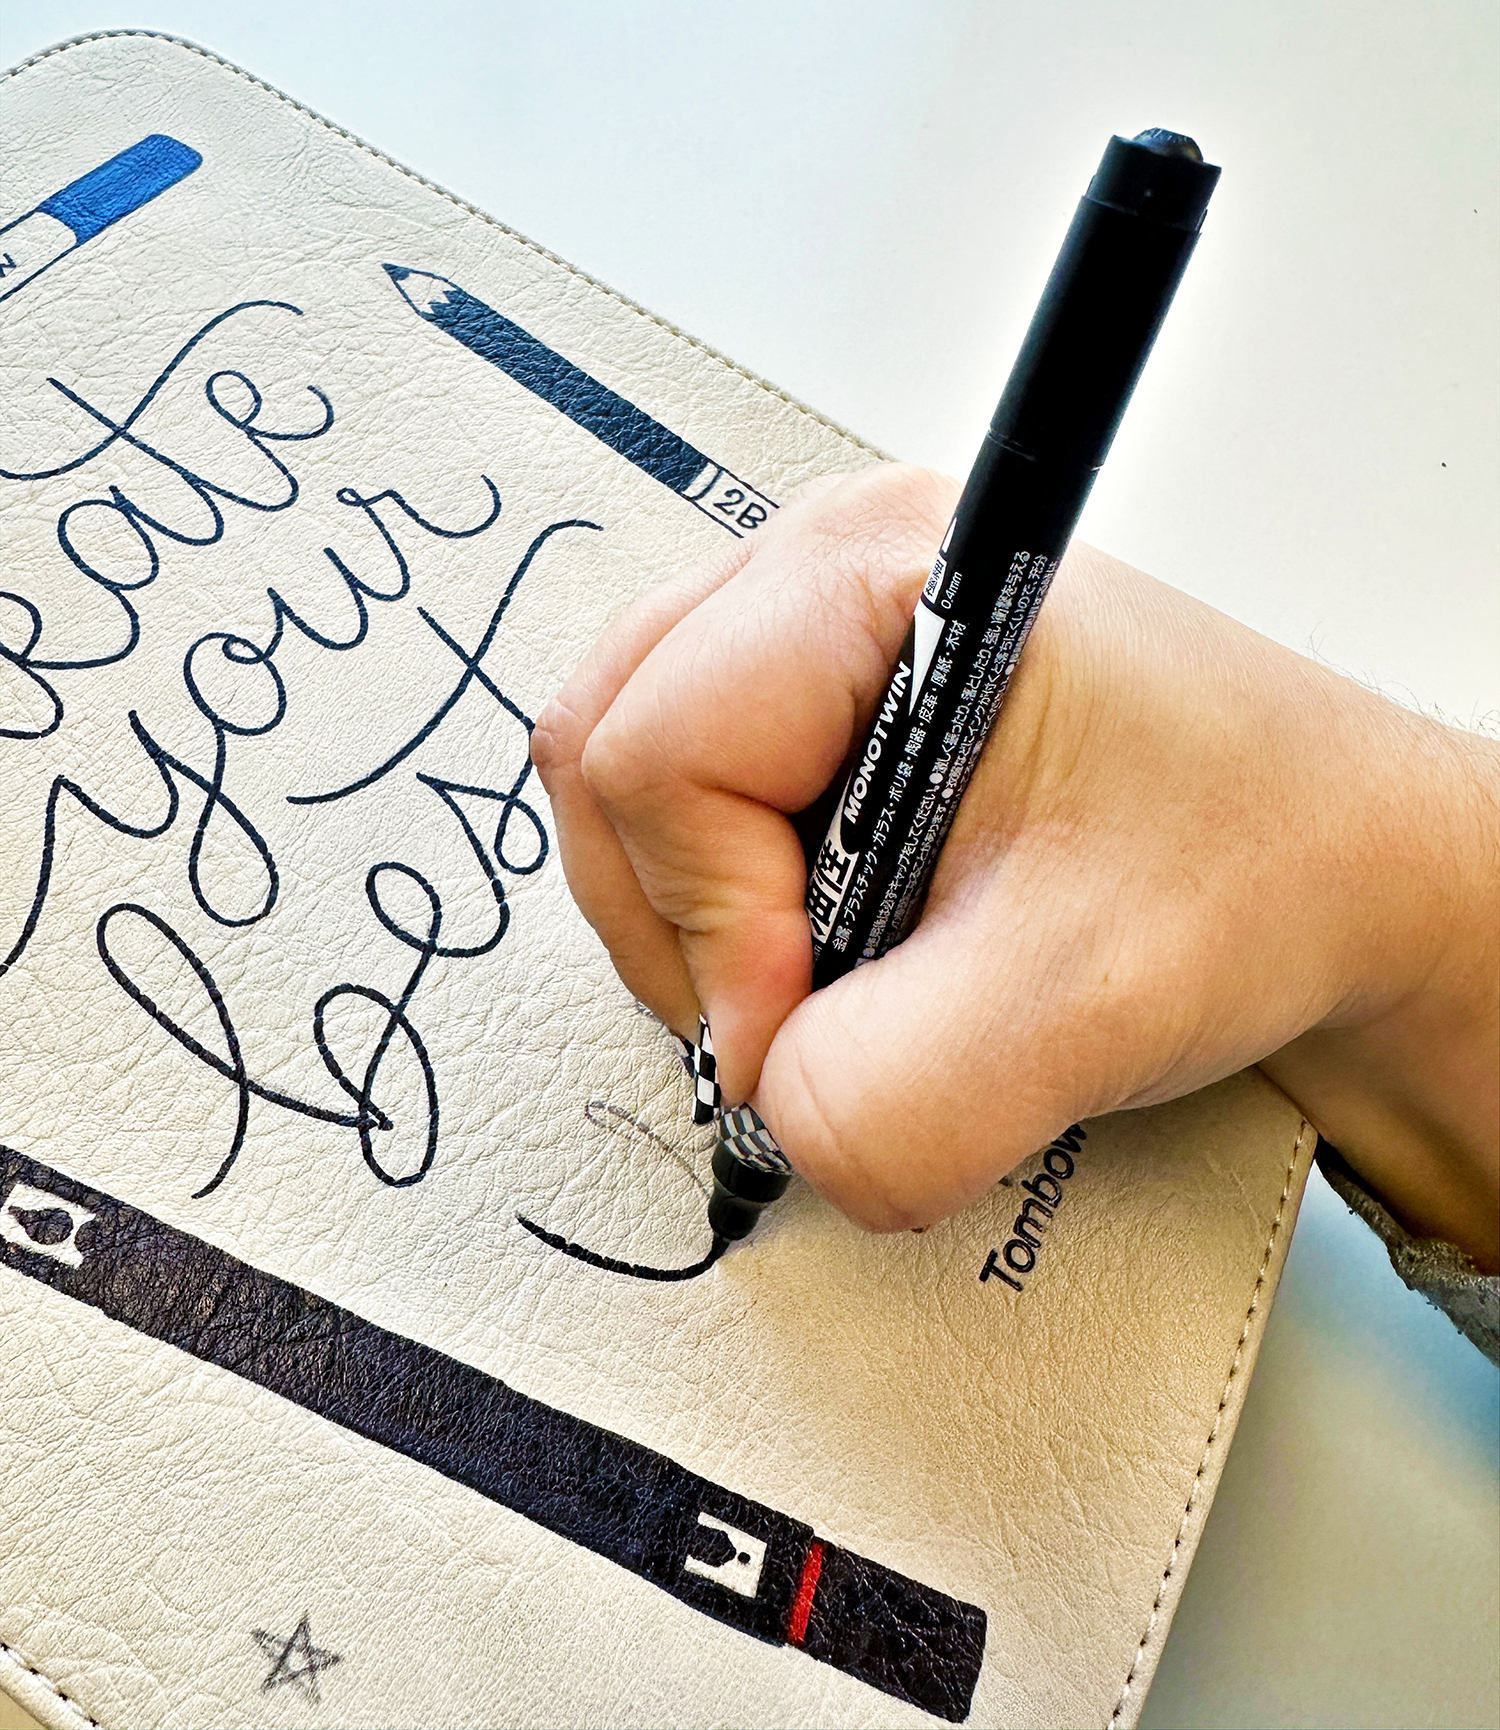
Add weight to the downstrokes like they should have when using a brush pen. Check out this post for lettering ideas.
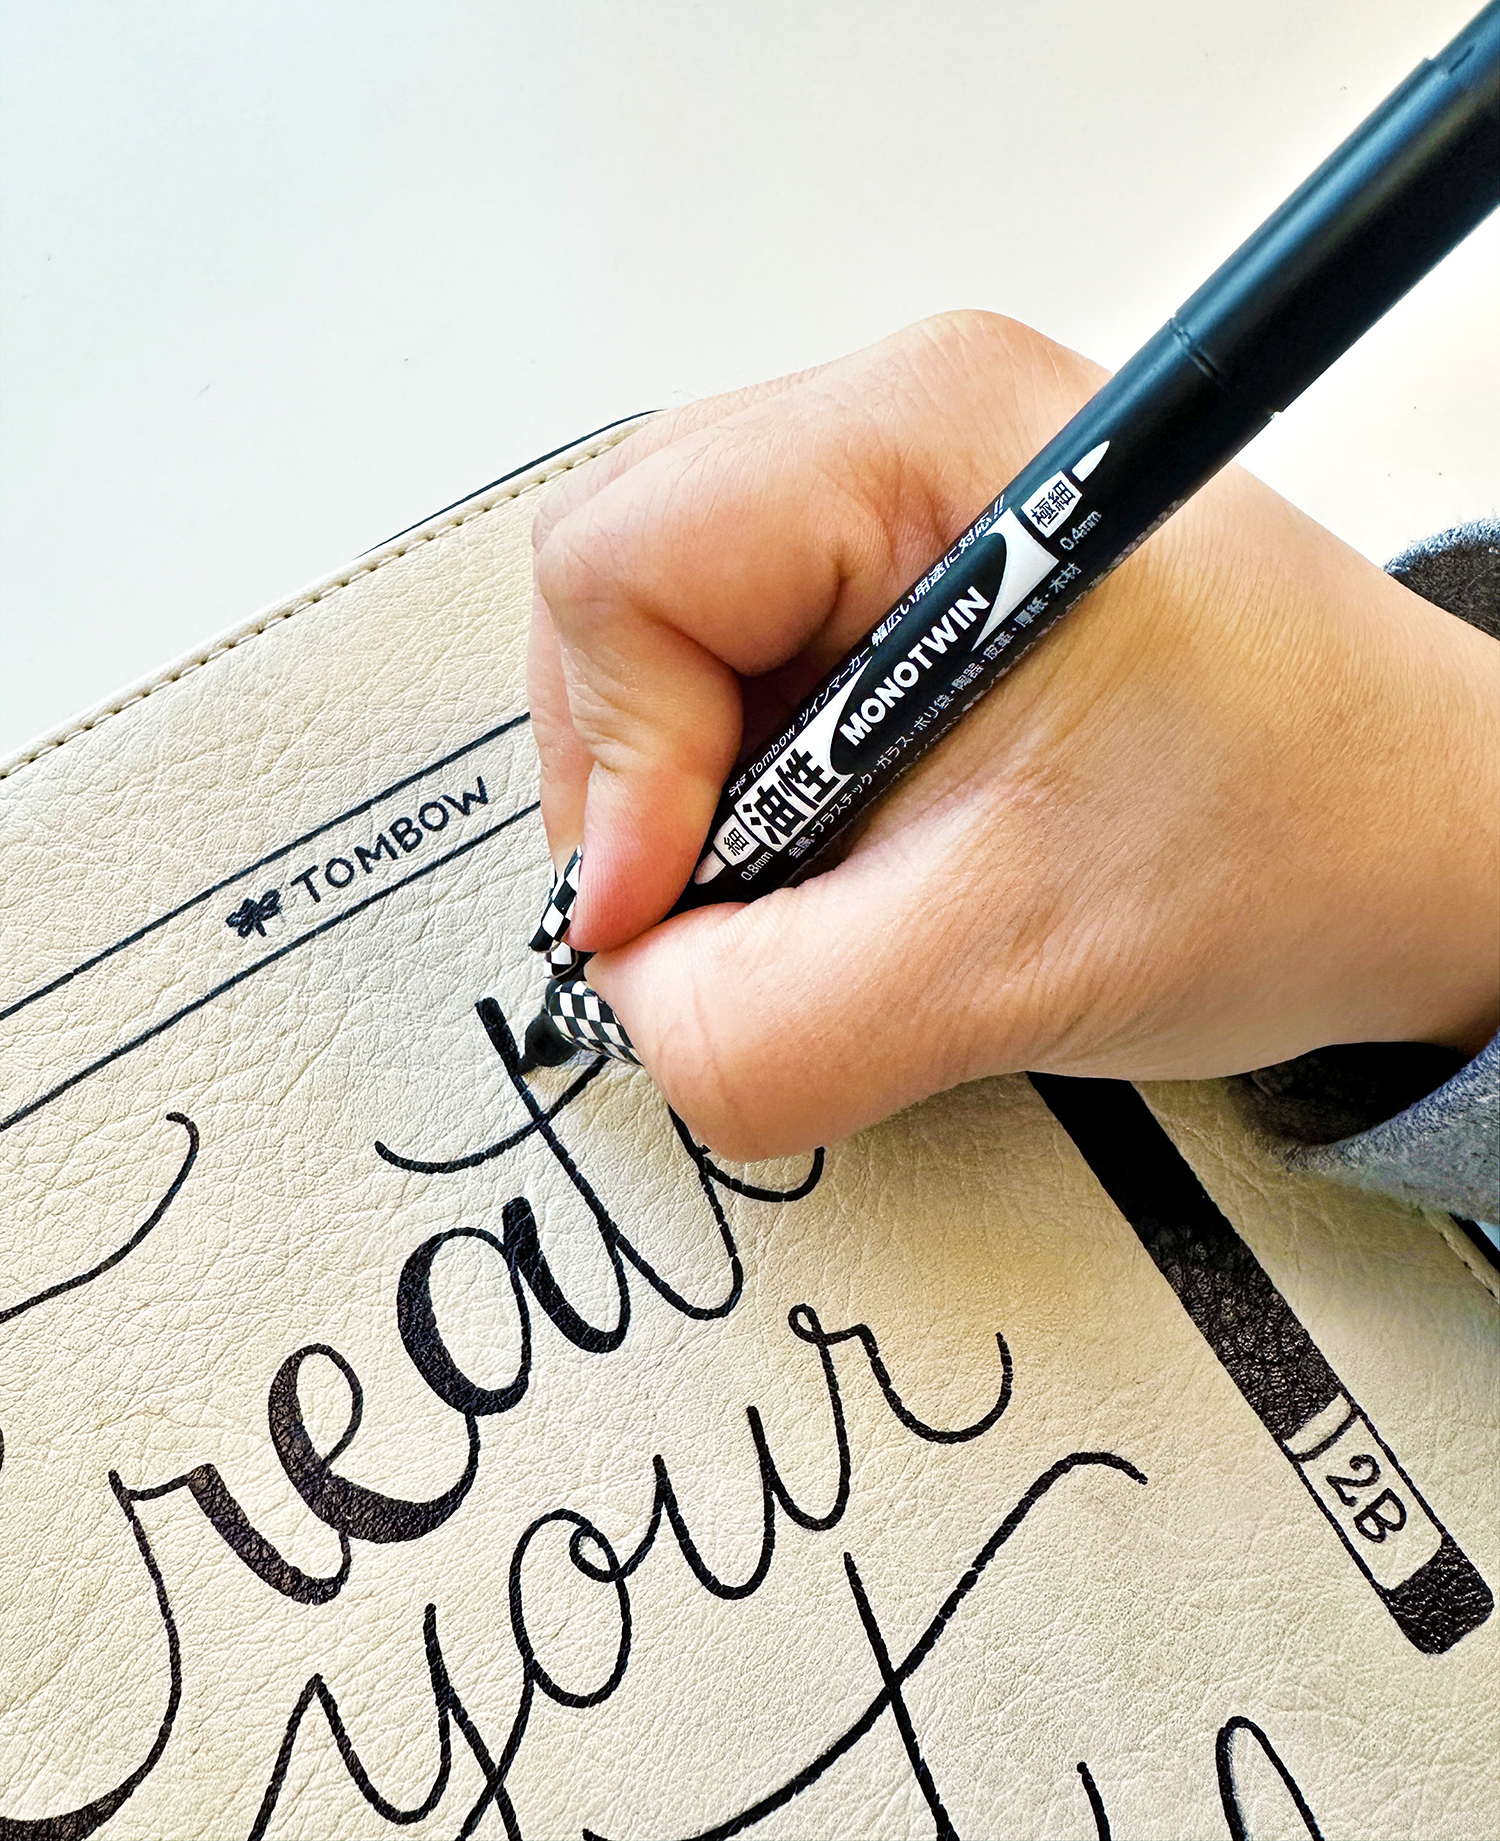
Use the fine tip of the Tombow MONO Twin Permanent Marker for small details and doodles. It comes in handy to color the logo.
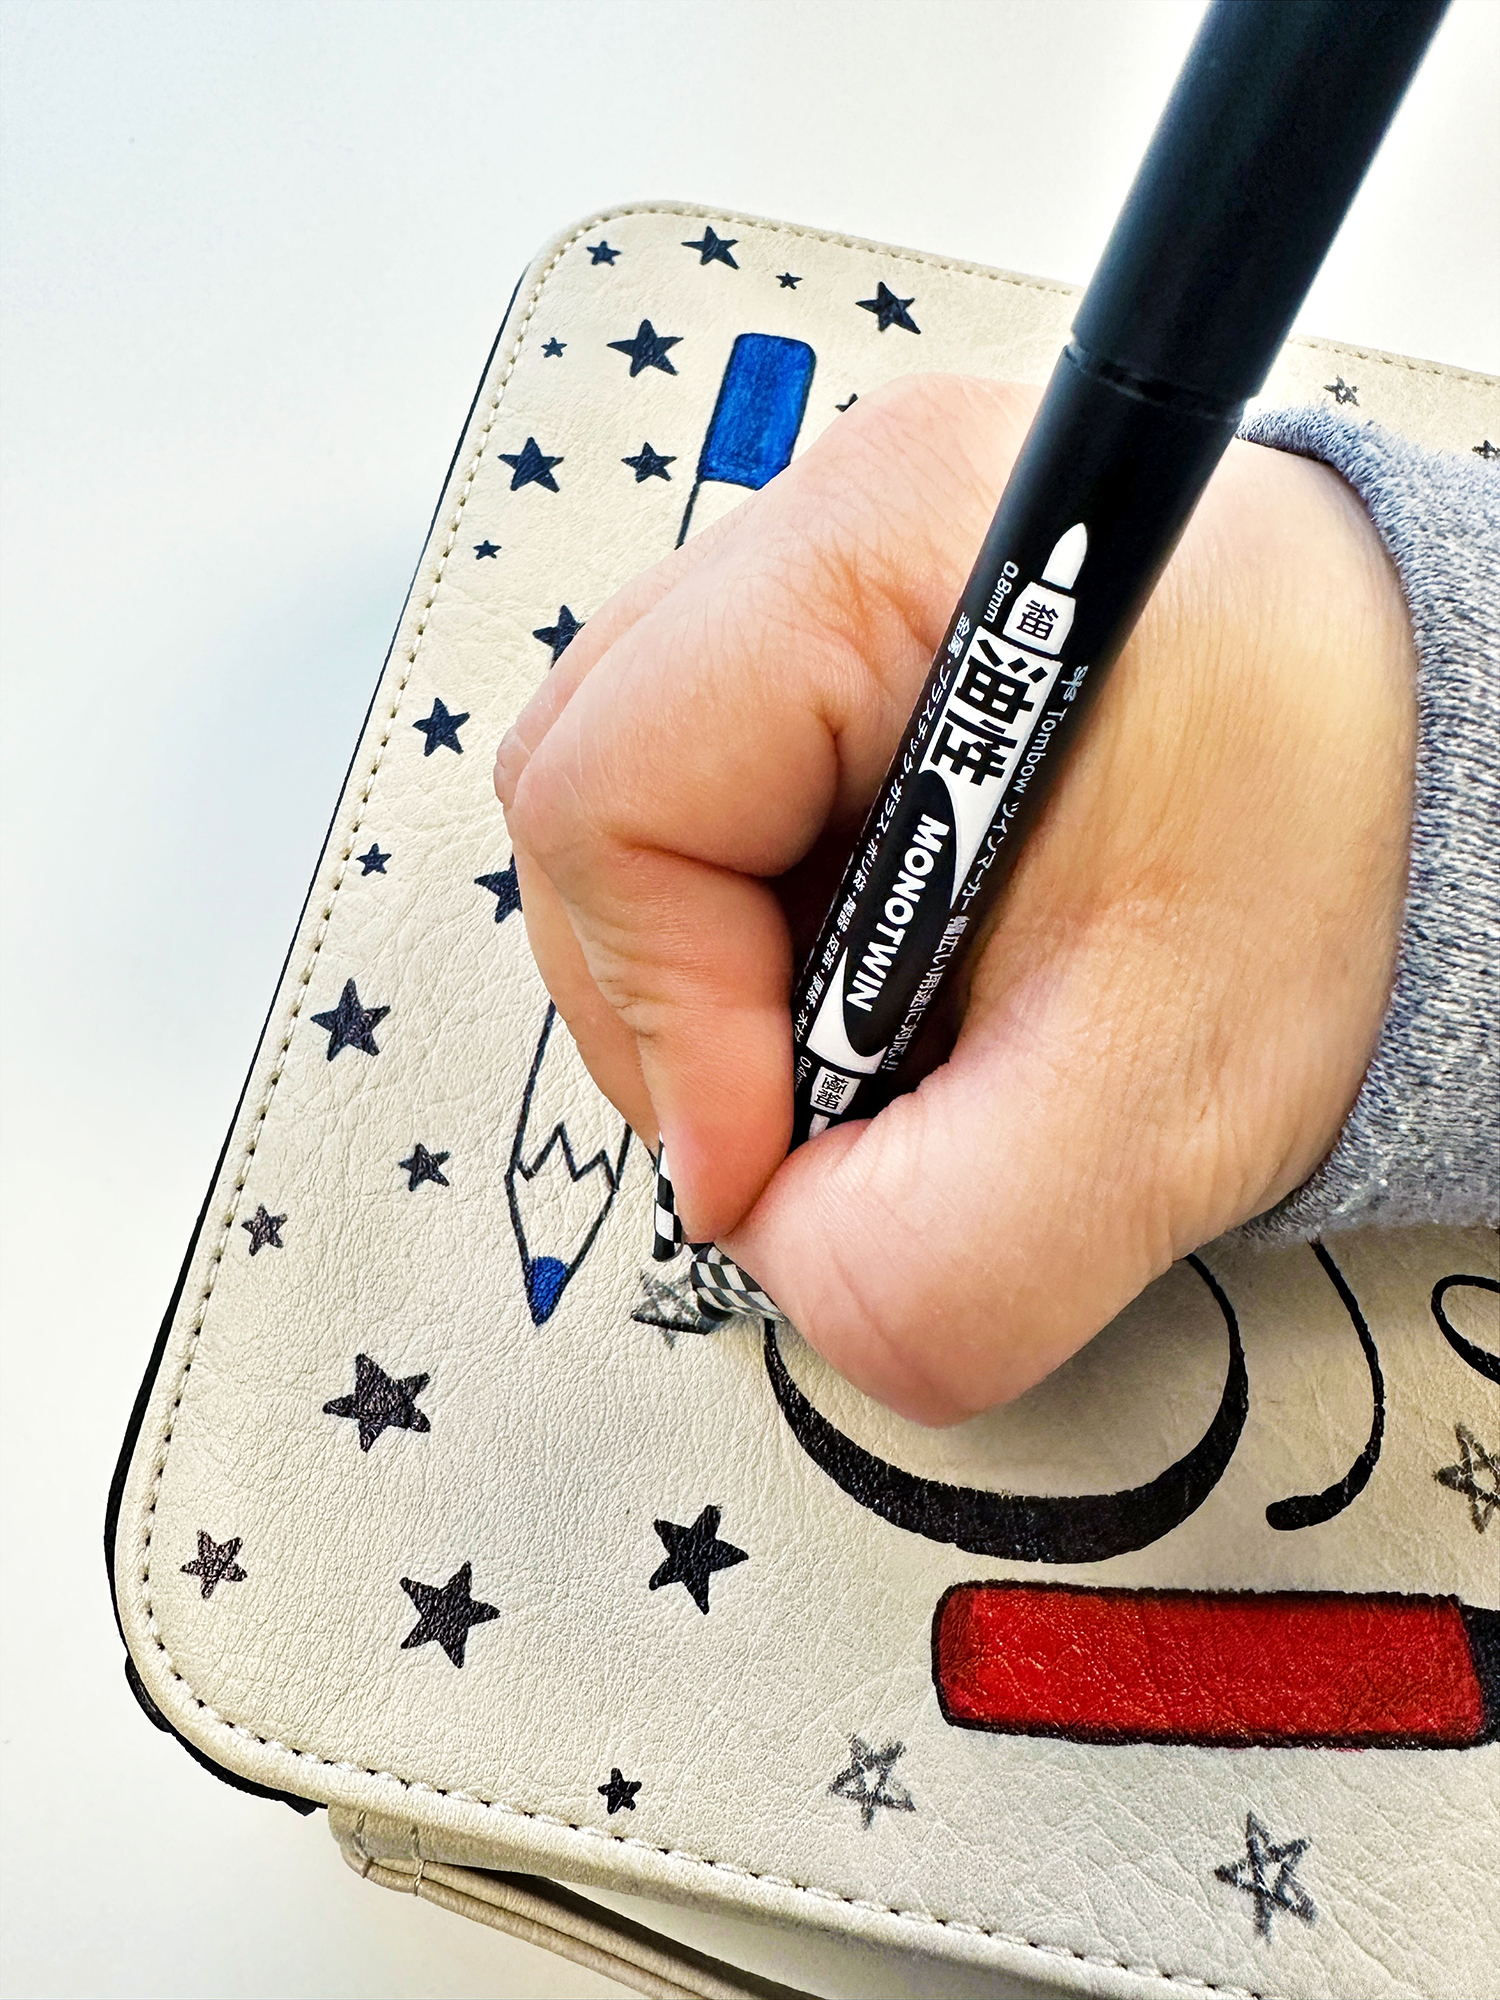
I kept adding little stars until I was happy with the result.
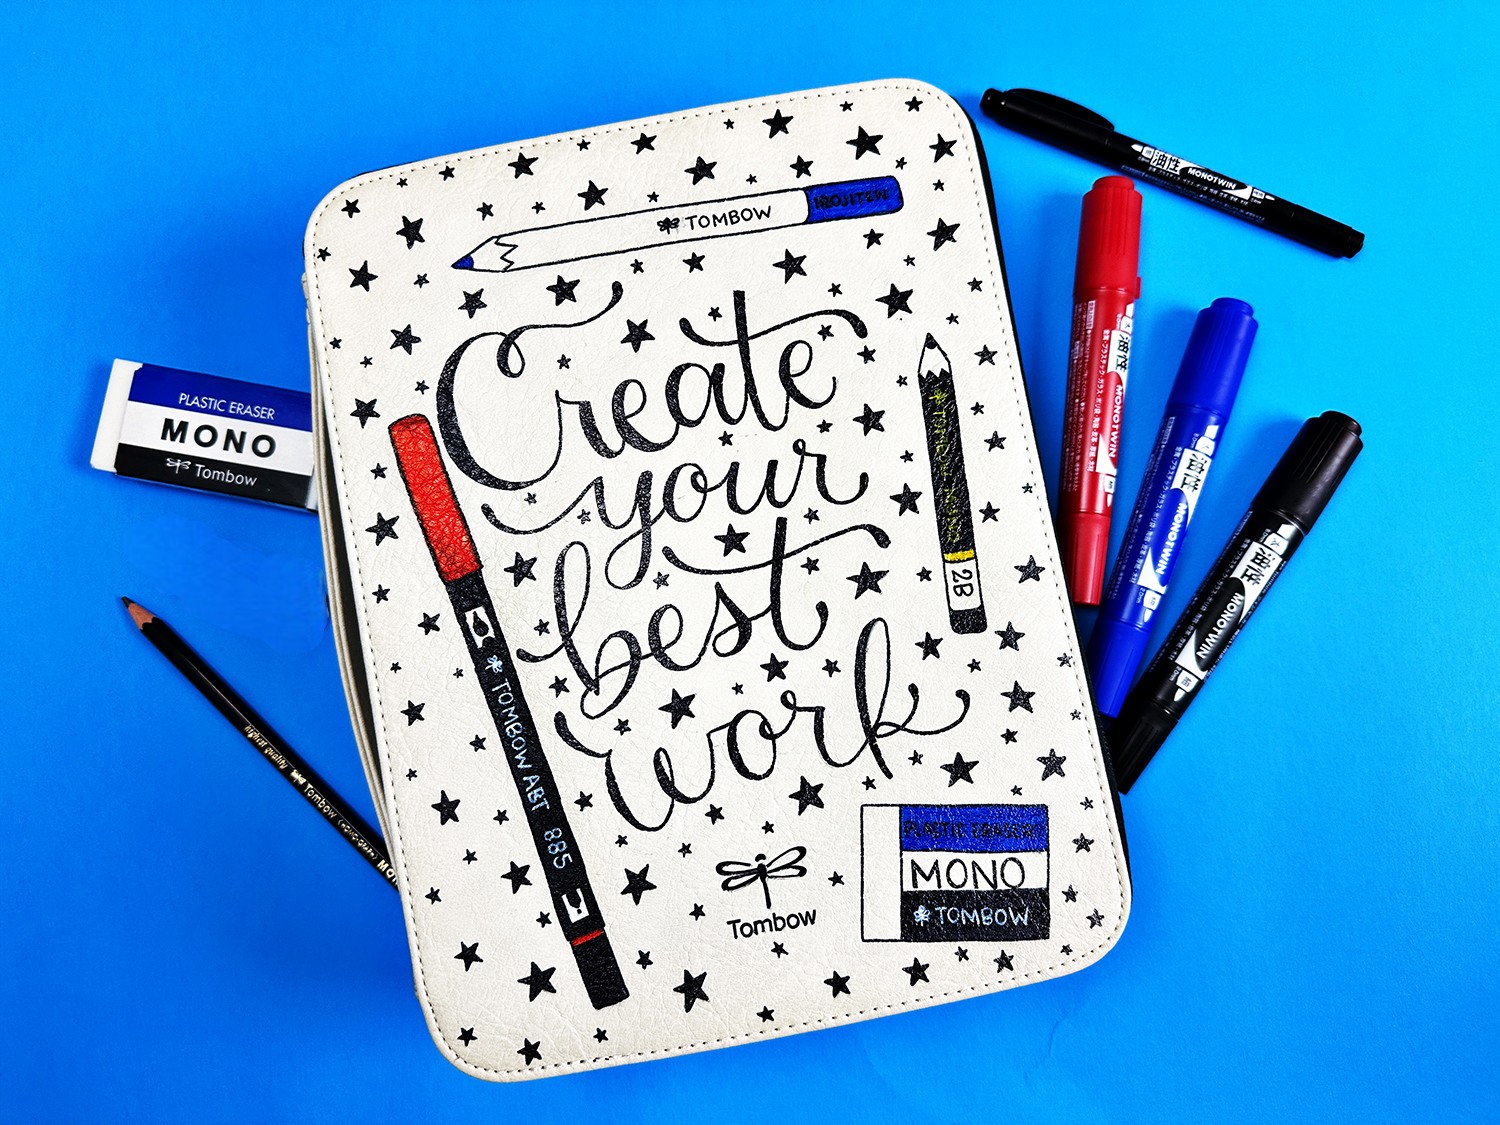
The Tombow Zippered Marker Storage Case is perfect for doodling in surfaces like faux leather, wood, rock, etc. Here are some good ideas for doodling!
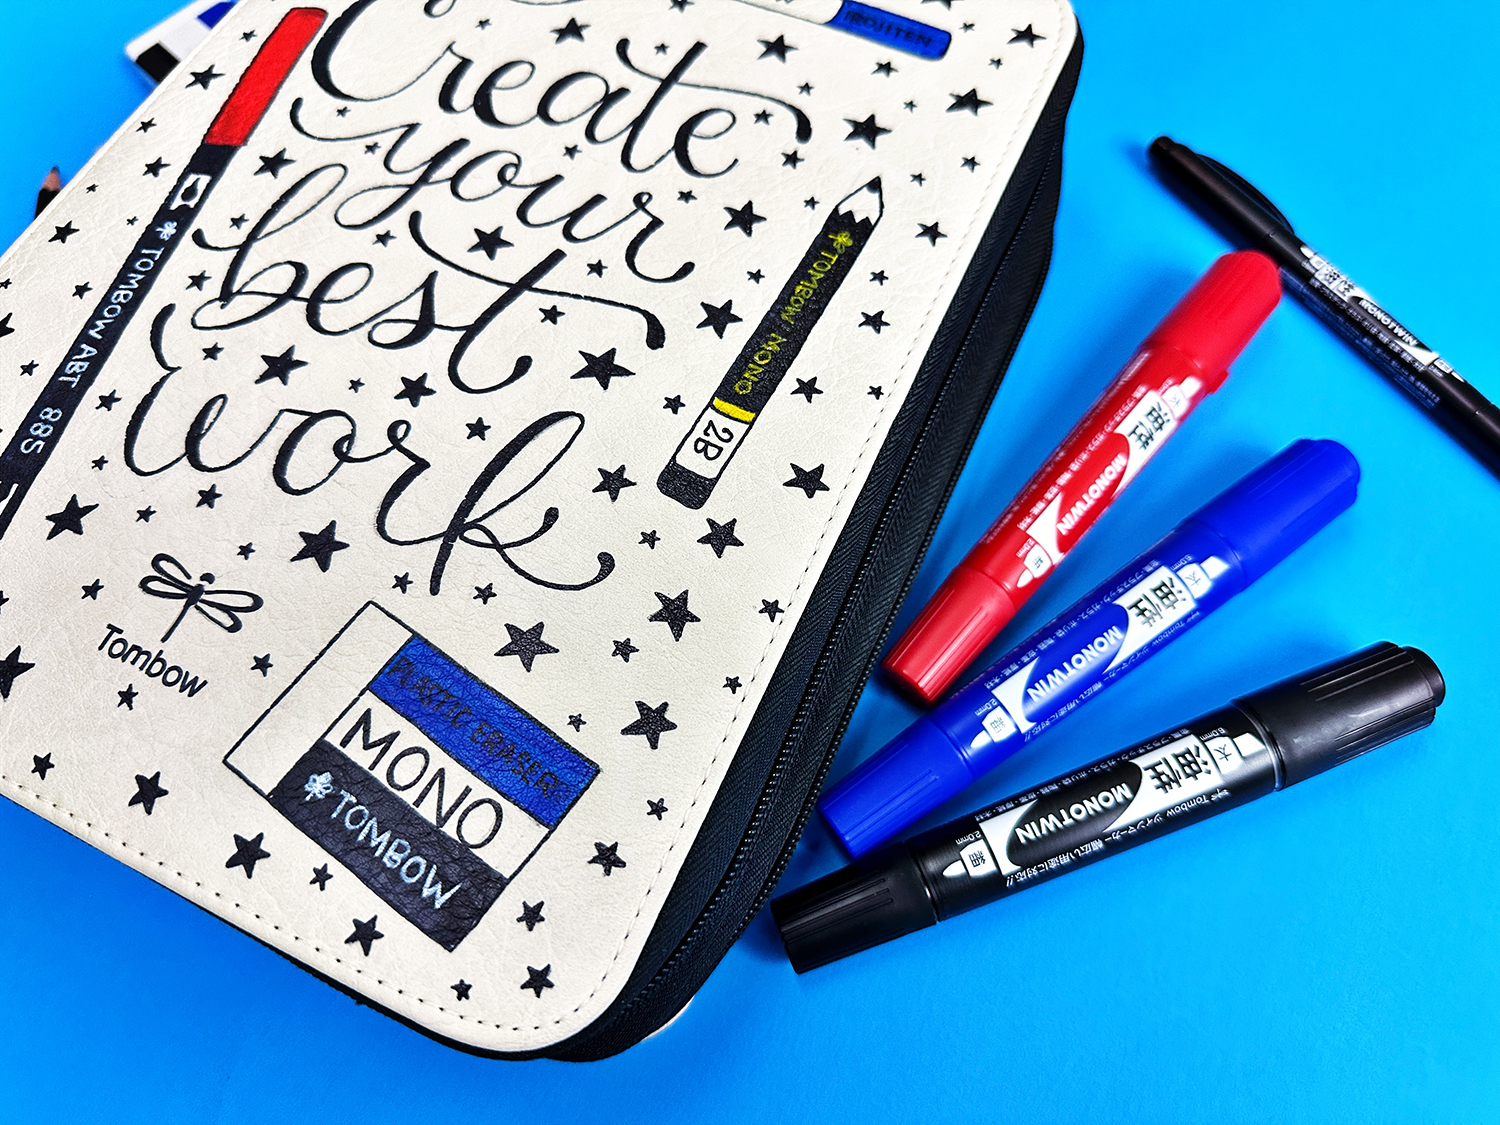
Show us how you customize your Tombow Zippered Marker Storage Case using the hashtag #tombowusa!