Hey Tombow! Sara here to walk you through how to make a DIY wedding gift idea. This can make an amazing gift for any couple or a fun keepsake for your own wedding memories. We had a destination wedding but this could be done for any location. Let your creativity run while with how many details you want to add. Use your wedding color scheme for inspiration on colors. Let’s get started!
Supplies:
- Dual Brush Pen Art Markers 10-Pack, Eighties
- Fudenosuke Brush Pen, Hard Tip, Black
- Fudenosuke Neon Brush Neon Pink 90
- MONO Drawing Pen 08
- Light tablet
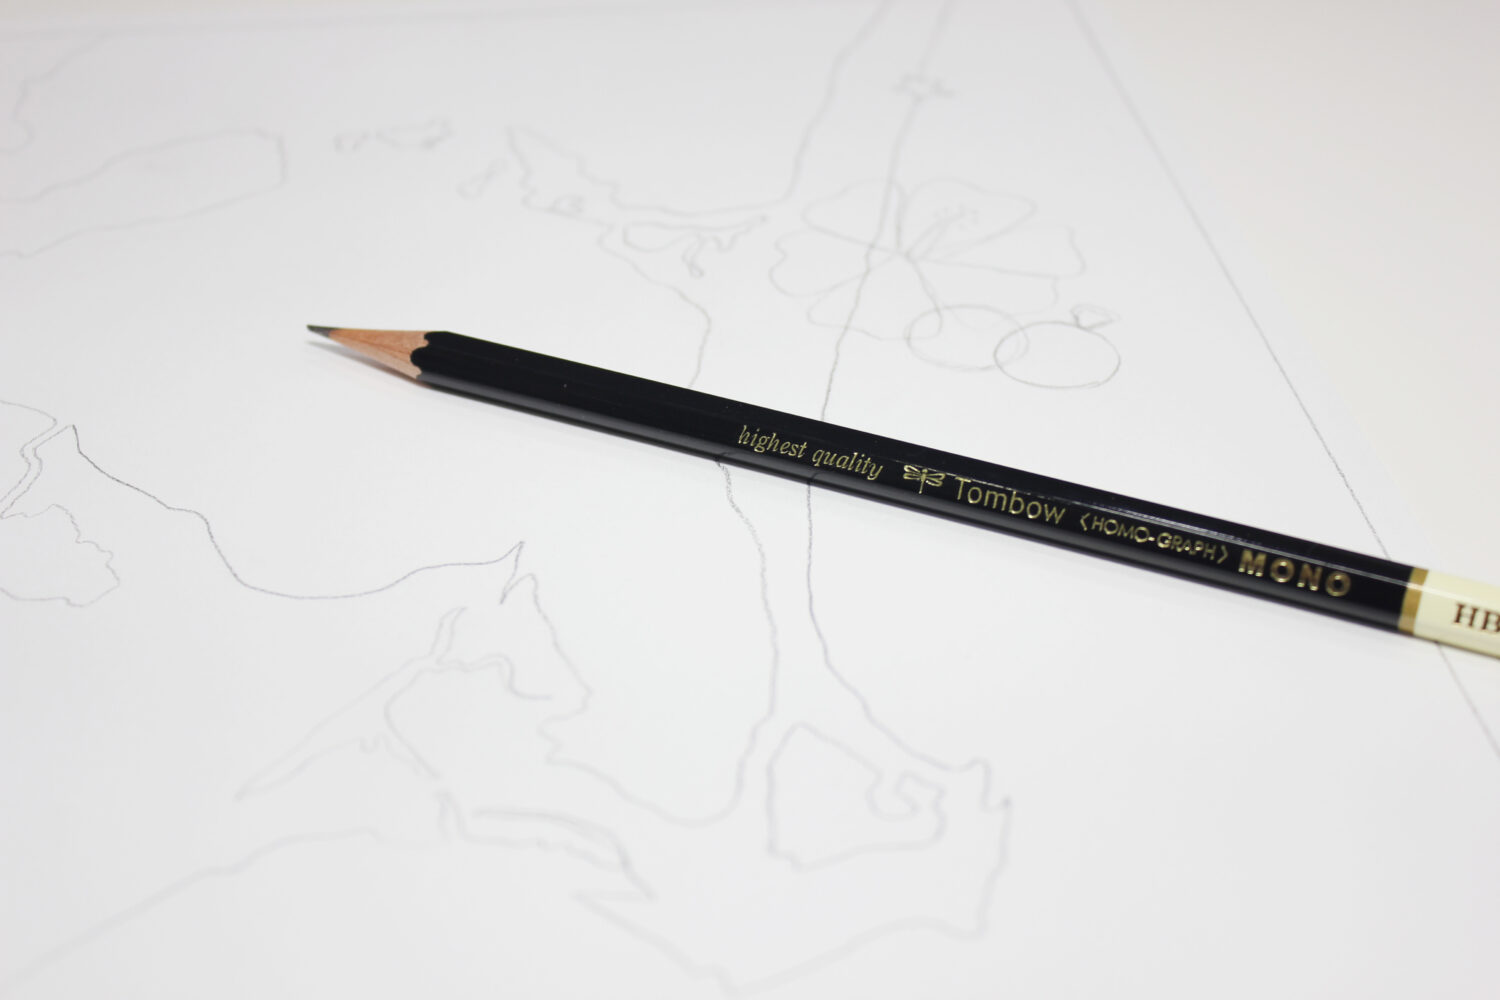
- MONO Drawing Pencil
- Paper
- MONO Knock Eraser, Blue
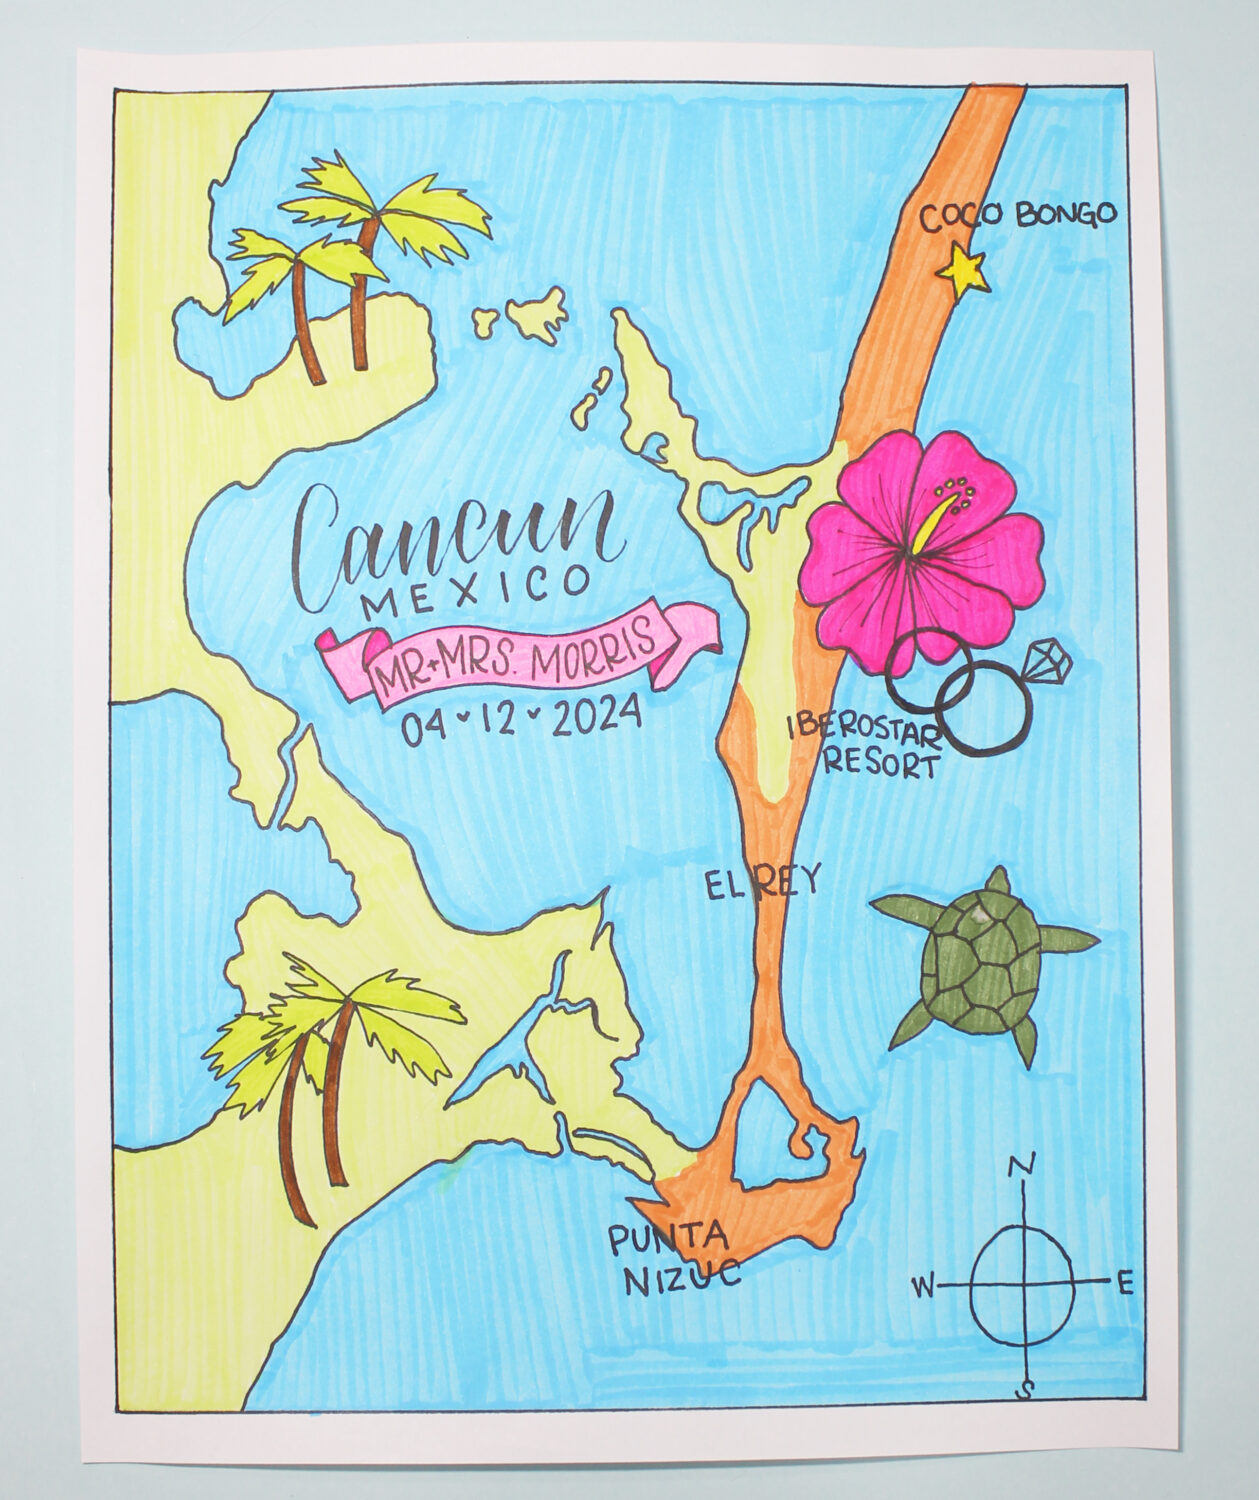
Step One: Start your DIY wedding gift idea by printing an 8.5×11 photo of the area you want to use for your map. I used Google Maps to zoom in on the location of our resort. Once the map is printed to your desired size, use a light tablet to trace the basic structure of the map with a MONO Drawing pencil. If you don’t have a light tablet, you can use an illuminated iPad or press your map and paper against a bright window to trace.
Step Two: After tracing the basic map structure, add additional details with a MONO Drawing Pen 08. Include elements like palm trees, a banner for names, a cute turtle, or anything relevant to the event or area. You can sketch these in pencil first if you prefer, but I find it simpler to draw directly with the pen to avoid retracing every detail.
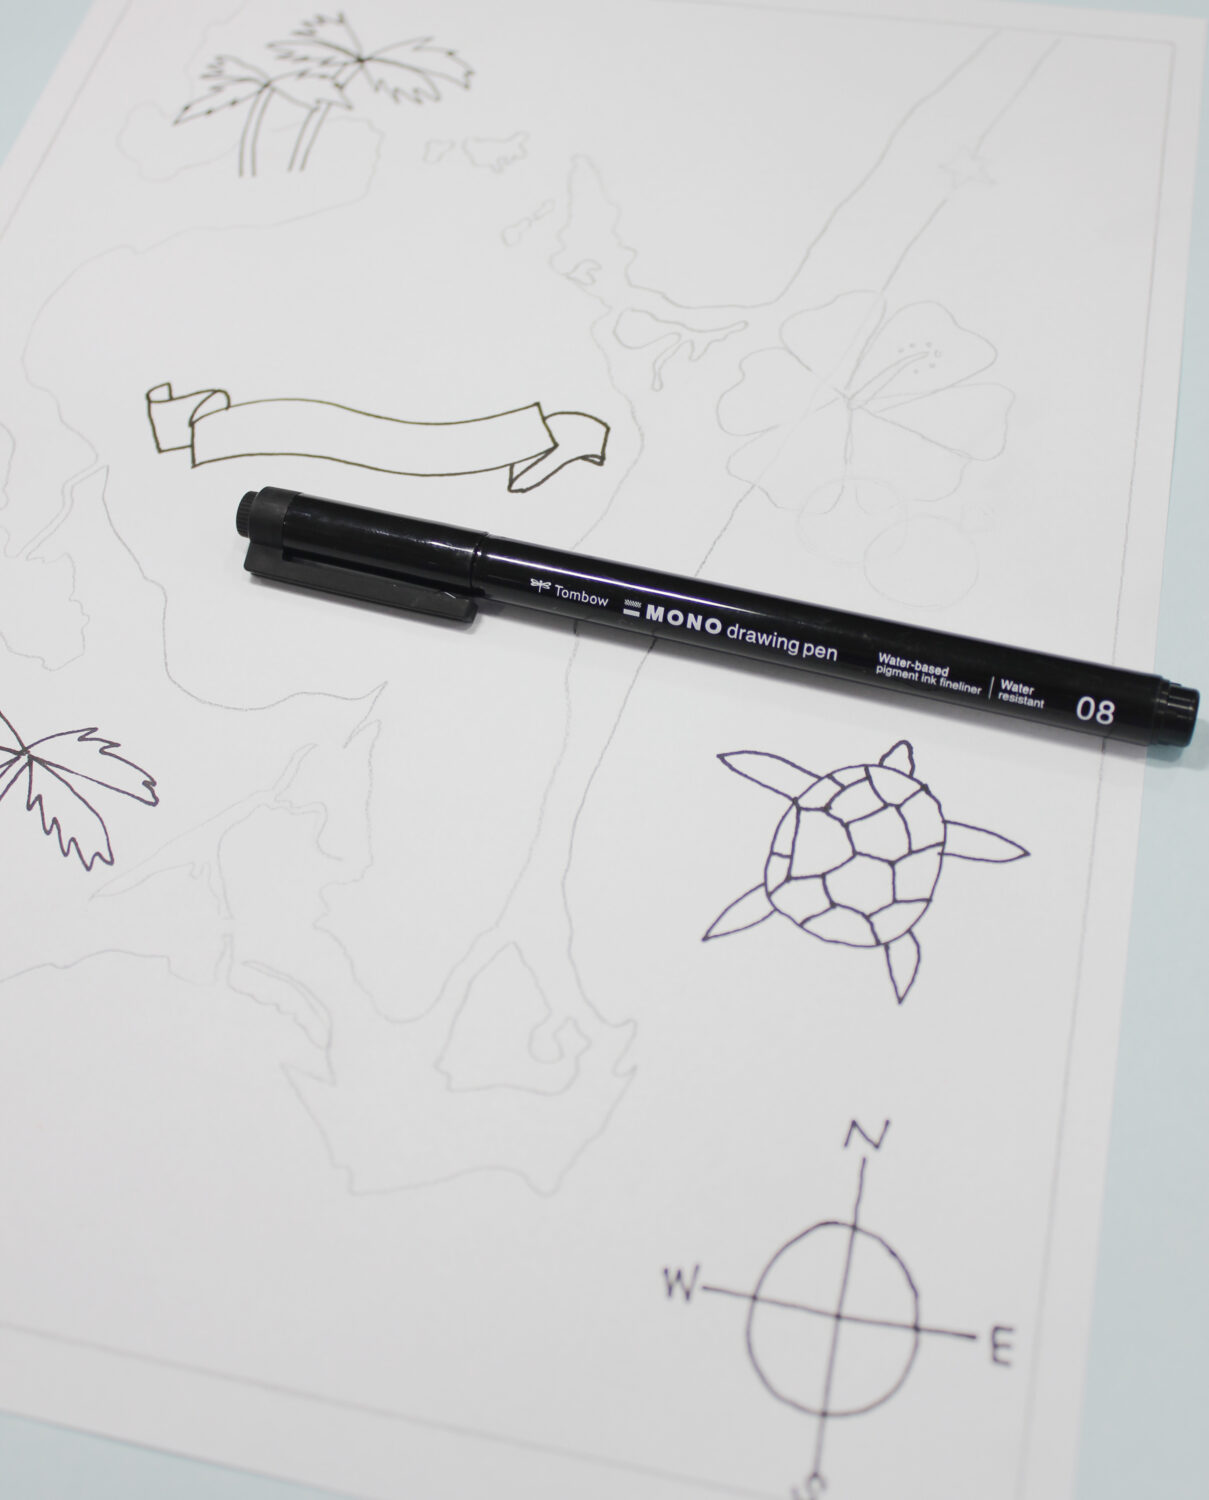
Step Three: Next, use the MONO Drawing Pen 08 to trace over the original map structure created in Step One. This step turns your map into a coloring page, ready for adding colors. Erase any stray pencil lines with a MONO Knock Eraser before starting to color.
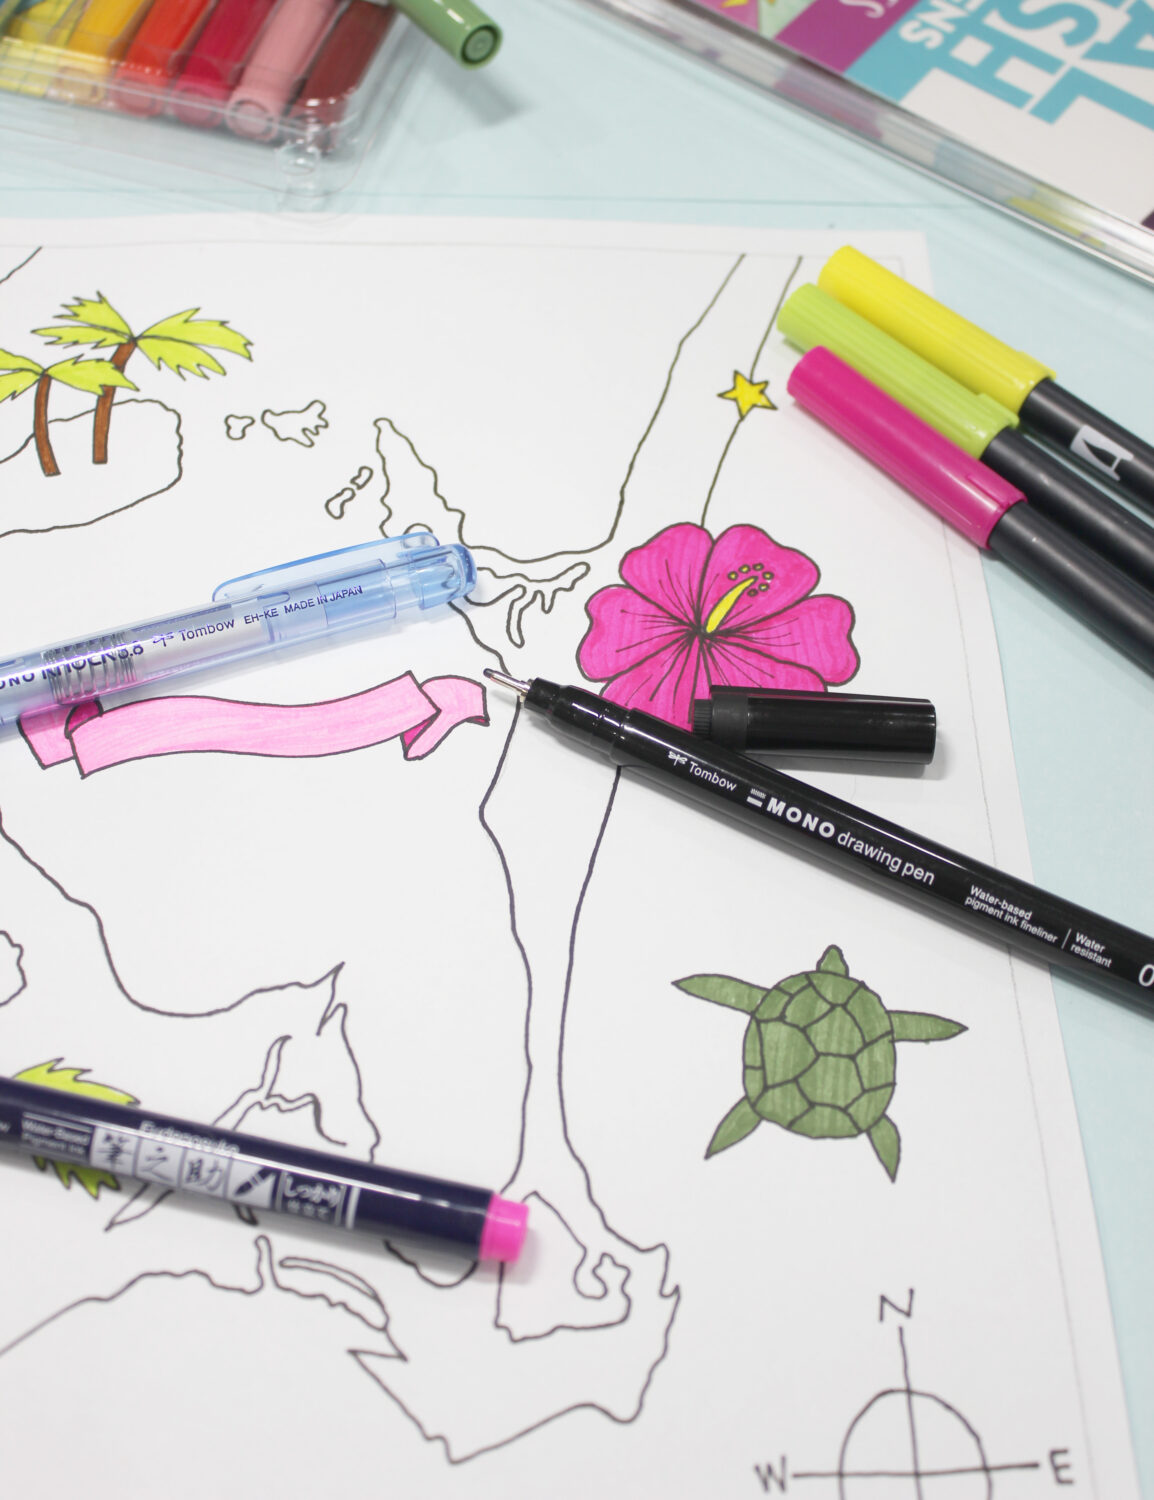
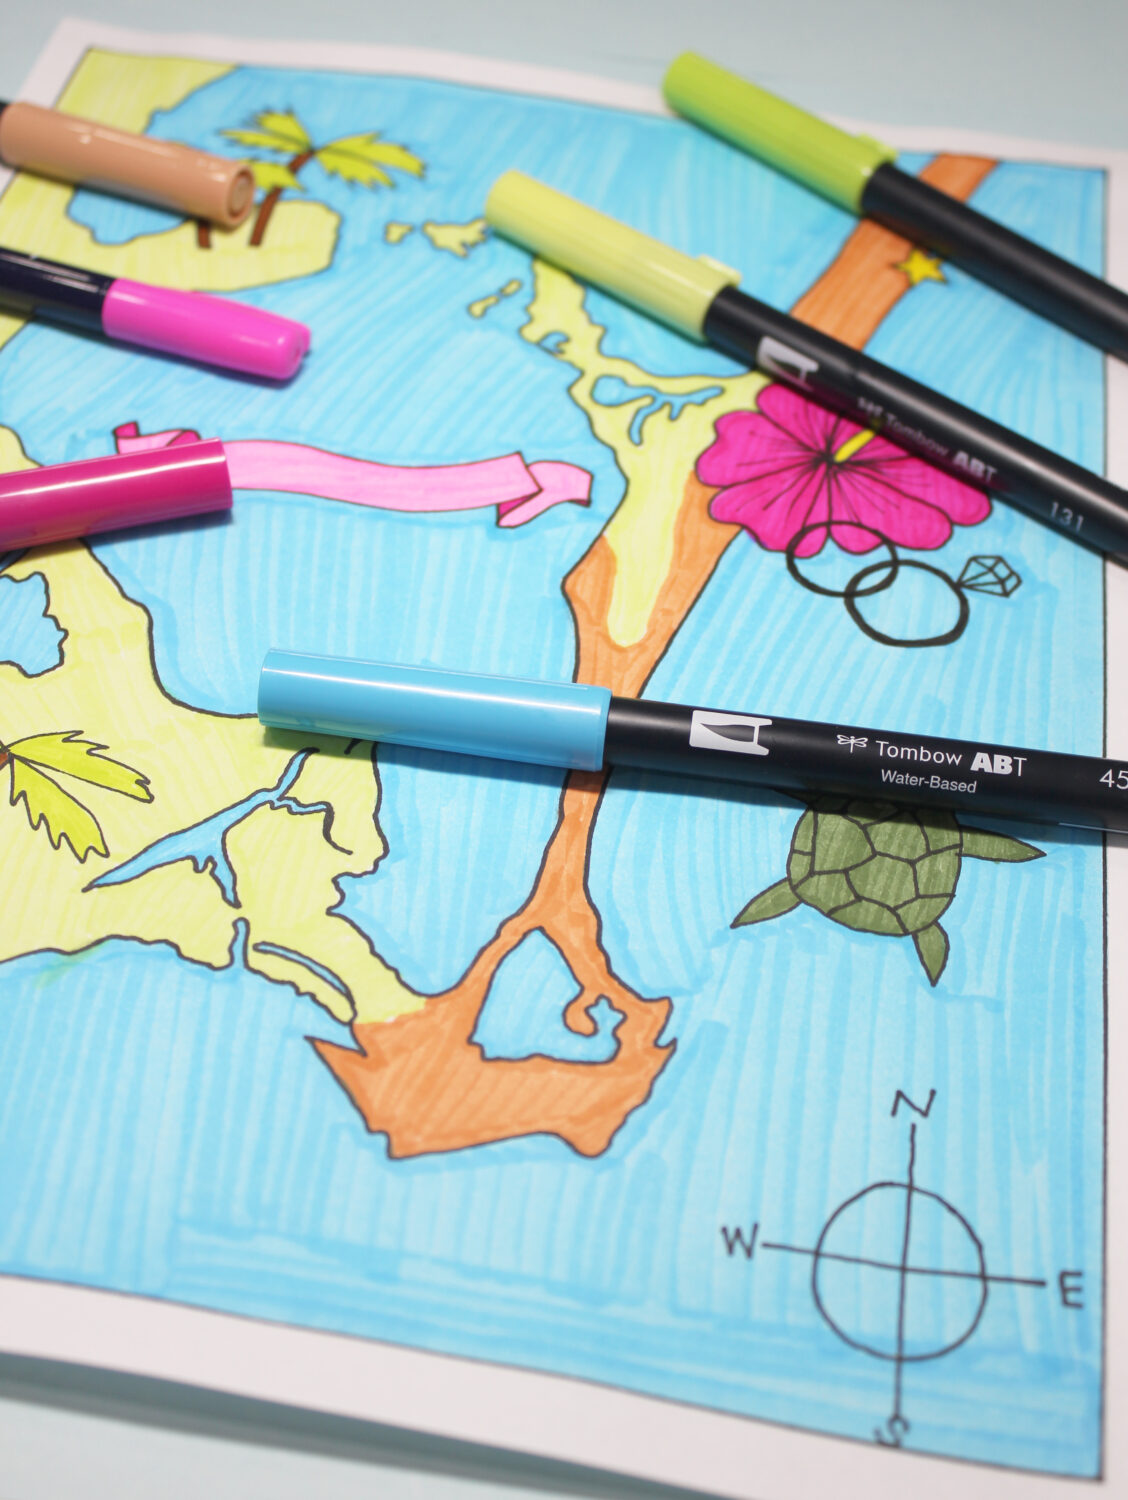
Step Four: Begin coloring your map like a coloring page. For this project, I used:
- Fudenoske Neon Brush Pen (bright neon pink) for the banner.
- 725-Rhodamine Red for the hibiscus flower.
- 133-Chartreuse for the palm trees.
- 443-Turquoise for the water.
- 131 Lemon Lime and 992 Sand (from the Seventies Dual Brush Pen pack) for the land.
Step Five: Once the map is fully colored, use the MONO Drawing Pen 08 and Fudenoske Brush Pen (hard tip) to add text. Write titles like “Cancún” in a script font with the Brush Pen, and include details like names, wedding dates, and surrounding cities with the Drawing Pen.

Final Touch: After completing your map, frame it as a display piece or a thoughtful gift for the happy couple. I’d love to see your creations! Tag me @sarahynesdesigns and @tombowusa in your posts.
Happy creating!