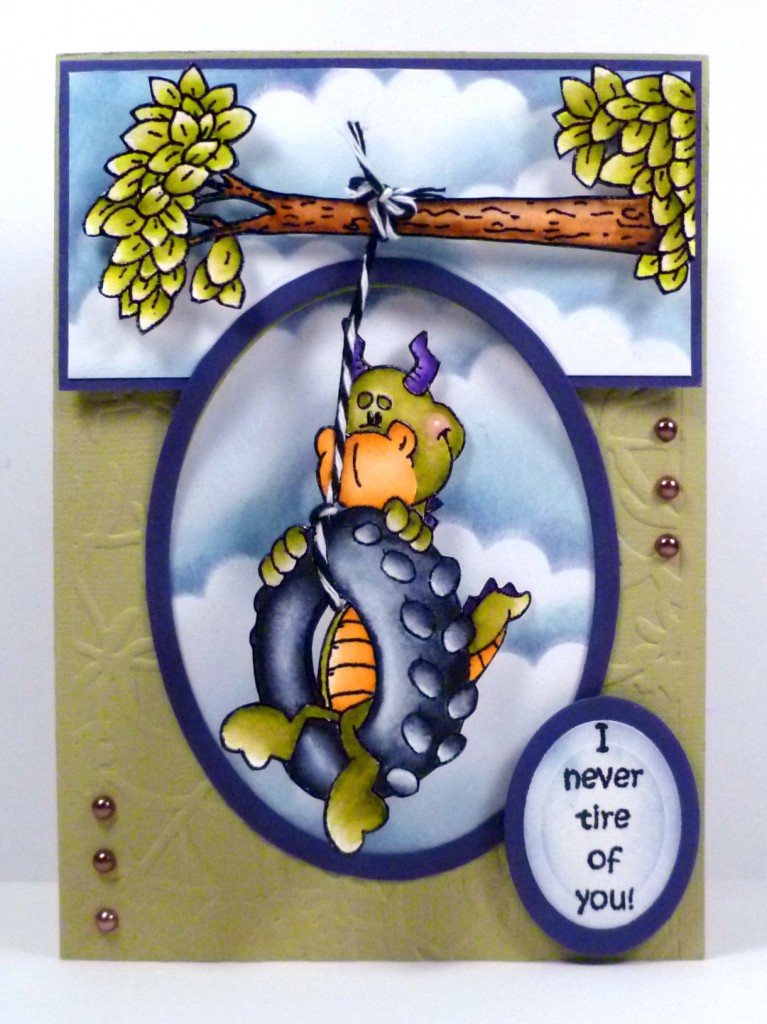
I have always had a fascination with moving cards, creating them whenever I can. Whether it slides, jiggles, swings, teeters or spins the reaction from the recipient is the best part of it all!!
Instructions: Cut green card stock 6”x 8 ½” and score at 4 ¼” to form the card. Emboss the whole card with the CB floral screen embossing folder. Using the large oval nestability I cut a hole in the center of the card approx. ¾” from the bottom in the card front. I cut a large oval from the purple card stock and before removing it from the die I traced around the die with a pencil and hand cut the thin frame. Cut a piece of purple card stock 2 1/8” x 4 1/8”. Lay it on the card where it is to be placed and from the inside draw the part oval and hand cut this piece out.
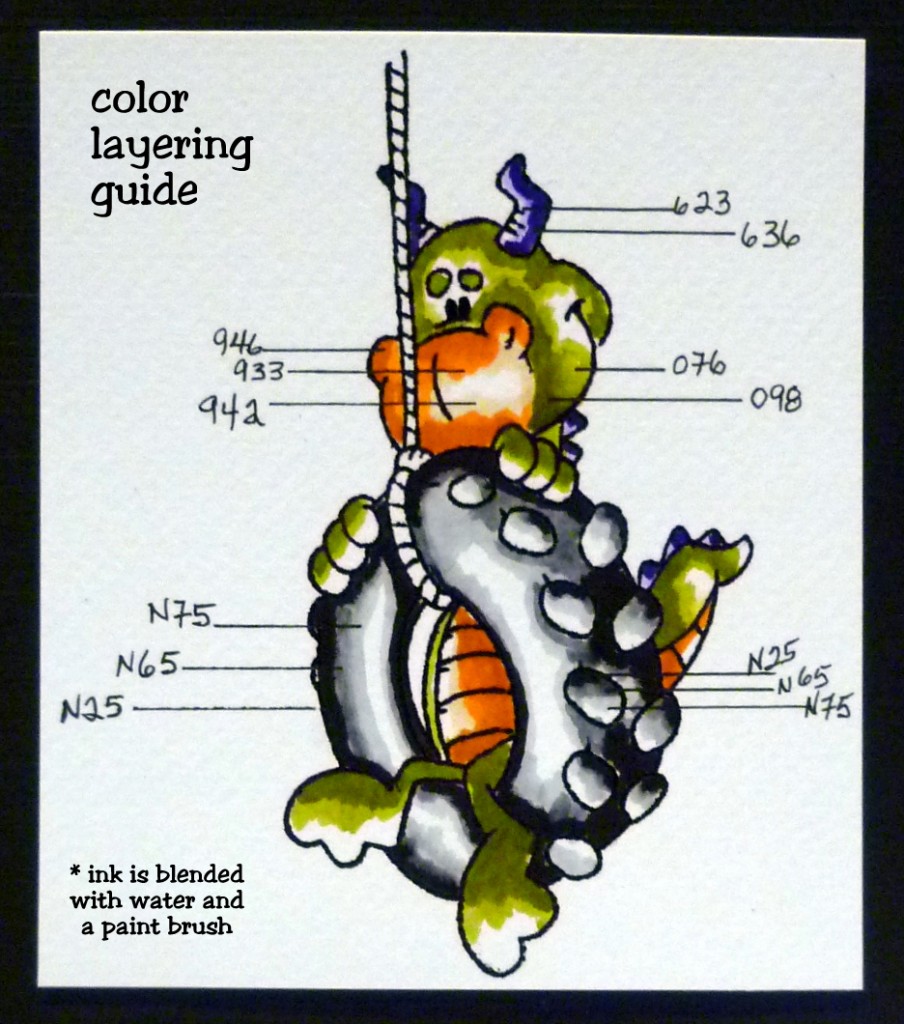
I stamped and embossed the images with black EP and painted them with Tombow Dual Brush Pens, paintbrush and water and cut them out. I cut a length of bakers twine approx. 7” long. Starting at the tire I adhered the twine to the rope on the image with a very fine line of the liquid glue making sure I have enough twine to wrap around the tire and back behind the dragon and enough to wrap around the branch at the top also. Glue the twine all the way up the rope on the image. Wrap the top of the twine around the branch judging the dragon in the center of the oval and tie around the branch. I used the Tombow small Foam Tabs for the back of the branch and when I had the right positioning of the dragon I adhered the branch to the clouds. Fold the twine around the tire and adhere it to the back of the dragon with tape.
The dragon will now swing from the branch!!
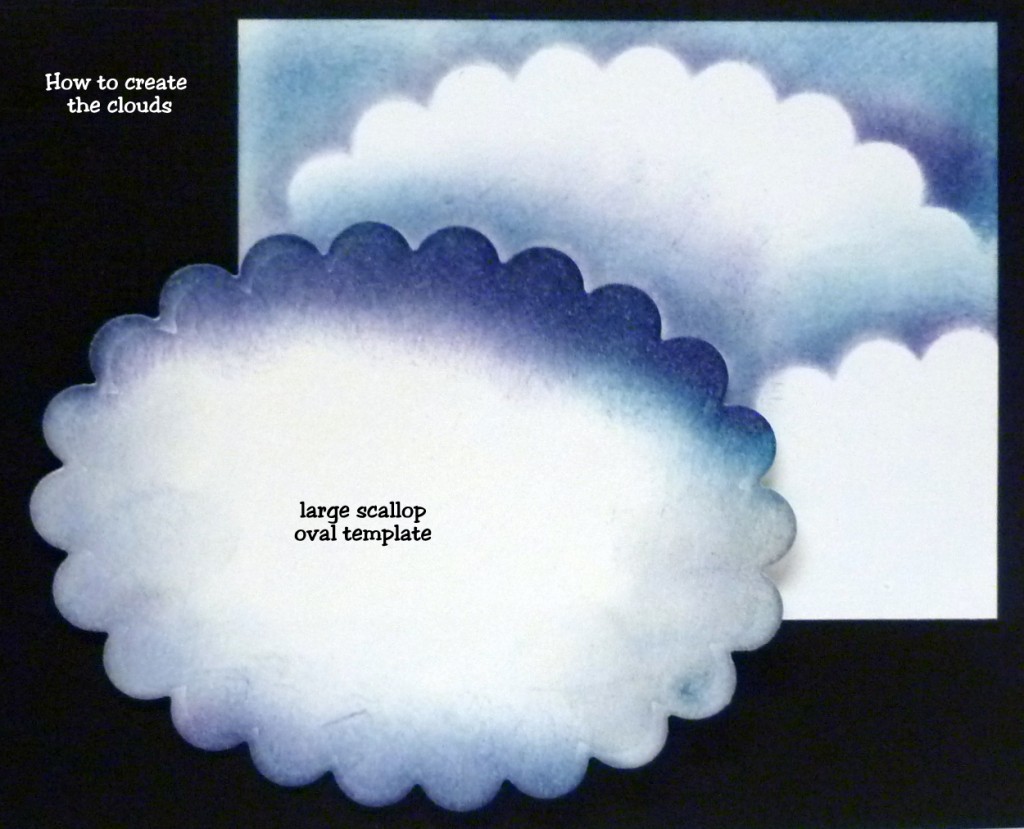
I used 2 pieces of plain white card stock cut at 4” x 6” and 3 x 4 ½” I cut out a large scallop oval nestability for my cloud template. With a sponge dauber and faded jeans distress ink I lightly sponged around the scallops moving the template to different angles to form the clouds. I went back in with the template just slightly off the blue and sponge some dusty concord distress ink to create a shadow.
I trimmed the smaller finished cloud piece down to 2” x 4” and adhered it to the preciously cut purple piece of cardstock with Tombow Mono Aqua Liquid Glue. I trimmed it to the oval of the purple piece. Using Tombow Foam Tabs I adhered it to the top of the card leaving even spacing on top and sides aboe the oval.
With the 4’ x 6” finished cloud piece I moved it around the oval from the inside of the card to get the best look, marked the edges and trimmed it to fit inside the front of the card. I adhered it with Tombow MONO Aqua Liquid Glue. I adhered the thin purple oval frame to the oval cut out on the front of the card with a very thin line of Tombow MONO Aqua Liquid Glue from the fine tip.
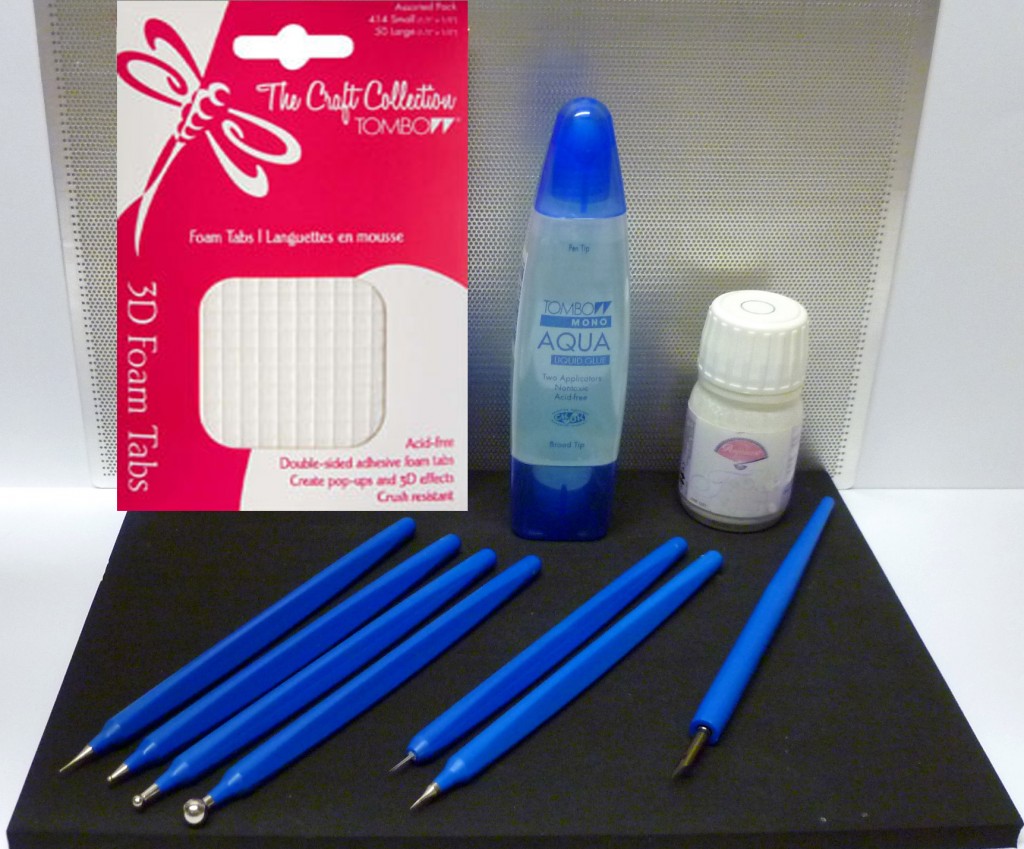
Here are a few of my tools:
Here are all the supplies I used for this project:
N65-N75-N25 ….Tire
942-947-977….Branch
076-098….Leaves and dragon body
942-933-946….Body and face
623-636 Purple
Tombow MONO Aqua Liquid Glue, Tombow Foam Tabs, Ranger distress ink- faded jeans and dusty concord, black embossing powder, versa fine black onyx ink, Nestabilities ovals, CB embossing folder floral screen, white Inkssential white gel pen, The Twinery bakers twine, flat backed pearls, Bazzill card stock
High Hopes stamps
Tire Swing Dragon R-151
Never Tire E-255
I feel sure you will enjoy makeing and giving this unique card, I sure loved making it.
Happy crafting,
Karen


Totally love this!
the detail of your coloring makes this look 3-D! Gorgeous card!
so cute – I love the ‘swing!’