I had the most fun with this project. When you receive a pack of practically white paper in the mail (or in your shopping bag) it can be a little daunting.I’ll admit, I stared at the papers for a while after I ripped into the package. So many possibilities!!
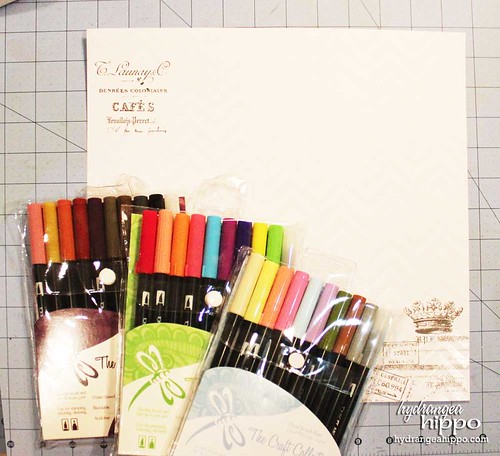
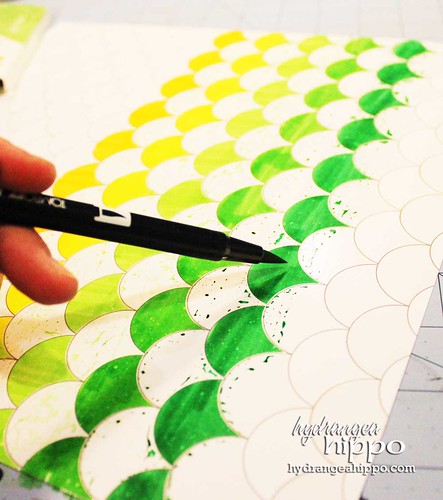
The great thing is this Heid Swapp Color Magic Paper Pack has TWO sheets of each pattern so there is room for a little play and alot of excitement! Our Tombow Dual Brush Pens are blendable and they are perfect for Heidi Swapp’s resist style papers. Since the pens are water-based, the ink beads up on the embossed “resist” sections of paper, allowing for blending with the next color really easily.
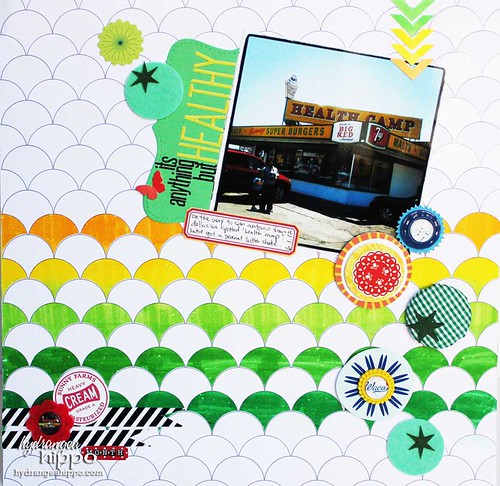
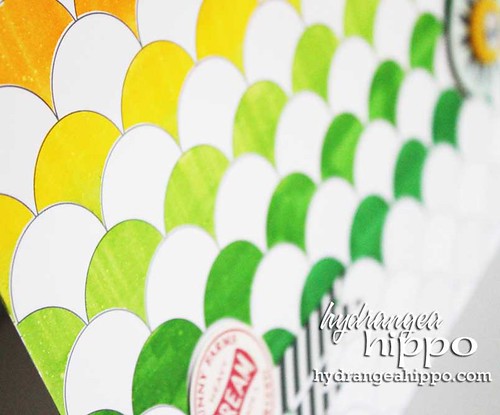
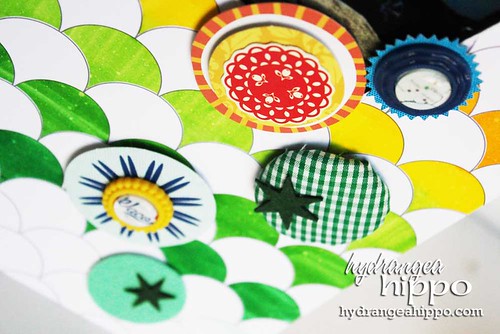
Here I colored each row of scallops a darker shade of yellow and then green. Then I used the Blending Pen to blend the droplets on the resist sections of the paper with the adjacent rows of scallops to create a ombre, variegated effect.
Boy, was this easy to do! I could color on these papers all day!
After coloring the paper, I added my photo and embellishments. I used Tombow Mono Power Bond Adhesive Runner to hold all the pieces down–from plastic to chipboard to paper, this tacky tape is perfect for bulky embellishments.
Finally, I cut the centers from the Day Glow Photo Corners to make them into chevron arrows pointing to my photo.
Supplies:
- Tombow Power Bond Adhesive
- Tombow Craft Collection Dual Brush Pens
- Day Glow Photo Corners, Alpha Stickers
- Color Magic Paper by Heidi Swapp
- Mini Alpha Stickers by Lily Bee
- Epiphany Crafts Round 14 Shape Studio and Bubble Caps
- Epiphany Crafts Vintage Settings in Clubhouse
- Cosmo Cricket Die Cuts
- American Crafts Flowers
- October Afternoon Milk Cap Die Cut
- Martha Stewart Crafts Felt Tomato Stickers
- Maps from the internet


Great tutorial and beautiful project!!!!!!
Great project, Jennifer! love it!!
Beautiful Layout!!