
Howdy Letterers!
I’m Abby G, I live in Dallas. Yes, I love lettering! A quick intro about me…Weekdays I’m a full time Art Director for a crafting company. At night, I’m a full-time illustrator and hand letterer. I’ve been in this industry since I was 8. However, my relationship with hand lettering doesn’t go that far back, maybe for a about a year, but we have been officially best friends since! 🙂
To me, hand lettering or modern calligraphy is like Tetris (raise your hand if you are generation 90’s! woot woot :P). It’s pretty much like solving puzzle. You need to be able to figure out what next while you are writing non-stop. Do they fit? Is it too much? Is it too simple? Is it flawless?
Social Media Info:
Website : www.asyeraguempel.com
Instagram : @abbyguempel
Facebook :Asyera Sidauruk Illustration
Pinterest: Abby Abe
1. SPACING
The word I’m choosing today: BEGINNER
Tools : Tombow Fudenosuke Brush Pen soft nib, black and pink Tombow Dual Brush Pen and papers.
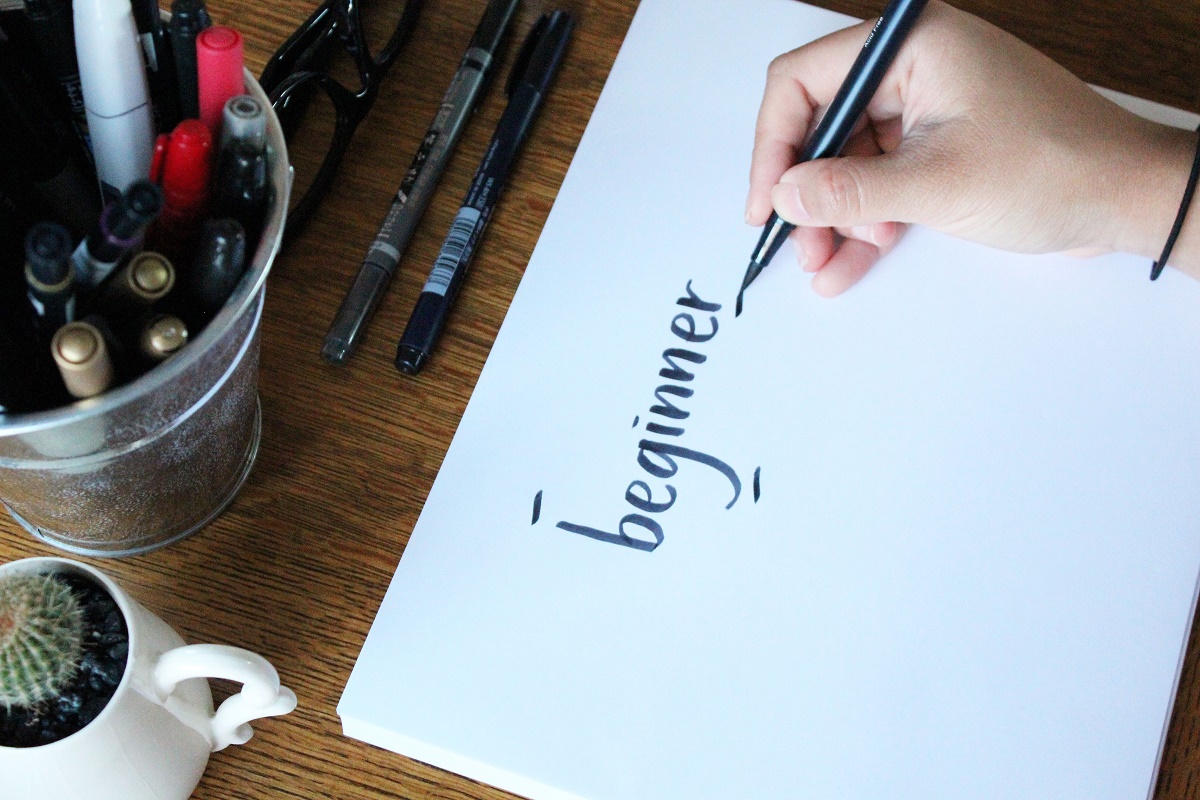
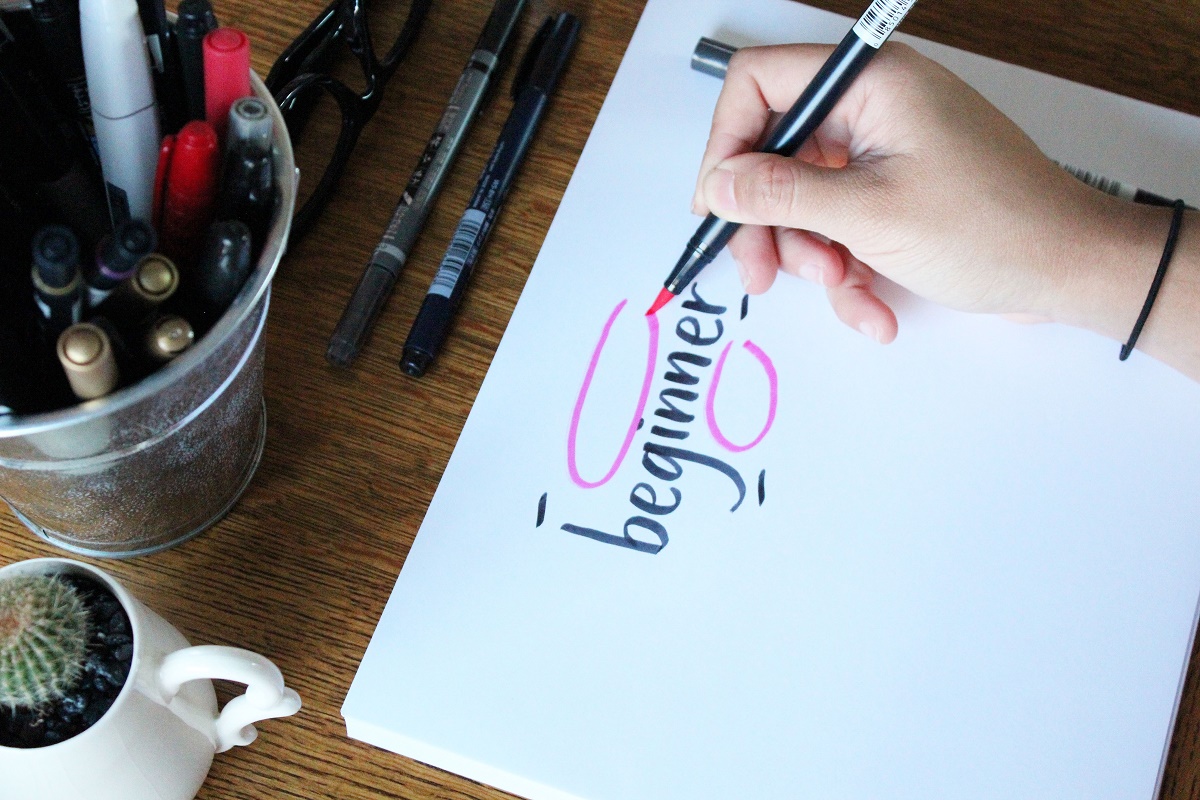
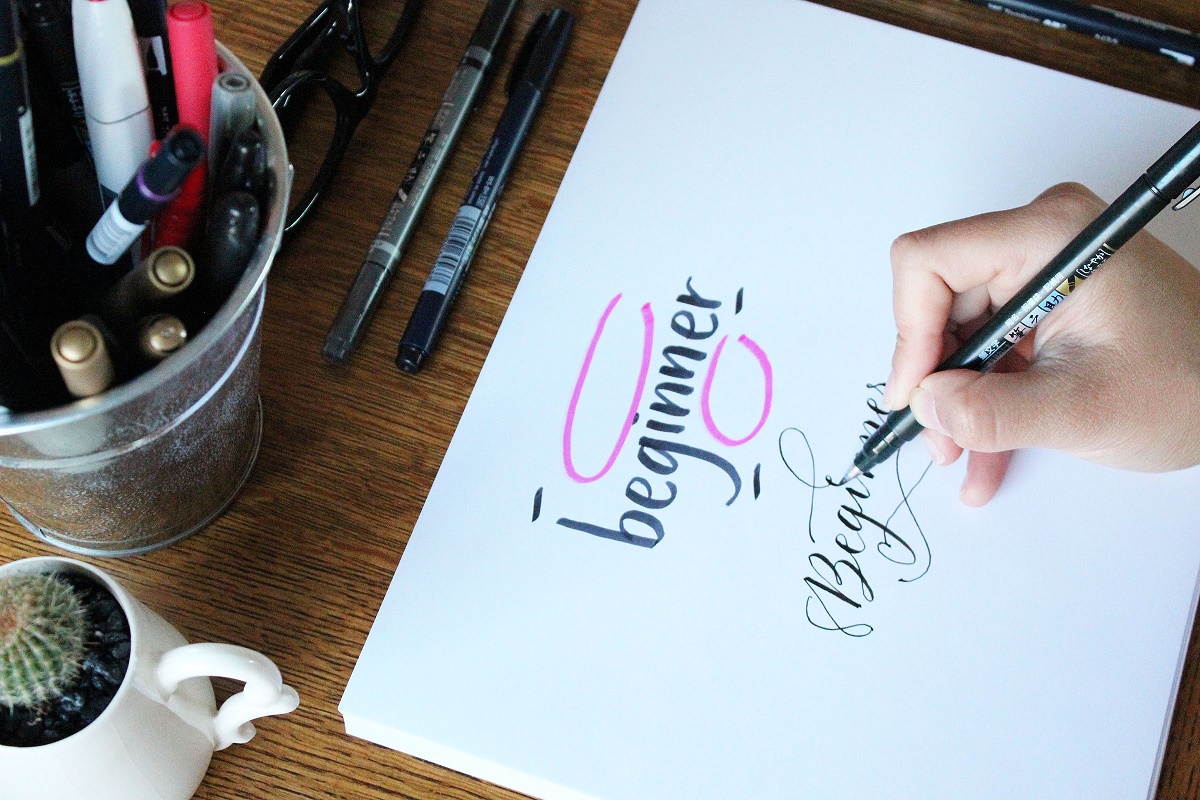
Below is how I analyze my word. I underline and upper line a few letters that have “tails” or can be potential flourished objects. Then, I pink-circle the empty space that can be filled out.
Once you figure everything out…
Let’s do the fun part! Let’s hand-letter this word using the Tombow Fudenosuke Brush Pen soft nib 🙂
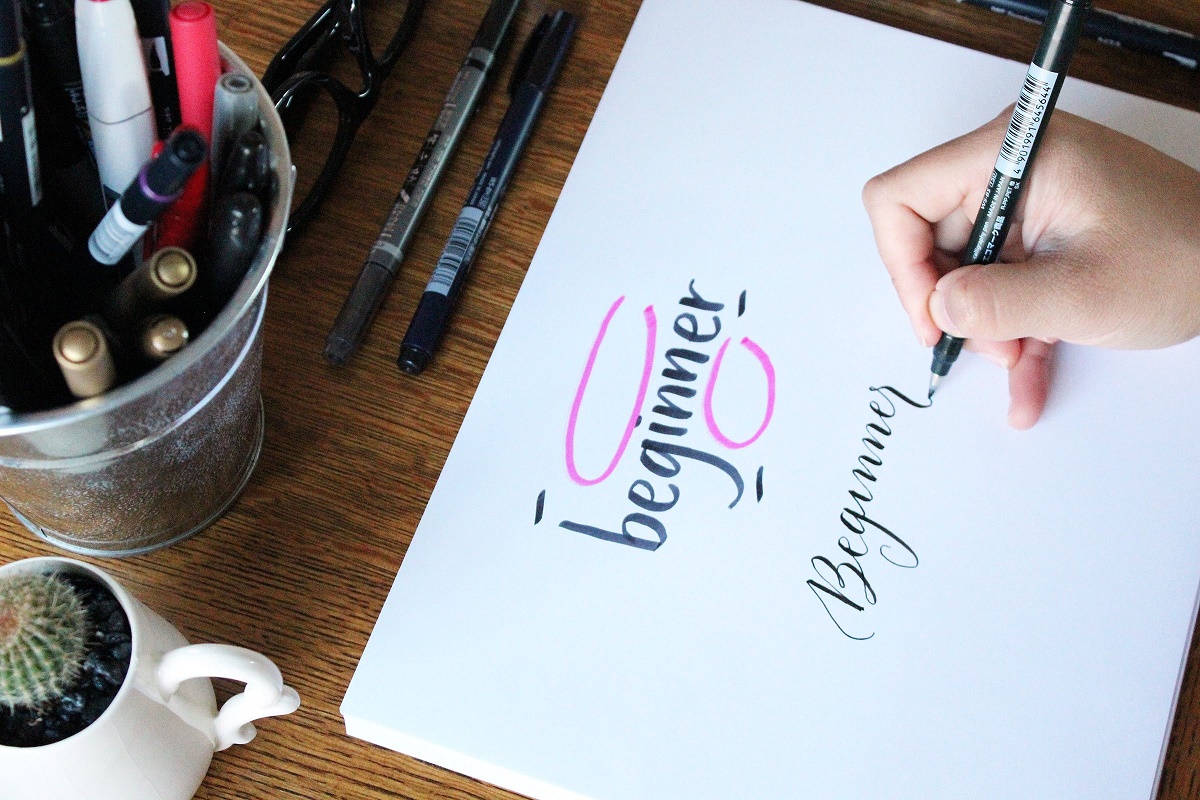
Once we figure out the basic lettering. It’s time to figure out what to do to fill out our “empty” spaces. What I see here, we can definitely play around with the space below the “-inner”, the top of “-eginner” and maybe next to the “B”.
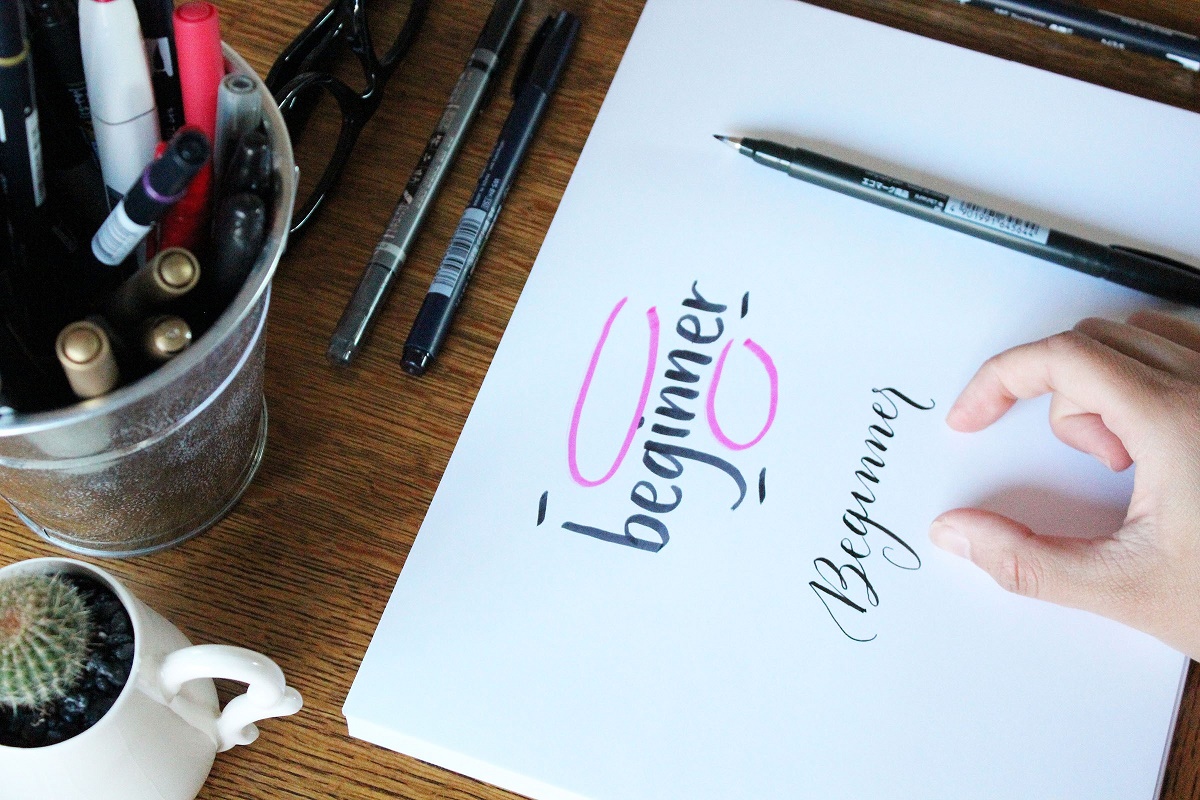
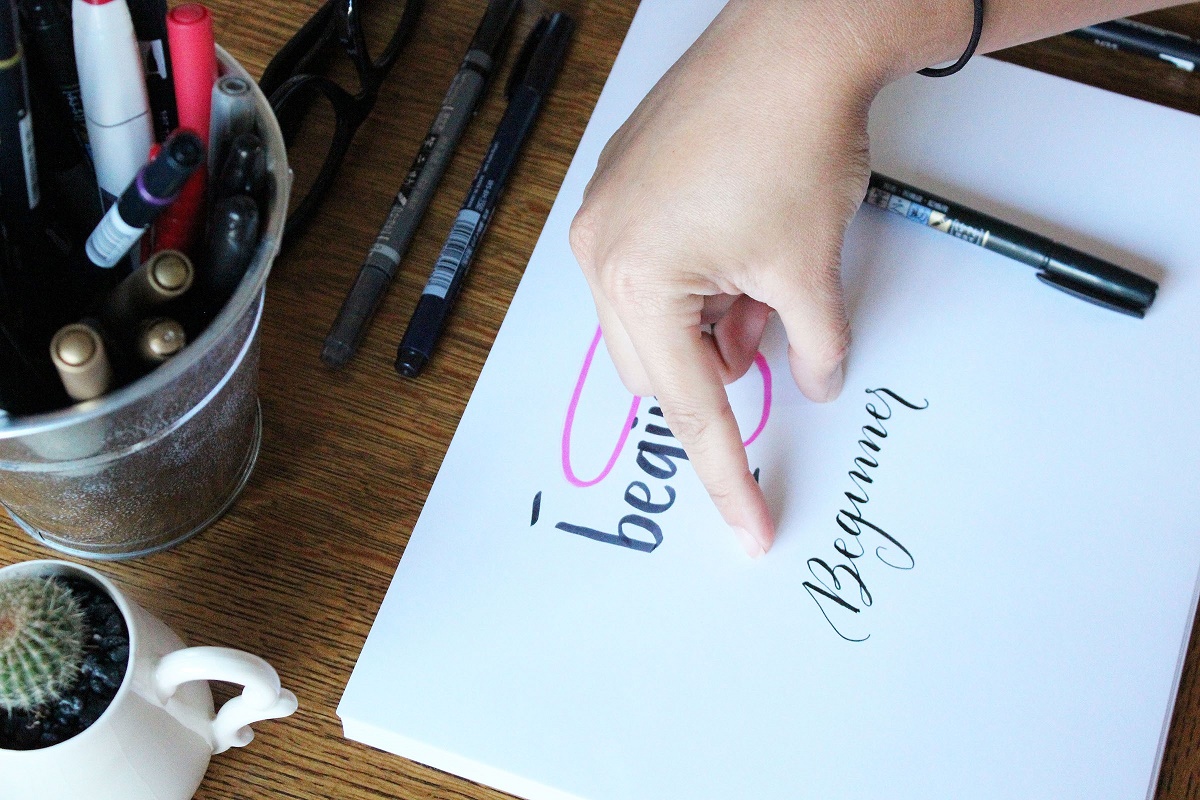
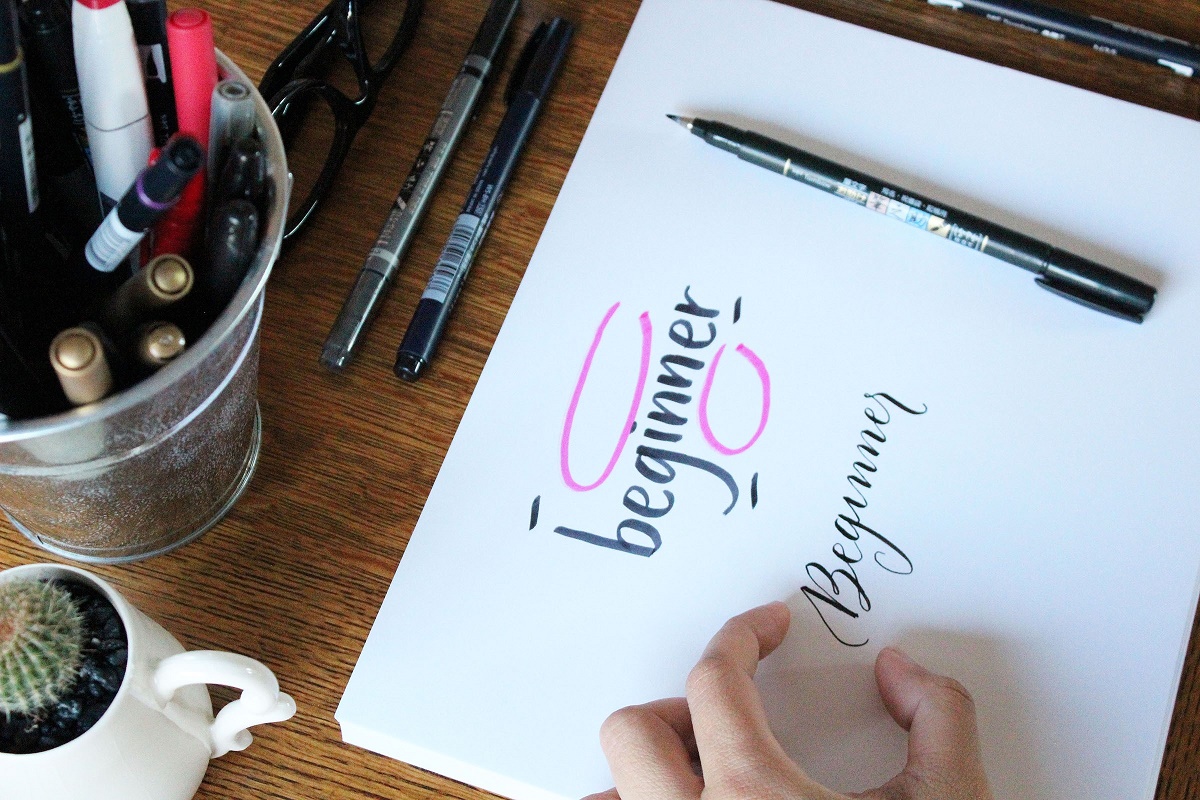
Therefore, I am flourishing the tail of the “g” to fill out the empty space below the “-inner”.
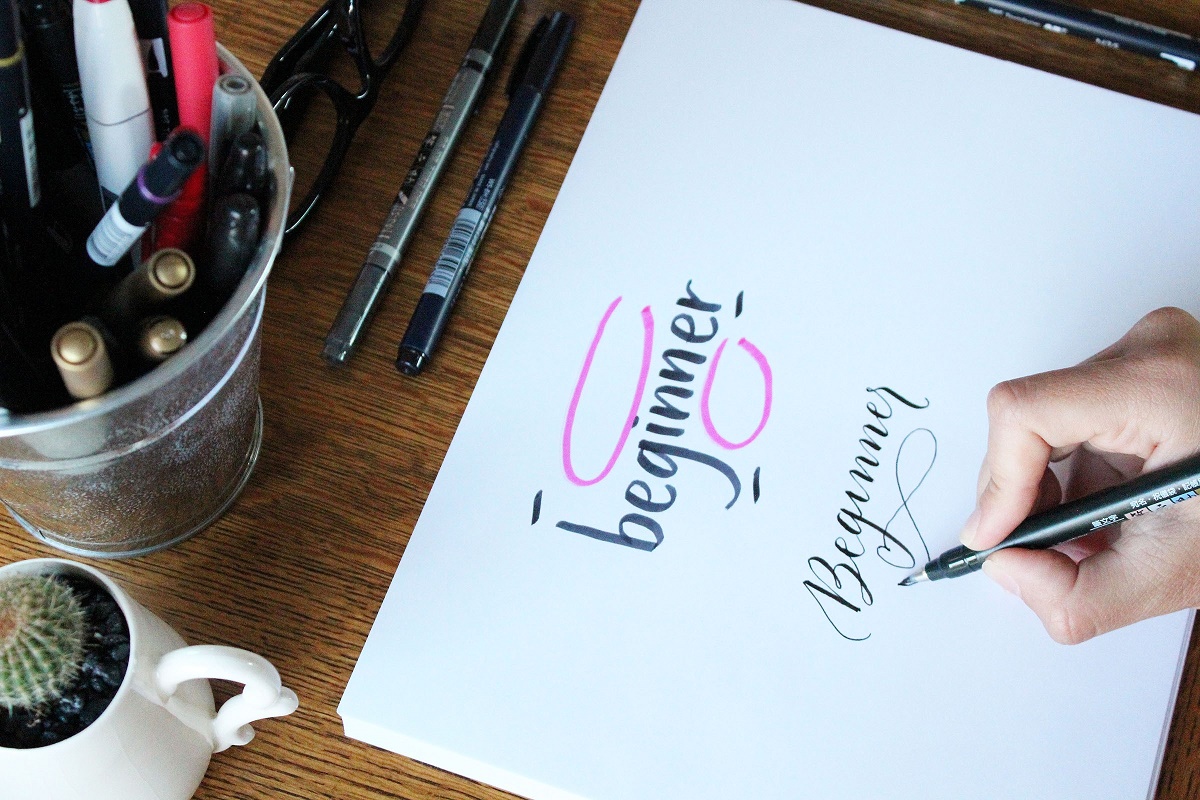
Then, I extend the line stroke from the “B”
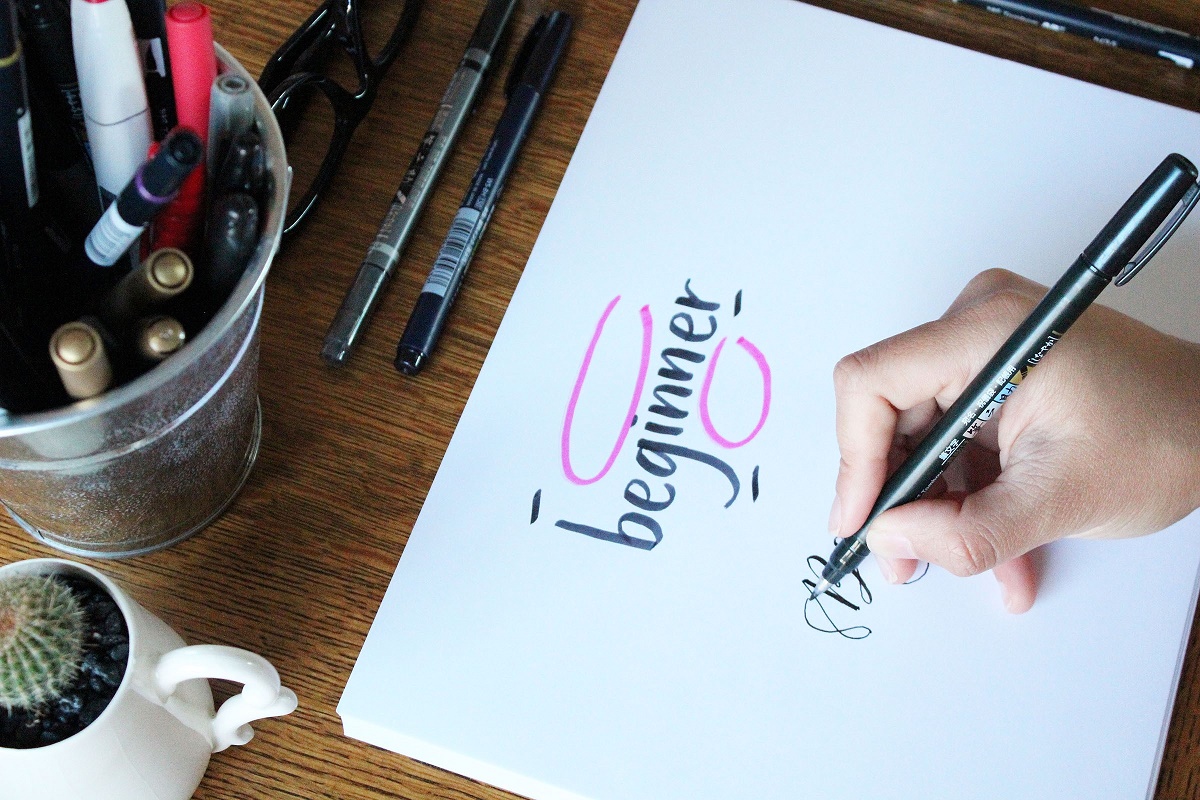
To fill out the space above the “-eginner”, I use the new line that I create for the “B” (So, it looks like it’s a continuing line from the “B”) and flourish it to the top of the word. Then, I end it right on top of the “i” to create the superscript dot.
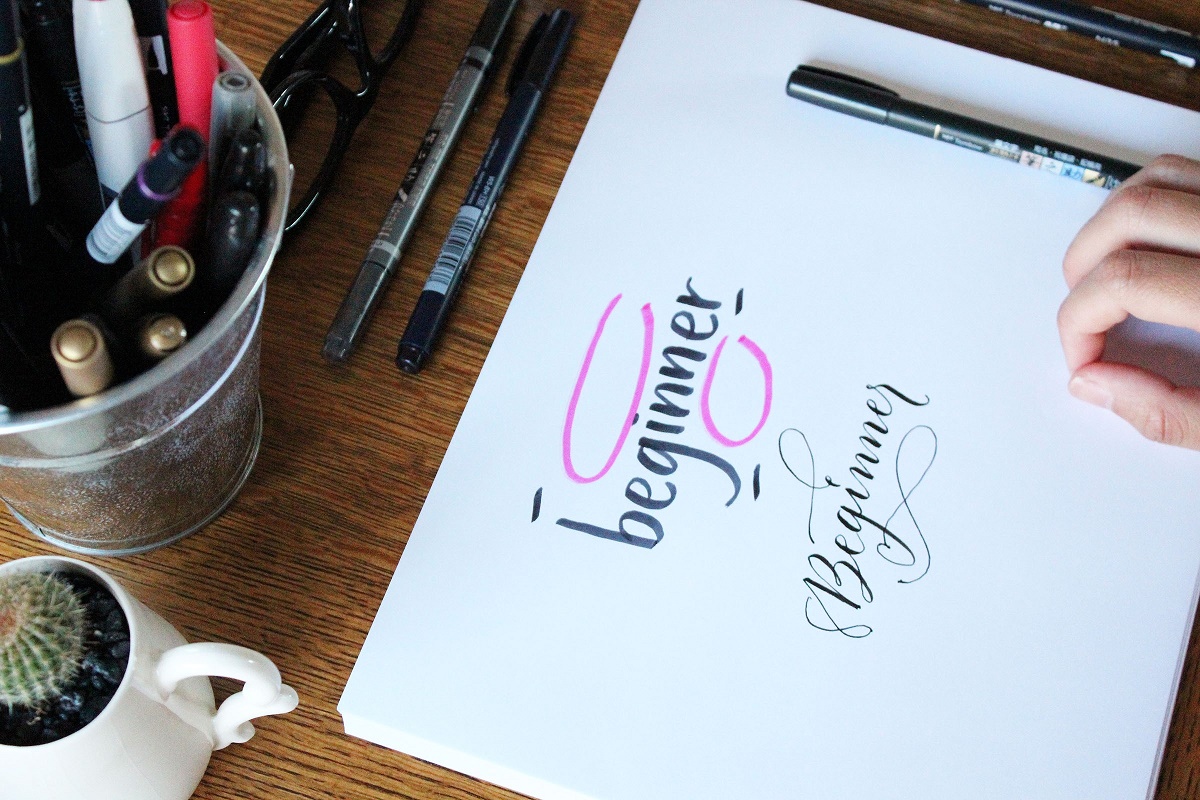
TA DA!!
2. BLENDING COLORS
I remember when my heart skipped a beat when I saw these markers at the New York Stationery Show. I promised to myself that I would buy these markers as soon as I get back to Dallas. Of course, the wonderful people at the TOMBOW booth saw me drooling over these Dual Brush Pens and they were too kind to make my dream come true. They invited me to come back to the booth and gave me these beautiful gems! Did I scream from the top of my lungs? Of course, but silently…because I didn’t want to lose my cool 😛 (yeah right!). Alright, let’s do some fun stuff!!!
The selected words: HELLO FRIEND
Tools : Tombow Blending Palette, Tombow Dual Brush Pens (pink and purple), papers.
So, I have 2 favorite ways to do this.
Method no 1. I apply the 2 colors I like on the Tombow Blending Palette. Just literally apply them on top of each other. The stain won’t stay, you can clean it.
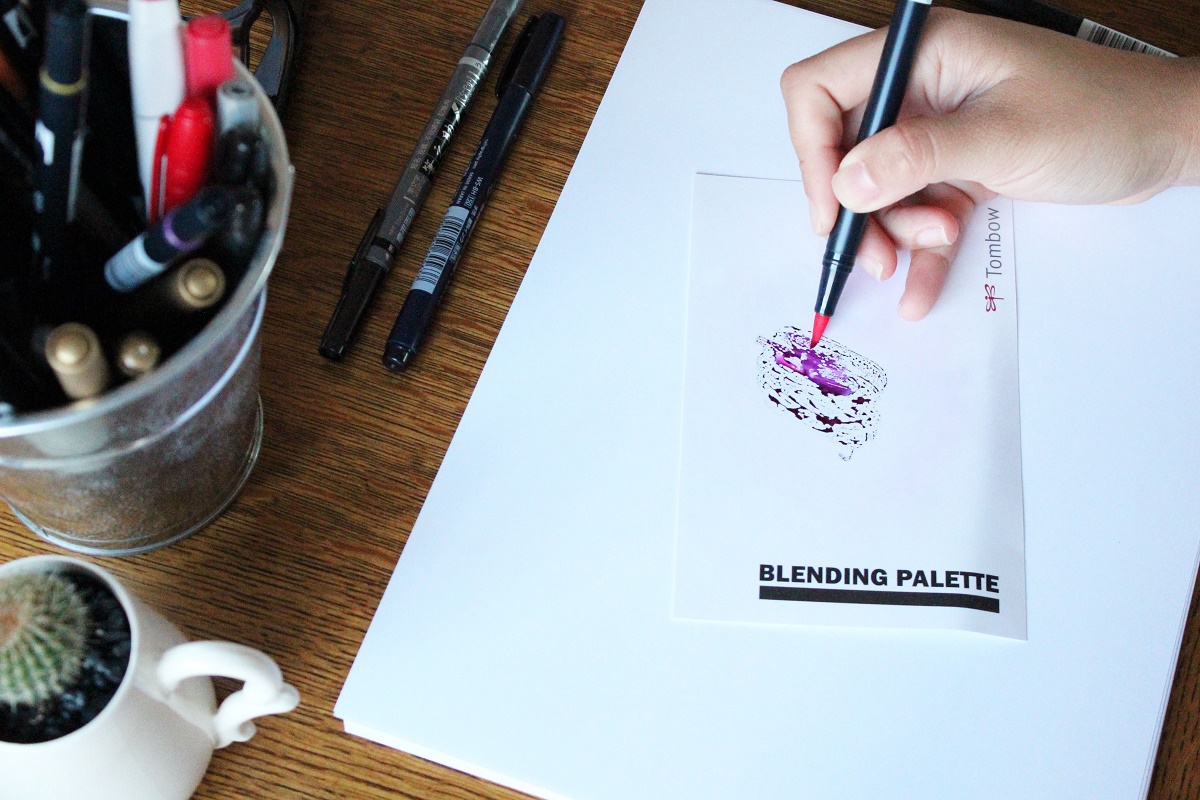
Then, I create a couple strokes just to see if the colors to my liking and then I start hand-lettering.
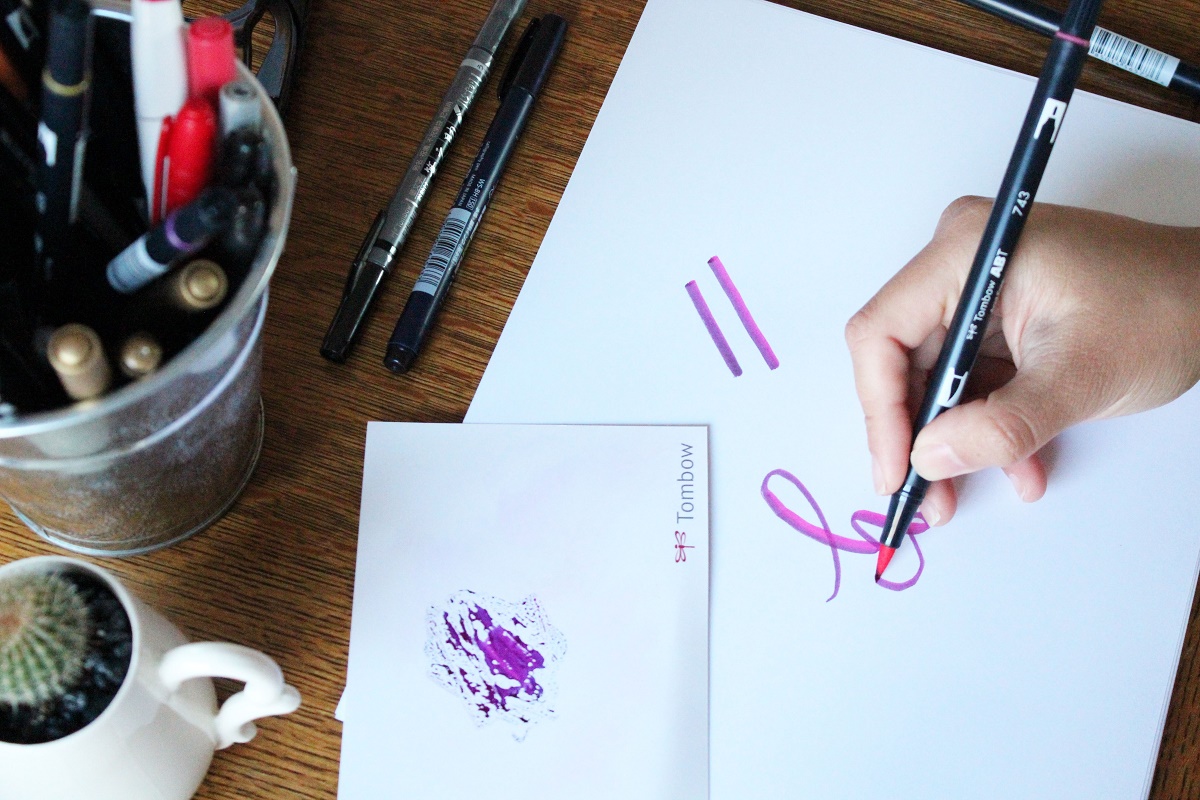
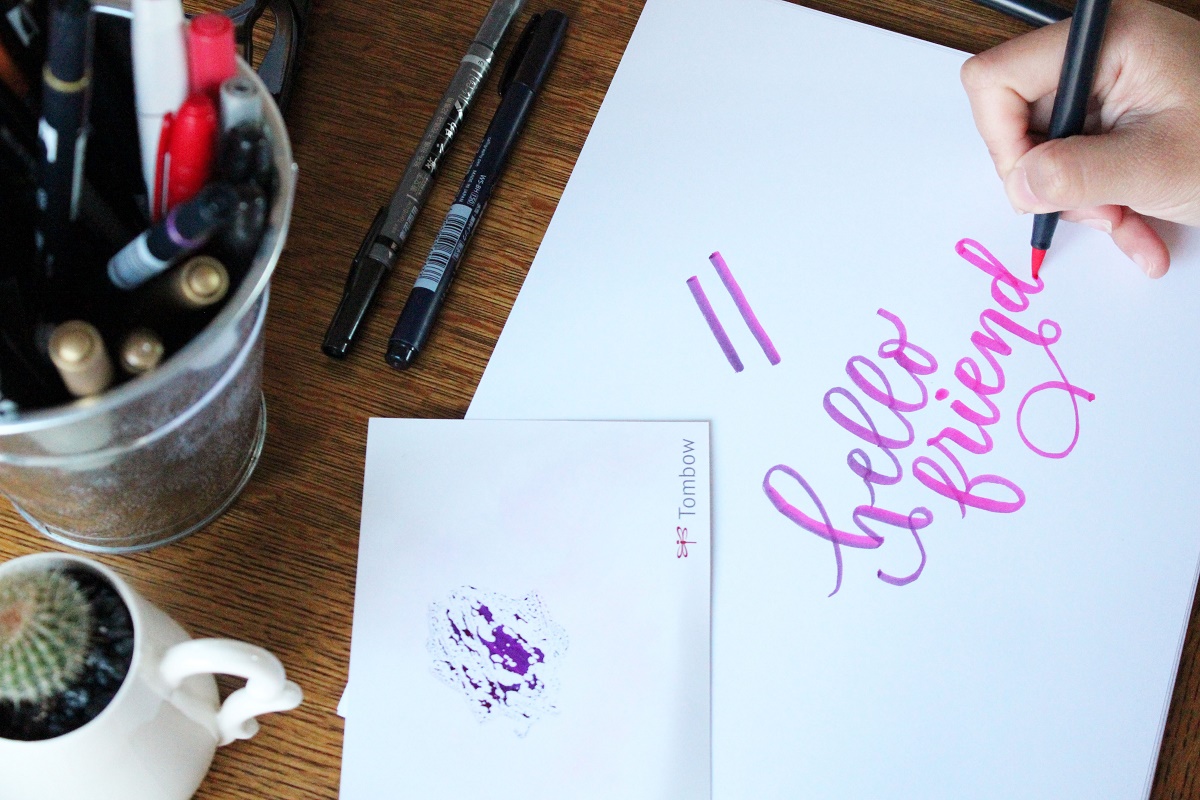
Et Voila!!! I love the subtle color changing from purple to the pink. However, if you like something bolder, then it will lead us to the method no. 2. I usually add more colors onto the palette and mix them.
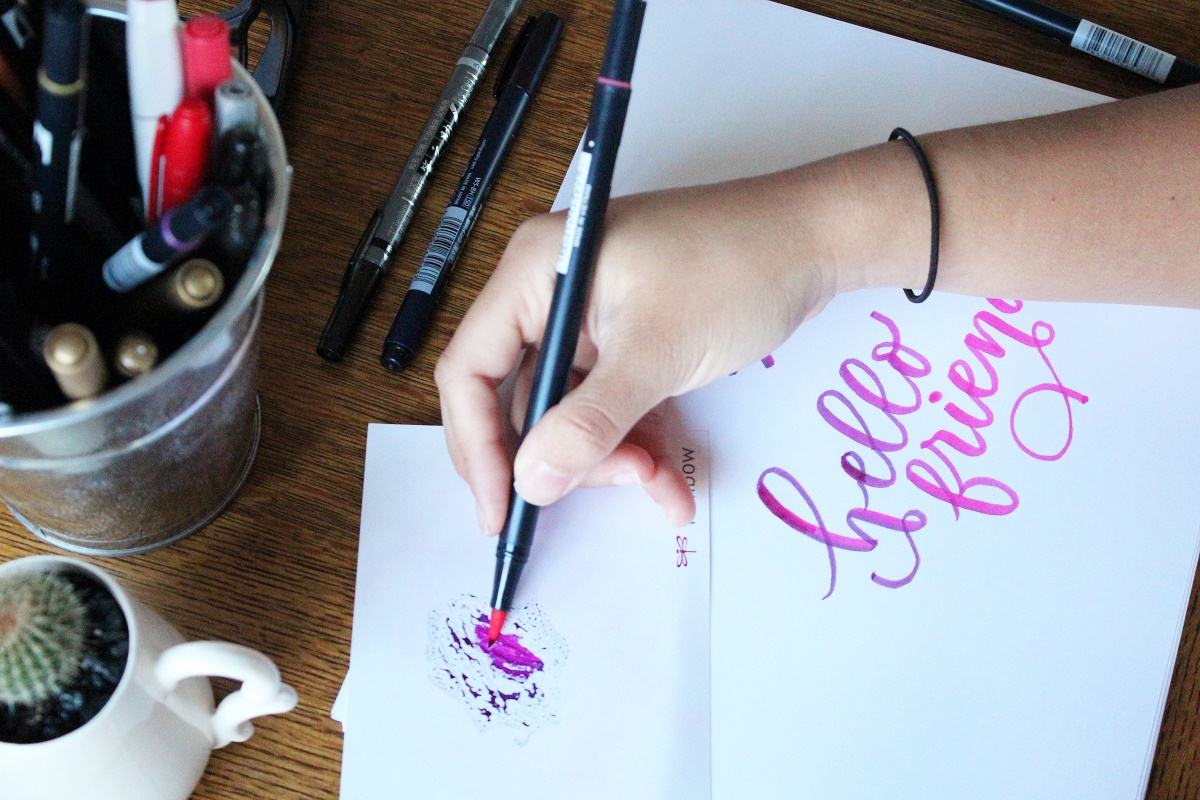
Then, I apply the colors literally on to the artworks that need darker colors. I usually do top to bottom, darker to light.
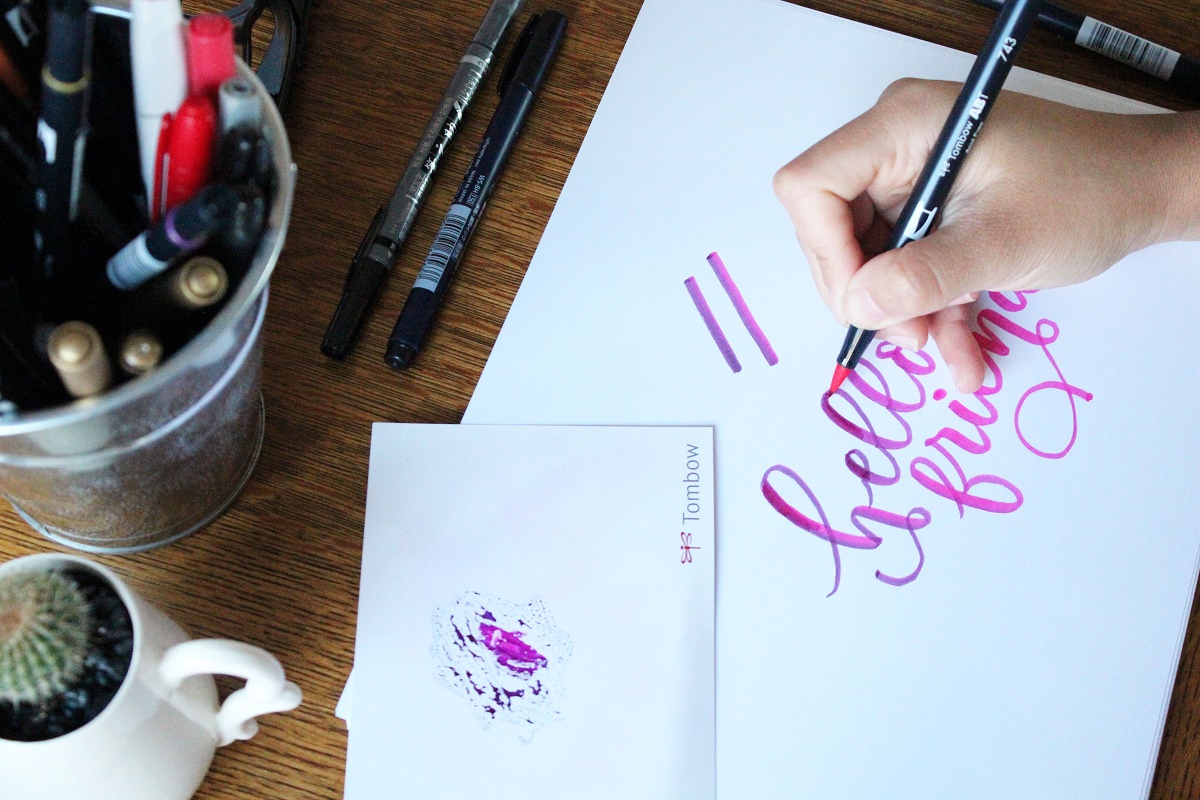
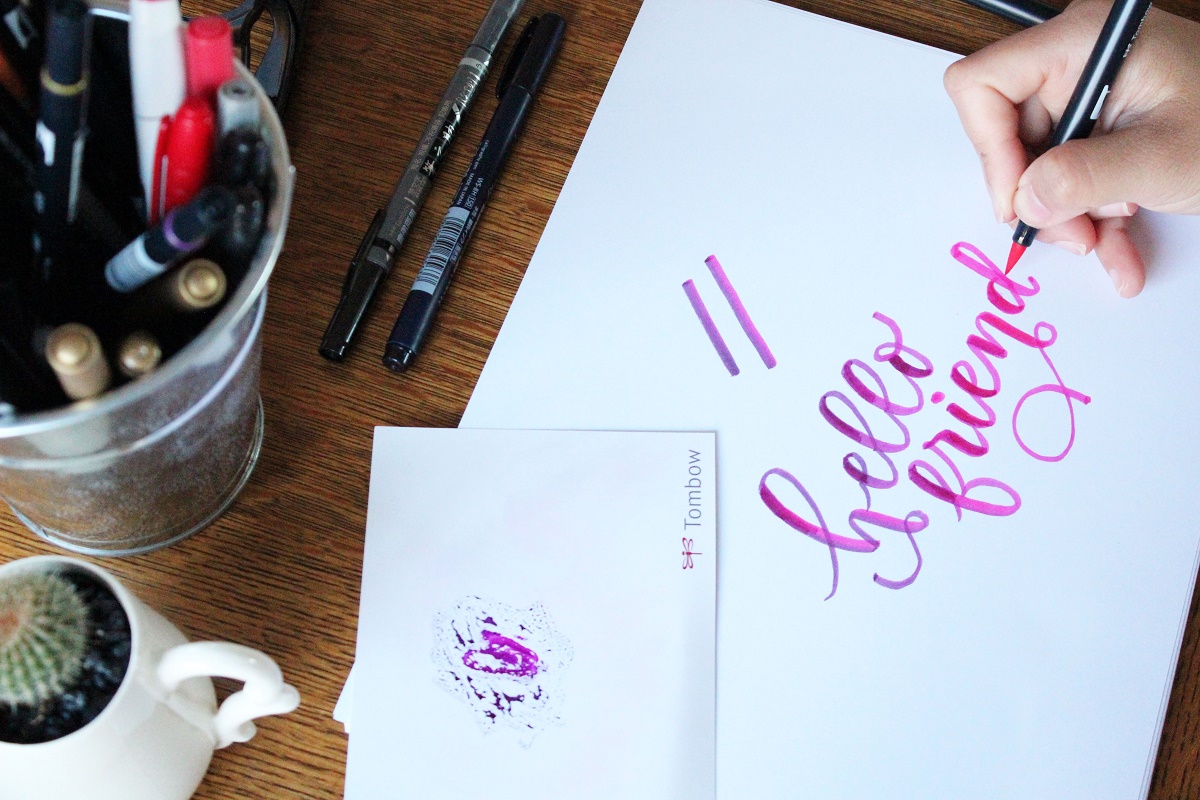
You can apply it several times until you reach your favorite dark levels.
Mine is ready! I applied the colors for about 3-4 times. I only apply it on to the top part of the letters.
3. HAVING FUN WITH THE TOMBOW MONO GLUE PEN
I love mix media or experimenting with different mediums and tools. So this is a perfect pen for me.
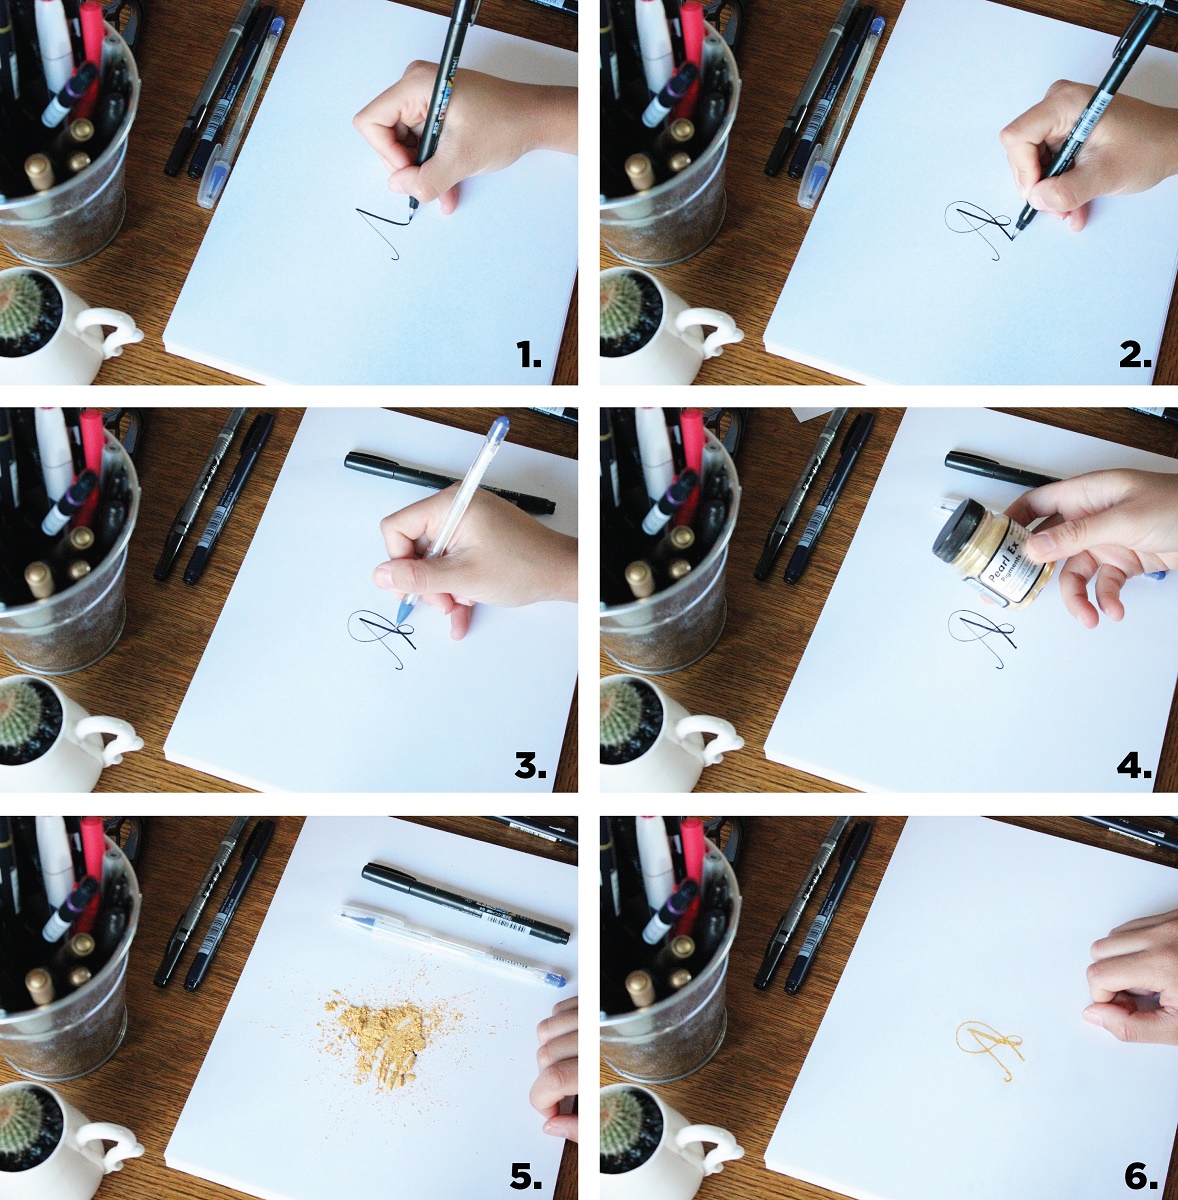
Tools: Tombow Mono Glue Pen, pearl powder that you can buy at your closest Art supply store, pencil/pen (in this case I’m using Fudenosuke soft nib pen) and papers.
First, I sketch it out using Tombow Fudenosuke soft nib pen.
The glue ink is transparent. Just incase, you are wondering why there’s nothing on the paper.
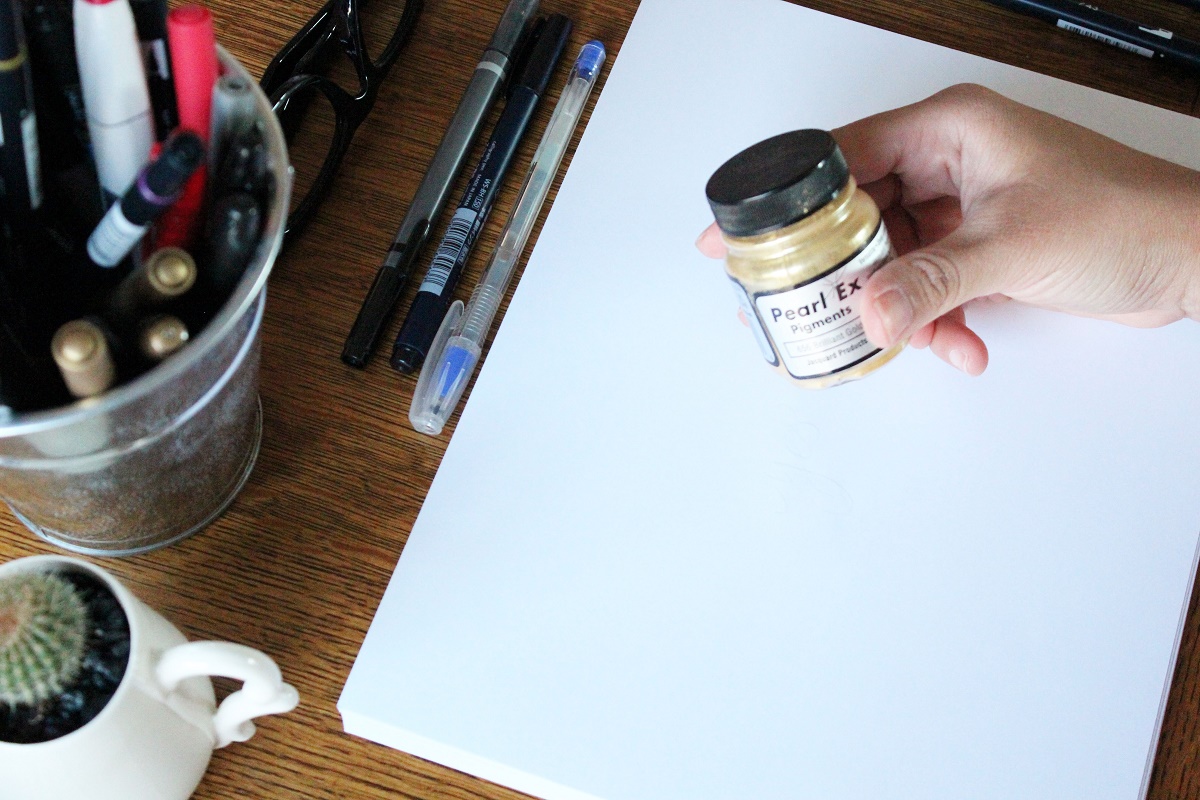
I use this pearl ex gold color powder to make it gold. This can be substituted with fine glitter (if you love glitter and unicorns). which is what I would prefer, but I’m out of glitter so… I use my husband’s painting supply.
Check out the process below :
Bonus Tip! FLOURISHING
Flourishing will look flawless if you understand your spacing. You don’t want to have too much swirly lines because you need to make sure your words are still recognizable and readable.
Tools : Tombow Dual Brush Pens and papers
1st tip: Sketch it before you ink it.
DON’T BE SCARED to make mistakes because that’s the start of AWESOMENESS!
Alright, below are a few letter examples that I usually “decorate.”
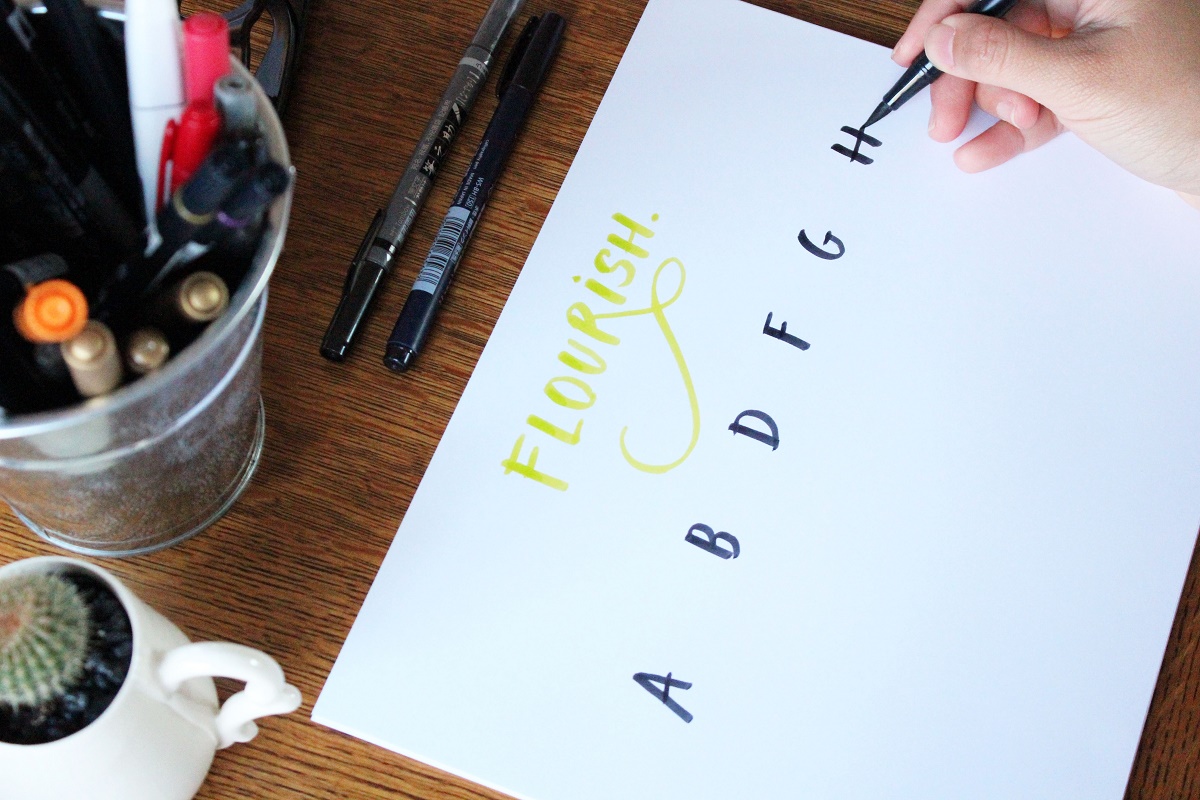
2nd Tip : Be confident.
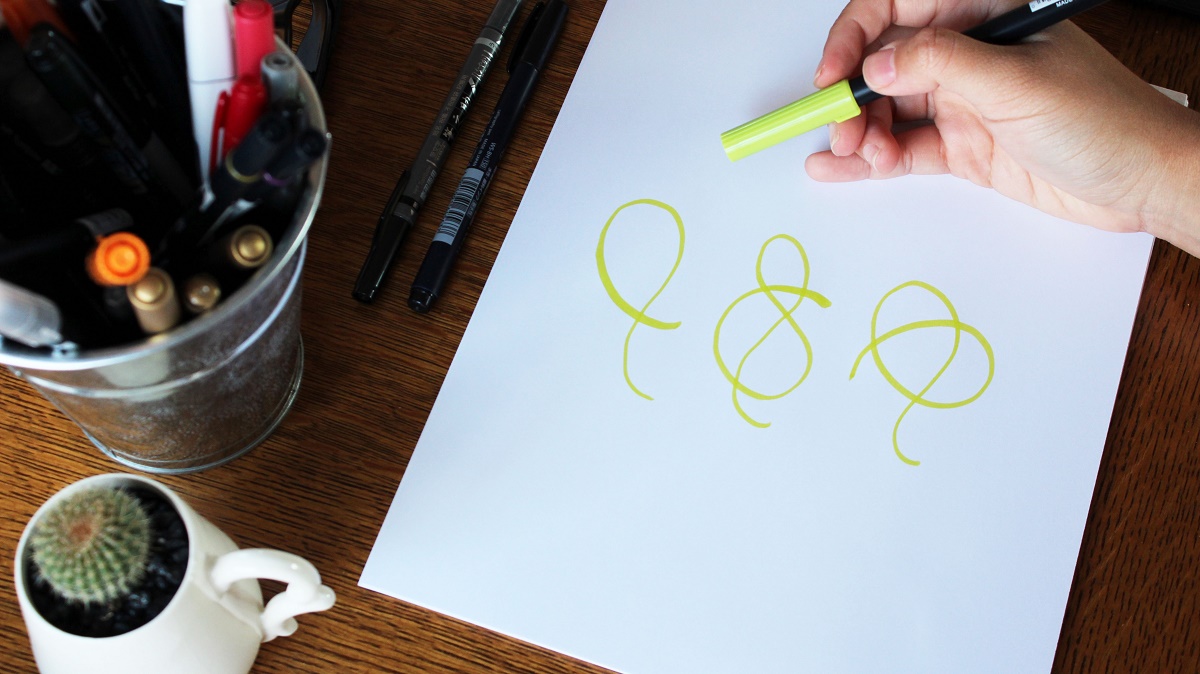
Your confidence in creating lines is shown from your strokes. Practicing making straight lines is a great way to improve your confidence. I do it all the time.
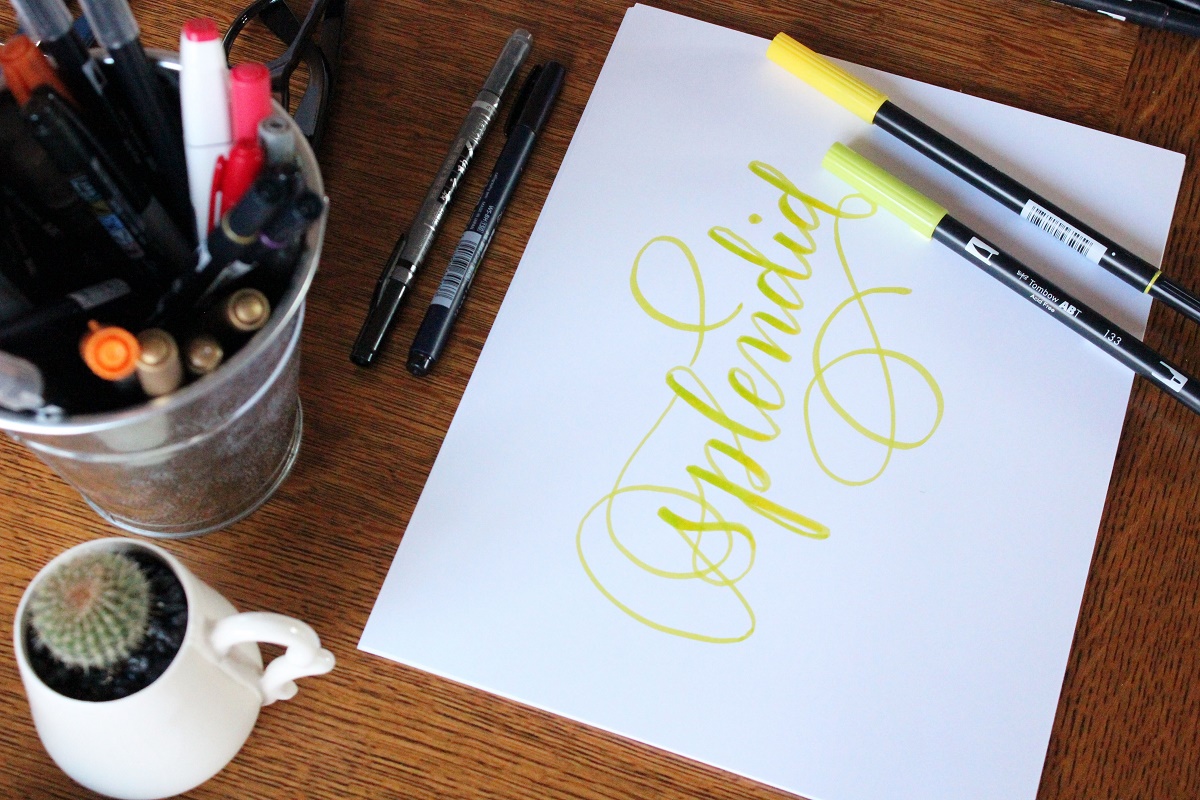
These are a few letters after I flourish. I usually do heavy flourishing for the first or last letters. Also, for letters that have bottom loops, such as “g”, “y”, “j”.
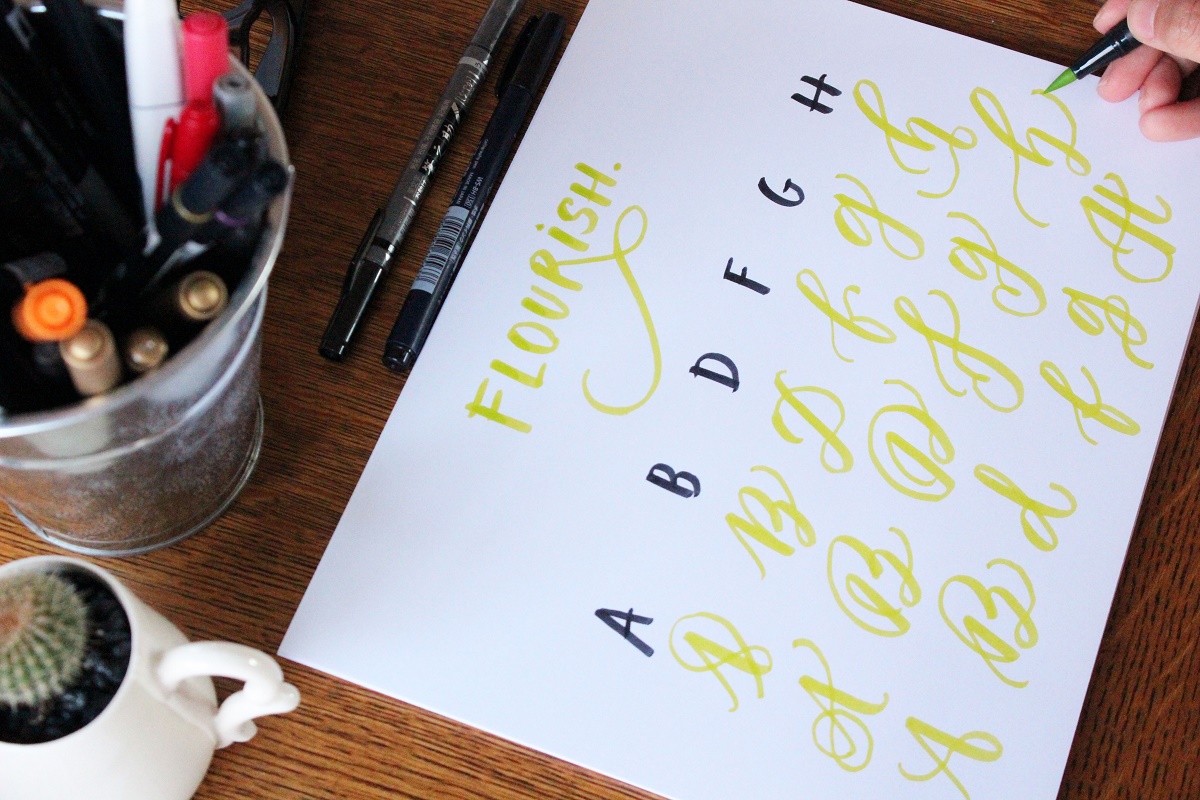
Another thing I usually do when I have free time at home and nothing good on Netflix or if I had finished watching all the TV shows in the world is practicing my flourished ending lines. These are a few lines that I usually use to end most of my words.
Okay letterer folks, again, I would like to thank all of you and Tombow for this fun opportunity. I feel very honored to share my favorite methods with all these guest letterer ladies. Check out their posts and be amazed!
Remember to keep practicing and don’t be scared to make mistakes.
Cheers!
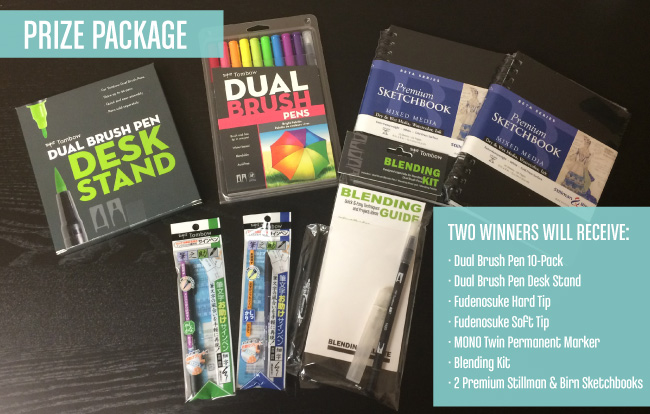
Come back tomorrow for more Lettering Week fun! Keep leaving comments for more chances to win on of TWO PRIZES! Show us what you are learning on Instagram by tagging @tombowusa and using #tombow, or share with us on Facebook!
Thank you for the very informative post! Will try all these at home. I have never been a fan of flourishing but will definitely try your tips! I might learn to love it and be more confident doing it like you. Thanks!
The flourished add so much to the lettering, it’s just beautiful. Thanks for the tips and videos.
Amazing giveaway. And these lettering lessons have been so helpful. Thanks.
Thank you for the excellent suggestions and fun flourishing ideas!
Thank you for sharing such wonderful tips!
Awesome post 🙂 Very informative/helpful – especially the spacing and flourishes!
Great tips! I love how she used the glue pen, it’s really lovely!
This was a great post filled with useful information. Thank you for sharing your tips. Your a born teacher.
True, flourishing is all about confidence. My lines are still shaky but practice, practice, and more practice! Thanks for the great tips 🙂
Thanks for all the hints. Can not wait to get home and play!
What a great post!!!!! I am relatively new to the calligraphy game – but have been an artist as far back as I can remember. Flourishing is so fun but hard to get just right – this post was PERFECTION. THANK YOU!!!!
OMG that’s amazing, thank you for all these examples!!!!! Fantastic!!!!
So helpful! Thanks for the wonderful tips for these awesome pens!!
Wow! These are some gorgeous examples. I really hope I can get that good one day. Thank you so much for sharing.
very useful tips. must have a try tonight
Awesome tutorial on blending! It helped a lot, thanks so much!!
Love your suggestions on flourishes & I had no idea Tombow had an embossing pen-YAY!
thank you so much y’all!! You guys are awesome!! Keep practicing! 🙂
Great tips and awesome name, Abby. Same name as my daughter. ? Can’t wait to start practicing. Thanks for sharing.
Oh, WOW! This tutorial is so jam packed with fab tips, I’m bookmarking it for future reference – Thanks!!
I am a beginner and this post was so helpful! Thanks!!
Can’t wait to go play with some new toys after reading and watching! So inspired!
I love the tip on blank space and potential flourishes. And I totally agree with the tetris comparison! Haha
Your work is so beautiful. Thank you for breaking down the spacing, it’s really helpful.
Great tips – thank you!
I love flourishes and that look gorgeous with the Tombow brush pens I can’t wait to try!!! I don’t now why I’ve never before!! I looks so classy and flowey with the fude!!
Thanks for the tips on spacing.
Thanks for the tips!
thanks so much for the great tips!! I really like the gold lettering!!
Wow! Thanks for the tips on spacing and flourishing – excited to start practicing!
Thanks for the awesome flourishing tips! I love flourishes but I can never seem to get them just right.
Thank you for the tips on flourishing! I’ve been trying to figure it out for a while now and it never looks just right.
Great process. Love the videos!
what a fun giveaway!!
Beautiful. Your flourishes are stunning.
So many great tips! Your work is beautiful and makes me want to start practicing.
All the tips are really helpfule. Thank you!
Super awesome post with great tips!!! I would love to be able to letter like you can!!!
<3 J
jwoolbright at gmail dot com
HerPeacefulGarden.blogspot.com
CAT LOVERS HOP coming Oct. 26-30 at HerPeacefulGarden.blogspot.com
Great tips!! Will be trialling them for my next project! 🙂
love this series! thanks so much for sharing all your tips and tricks!