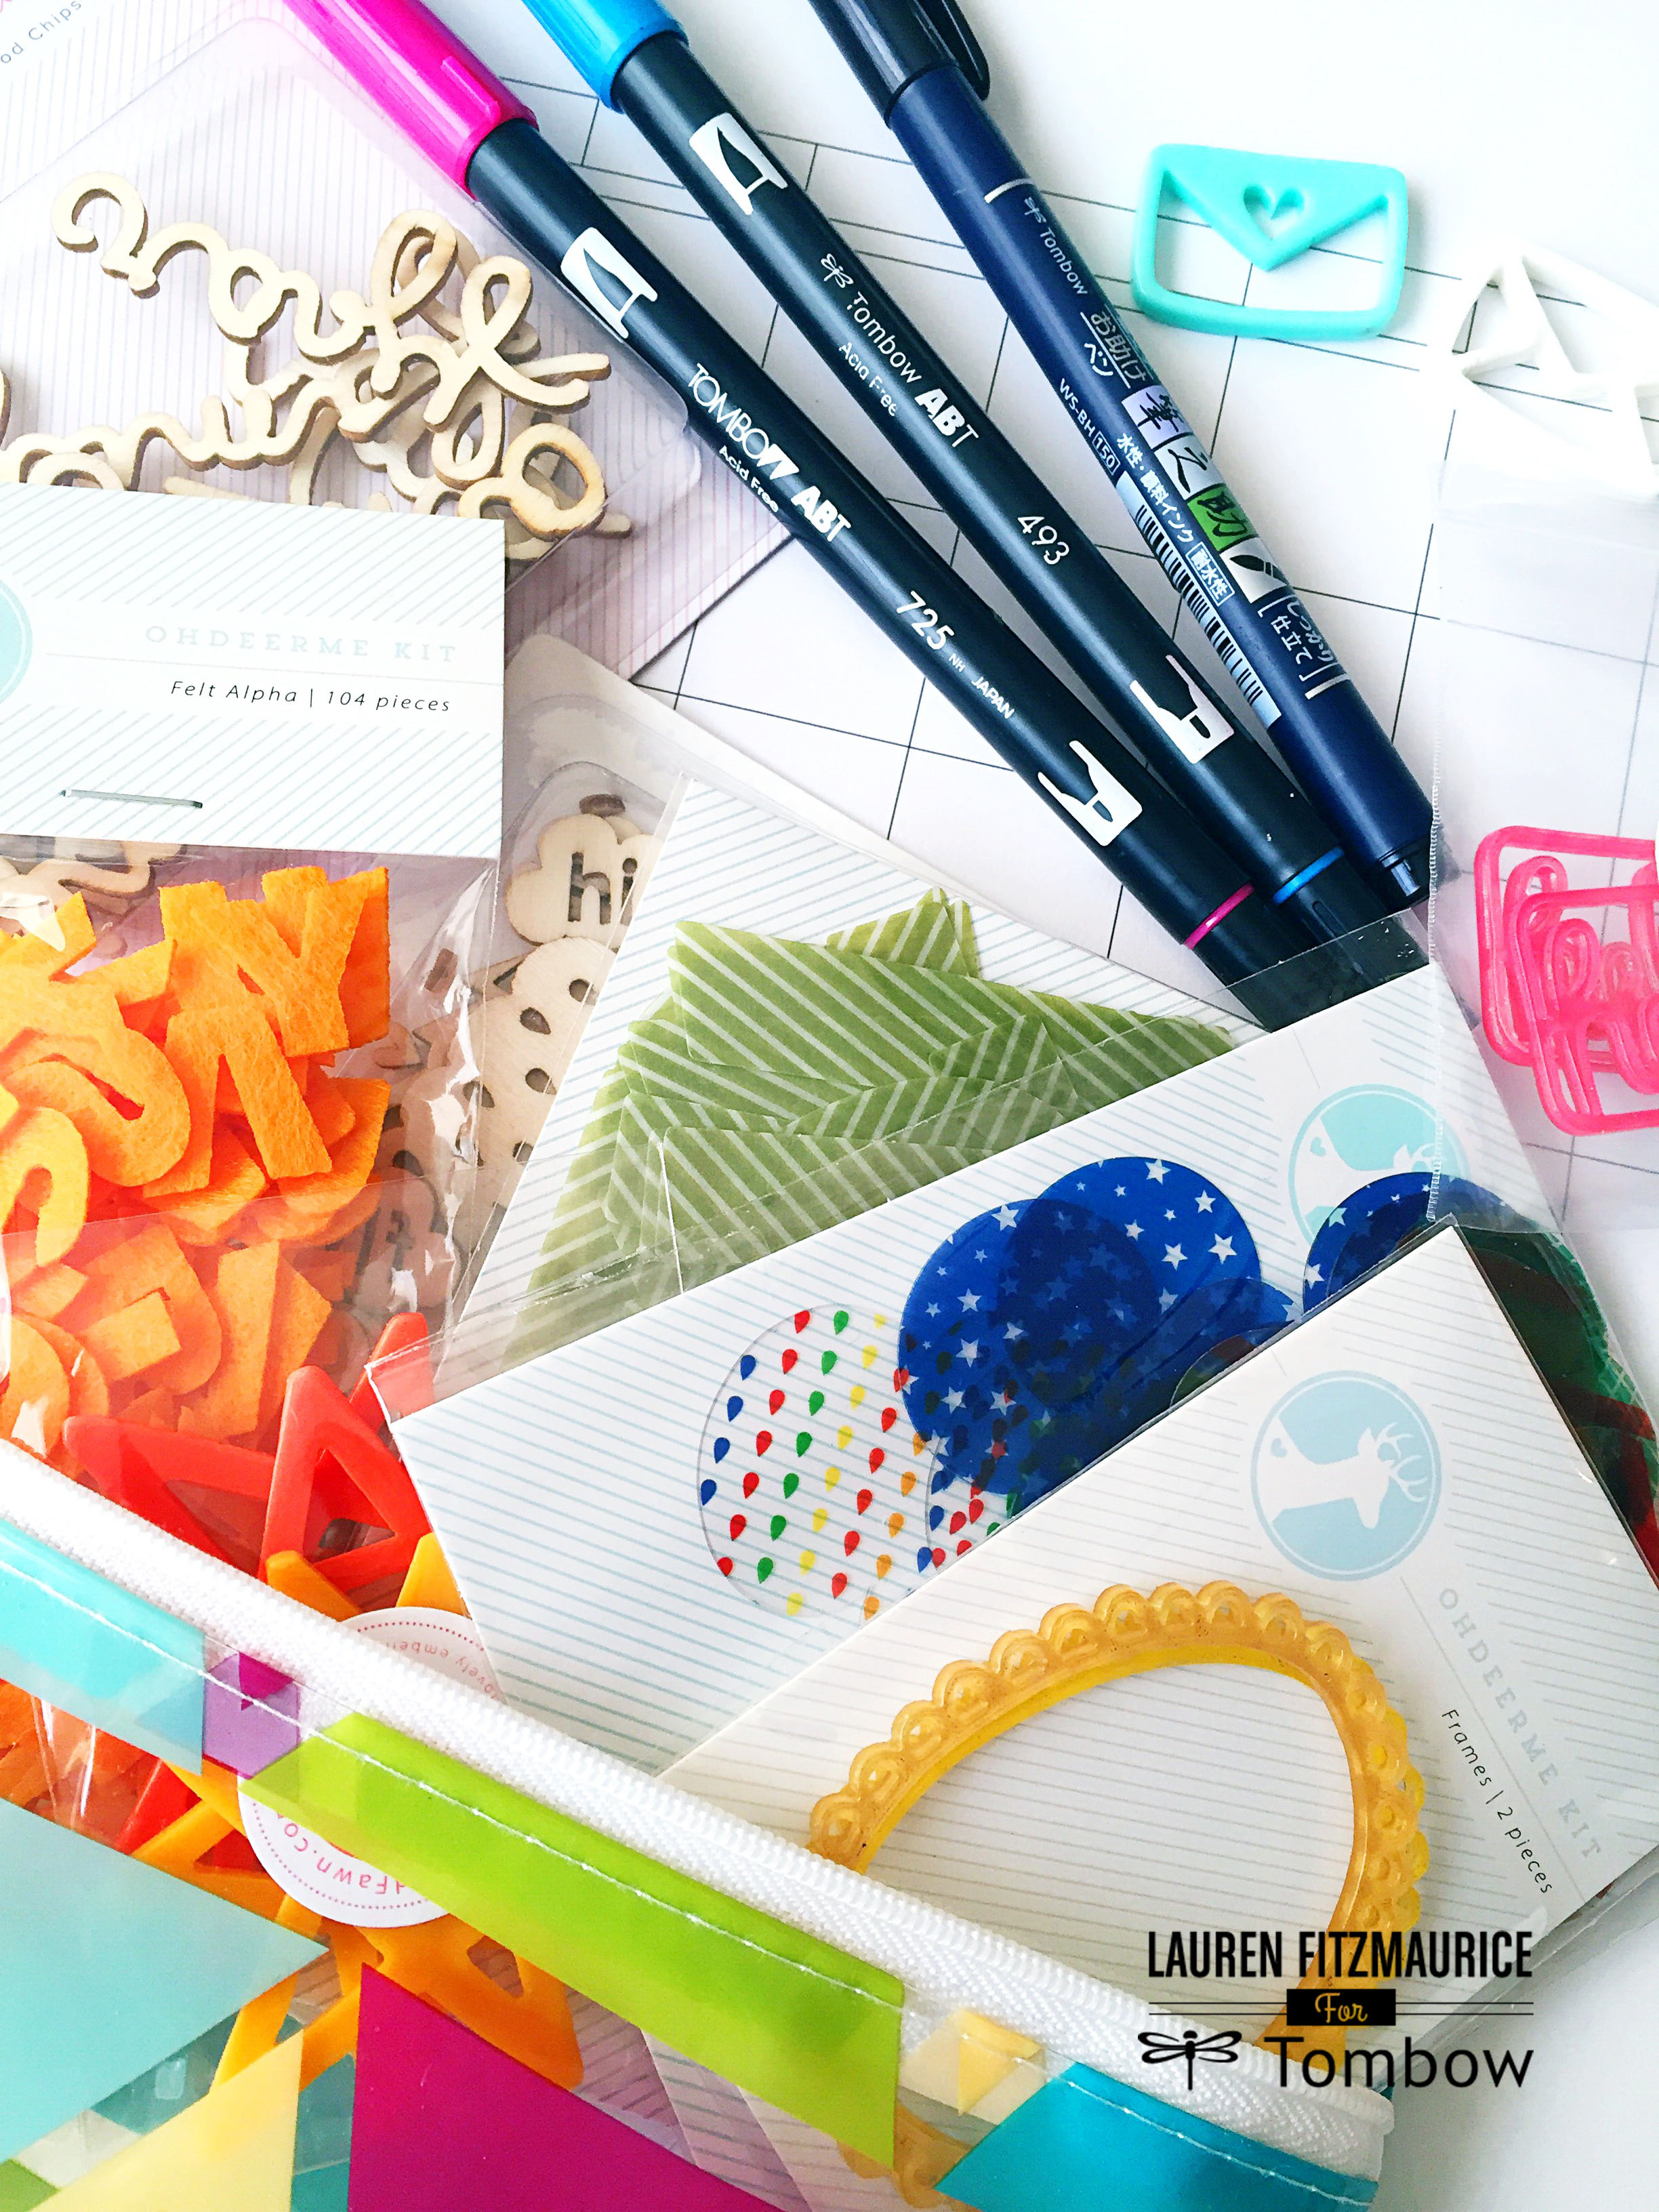
Hello, lovelies… this is Lauren and today I’m going to show you how to make a super cute inspirational calendar complete with Tombow USA lettering and adorable embellishments from Freckled Fawn. Our friends at Freckled Fawn sent the most ADORABLE geometric pouch full of some fun and bright embellishments that pair perfectly with the versatility of Tombow USA adhesives and the vibrant colors of our dual brush pens. I decided to combine all of these awesome products to make a creative calendar filled with inspirational hand lettered phrases.
You Will Need:
-1 blank calendar (mine was Paper Studio)
–Tombow Dual Brush Pens in black and a variety of other bright colors
–Tombow Fudenosuke Hard Tip Brush Pen
-an assortment of washi tape
-Foil (Deco Foil)
–Freckled Fawn embellishments including: clouds wood chips, word wood chips, transparency die cuts, felt alpha, alphabet letters, frames, and other fun envelopes, stars, and hello bubbles
Let’s start the fun!
Create the Calendar Cover
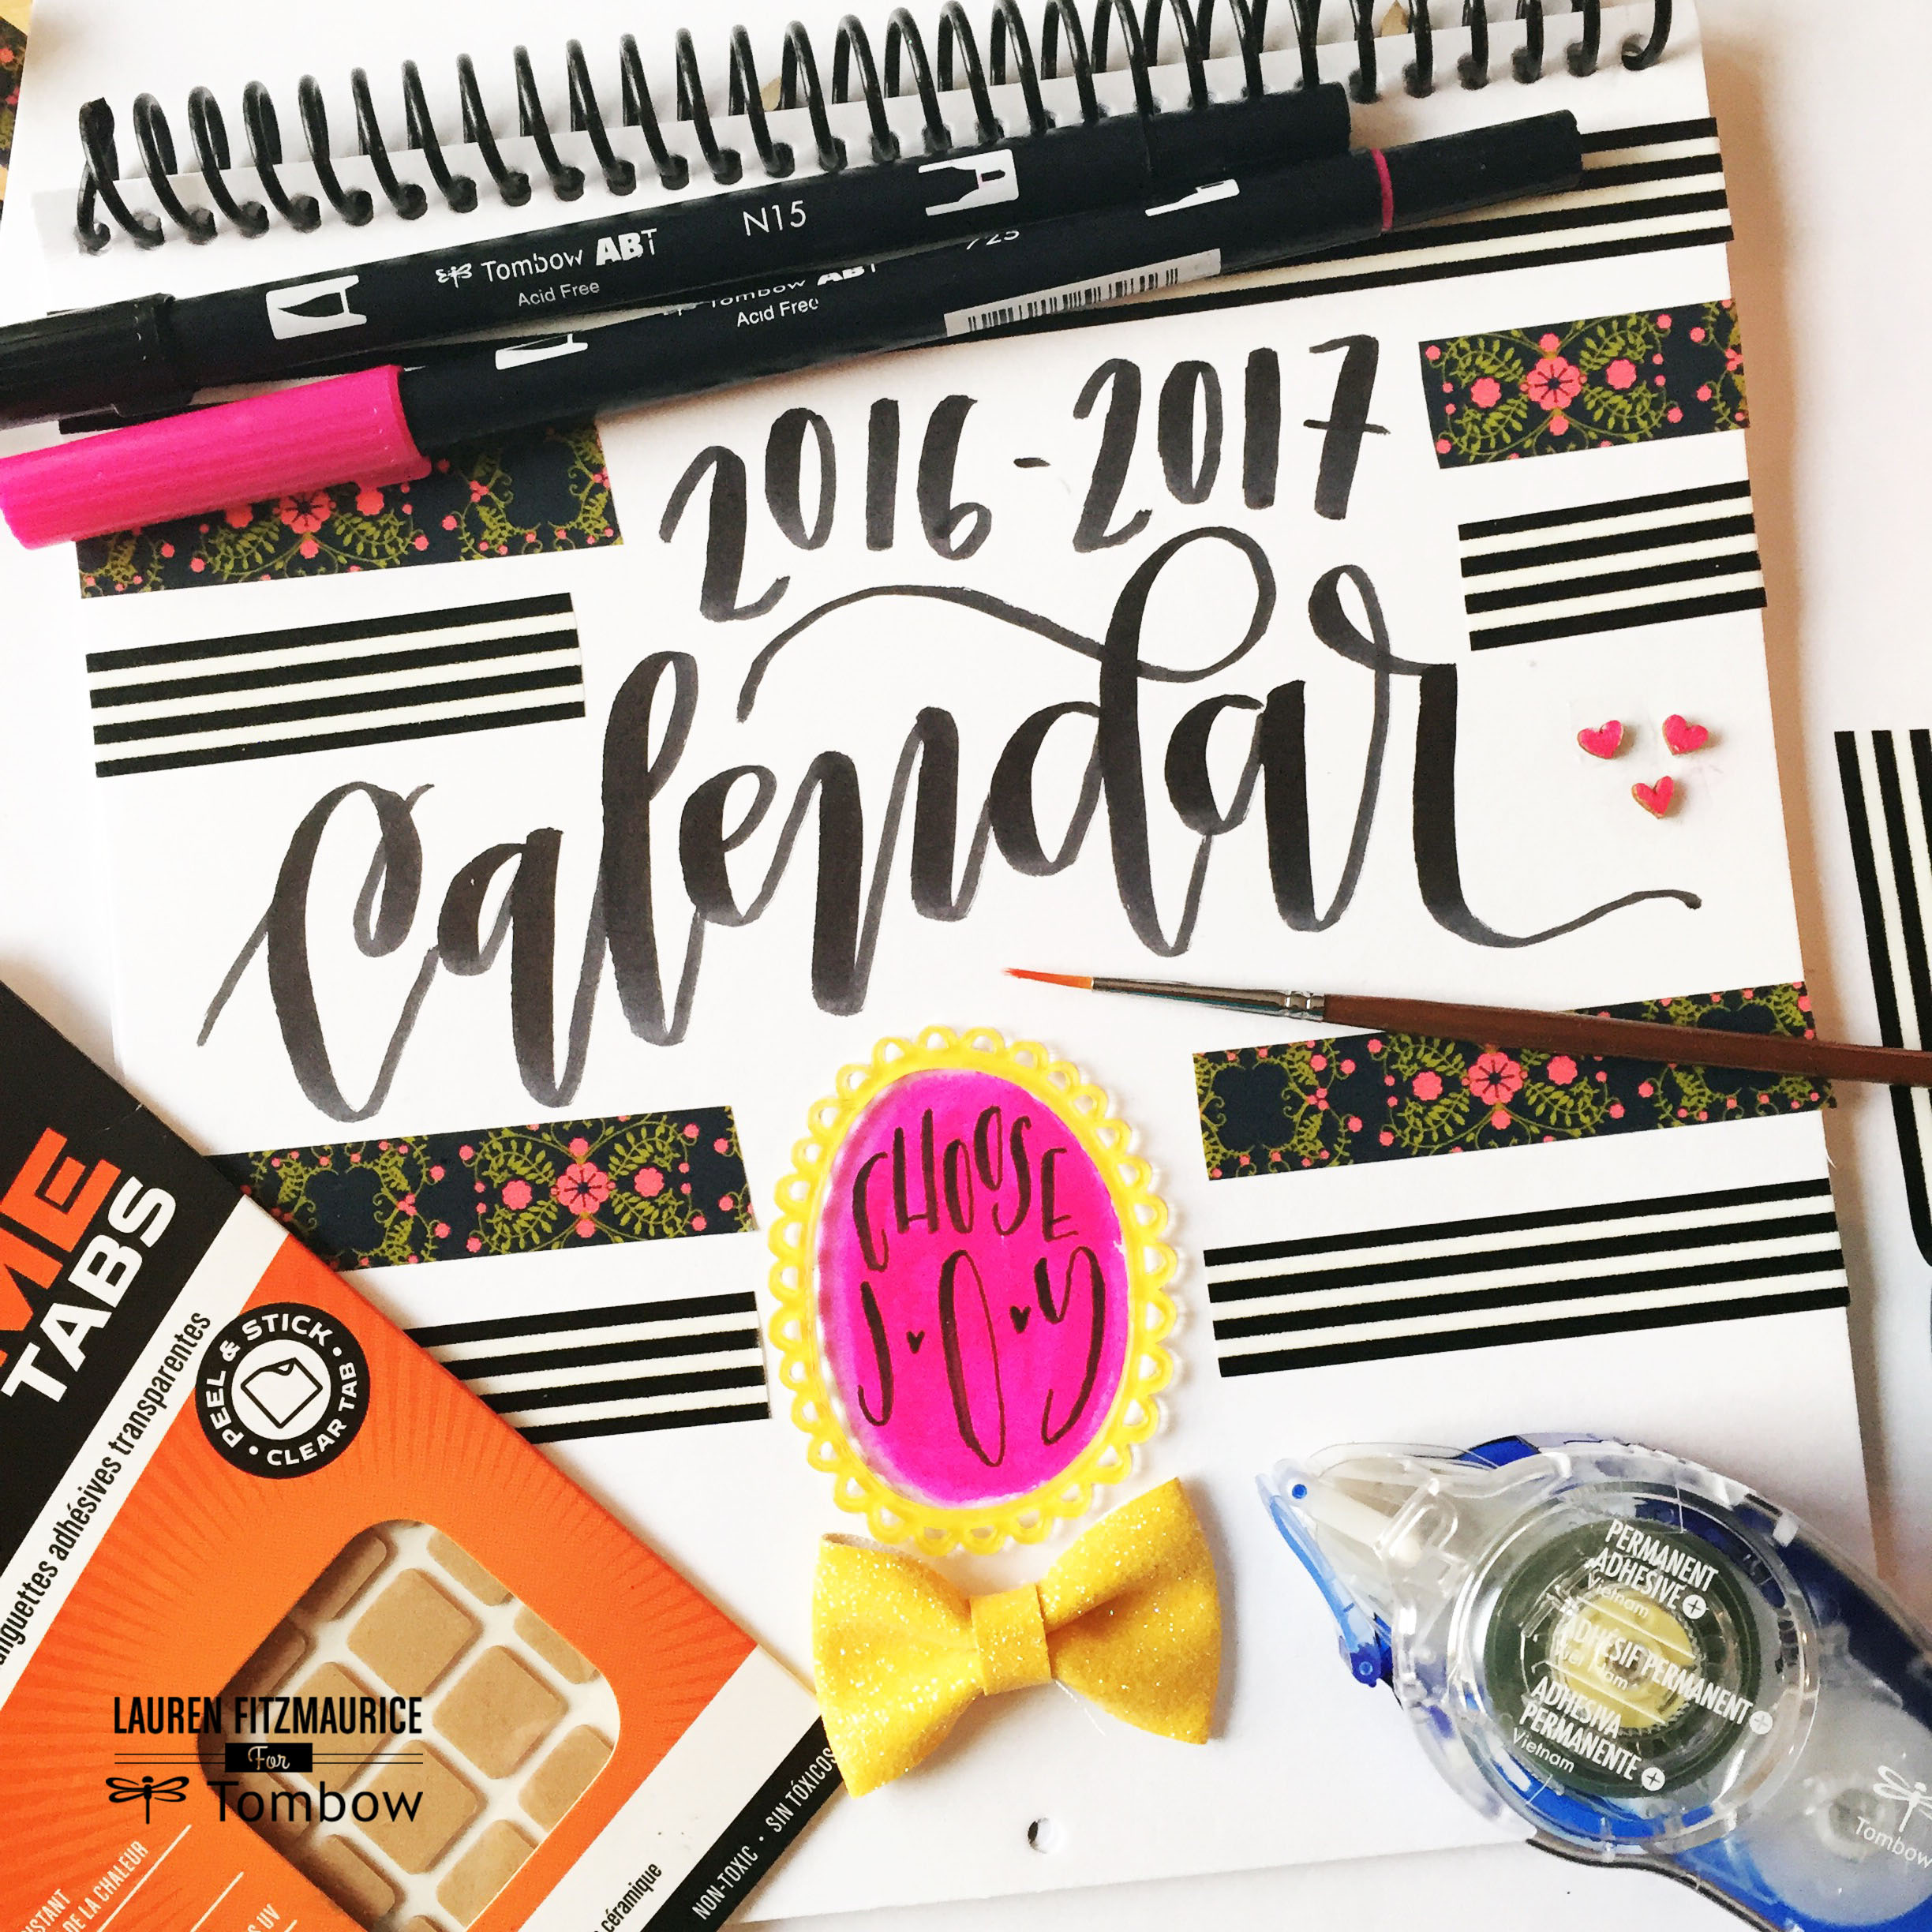
To begin the project, brainstorm a fun way to decorate the cover of the blank calendar. First, I used a Tombow Dual Brush Pen in black to write out the year and the heading for calendar. I then added several different embellishments with Tombow Permanent Adhesive +. I love using this adhesive on small pieces because it is so precise and easy to use. I colored a few hearts from the clouds wood chips set with a Tombow Dual Brush Pen and glued them down . I also used this adhesive to attach a small scalloped frame. Washi tape really gave the cover personality and a bold pop.
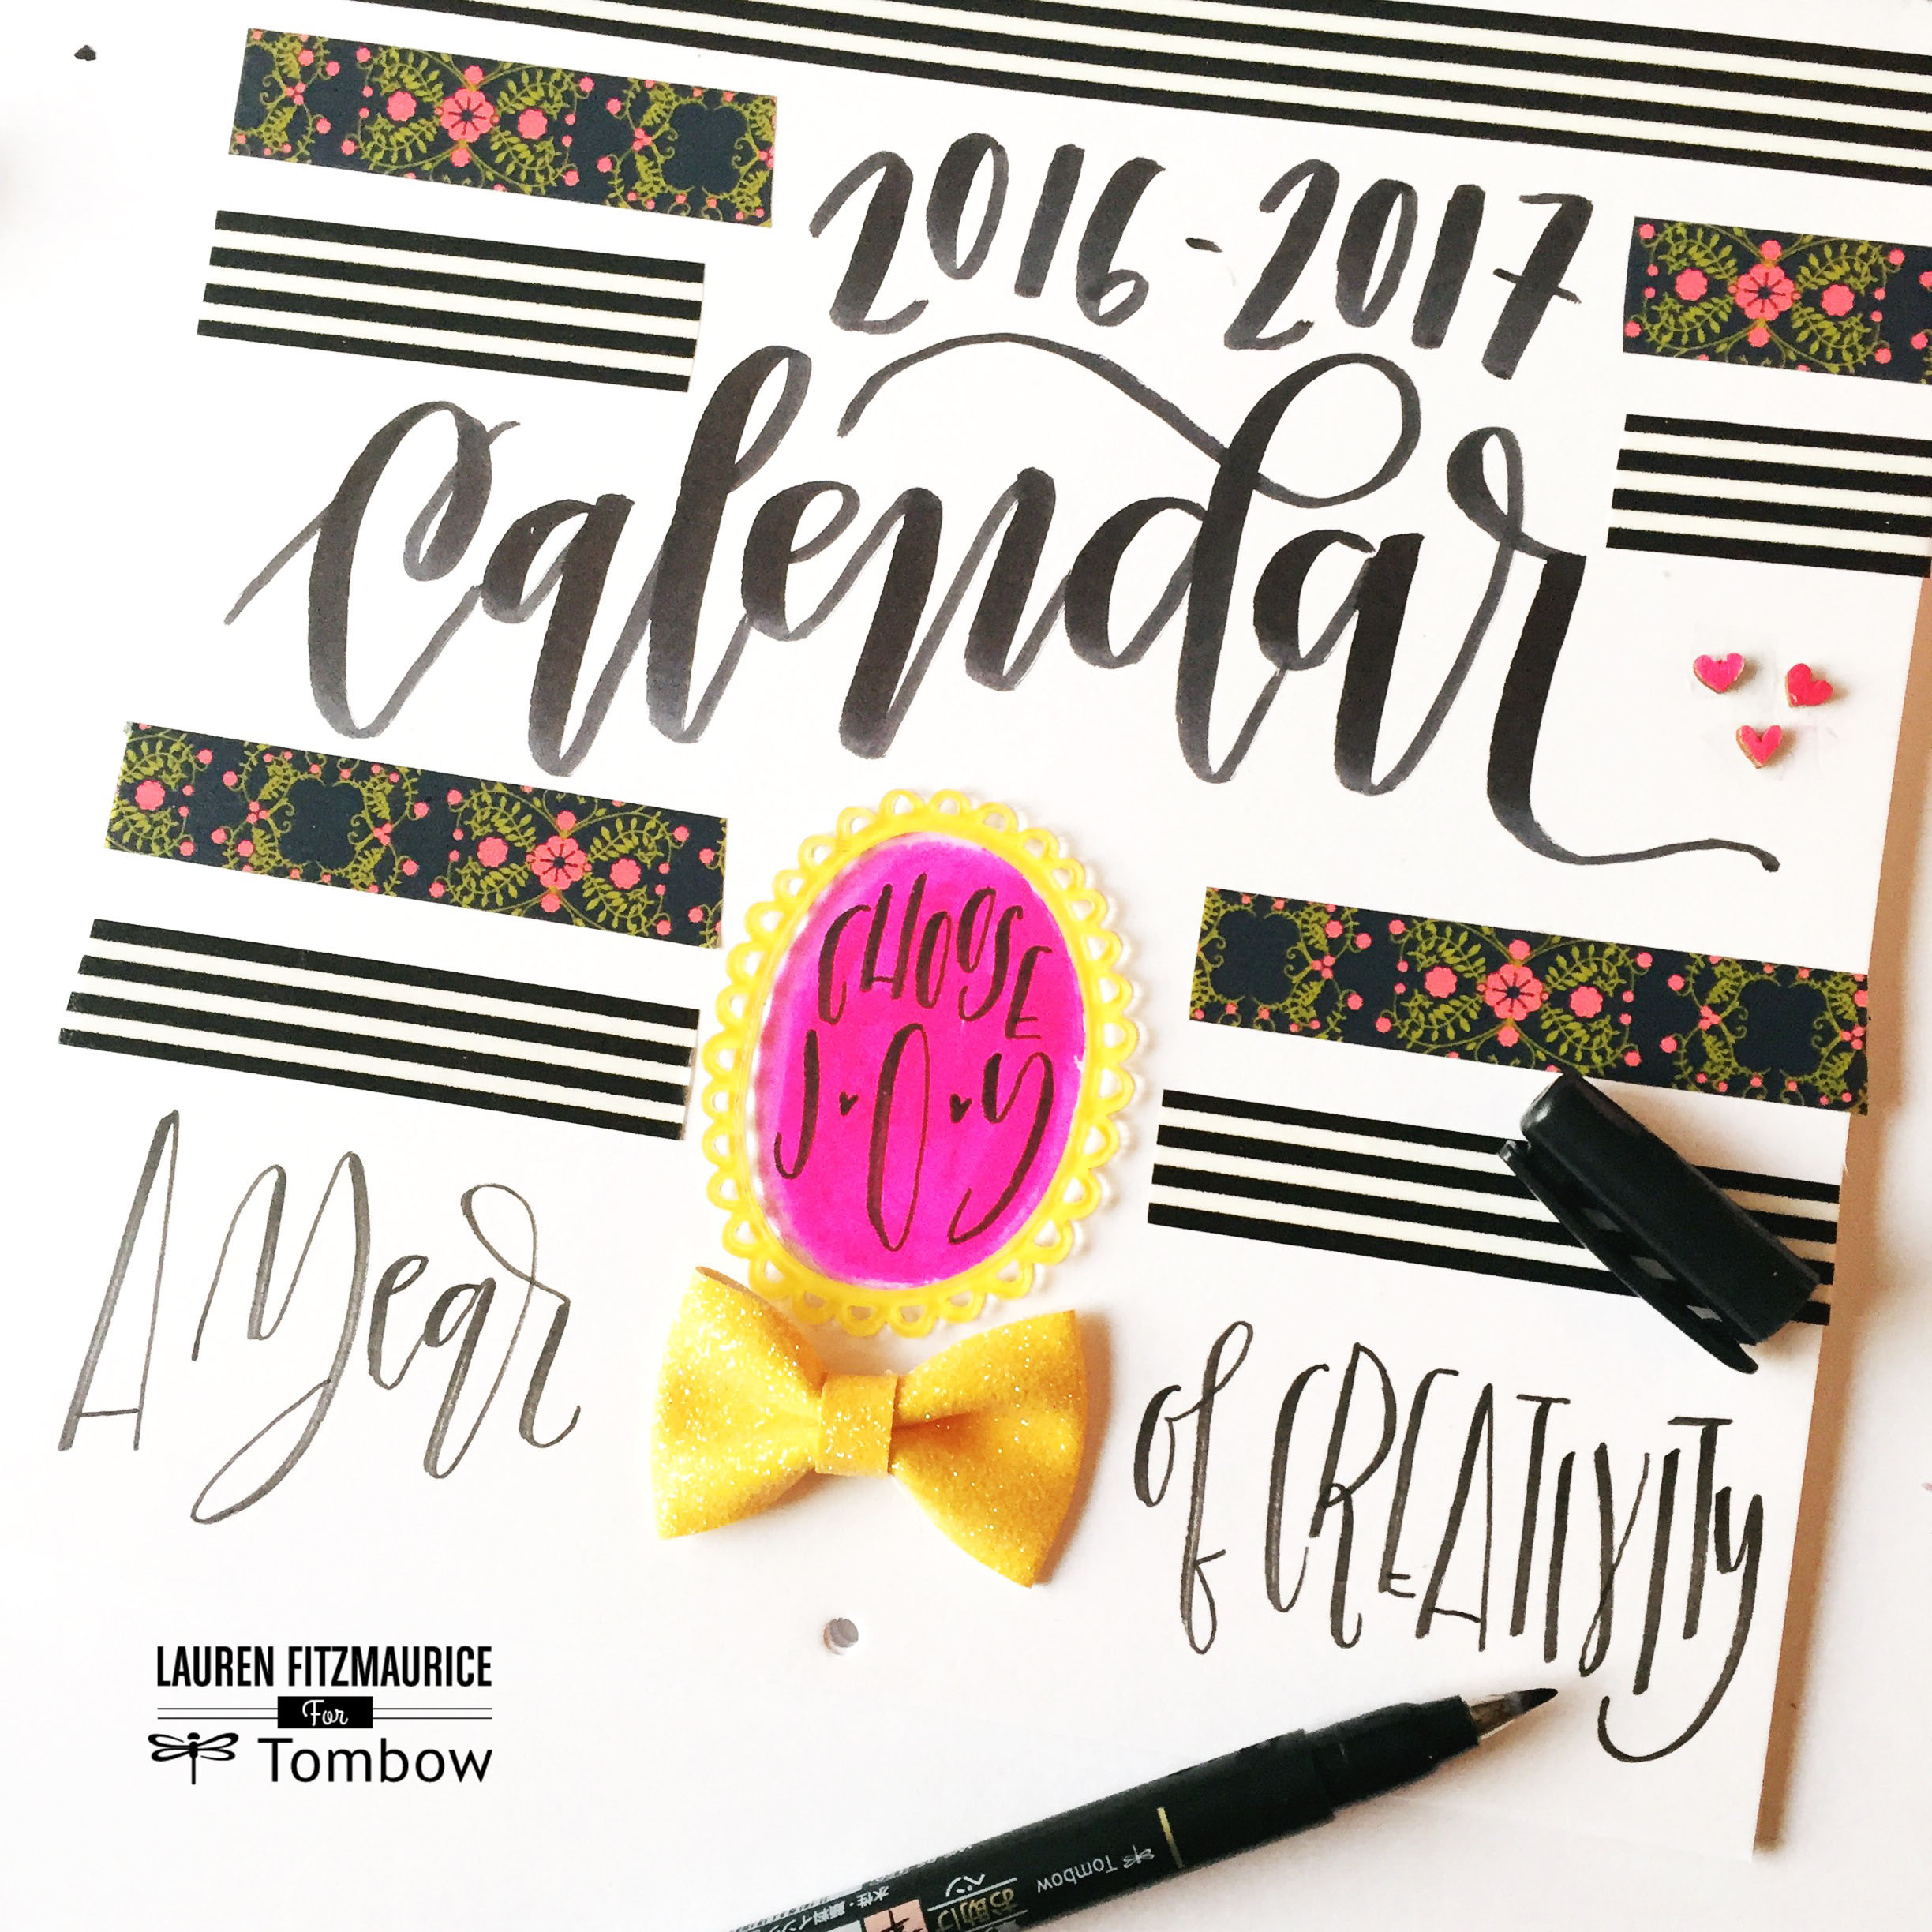
I then added this adorable glittery bow and some lettering with my Tombow Fudenosuke Hard tip brush pen. To attach the bow, I used Tombow Xtreme Tabs by placing one on each side of the bow and adding just a little pressure.
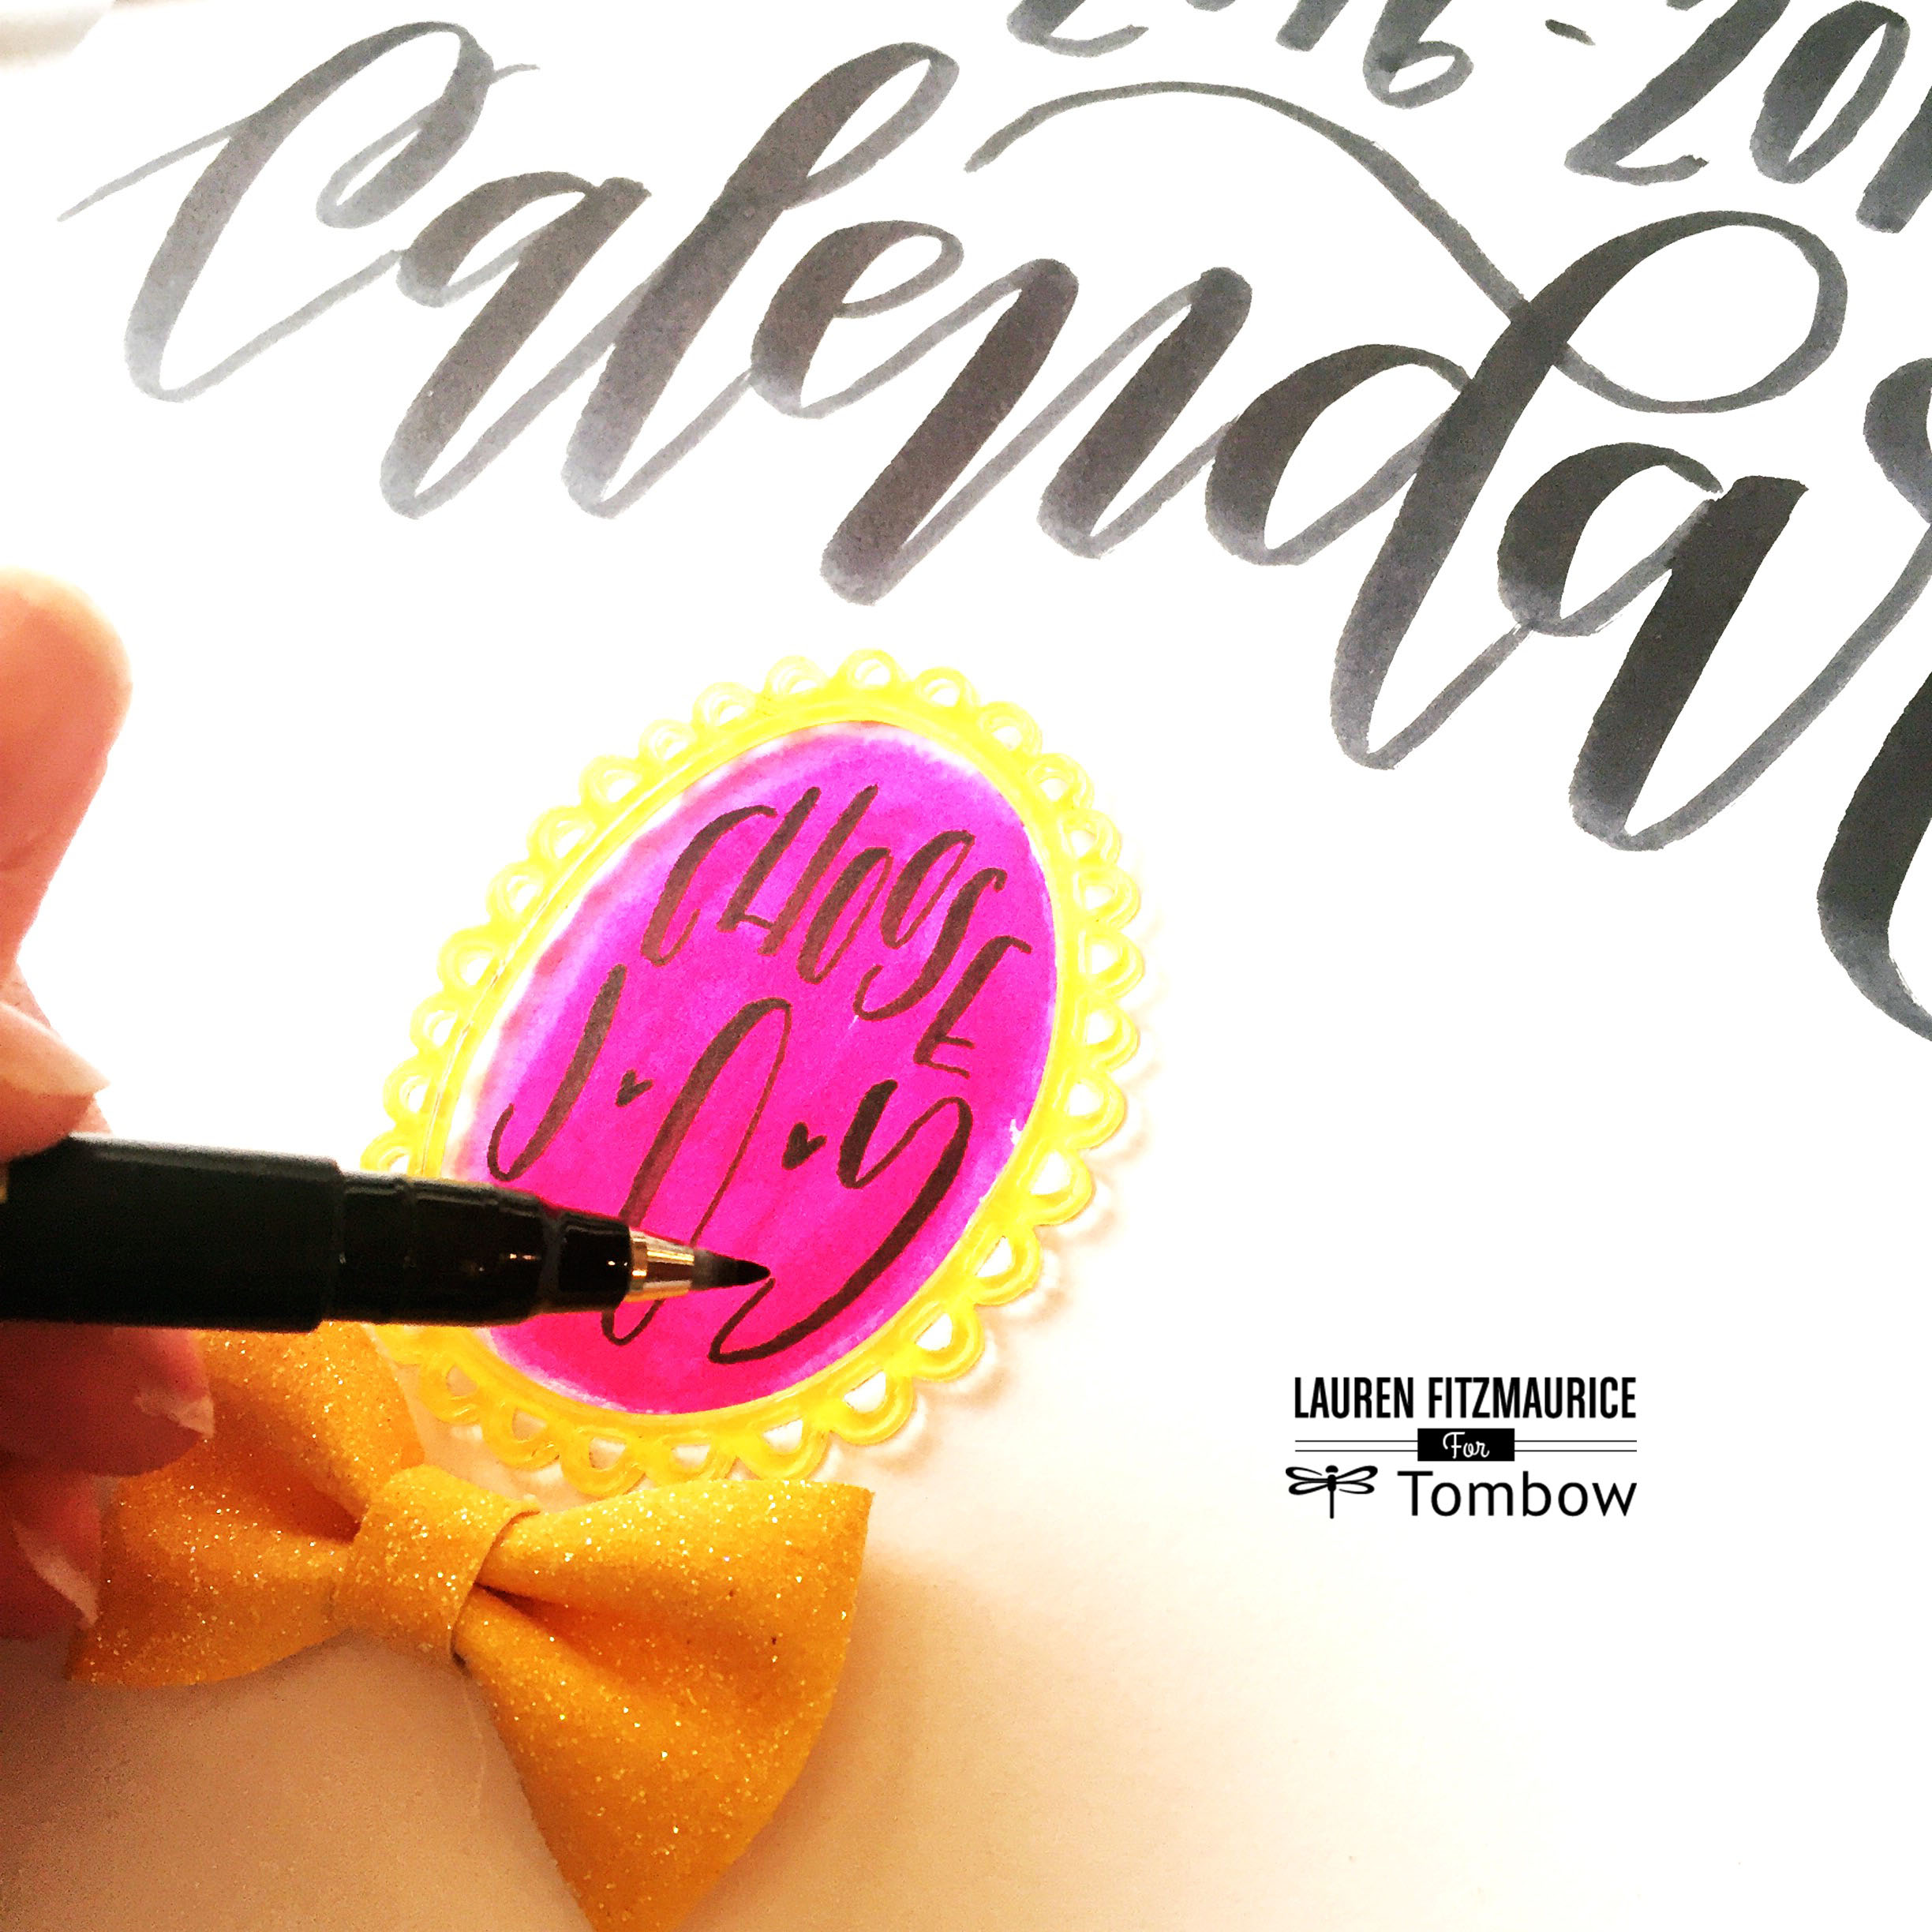
I love the fun little lettering inside the scalloped frame! I used the Tombow Fudenosuke Hard Tip Brush Pen to write out a fun phrase. Before I wrote the lettering, I used a bright pink Dual Brush Pen to color inside of the frame. Then I used a watercolor brush to move around the color for a watercolor effect. The colorful background really made the quote pop!
Make the Inside Quotes
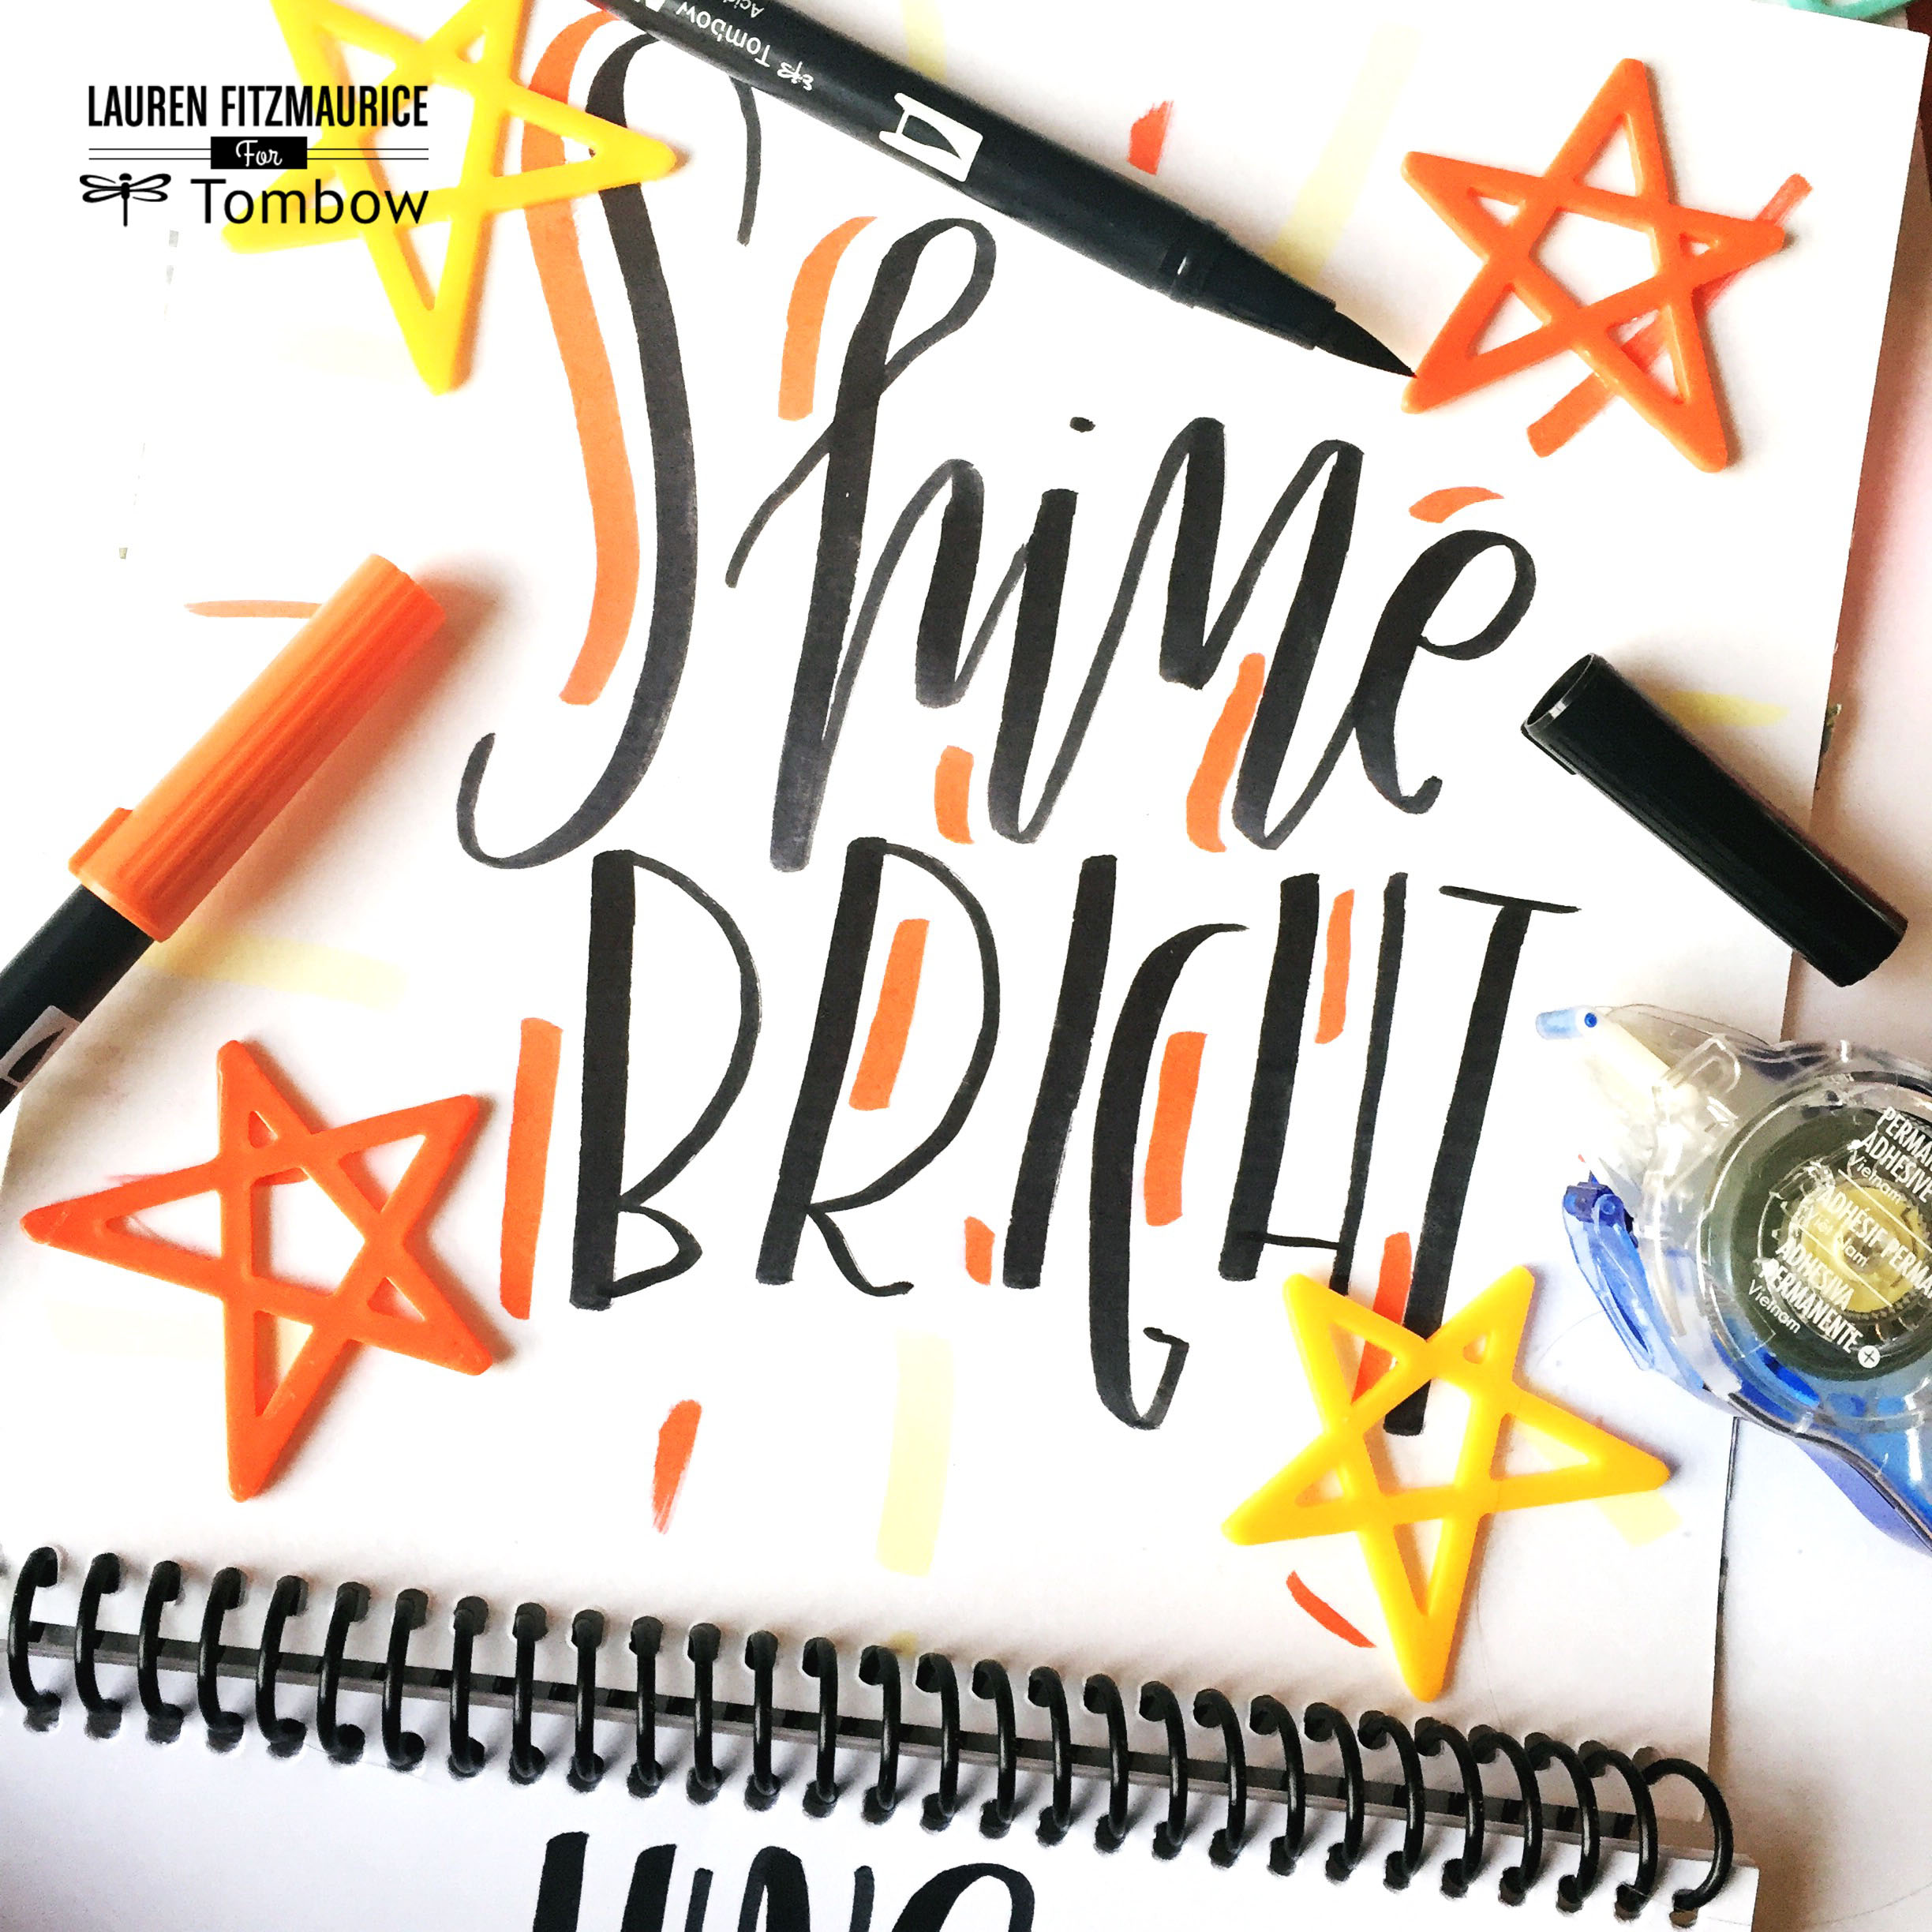
After finishing the cover, I began to brainstorm fun phrases to letter for each month. I did the lettering of these phrases in black Dual Brush Pen, but then added some different colors with Dual Brush Pens. The acrylic stars were fun to stick down while using the Tombow Permanent Adhesive +.
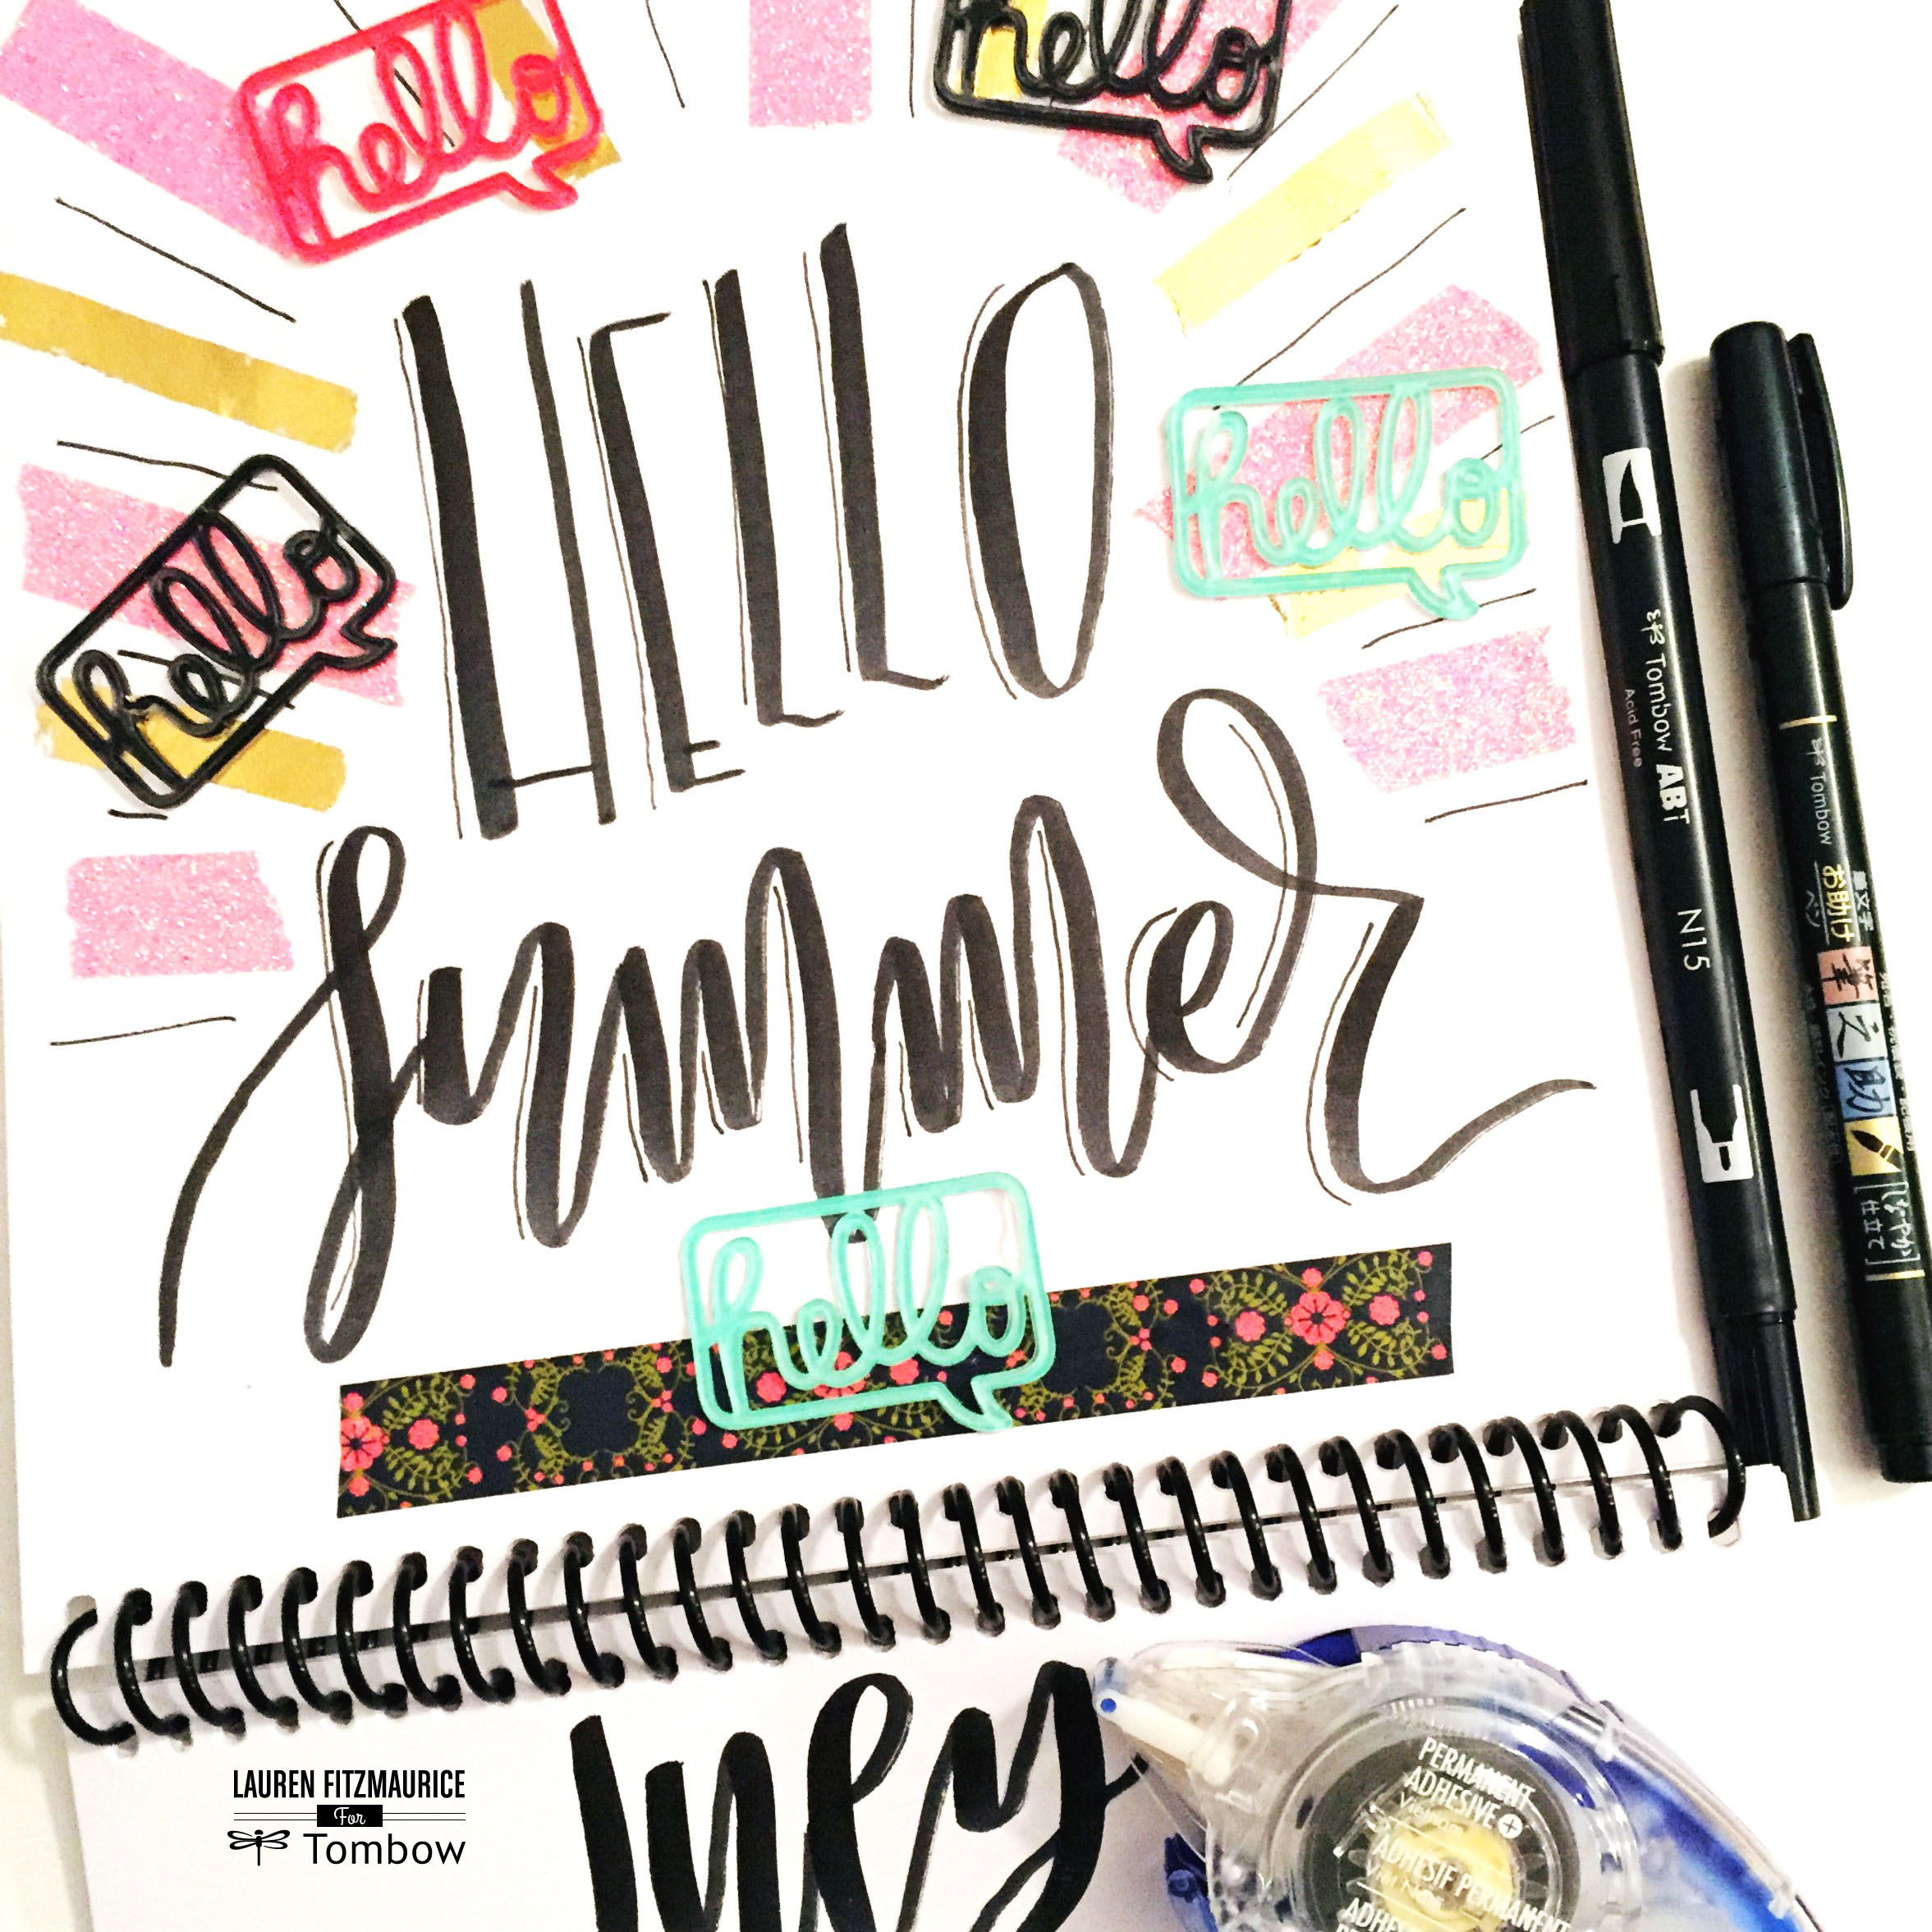
To create my inspirational quote for July, I first wrote out the phrase “Hello summer” out in Black Dual Brush Pen. Then using pink glitter washi tape and my Tombow Fudenosuke Hard Tip Brush Pen, I drew fun lines coming away from the phrase. Then I used the Tombow Permanent Adhesive+ to add foil bursts to the pattern. I topped off this page with acrylic hello embellishments.
Label the Months and Days
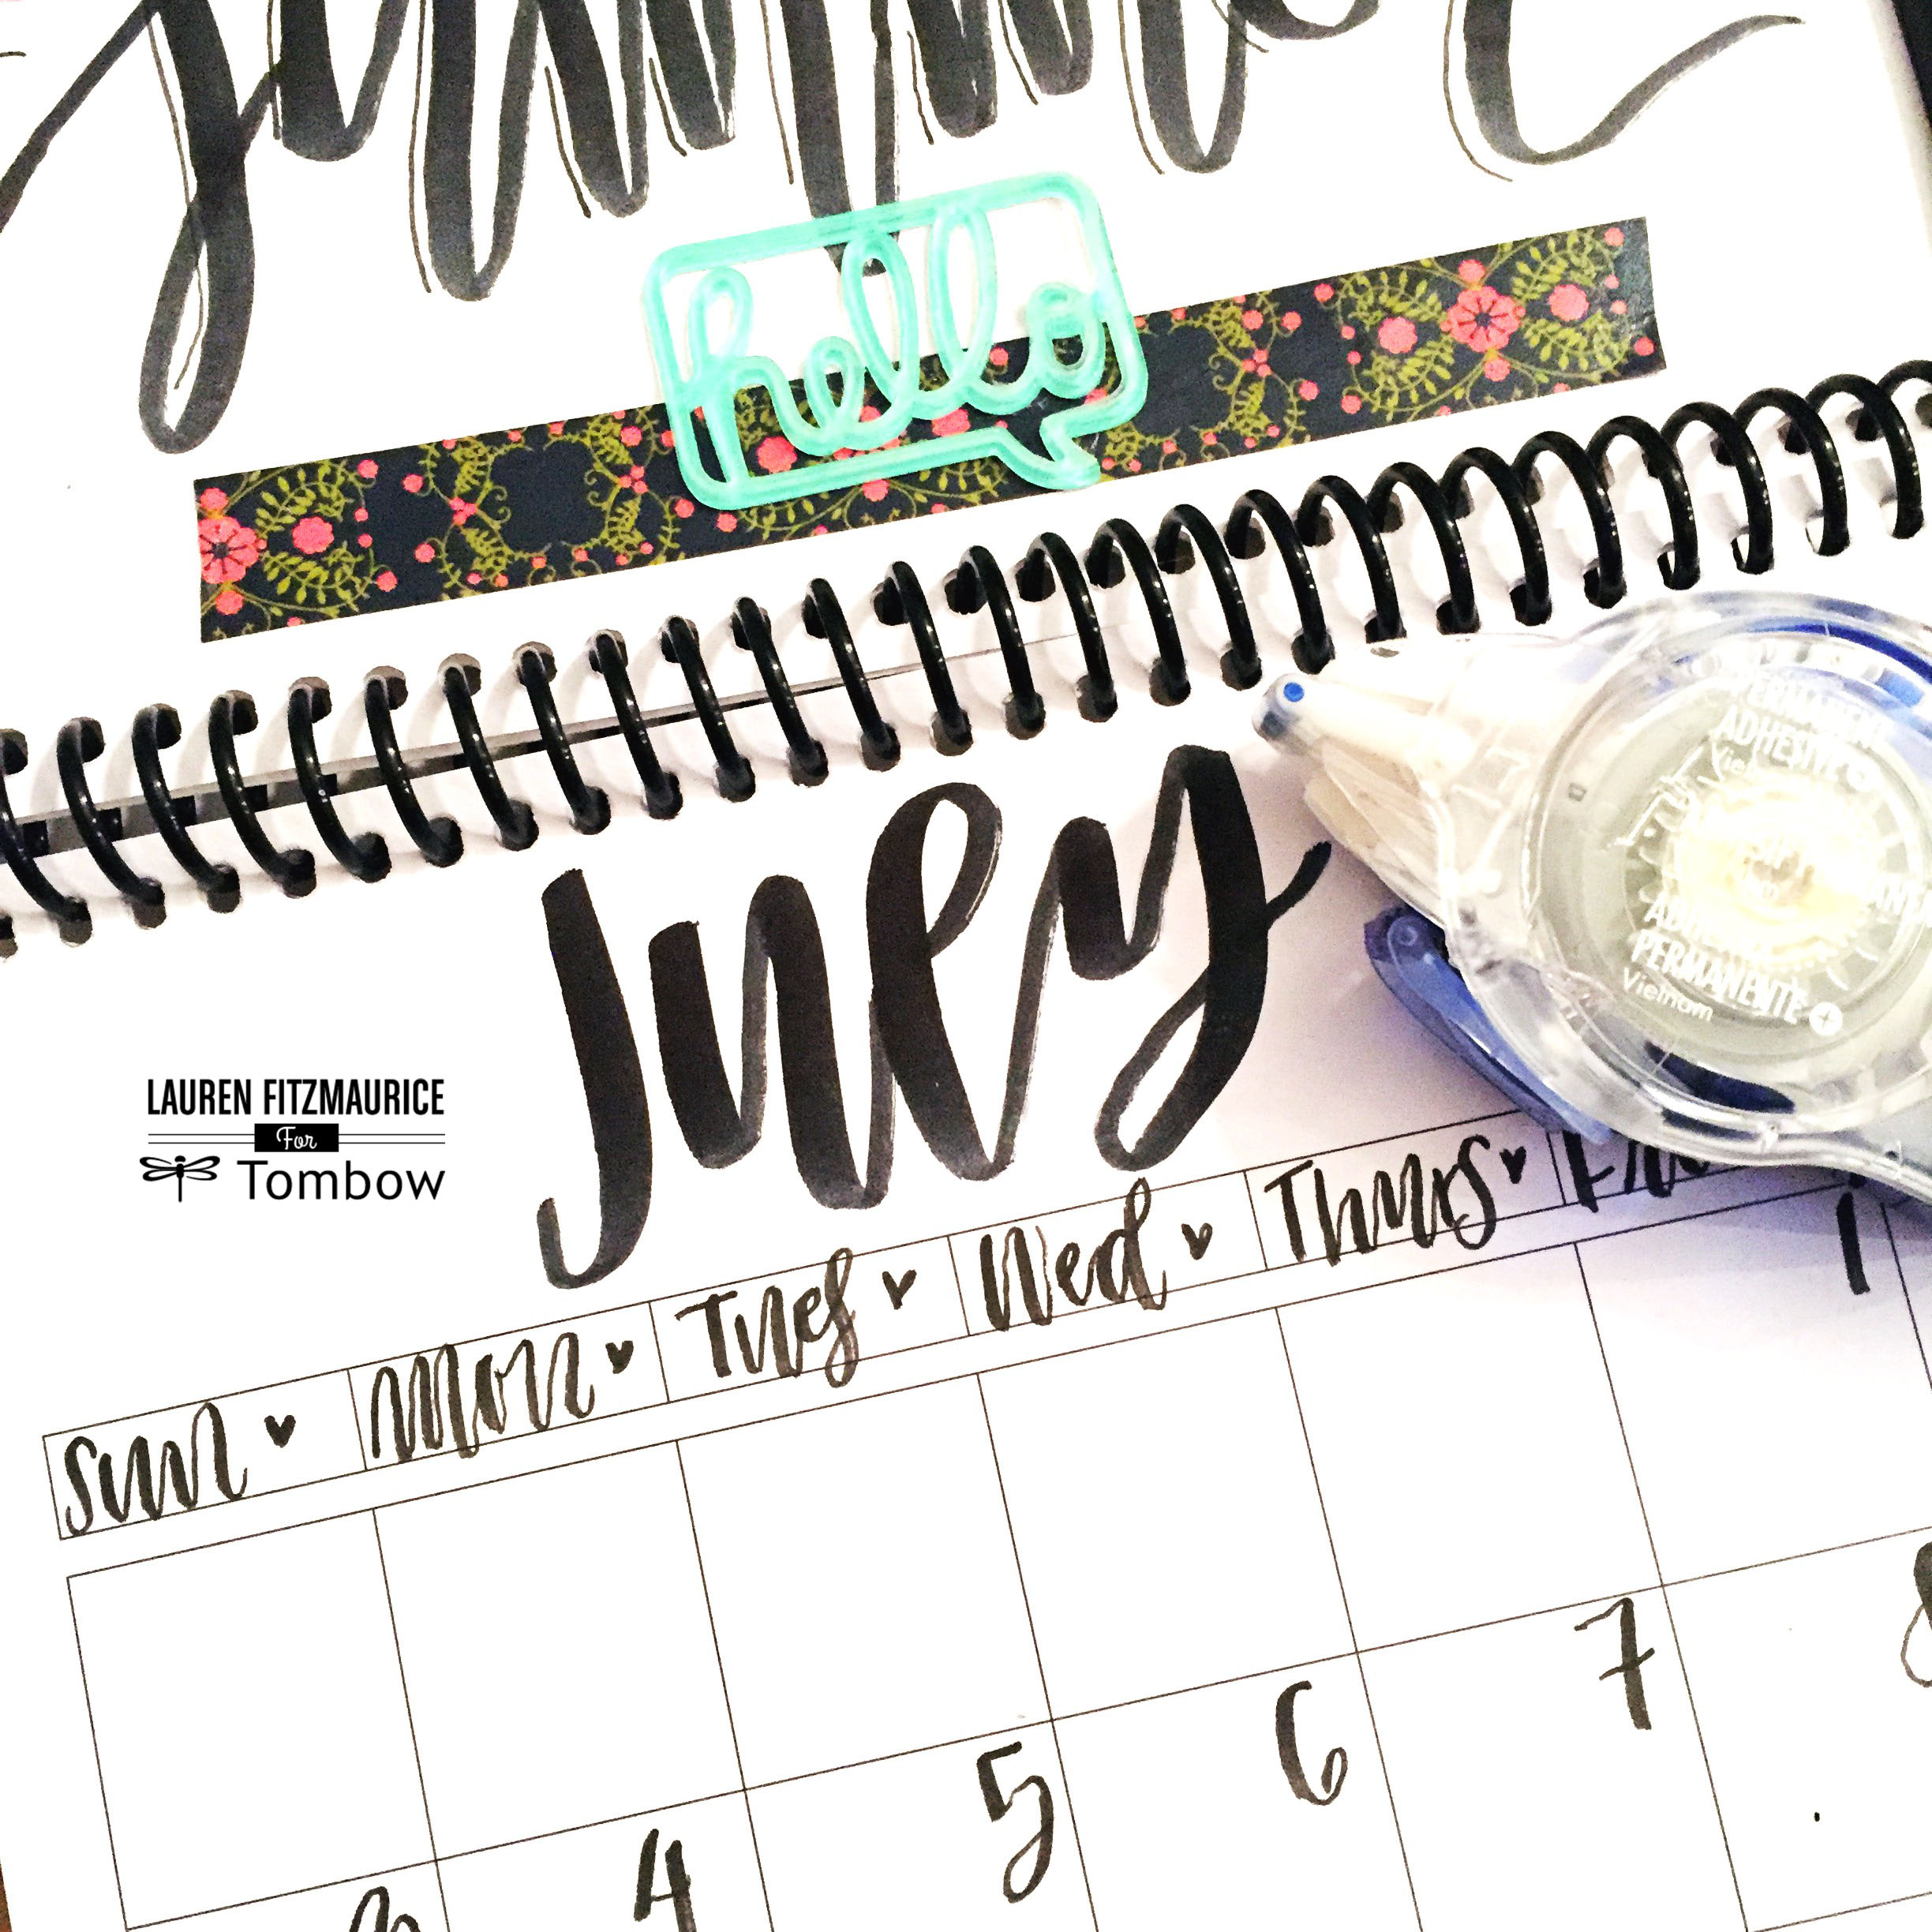
Labeling the months and days was very simple. I created the months using my Tombow Dual Brush Pens in black and then wrote all of the days and numbers with my Tombow Fudenosuke Hard Tip Brush Pen.
Finish the Months!
The options are endless and it is sure to be fun filling the rest of this calendar with the remaining Freckled Fawn embellishments. Try out this tutorial for yourself and make sure you tag me on instagram with @renmadecalligraphy so that I can see your fabulous work! For more tips check out www.renmadecalligraphy.com and Tombow USA.
Lauren