Craft Station Storage Container
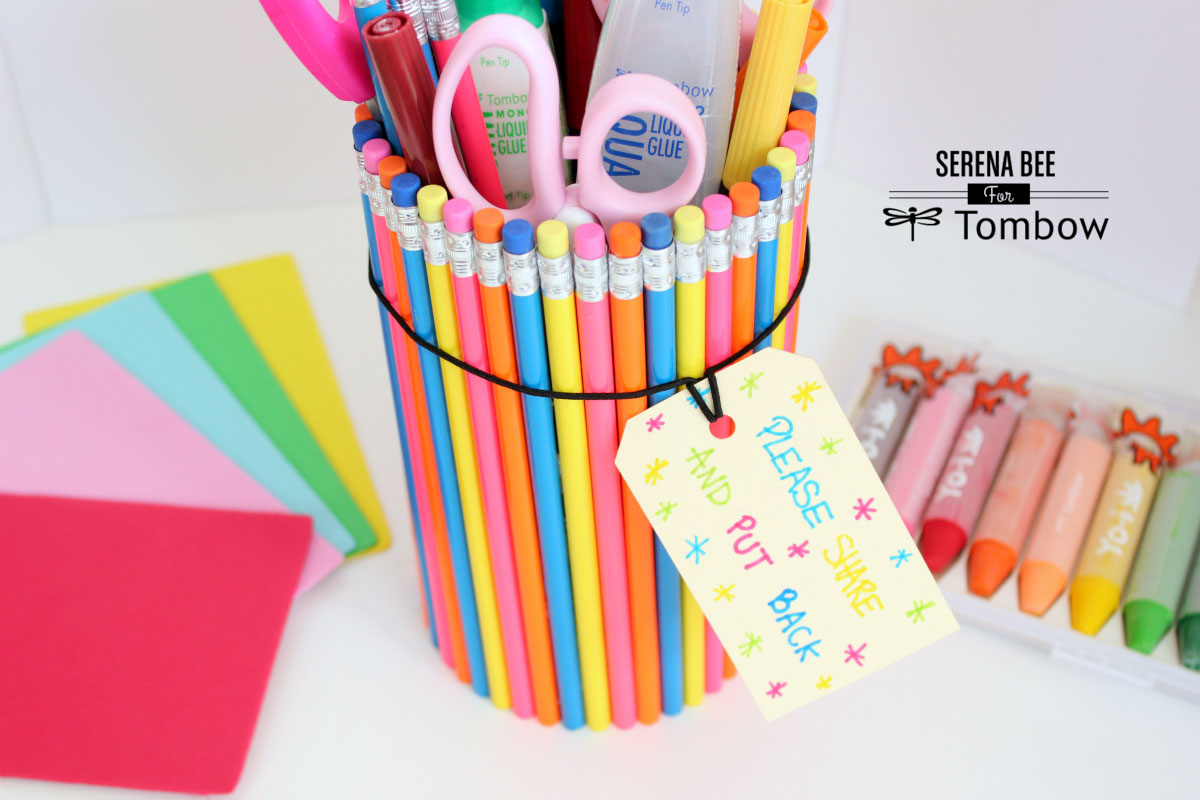
Hello Lovelies! Serena Bee here and today over at Tombow we are sharing DIY classroom decor projects. For my project I created a craft room storage container perfect to store art class supplies. This DIY is very easy and is the perfect touch for art time. You can easily make a few of these and have them at each table with supplies such as scissors, rulers, markers, and glue for your students to use. Let’s get started!
Supplies:
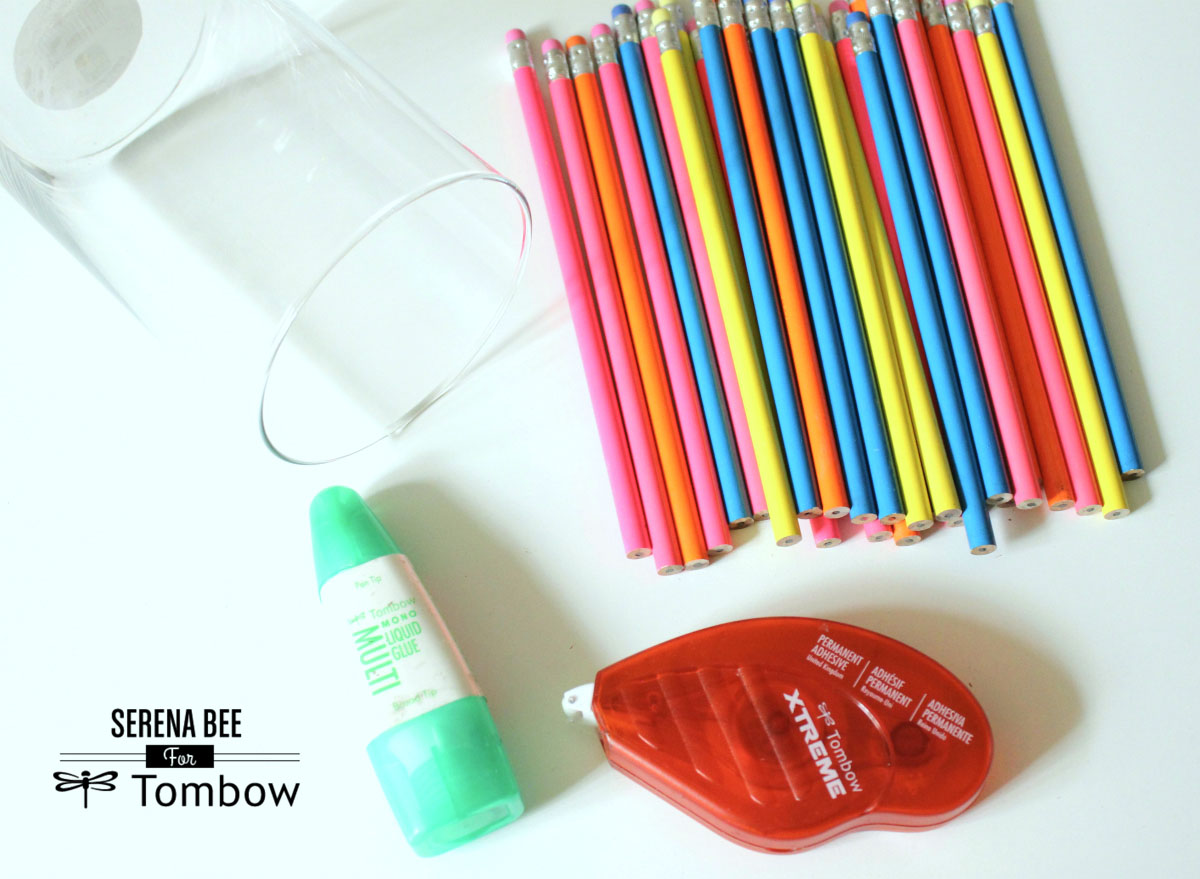
–Tombow Xtreme Adhesive or you can use Tombow Mono Multi Liquid Glue
–Tombow MONO Drawing pencil in “F”
-a vase or glass container
-decorative HB pencils
-elastic cord
-tag
Step #1
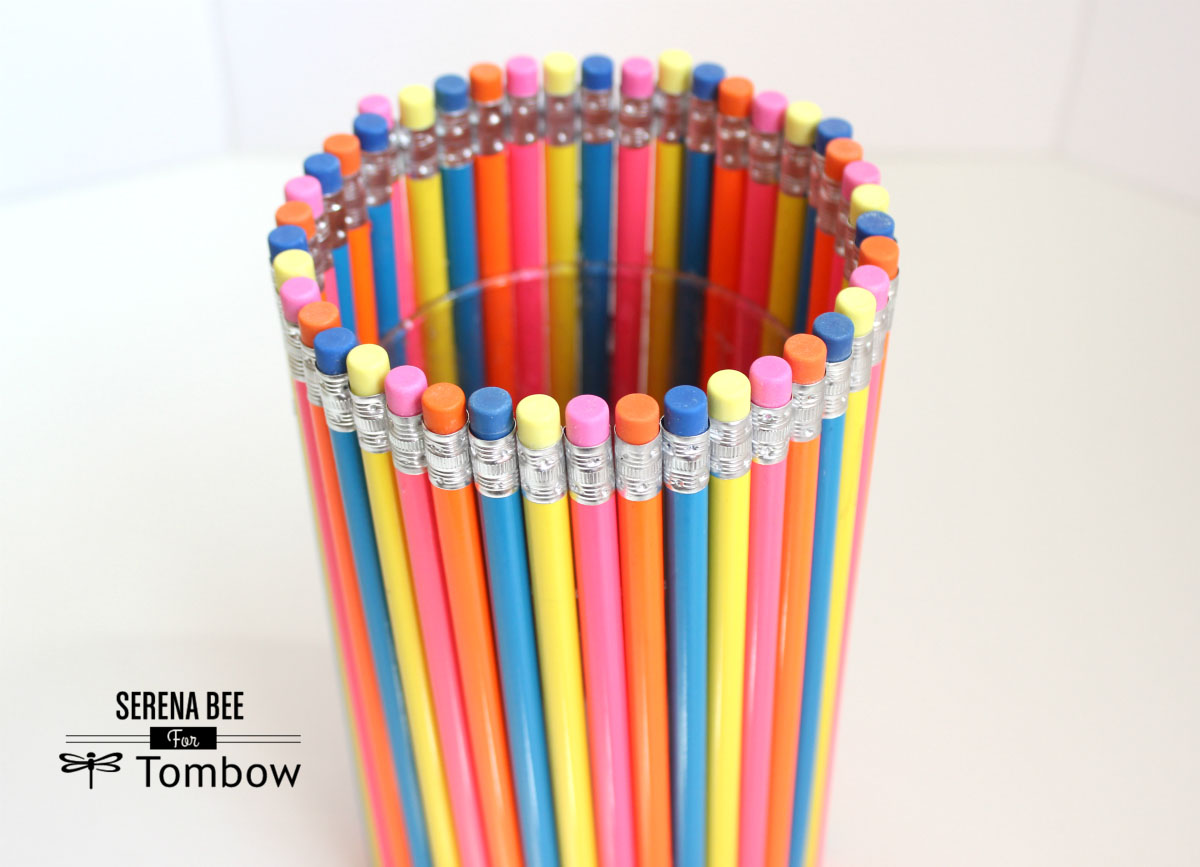
Begin by adding a stream of Tombow Xtreme adhesive veritcally across your vase. I like to apply 2 rows so that once I add the pencil I have the next side of the vase covered with with adhesive ready for my next pencil. Once you add the pencil it’s a little hard to apply the adhesive flush to the pencil.
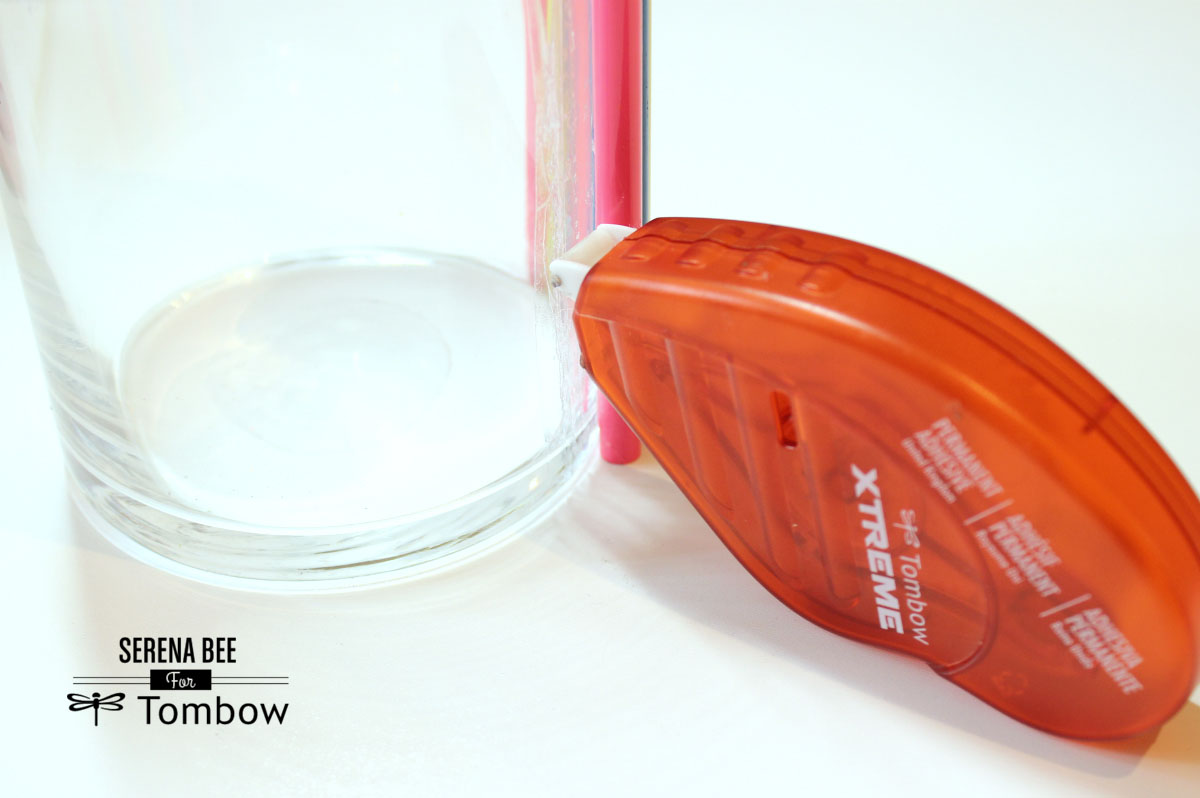
Continue by adding a row of adhesive and then a colored pencil making sure to follow your color pattern. For a stronger hold I added Xtreme Adhesive to each pencil as well.
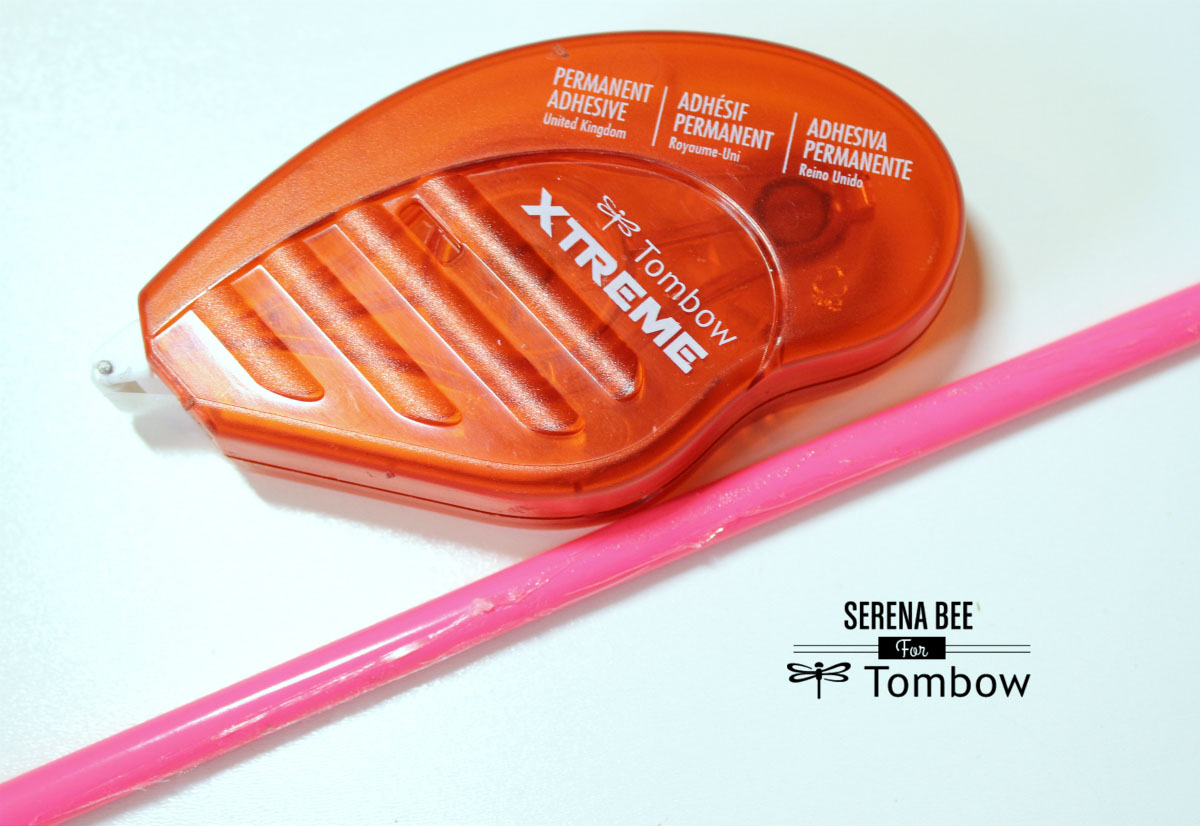
Continue these steps until you vase is completely covered in pencils.
Step #2
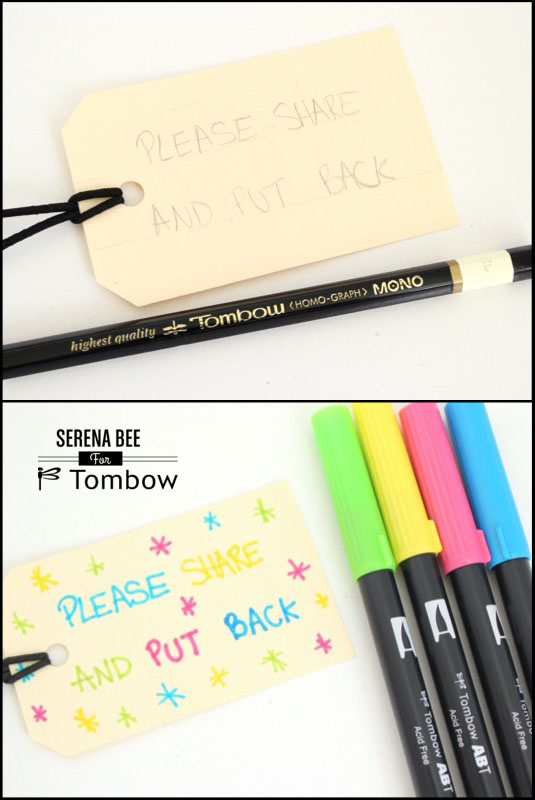
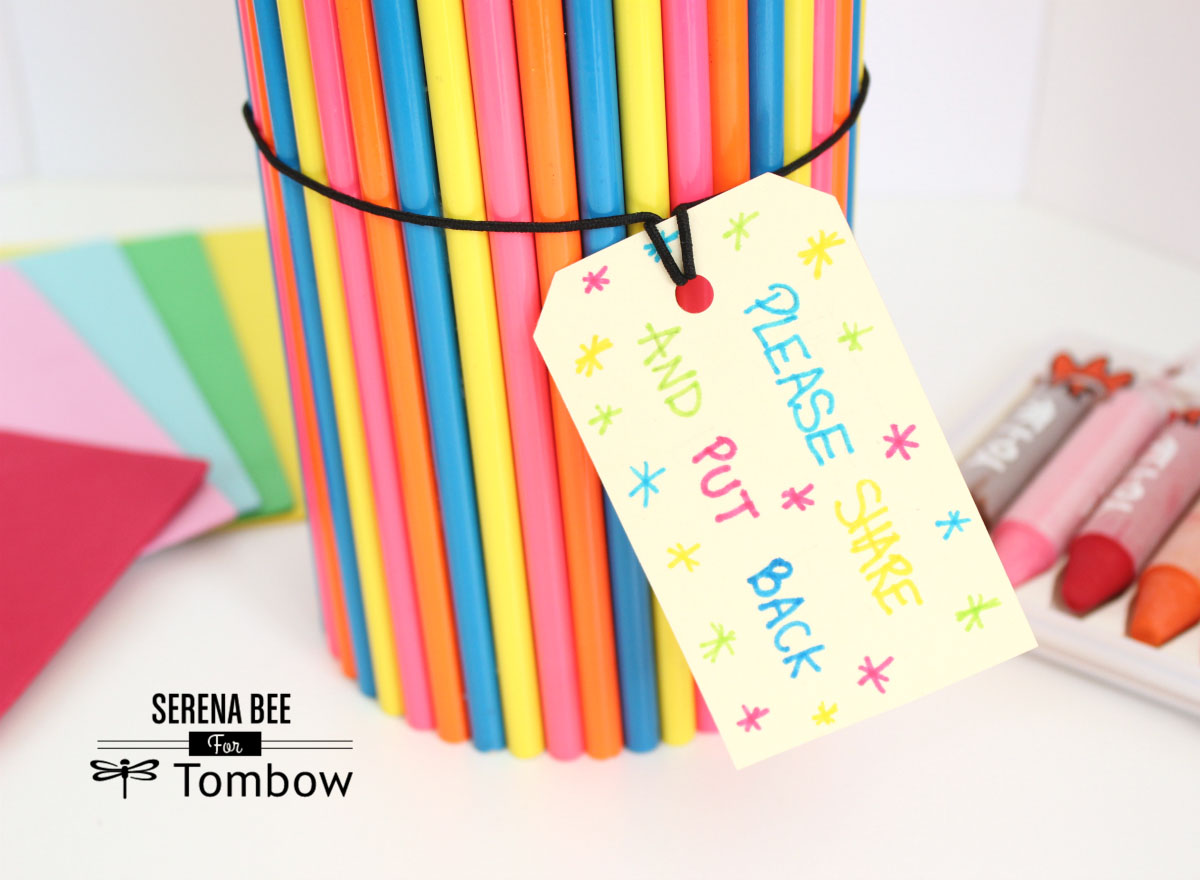
To finish off the craft station storage container, I created a tag with a message for all the students. You can write anything you would like.
Next, I attached elastic cord so that I can add the tag around the base of the storage container. Using the Tombow MONO Drawing pencil in “F” write out your message on the tag. When you are happy with it use various colors of the Tombow Dual Brush Pens to trace over each word. Lastly, Erase the pencil marks with the Tombow Non-PVC Eraser.
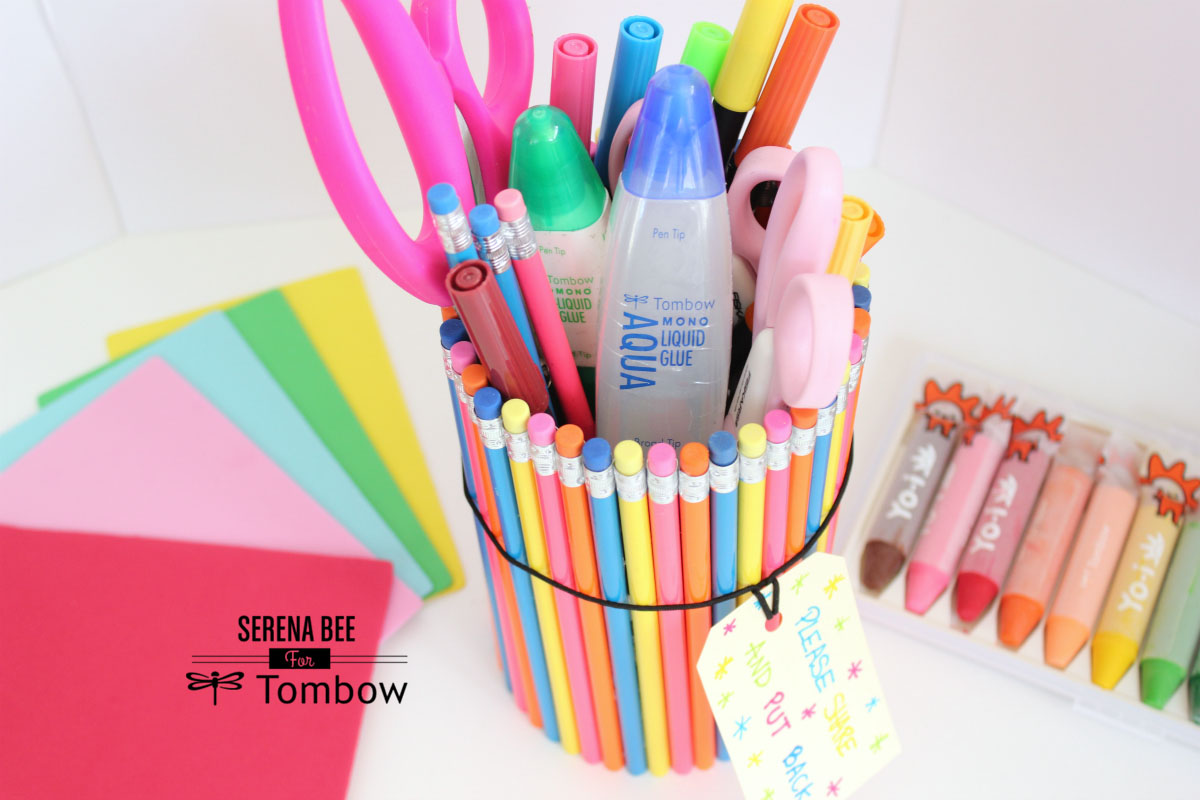
The next step is to fill up the craft station storage container with markers, scissors, rulers and glue, all the tools your students need to create projects in art class!
Thank you for stopping by today! I hope you enjoyed my classroom decor project!
Follow me on Instagram @seresbee for more projects and inspiration.
Have a wonderful day!
Serena Bee