I hope you lovelies are ready for a fun tutorial of how to create some unique Halloween cards that incorporate some fun images from Paper Cakes, October Nights digital collection by Serena Bee, a few handmade pattern and textures, and some cute hand lettering. Serena Bee’s new shop is so fun and the different graphics were very fun to play with and mix with lots of Tombow love.
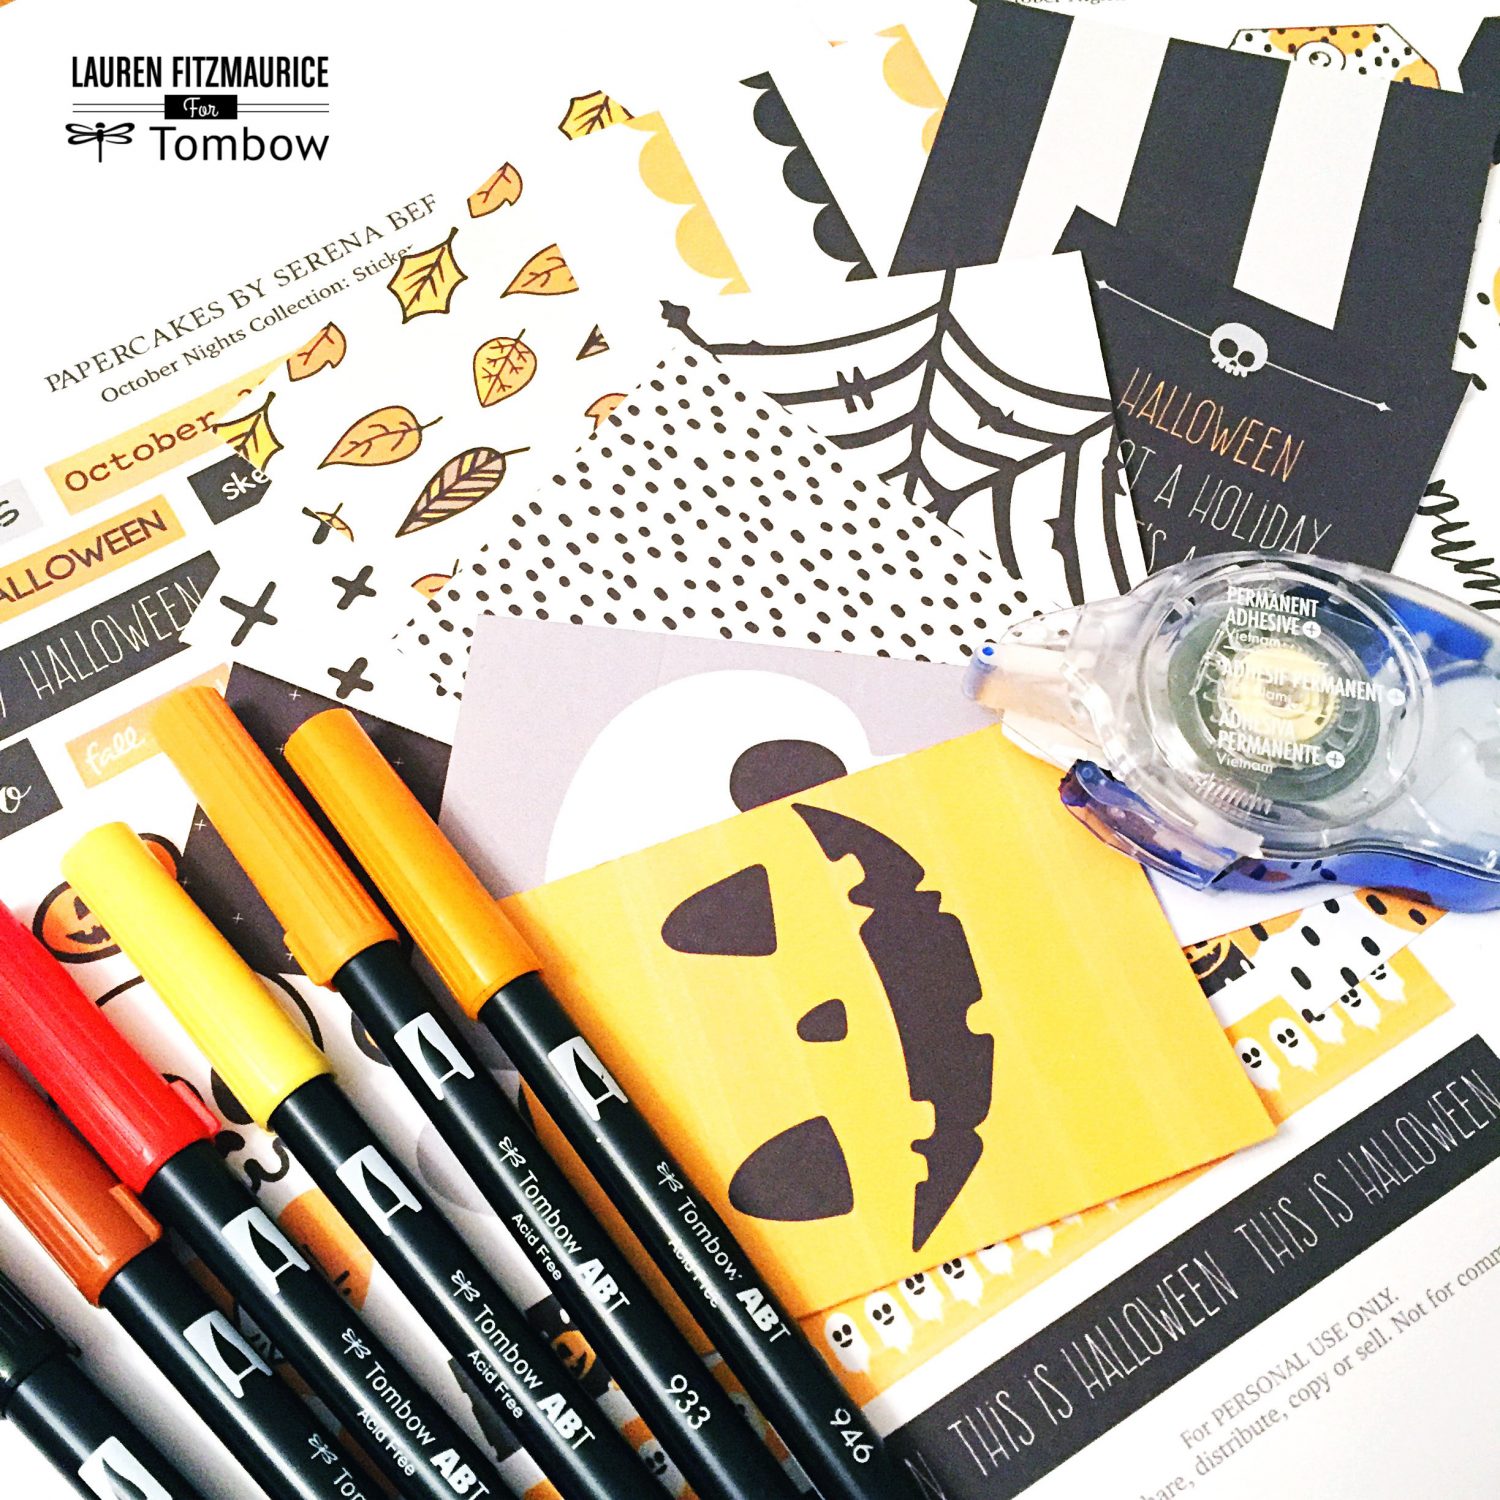
YOU’LL NEED
To create these colorful, Halloween cards, you will need the following:
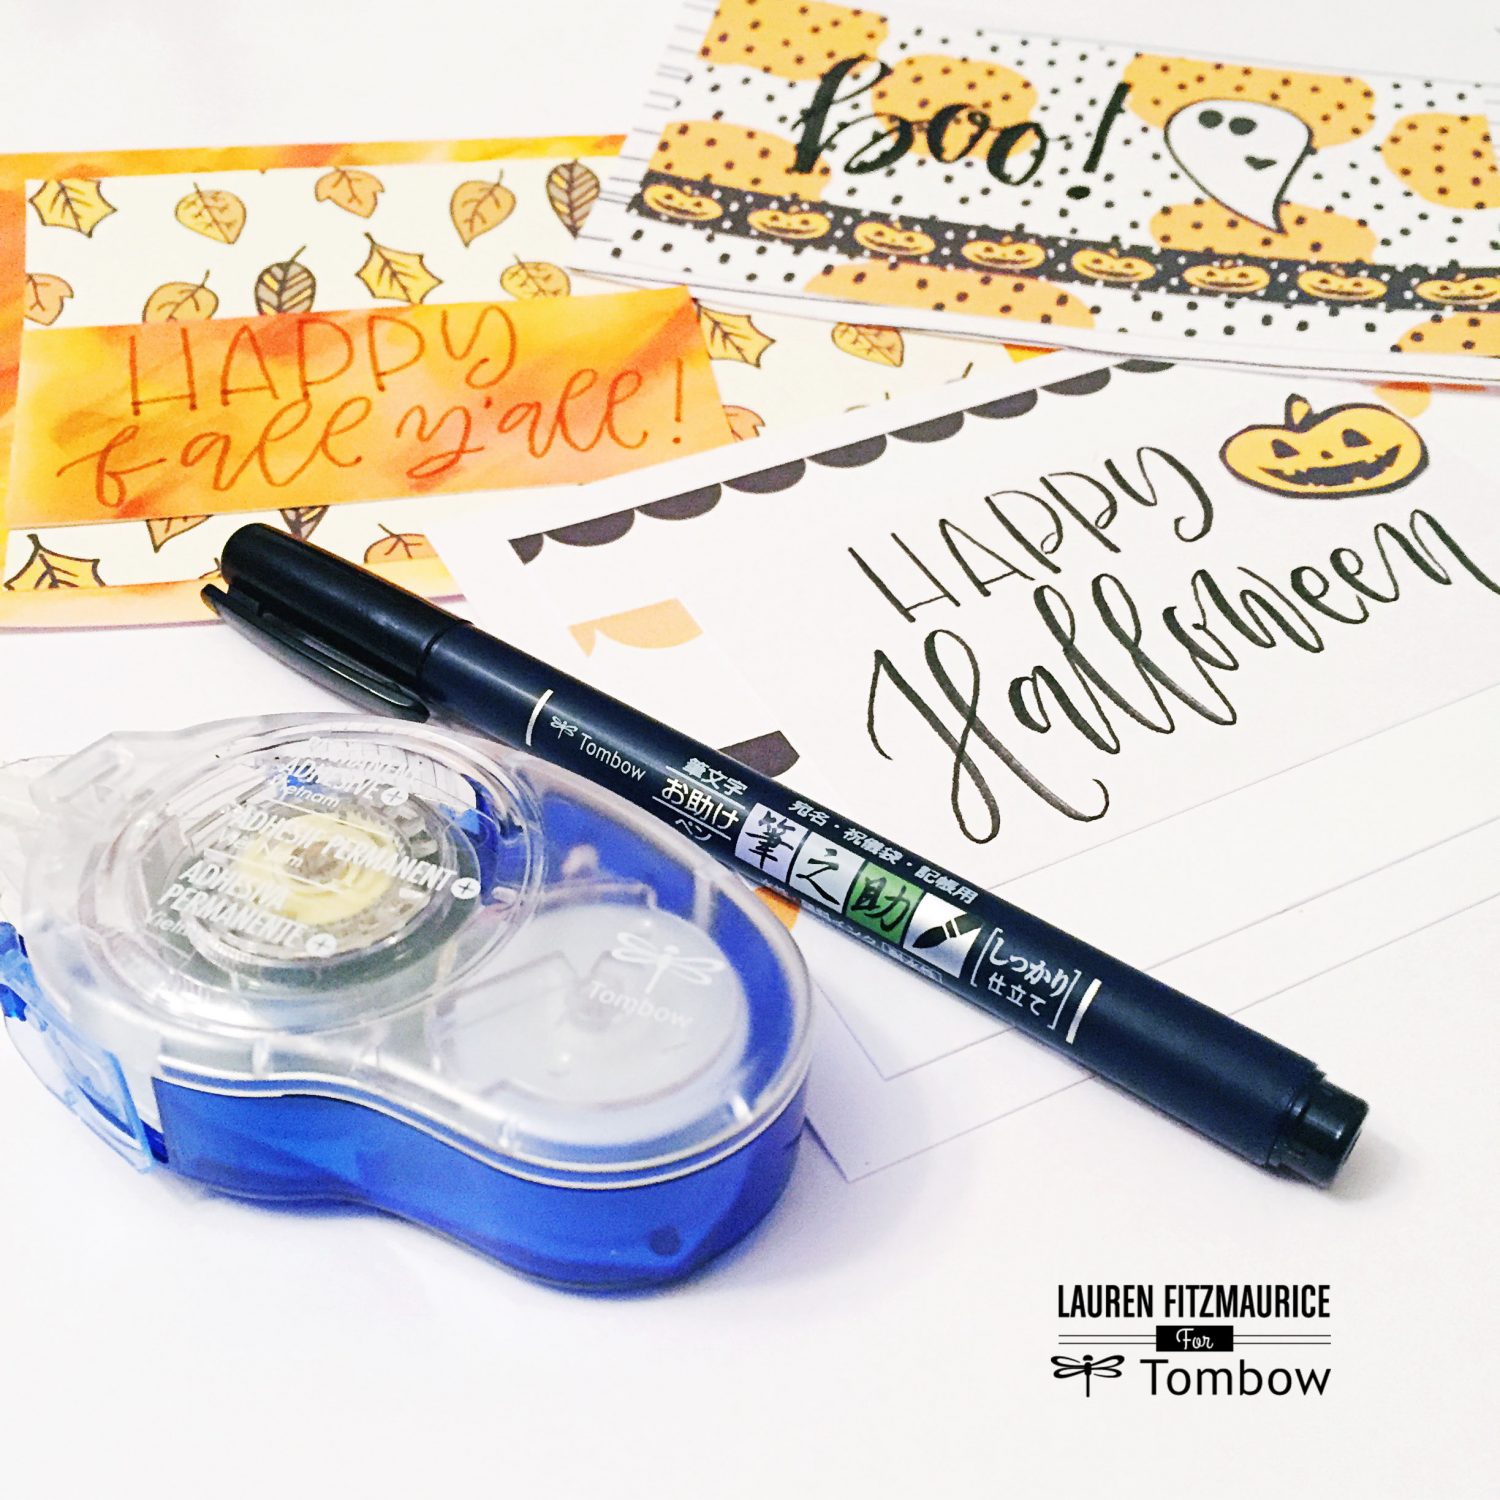
- Tombow Dual Brush Pens
- Tombow Fudenosuke Hard Tip Brush Pen
- Tombow Mono Permanent Adhesive +
- Mix Media Paper or Water Color Paper (I used Strathmore)
- Papercakes by Serena Bee: October Nights Collection (Digital File)
- Water and a water color brush
CREATIVE PATTERNED BACKGROUNDS
Serena Bee’s fun and creative October Nights collection can be found in her online shop at www.serenabee.com. These digital graphics are perfect and feature different sized cards, tags, and stickers. Just one click away, they pair great with Tombow Products. I decided to create a few fun cards with some creative backgrounds and lettering while also using some of the fun graphics that Serena created.
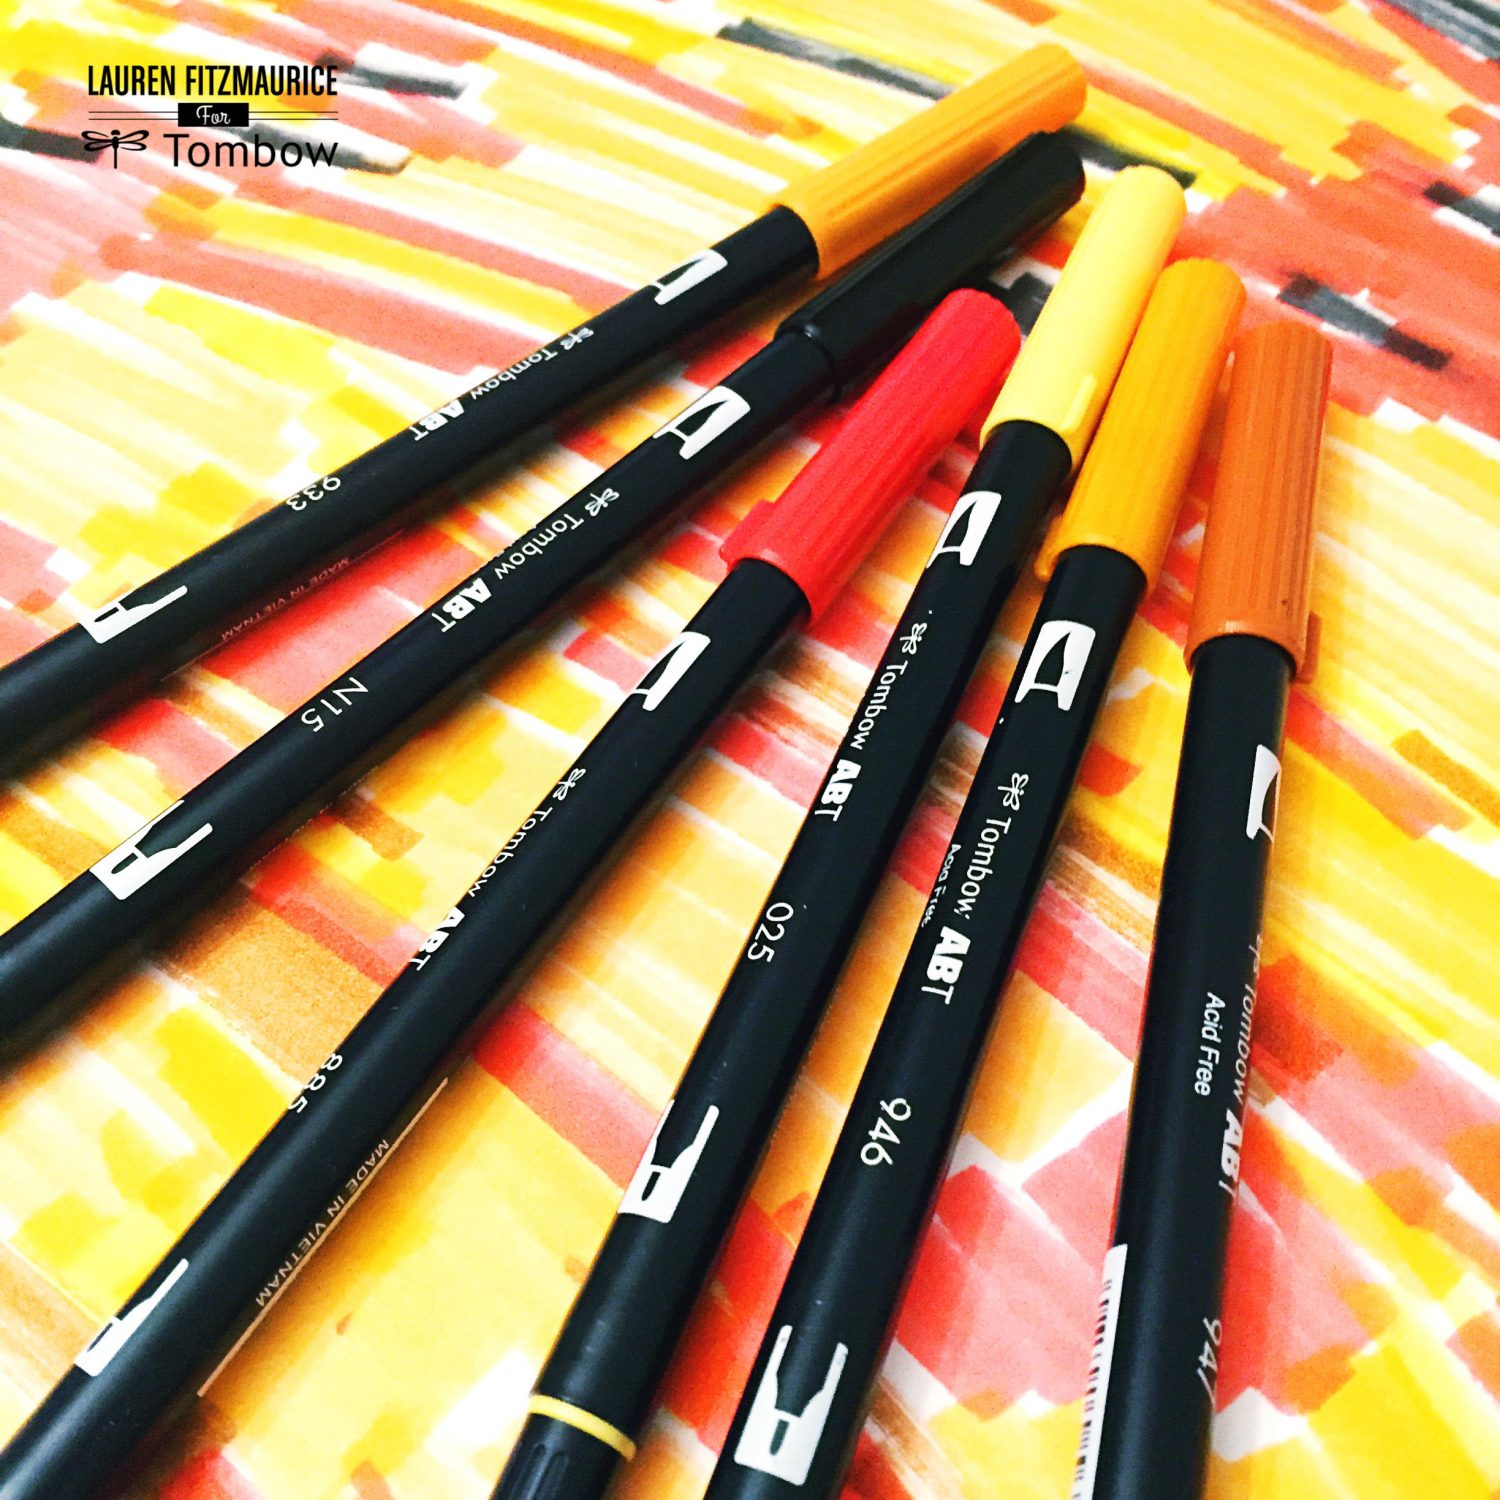
I started off by creating several different kinds of backgrounds to mount the Papercakes images onto, adding a special wow factor and layering effect to the cards. One of my favorite things to do with Tombow Dual Brush Pens is to create a bright water color background. To do this, I always start by scribbling color all over a sheet of mix media paper leaving some white space in the background.
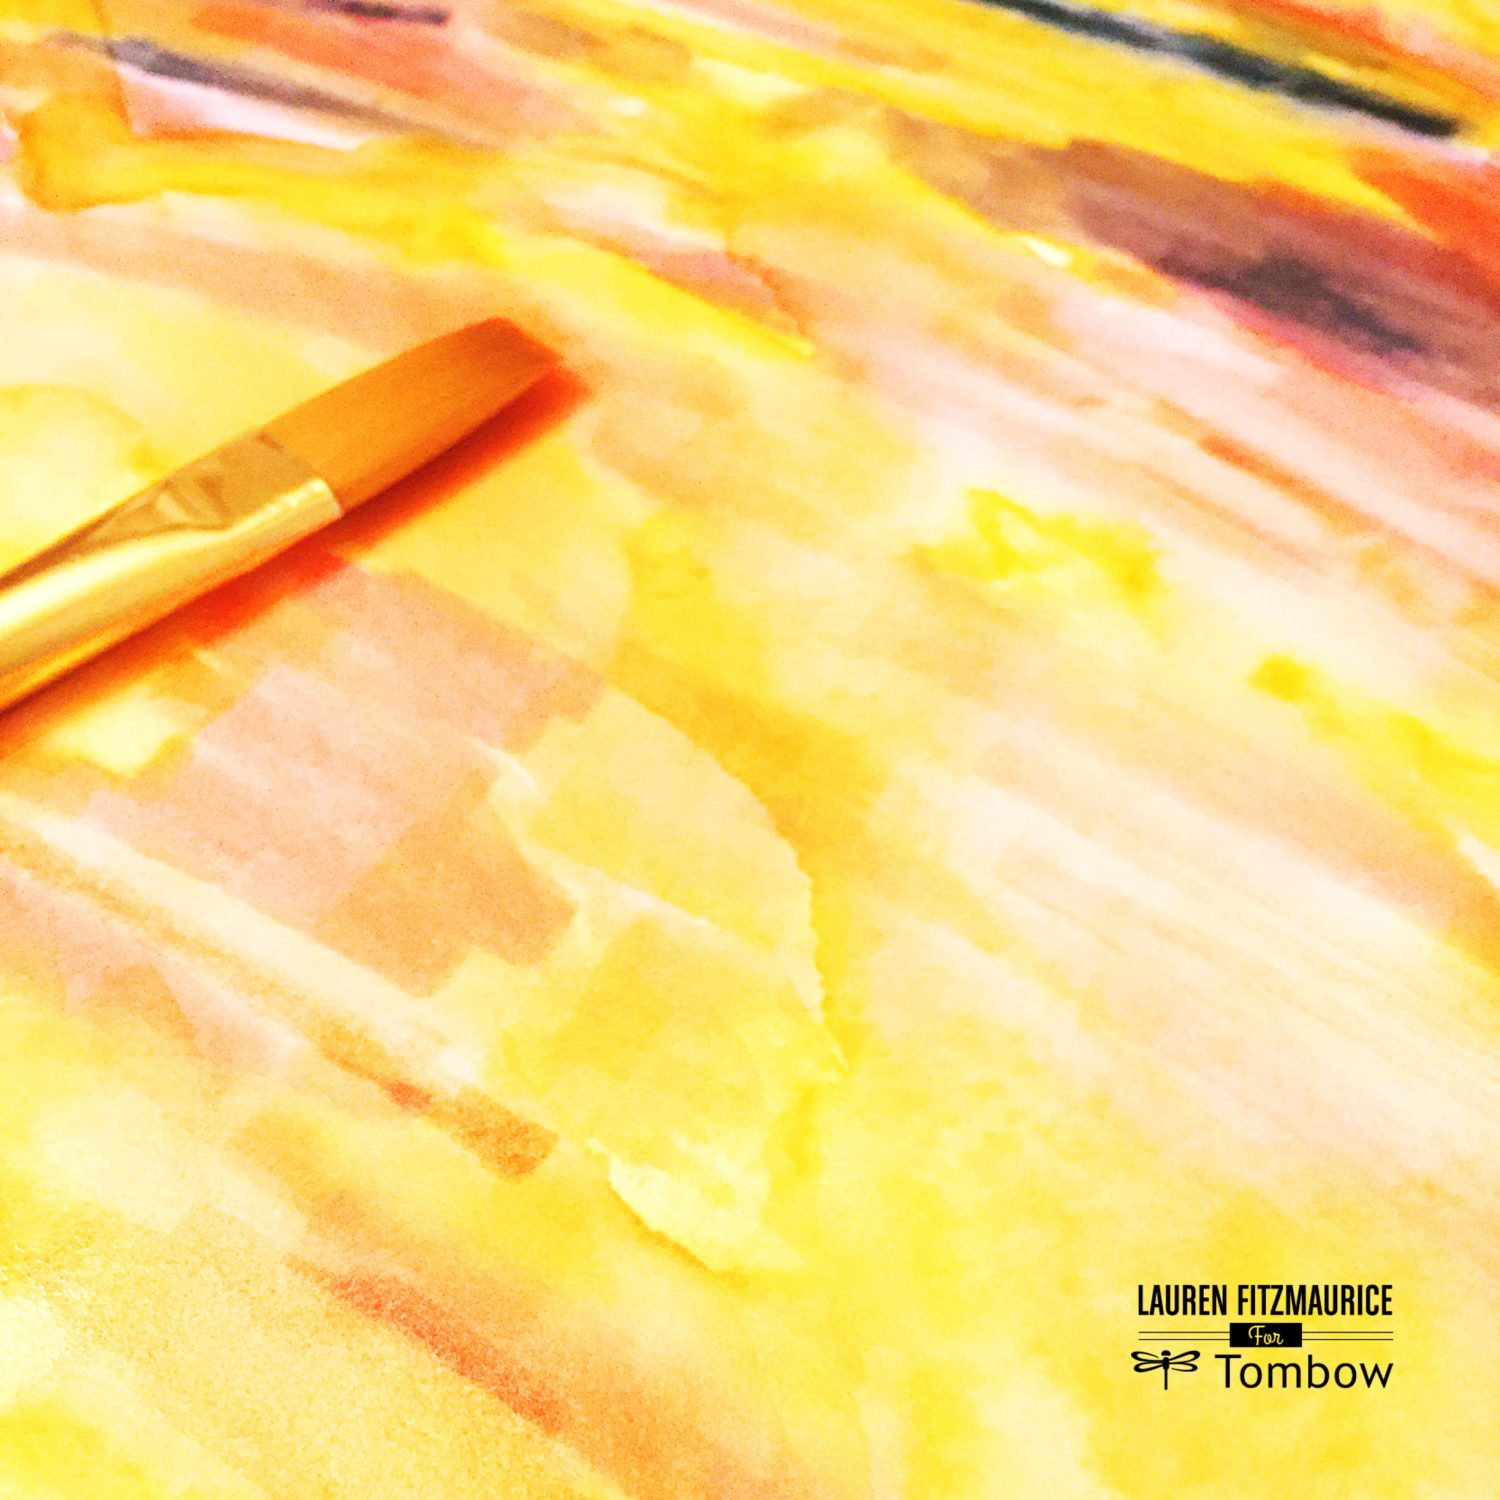
I then go over the colored paper with a water color brush to create the water color effect.I loved using a fall pallet of Dual Brush Pens.
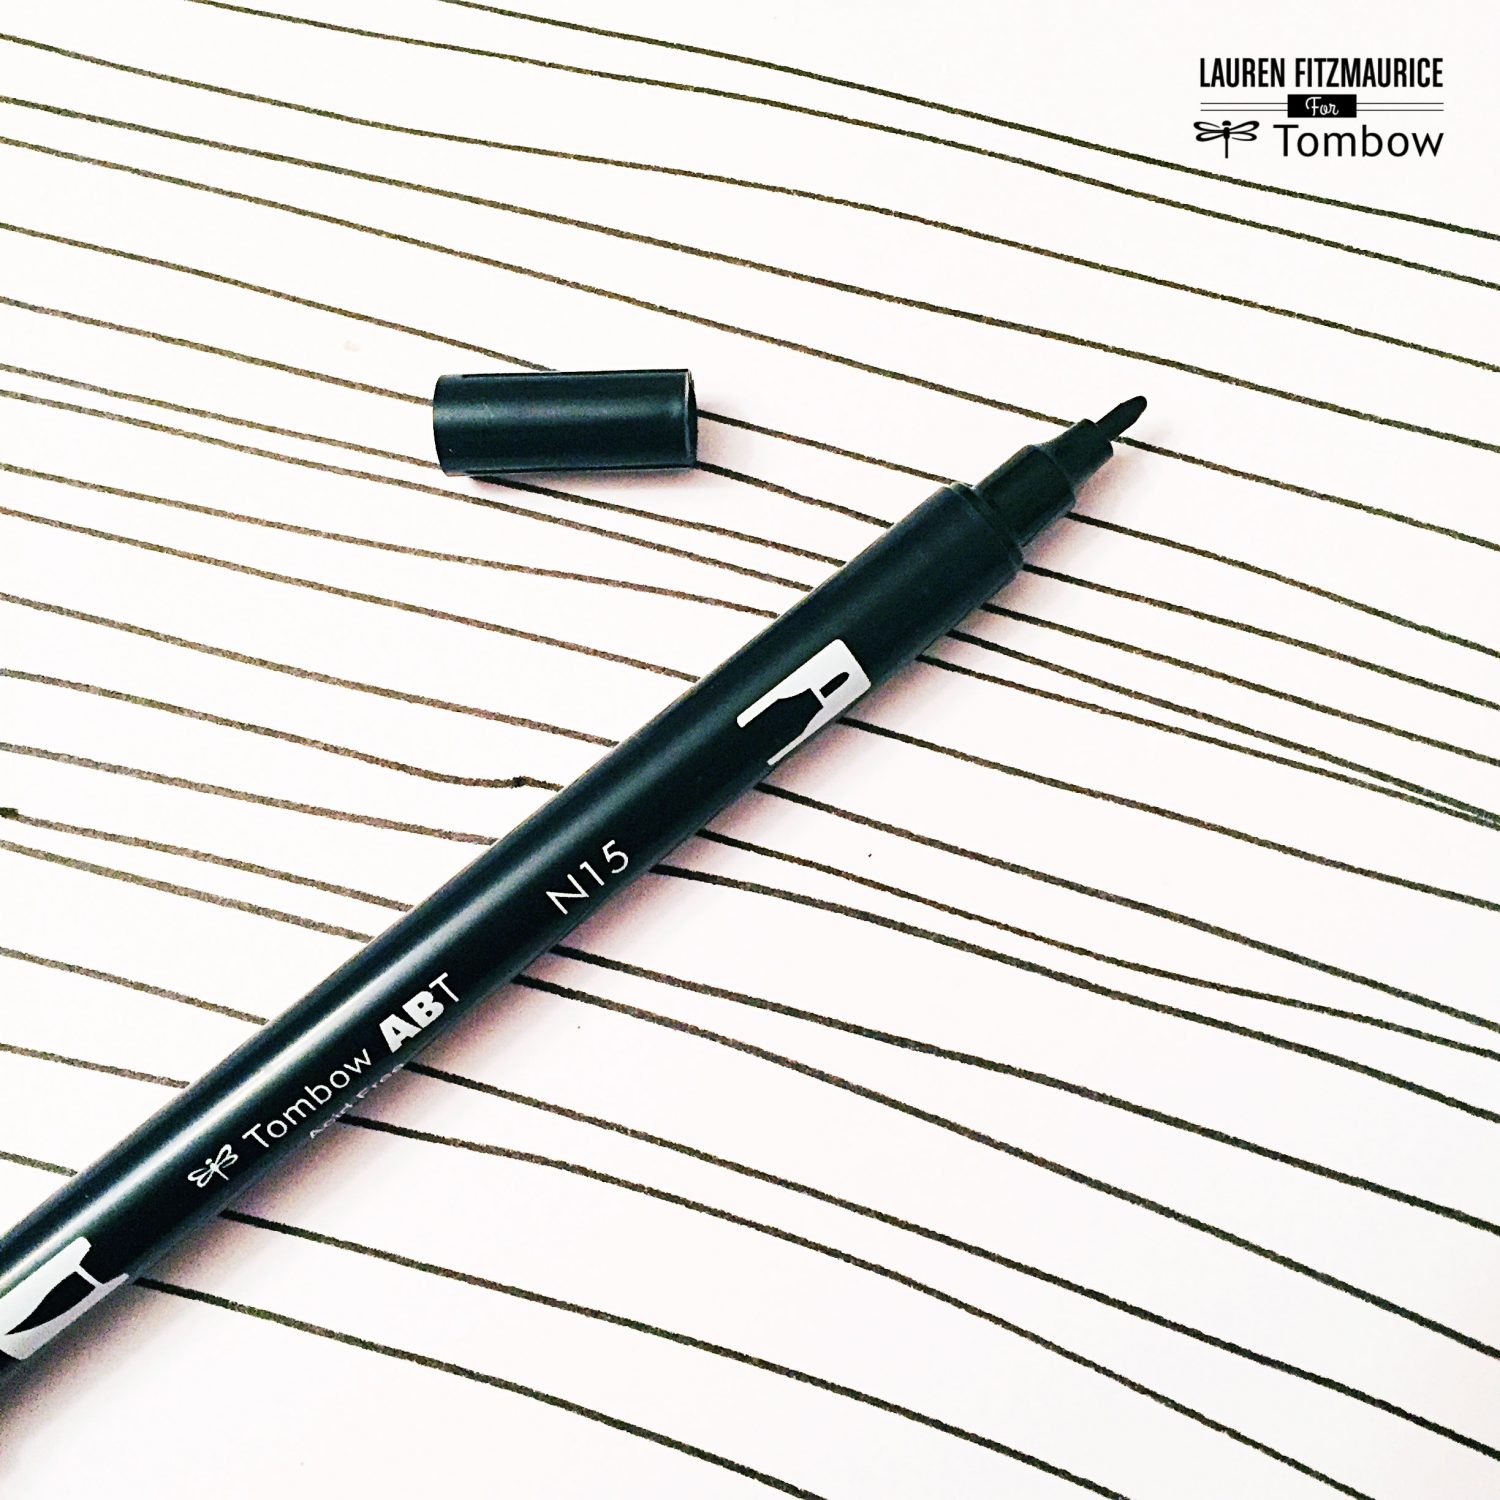
Another simple background to create is one with a simple pattern, whether it be dots or stripes. I love to use the fine tip of the dual brush pen to create new patterns. Once I have several patterns to choose from and all of the graphics from the Papercakes October Nights collection, it is time to actually make the card.
CREATE THE CARD
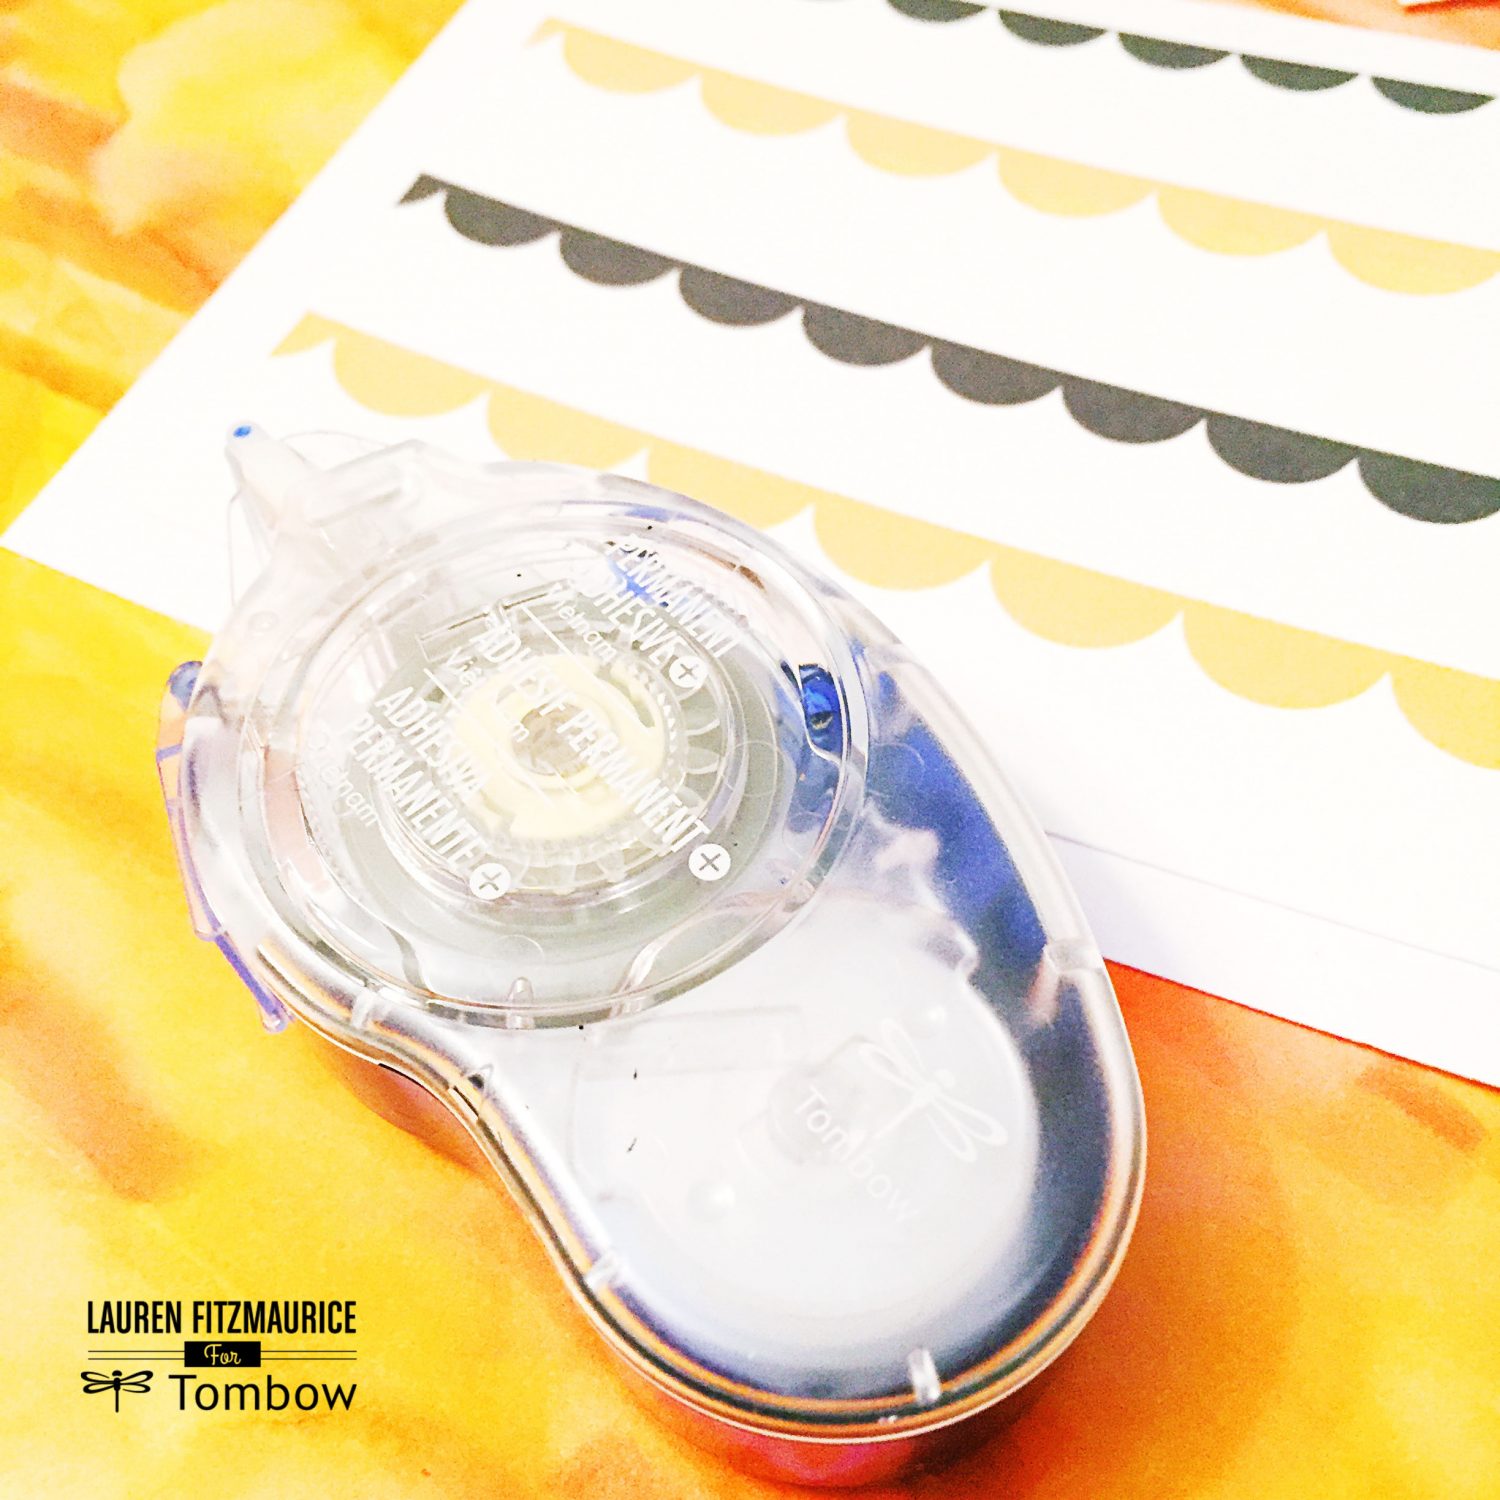
Making a card with these materials is made extremely simple by Tombow Mono Permanent Adhesive +. This adhesive is extremely easy to apply with it’s tape runner and is very precise. To create the card, use this adhesive to layer pieces onto the card.
ADD STICKERS AND LETTERING
Then it’s time to make each card unique and original with it’s own style and Halloween themed phrase.
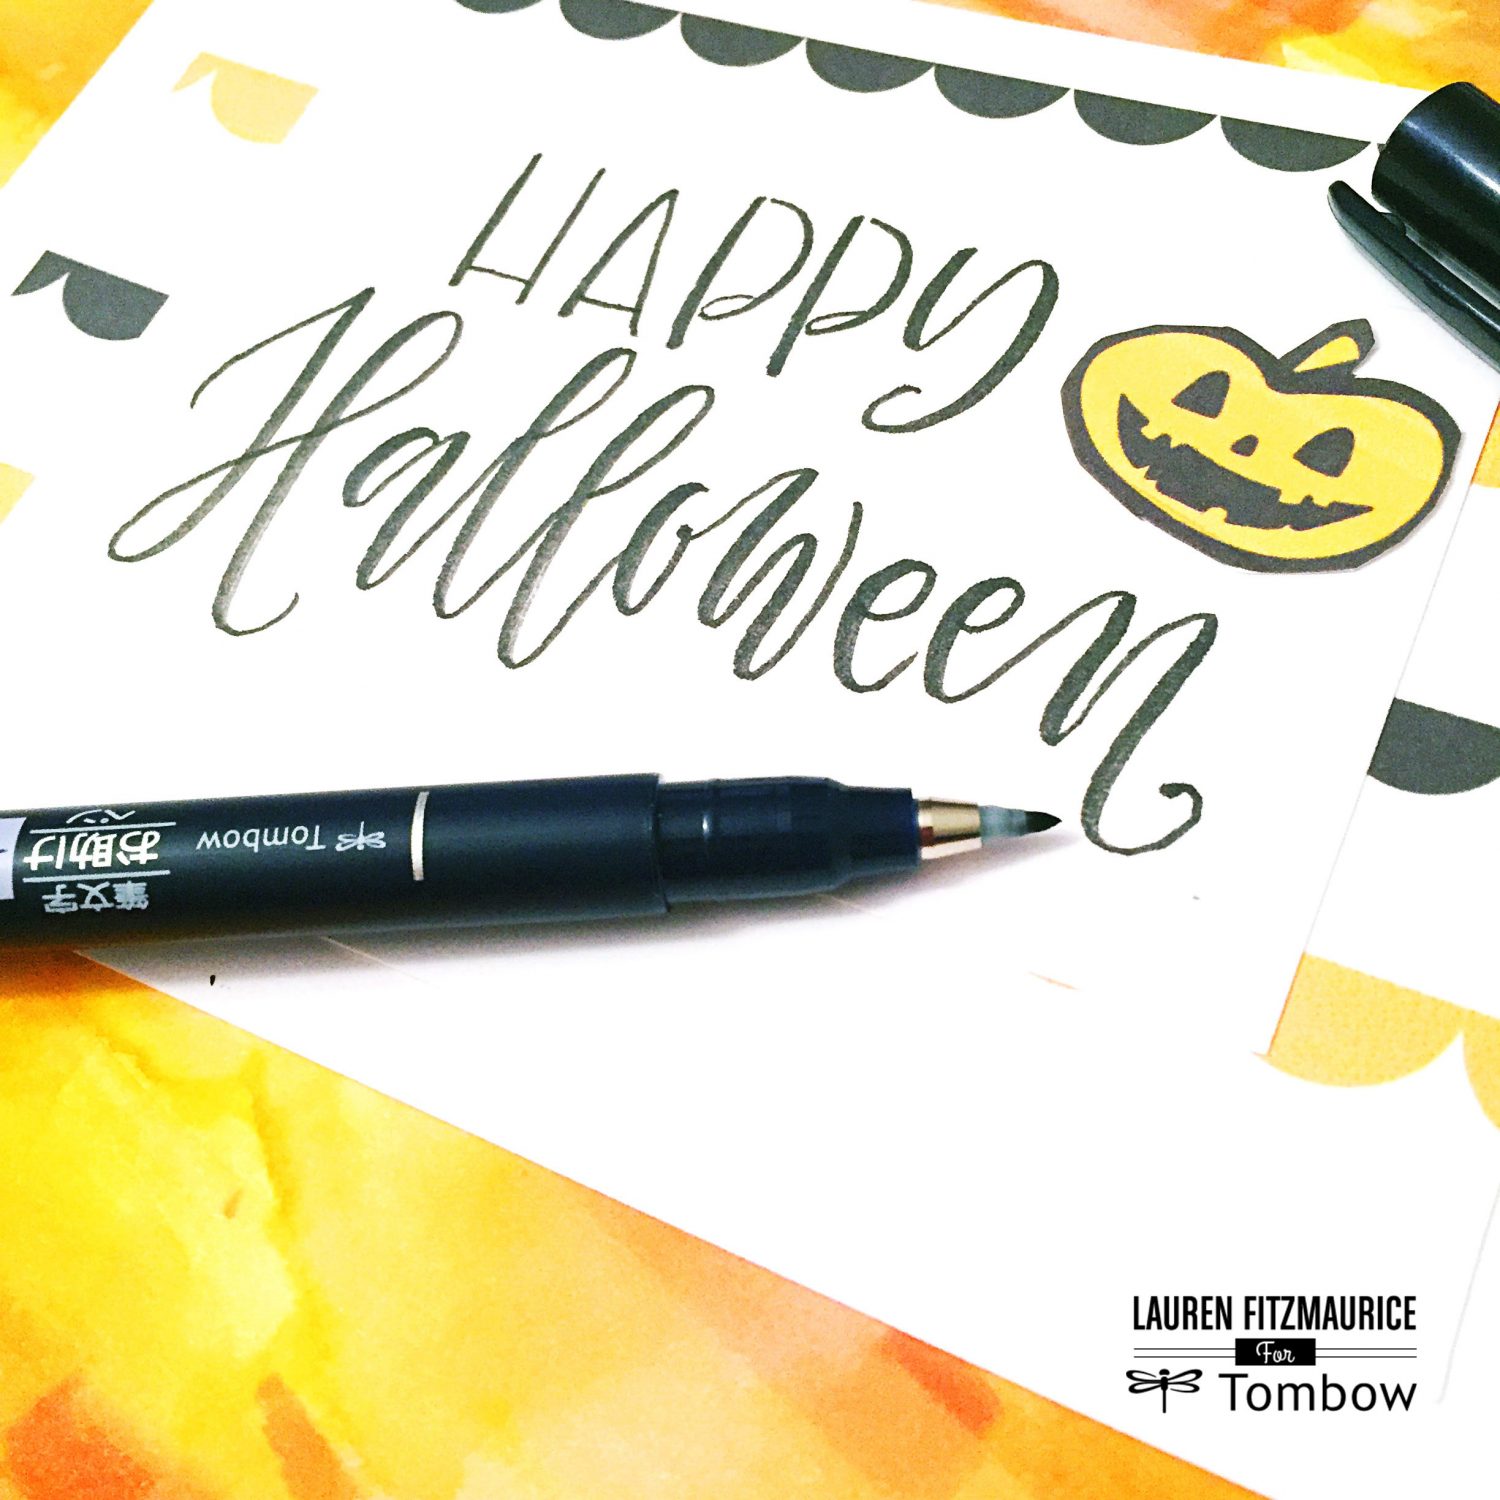
For my first card, I used the Tombow Fudenosuke Hard Tip Brush Pen to letter “Happy Halloween” and adhered a cute jack-o-lantern sticker that I cut out from the October Nights collection. I then layered the pieces of paper together with the Tombow Mono Permanent Adhesive +.
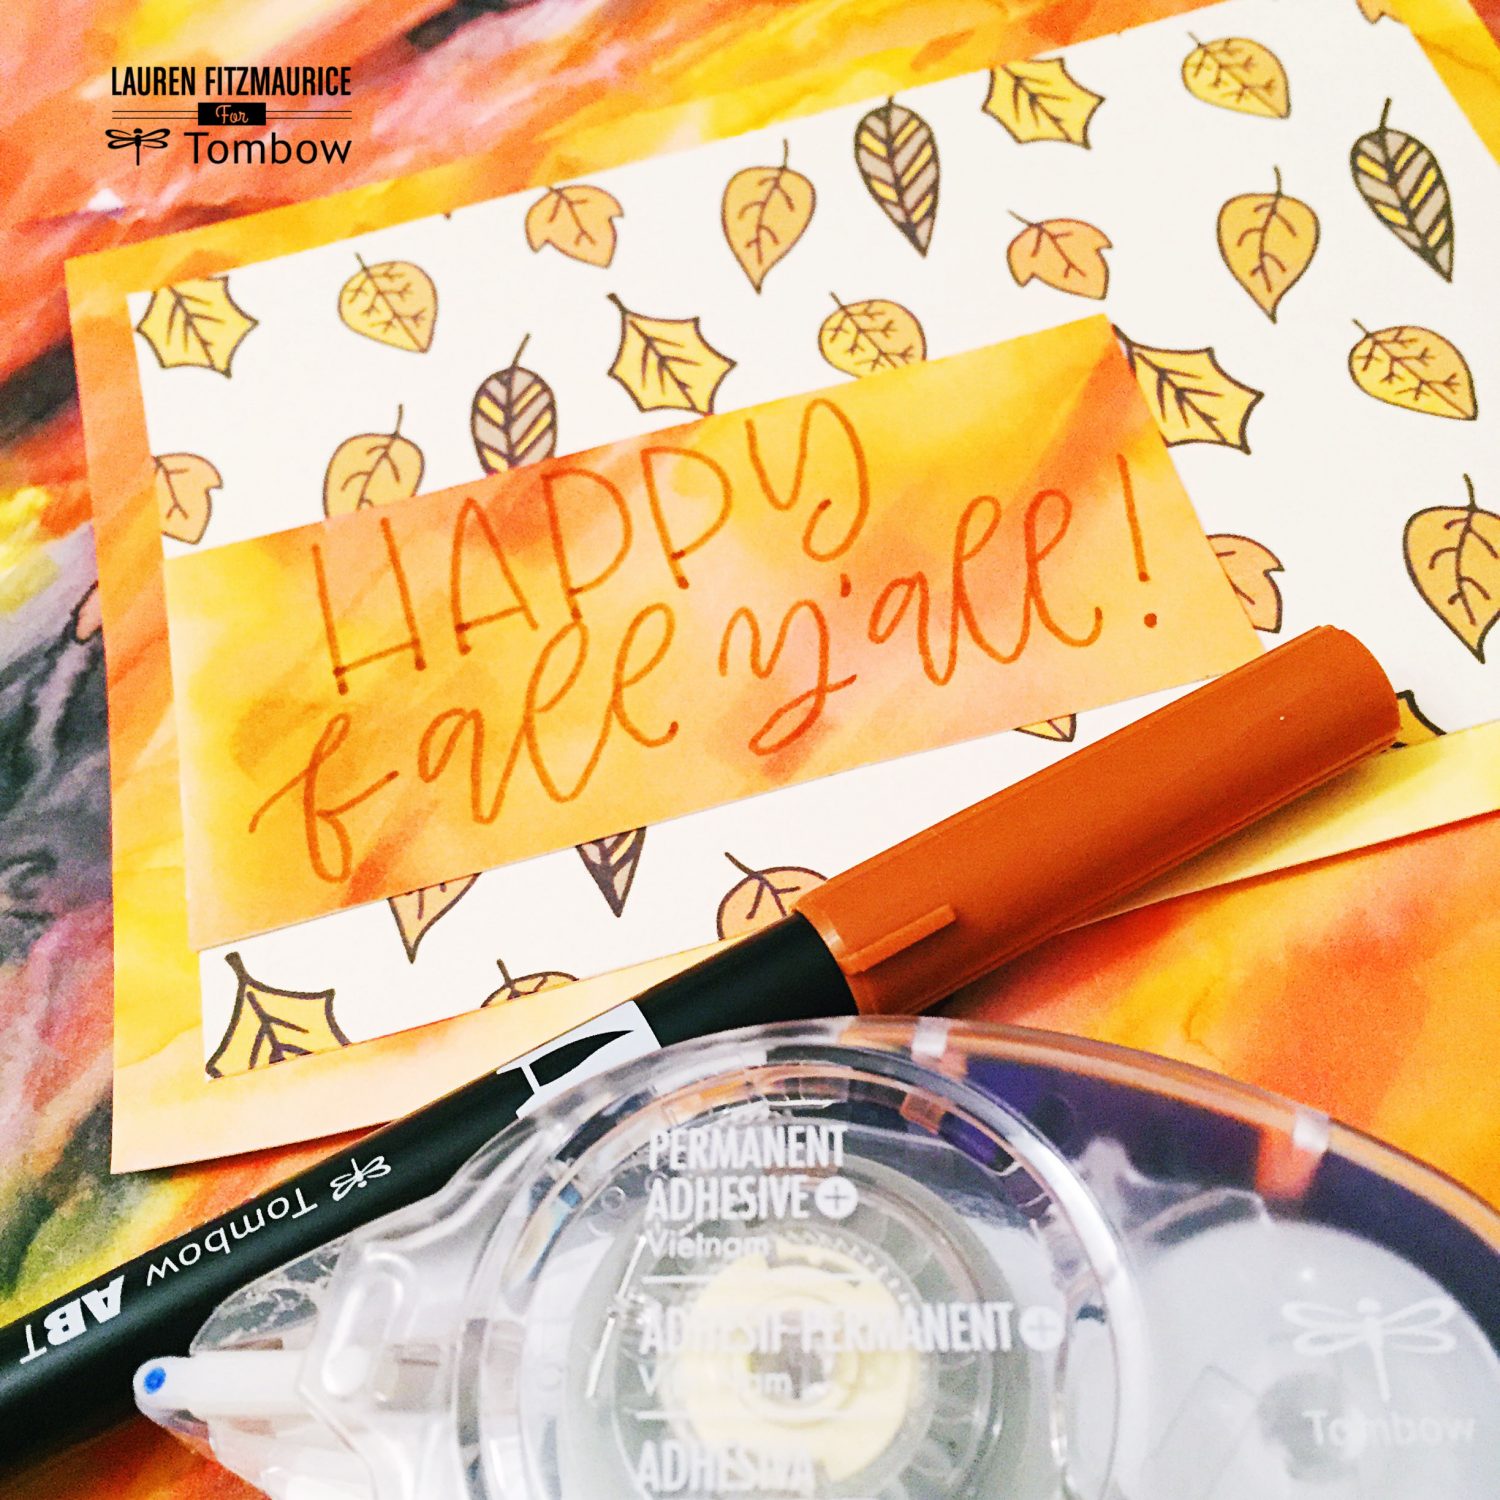
My second card design, I utilized watercolor to create the background with Dual Brush Pens and layered the pieces of paper so that a fun message could be shared and written in on the back of the note card.
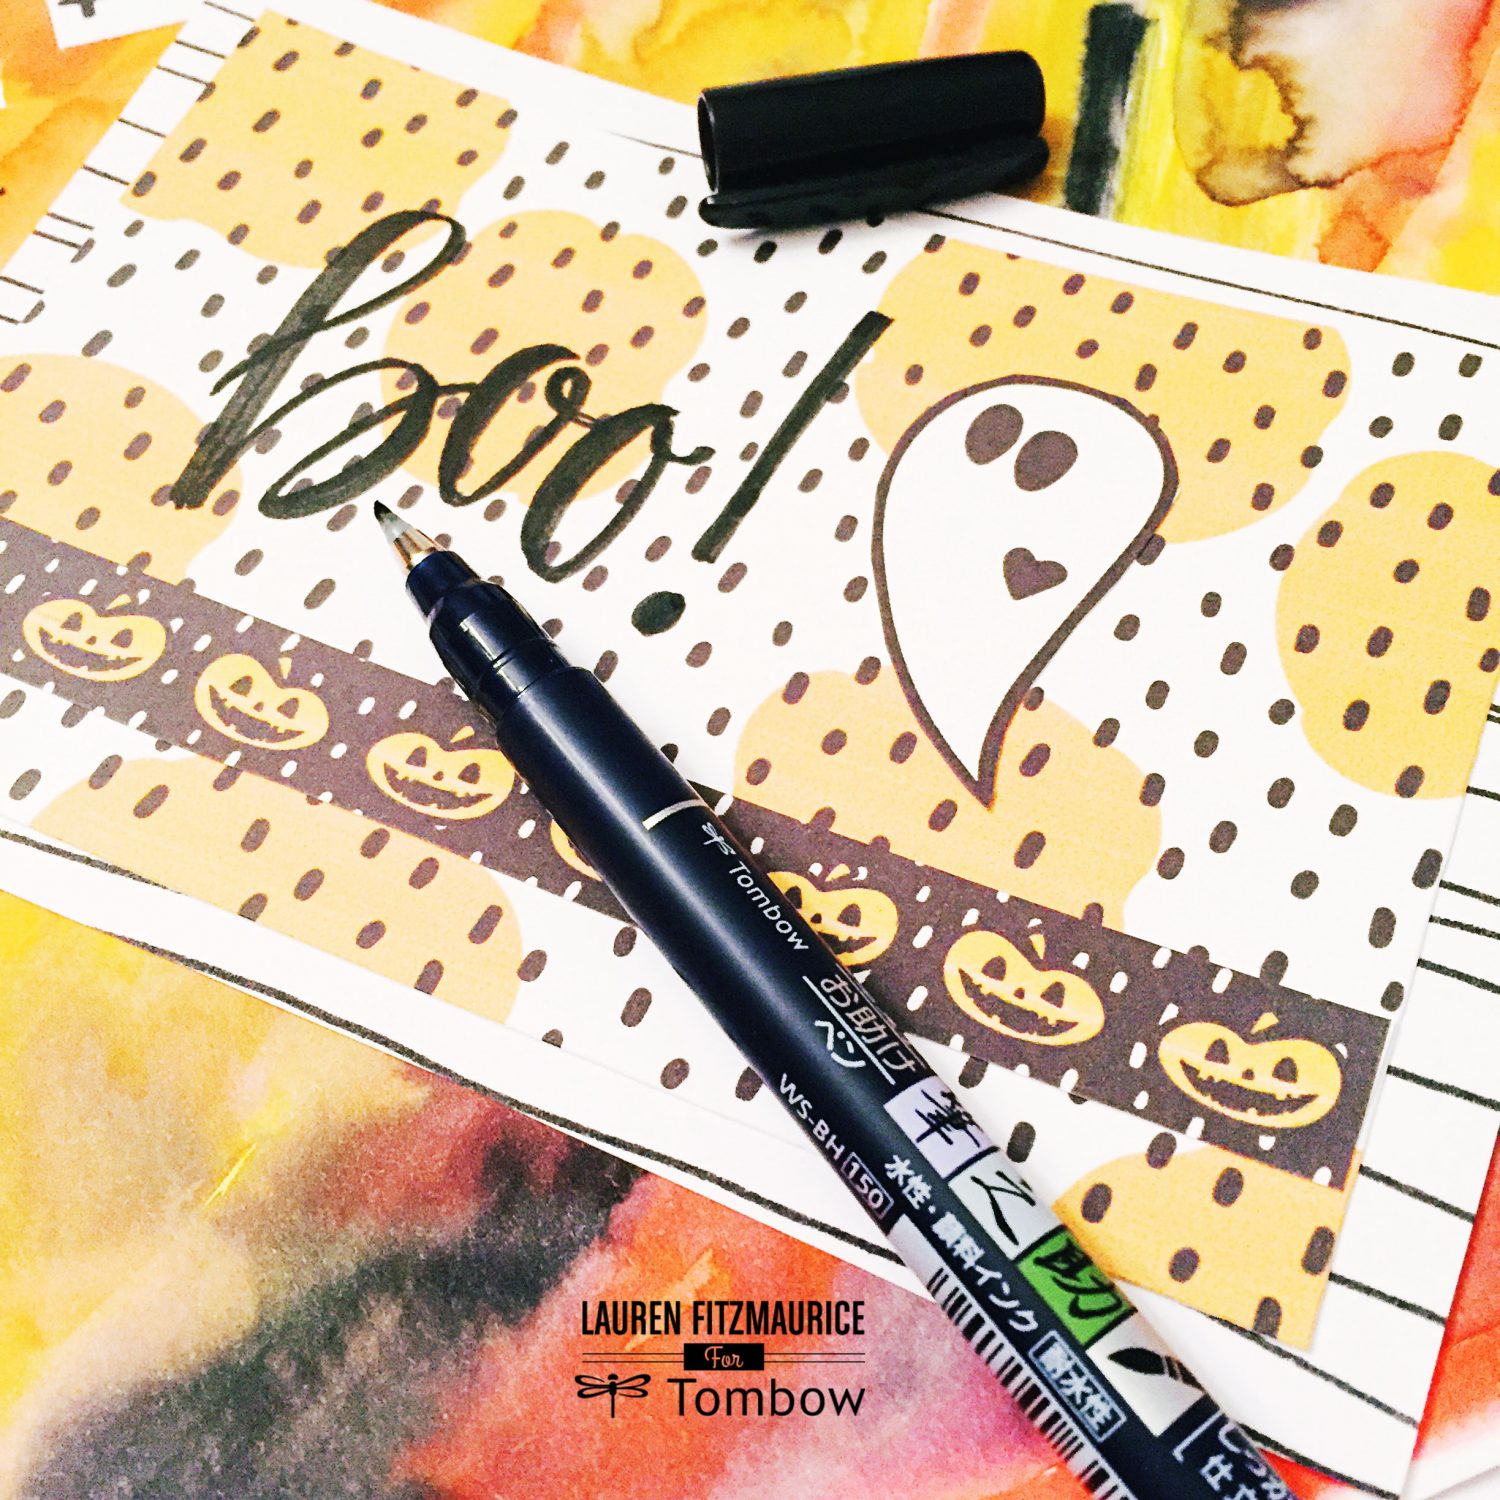
My last card was created with the hand drawn stripes, a graphic from the Papercakes October Nights collection and some cute Halloween themed stickers.
TAH DAH!
And TAH DAH! You have several fun and homemade halloween cards. These cards were so fun to play with and I cannot wait to create more!
For more information about purchasing Tombow products check out www.tombowusa.com. Want to learn more tips and tricks about crafting and lettering? Join the Letter Lovelies community so that you can be a part of all of the fun and follow me on instagram @renmadecalligraphy. Share your ideas with the hashtag #tombowlikealefty. I cannot wait to see what you share!
Happy Lettering, lovelies!!!!
Lauren
Great personal touch, love your cards!!! Thanks Lauren