Did you know that you can use some amazing Tombow products to make watercolor resist lettering on photo paper? Well now you do!!!! Lauren from @renmadecalligraphy here and I’m so excited to share a fun technique with you! In this tutorial, you will will learn all about the versatile Tombow Blending Kit and how easy it is to create frame-worthy lettered art.
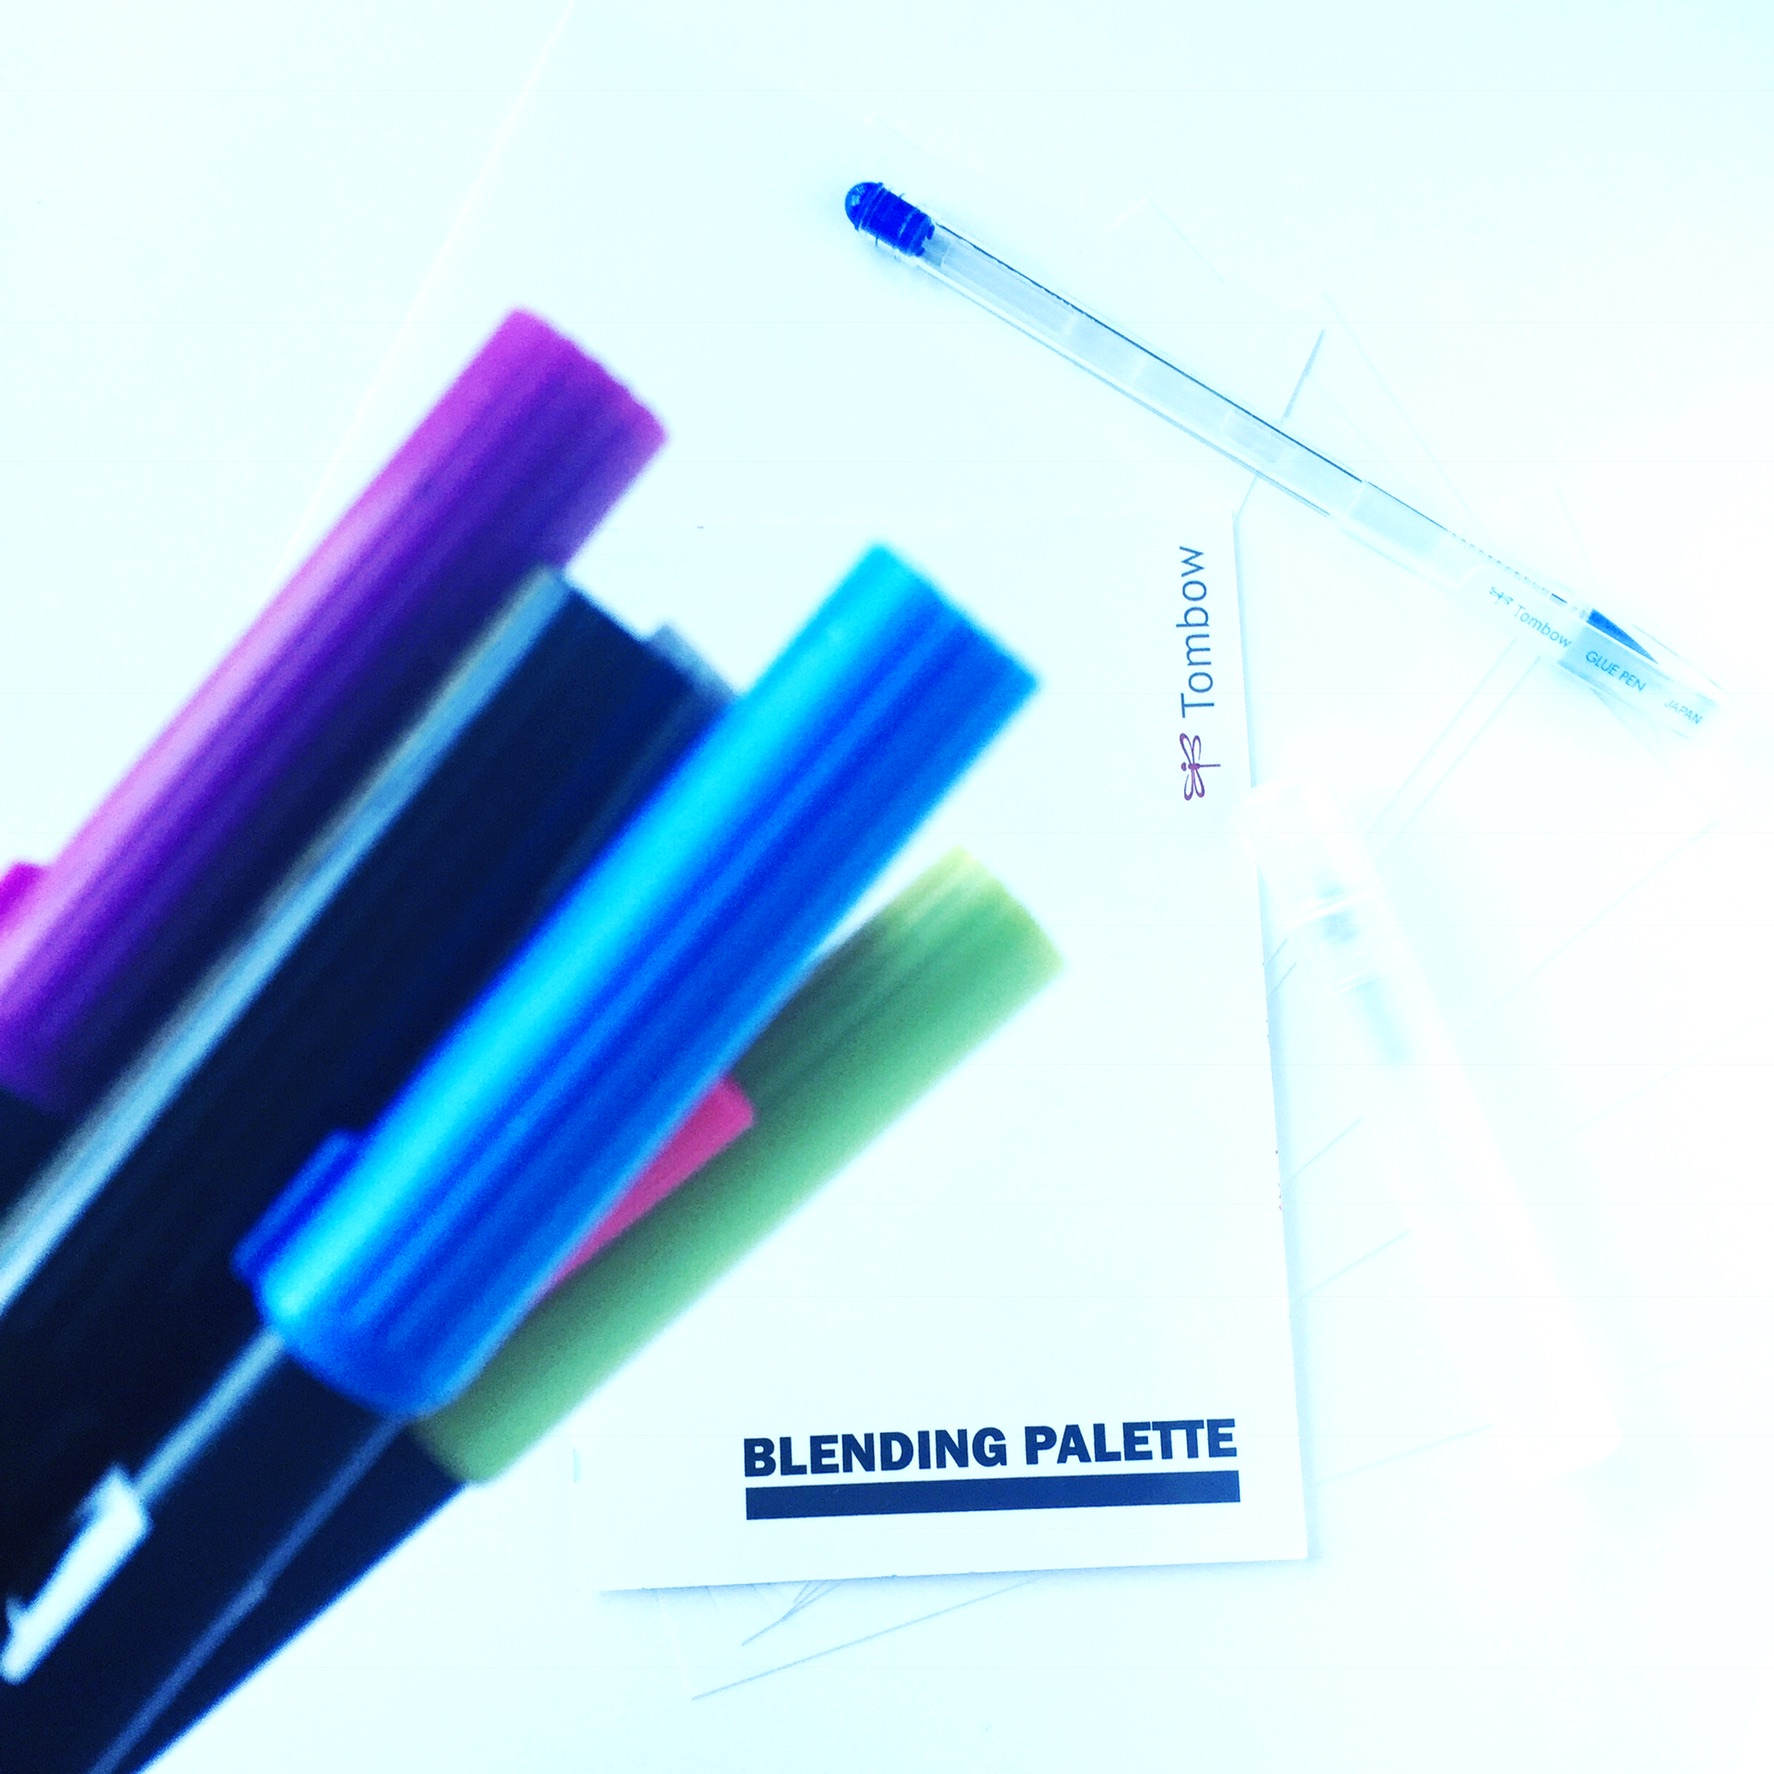
MATERIALS YOU WILL NEED:
- Tombow Blending Kit
- The Tombow Blending Kit includes a blending palette to mix Dual Brush Pen colors on and a mister to spray water on the color to aid in blending. The Blending Kit is so versatile and easy to work in to most any lettering project. When you are finished, just spray with a little water and wipe clean and it’s ready for the next use. What’s even cooler is that on the back of the Blending Palette is a color wheel with all 96 shades of Tombow Dual Brush Pens.
- Tombow MONO Glue Pen
- This fine tip pen has a clear glue that is perfect for applying fine glitter or using as a resist with Dual Brush Pens, which we do in this tutorial.
- Tombow Dual Brush Pens
- Dual Brush Pens are water-based brush pens that have a brush tip and fine tip and come in 96 different colors. These pens are perfect for blending and are reactive to water making blending and water color effects easy to create.
- InkJet Photo Paper (I used Epson Glossy in 5 by 7)
- This type of paper pulls color and instantly absorbs it for a fun and colorful effect that is almost instantly dry.
STEP 1: PREP THE PAPER AND PALETTE
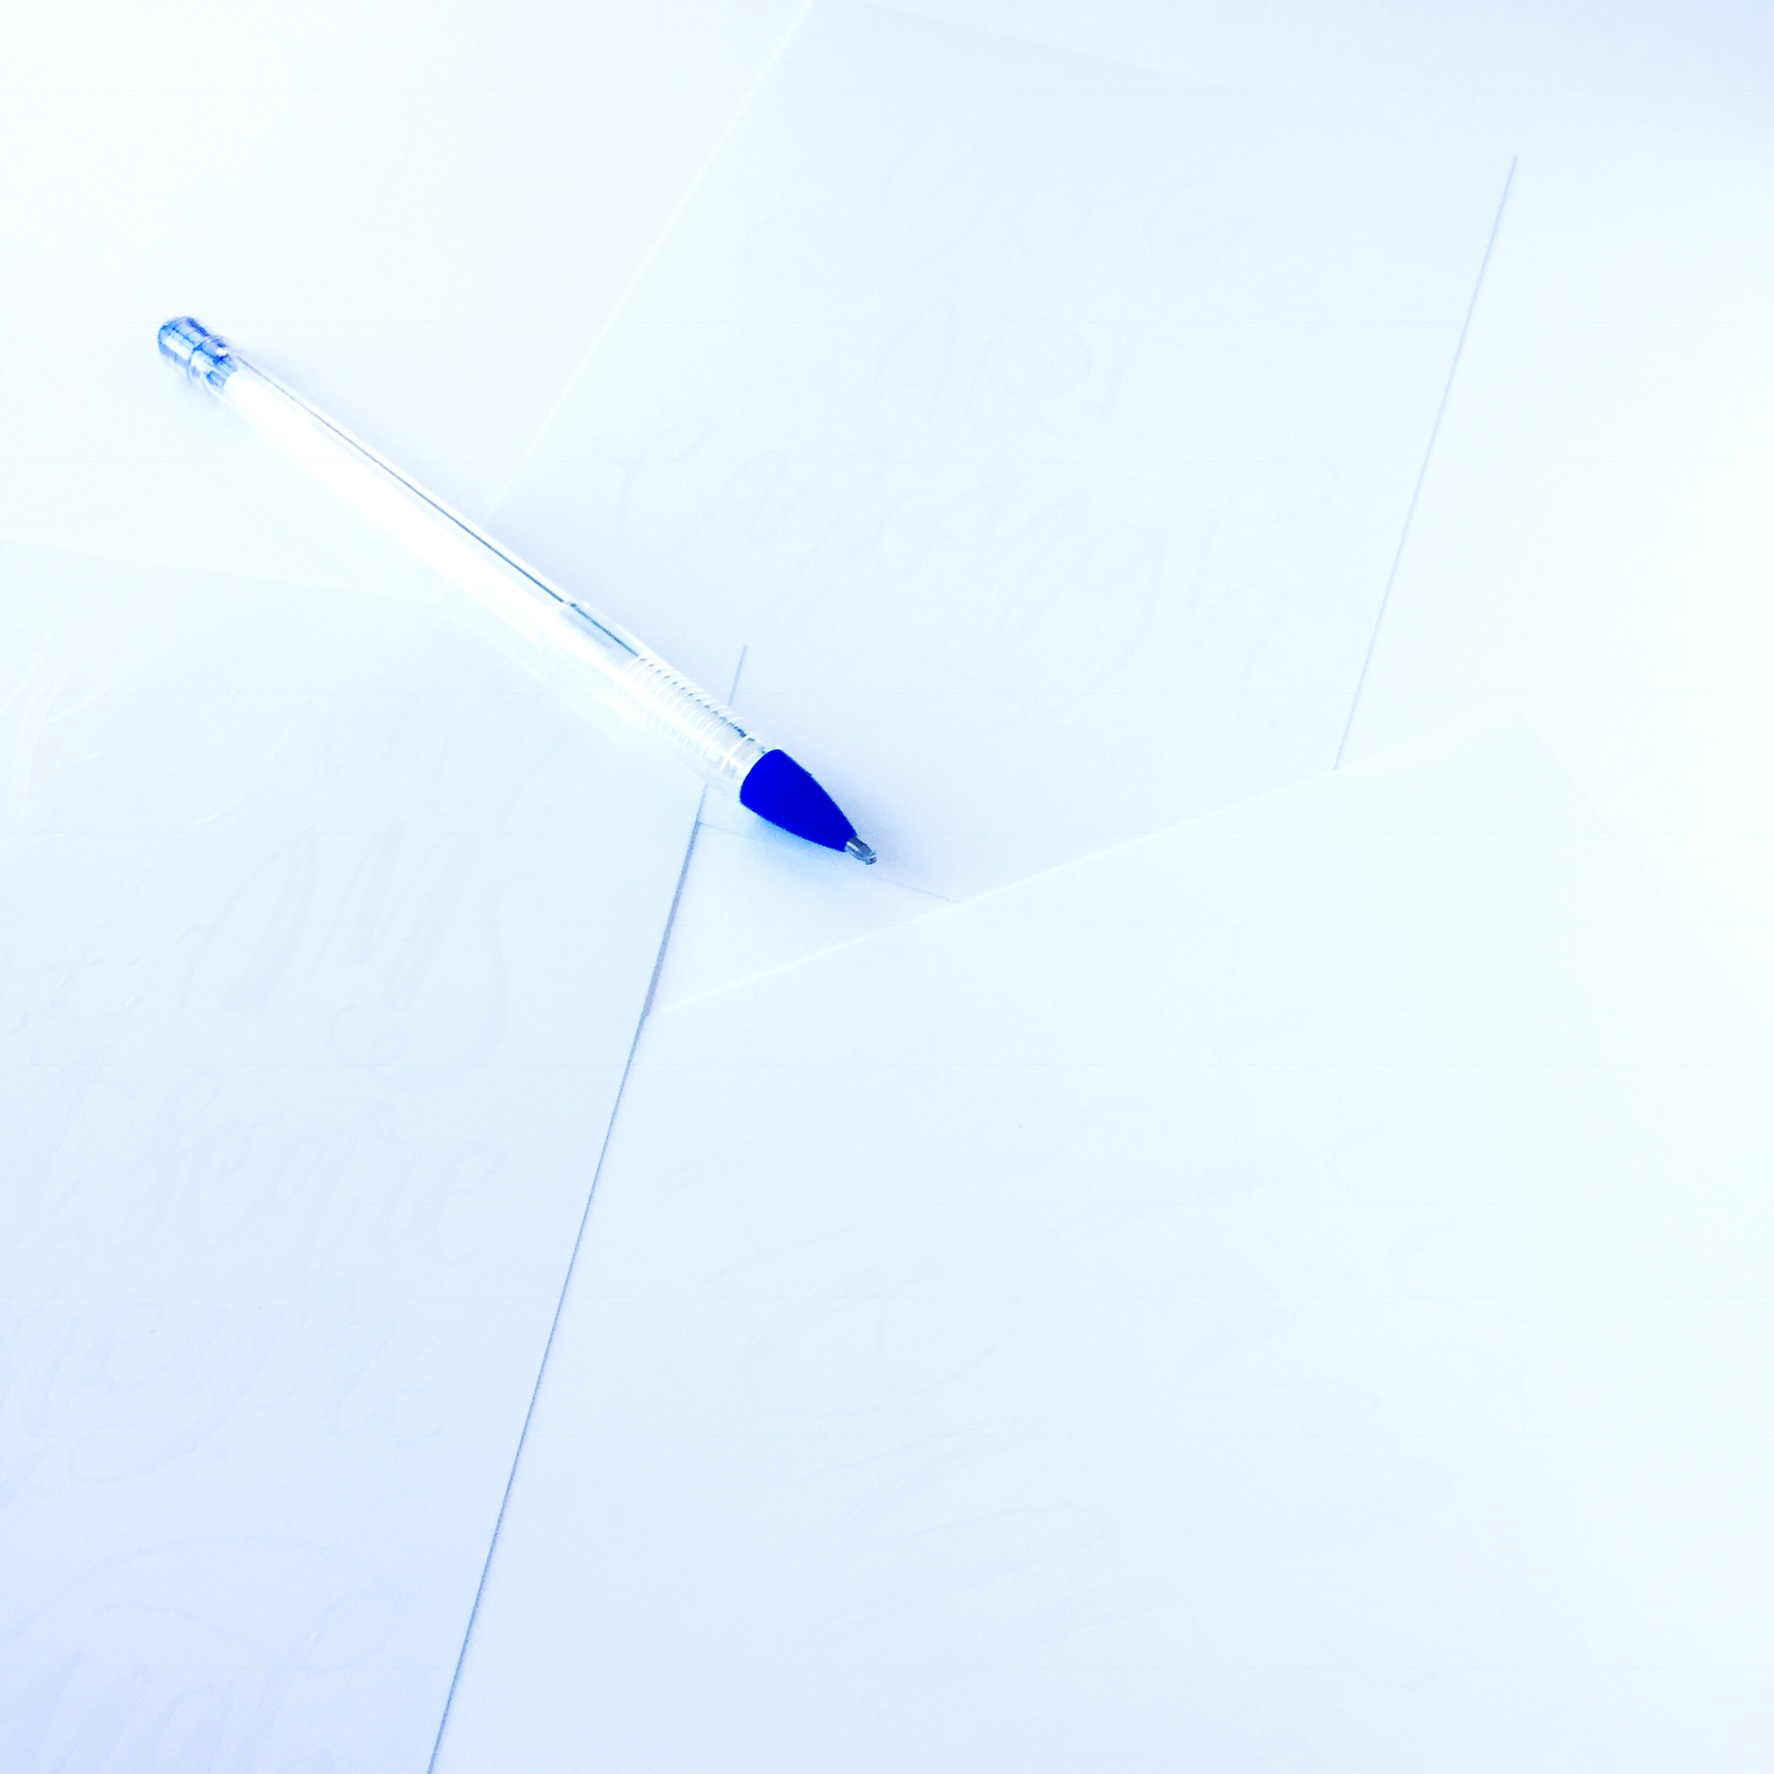
The first step is to brainstorm a fun or inspiring quote that you’d like to letter, then prepare the paper and palette. Take the Tombow MONO Glue Pen and letter the desired quote on the ink jet photo paper. You may have to gently tap the tip of the pen on the table to get air bubbles away from the tip so that the glue will flow easily. The glue is clear, so look to the side at an angle so that you can see where you have lettered. To create faux calligraphy, write each word with the Tombow MONO Glue Pen and add in thick downstrokes. Then letter the lettering dry and begin prepping the palette.
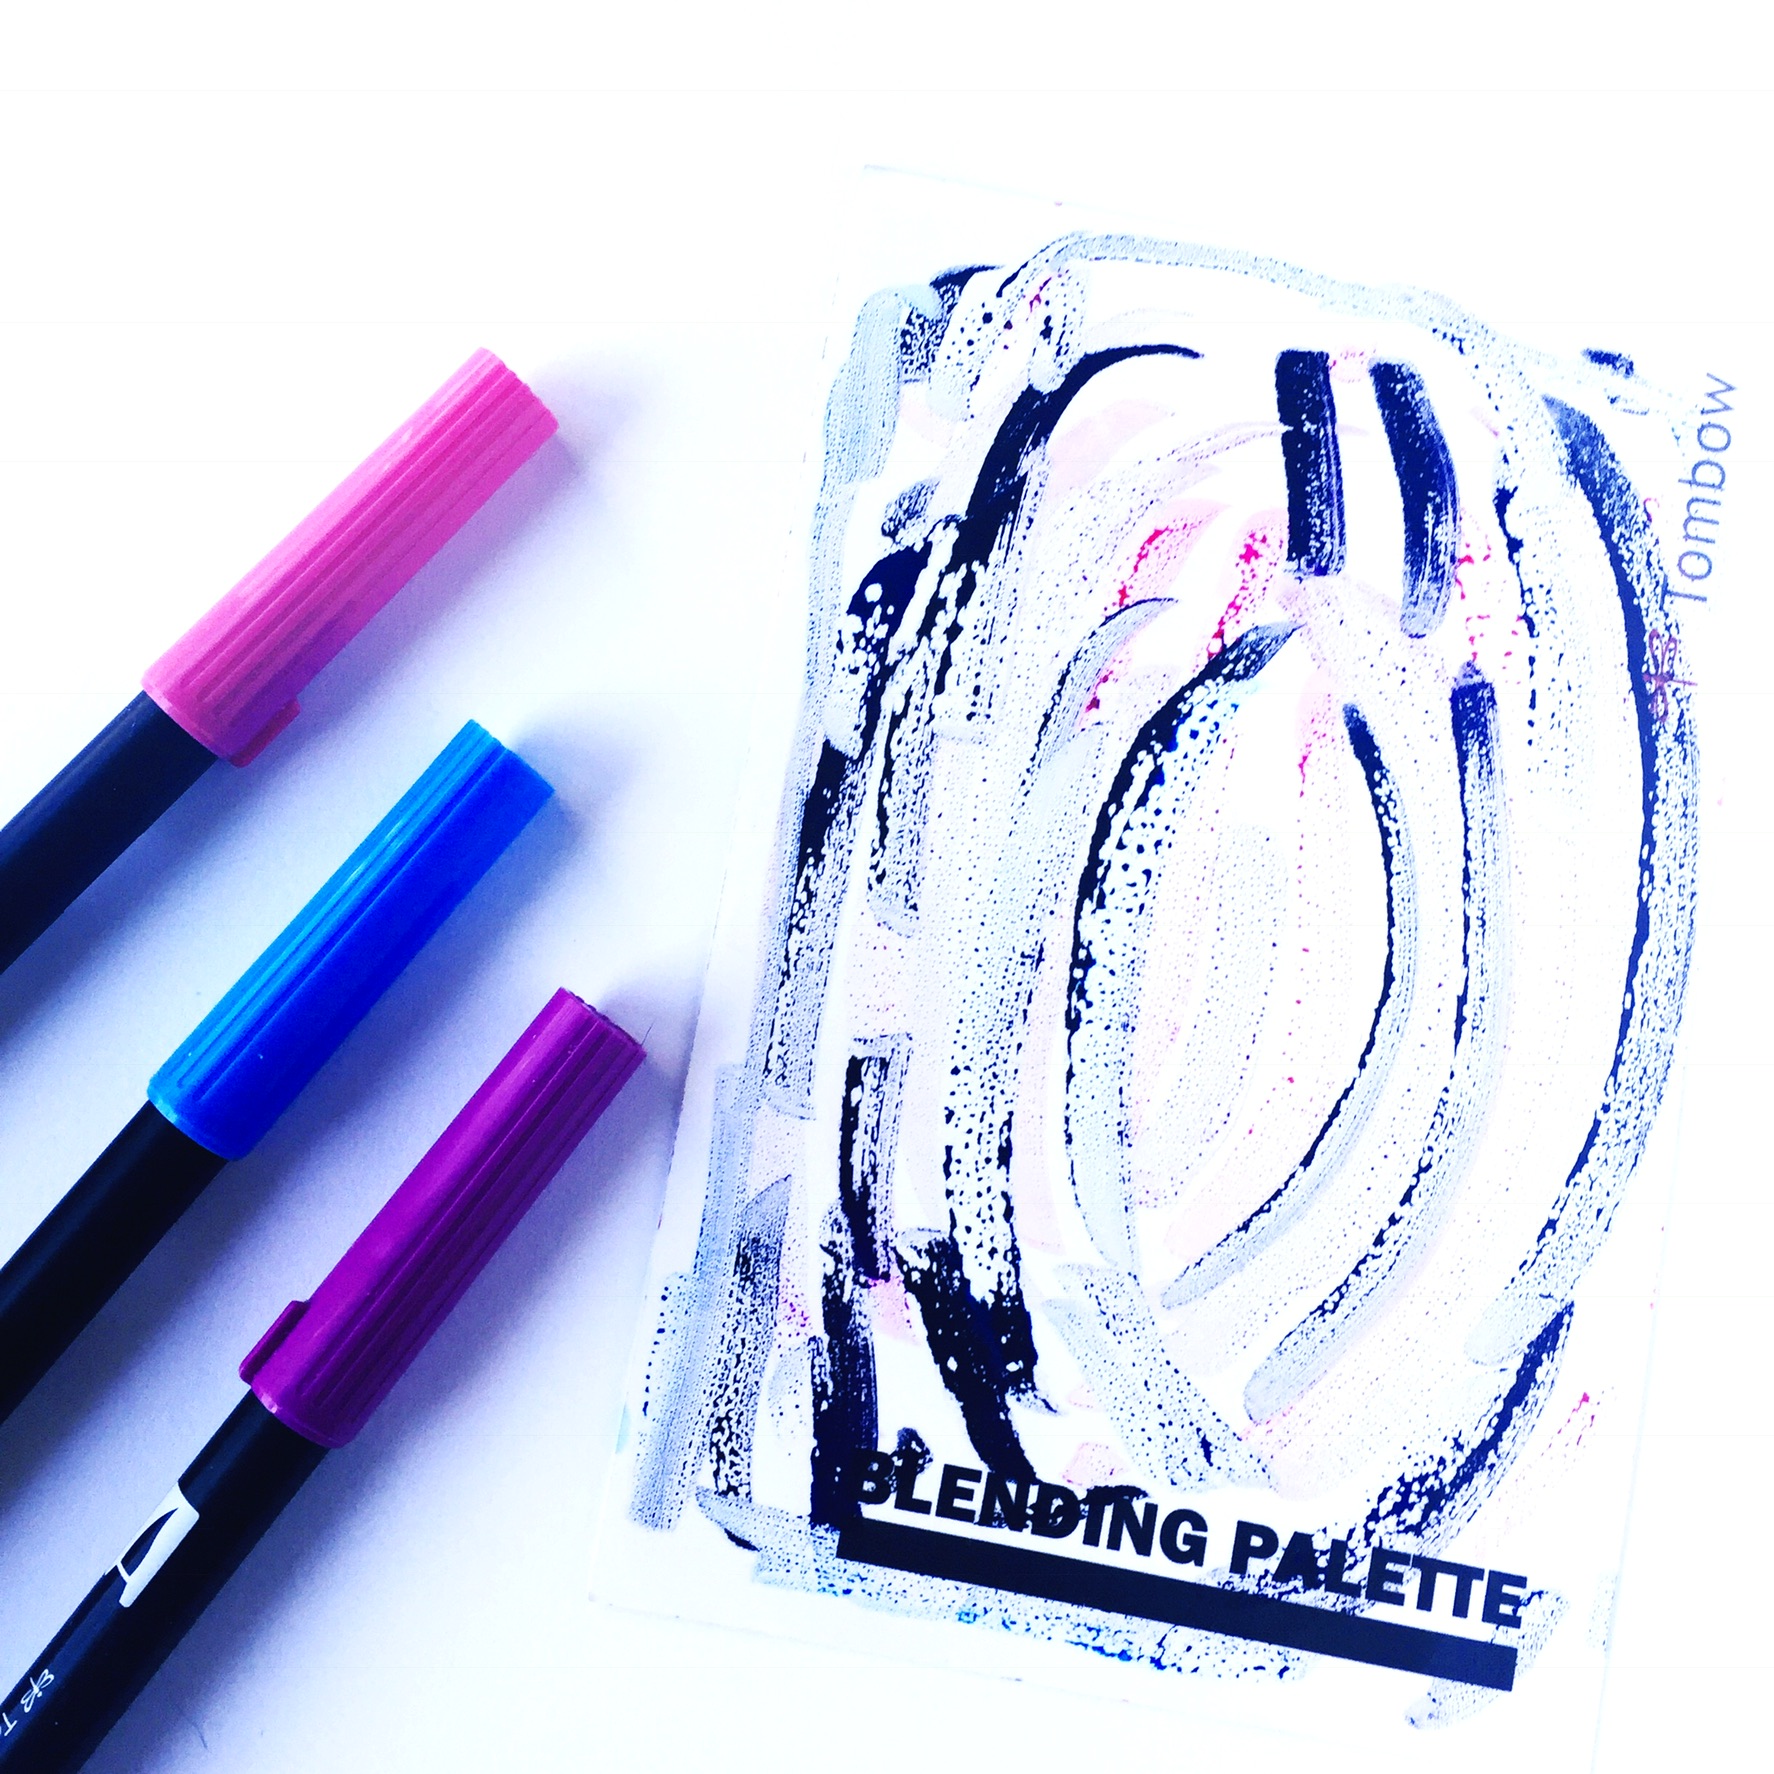
Pick whatever colors of Dual Brush Pens that you want to use and create a fun pattern on the blending palette, covering the whole area with color.
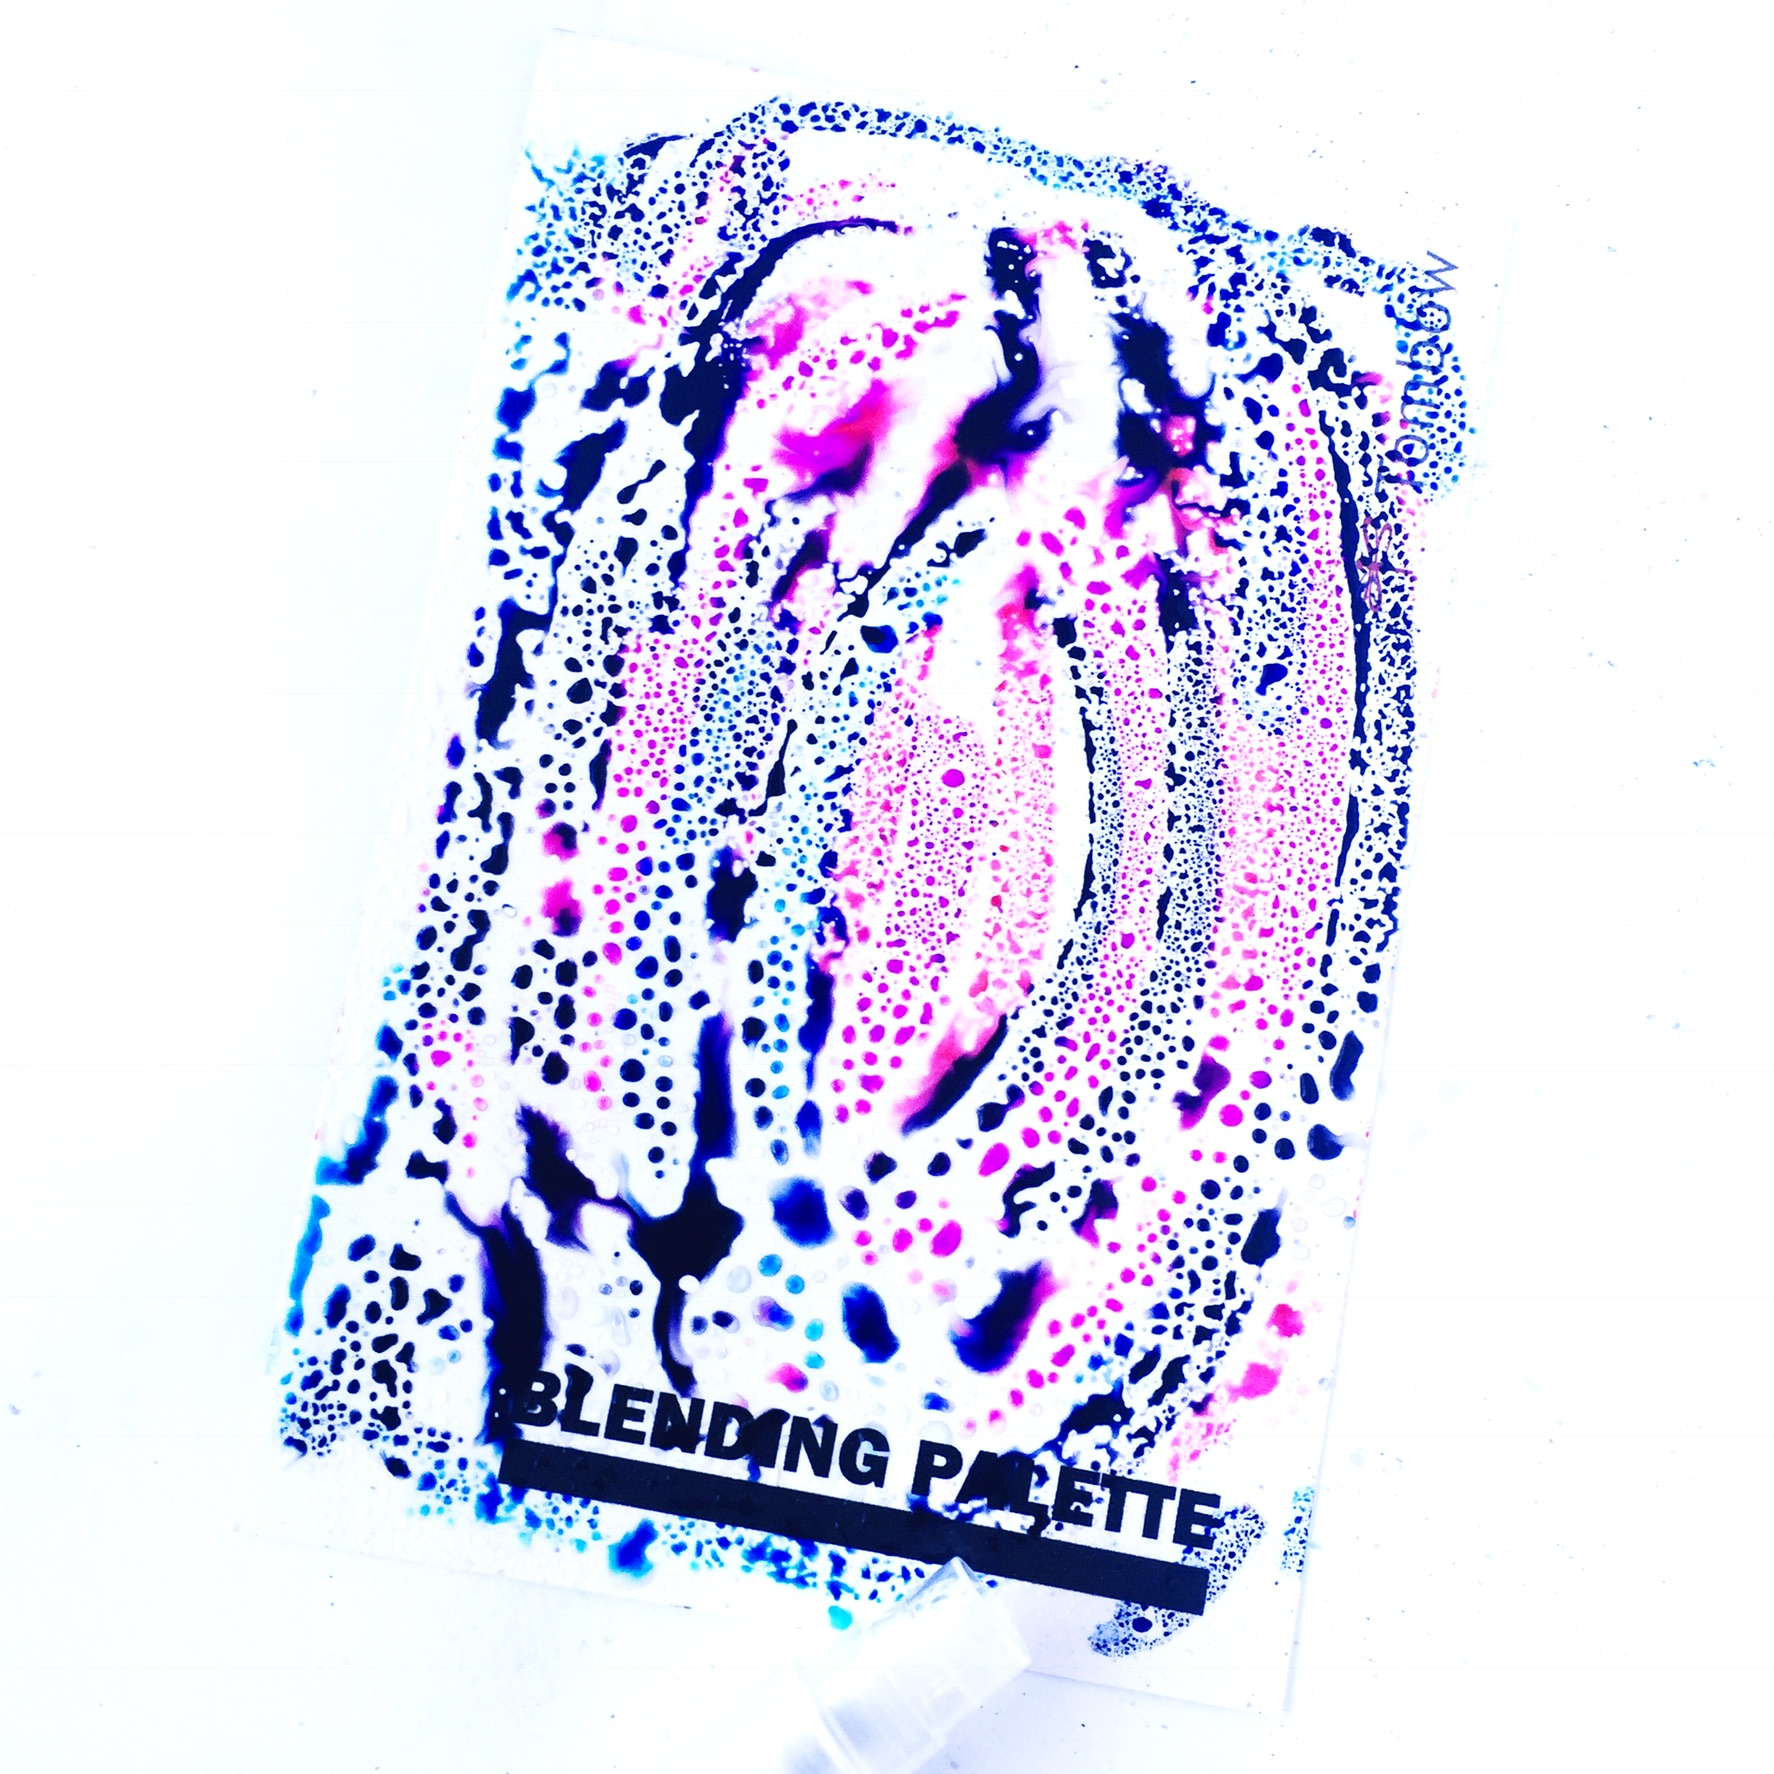
Spray the palette with plenty of water with the mister. The more water you add, the more the color will spread… the less water, the deeper the colors that will be absorbed.
STEP 2: TRANSFER COLOR TO PAPER
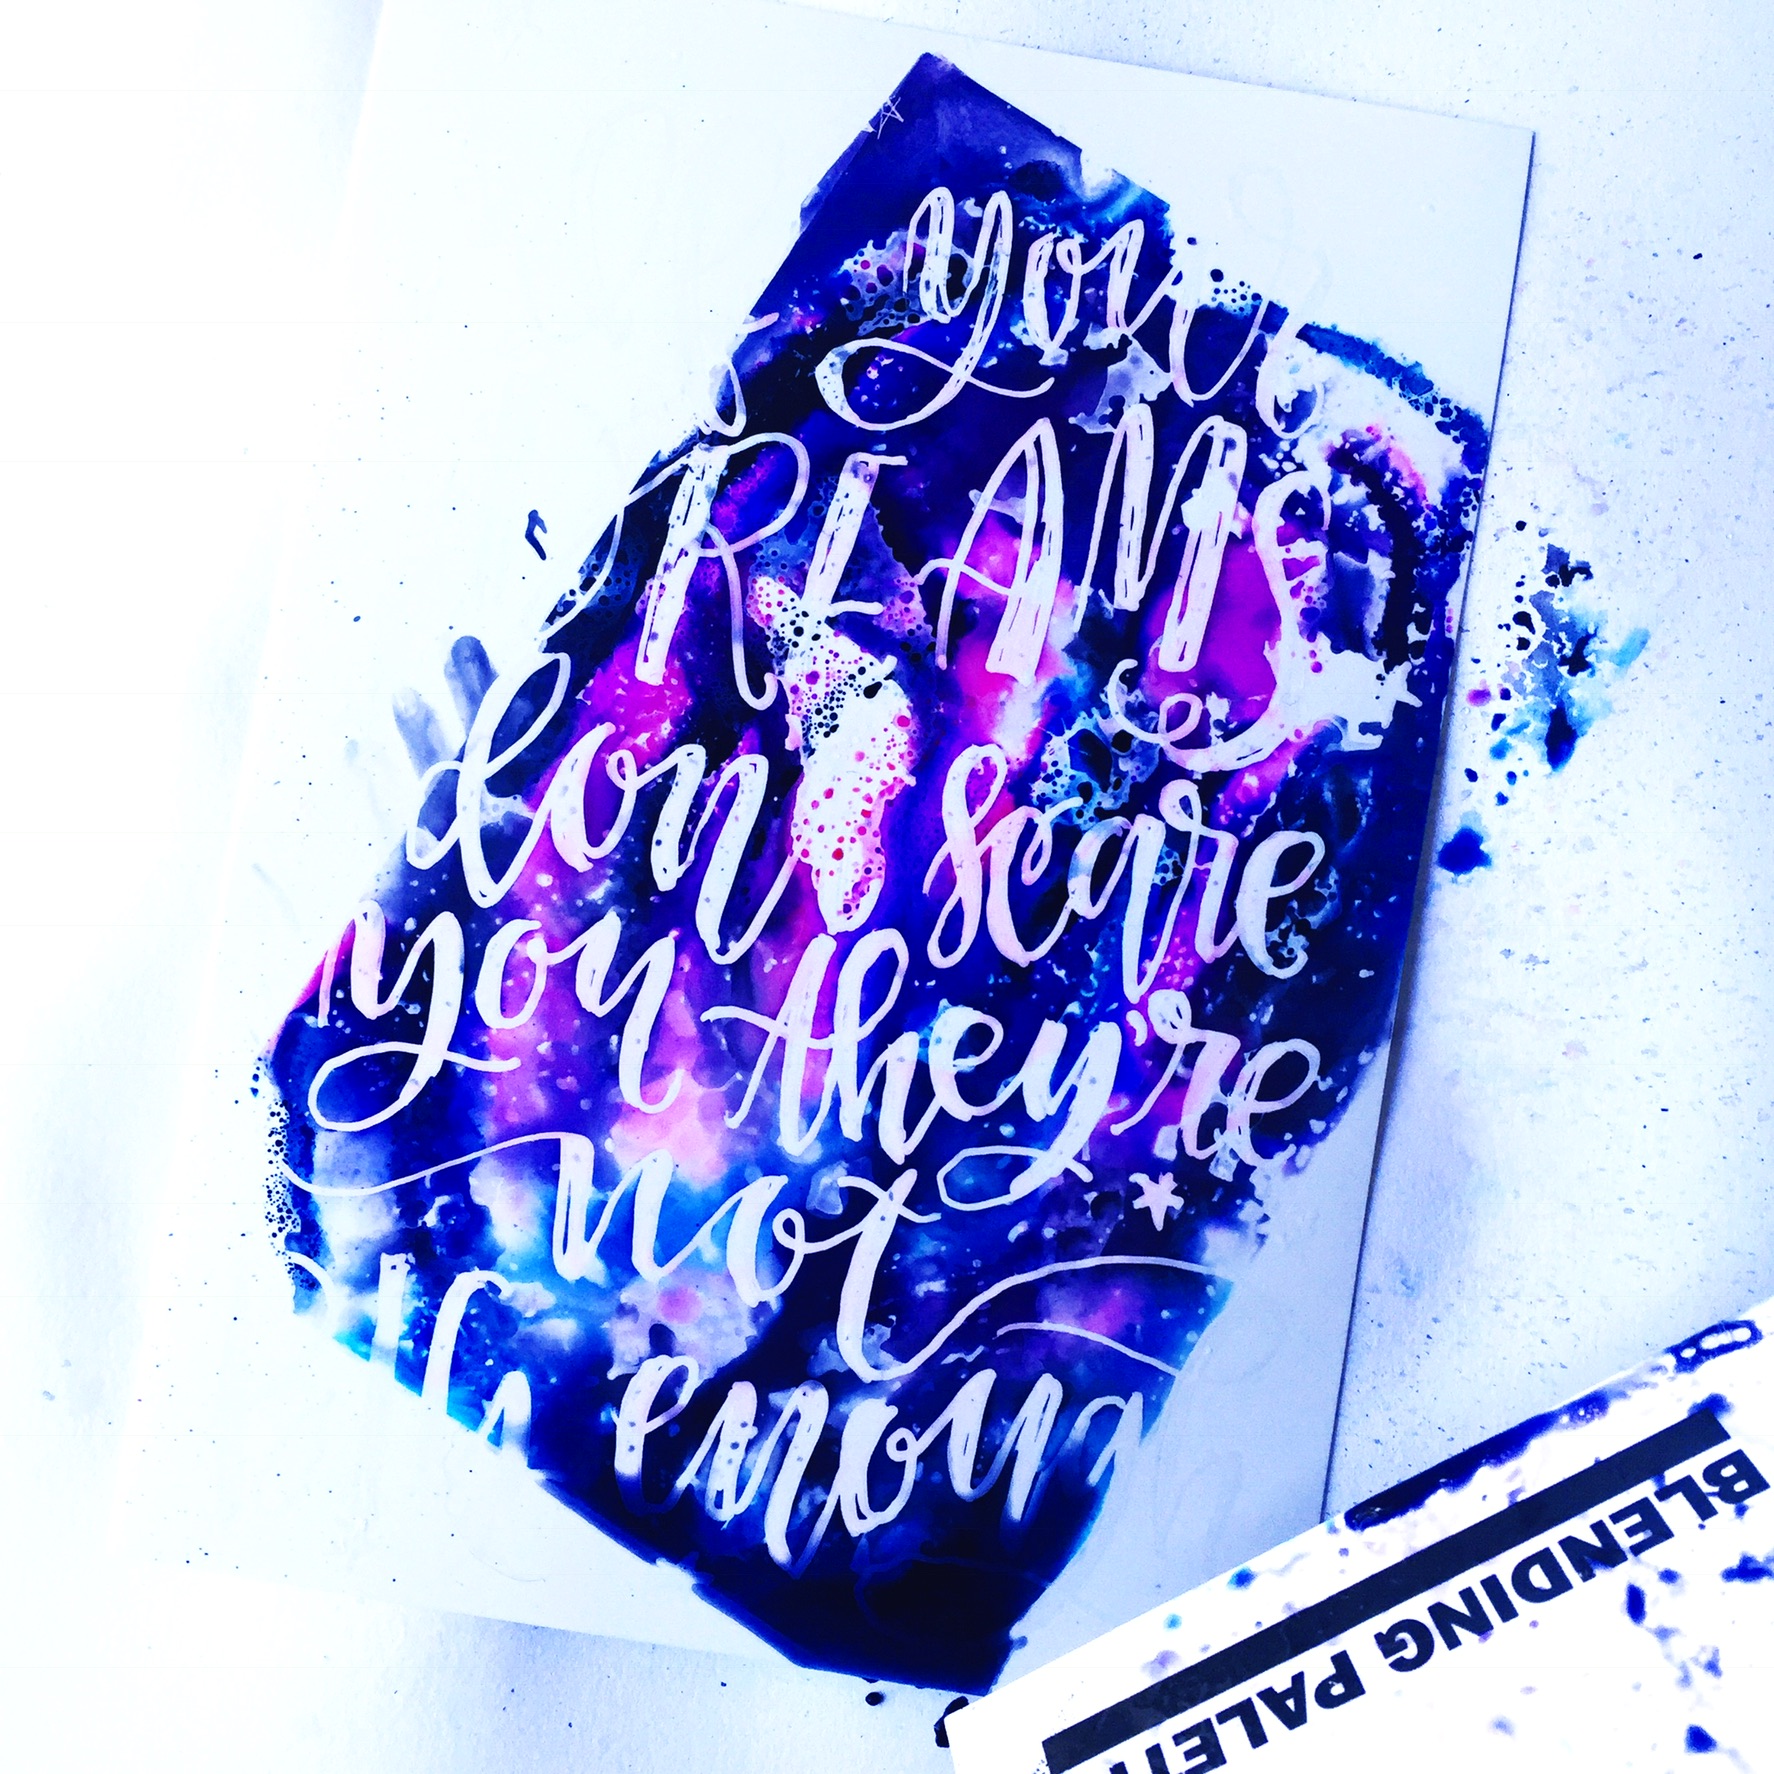
Lay the blending palette directly on the lettered photo paper and lift up. The color is instantly absorbed and will stay in place. Wipe the excess water off with paper towel and repeat. You may need to wipe off the blending palette and reapply color until it looks like you want it to.
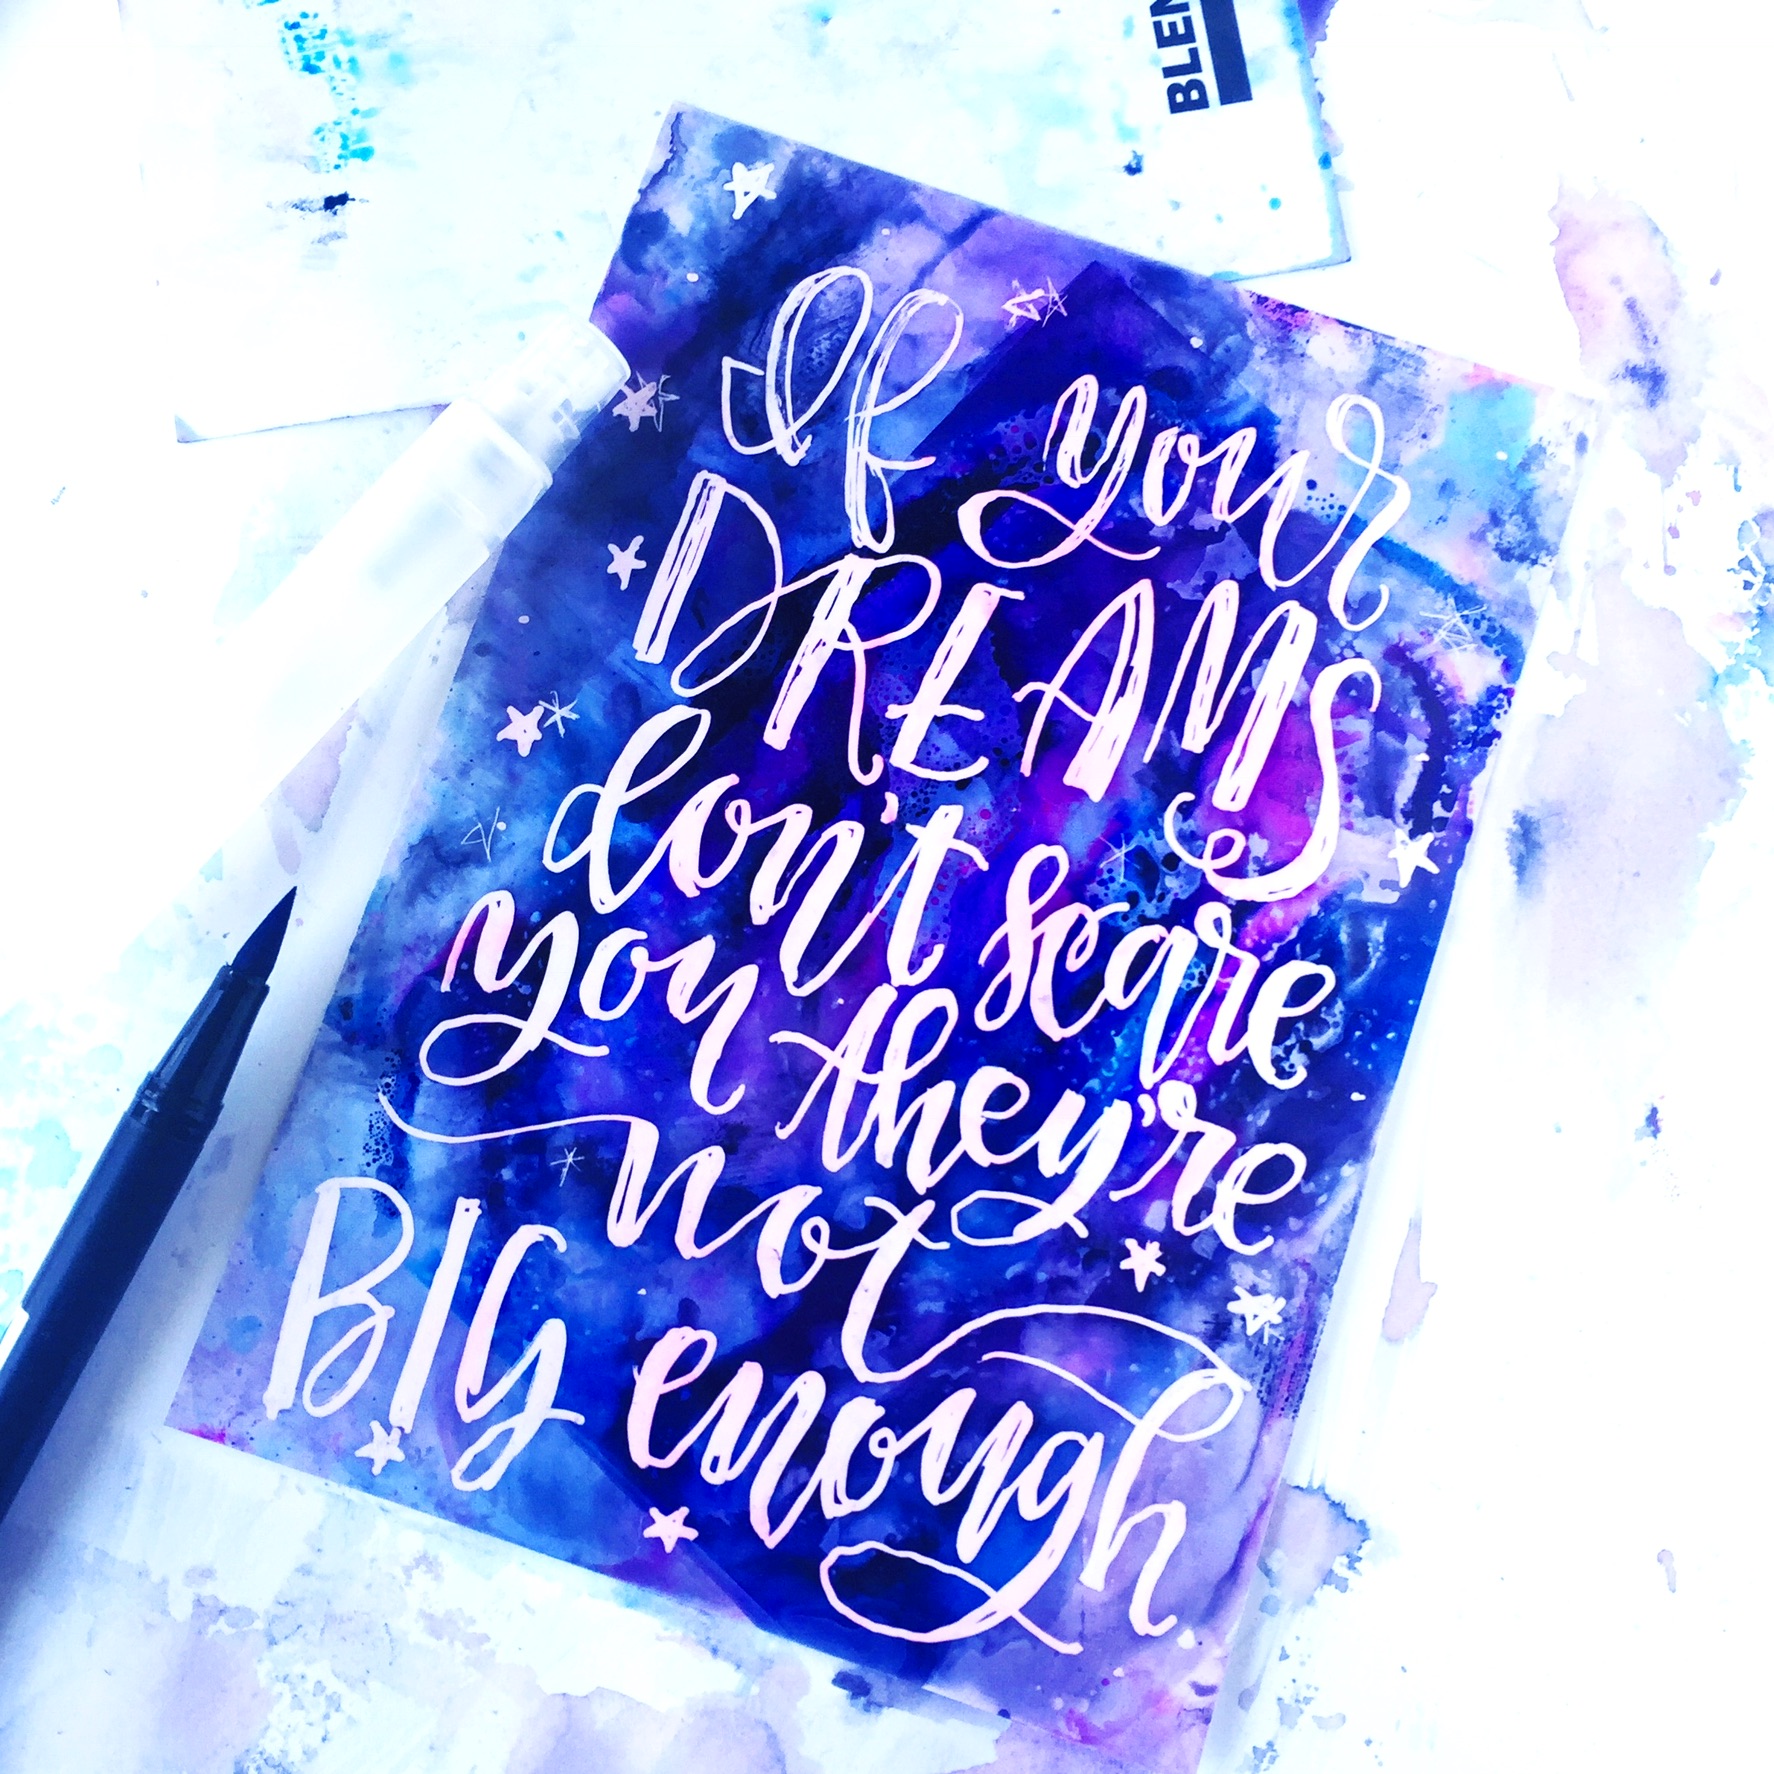
The pink, black and blue along with some illustrated stars made the perfect constellation lettering with this inspiring quote!
STEP 3: TRY A VARIETY OF COLOR SCHEMES AND LETTERING STYLES
The lettering and color schemes are easy to play with and change up. Whether you are writing in script, block lettering, or faux calligraphy, the Tombow MONO Glue Pen creates the perfect resist lettering every time!
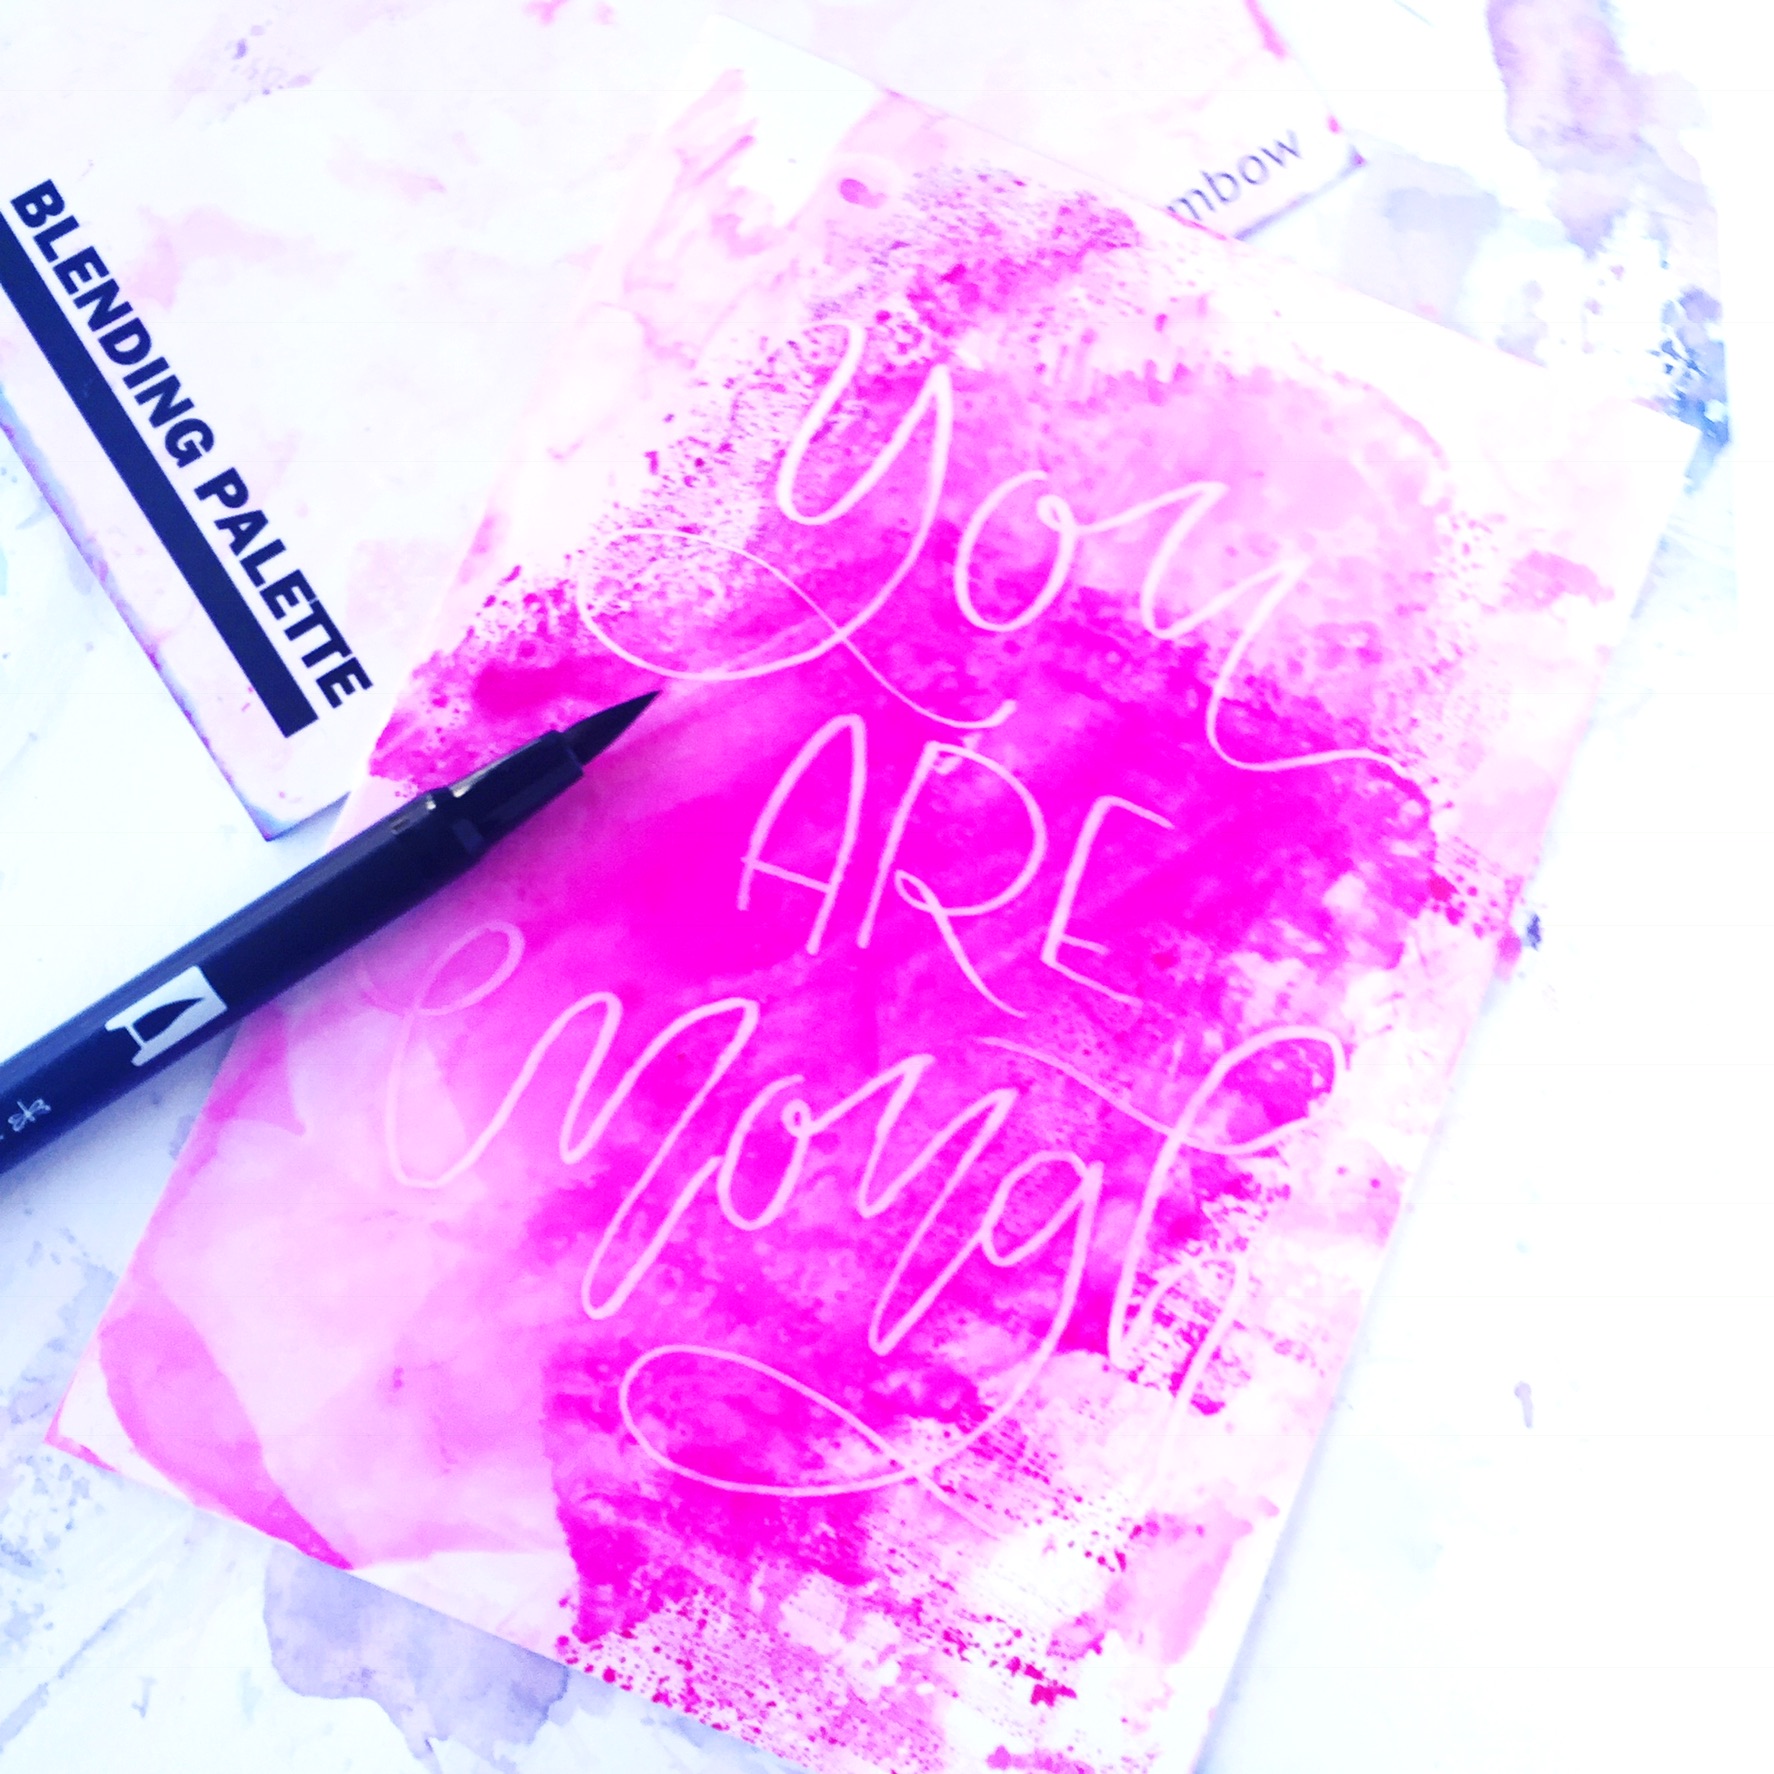
Gray and black Dual Brush Pens make a fun marble effect on the photo paper.
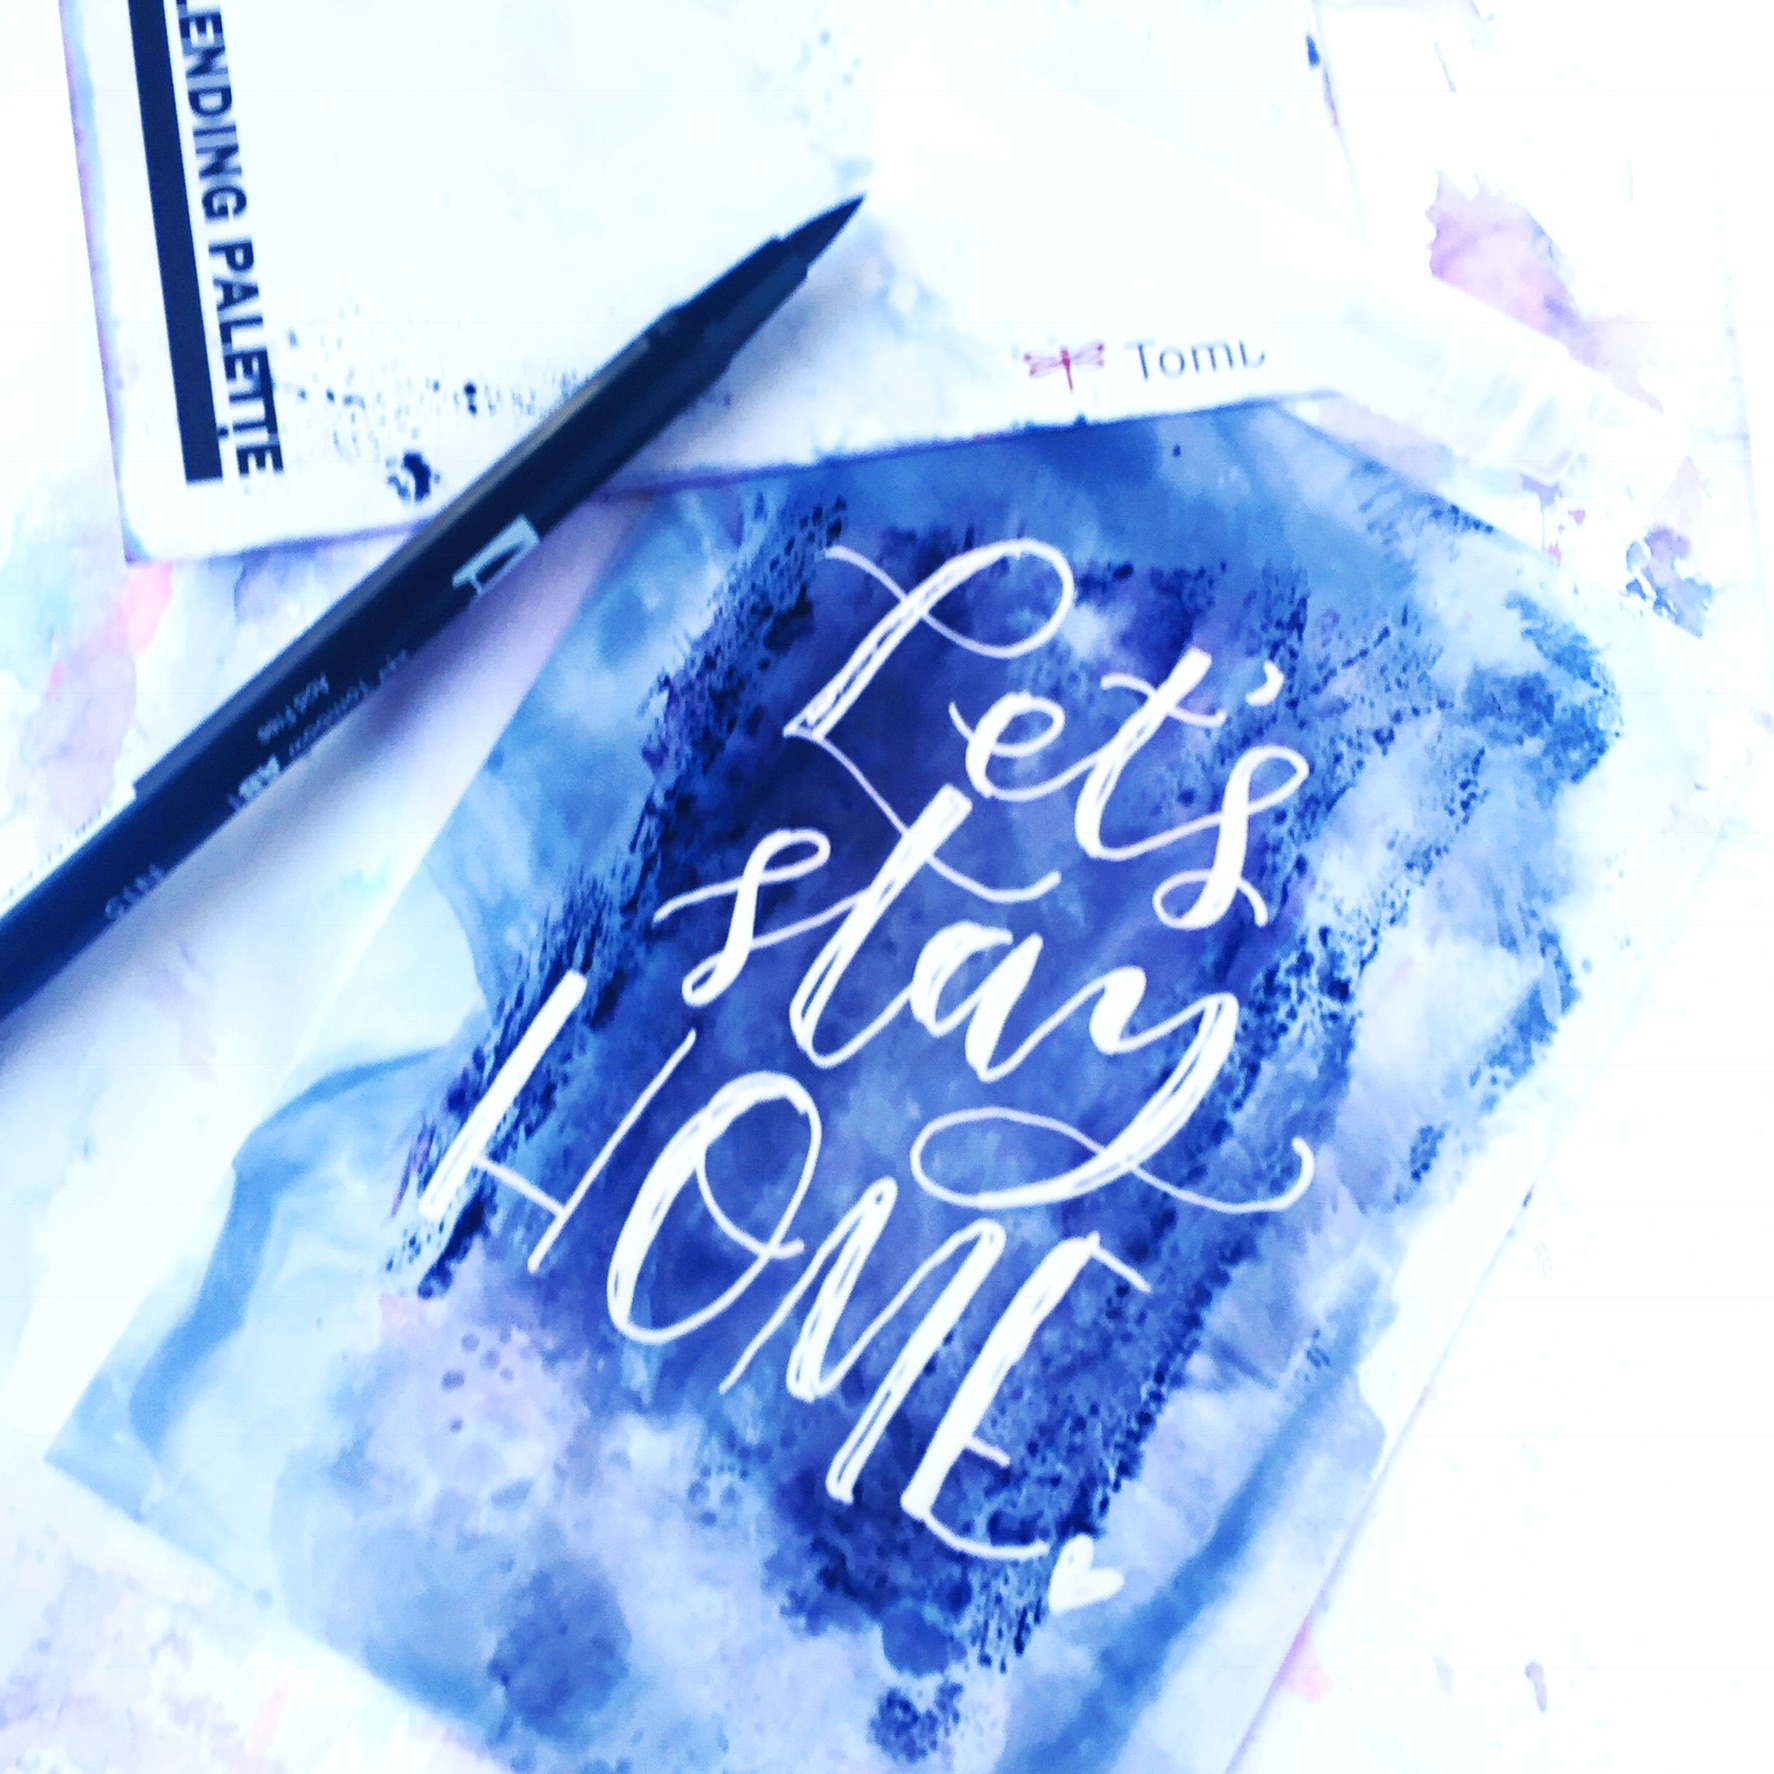
When you are finished, make sure you wipe the front and back of each lettered piece to make sure the excess water is gone. Then, these pieces are ready to stick in a 5 by 7 frame.
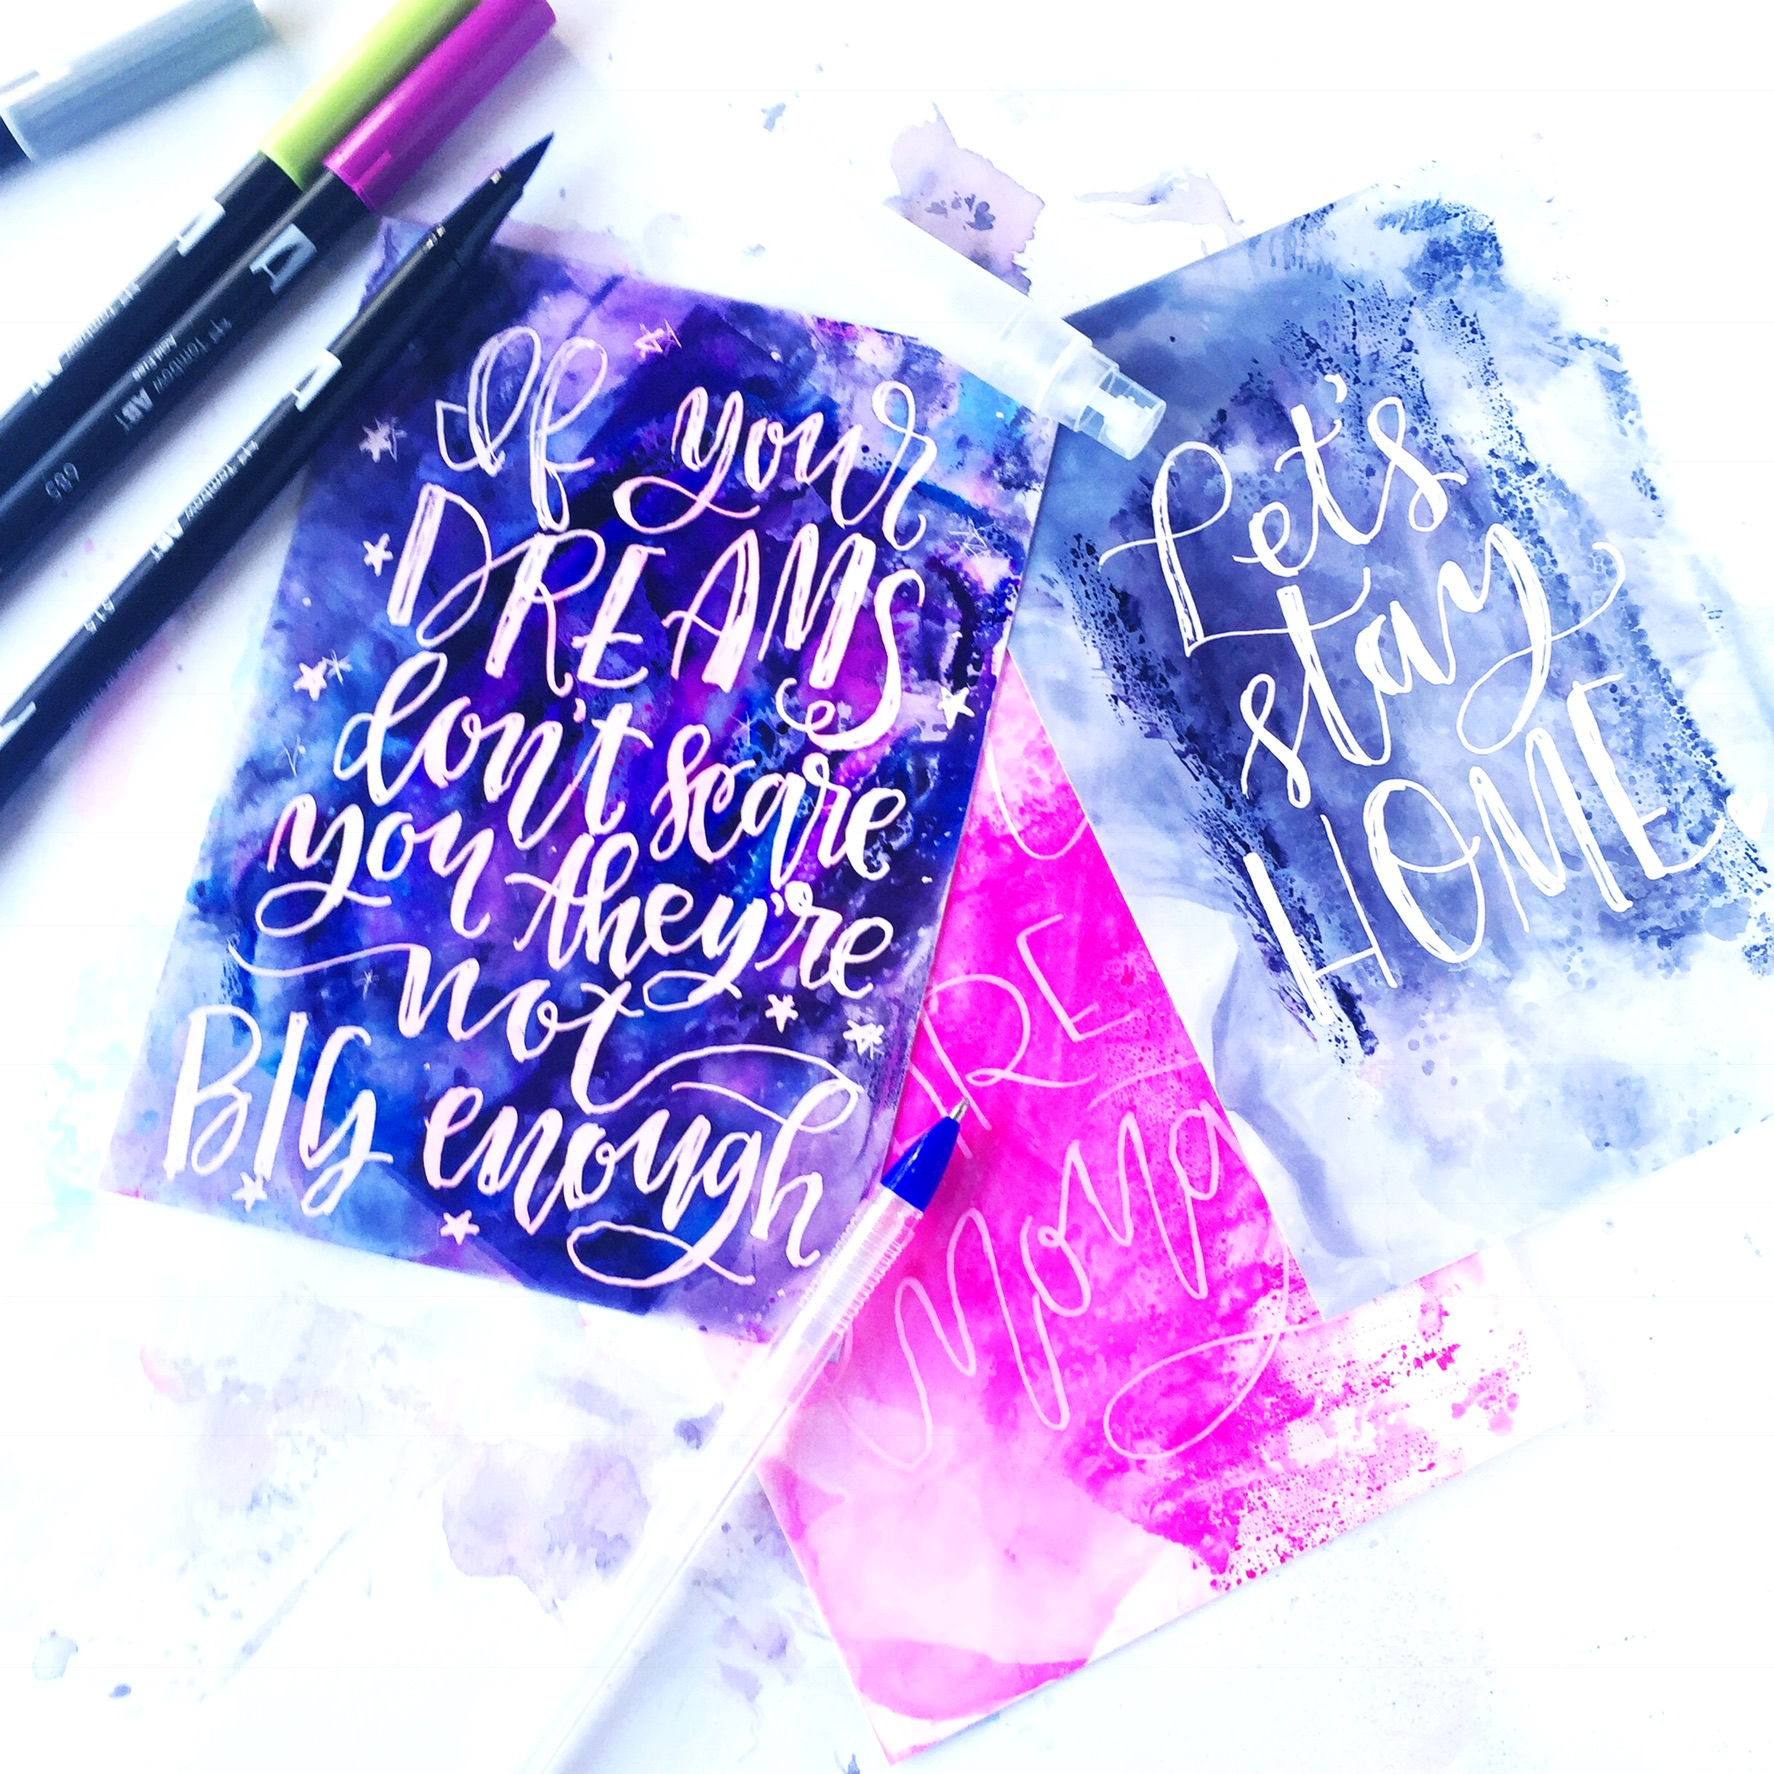
That’s all there is to it! How will you use this technique! I’d love to see!!! Make sure to tag me and say hi over on Instagram on @renmadecalligraphy or @tombowusa. As always, find the amazing products in this post on tombowusa.com.
