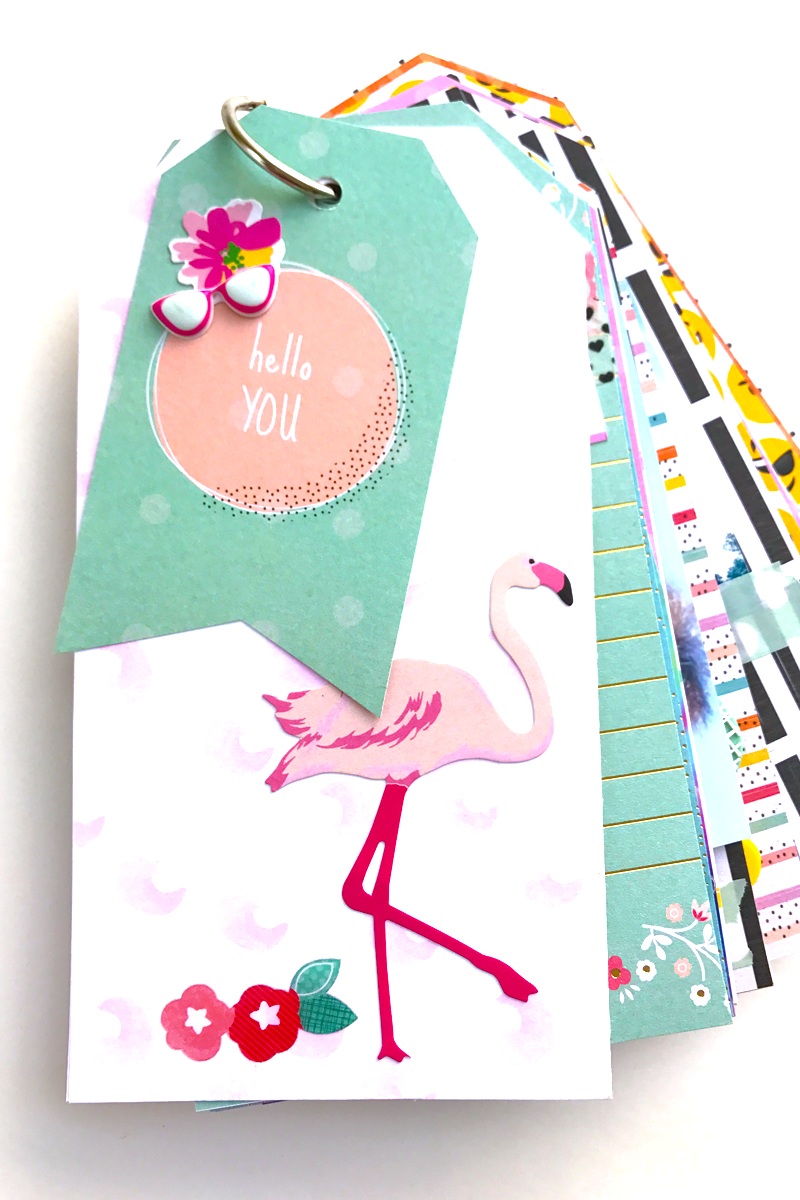
Hey y’all, it’s Dani from @popfizzpaper! Today I’m combining my love of papercrafting and scrapbook supplies to create a fun Scrapbook Tag Book. Tombow partnered with several brands to celebrate National Scrapbook Day, so make sure to check out the supply list below to see the awesome brands’ products included in this project. Also, I want to say a big thank you to DCWV, Paper House, Graphic 45, Amy Tangerine and Papercakes by Serena Bee for partnering with Tombow and providing such wonderful items to work with! I had so much fun creating this project. Let’s get started!
SUPPLIES:
- Tombow MONO Adhesive + Permanent (@tombowusa // #tombowpro)
- Tombow Foam Tape
- Diecuts With A View Sweet and Sassy paper pad (@dcwvinc // #dcvwmaker)
- Papercakes by Serena Bee papers (@papercakes_ // #papercakesbyserenabee)
- Paper House stickers (@paperhouseproductions // #paperhouseproductions)
- Amy Tangerine stickers (@amytangerine // #amytangerine)
- Amy Tangerine rubber shapes
- Large tag (to use as a template – mine is 6.5″x3.5″)
- 1″ book binding ring
- Various washi tapes
- Scissors
- Hole Punch
- Photos
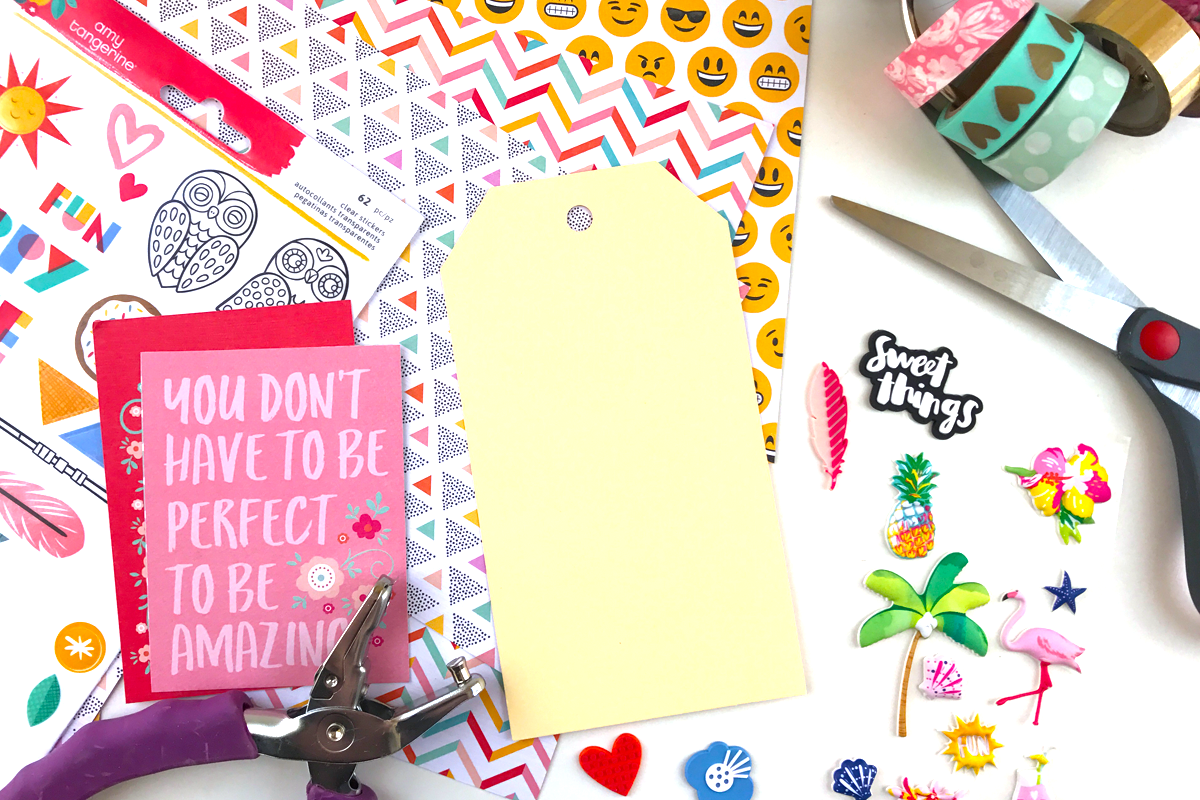
To start the scrapbook tag book, you will need to cut out some tags. I used a large tag from my stash as a template to cut out papers from the Diecuts With A View paper pad. I really love that the DCWV papers are double-sided. It makes the final product so much more vibrant and colorful. Don’t forget to punch holes in your tags, too!
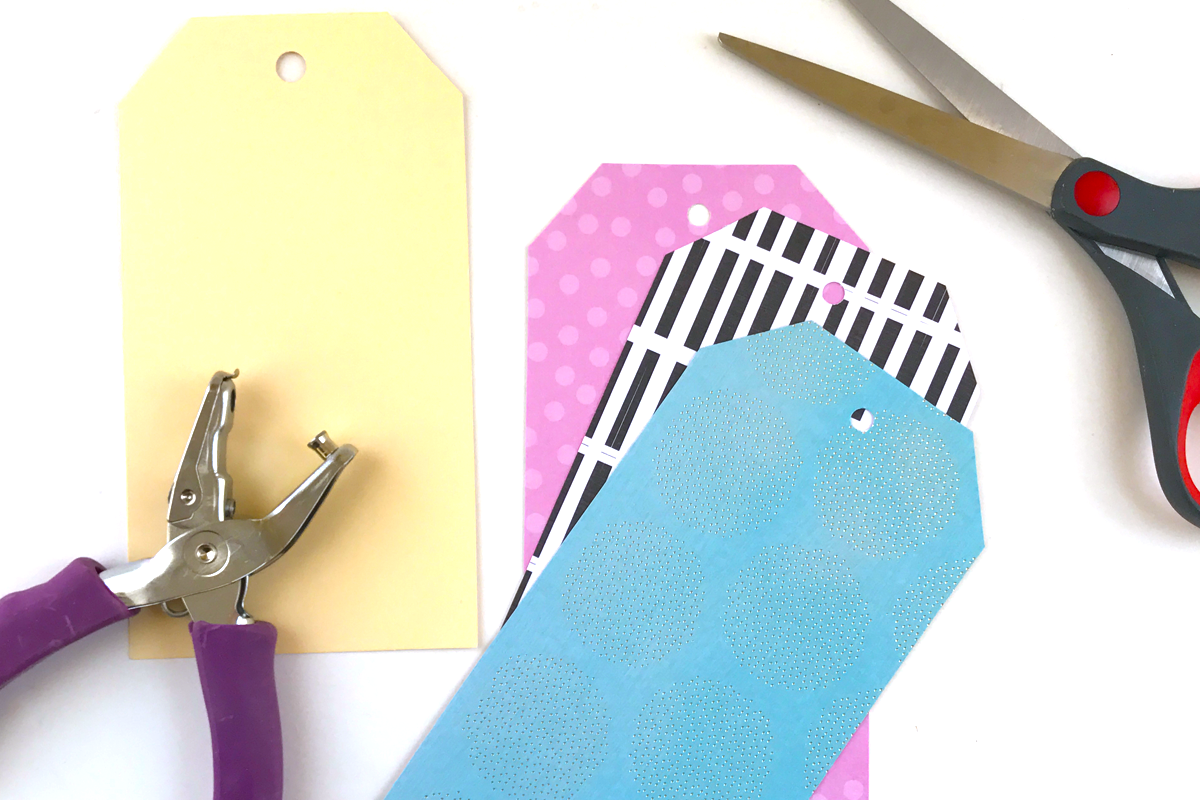
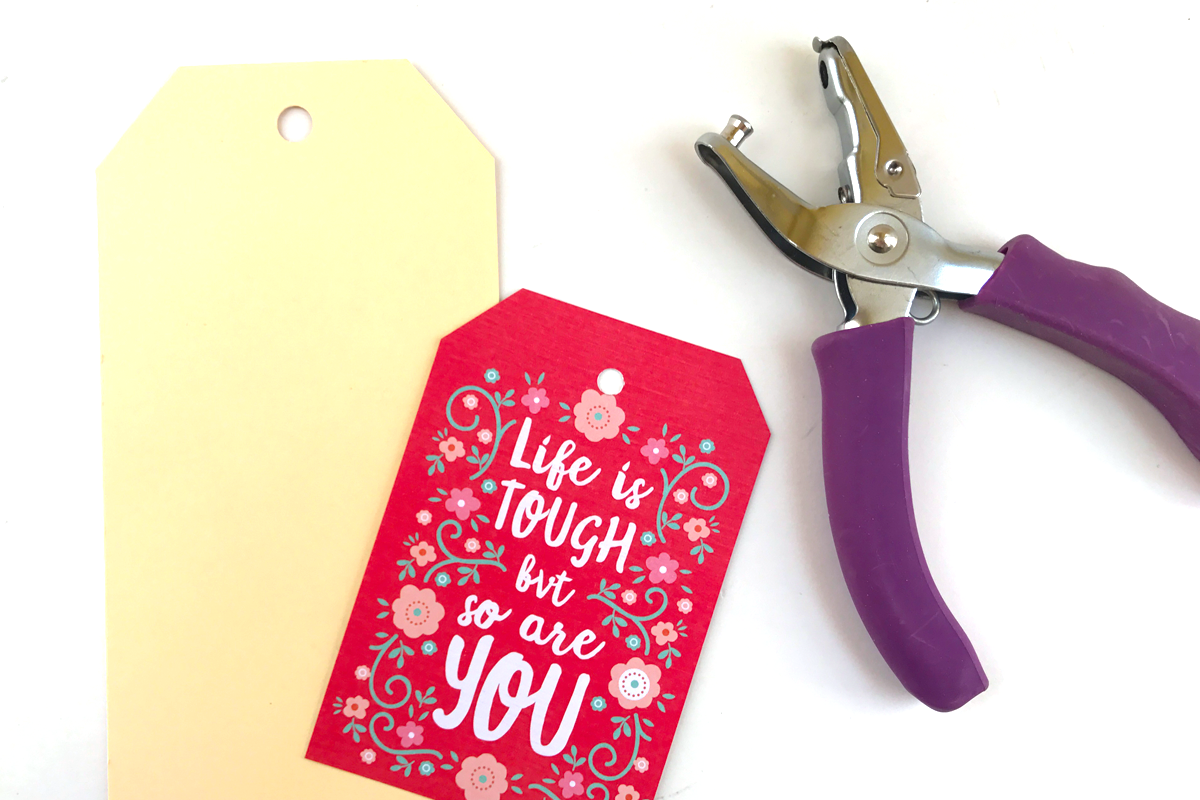
Remember that you aren’t limited to papers when creating your tag book. I also used the journal card and cut-apart sheets in the paper pad to create smaller tags to scatter throughout the tag book. Having tags in a variety of sizes and shapes makes the book more interesting!
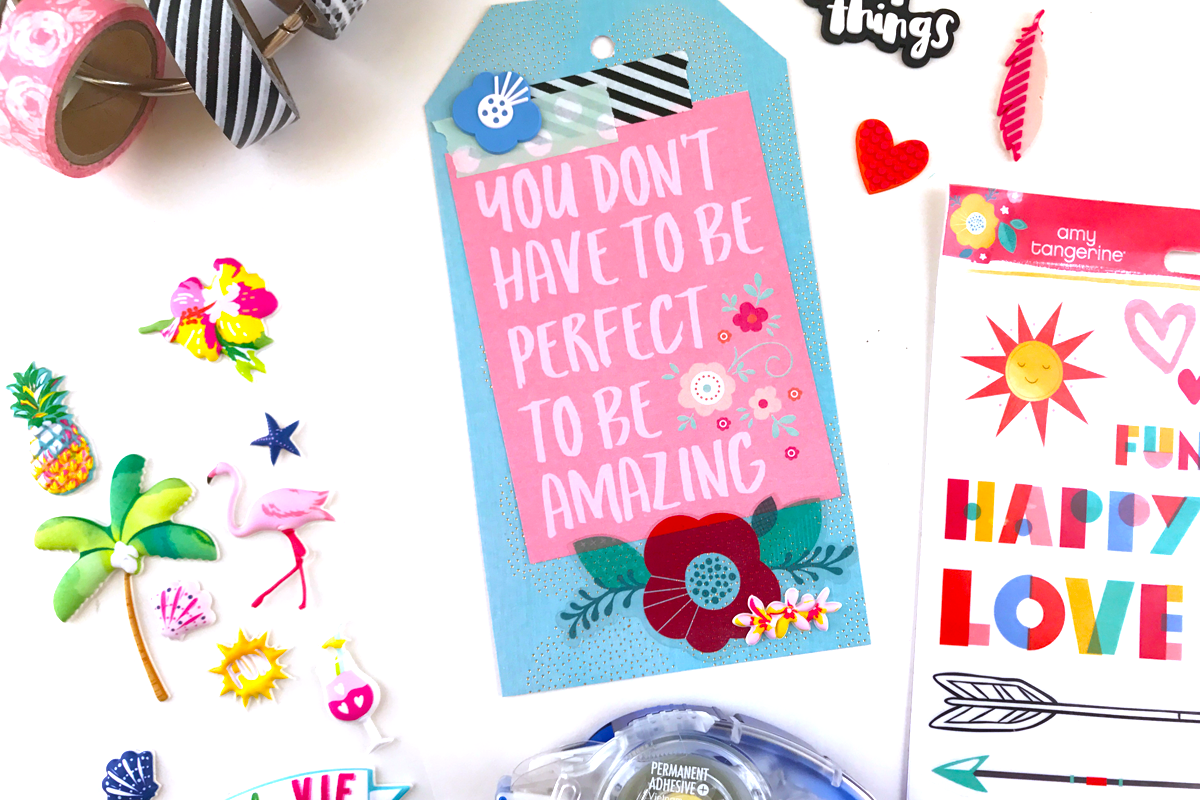
Next, it’s time to decorate! I used a mix of washi tapes, rubber shapes, stickers, photos, and more journal cards and cut-aparts from the paper pad. Diecuts, rub-ons, alpha stickers, and other fun bits from your scrapbooking stash would also be great – the options are endless! The Tombow MONO Adhesive+ works perfectly to adhere everything down to the tags.
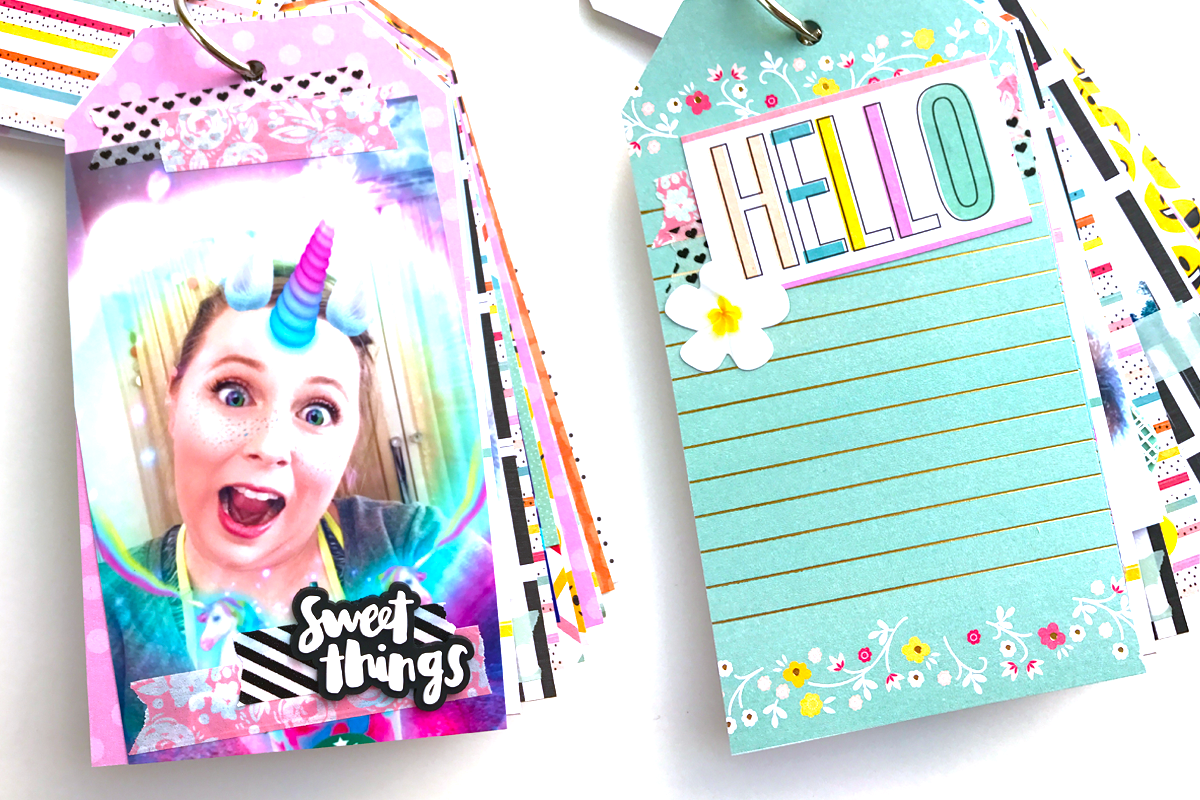
Since I’ll be mailing my finished scrapbook tag book to a friend for a fun happy mail surprise, I included a Hello tag and lots of room throughout for little notes.
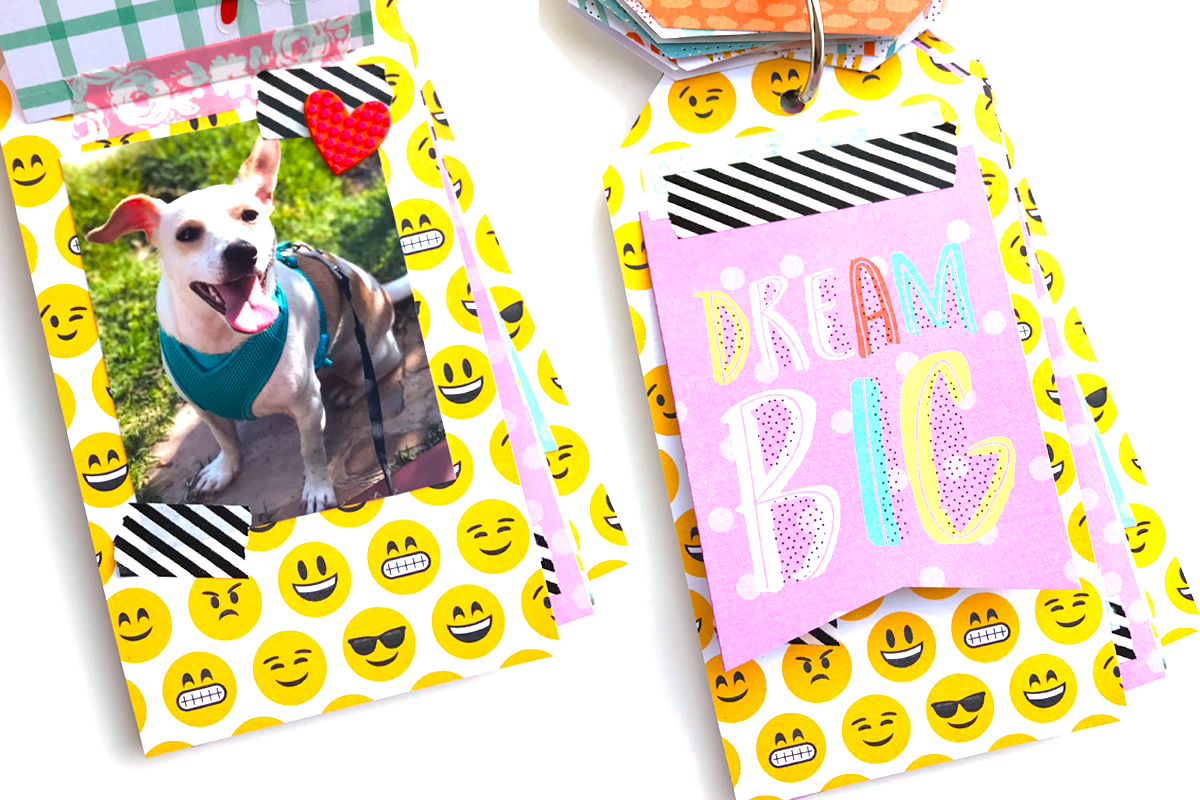
Flip-up cards on your tags (like the one below) make your book even more interactive! The Dream Big flip card is from the journal card sheet in the paper pad, and I secured the top edge with washi tape. Underneath the Dream Big card is a picture of my puppy, adhered with the MONO Adhesive +. Don’t forget to embellish under any flippy bits!
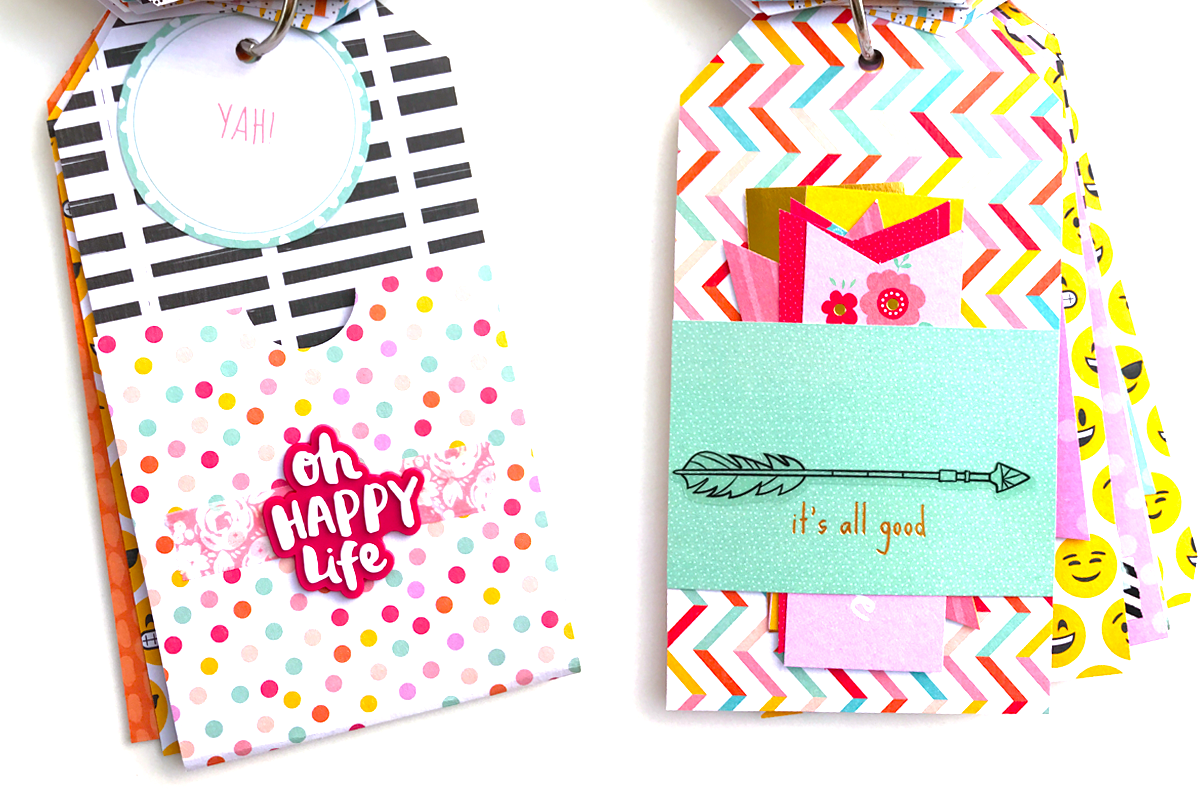
Because I’m sending my book to a pen-pal, I created a couple of pocket tags to include some crafty goodies. Pockets are also great for holding mementos, like ticket stubs, little notes, etc. I used the Tombow Foam Tape to make the pocket on the left. For the tag on the right, I used the Adhesive + to create a little belly band to hold some die-cuts. More embellishments to decorate, and this scrapbook tag book is almost done.
Here are a couple more examples of what you can include in your book. I really enjoyed adding tags of different sizes and silly photos to make my pen-pal smile!
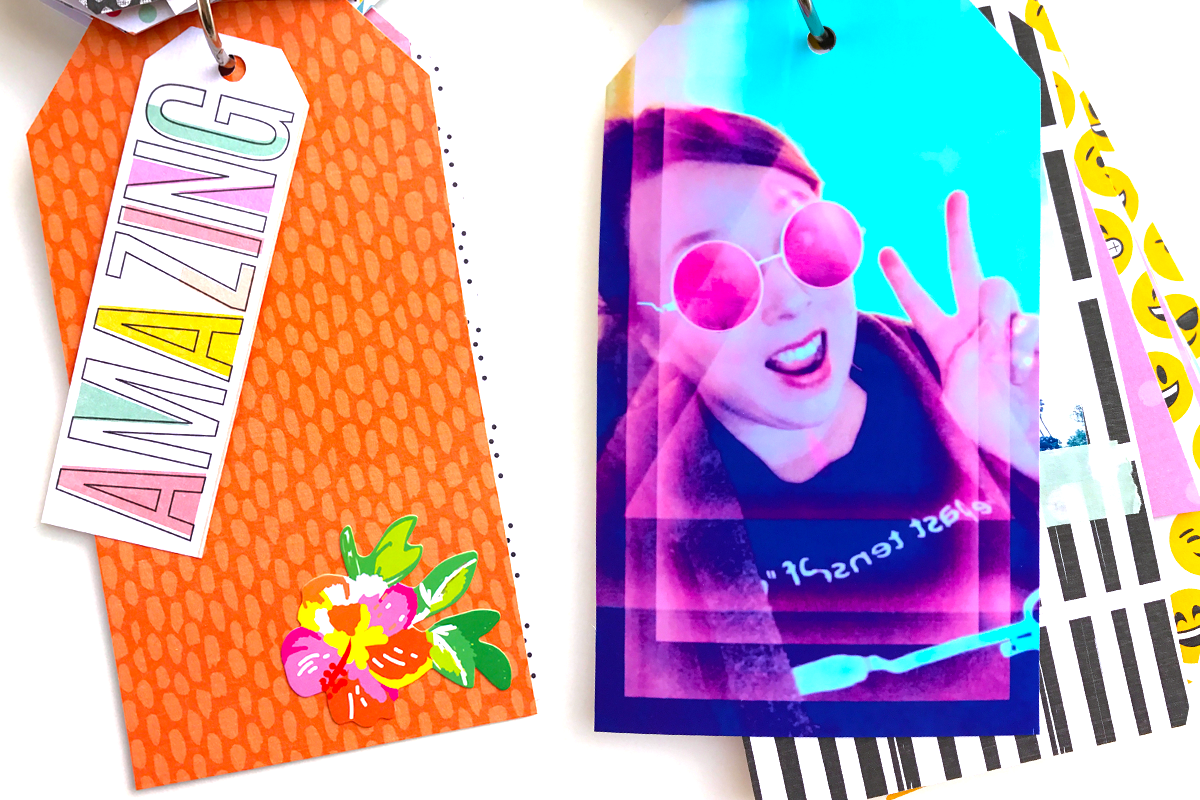
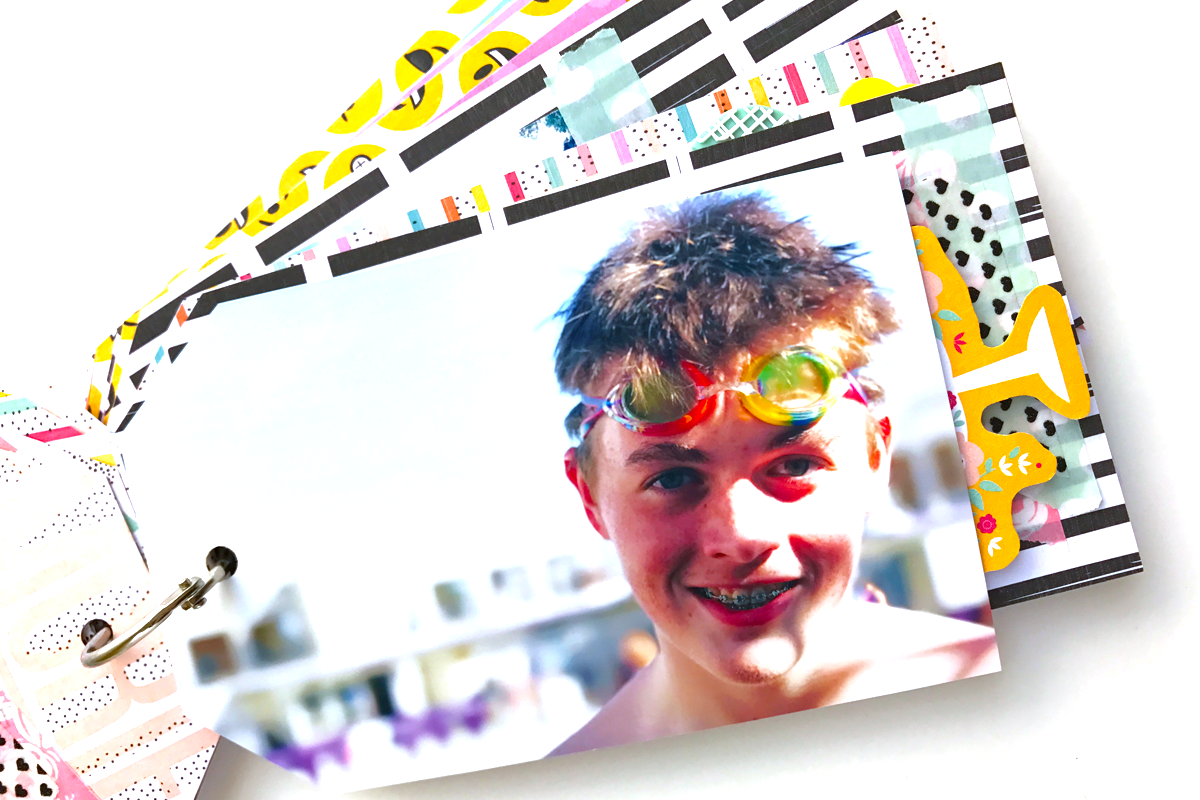
Don’t forget that you can include landscape photos as well. Even small photos layered on your tags will look great, too, especially if you embellish them a little bit! Finally, once all your tags are decorated, use the book binding ring to to hold them all together.
And that is it for today’s project! I hope you enjoyed it and that you’re inspired to get creative with your scrapbook supplies. Make sure to tag me on Instagram or YouTube if you create your own scrapbook tag book – I would love to see!
Happy crafting and I’ll see you next time, friends!
Dani
This is such a fun mini book!
cool ideas to make tags of all kind thank you