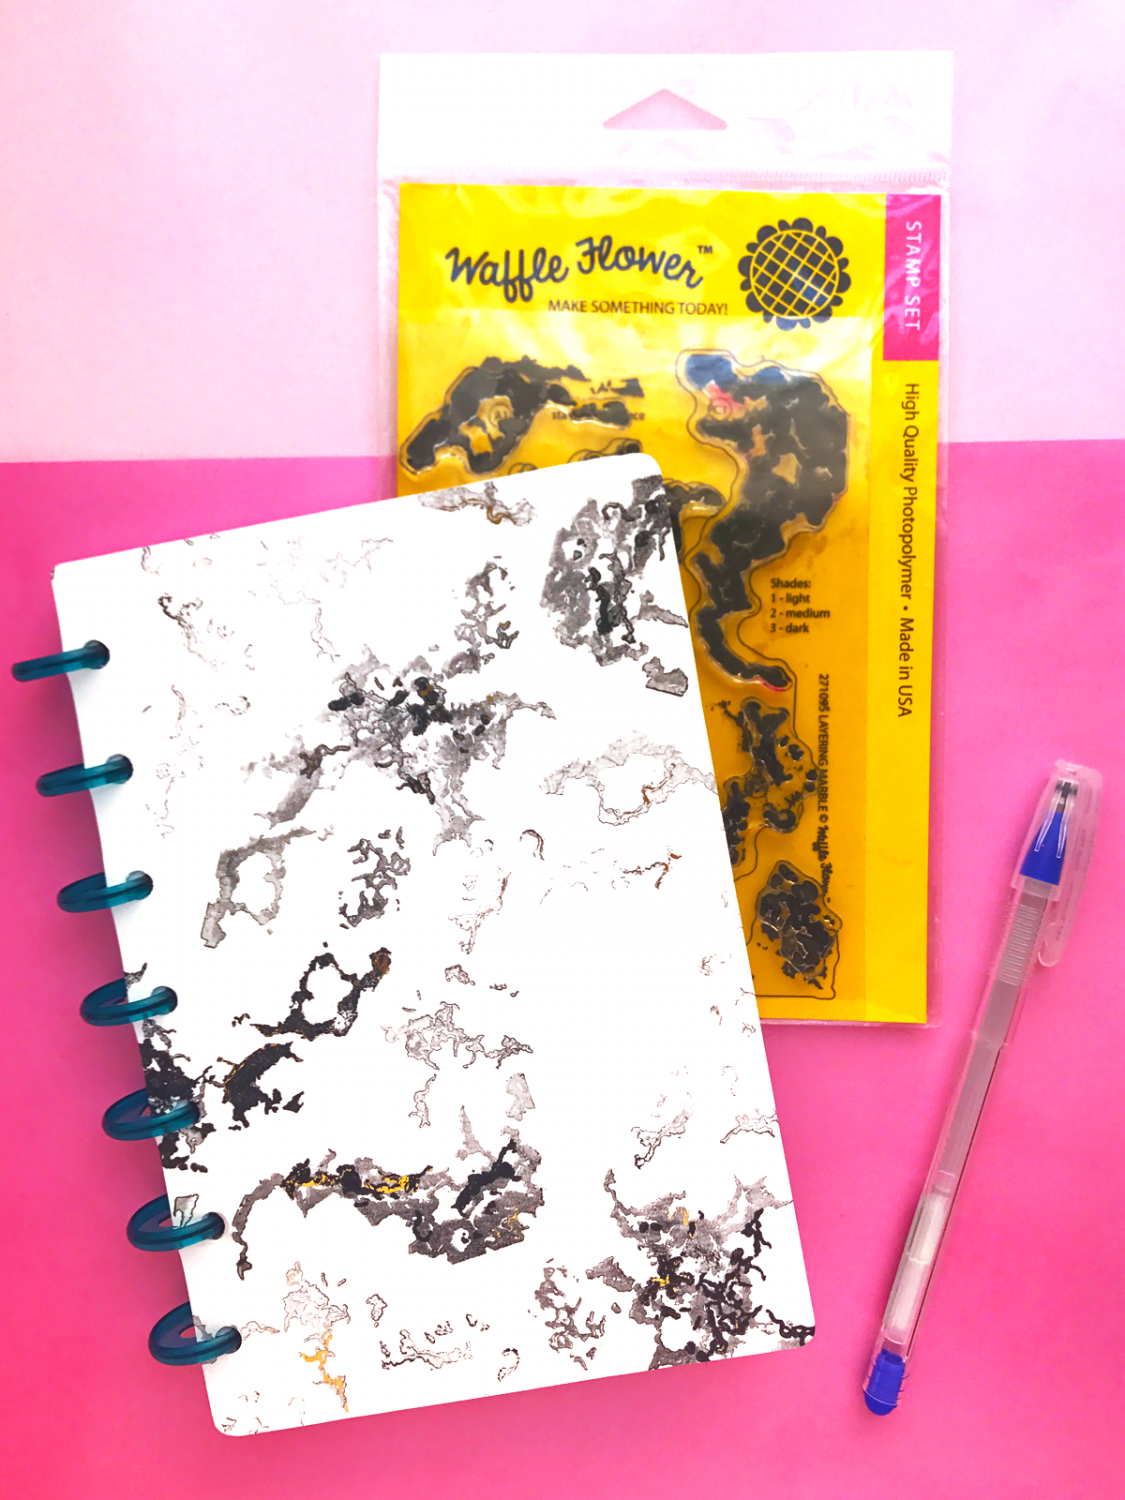
Hi Tombow friends, it’s Dani from @popfizzpaper with a tutorial on how to make a foiled marble planner cover! The awesome folks over at Waffle Flower let us choose some of their new products to try out and I went with the Layering Marble Stamp Set. Marble is super trendy right now, so let me show you how to create marbled papers, as well as add some gold foiling! In this project I’ll be sharing how to turn your marbled paper into a planner cover, but you can also use these techniques to create planner dividers, card backgrounds, notebook covers, and so much more. Thank you to Waffle Flower for providing this amazing stamp set! Let’s get started.
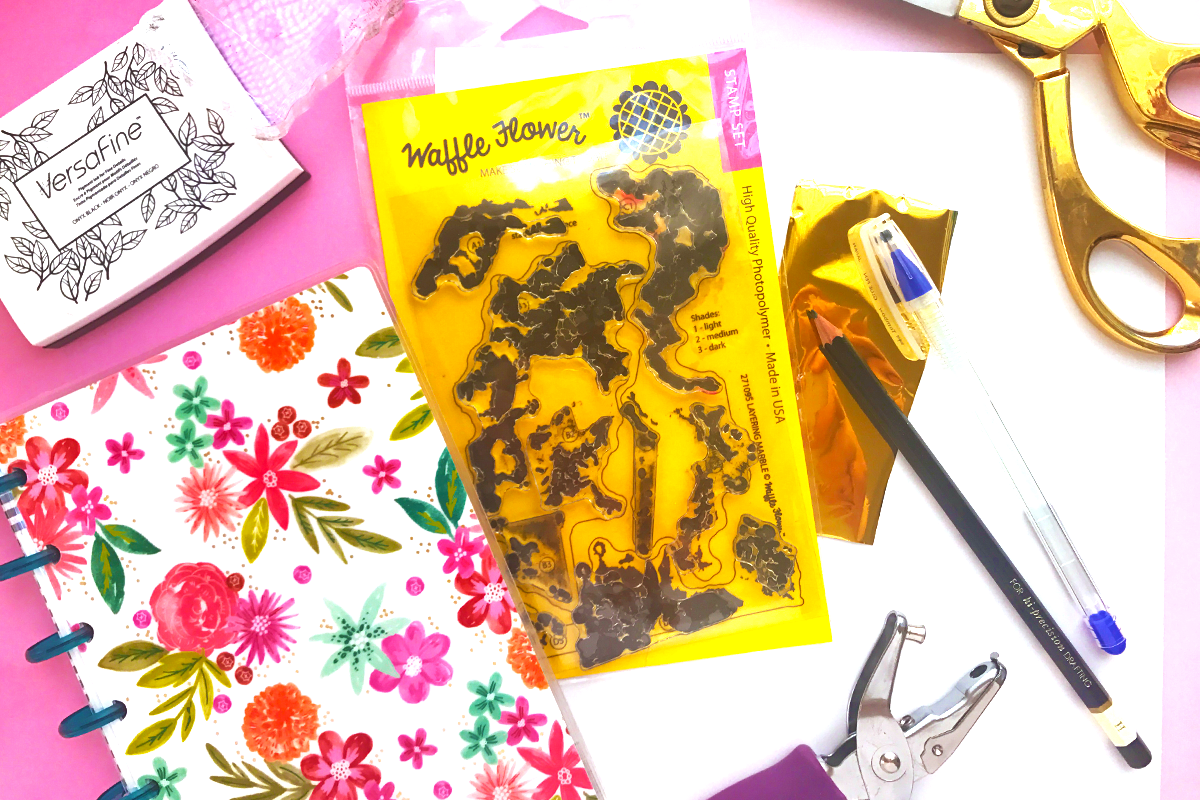
SUPPLIES:
- Planner (I’m using a Mini Happy Planner)
- White cardstock sized larger than your intended cover
- Waffle Flower Layering Marble Stamp Set
- Black stamp pad (I used Versafine) or various shades of gray if you have them
- Stamping block
- Scrap piece of paper
- Tombow MONO Glue Pen
- Gold foil (I used Minc)
- Tombow MONO Drawing Pencil
- Scissors
- Hole punch (1/4″ for Happy Planner and ring bound planners, 1/8″ for coil-bound planners)
- Laminator and pouch/laminating sheets (if you want to laminate!)
STEP ONE – PREPARE YOUR PATTERNS
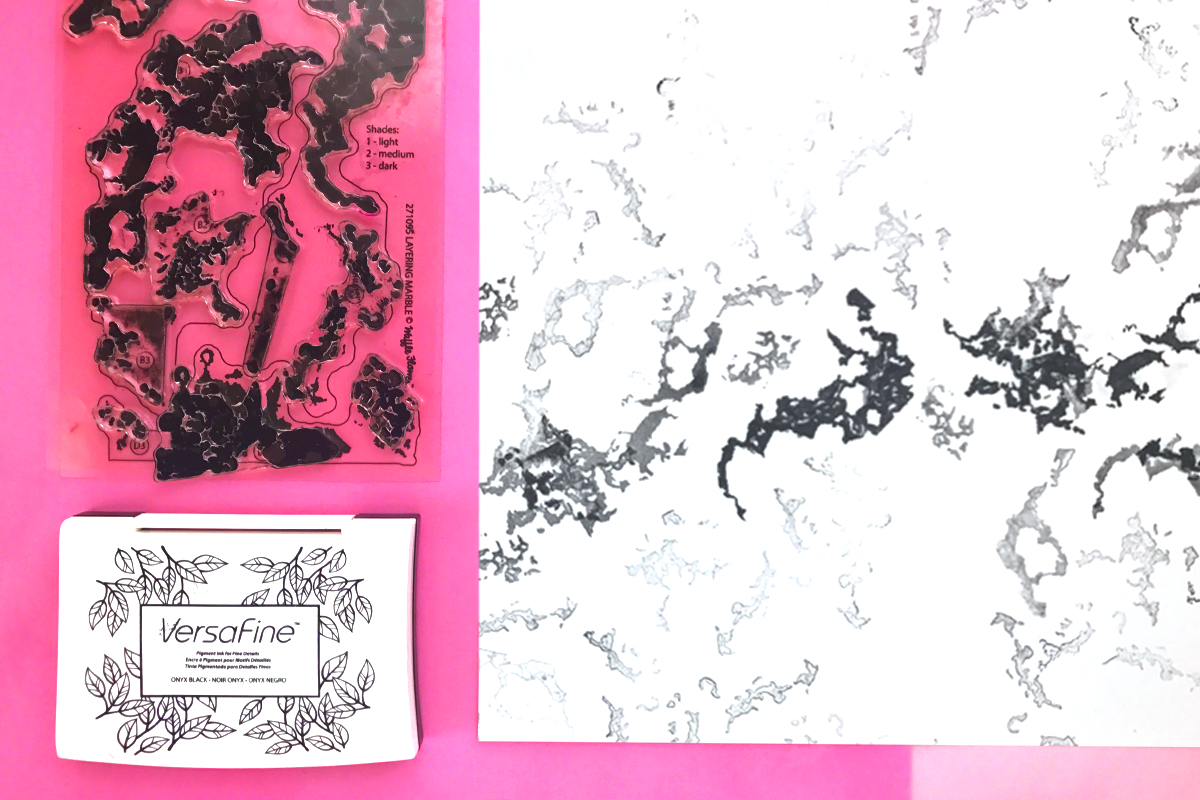
I created two patterns to choose from for my planner cover. For the first pattern below, I layered the stamping as intended, starting with a light shade of ink for the first layer. I don’t have multiple shades of gray stamp pads to choose from, so let me share an easy tip with you to create various shades using the same stamp pad! For your first and lightest layer, press the stamp into the ink as you normally would. Next, on a scrap piece of paper, stamp off twice to get rid of the excess, THEN stamp onto your cardstock. For the middle/medium shade, repeat this process, but only stamp off ONCE on your scrap paper. For the final and darkest layer, don’t stamp off any excess, but go directly to your cardstock. Boom! Multiple shades of gray/black using just one stamp pad.
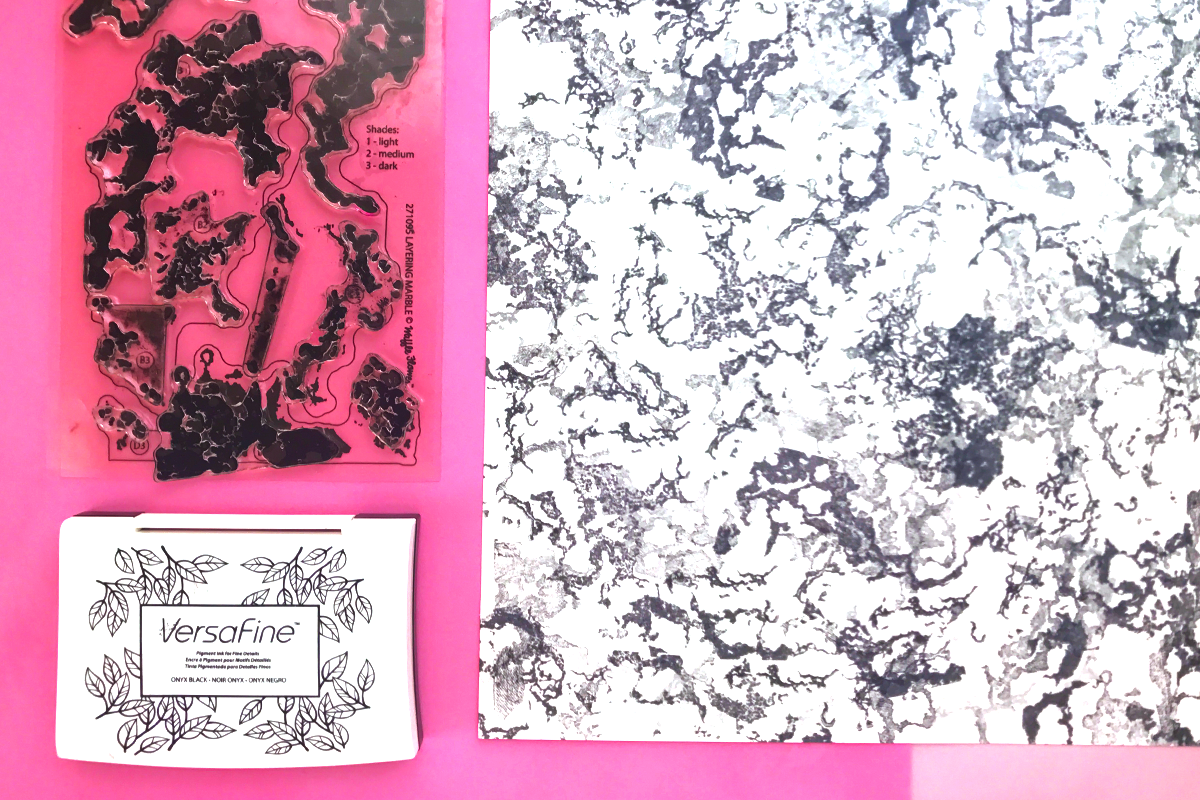
For the second pattern, I wanted an all-over marbled effect. I used each stamp all over the paper to create lots of interest and pattern, without layering them as intended. Here’s how I did it: I inked up a stamp, pressed it onto the cardstock, then stamped it again a few more times on the cardstock in different places until the pigment was very faded. Doing this added lots of shades and dimension using only one stamp pad! I kept switching out the different stamps until I was happy with how my cardstock was covered.
STEP TWO – CREATE THE COVER
Once you have your papers, pick the one you like best to make your foiled marble planner cover from! I liked the more minimal pattern, so that’s the one I went with. Grab your planner, remove the cover, and use it as a template to trace around to get the size and shape of your cover just right. I like to use a Tombow MONO Drawing Pencil to trace mine because I know any pencil marks left can be easily erased. Make sure to trace where the holes in the cover will go!
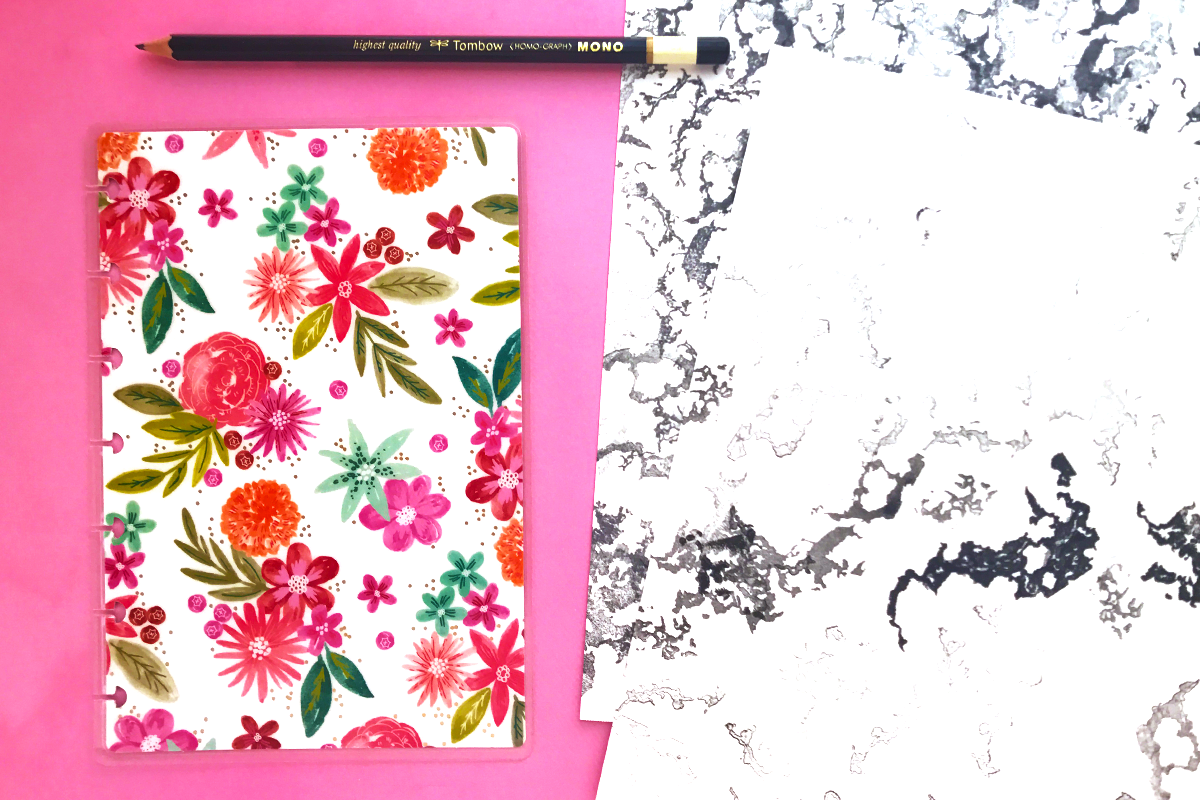
After you trace out your new cover, go ahead and cut it out with scissors and use a hole punch to make room for your planner rings. With the scissors, carefully snip from the outside edge of your cardstock into where the holes are, creating little slits. This will let you put your new cover onto your planner!
(TIP: If you want to laminate this cover, right now go ahead and also cut the top, bottom, and right side of your cardstock cover down by about 1/4 of an inch. This will leave room for the lamination to surround your cover without the end result being too wide and tall. I’ll tell you when to laminate a bit later!)
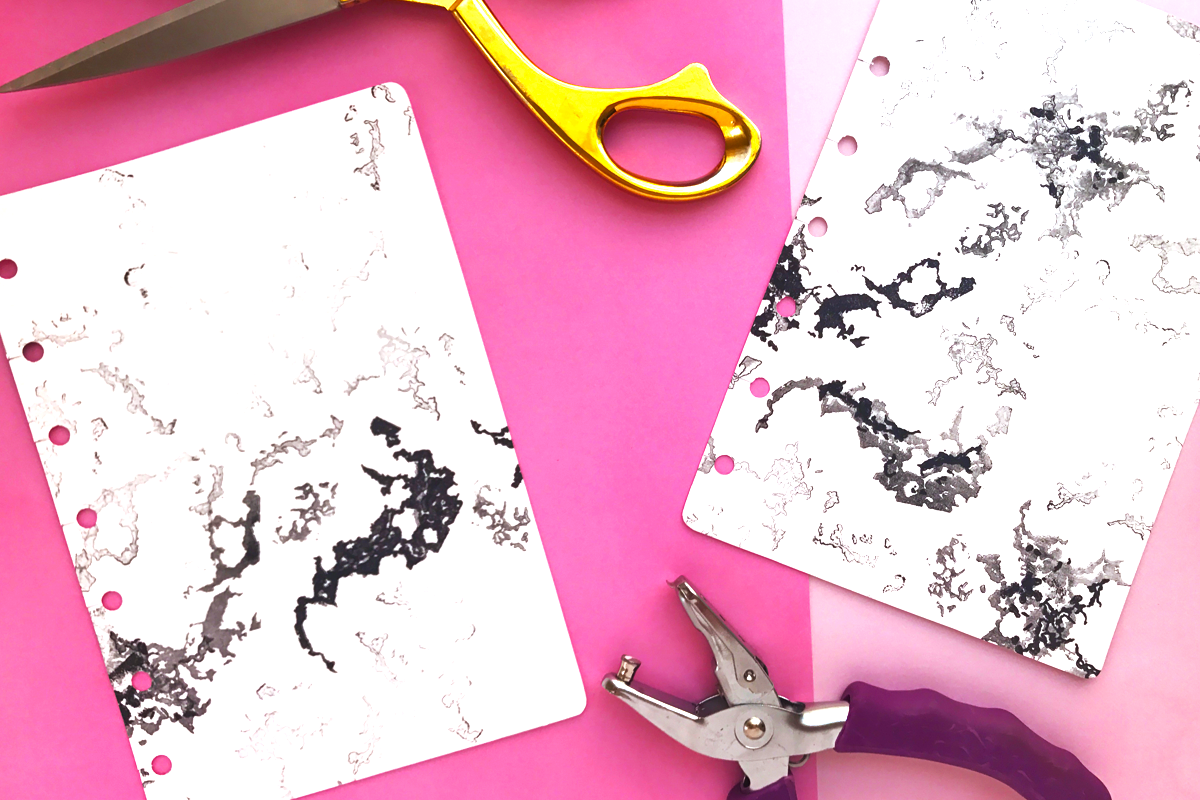
STEP THREE – GOING FOR GOLD
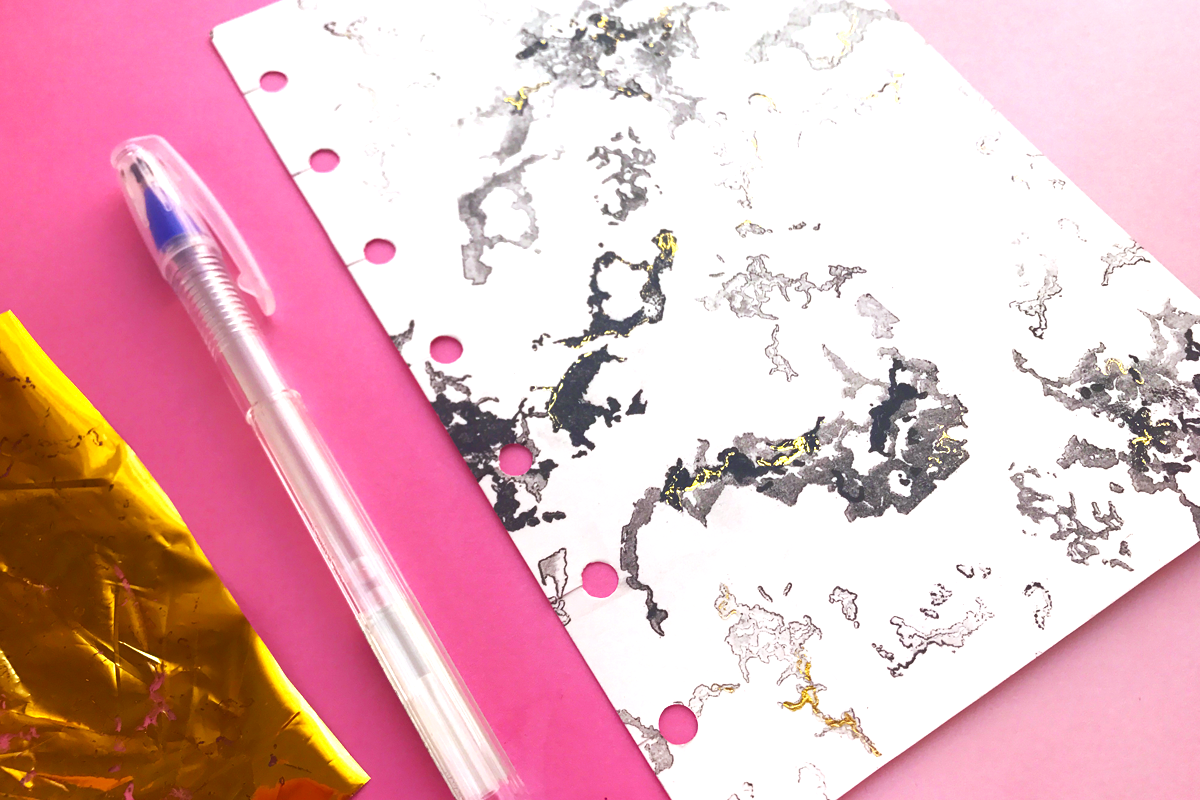
Adding gold foil to your marble cover will really kick up the fancy factor. It’s also super easy to do, so let me show you how! With your Tombow MONO Glue Pen, draw squiggly lines that follow the edges of some of your stamping. Let it dry for a couple of seconds, then press your gold foiling onto where you applied the glue. The more freeform and random you are with the glue, the more natural and organic the result will be. If you need to go back over areas that don’t have enough foil, no worries! Just repeat the process to add more foiling. The glue also dries quick so you don’t have to wait long at all for your finished cover!
OPTIONAL – LAMINATING
If you want to add more durability to your foiled marble planner cover, laminating will definitely do that. After the gold foiling is applied and dried, place your cardstock into a laminating pouch/sleeve and run through your machine. After it’s cooled, trim off the excess, re-punch the holes and re-snip the slits, and you are set. Add to your planner and you’re done!
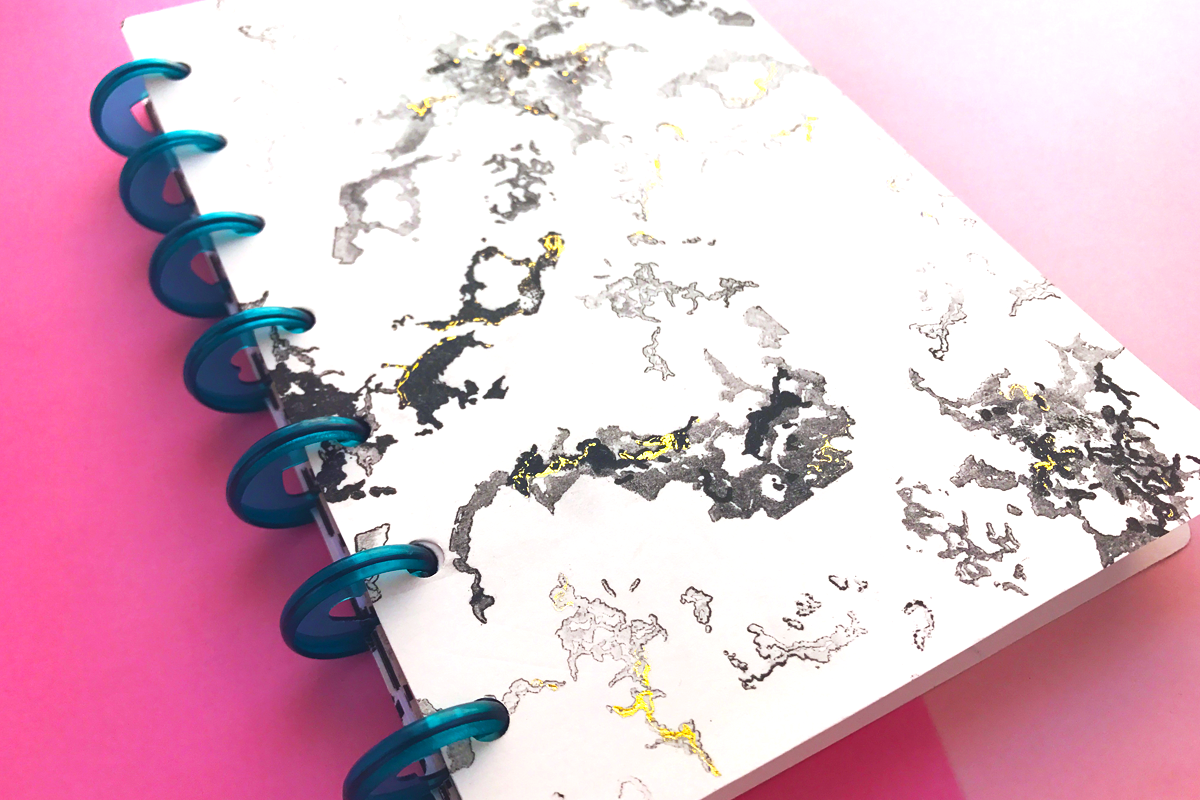
And that is it for today’s post! I hope you enjoyed this foiled marble planner cover tutorial! Want to know how to turn your foiled marble paper into a shaker dashboard instead? I’ve got you covered in this post. Thank you again to Waffle Flower for the stamp set, I love it!
Happy planning, friends!

I love this idea, Dani!