Hello creatives! Beth here on the blog today to share my Welcome Back to School DIY Ruler Sign made with school supplies and my favorite Tombow Dual Brush Pen Set – Brights! I love being challenged to craft with unconventional materials like school supplies. It really gets my creative juices flowing!
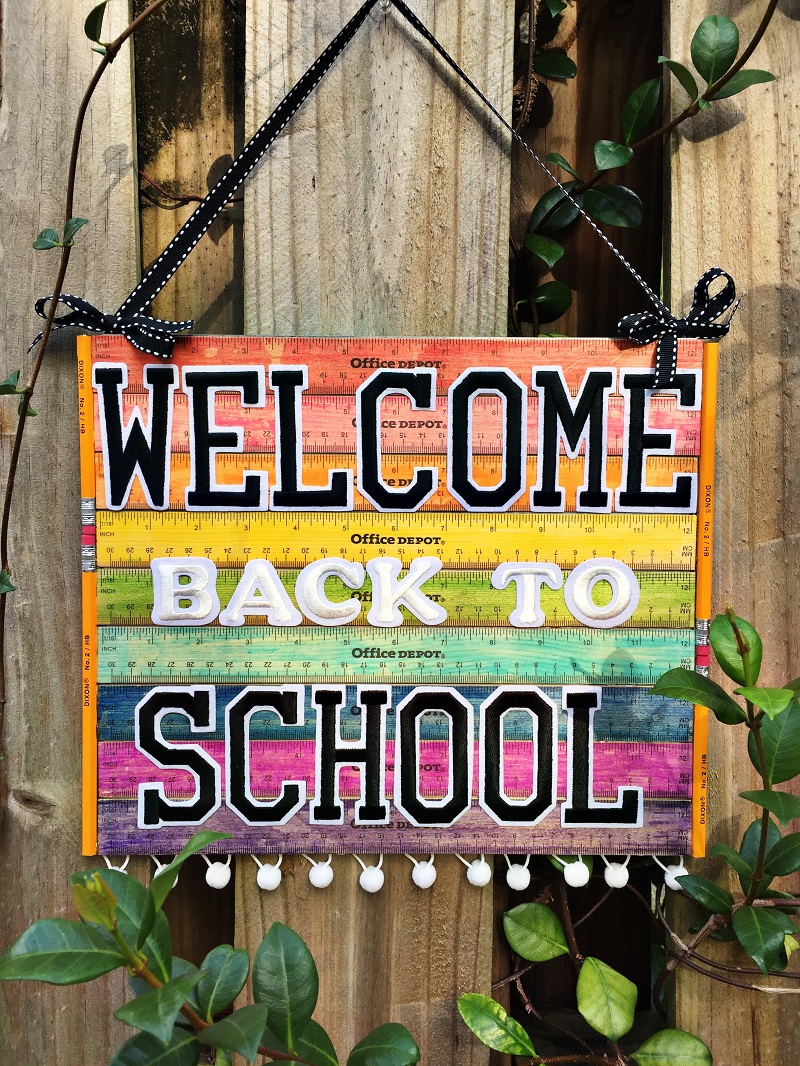
Here’s how I made my fun and colorful DIY Ruler Sign!
STEP ONE:
Gather nine wooden rulers and your favorite rainbow colored Tombow Dual Brush Pens. I used the Bright set.
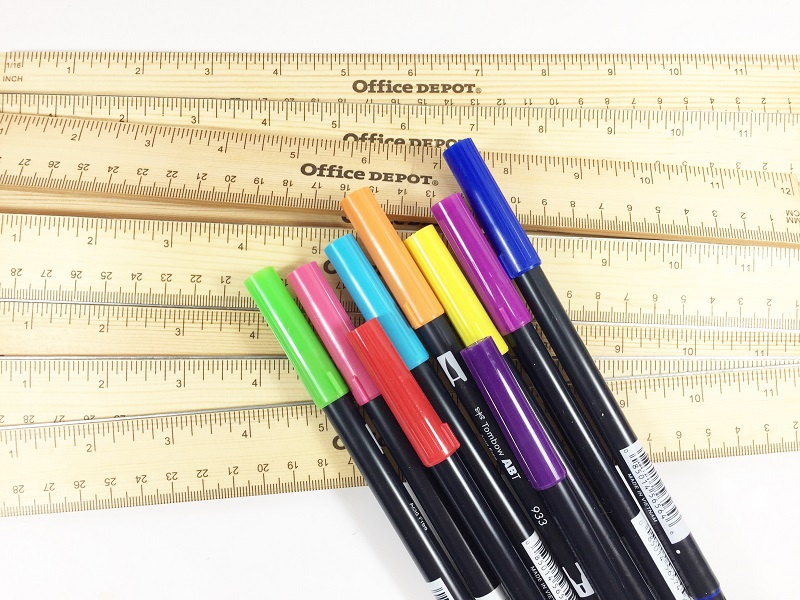
STEP TWO:
Color each wooden ruler a different color. This is quick and easy with the Tombow Dual Brush Pens AND there is NO drying time. Perfect for the impatient crafter, like me! I really love the transparent stained effect that the pens give the unfinished wood.
STEP THREE:
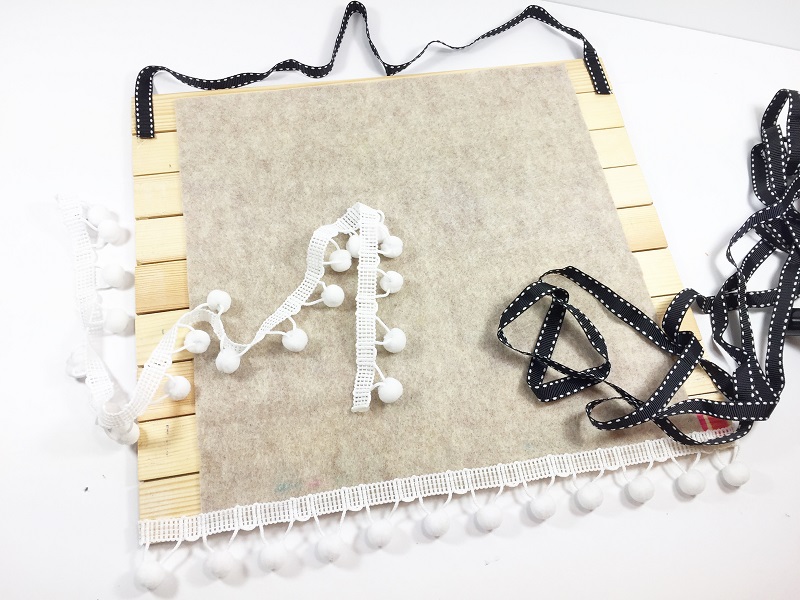
Attach the rulers to a Kunin® Classicfelt™ 9” x 12” Craft Cut in Sandstone with Tombow MONO Multi XL Liquid Glue. The MONO Multi has a quick set up time, holds heavy embellishments and works on a variety of surfaces.
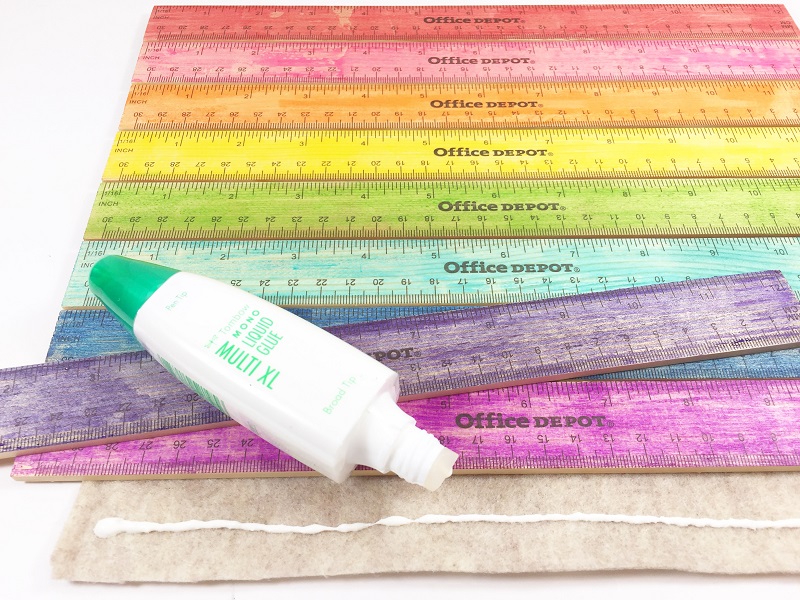
STEP FOUR:
Spell out your greeting using JOY self adhesive embroidered letters. I selected WELCOME BACK TO SCHOOL using the 3″ Varsity Block and the 1 1/2″ Cooper Style letters. Then just peel off the backing paper and attach!
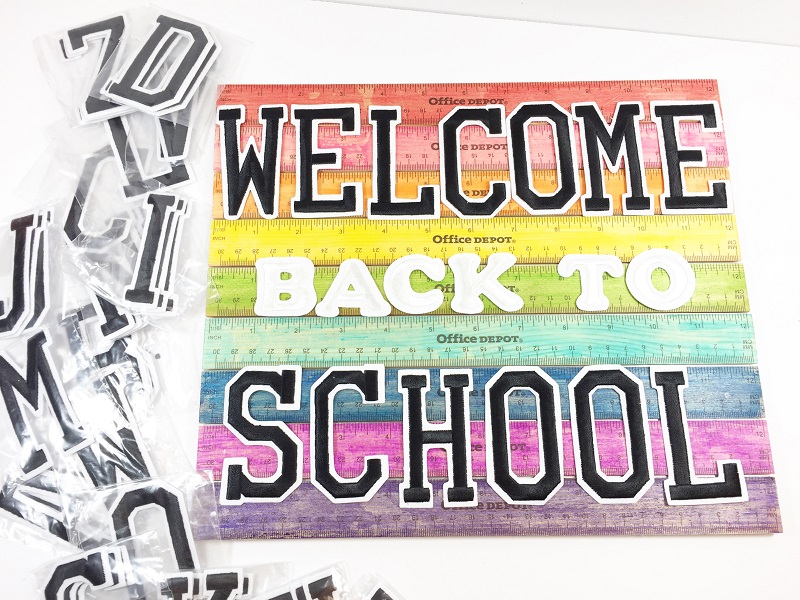
STEP FIVE:
Attach white ball fringe to the bottom edge of the sign and a black ribbon hanger to the top with Tombow MONO Multi XL Liquid Glue. Embellish with bows.
STEP SIX:
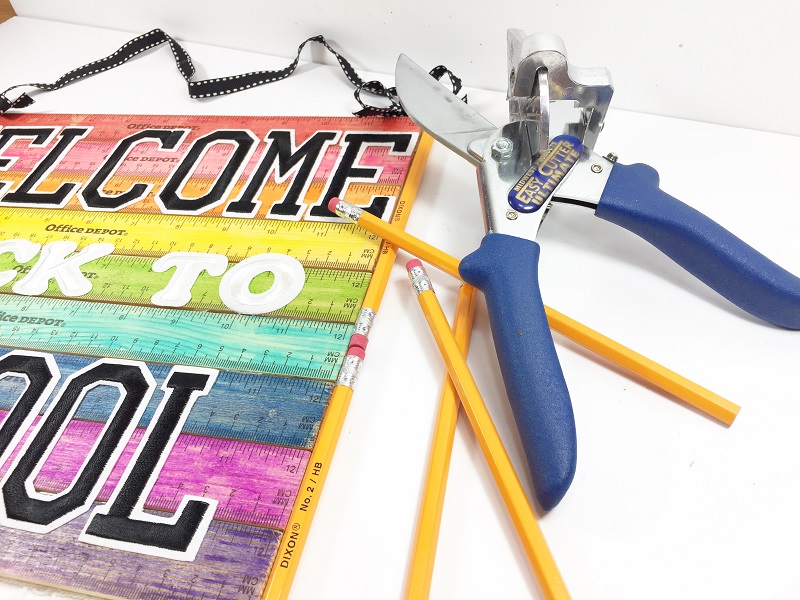
Cut pencils and attach to right and left side of sign with Tombow MONO Multi XL Liquid Glue to finish.
Personalize your DIY Ruler Sign with your school’s colors or your teacher’s name to create a unique gift for Back to School.
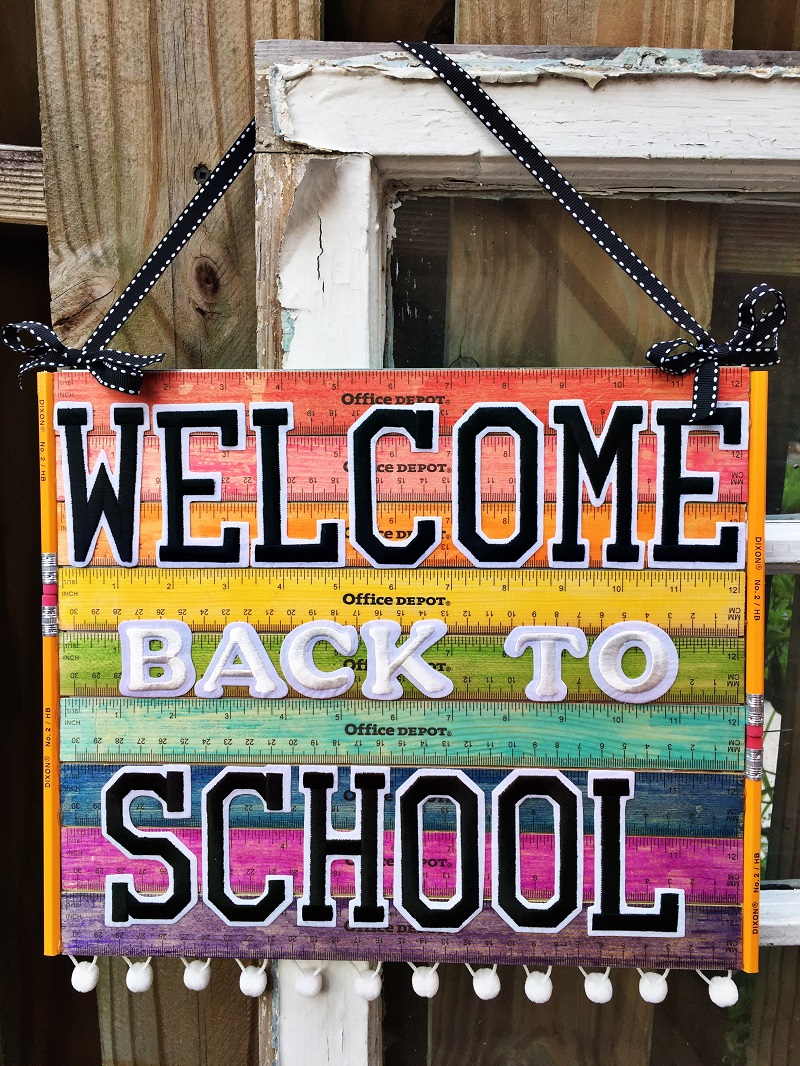
I hope that you will use my Welcome Back to School DIY Ruler Sign as a jumping off point to showcase YOUR Tombow creativity!
Thanks for stopping by!
Creatively, Beth

Such a great project!
I love this!! I made one for my 5th grade class door. Thank you!!
Pingback: 23 Creative Back to School Crafts – Mekardo