Hi friends! It’s Dani from @popfizzpaper here today sharing an easy tutorial for adding watercolor gems to your planner, task journal, or art journal. Today I’m using the Pantone Color of the Year – Ultra Violet – for inspiration. Make sure to scroll to the bottom of this post for a full process video if you enjoy those. Let’s get started!

SUPPLIES:
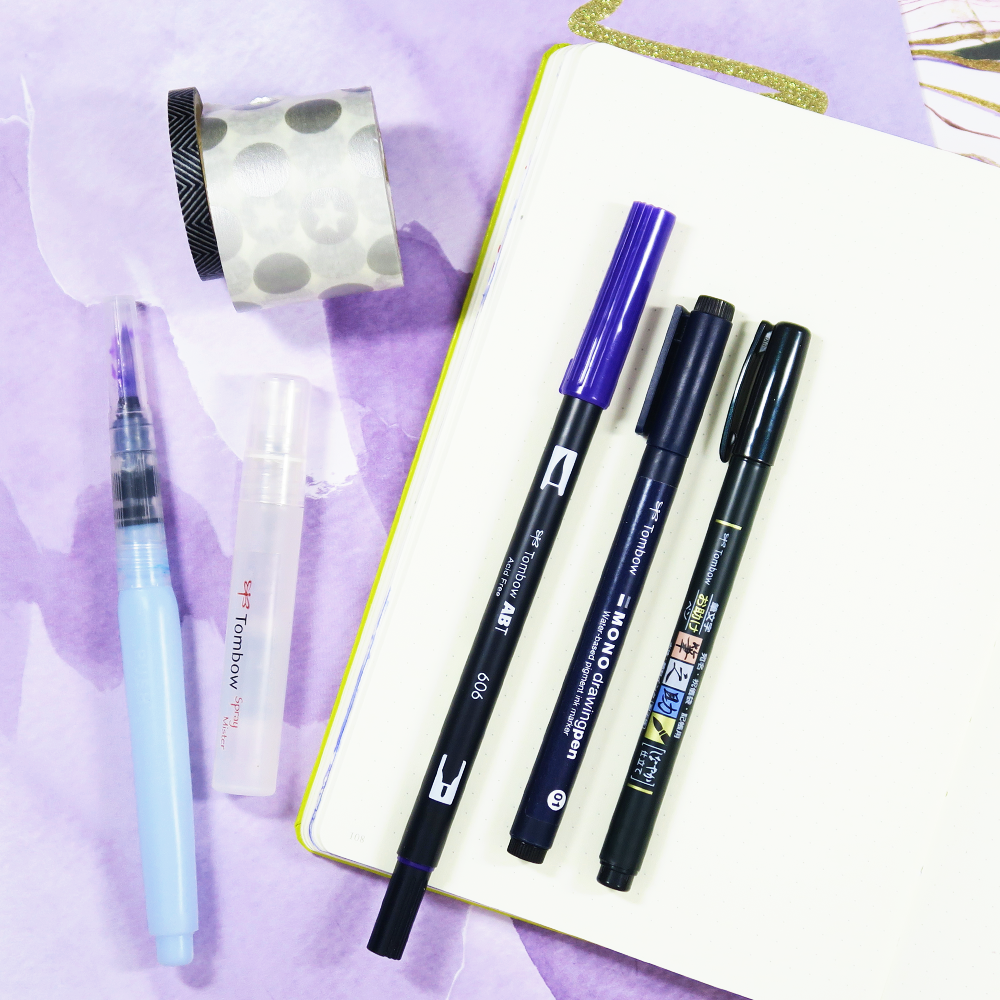
- Tombow Dual Brush Pens in 606 (also in the Galaxy set!) and 676
- Tombow Fudenosuke Brush Pen (soft tip)
- Journal or planner
- Tombow MONO Drawing Pen in 01
- Wide washi tape
- Thin washi tape
- Plastic baggie
- Tombow Spray Mister
- Waterbrush
- Heat tool (not required, but makes things go faster!)
STEP 1 – WASHI YOUR PAGES
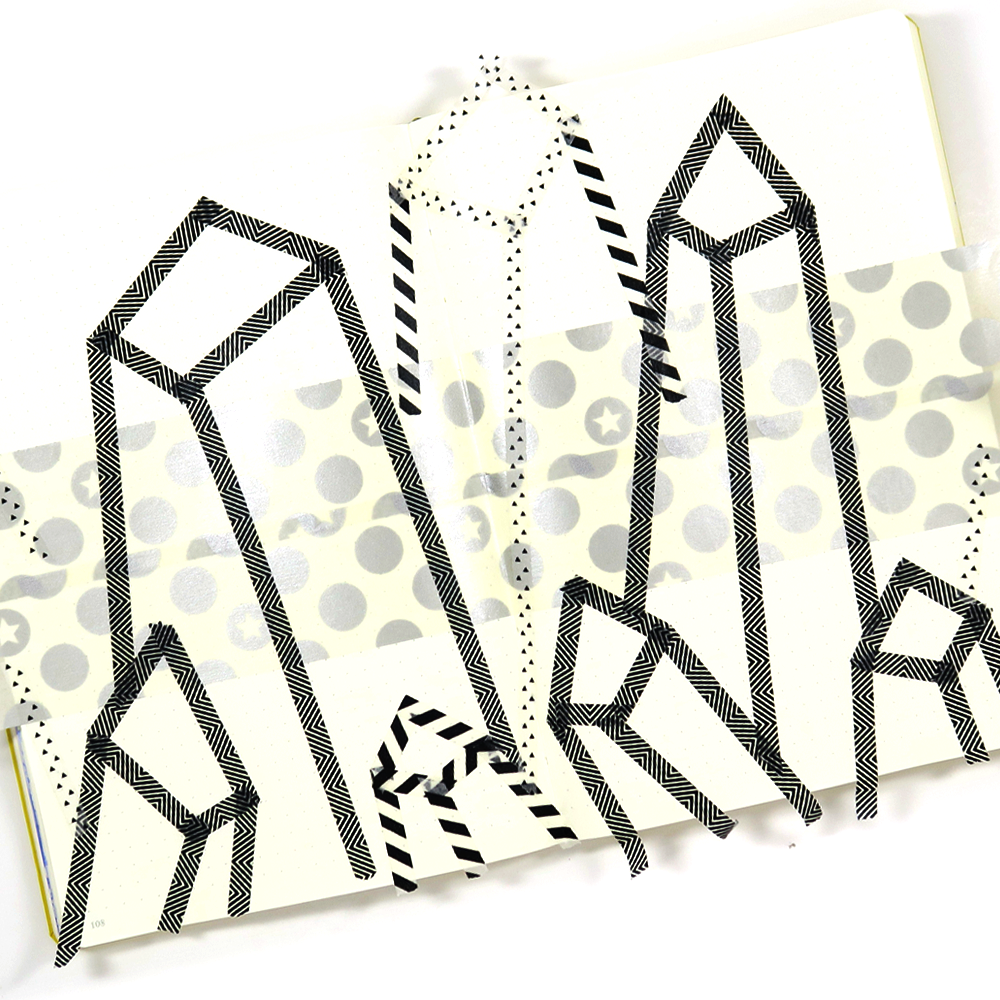
A double page spread works great for this tutorial! We’ll be using the washi tapes as a mask to create the watercolor gems. Flip open to your pages, then grab your wide washi. Lay it down across your pages where you will want your planning and writing to go.
Next, use the thin washi to create your geometric gem shapes. First, create two vertical lines of washi that slightly angle towards each other. Connect them at the top with a pointed shape, then add in your detail lines. Repeat to add as few or as many gems as you’d like, then you’re ready to start adding color.

STEP 2 – WATERCOLOR YOUR GEMS
I included a video just for this step – it’s so much fun to see in action! TIP: Slide a couple of pieces of wax or parchment paper under the pages you’re about to watercolor on to protect the pages underneath.
Then, use the Tombow Dual Brush Pen in 606 to apply color to the plastic baggie. Use the Spray Mister to add some water, slip your hand into the bag, flip over, and smoosh the color all over your pages! Add more color and water as needed. Once your color is applied to your pages, use a heat tool if you have one to quickly dry your pages.
Next, apply more of the 606 to your bag but also apply a bit of the Dual Brush Pen in 676. Spritz with water then mix together. With your water brush, apply this different shade of violet to your gems where you want more depth and detail. Again, use the heat tool to dry.
STEP 3 – FINISH IT UP
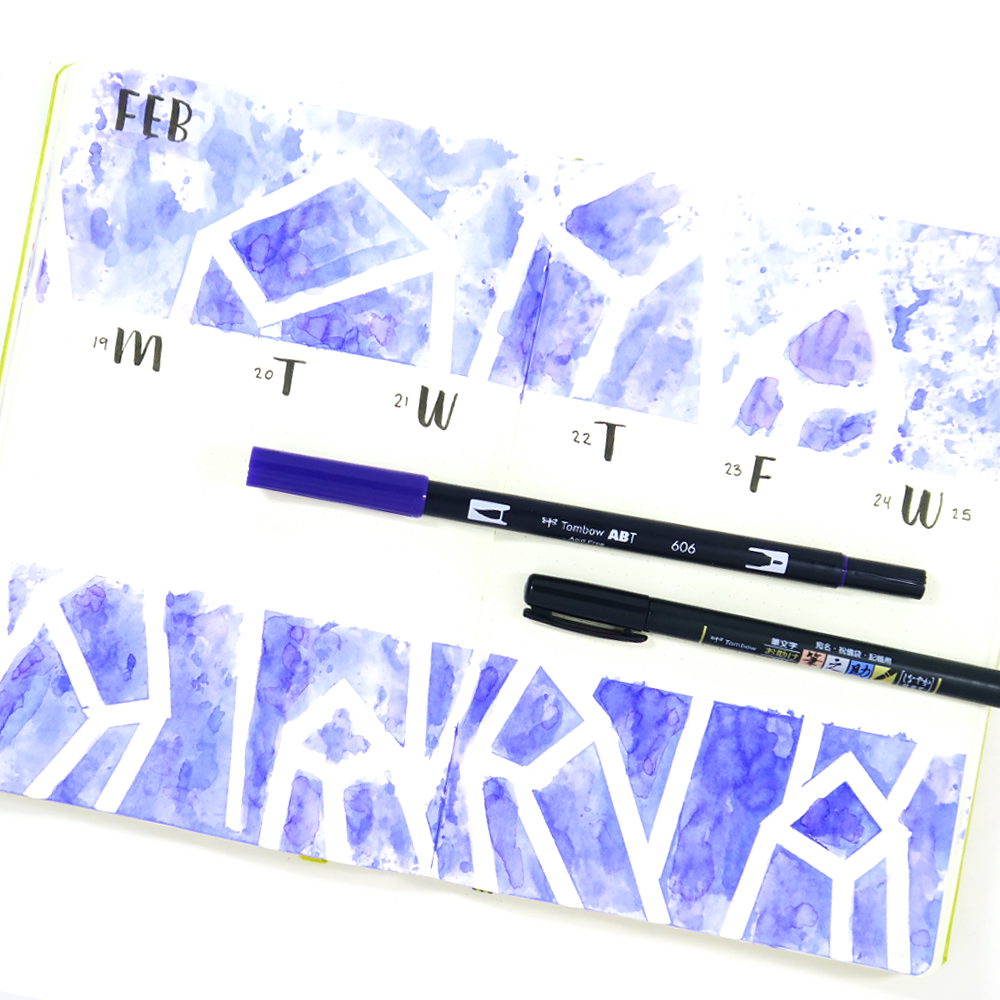
Once things are dry, remove the washi tape. Ta-da! Watercolor gems! Now it’s time to start planning! You can complete your spread however you like! I’m more of a minimalist planner, so I wrote in the days of the week with the Tombow Fudenosuke Soft Tip Brush Pen, using a “W” for the weekend. I added the dates with a Tombow MONO Drawing Pen.

Thank you so much for following along with my watercolor gems tutorial today! Make sure to check out the full process video of this tutorial below, and if you give it a try in your journal, please tag me @popfizzpaper on Instagram – I would love to see! Want more ideas for your journal? Definitely check out this journal intro page by Katie and these awesome pattern ideas by Jessica. See you next time!
Cool!
So fun, definitely going to give this a go!
Please do more watercolor videosno one watercolors like you! Lovely card.
Pingback: How to Create a Botanical Drawing Journal Spread - Tombow USA Blog