It’s almost Halloween time, and what better way to practice brush pen lettering than with some super fun brush stroke doodles!? It’s Lauren of Renmade Calligraphy and I love all things lettering and have always been an avid doodler, so I am excited to combine the two together in this fun tutorial. If you are a letterer, you know that all letter forms in brush calligraphy are made from basic strokes that are made by applying pressure to a brush pen. If you’d like more information about basic strokes or lettering practice drills, you can check out Tombow’s free worksheets for lettering practice, here. Now lets get to lettering… and doodling!
WHAT YOU’LL NEED
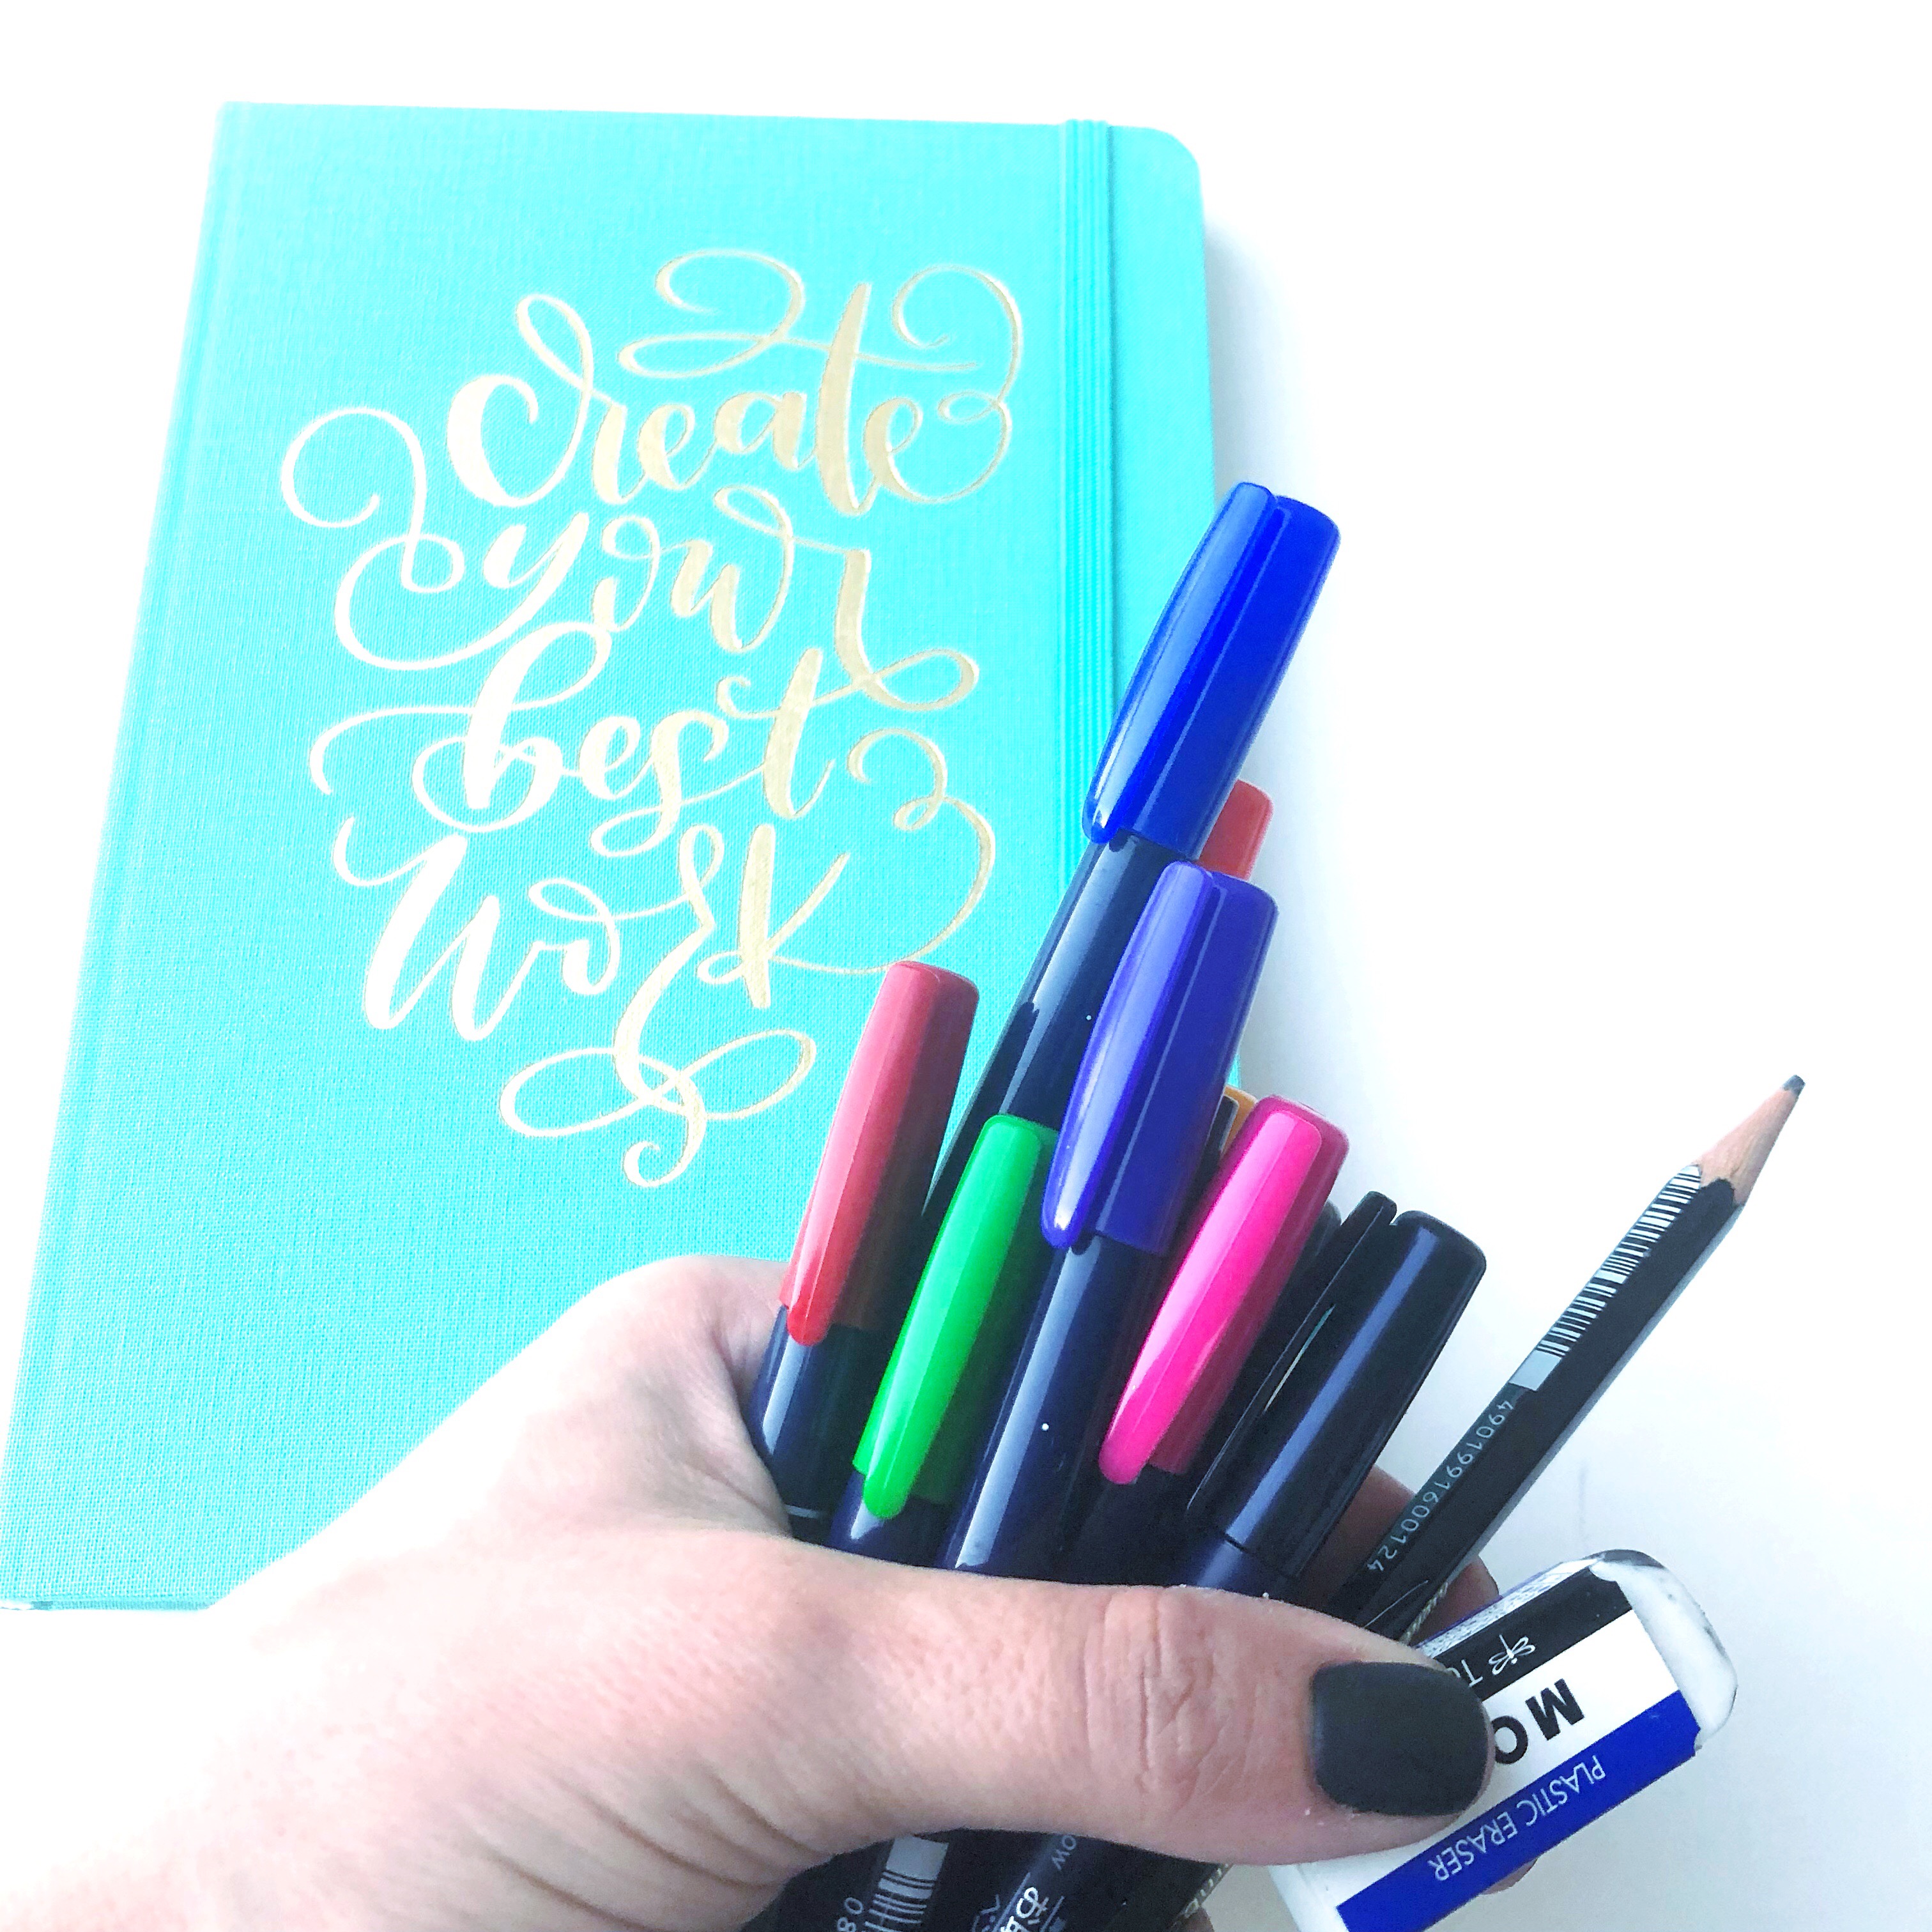
- Tombow Fudenosuke Colors
- Dot grid journal (I used the new one from Tombow’s Latest VIP Club Box)
- Tombow MONO Drawing Pencil
- Tombow MONO Plastic Eraser
1. SET UP YOUR PAPER
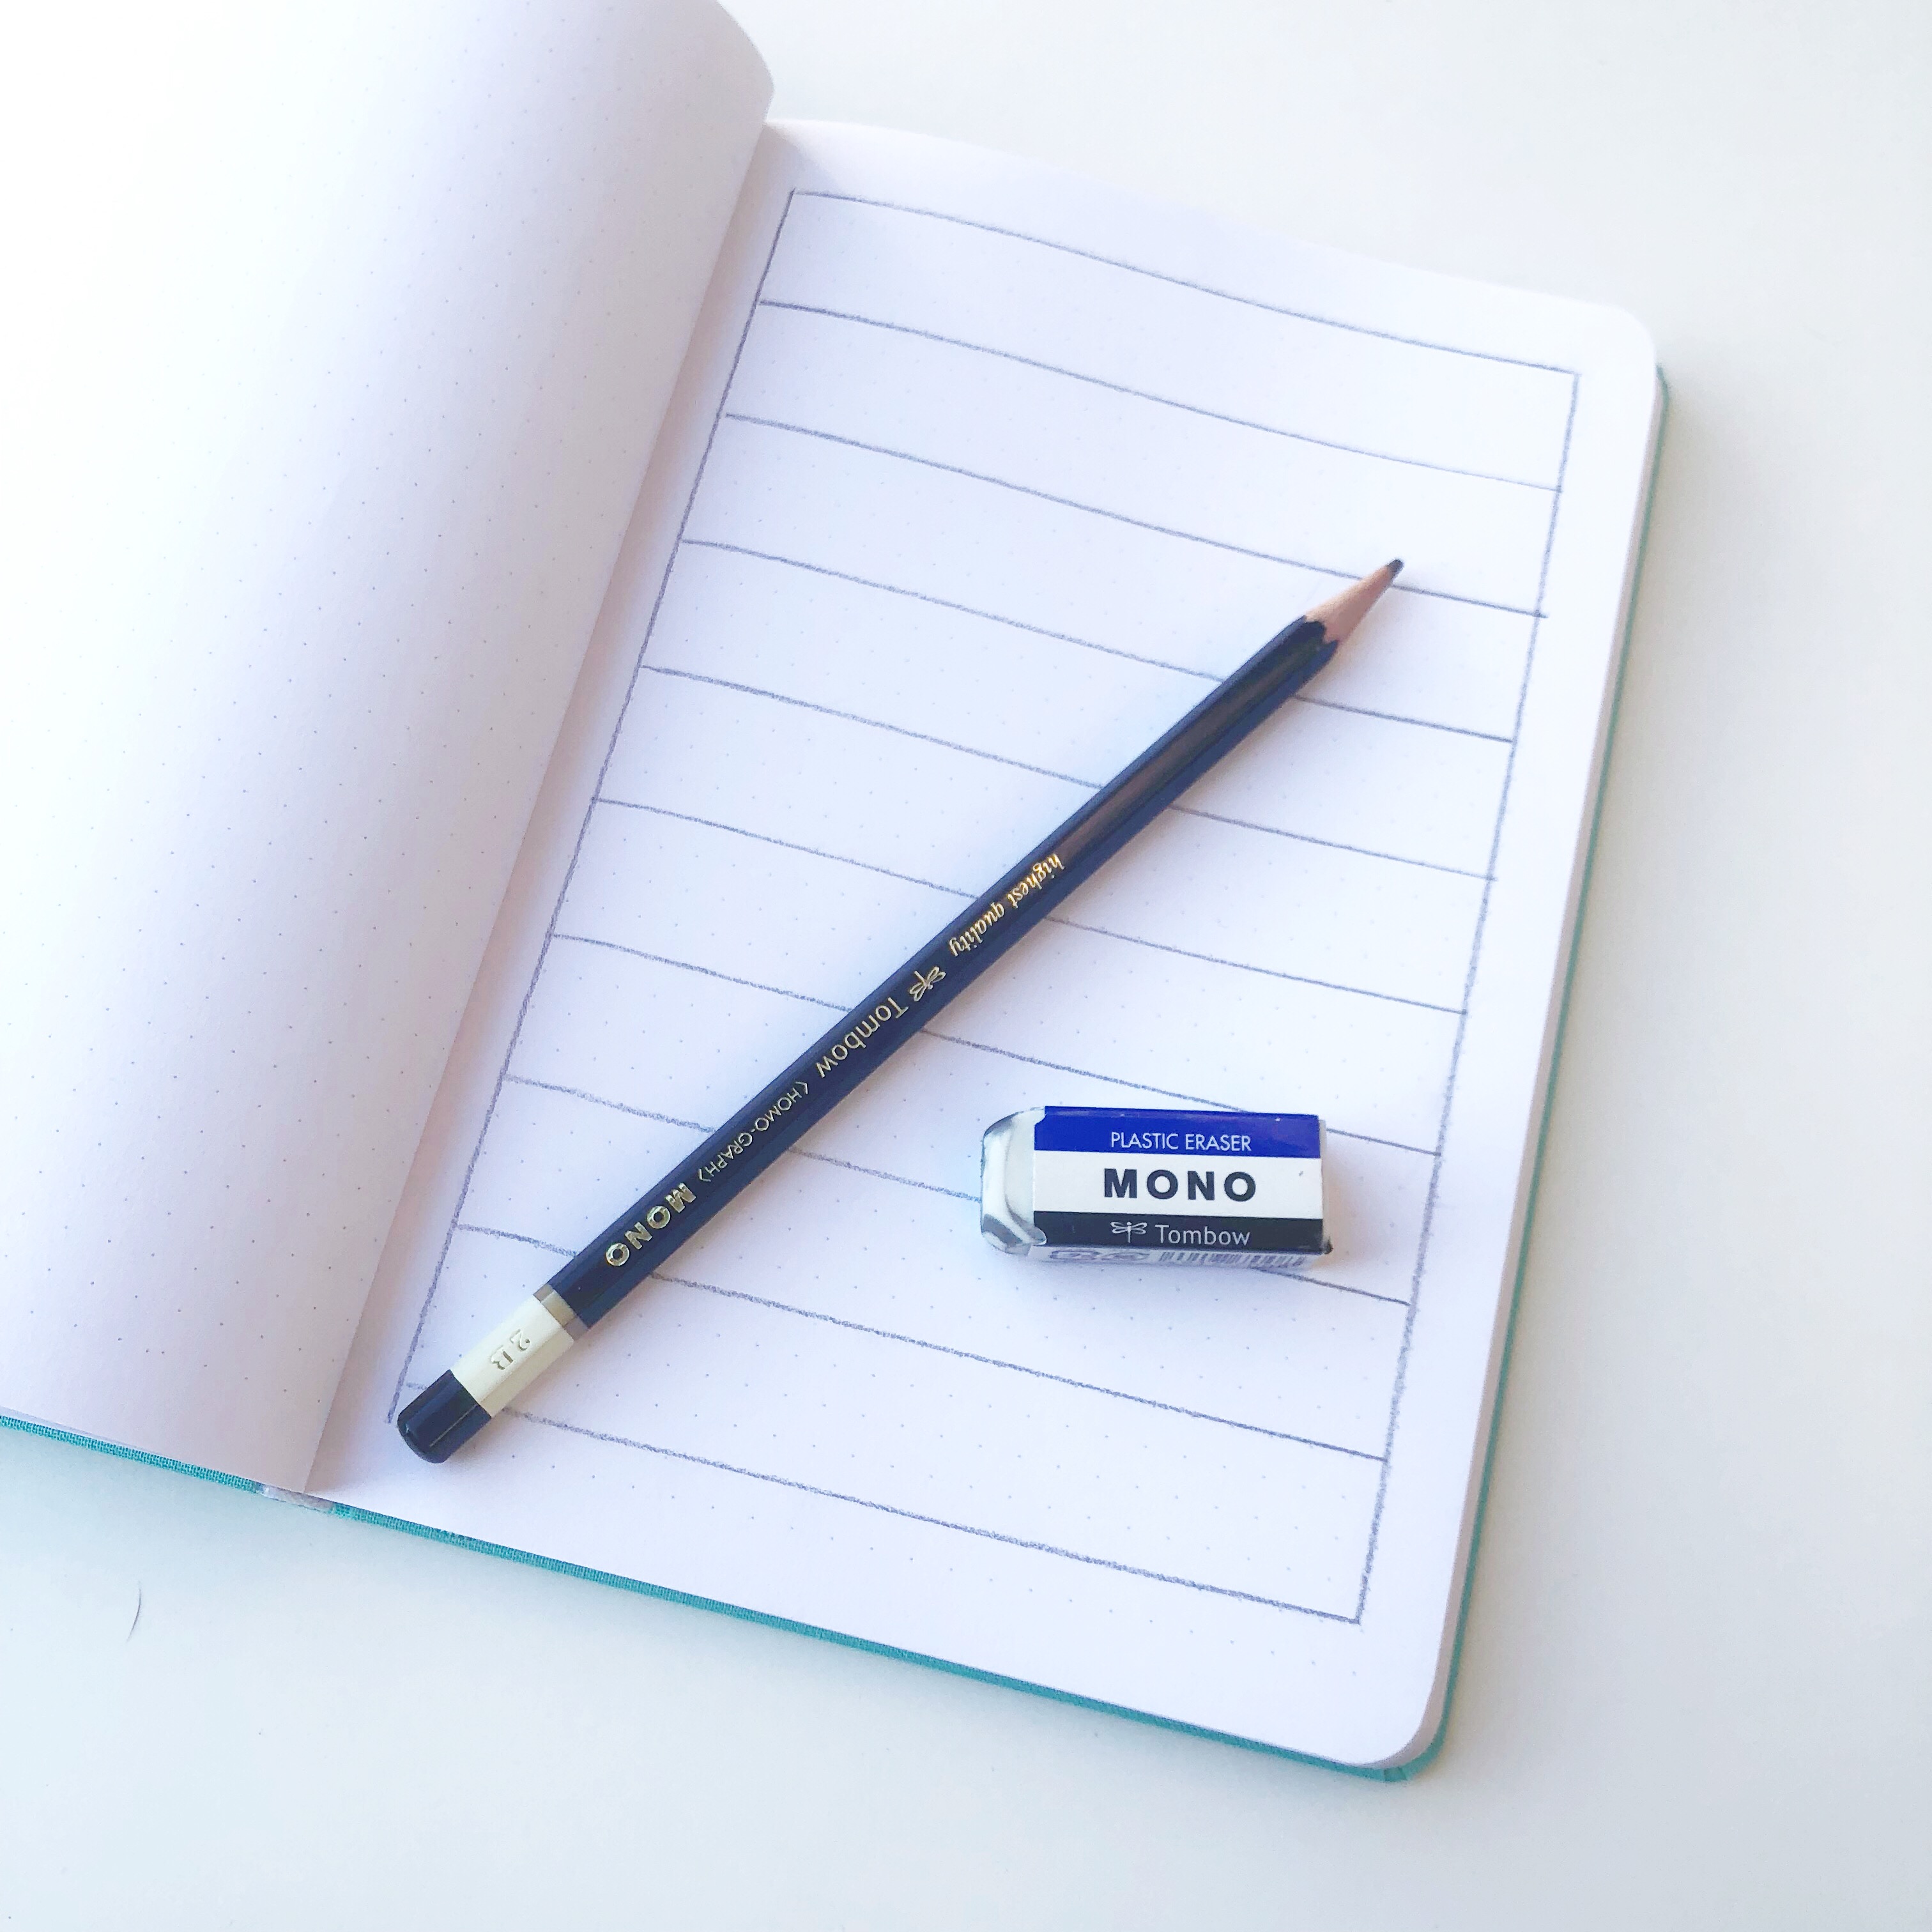
Start by setting up your paper. Dot grid journals are so great for lettering practice, because you can decide how big to make the letters you are drawing. You can either just keep in mind how big you would like your brush stroke drill doodles to be or you can create lines to define the baseline and height of the shapes. It is easy to draw in lines with the Tombow MONO Drawing Pencil and fix mistakes with the Tombow MONO Plastic Eraser.
2. PRACTICE THE BASIC BRUSH STROKES
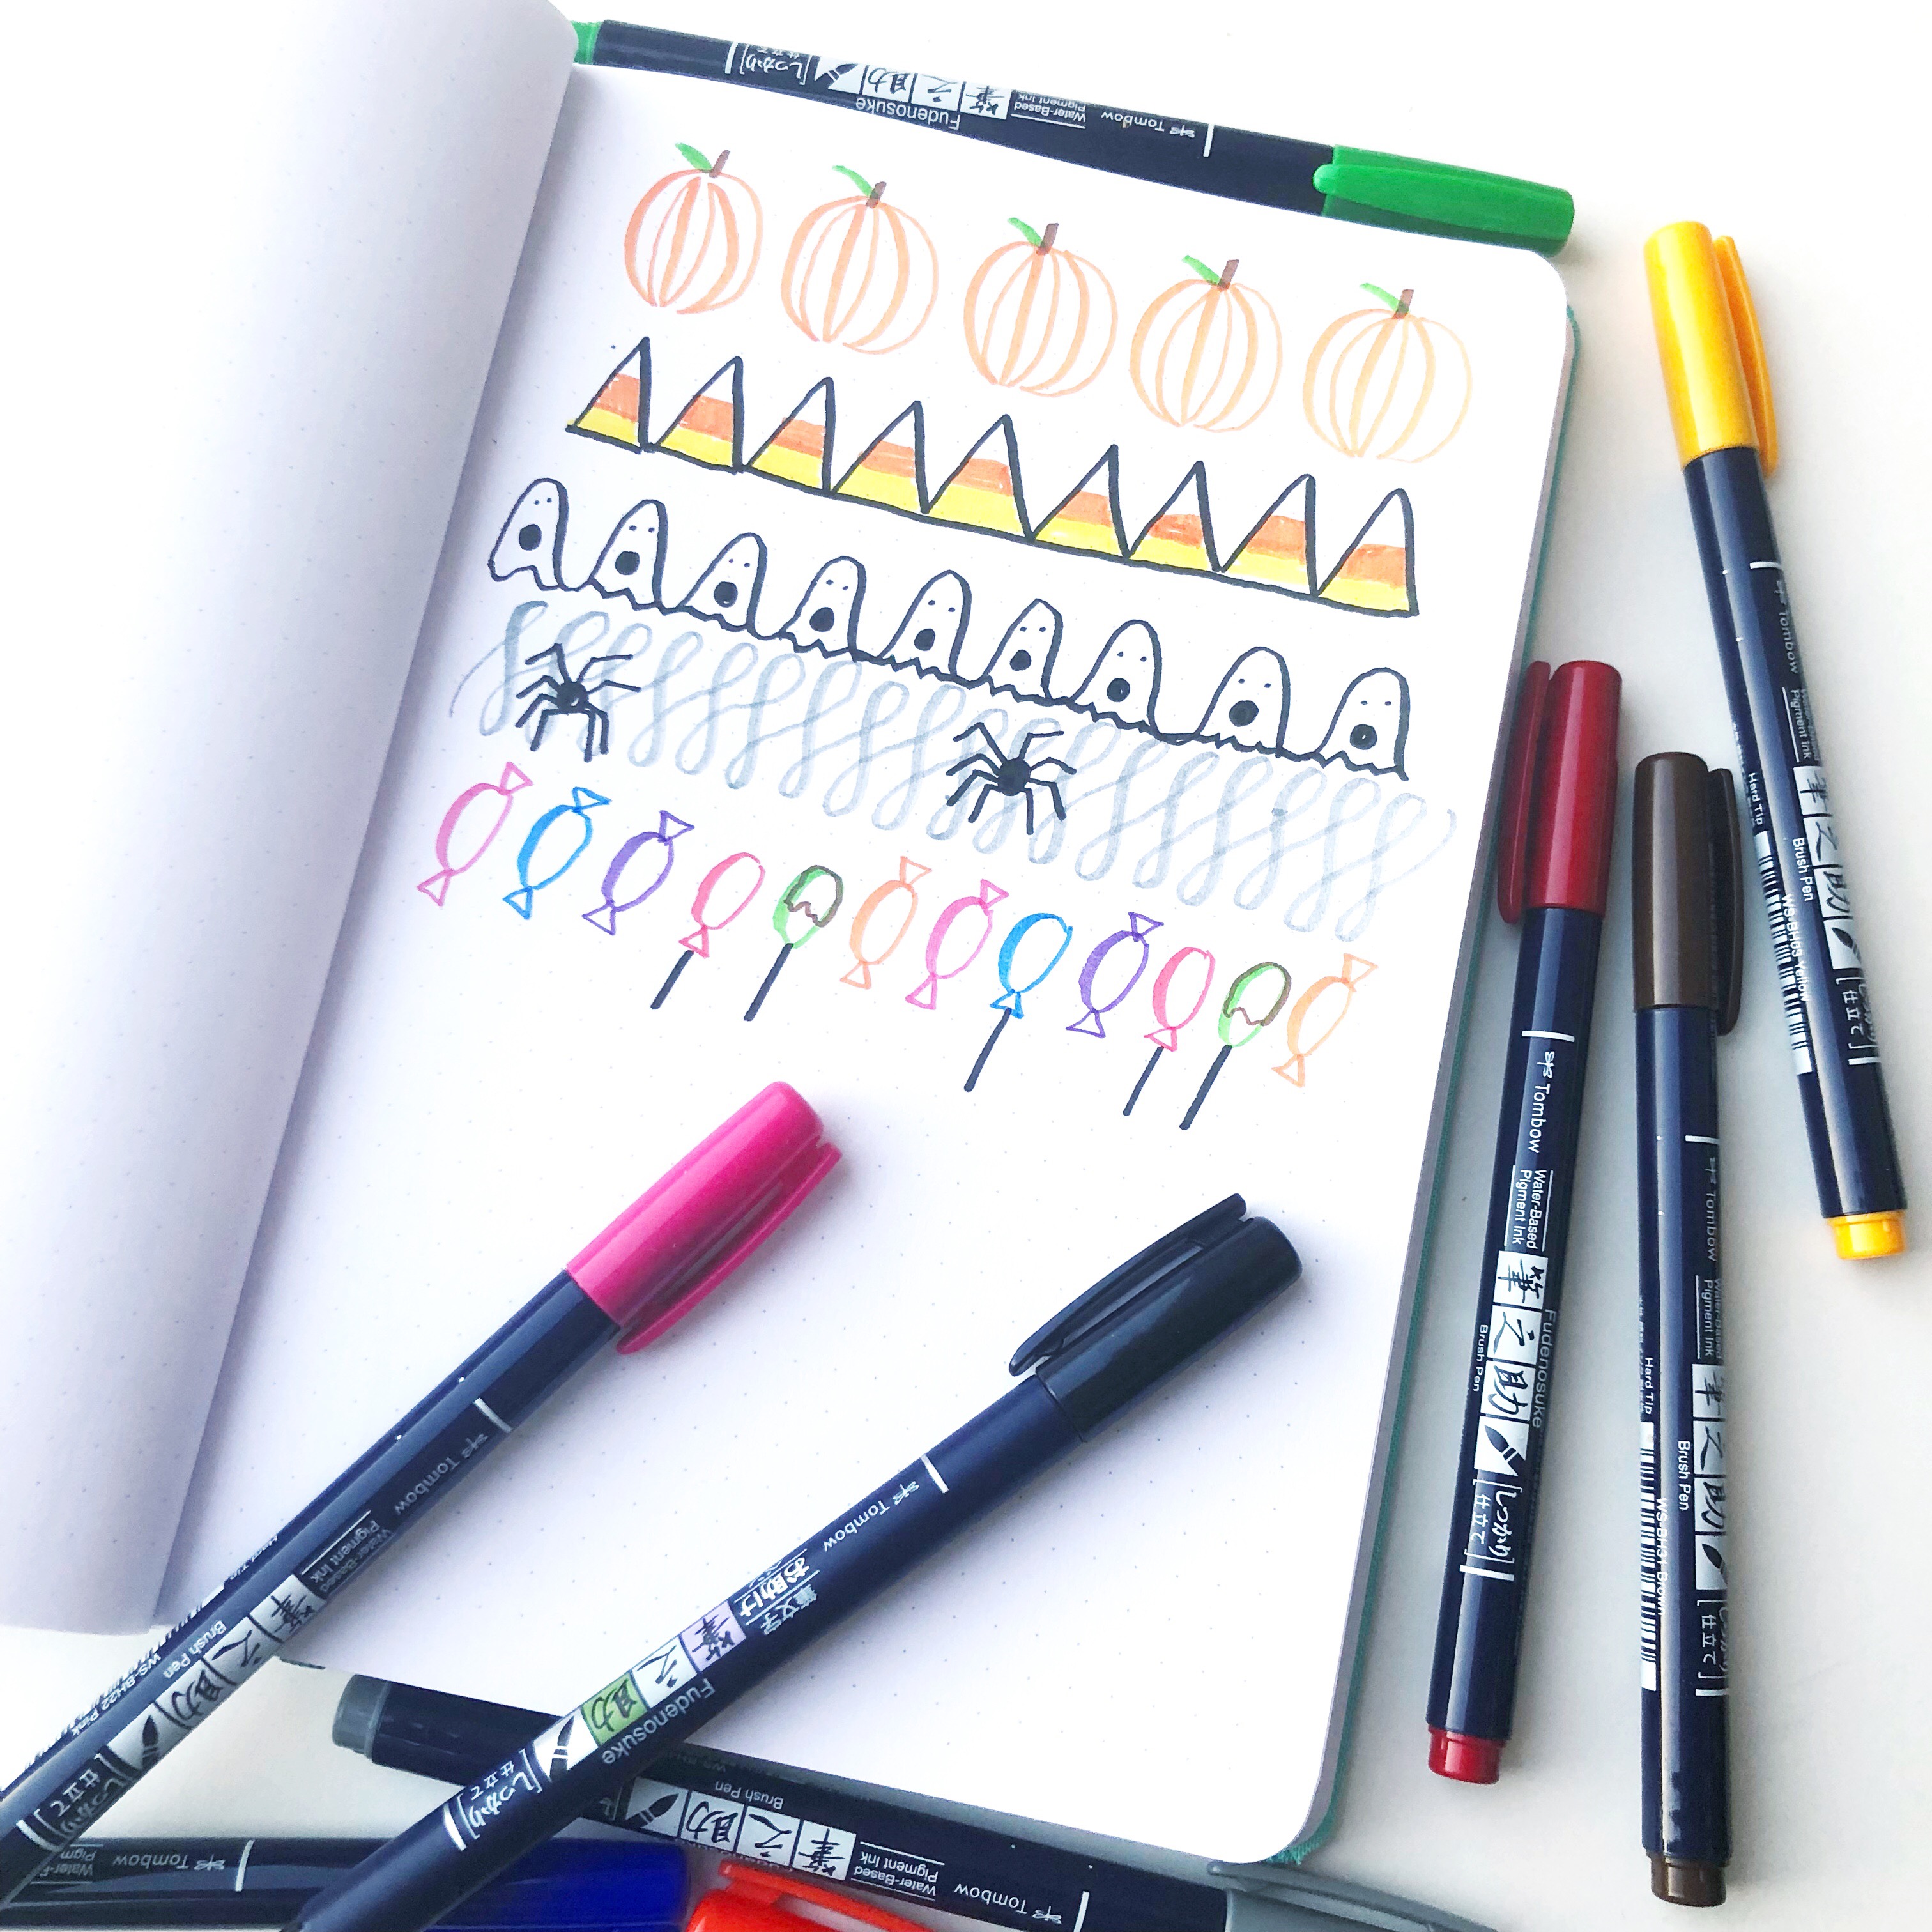
Next, start by deciding which brush stroke drills you want to practice and pair them with a color – mine were thick downstrokes and thin upstrokes (orange), diagonals (yellow or black), compound curves (black), ascender and descender loops gray, and ovals (bright colors). These are the basic building blocks of all letterforms, but they will also transform into some pretty awesome and spooky-ish doodles!
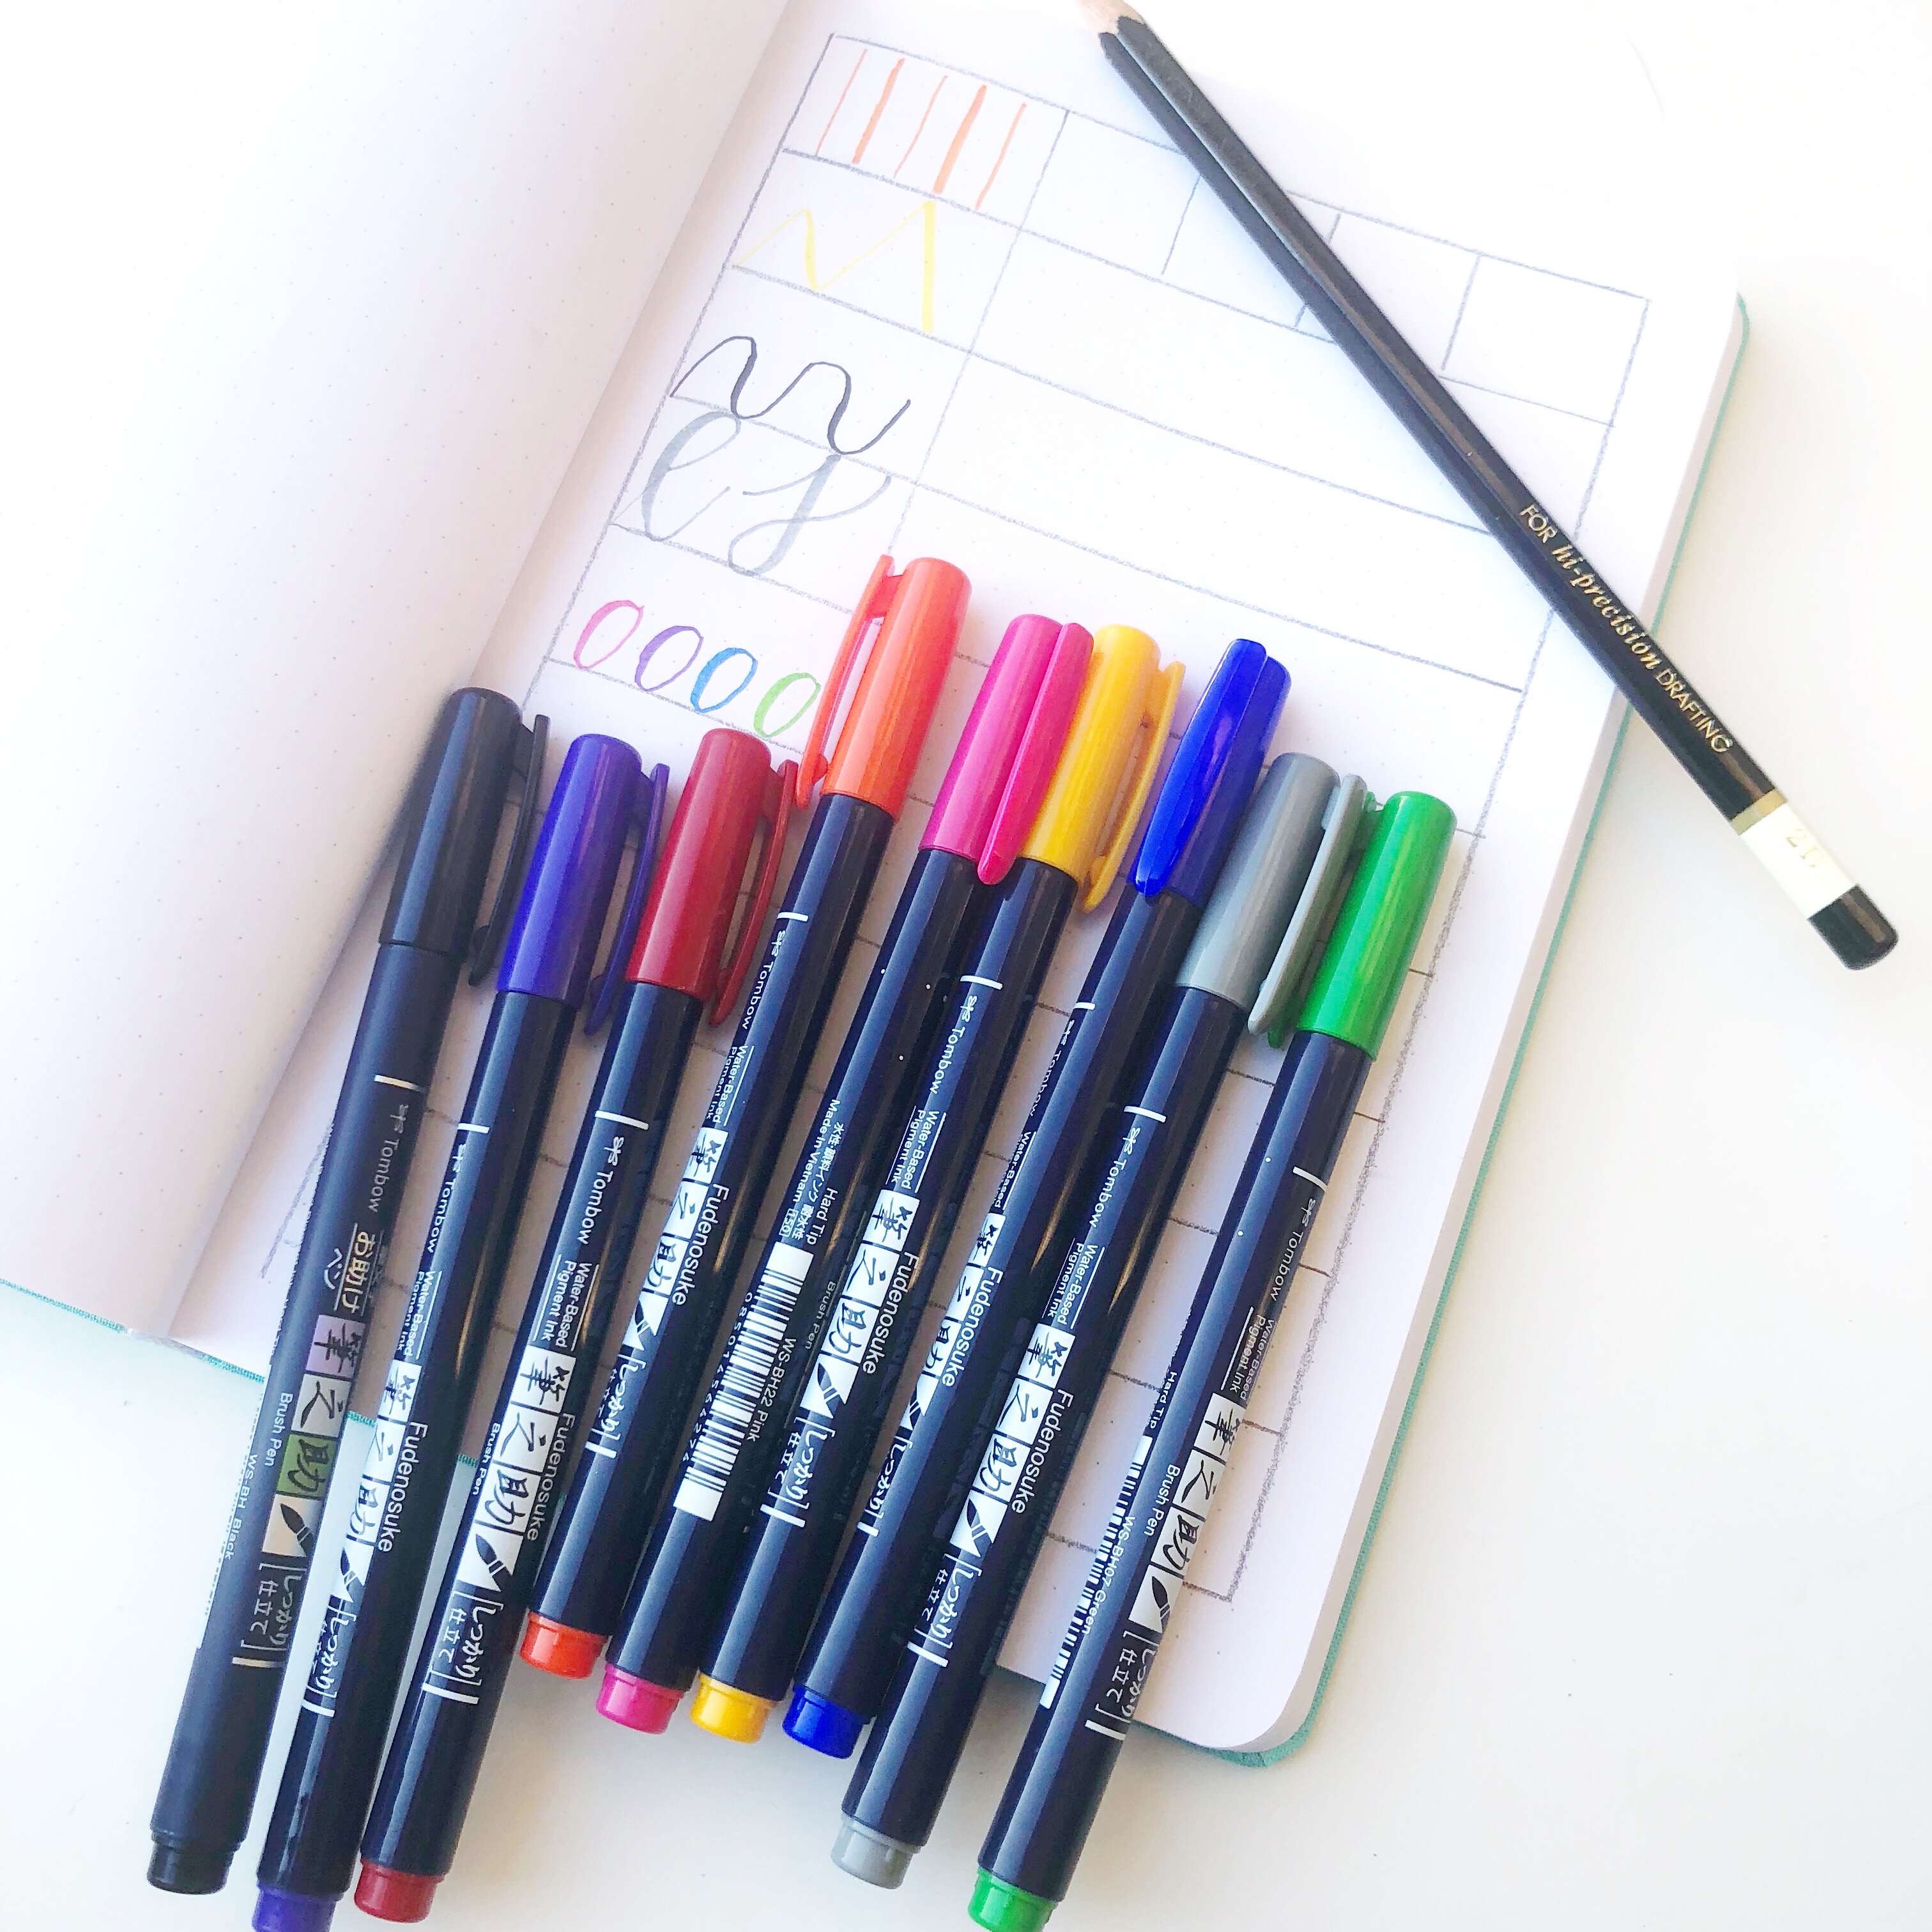
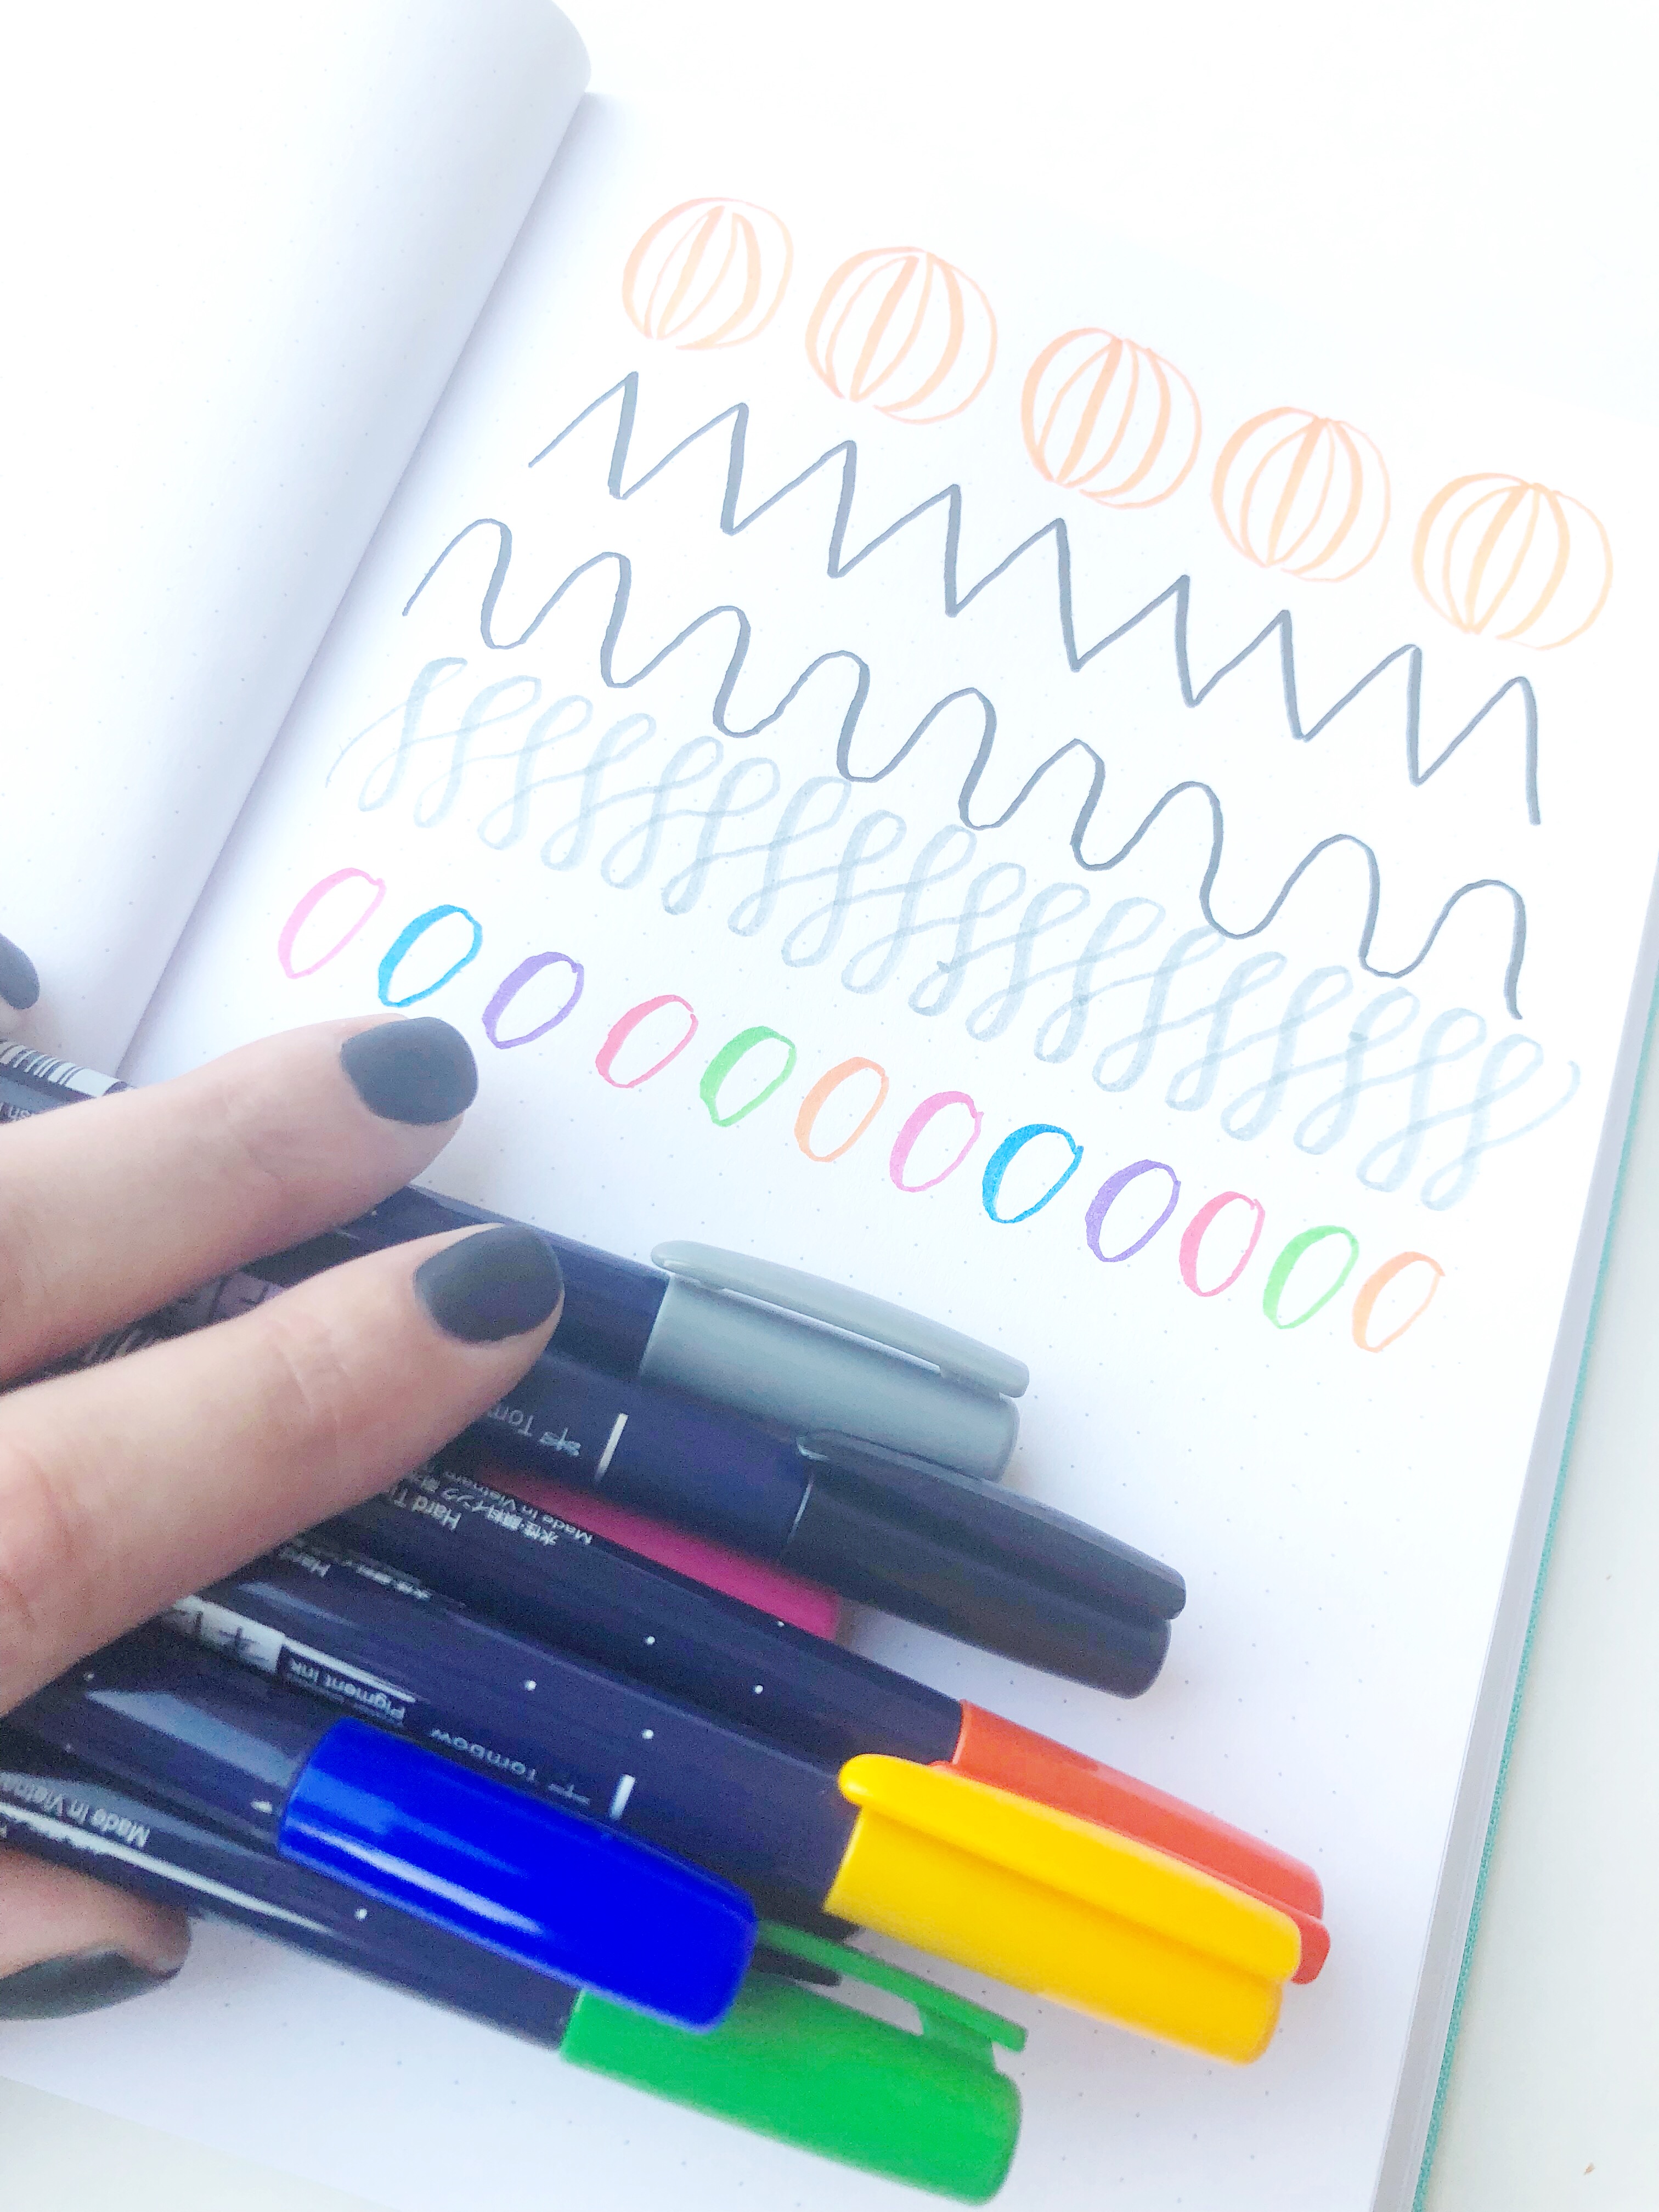
Using the colors above (or colors that you have or prefer) create rows of your basic brush strokes with your Fudenosuke Colors that will be easily turned into the following doodles:
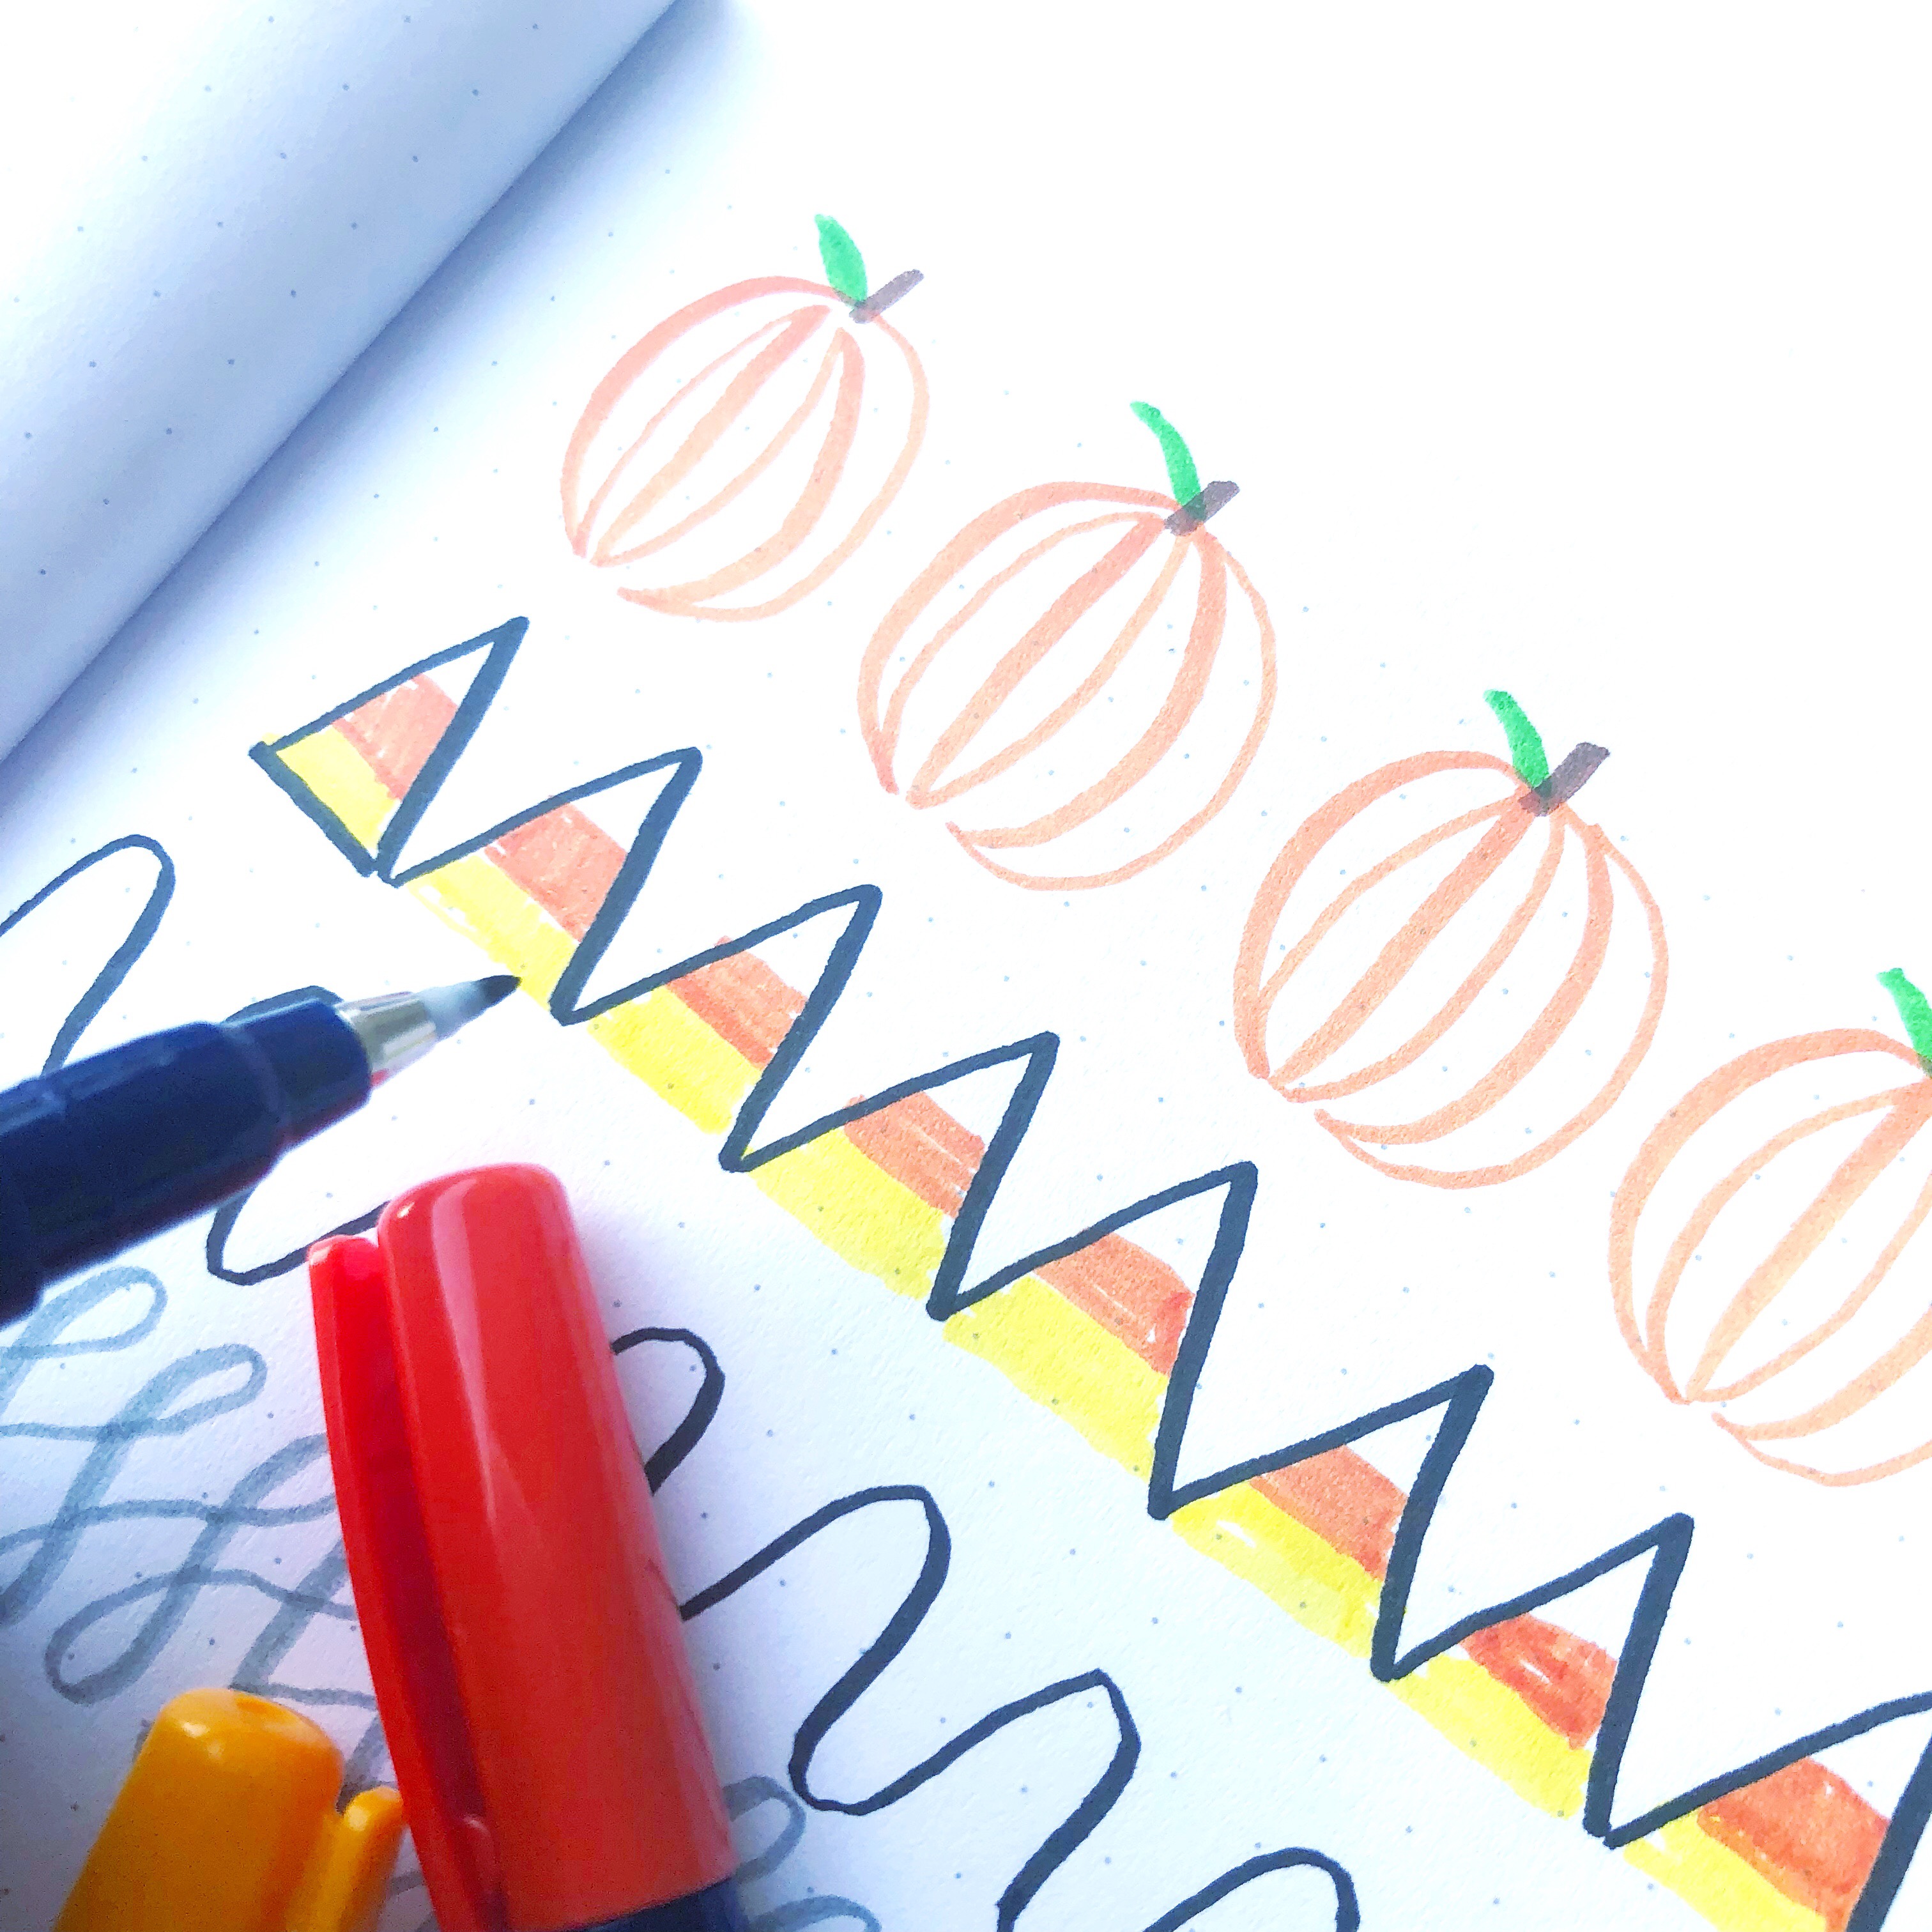
- Thick downstrokes and thin upstrokes-pumpkin
- Using pressure, start at the top of a sketched square if you drew lines (see several pictures up) and use pressure to make a thick curved downstroke and a thin upstroke. Keep adding the curvy strokes to complete a circle shape. This drill will help you consistently use the tip of the brush pen to create calligraphic strokes.
- Diagonals-candy corn
- Using pressure and the dot grid as a guide, create thick diagonal downstrokes and thin diagonal upstrokes. Diagonals make up many different capital letters in calligraphy.
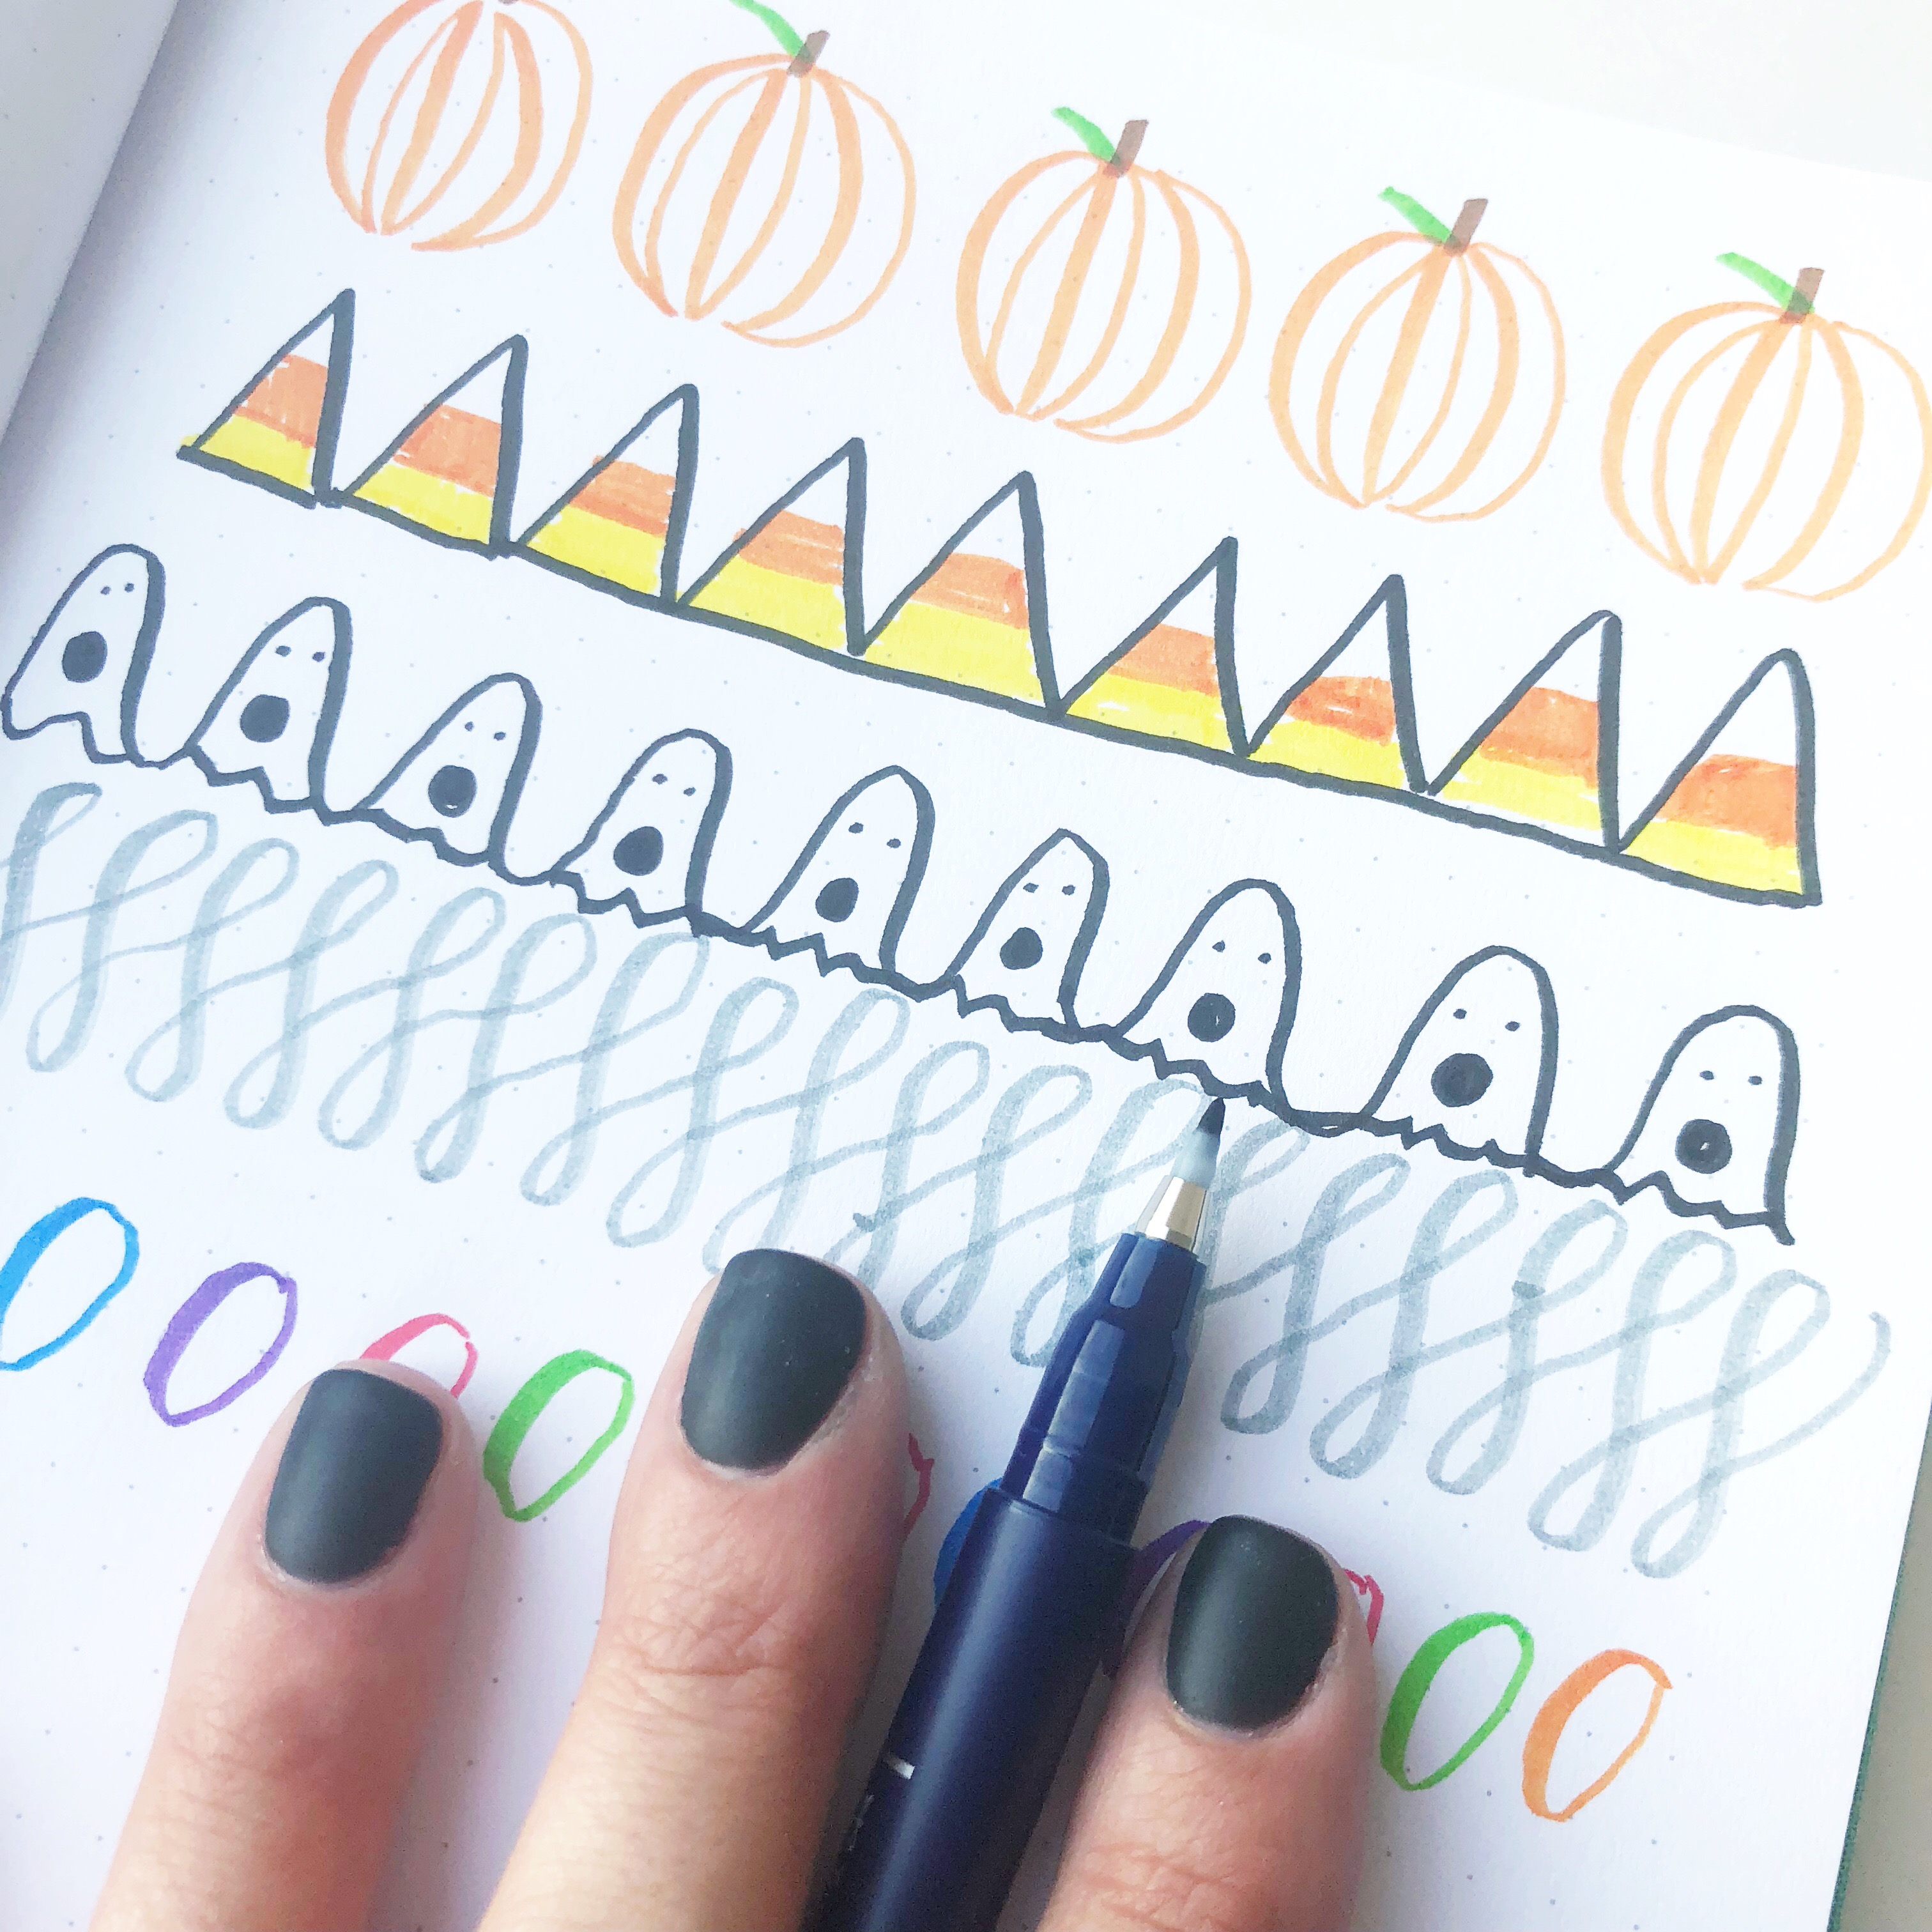
- Compound curve- ghost
- The compound curve is a difficult stroke to master as you use pressure to create a thin upstroke that then transitions into a thick down stroke. Many lowercase letters such as u’s, a’s, n’s, and m’s use the compound curve.
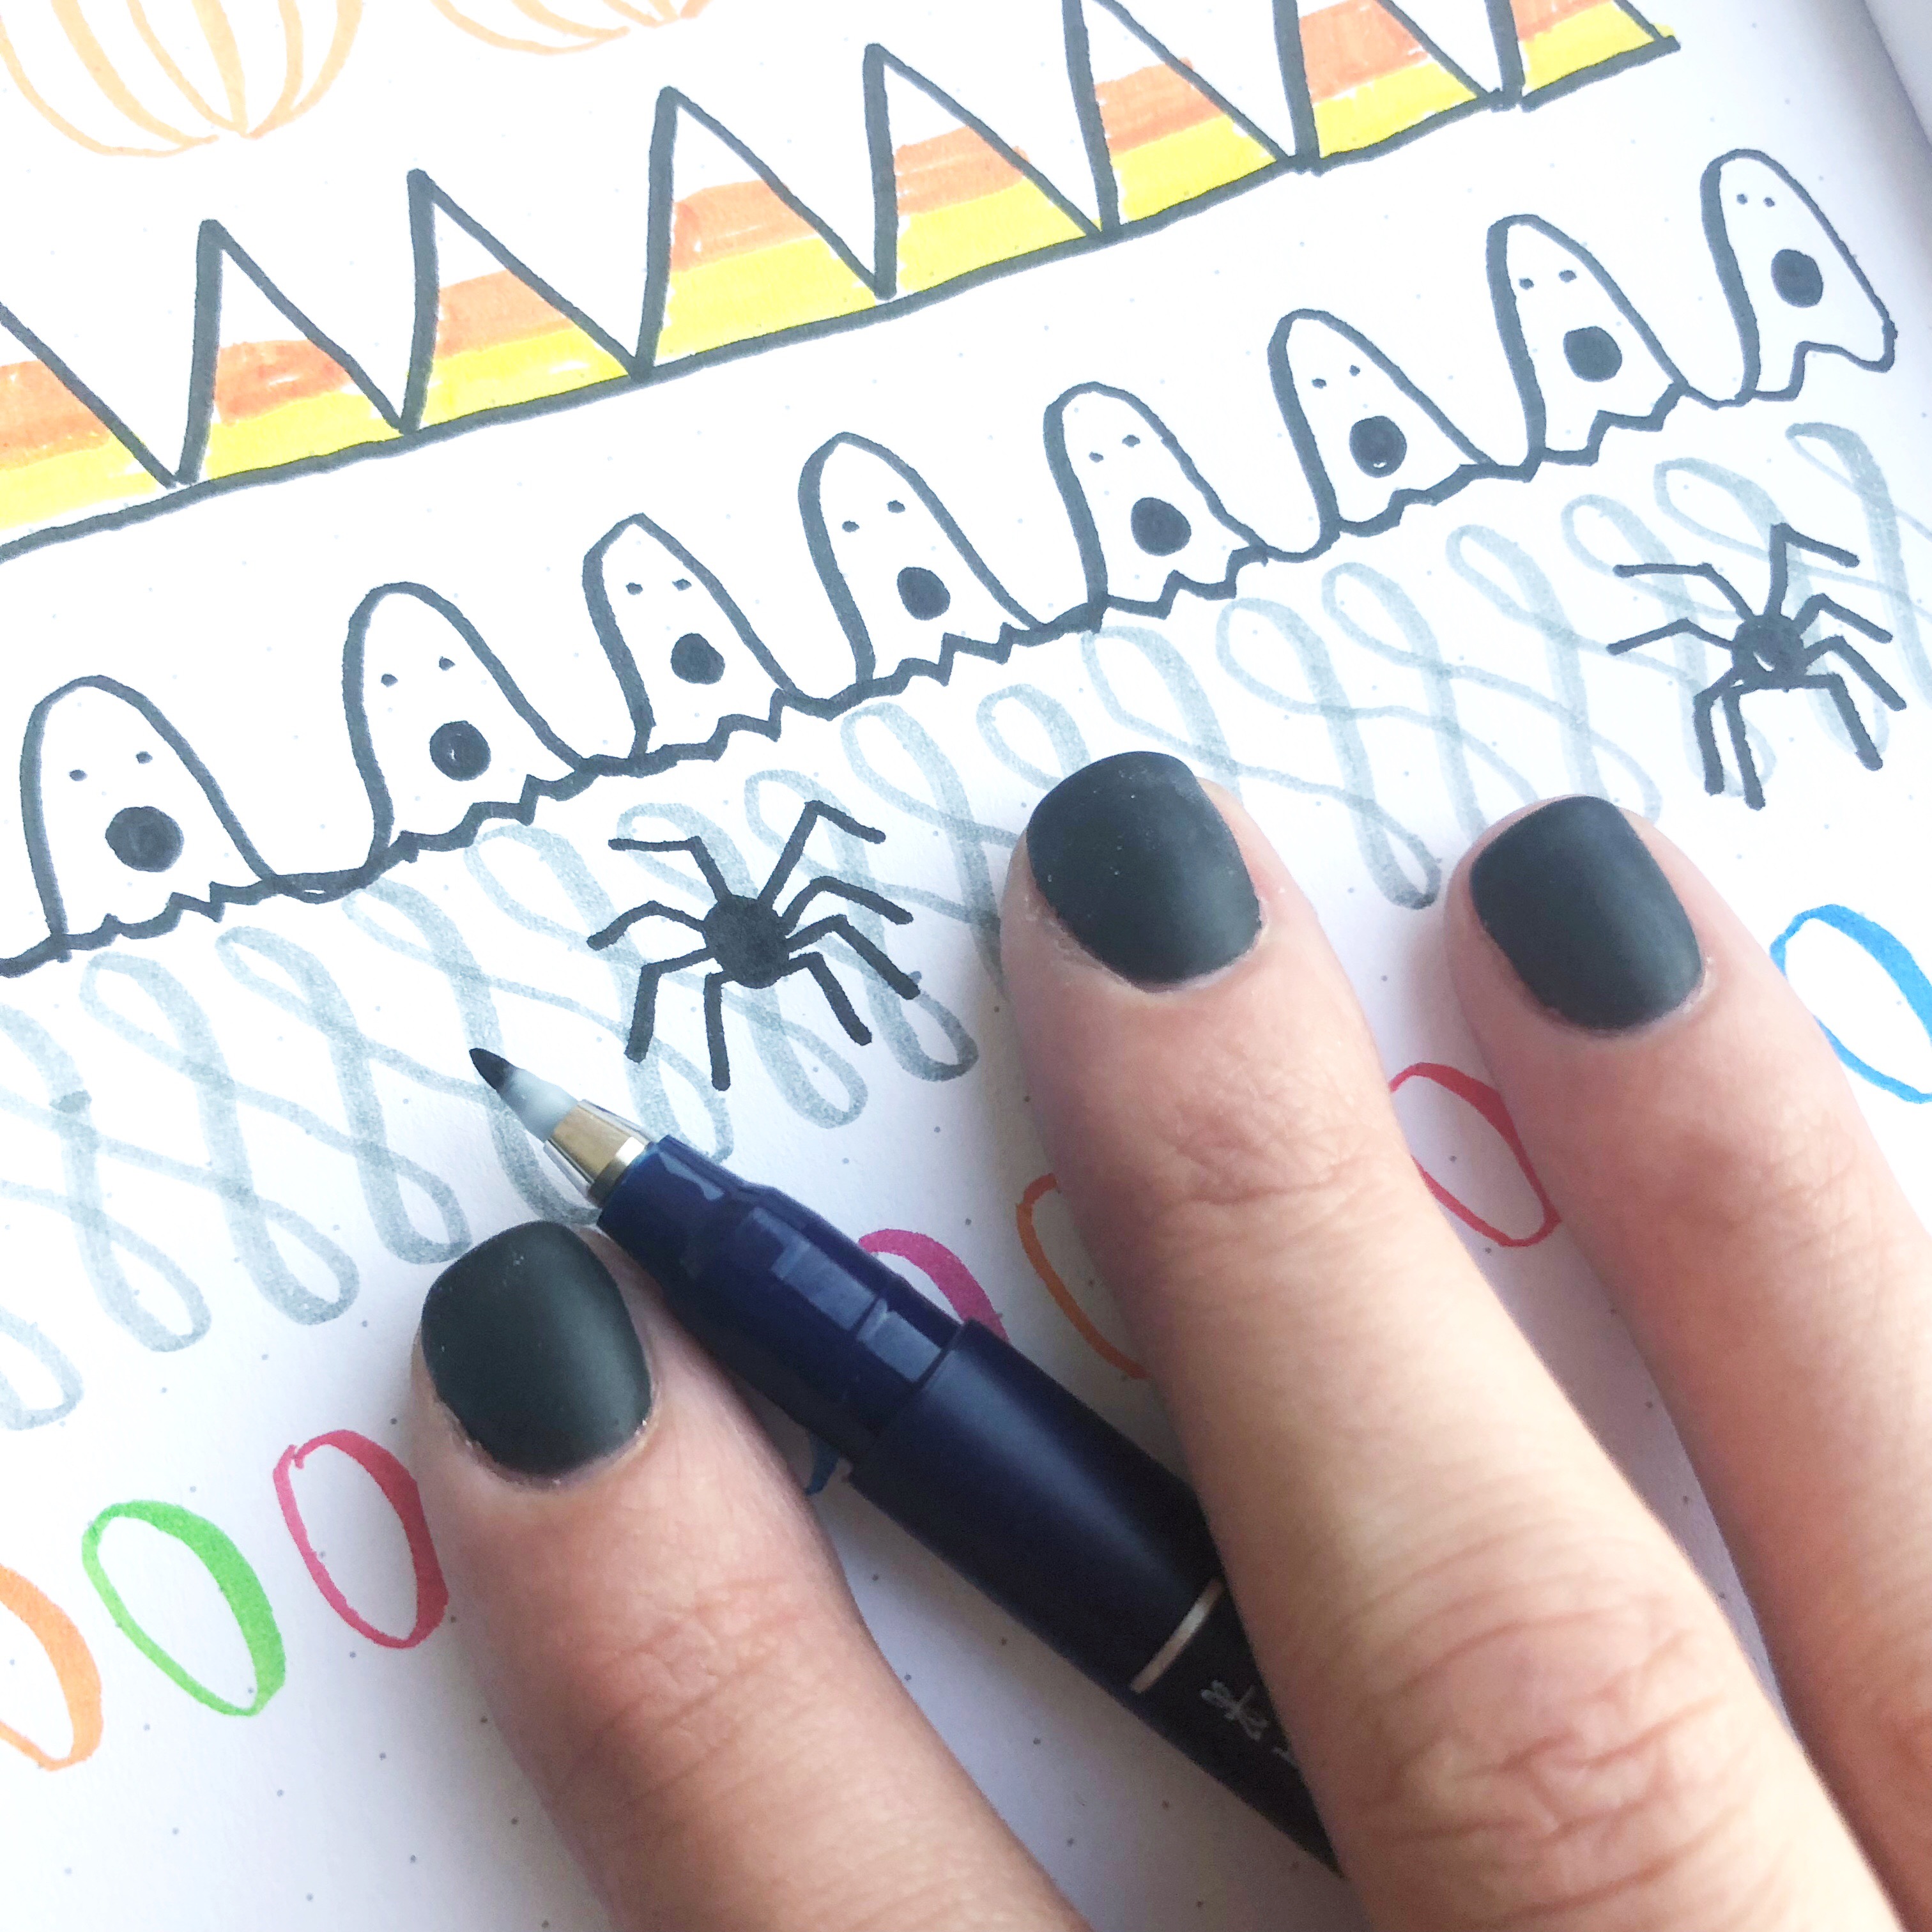
- Ascender and descender loops- spider web
- Ascender and descender loops help to create letters that go up high and down low, such as the h or y. To incorporate both of these strokes together in a doodle transition from an ascender loop directly into a descender loop.
- Ovals- candy
- ovals are a very basic stroke that are super important to master. It’s important to note that ovals are NOT circles. They need to be slightly angled so that letters like a, d, and b are all consistent.
3. ADD DETAILS TO CREATE DOODLES
Once the brush stroke drills are created, its super easy to transform them into the Halloween-themed doodles by simply adding in details. Add a stem and leaf to the circular shape to create pumpkins or color in some orange and yellow on the diagonals and close off the bottom of the shapes to create candy corn. Seriously, how cute is that!?
Ghosts are easily made from the compound curves by adding a wavy line at the bottom and drawing in eyes and mouths on the little spooky creatures.
Make the ascender and descender loops look like a spider web by drawing a basic spider or two. To create the spider, draw a black dot for the body and add eight jointed legs. This would be so fun to add to the edge of a card or piece of happy mail.
For some sweet ovals, add in some details to create candy, suckers, and Halloween treats like caramel apples.
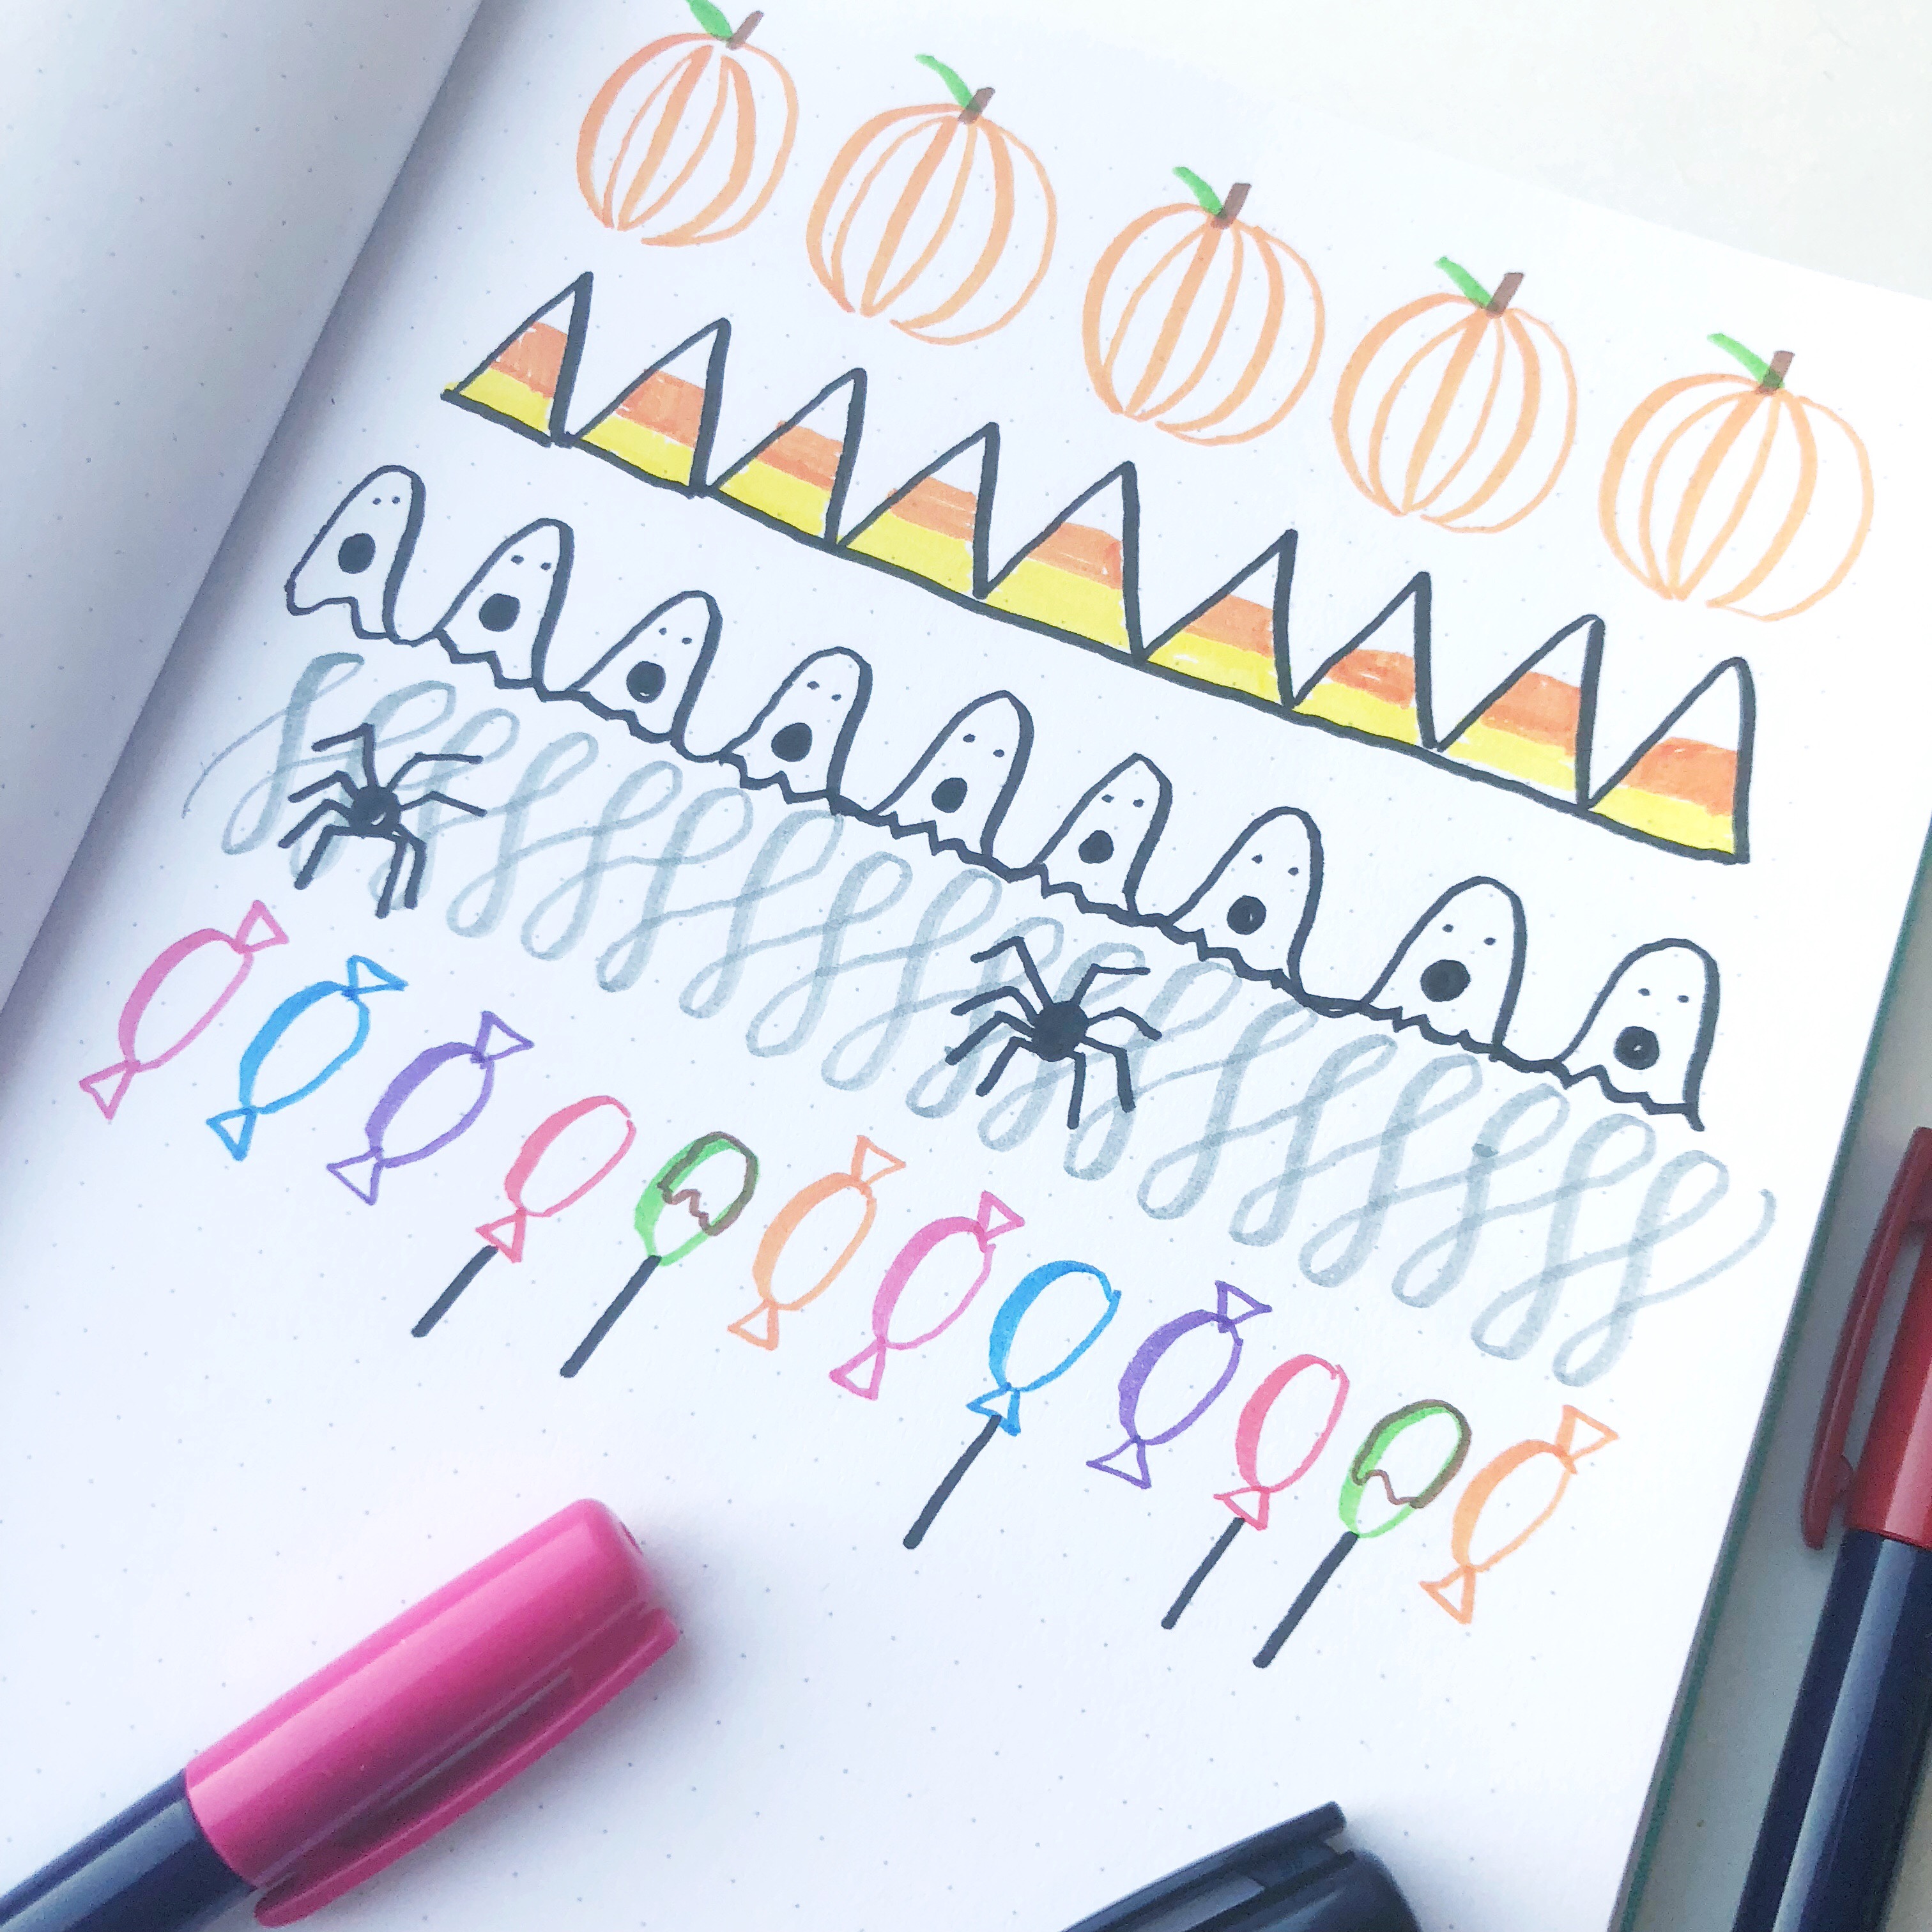
LETTER AND DOODLE ALL THE THINGS!
Have fun and be productive by turning that lettering practice into doodles that you can add to your planner or a card. You may choose just to fill your practice paper with the doodles. No matter what you create, it’s sure to be fun!
I’d love to know what your favorite doodle was! Have fun trying these out and make sure to share what you create by tagging me on instagram. Check out more lettering tips and tricks on renmadecalligraphy.com and find these fantastic supplies over on the Tombow USA website.
Happy Lettering!
Lauren Fitzmaurice
Extremely Awesome. Thanks for sharing.
Debi
Too cute!