Hey everyone, It’s Katie here! If there’s one thing I love to do every time I take a trip somewhere, it’s to keep a travel journal! I like to bind them ahead of time, and only bring along a small kit of supplies so that I don’t get overwhelmed and can keep it easy to document my adventure.
Today I’m going to show you how to bind & prep a travel journal!
How to Bind a Travel Journal:
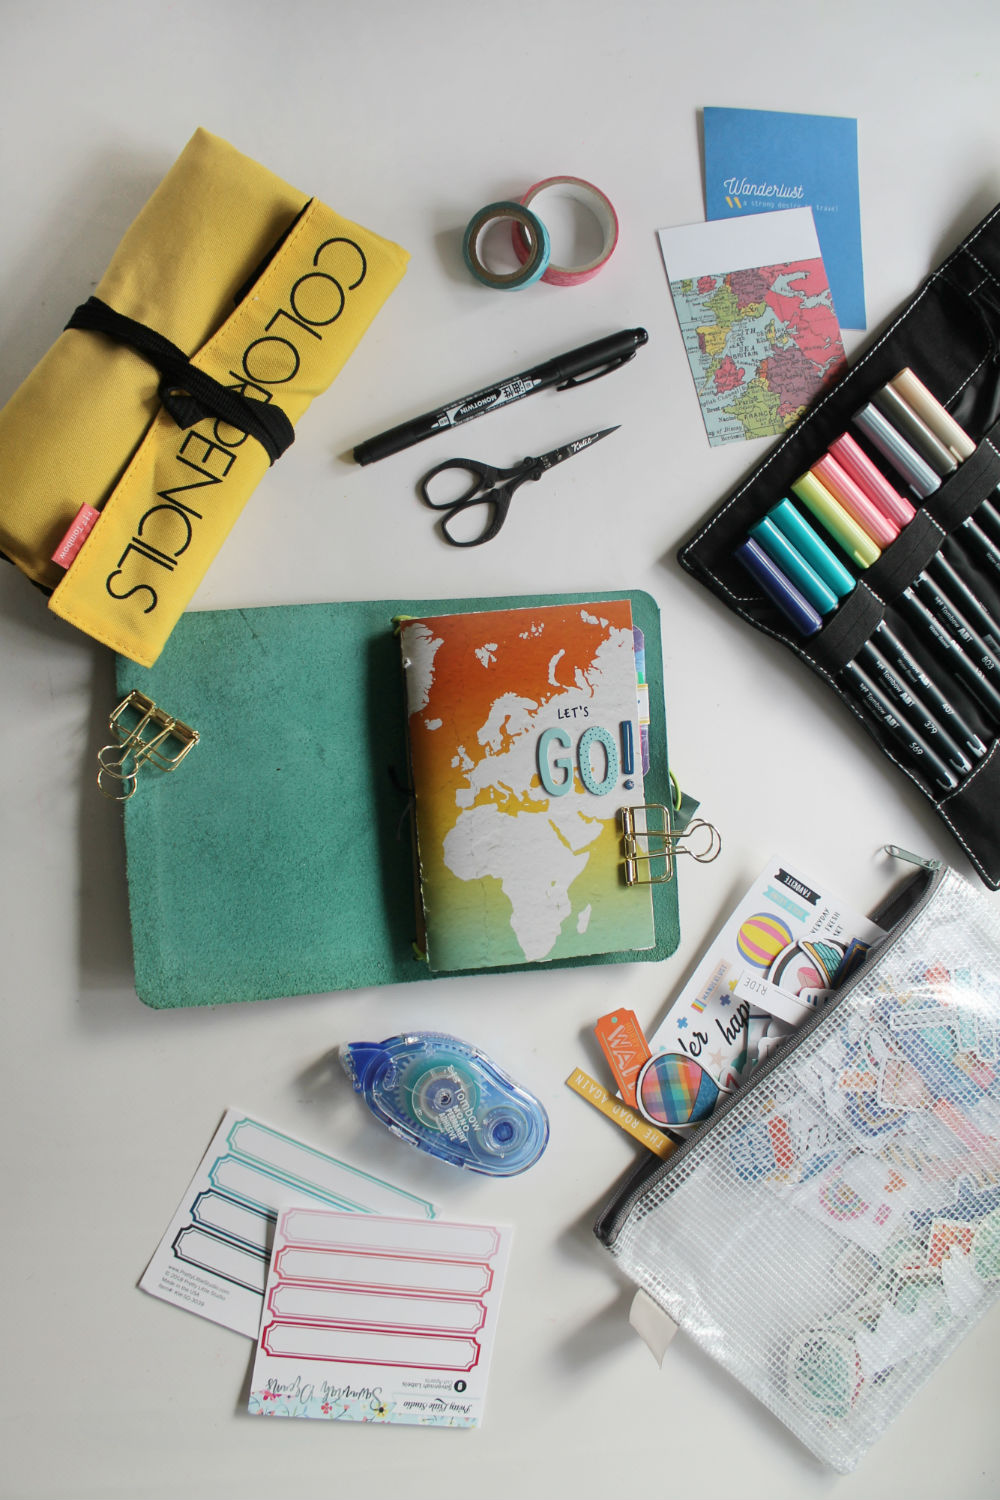
Supplies:
- Papers & Embellishments from Clique Kits
- Paper Trimmer
- Tombow MONO Twin Permanent Marker
- Needle & Embroidery Thread
- Tombow MONO Aqua Liquid Glue
- Tombow MONO Permanent Adhesive
- Travelers Notebook (optional)
Step one:
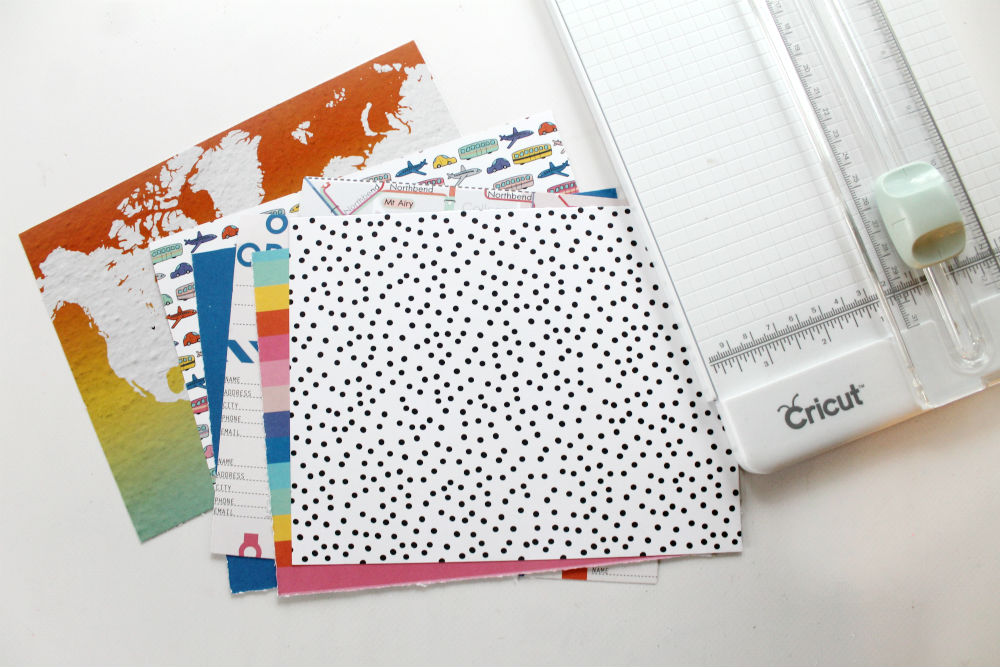
Obviously you’ll need a journal in your Travel Journal Kit, so choose a few fun papers that you’ll want to include!
I’m making my notebook to fit in a pocket sized Travelers Notebook case, so my papers are 5.5″x7″, and I cut my cover half an inch longer at 5.5″x7.5″.
Cut your papers down to your desired size.
Step two:
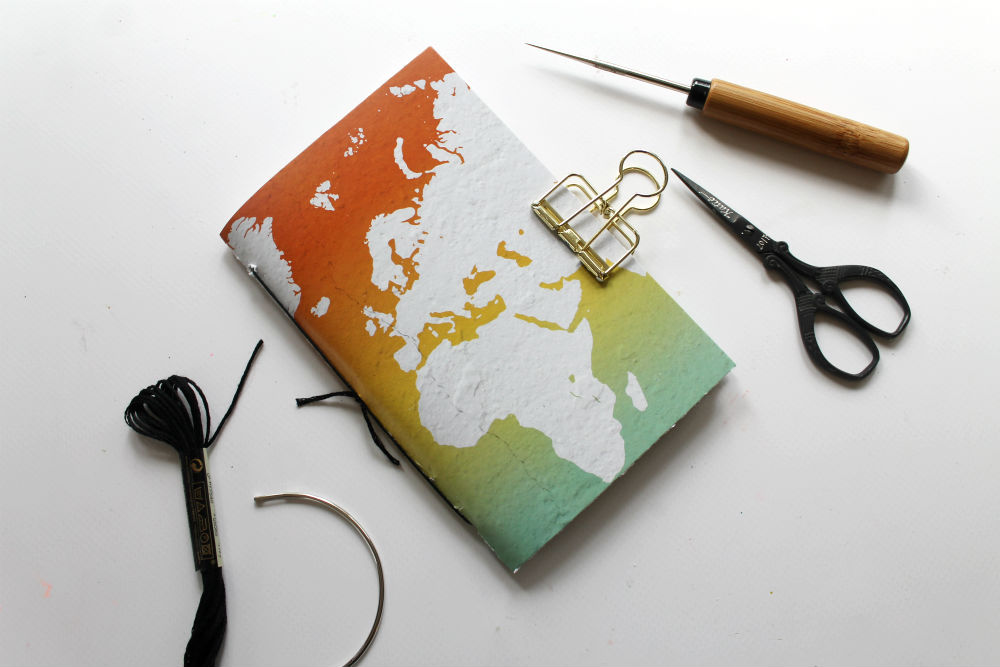
Fold each piece of paper in half, and bind your papers together using the needle and thread. I used a pamphlet stitch to bind my journal, Here’s a really easy tutorial for a DIY 3-hole Pamphlet Stitch.
Step three:
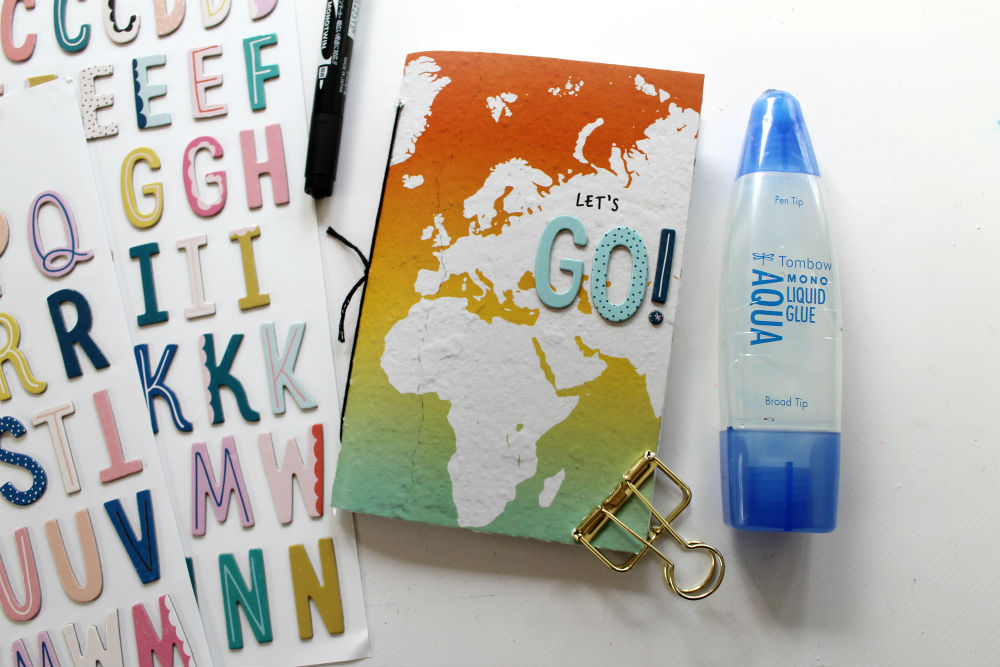
Okay, now that you have your journal put together, it’s time to do a bit of pre-embellishing! I used a MONO Twin Permanent Marker and some of the letter stickers included in my Clique Kit to write out “let’s go” onto my cover.
A tip: If you have trouble with your thickers sticking, use the pen tip of the MONO Aqua Liquid Glue to place a bit of adhesive on the back of each letter before sticking them down. After drying, they are much more permanent!
Step four:
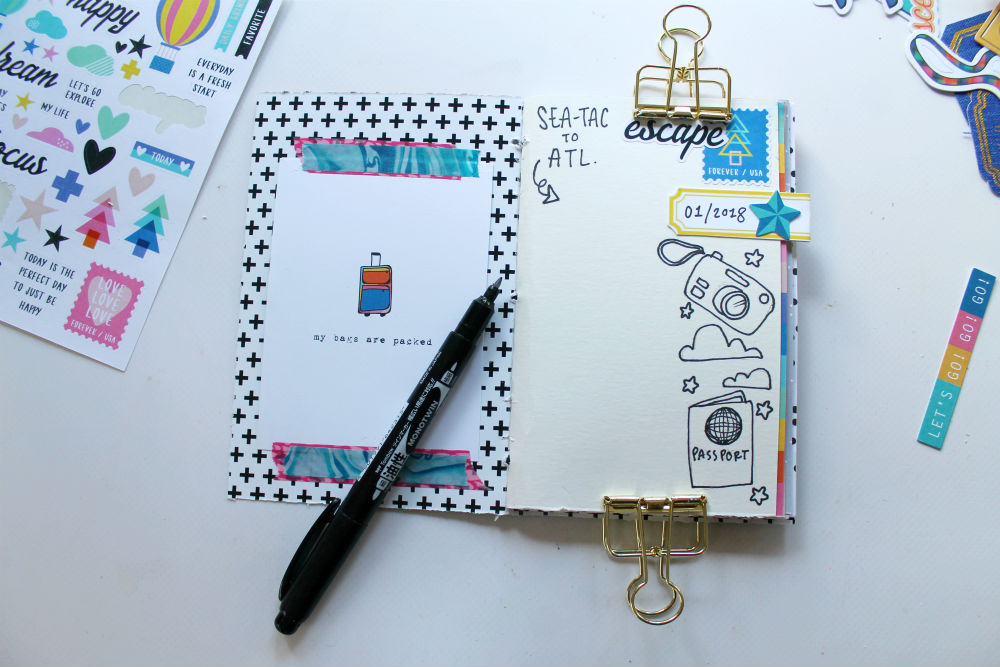
Want to include tabs in your journal? Fold a label in half, and adhere it onto the edge of a page using the MONO Permanent Adhesive Tape Runner.
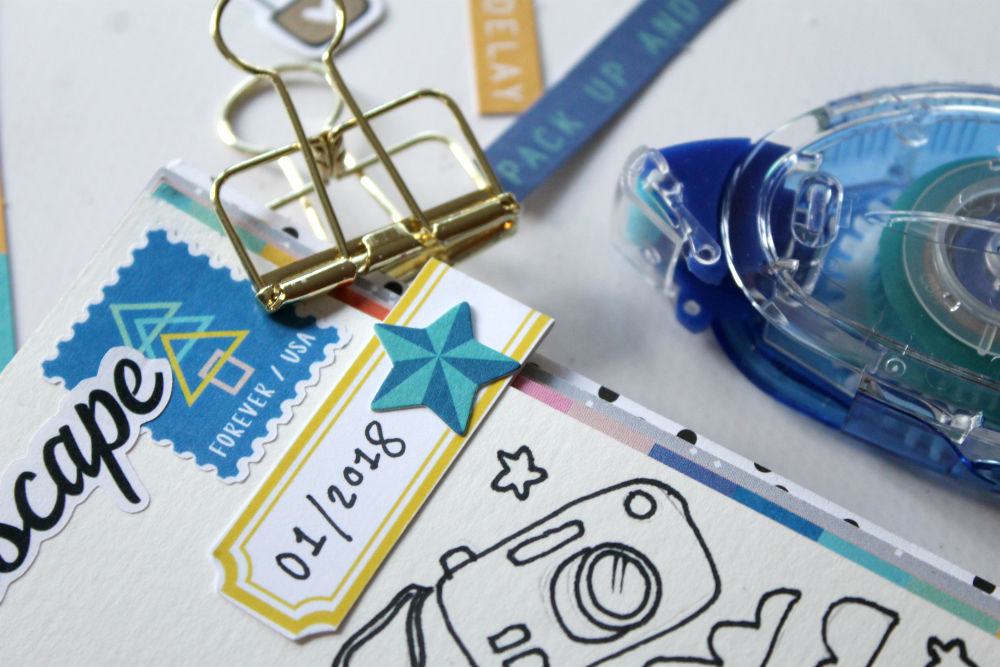
I added a couple of Project Life cards adhered in, and used the MONO Twin Permanent Marker to do a bit of doodling on my first page. I’ll add in some journaling when I’m at the airport and have some time to kill.
Step five:
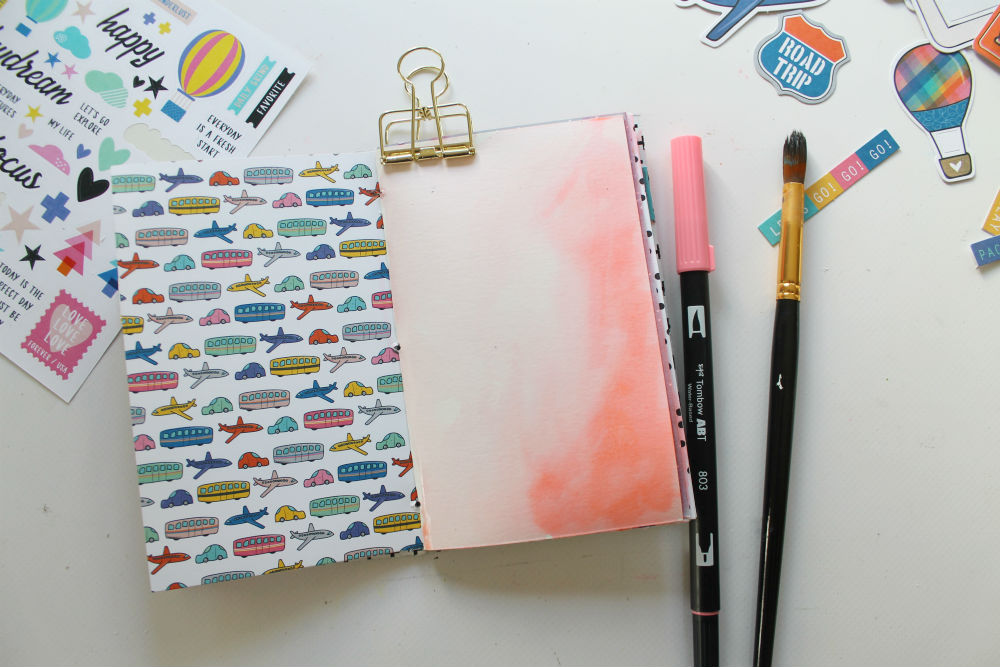
If you plan on doing most of your journaling while traveling in a plane or road trip, you might not want to bring too many “messy” supplies. I wanted to prep some of the pages with a watercolor look.
To do this, scribble a bit of Dual Brush Pen ink onto the back and brush over it with water.
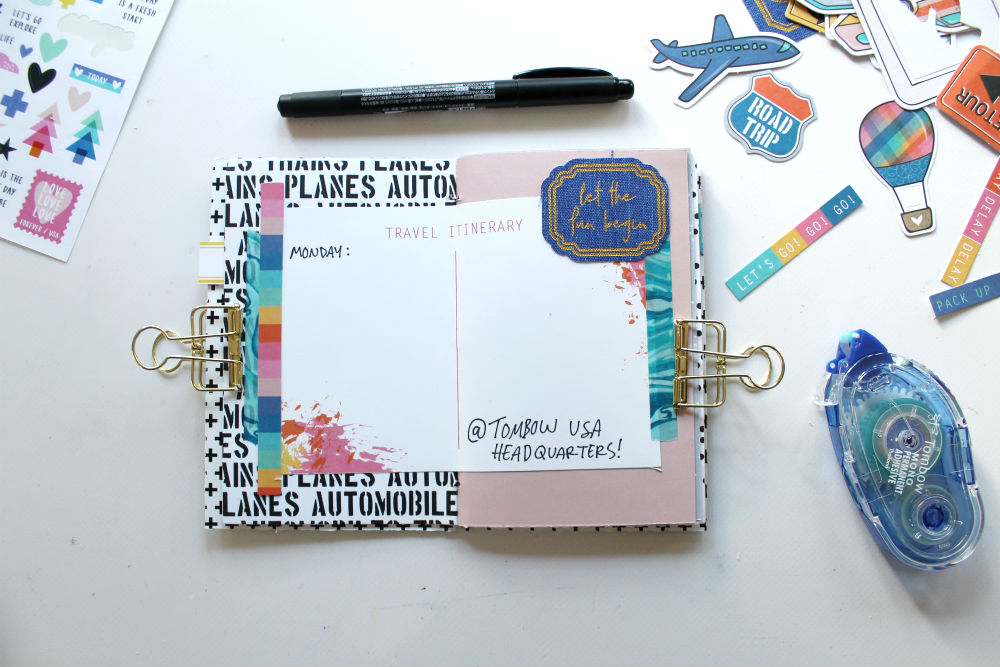
And that’s it! I’ll be visiting the Tombow USA headquarters soon (yay!), so I’ve made this Travel Journal & Travel Journal Kit to bring along with me.
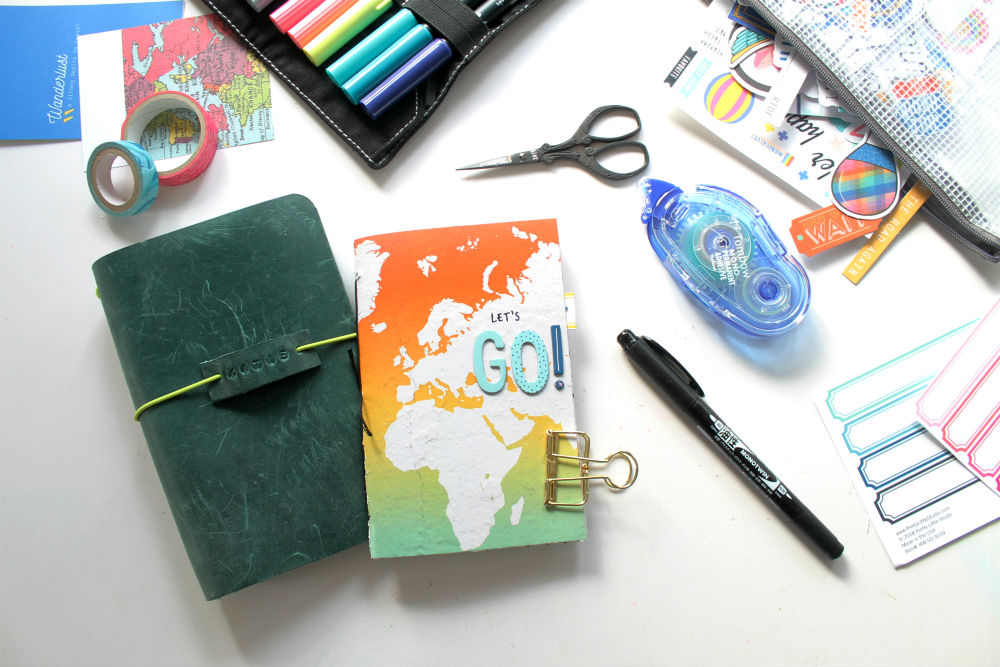
Ideas of what to include in your travel journal kit:
- Boarding passes: Every time I fly I keep a copy of my boarding pass (if it’s on my phone I’ll try to take a screenshot to print later) and adhere it into my journal.
- An adhesive runner: Any of Tombow’s adhesive runners are great to bring with you. It’s so easy to include found ephemera into your journal while traveling by just running a bit of adhesive onto the back and sticking it down.
- MONO Twin Permanent Marker for permanent black doodles and journaling and Dual Brush Pens for adding in color.
- An instant camera is fun to include if you have the room.
- Washi tape to add a bit of pattern.
- Stickers! The stickers and ephemera included in this Clique Kit is sooo cute. I’ll definitely be bringing it along with me on my trip.
I love this, so cute!! I love the fun colors in this kit!!
Pingback: Scrapbook , un cuaderno de viaje para el verano. - Labores en Red