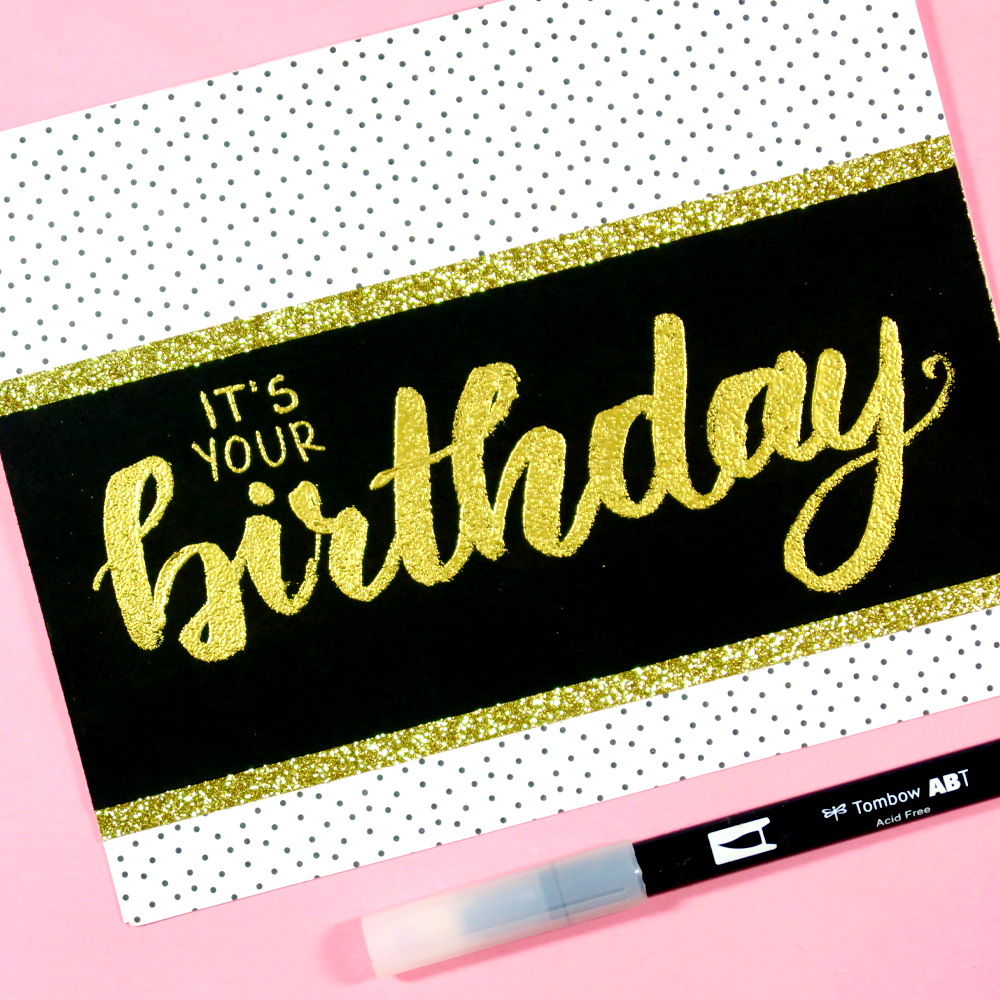
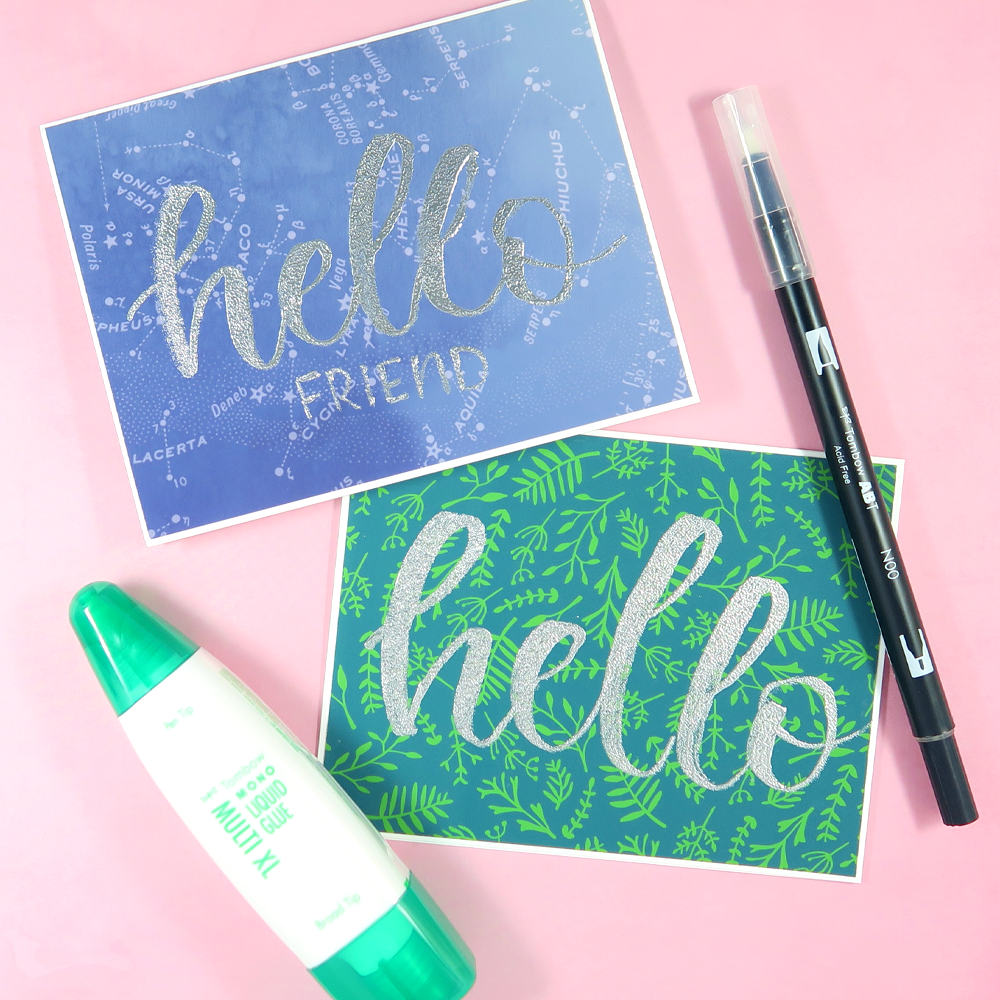
Hi crafty friends! It’s Dani from @popfizzpaper here with today’s tutorial! This week, the Design Team has been challenged with recreating a past project to see how far we’ve come in our craftiness. Today I’m recreating a handmade card using my heat embossed lettering technique. I came up with this idea last year for the birthday card below. Back then, my lettering was still in the baby stages, so I thought it’d be fun to give it a go again now that my lettering has improved a bit. Make sure to watch the process video in this post for all my tips and tricks. Let’s get started!

SUPPLIES:
- Card fronts and bases
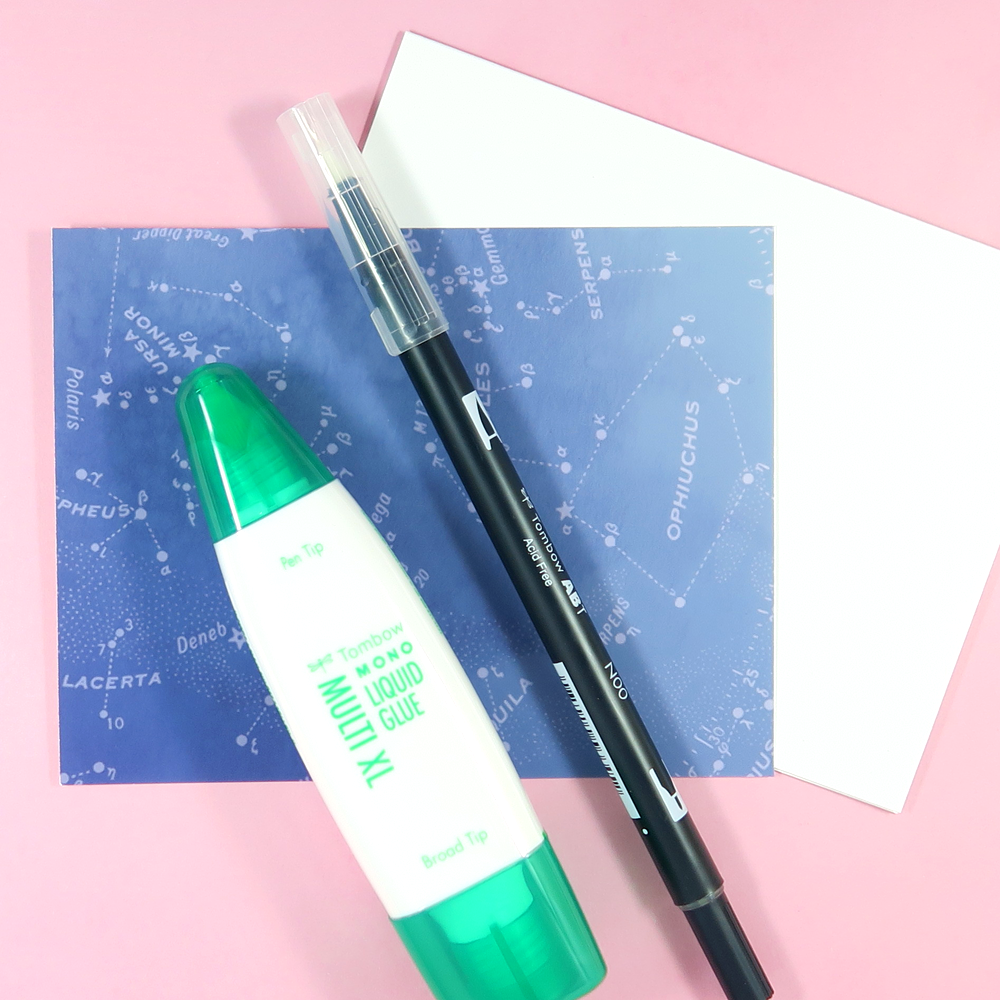
- Tombow MONO Multi XL Liquid Glue
- Tombow Colorless Blender
- Heat embossing powder
- Heat tool
- Scrap paper
- Tombow MONO Adhesive + Permanent

STEP 1
For today’s cards, I’m using pattered card fronts and plain white cardstock bases. Squeeze out some of the Tombow MONO Mulit XL Liquid Glue on to a scrap piece of paper. Dab the brush end of the Tombow Colorless Blender into the glue, coating it well. I have several of these Colorless Blender Pens, so I don’t mind sacrificing one for heat embossed lettering projects. You could also use a Dual Brush Pen that’s run out of ink – just test to make sure first!
STEP 2
With the brush tip coated in the MONO Multi Liquid Glue, start lettering on your card fronts! I do one stroke with the Colorless Blender, reload with more adhesive (not too much!), then repeat. You can look at the paper at an angle to see where your strokes are, since the glue is clear. Don’t worry if the glue starts to dry a bit on you – it stays tacky even when dry, so no worries! Feel free to experiment with lots of lettering styles, like the examples in the video below.
STEP 3
Once your lettering is complete, coat the glue strokes with embossing powder, tap off the excess, then use the heat gun to set. The embossing powder will get all shiny when melted enough. Now adhere your card fronts to the card bases with Tombow MONO Adhesive + Permanent, and your card is ready to go!

See how easy that was? Thank you so much for following along with heat embossed hand lettering tutorial today – I think I’ve definitely improved from last year! For more handmade card tips and tricks, check out this Simple Cardmaking Tips post by Jennie and my Best Adhesives for Cardmaking post. Don’t forget to watch my process video above and I will see you next time!
Great technique!
Can take Aqua type glue (blue bottle compared to green) be used in place of the “Multi”??