Hello, Jessica from BrownPaperBunny here. I’m going to show you how to paint a simple watercolor mountain scene because this week the Tombow Design Team is talking about landmarks. I live in Seattle, which has the Cascade Mountain Ranges on one side and the Olympic Mountains on the other. No matter where you look, you’ll see mountains! This simple painting looks cute framed and makes a nice gift to someone who has a bit of wanderlust. Here’s what you’ll need to get started.
Supplies:
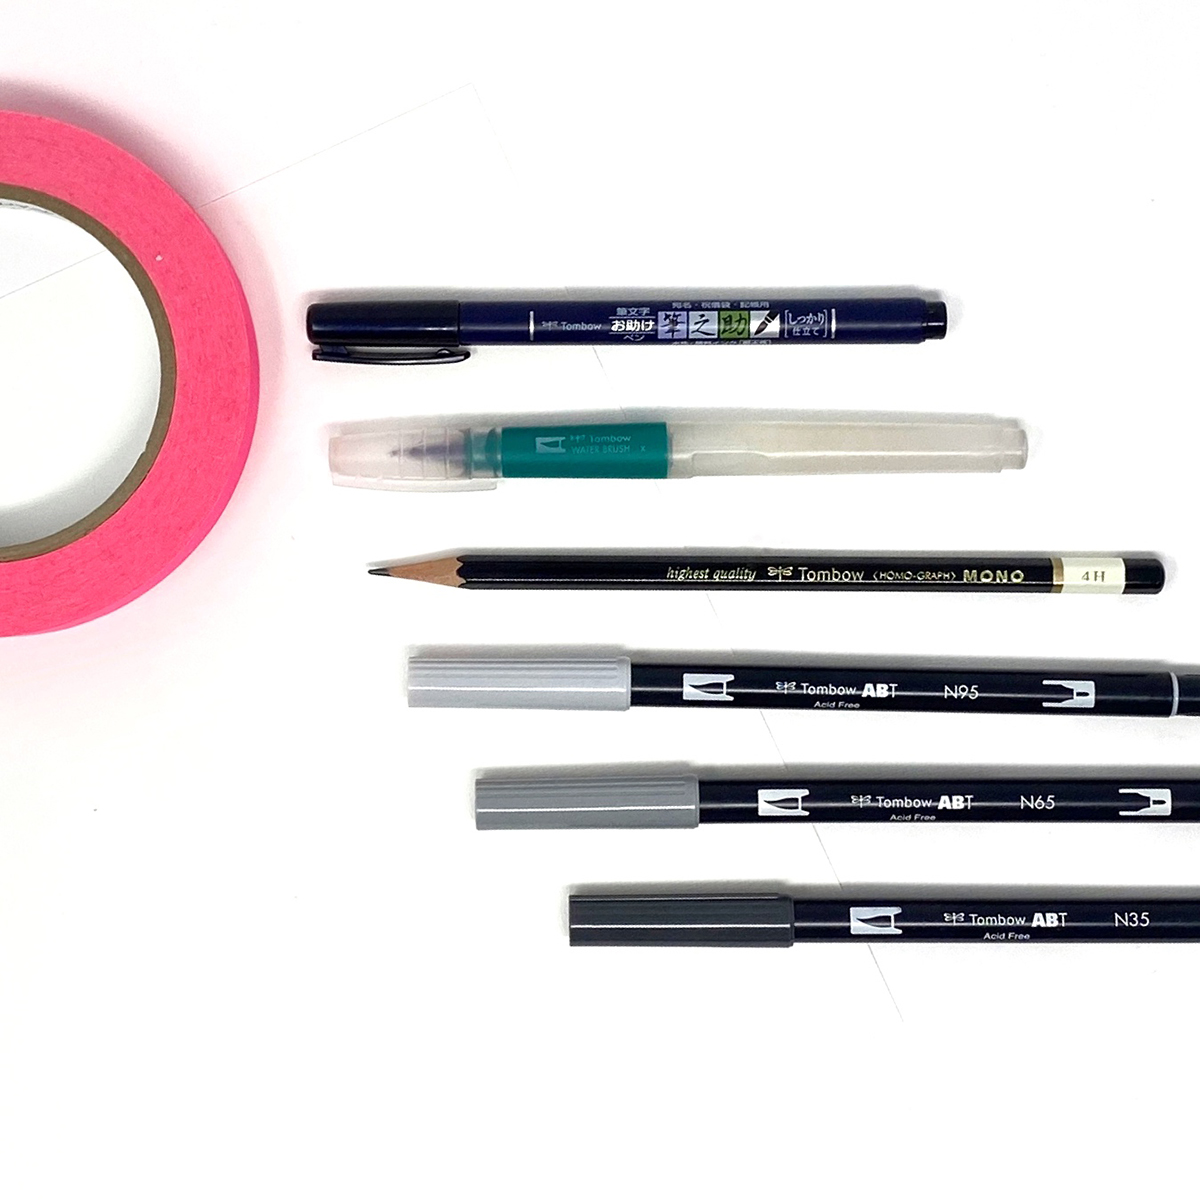
- Tombow Dual Brush Pens (N95, N65 and N35)
- Watercolor paper
- Tombow MONO Drawing Pencil 4H
- Tombow Medium Water Brush
- Artist’s tape (optional)
- Tombow Fudenosuke Brush Pen(optional)
Step 1: Sketch Your Mountains
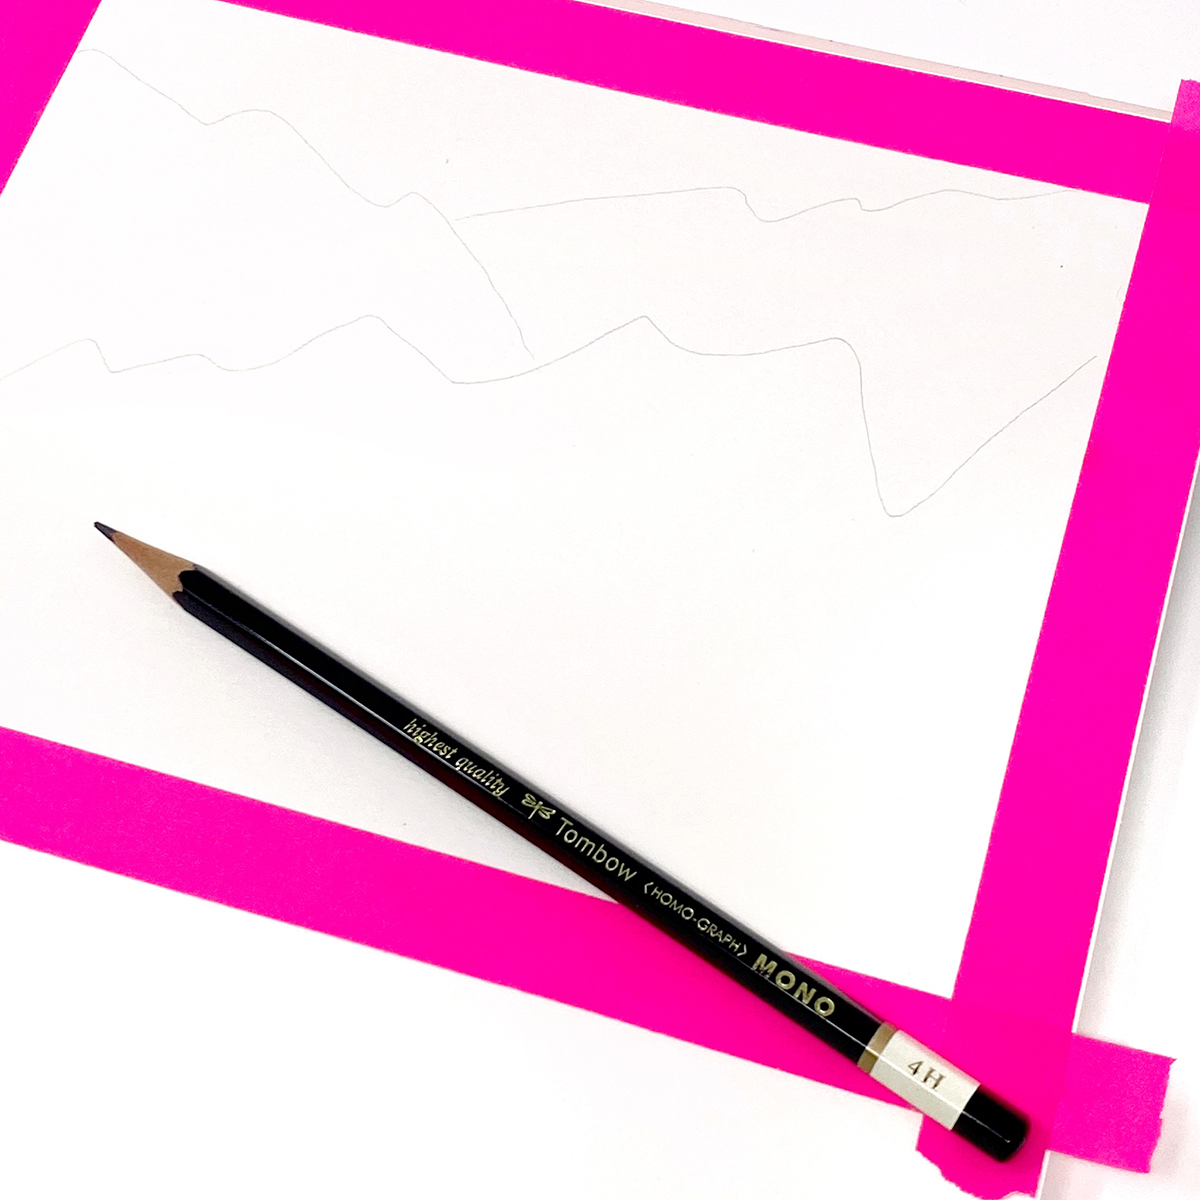
If you’d like to have a clean and white border around your painting when you’re finished, use artist’s masking tape to tape off the sides before you get started. Using your 4H MONO Drawing Pencil, lightly sketch some overlapping mountains. You want to use your 4H MONO Drawing Pencil because it is nice and light and will be easy to erase afterward if you don’t want any pencil marks showing. You can sketch your mountains as pointy peaks or soft/rolling hills.
Step 2: Add Ink to Your Mountain Sketch
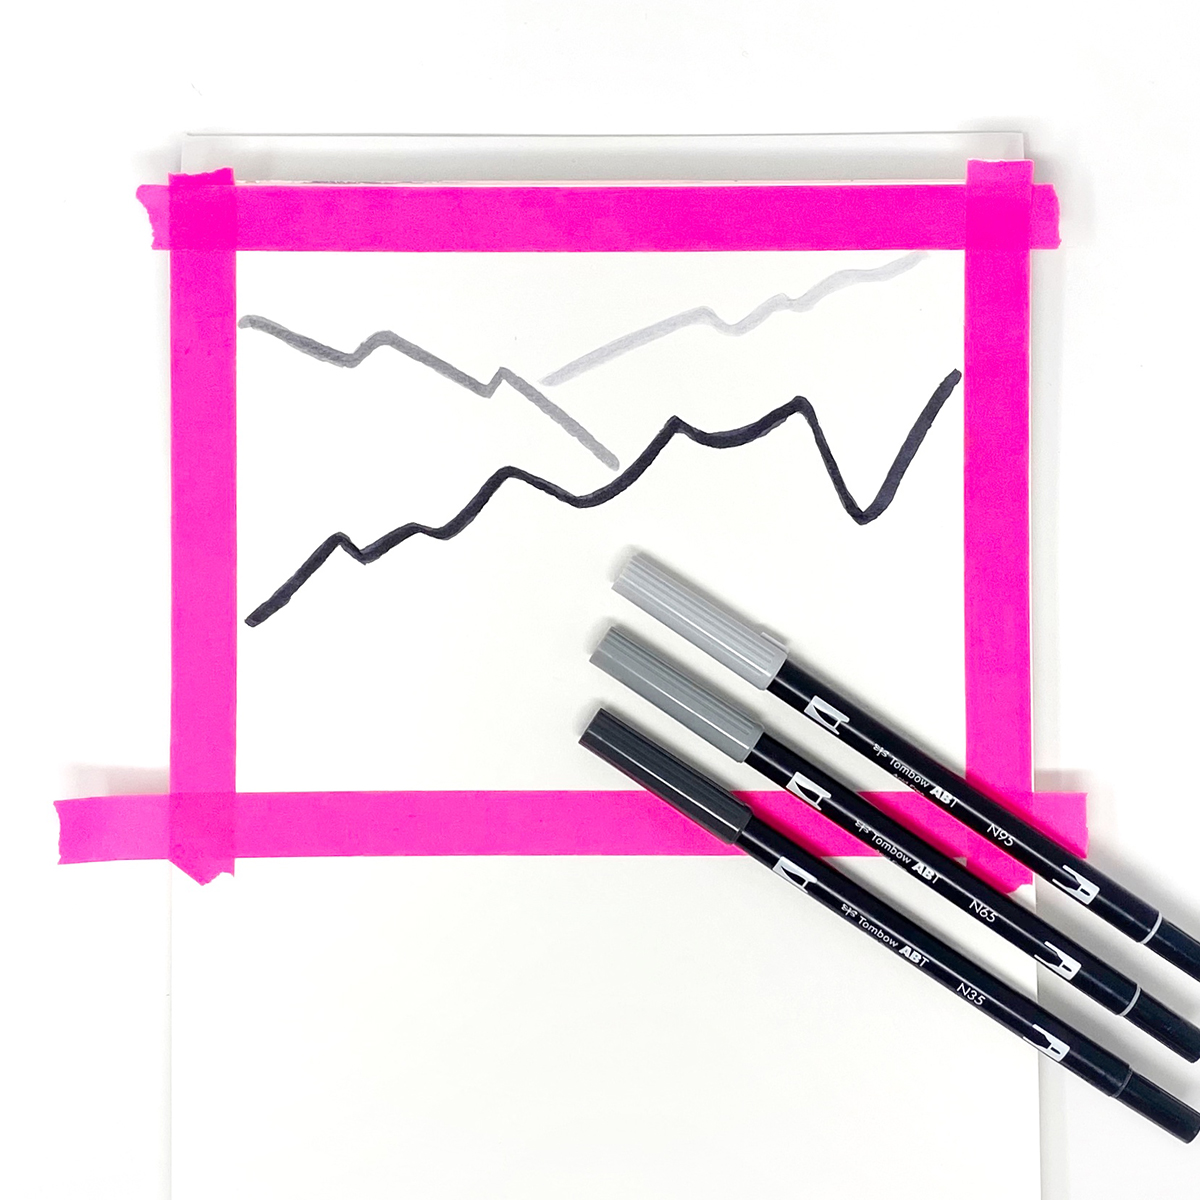
Because mountains appear fainter the further away they are, you’ll want to start with your lightest grey at the top for your mountains that will be at the back of your mountain range. Use your middle tone for the mountains in the middle and your darkest shade for the ones that are closest to you in the foreground. Use the brush tip of your Dual Brush Pen to add a line of ink over your pencil sketch.
Step 3: Blend with Water
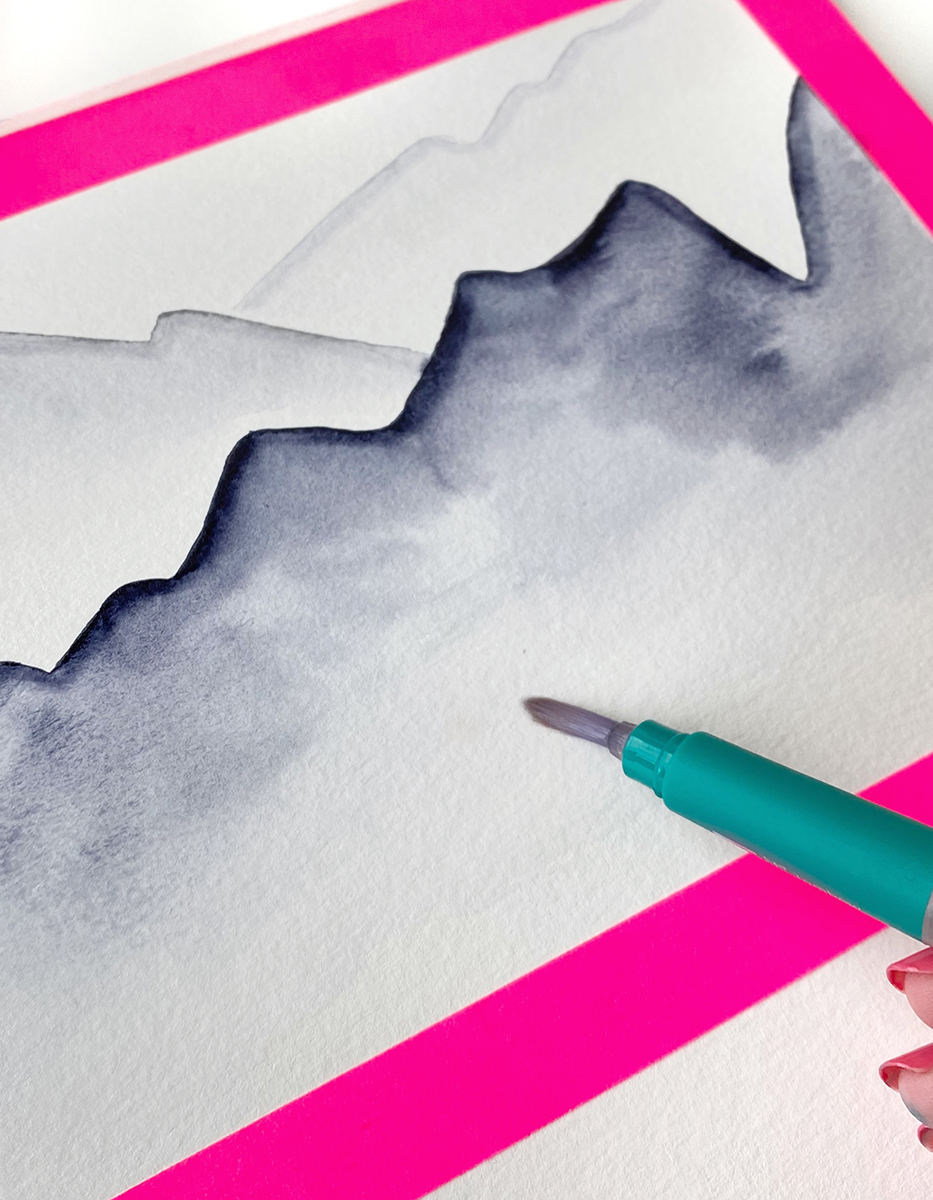
Starting with the lightest ink, use your Medium Water Brush to wet the whole line of ink and then blend back and forth towards the next mountain range until the water runs clear. You’re trying to create a gradient from top to bottom. Be careful not to touch the ink below the mountain you’re working on because you don’t want the darker ink to run up into the lighter ink. If that does happen, quickly blot it with a piece of paper towel.

Continue until you’ve done the same thing for each of your mountain ranges. Then, let the ink dry completely.
Step 4: Add Some Text
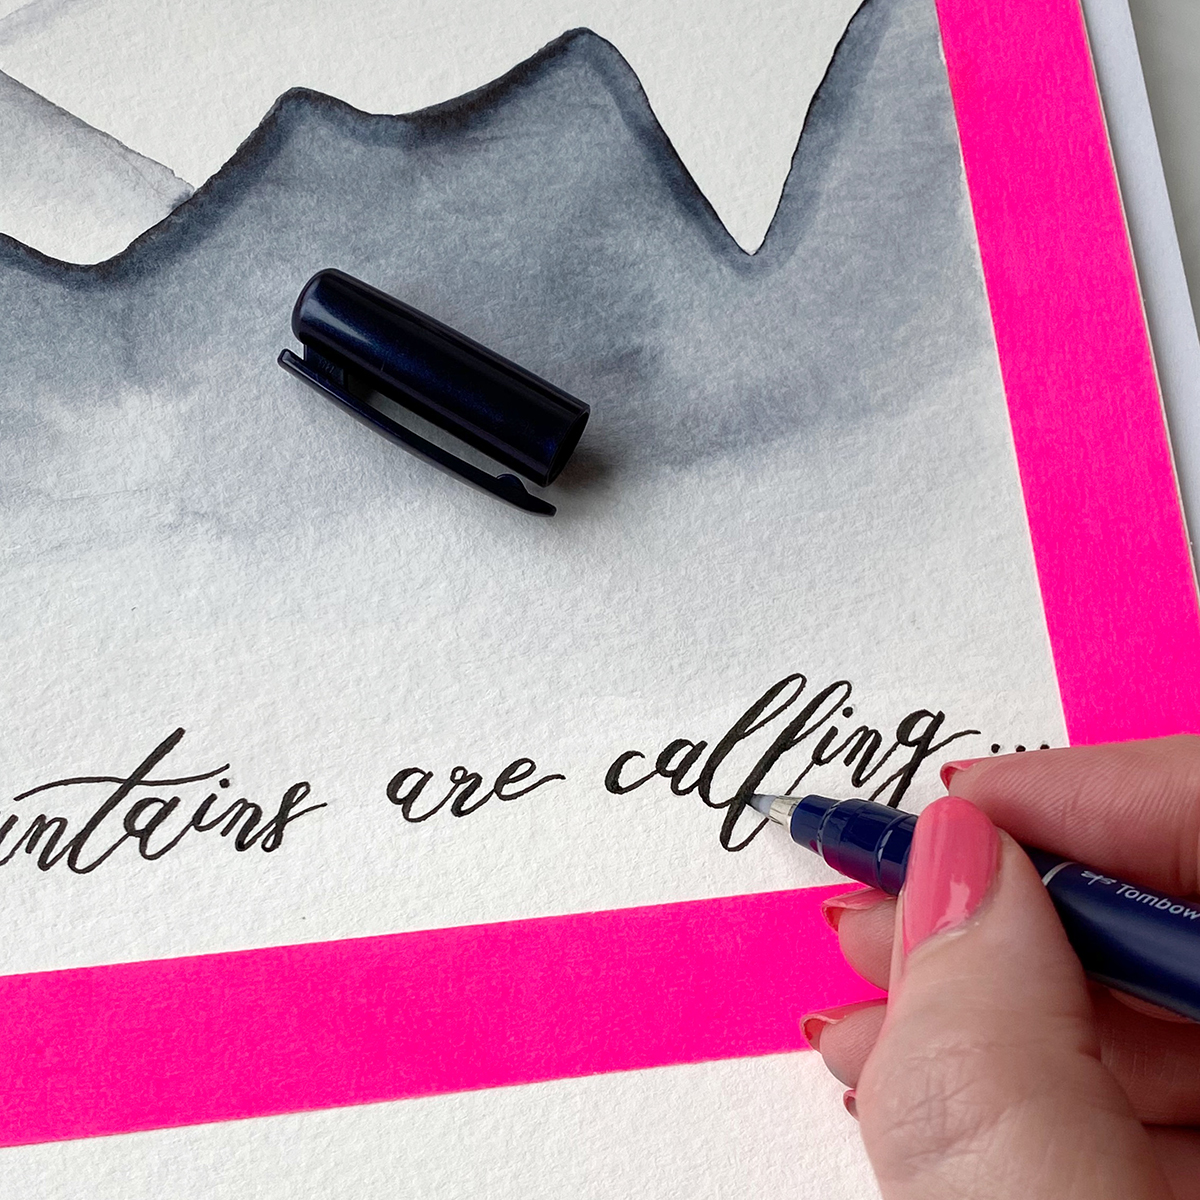
If this is going to be a gift, you might write the recipient’s name or you can letter on a quote they like. I’ve used my Fudenosuke Brush Pen to add some text along the bottom. Once you’re finished, remove the artist’s tape if you used it. It helps to pull it slowly and at an angle. Make sure to pull away from your painting to keep from tearing the paper.
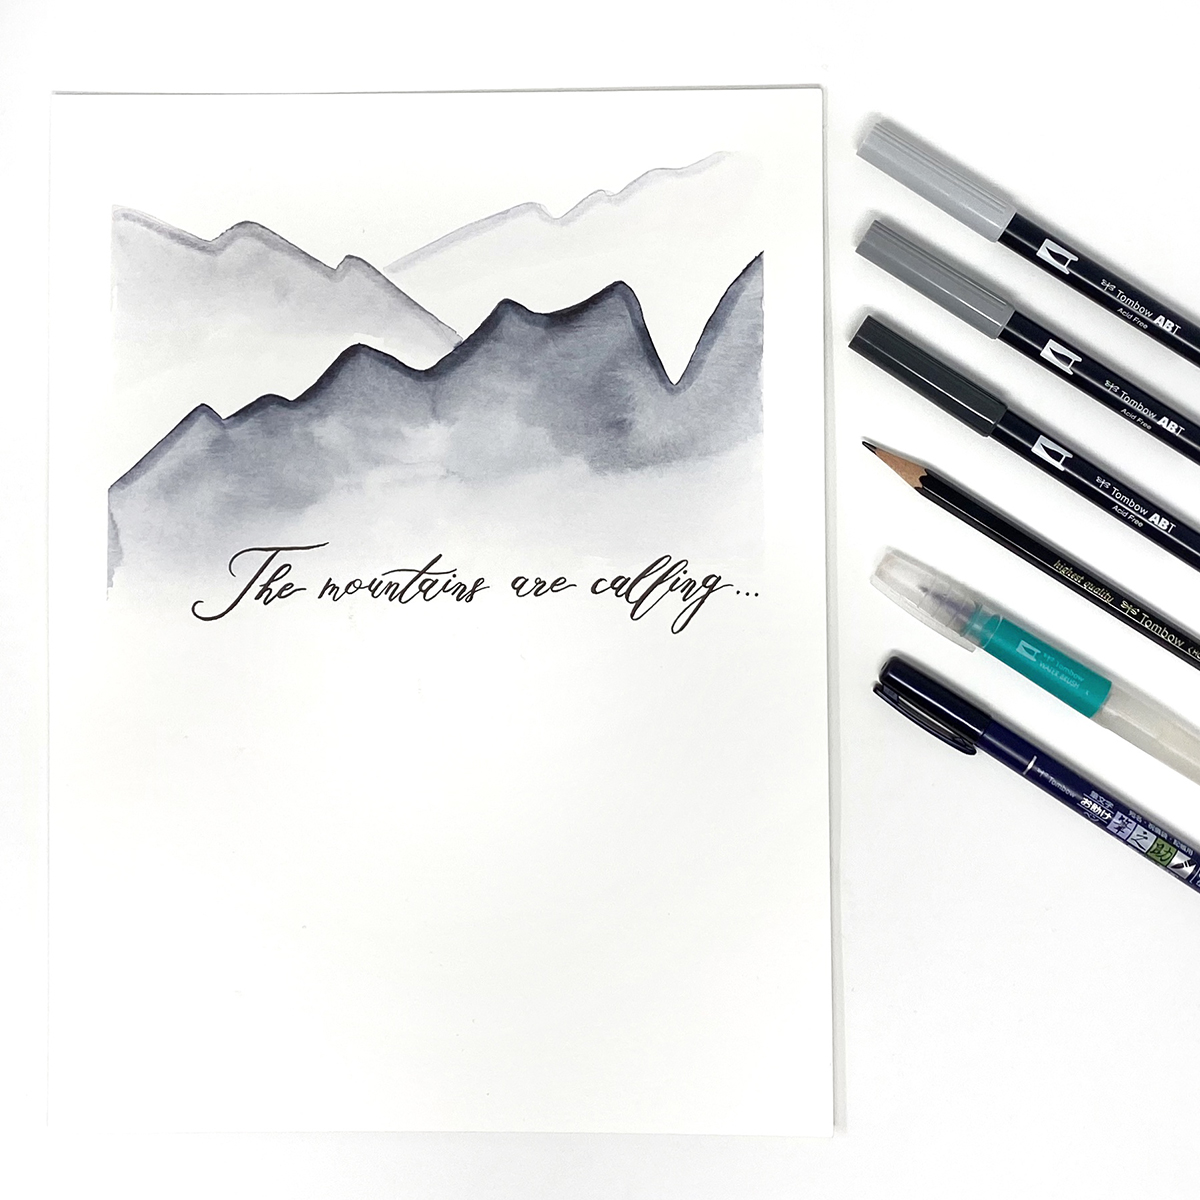
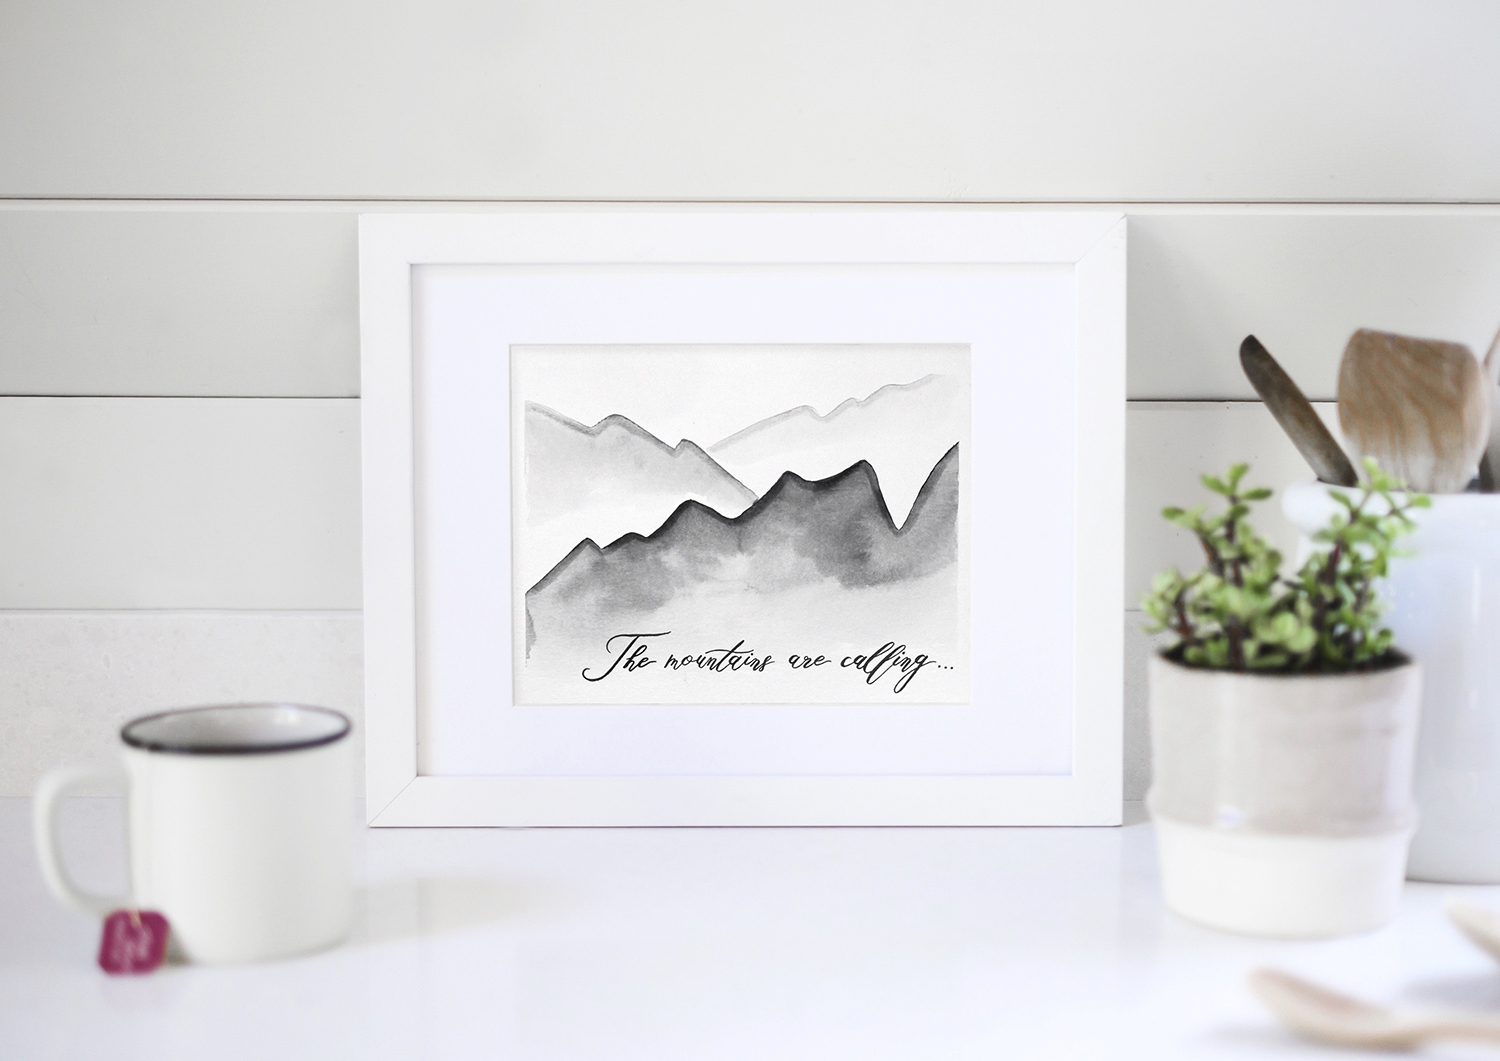
Voila! You’ve painted a simple watercolor mountain scene! You can frame it, send it to a friend, turn it into a cute postcard, etc. We can’t wait to see yours, so make sure you tag @TombowUSA and @BrownPaperBunny if you share it on social media.
If you’re looking for more watercolor projects using Dual Brush Pens, check out How to Make Your Own Watercolor Bookmarks.