Hey everyone, Ali LePere here! Today, we’re going to learn how to make an accordion book!
It’s fandom week for the Design Team and I’m a huge Harry Potter fan. Have I read the books multiple times? Yes. Was I at every midnight book release and movie premiere? Yep. Did I throw week-long parties in the the backyard each summer, complete with Sorting Hat ceremonies, TriWizard Tournaments and House Cup contests? Absolutely (thanks for not disowning me each summer, dad)! I was just the right age to grow up with Harry Potter.
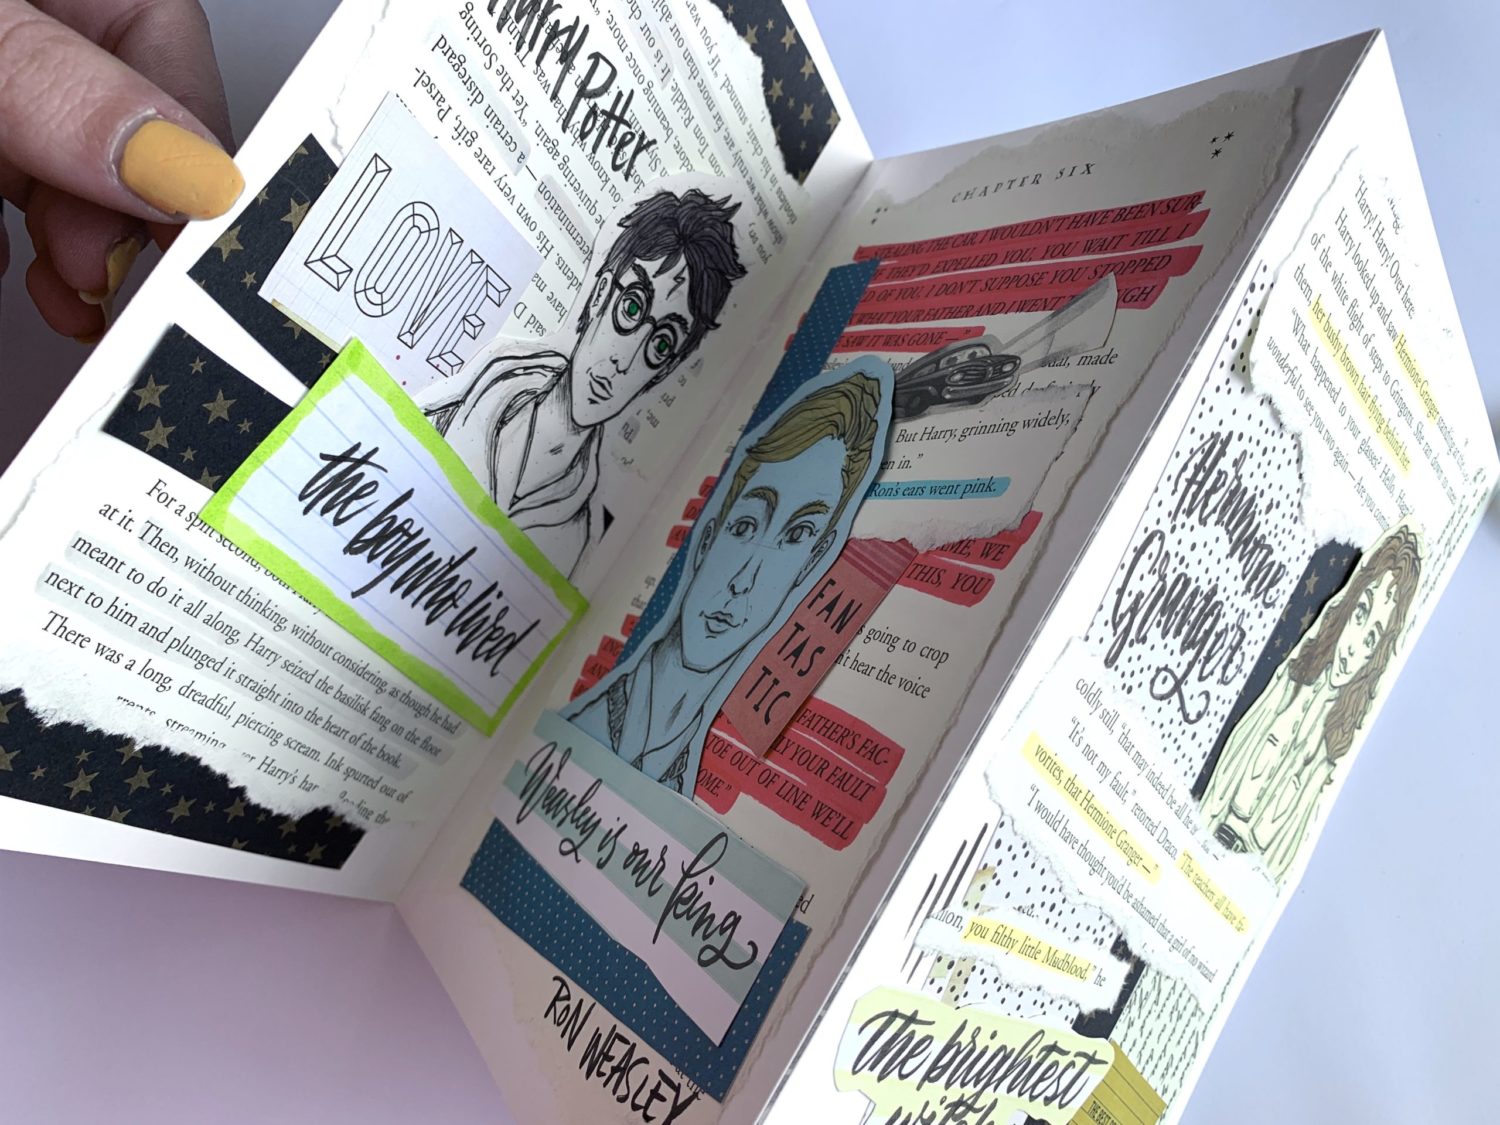
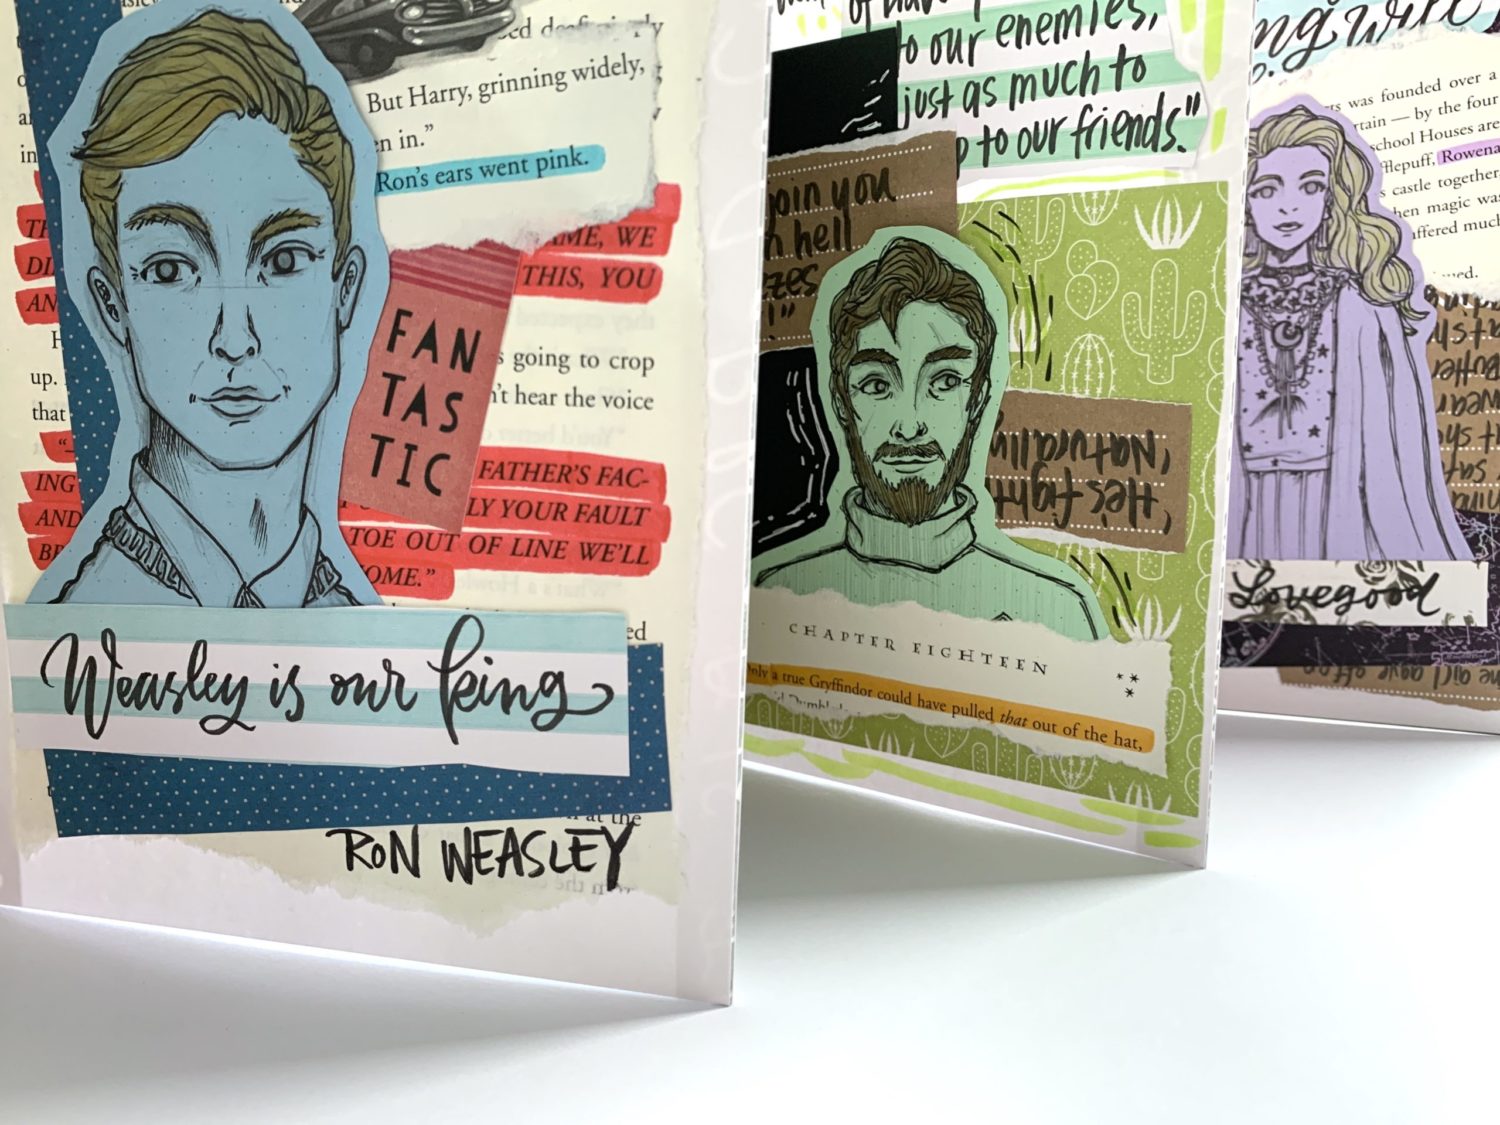
So for this project, I wanted to make something that could show off my love for all things Harry Potter. I decided to make a simple accordion style book of some of the characters all grown up. Keep reading if you want to learn how to make your own accordion book!
Materials
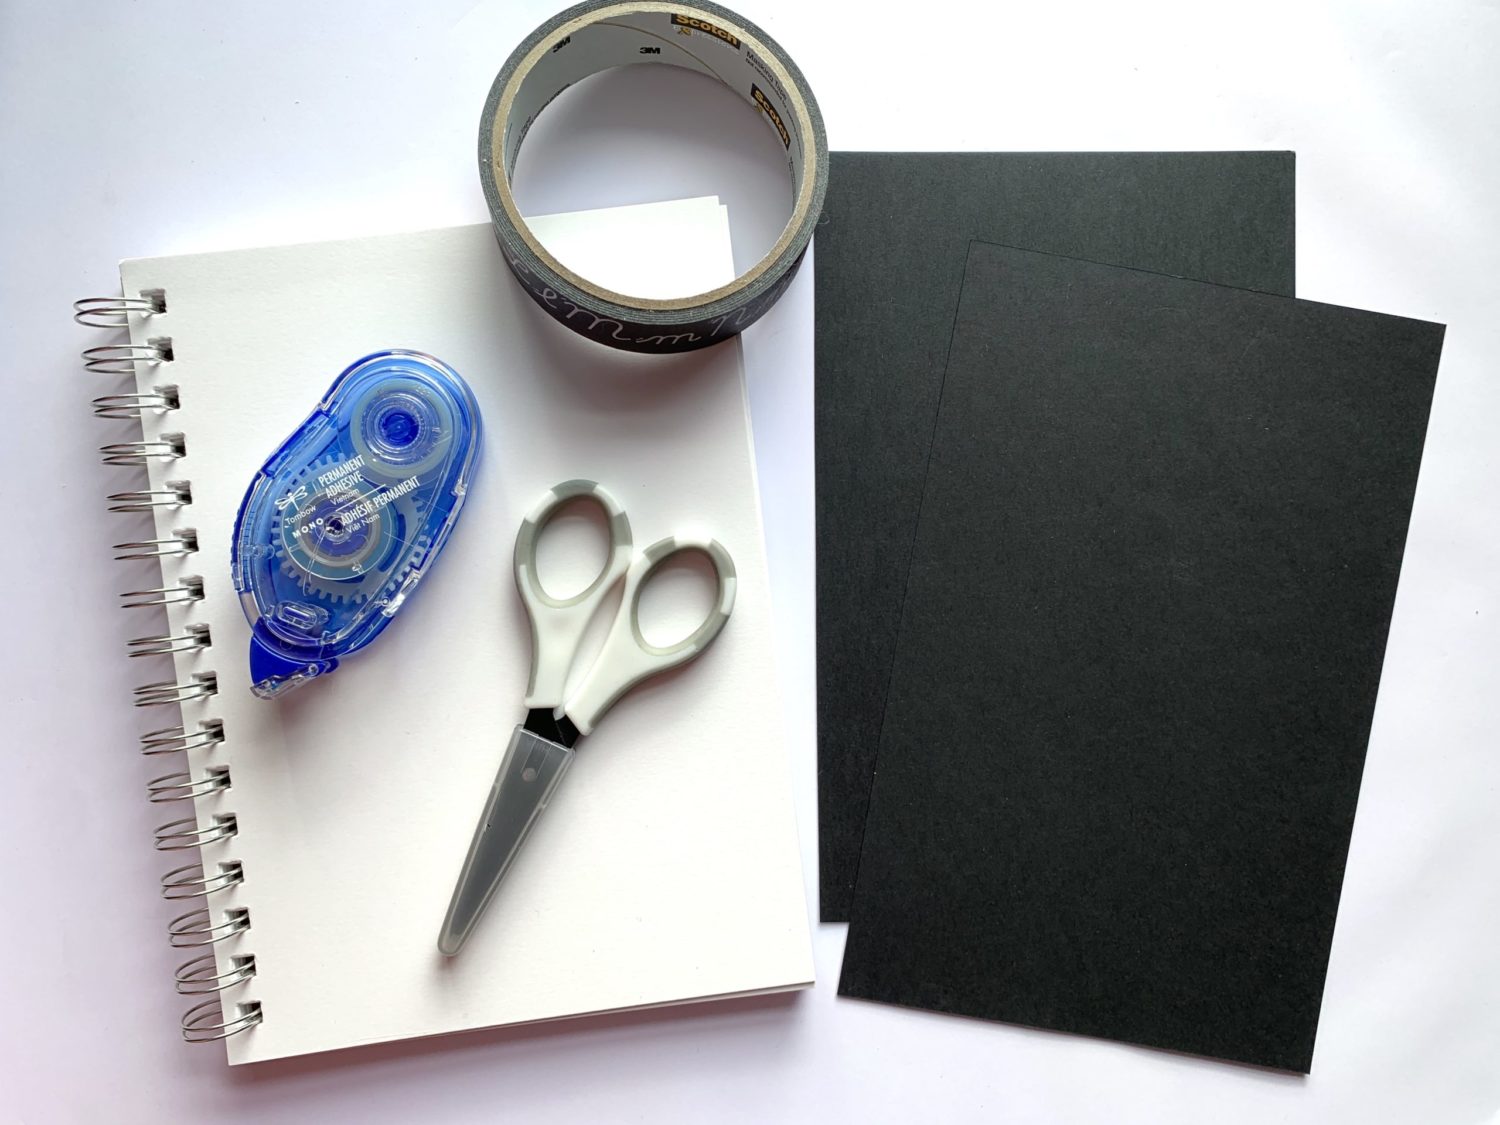
- Tombow MONO Adhesive Permanent
- Mixed media paper
- Cardstock
- Masking tape
- Scissors
Step 1
The first thing I did was to design the pages of the accordion book. Depending on what you would like to have in your book, this can sort of end up being a project of its own! I decided to make each page before they were attached. Using mixed media paper as the base, I made several Harry Potter character pages. I was inspired by all the incredible junk journals from the lovely Serena Bee!
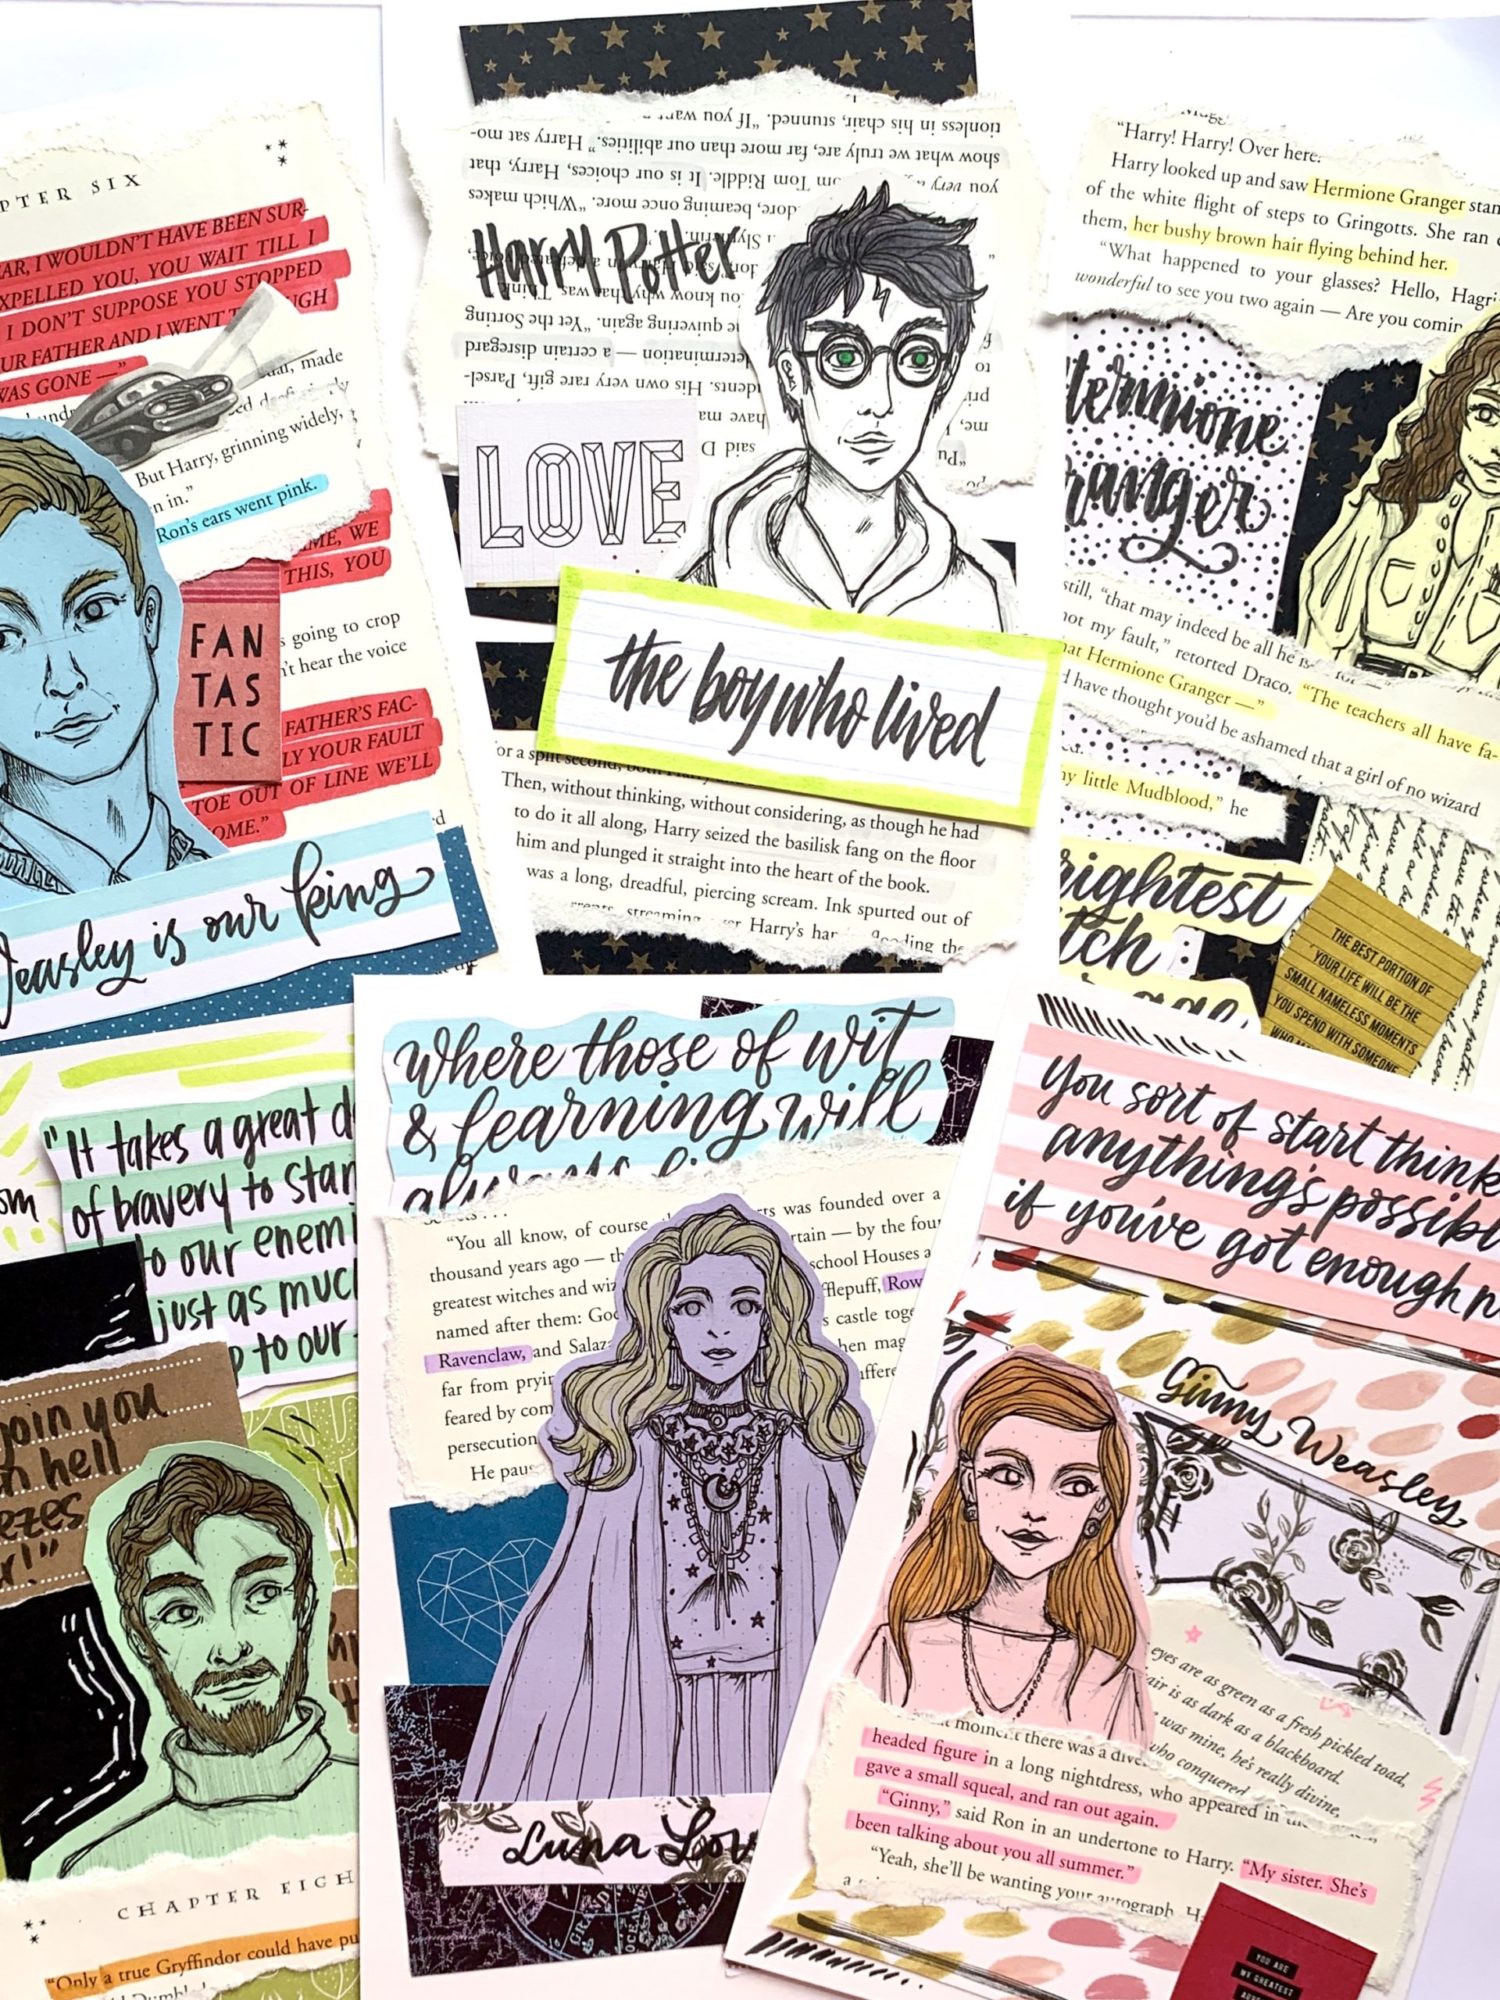
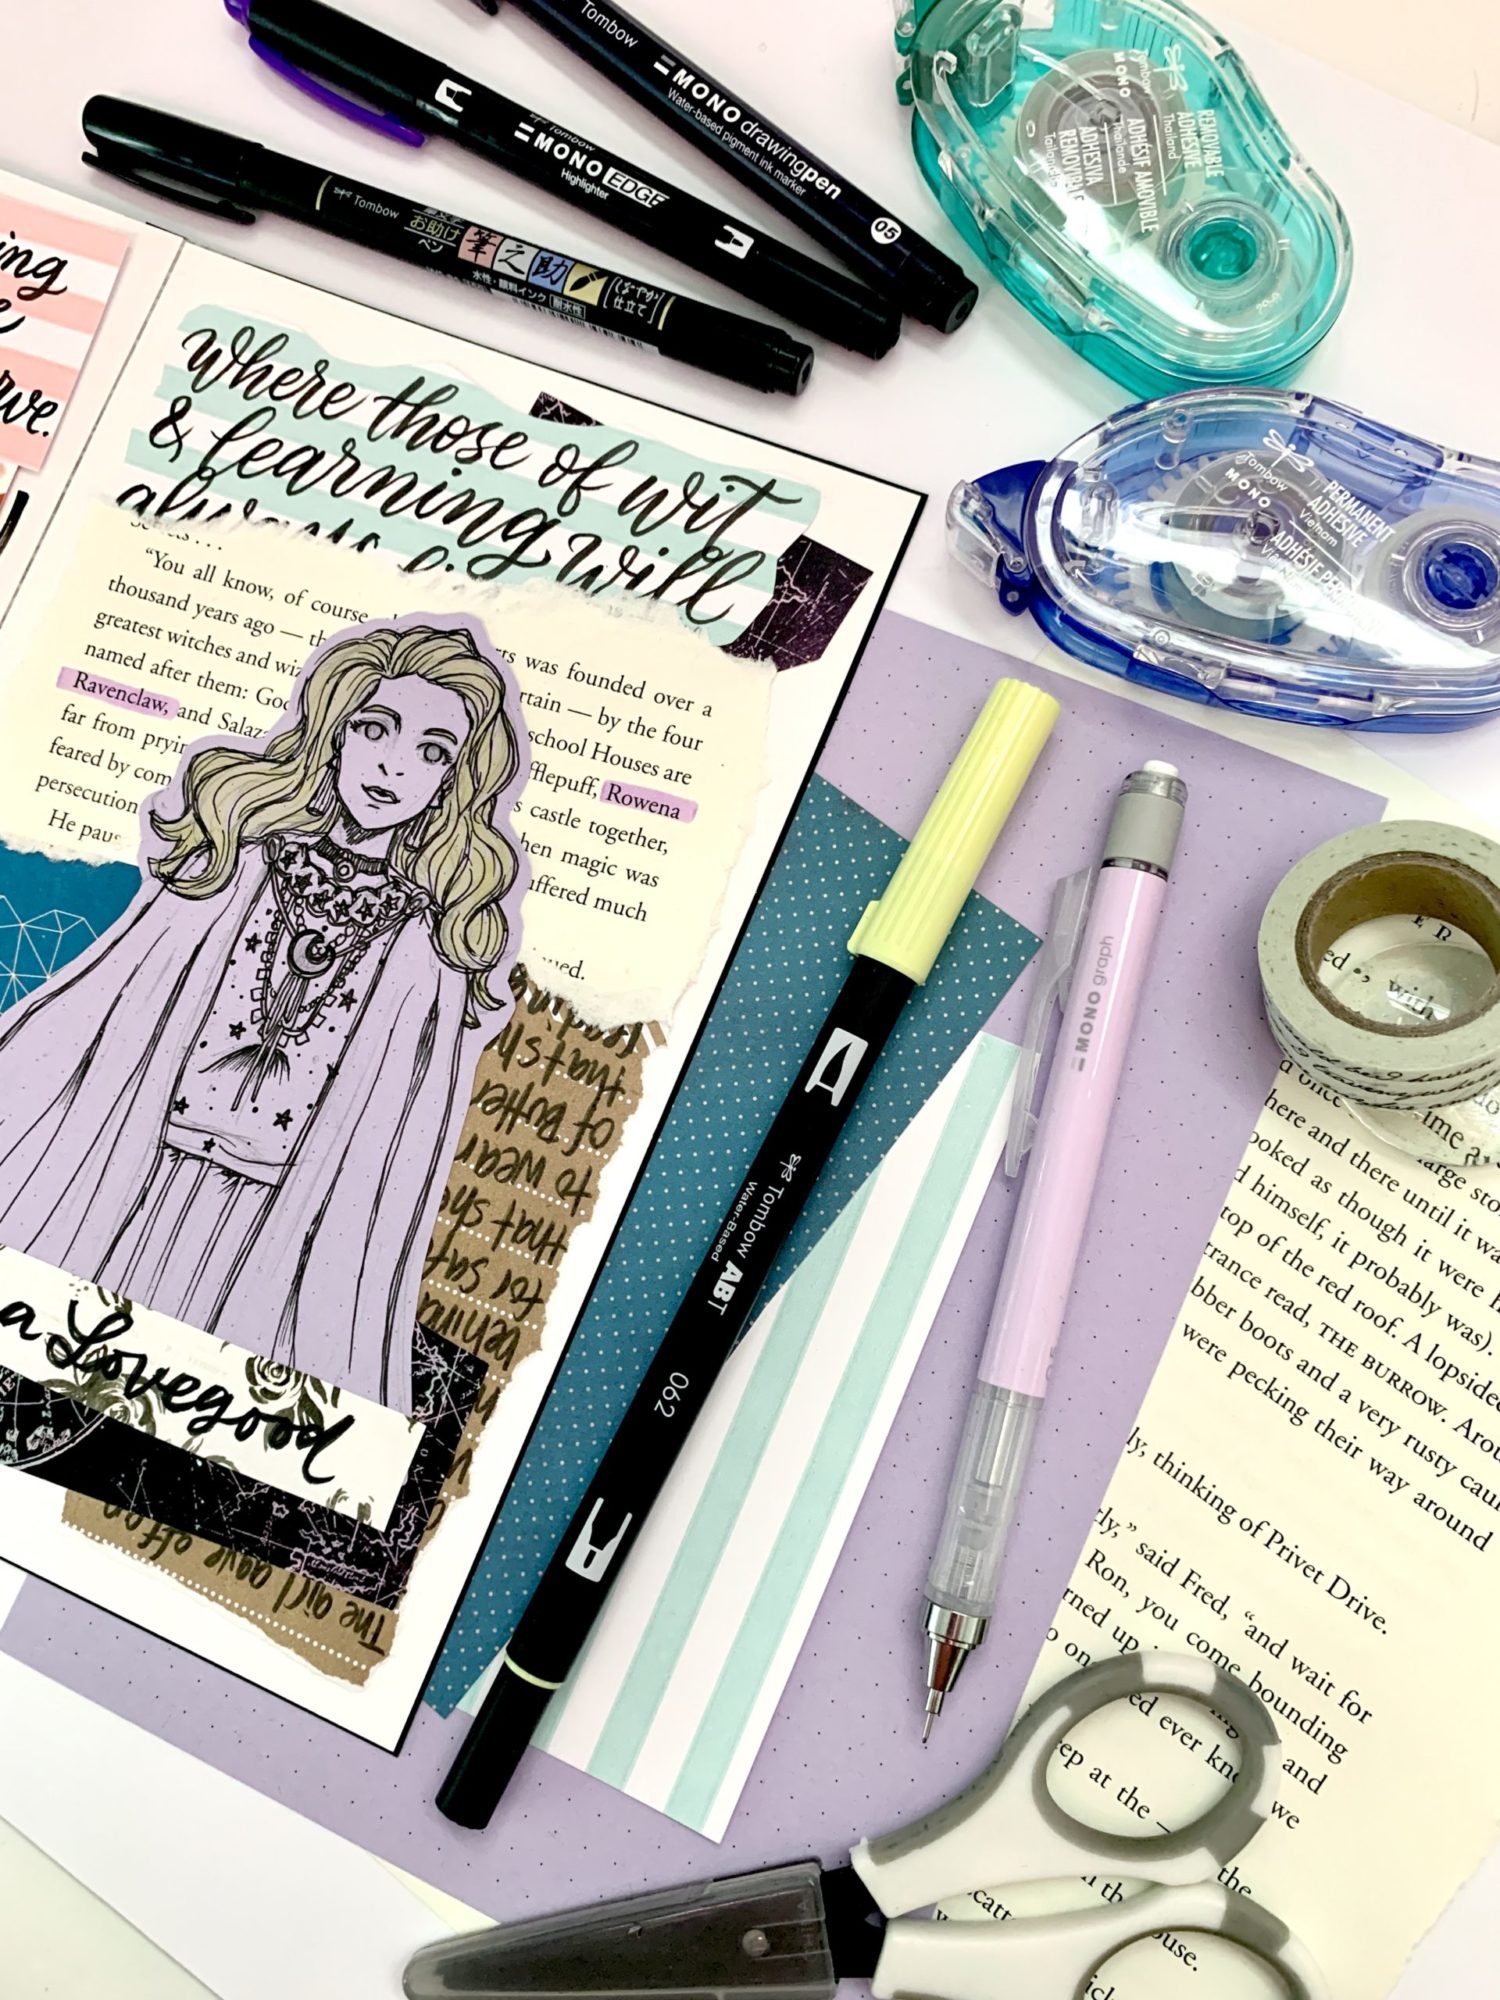
I’m not going to go into every detail about how I made my character pages, but below you can see the kinds of materials I used. Scraps of paper, dot-grid paper, old book pages and index cards aren’t that exciting on their own. Layering them and using some simple lettering on them can give them so much life. I used Tombow Dual Brush Pens for pops of color, the MONO Graph Mechanical Pencil and MONO Drawing Pens for the illustrations and the soft tip Fudenosuke Brush Pen for lettering.
If you’re interested in learning more about junk journaling, check out Serena’s post, Junk Journal Spread Using Various Ephemera!
Step 2
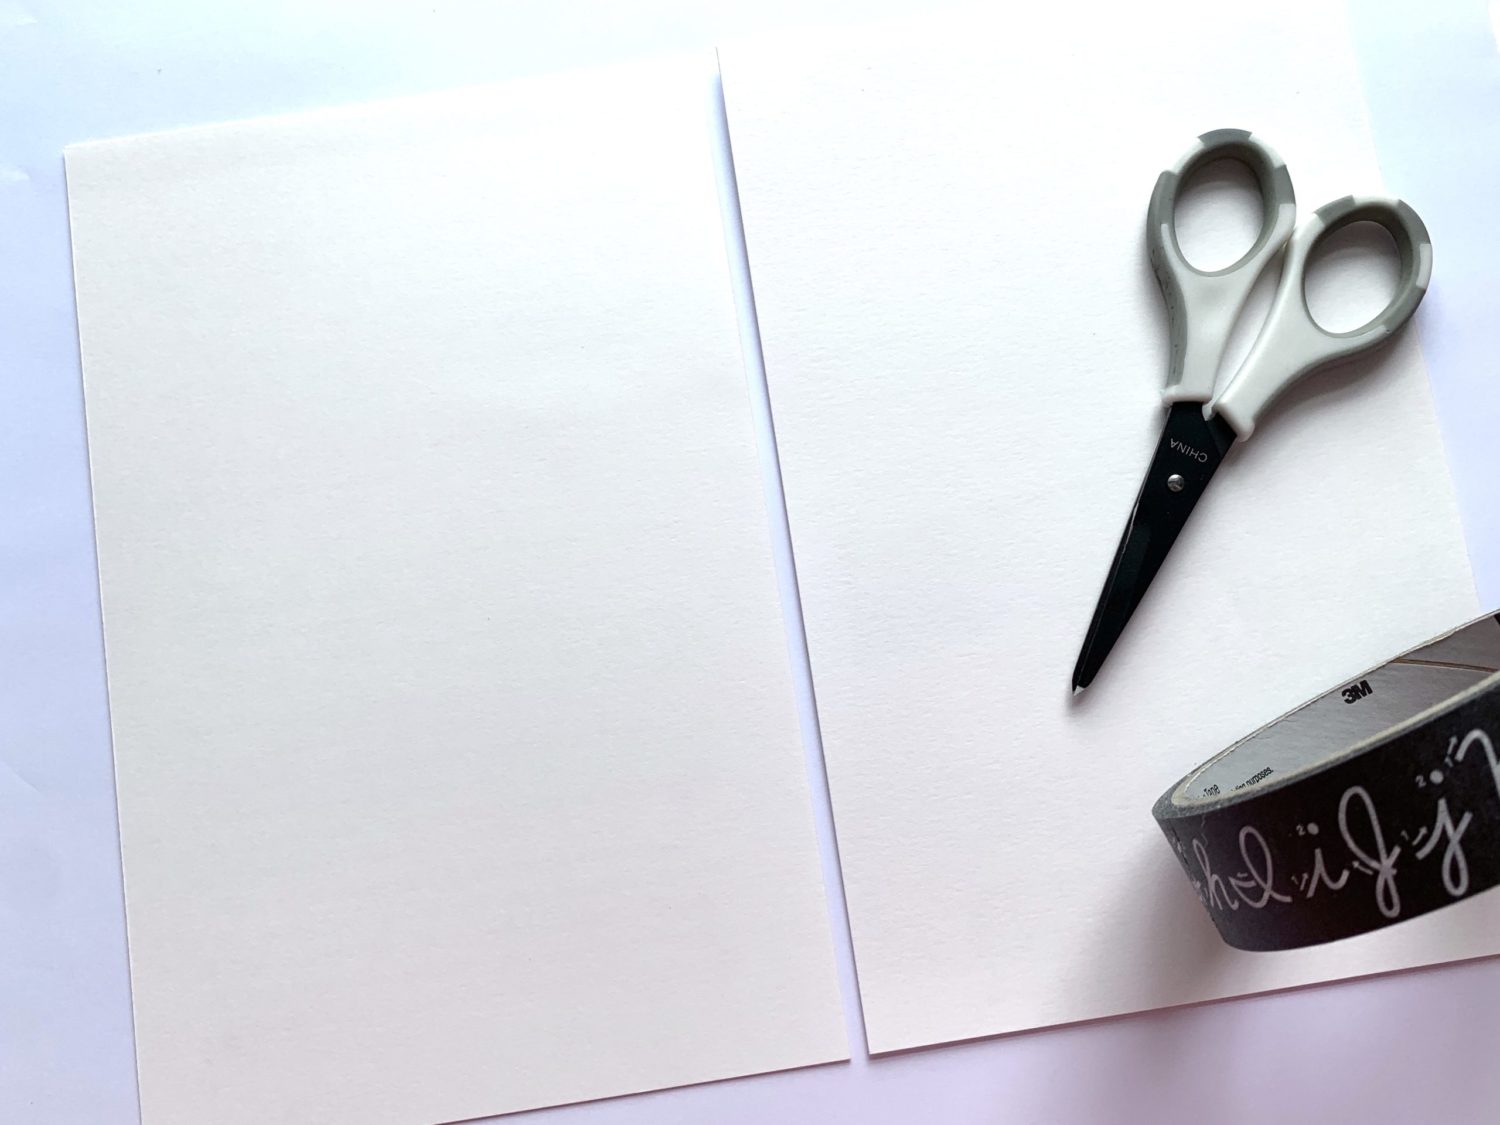
I laid the first two pages of the book face down. Since this is a view of the back side of each page, page two should be on the left and page one should be on the right. I lined up the two pages until they were almost touching.
Step 3
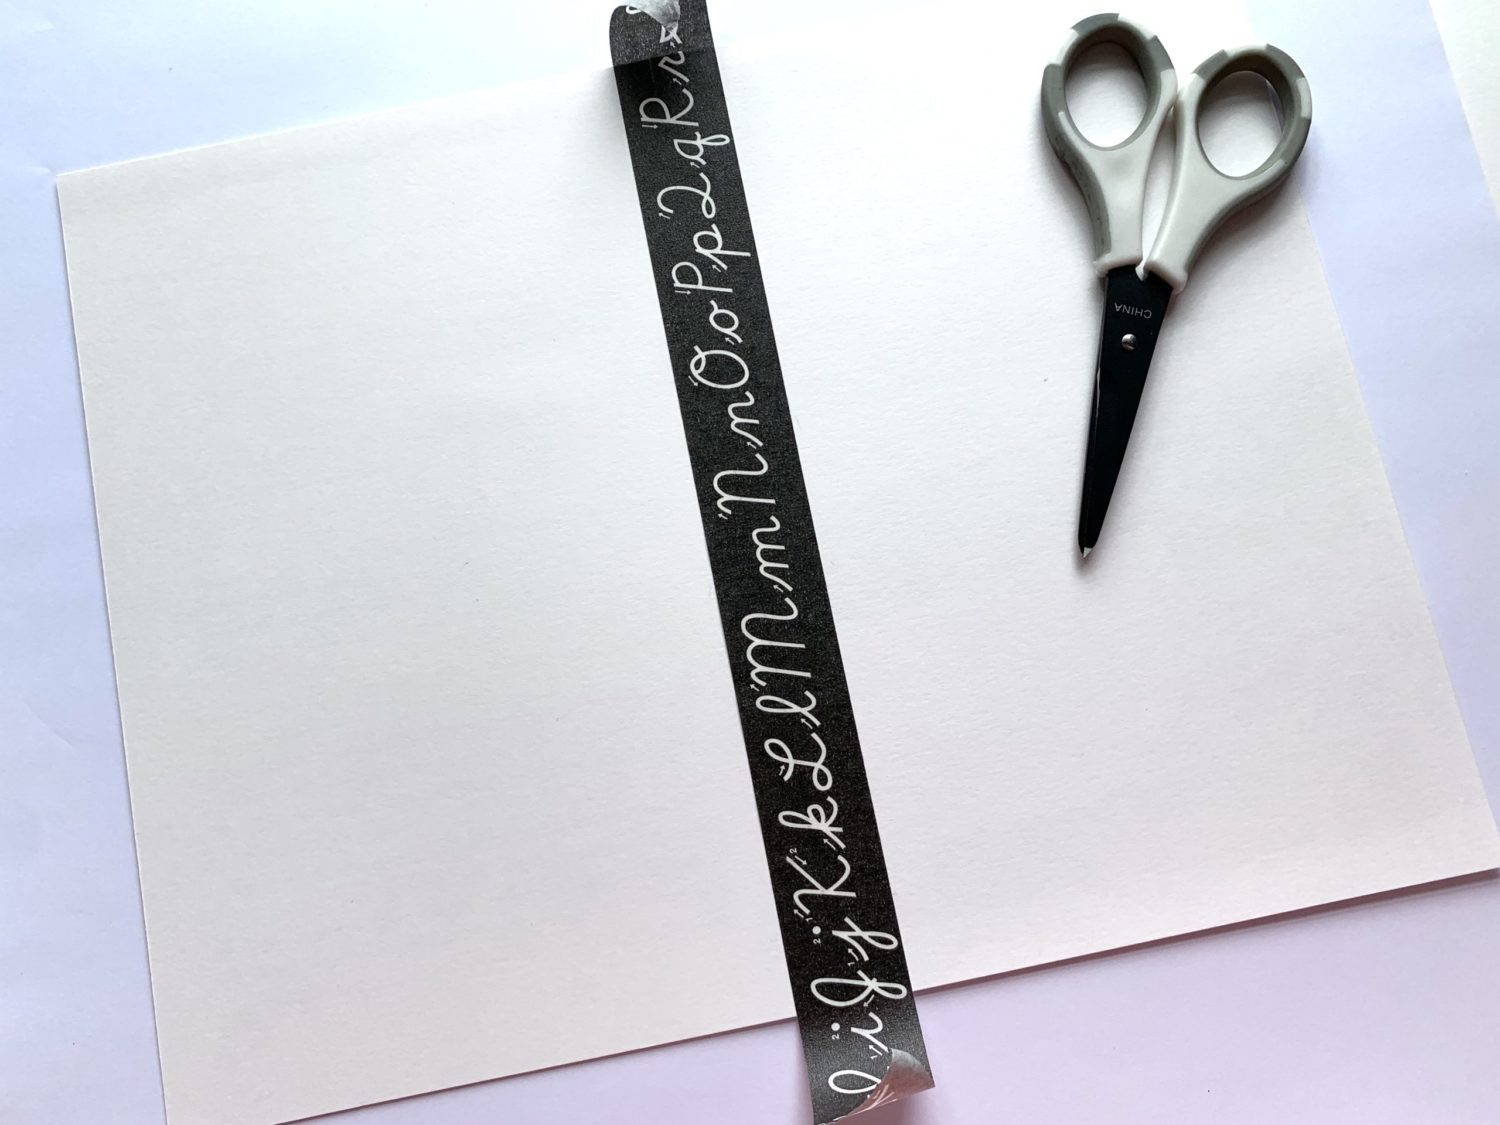
I used a strip of masking tape to adhere the two pages together. Then, I cut the excess tape off with scissors and folded the two pages together.
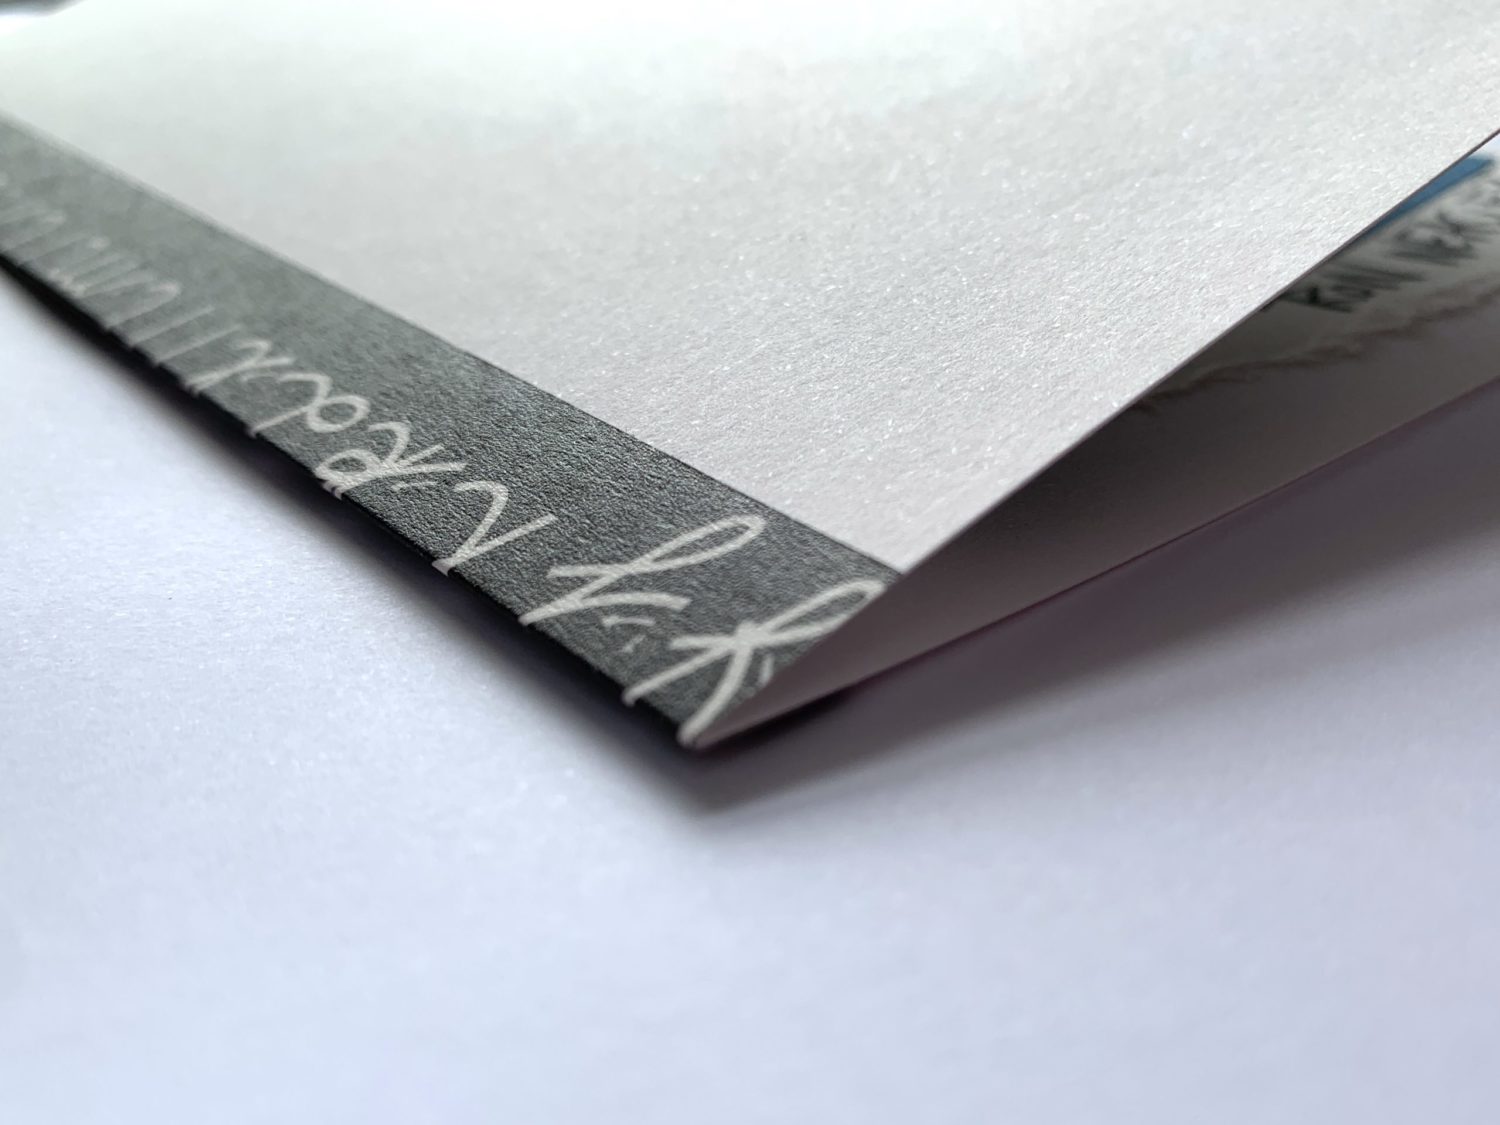
Step 4
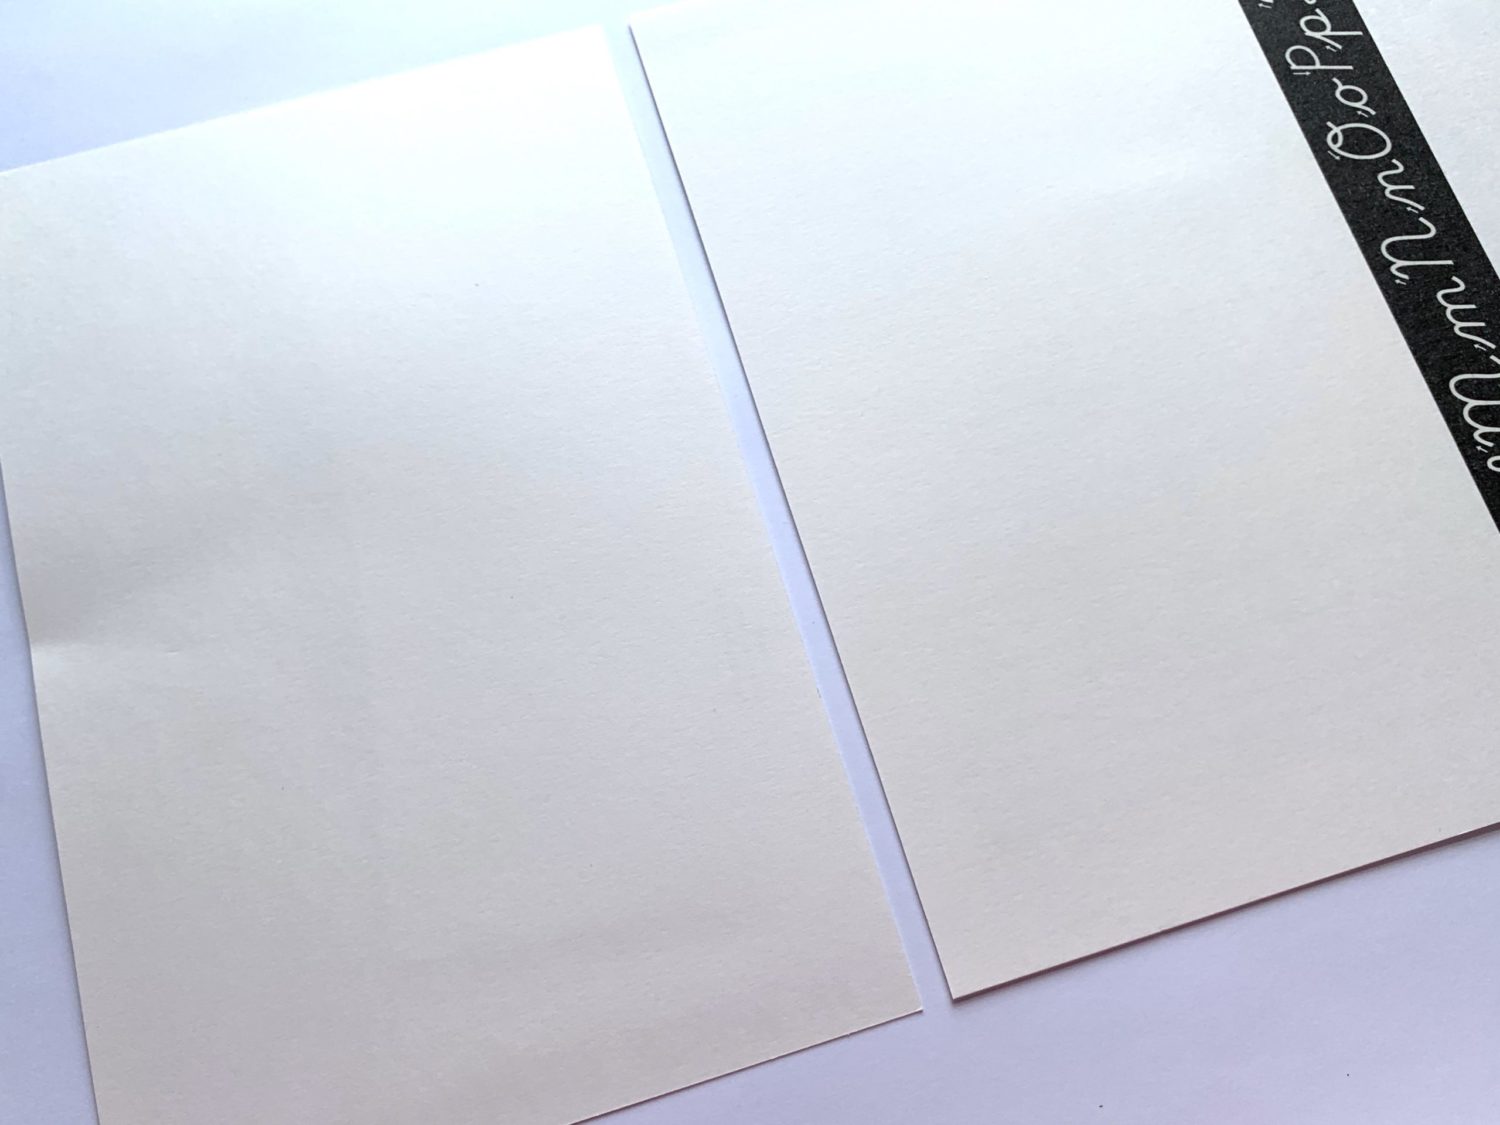
I laid the pages I adhered from step two and three facedown. Then, I took the third page and laid it facedown on the left side of the already adhered pages.
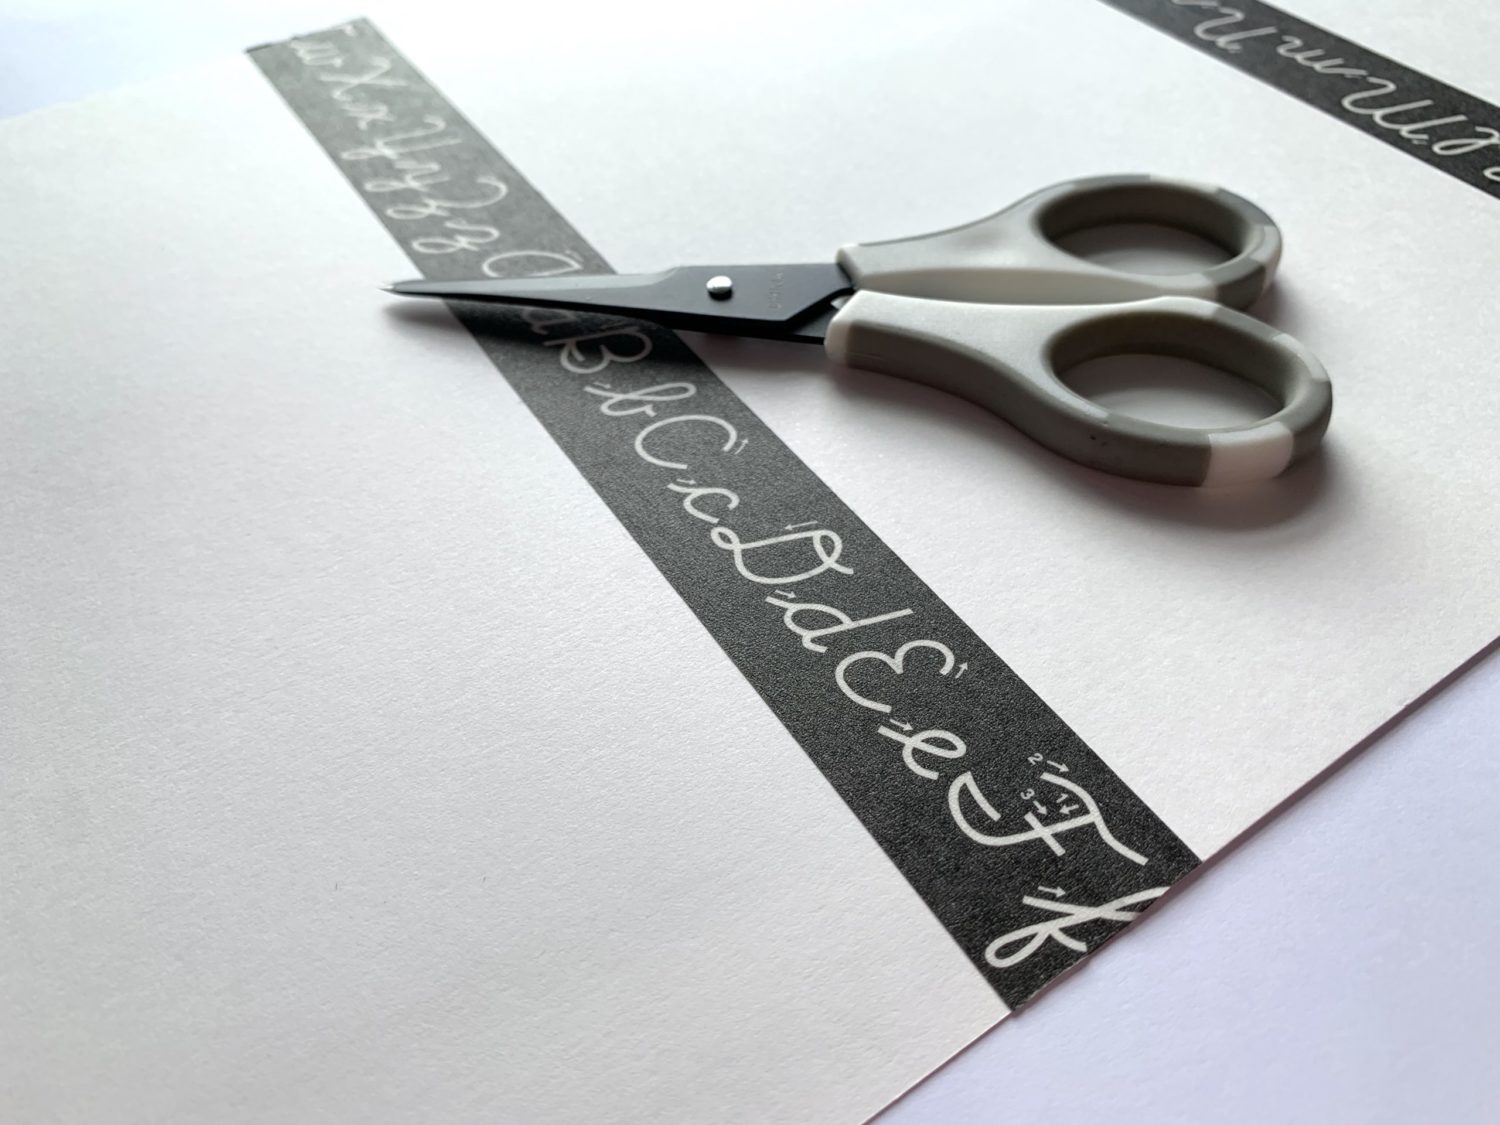
I used a strip of masking tape to connect the two pages together, then cut off the excess using scissors. Then, I folded the third page away from the second. I continued to do this until all of my character pages were taped together!
Step 5
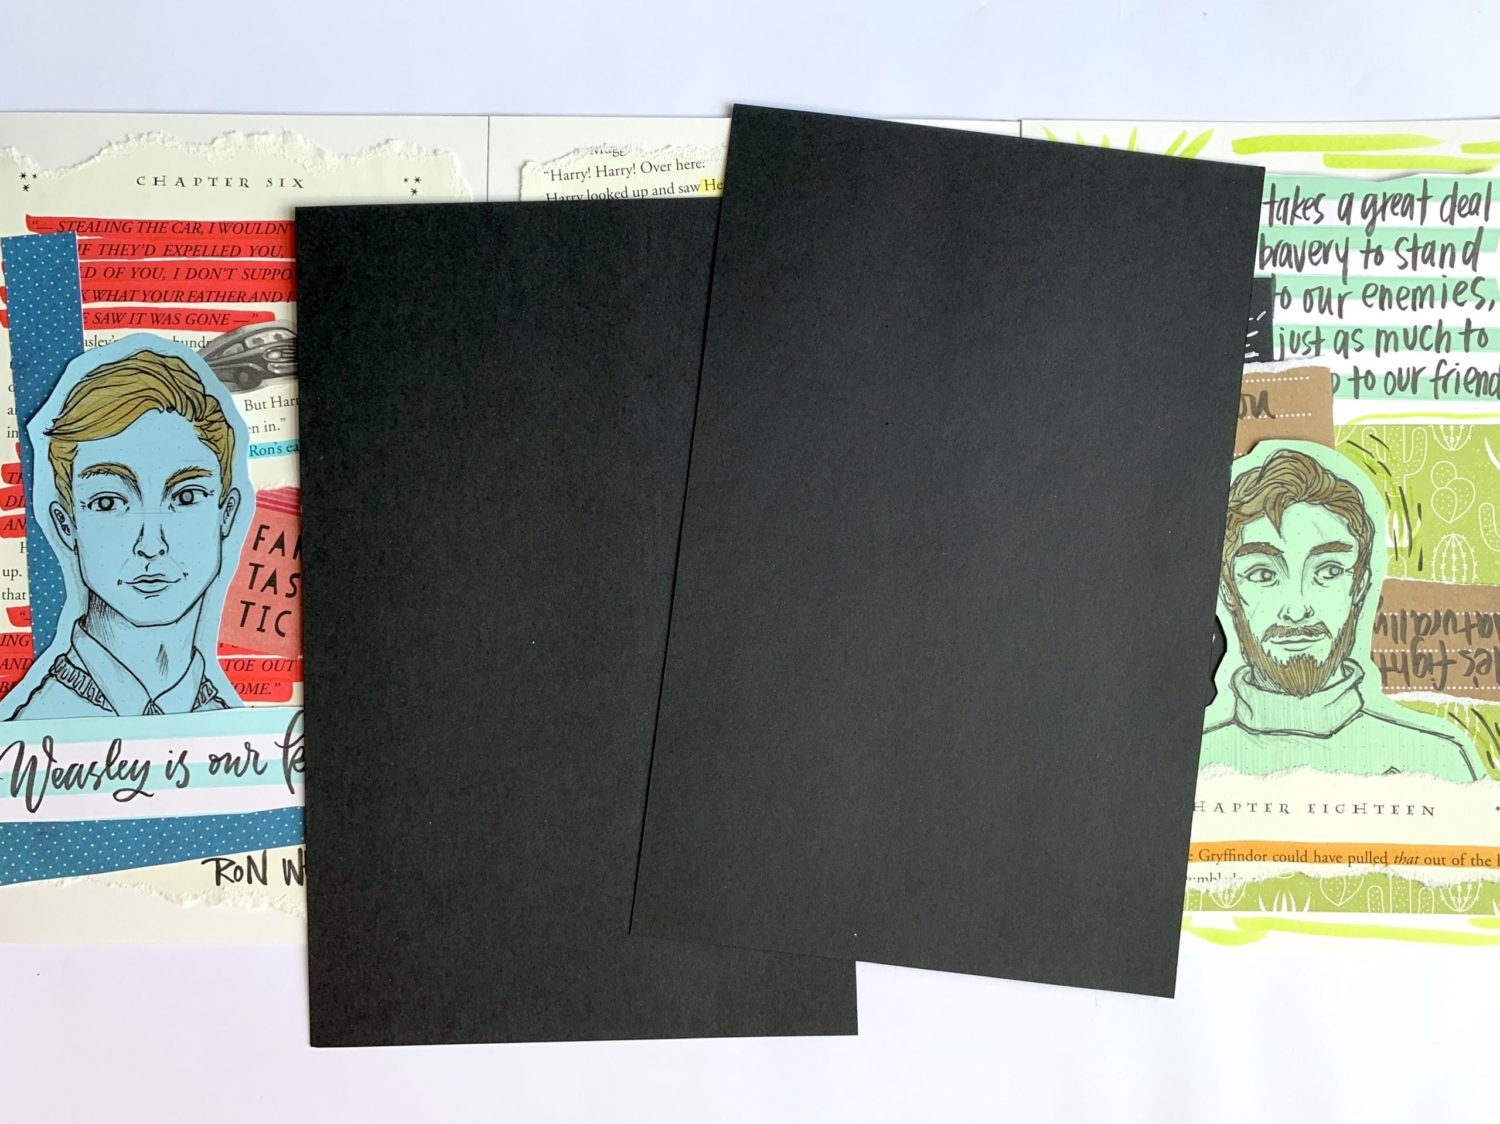
I cut two pieces of card stock to the same dimensions as the pages of the book.
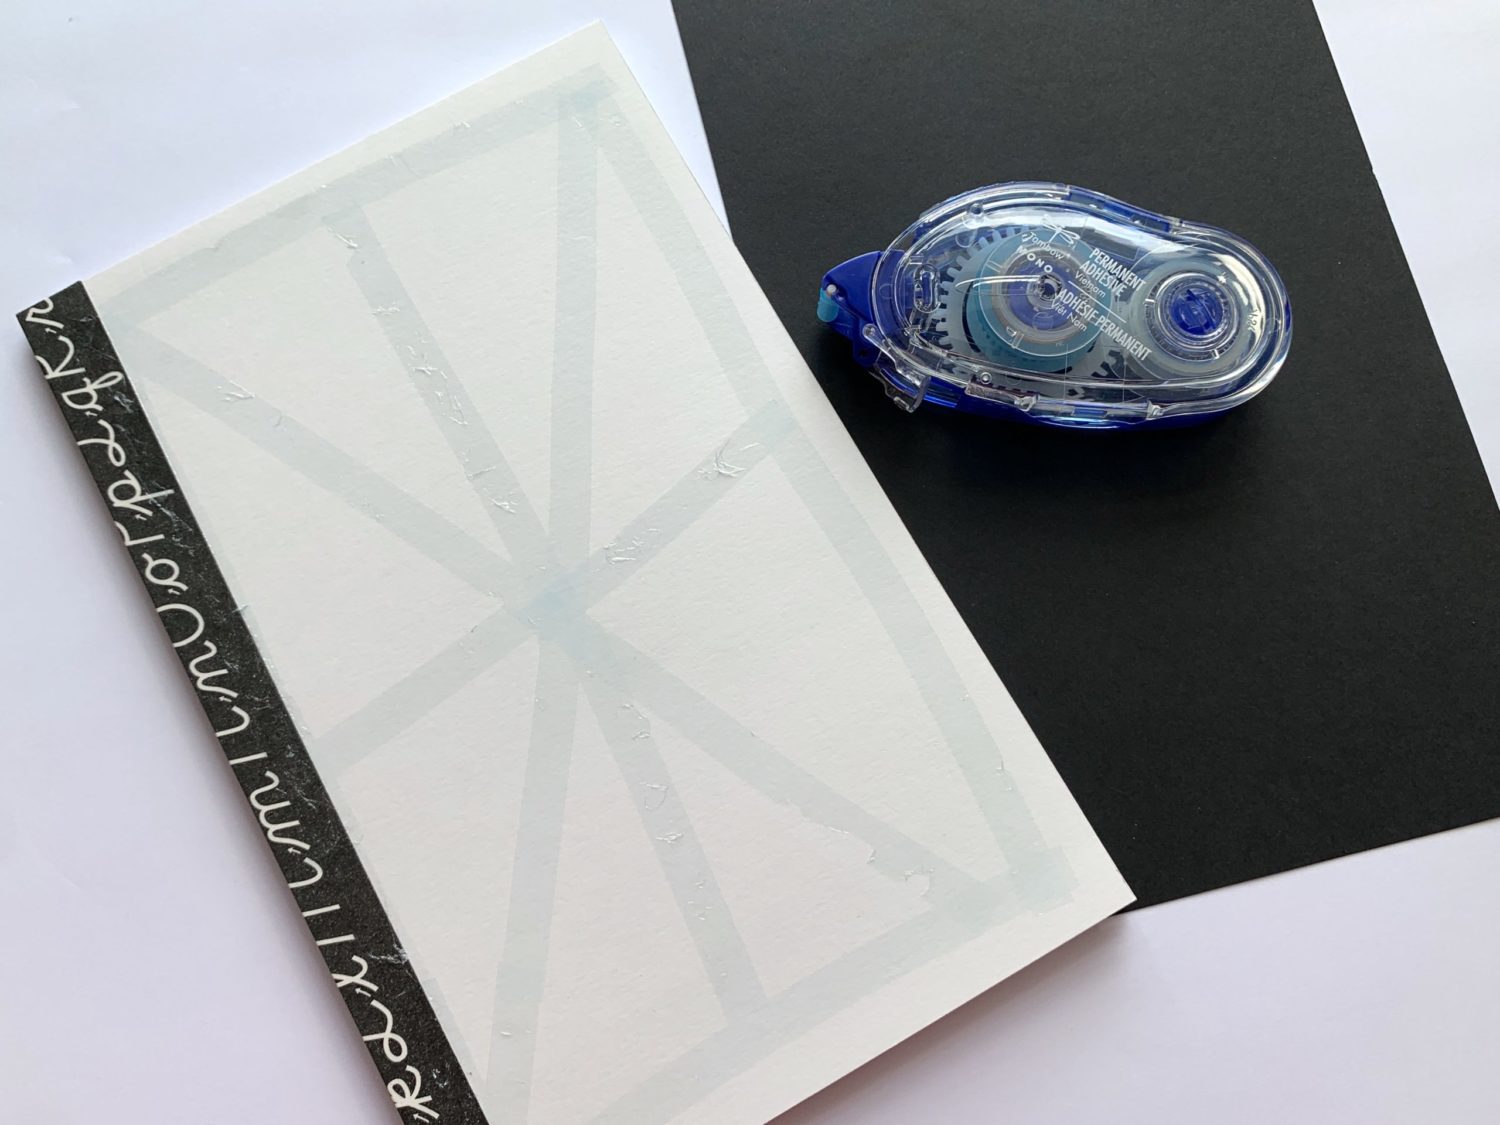
With one piece of cardstock, I used the MONO Permanent Adhesive to adhere it to the back side of the first page in the accordion book.
With the second piece of card stock, I did the same thing to the last page of the book.
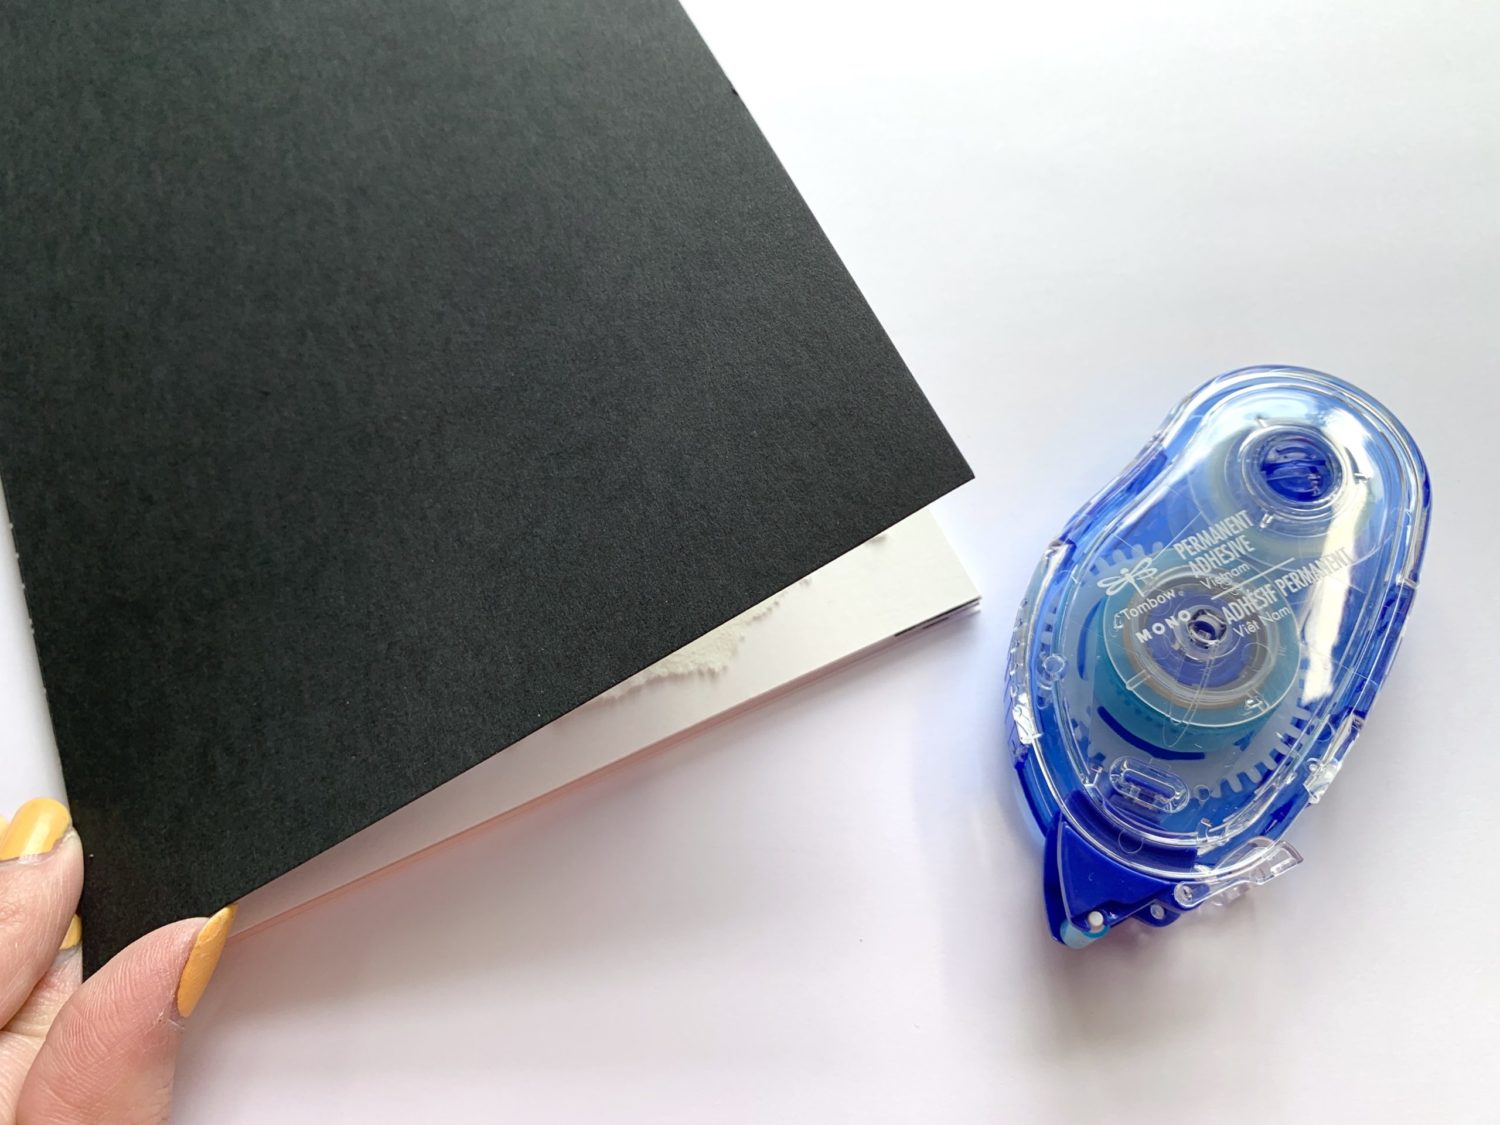
And that’s all there is to it!
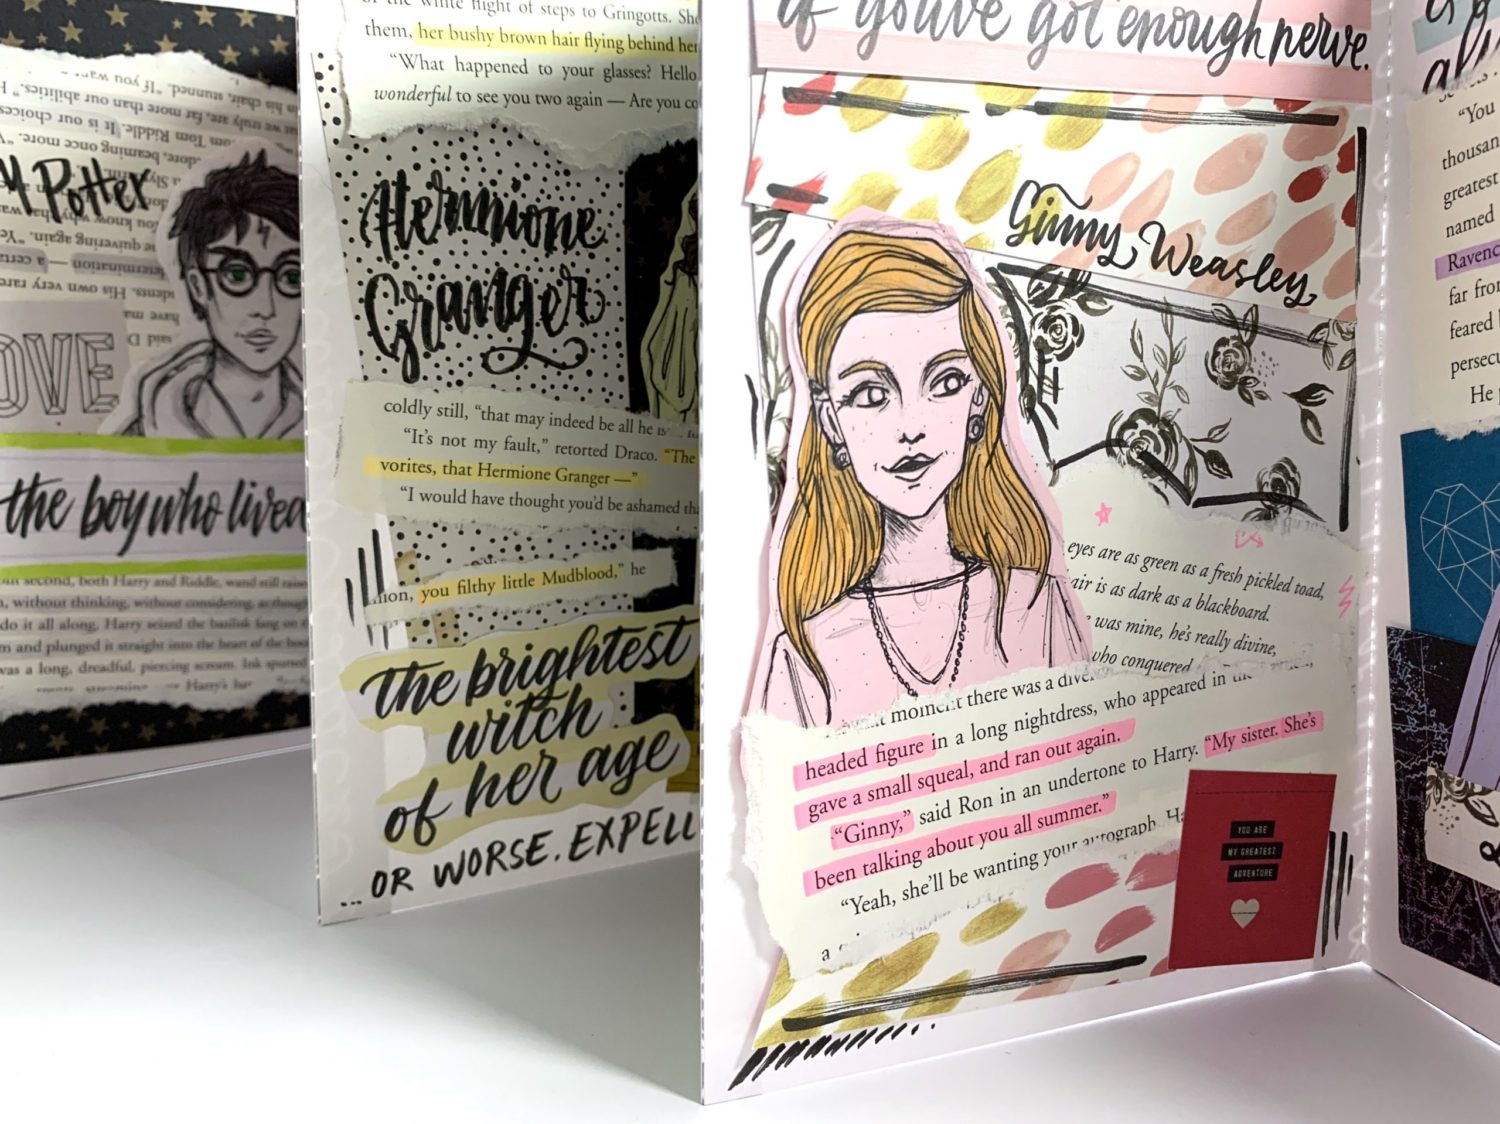 I loved how my accordion book turned out and I hope you’re inspired to make an accordion book of your own! Check out Amanda Kammarada’s Harry Potter DIY Pumpkin project or learn how to Create a Harry Potter Banner Quote with Mandy Faucher if you want to make different magical projects! Make sure to share your own accordion book or fandom inspired projects with us by tagging Tombow so we see your artwork! Until next time! Stay magical!
Really your post is very beautiful. I have read the entire article. Good information has been received from this article, thank you for sharing this article.