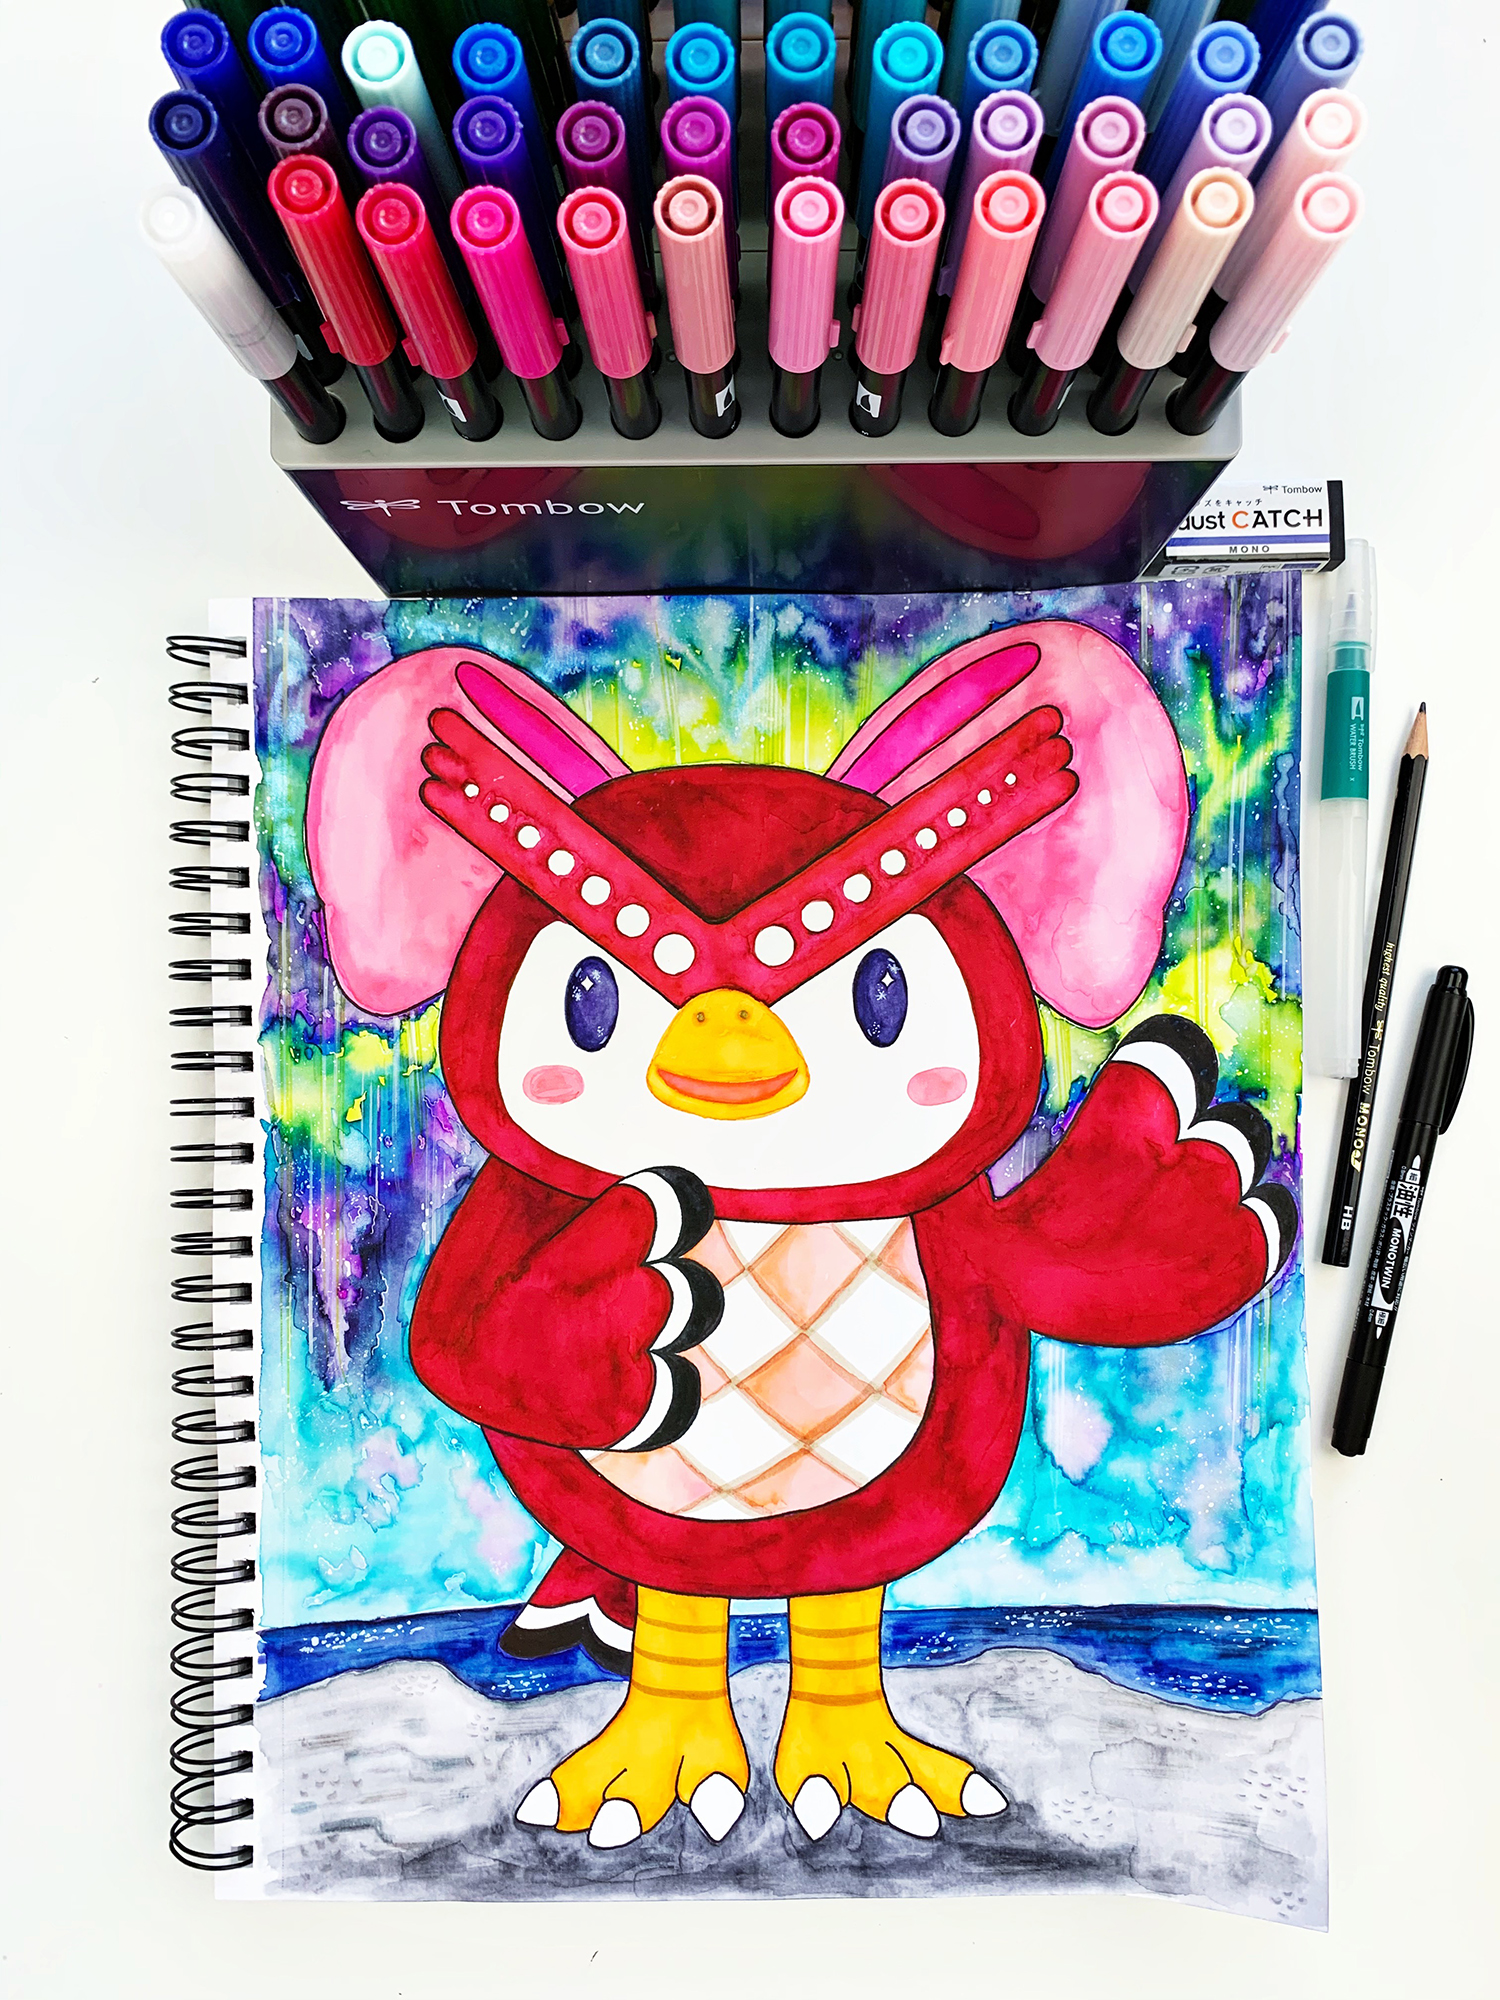
Hi Tombow friends, this is Jennie with a project about Animal Crossing. It’s a game that saved my quarantine! My daughters are also obsessed with the game, so I made this portrait of Celeste for my youngest’s bedroom.
Supplies:
- Tombow Dual Brush Pens
- Mixed media paper
- Tombow Water Brushes
- Pencil– You can use the Tombow MONO J Drawing Pencilor the Tombow MONO Drawing Pencil
- Tombow MONO Twin Permanent Marker
- Stencils (optional)
- Tombow MONO Dust Catch Eraser.
Step One:
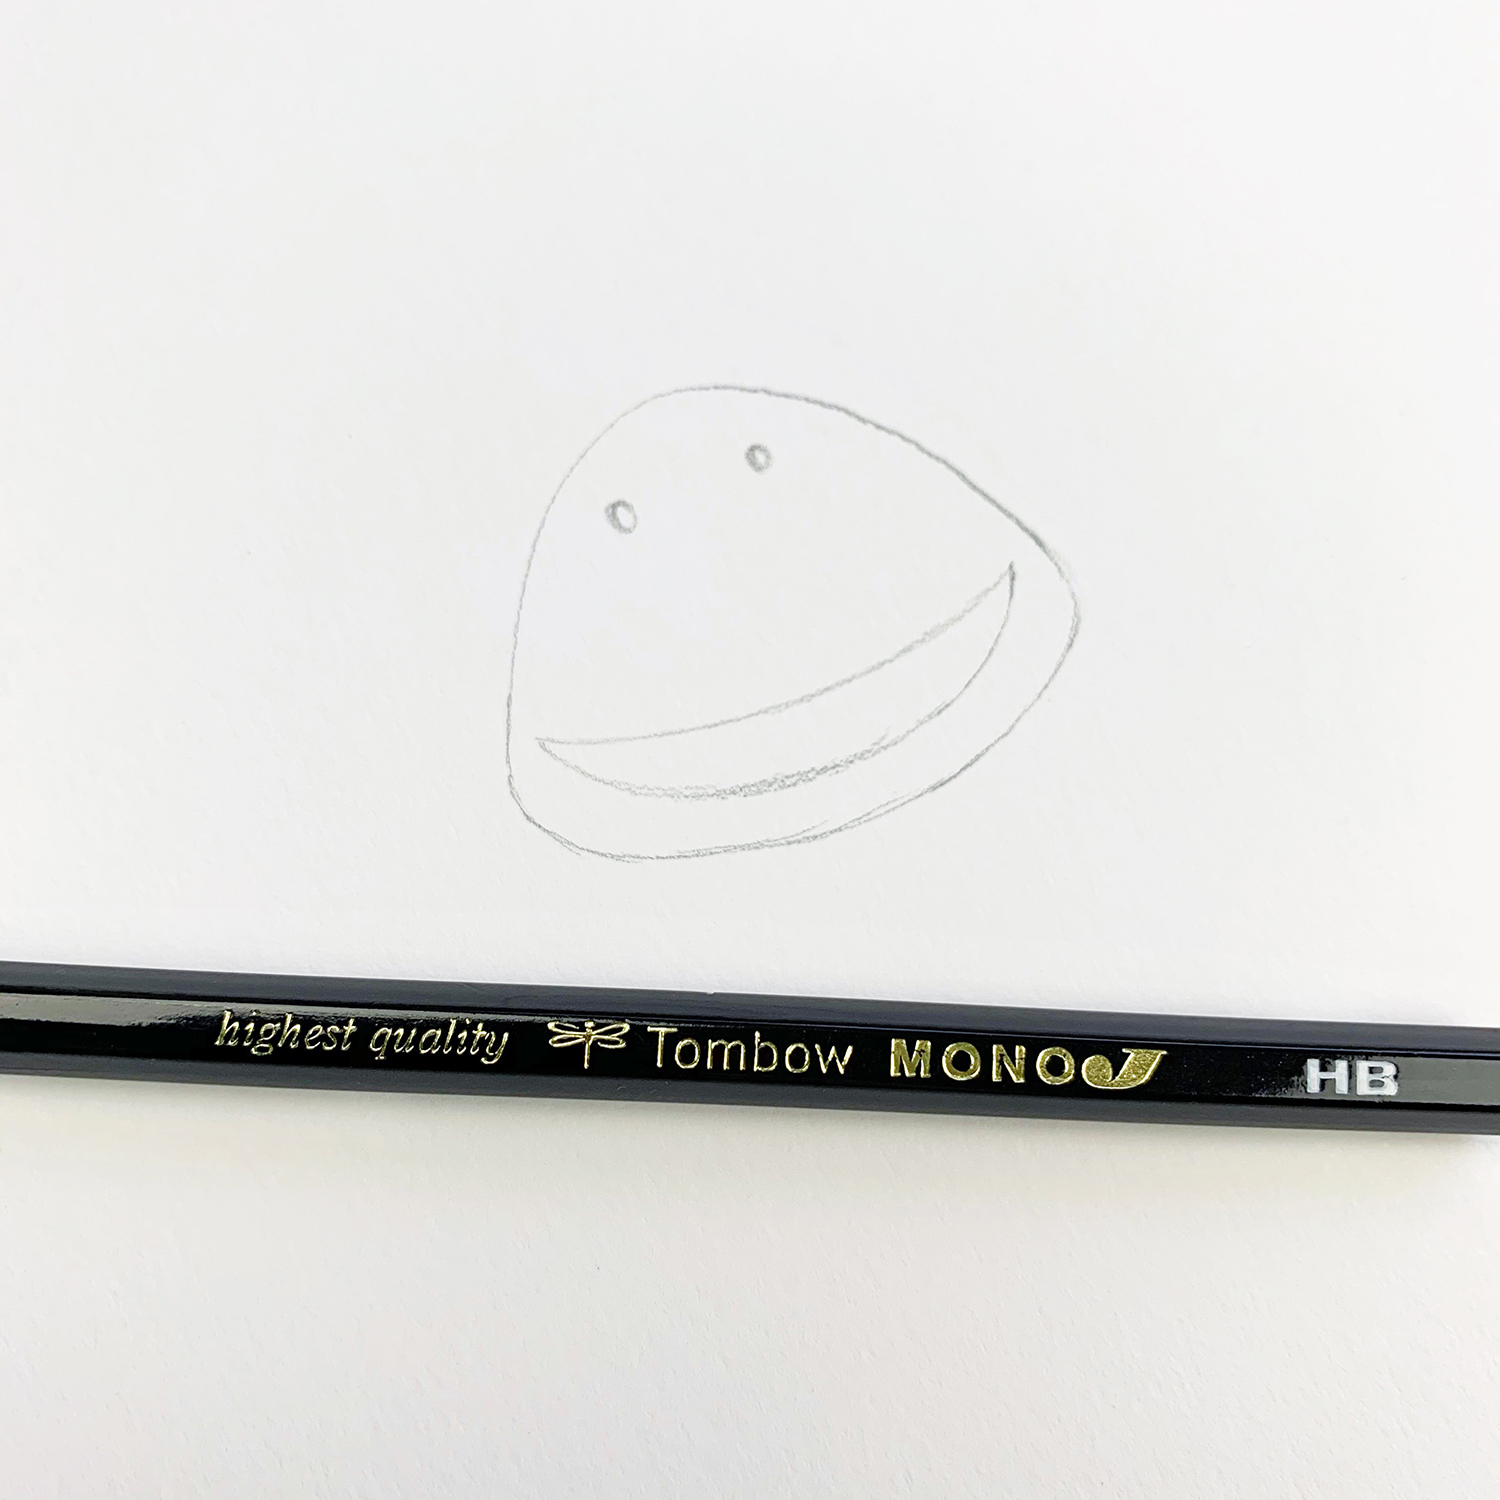
Start with the beak. Her beak looks like a smiley face inside a rounded triangle shape. Use the Tombow MONO J Drawing Pencil to sketch.
Step Two:
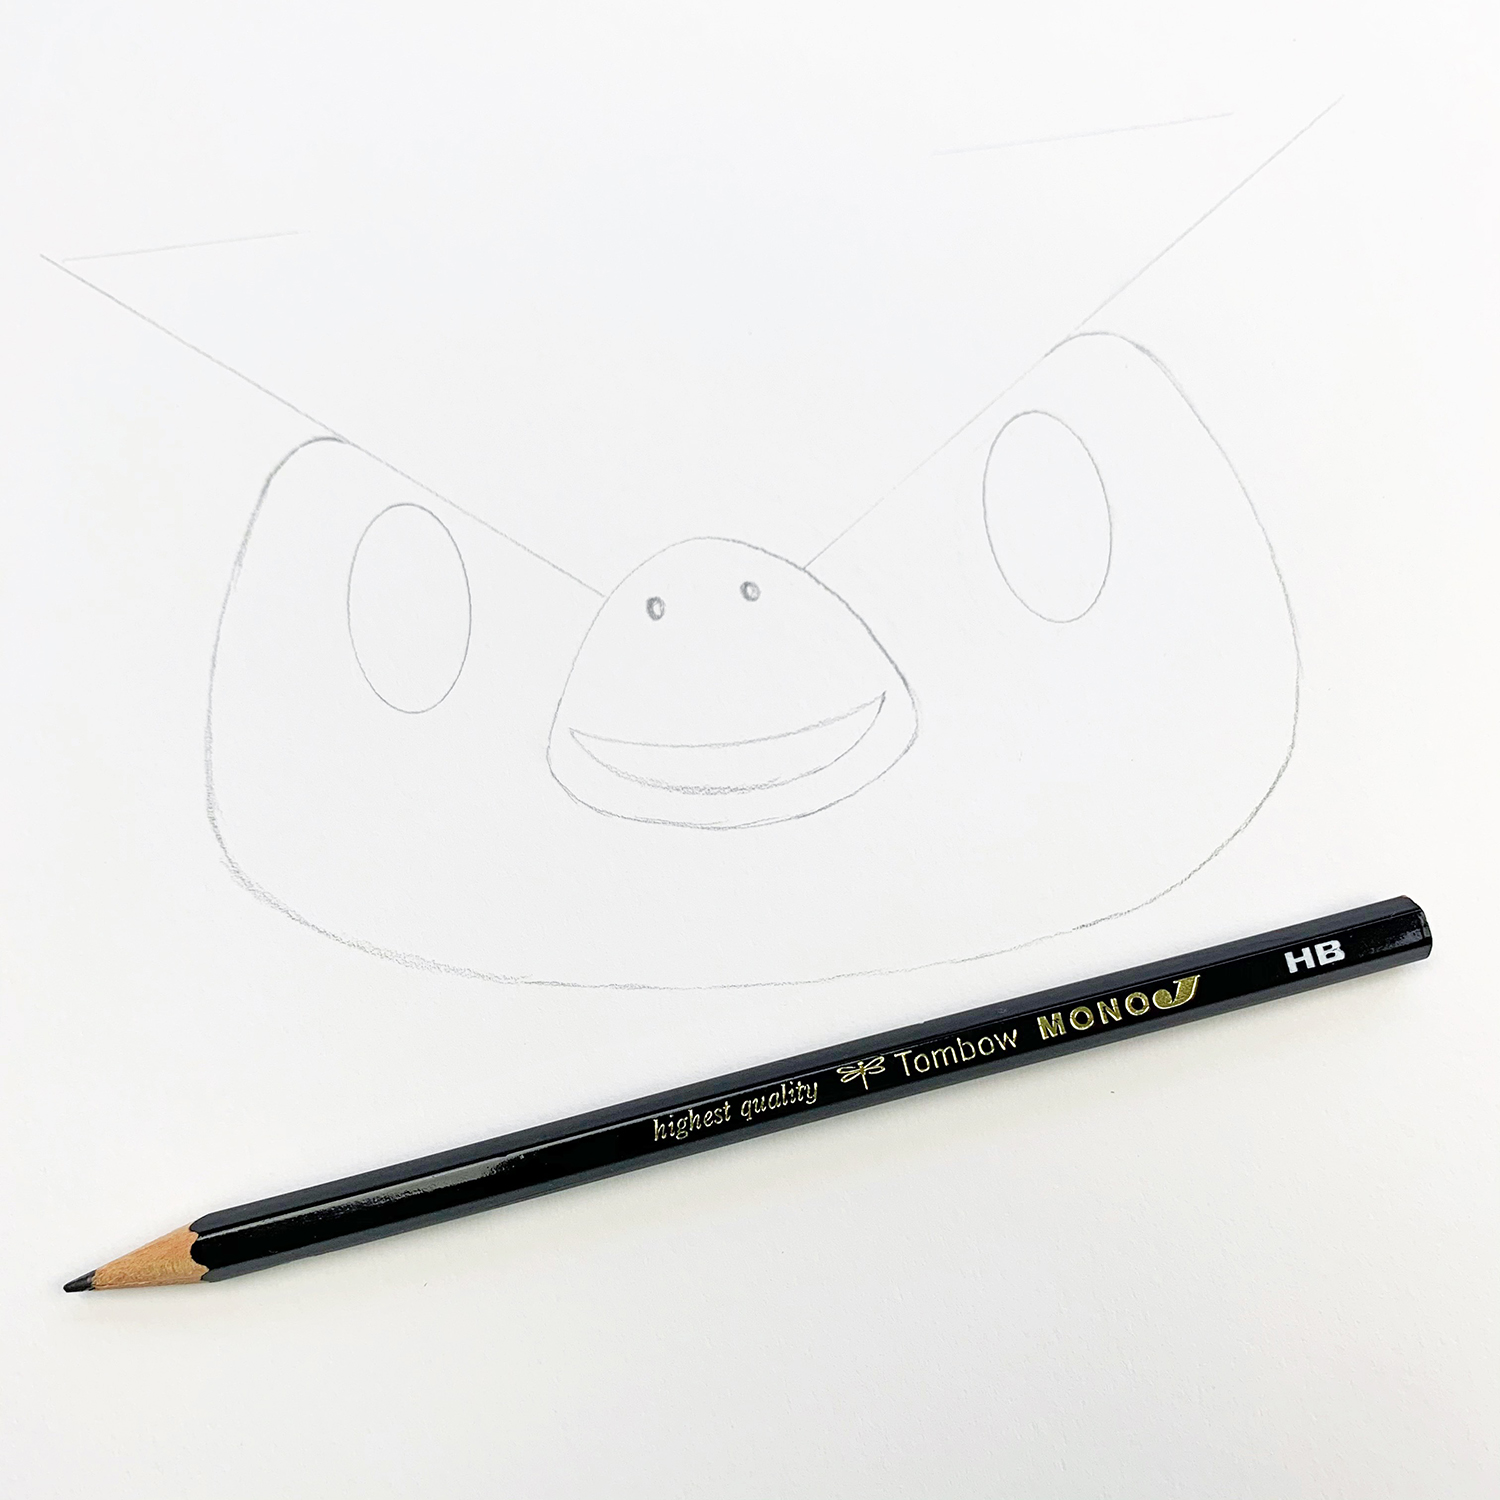
To draw the plumicorns, use a ruler to draw diagonal lines starting from the beak. You can draw curved lines to turn her into Blathers, Celeste’s brother (who is very similar to her)! Then draw two ovals for her eyes. You can use a stencil to make it easier. Draw a line around her face.
Step Three:
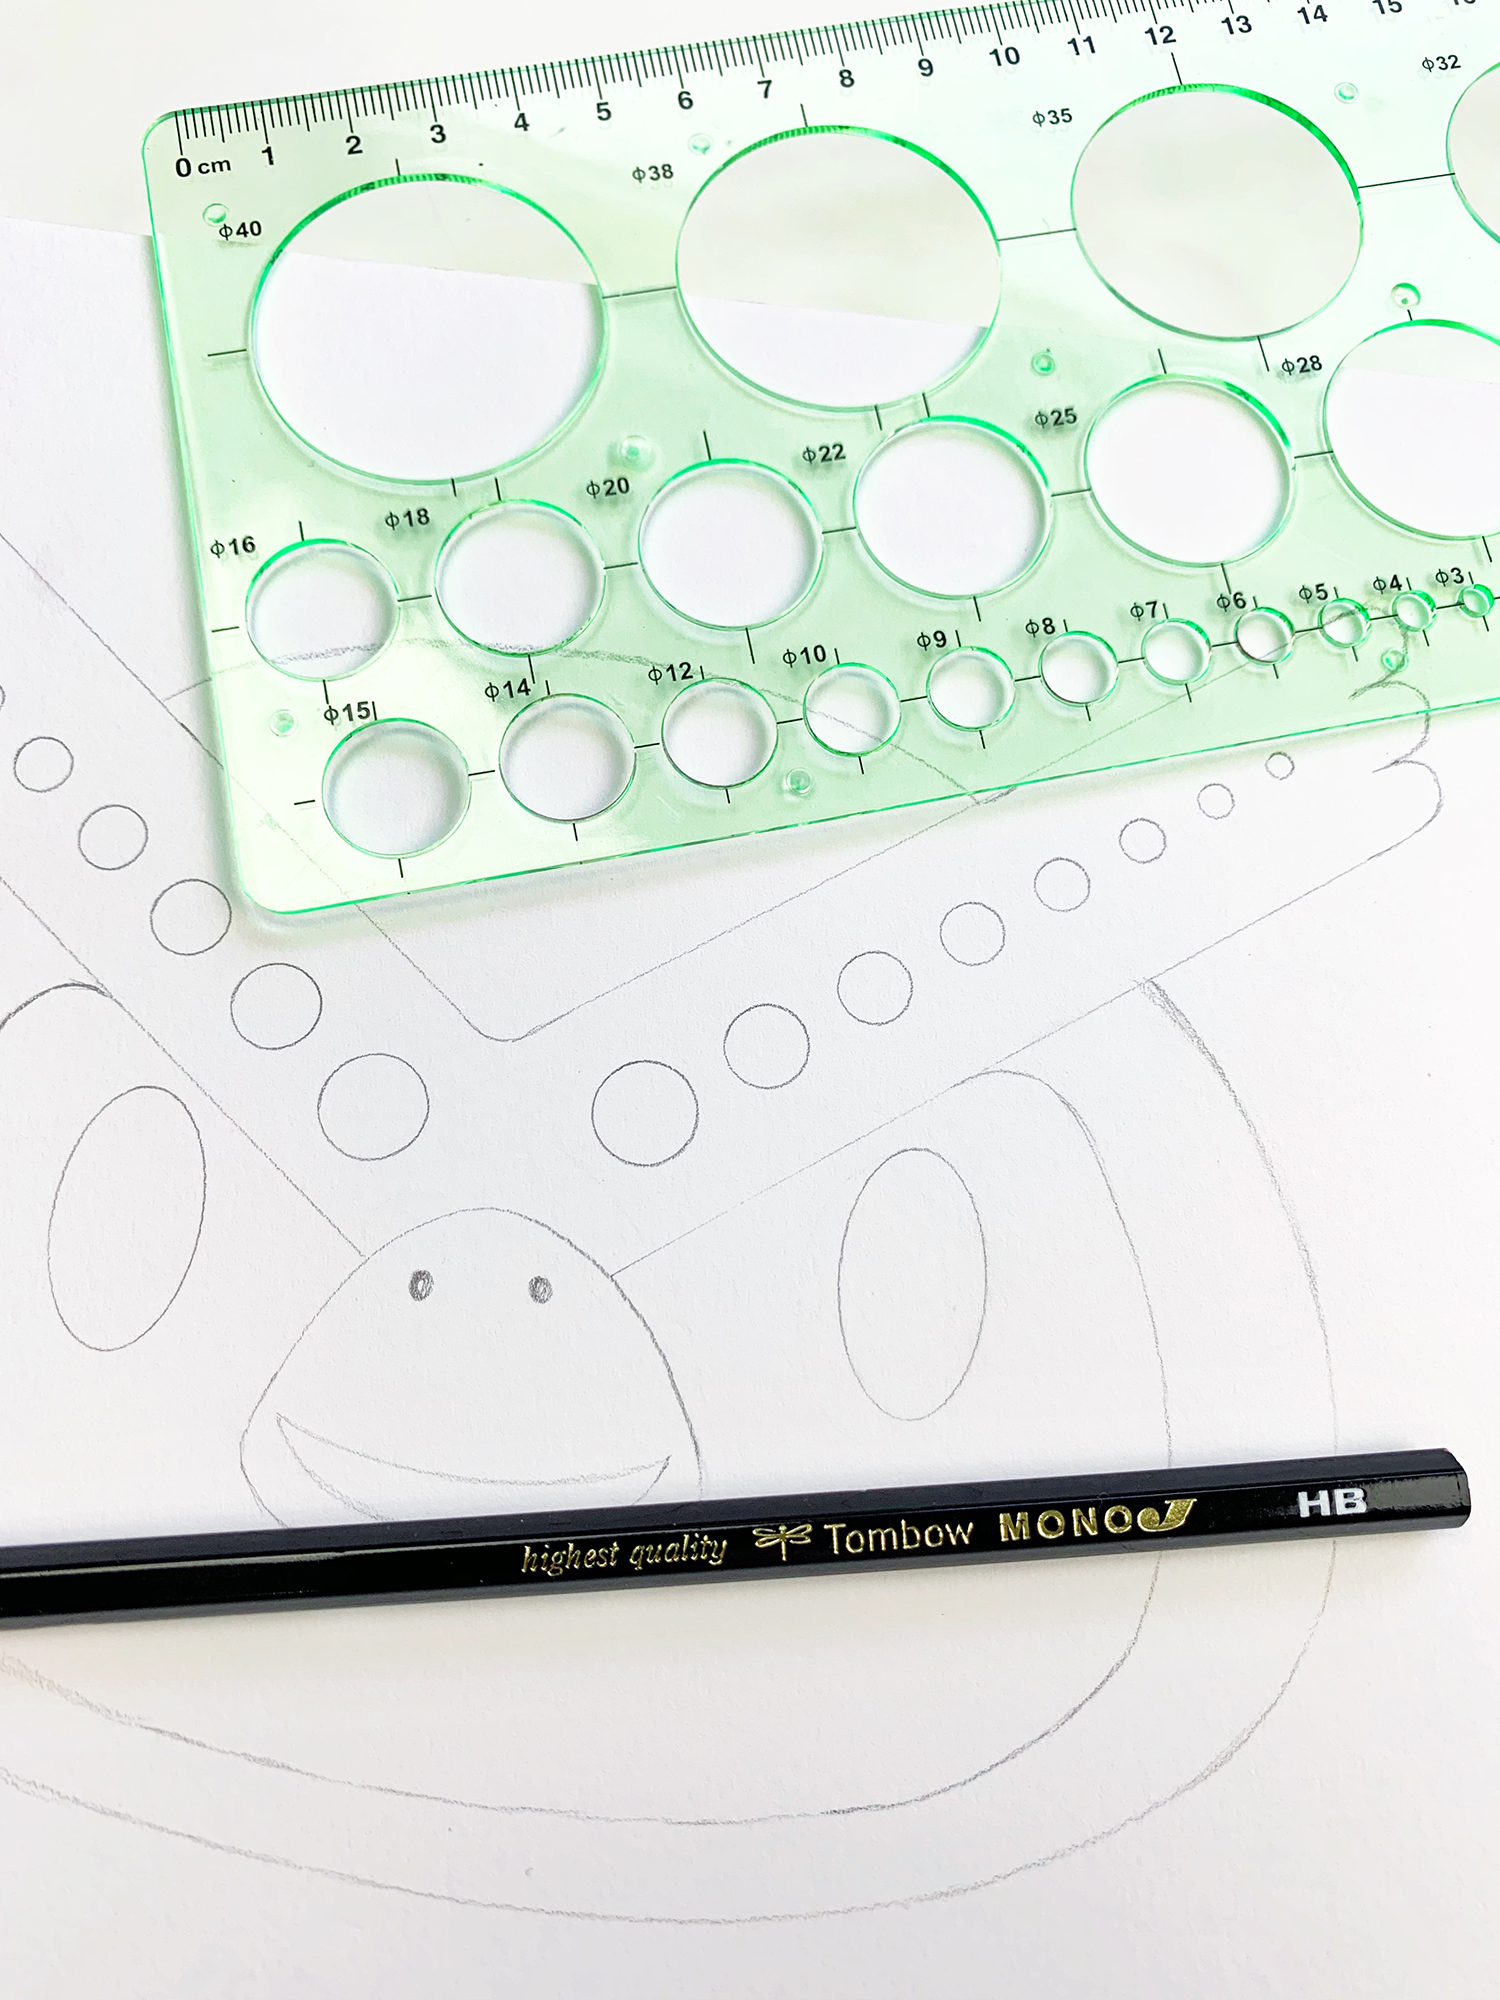
Add parallel lines on top of the diagonal lines and close the ends with scallops. Use a stencil to draw circles on her plumicorns. Finish the top of the head.
Step Four:
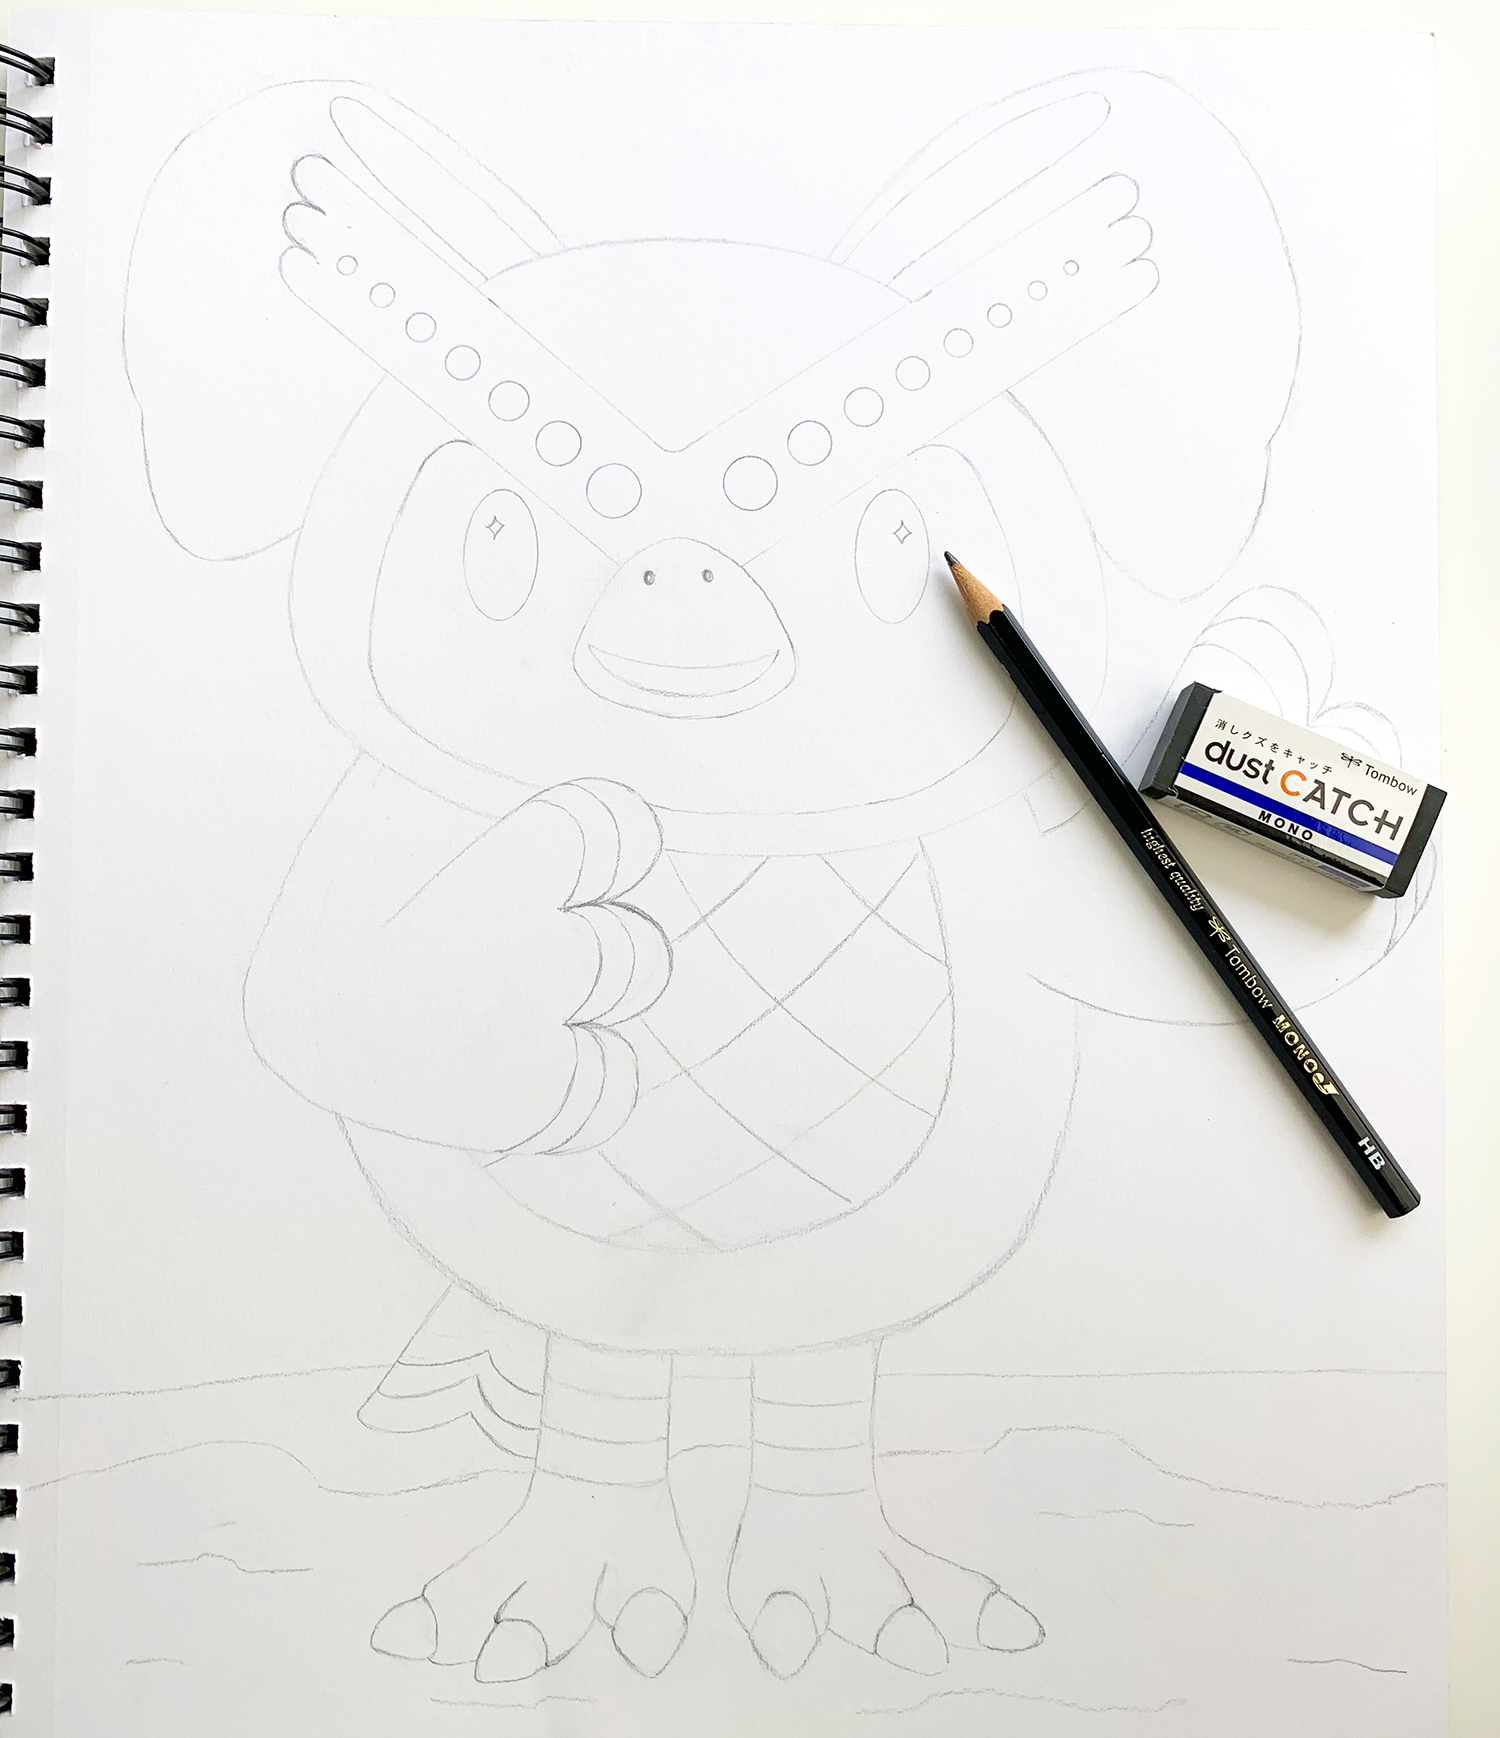
To work on the body, start with an oval slightly less wider than the head. Draw a smaller oval inside of it and add diagonal lines to resemble her argyle pattern belly. Then draw the wings. Remember that she has three scallops on each wing. Here I drew one close to her chest and one fanned out. Add the legs and finally the tail peaking out behind her back.
Step Five:
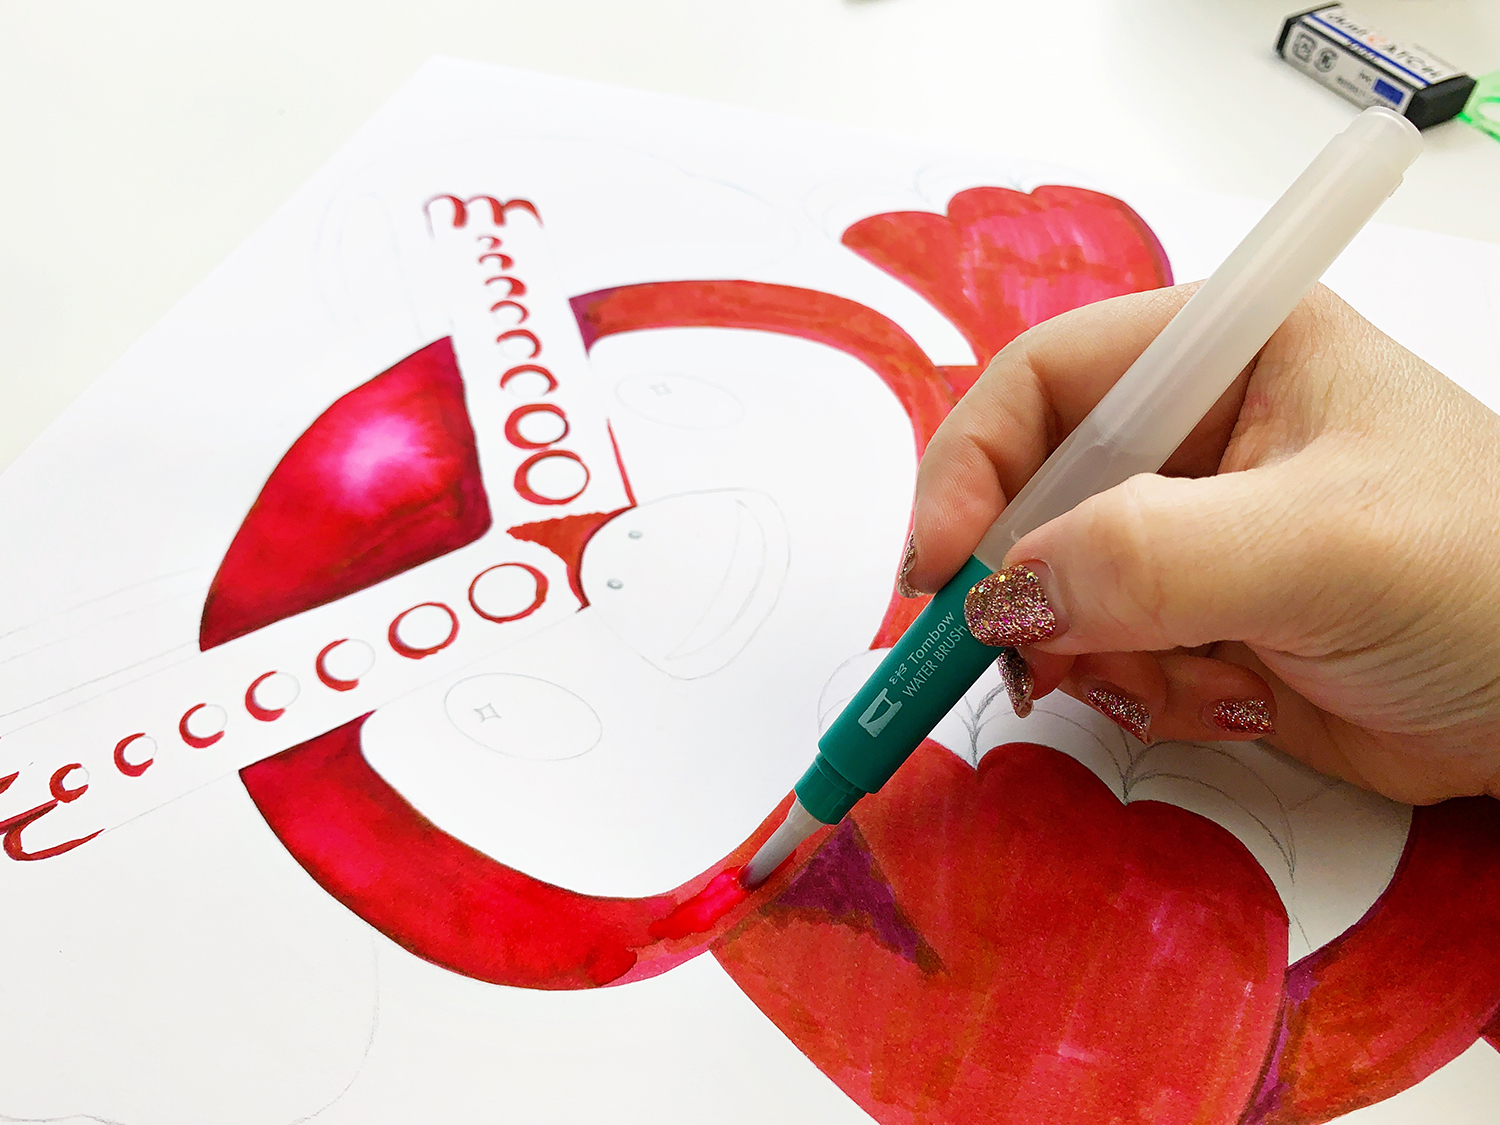
Add color to Celeste using the Tombow Dual Brush Pens. Use a darker color for the shadows, a color to cover the majority of the space and leave the light spots blank.

Step Six:
Use the Tombow Water Brushes to blend the colors. Be mindful of where you put your hands to avoid smears. Start at the top left if you are right handed or top right if you are left handed. I worked on the feathers first and then let it dry. Then work on the face, argyle pattern on the belly and finally the legs.
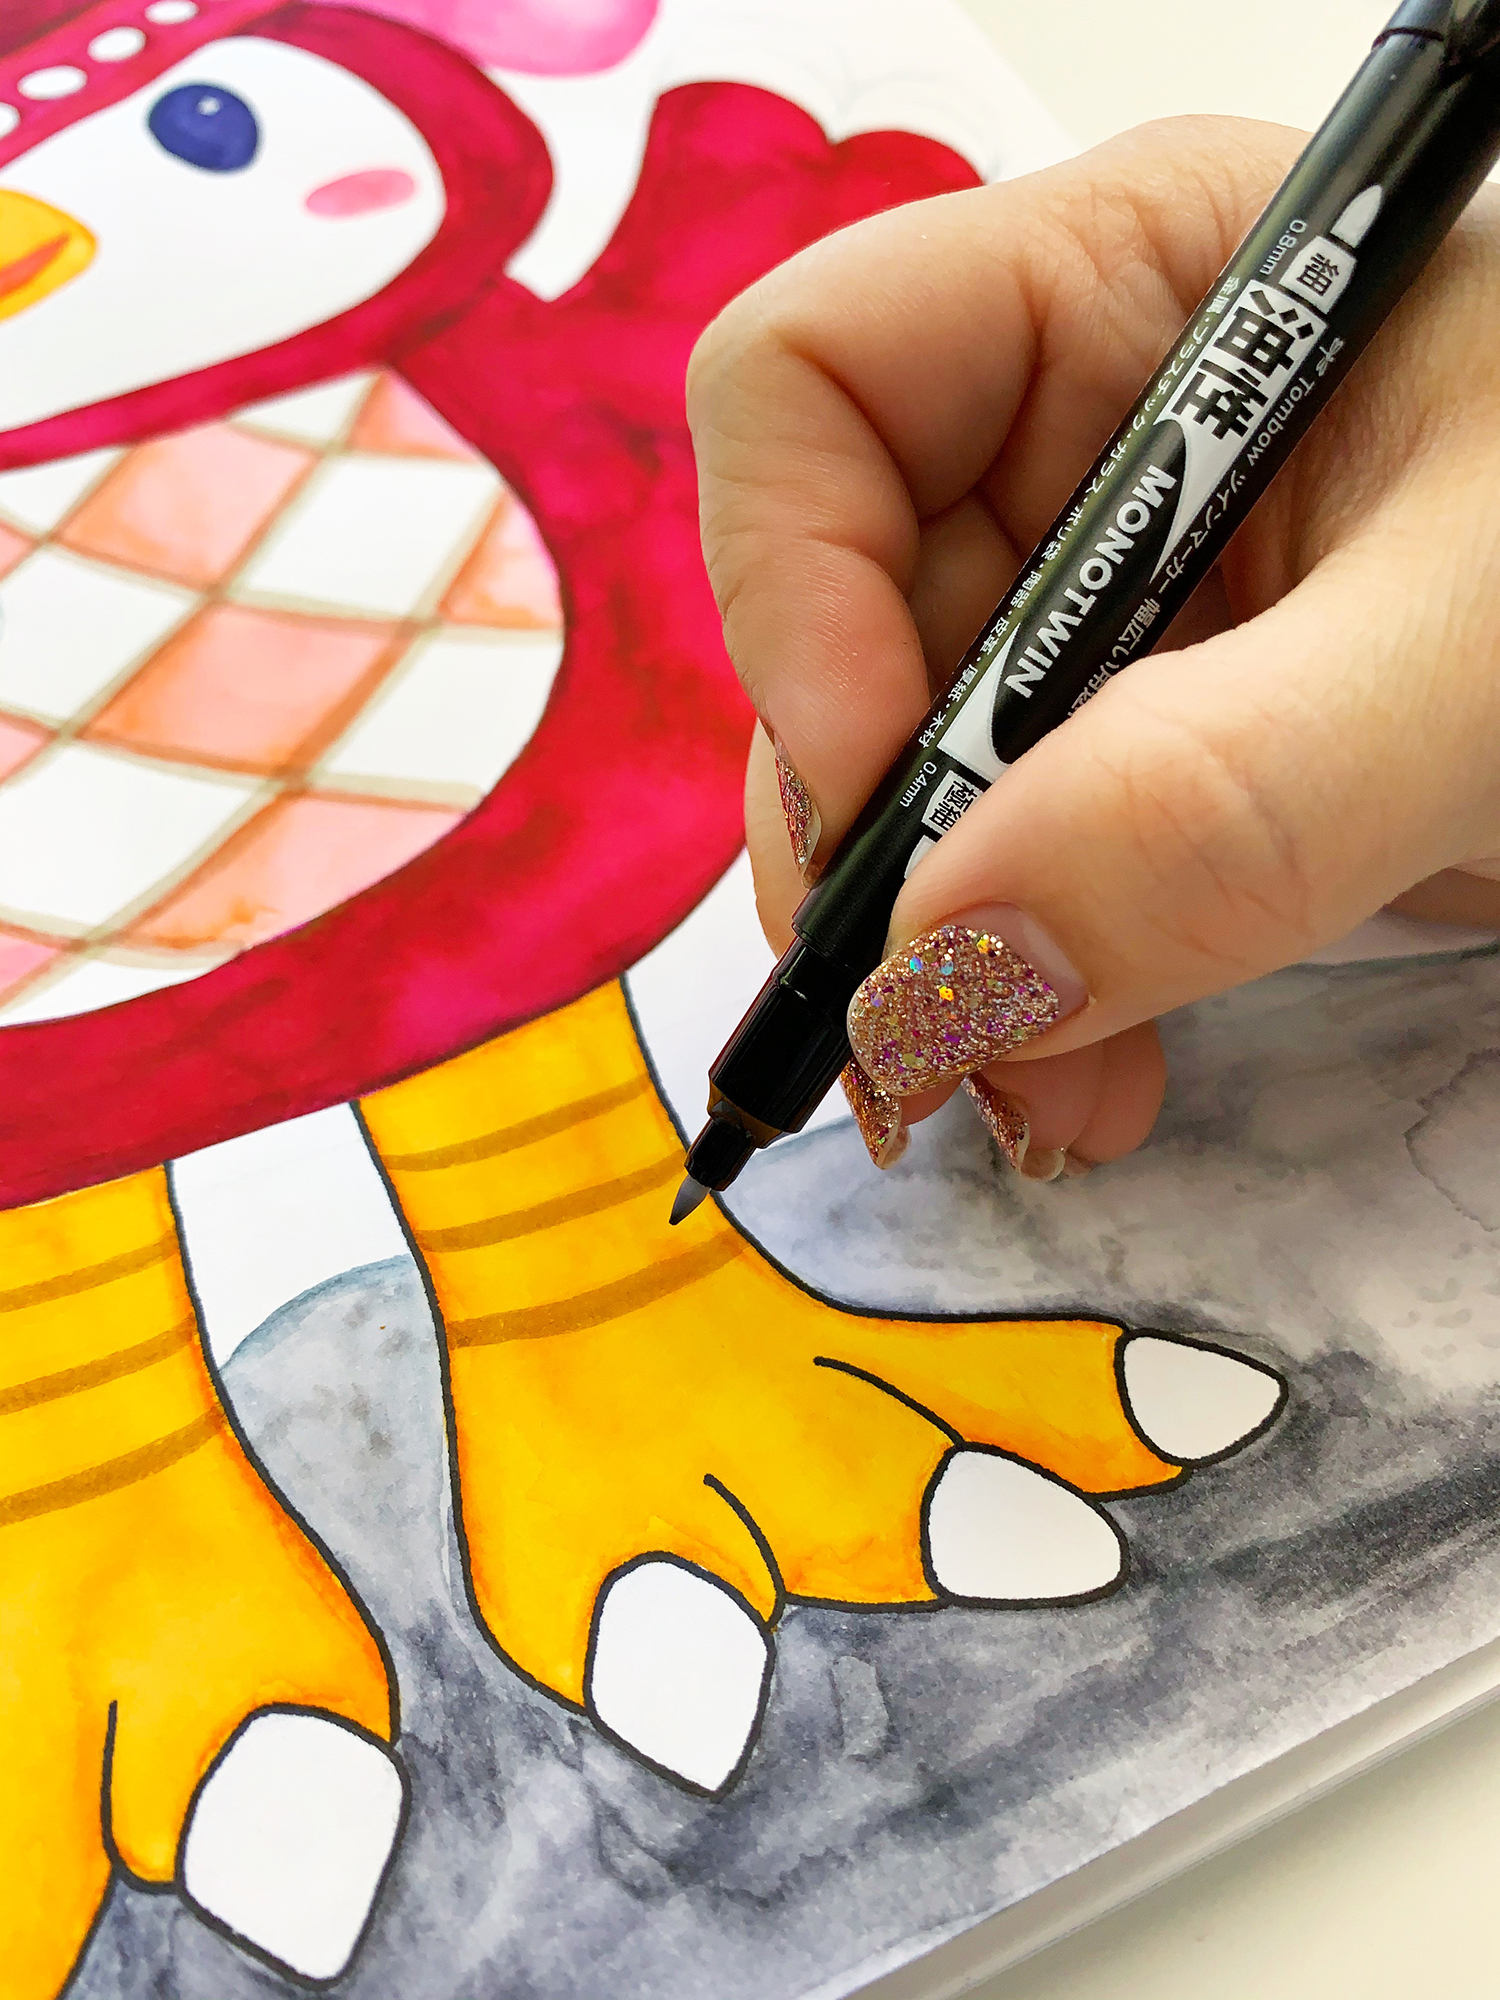
Step Seven:
Once Celeste is done, outline her body with the Tombow MONO Twin Permanent Marker.
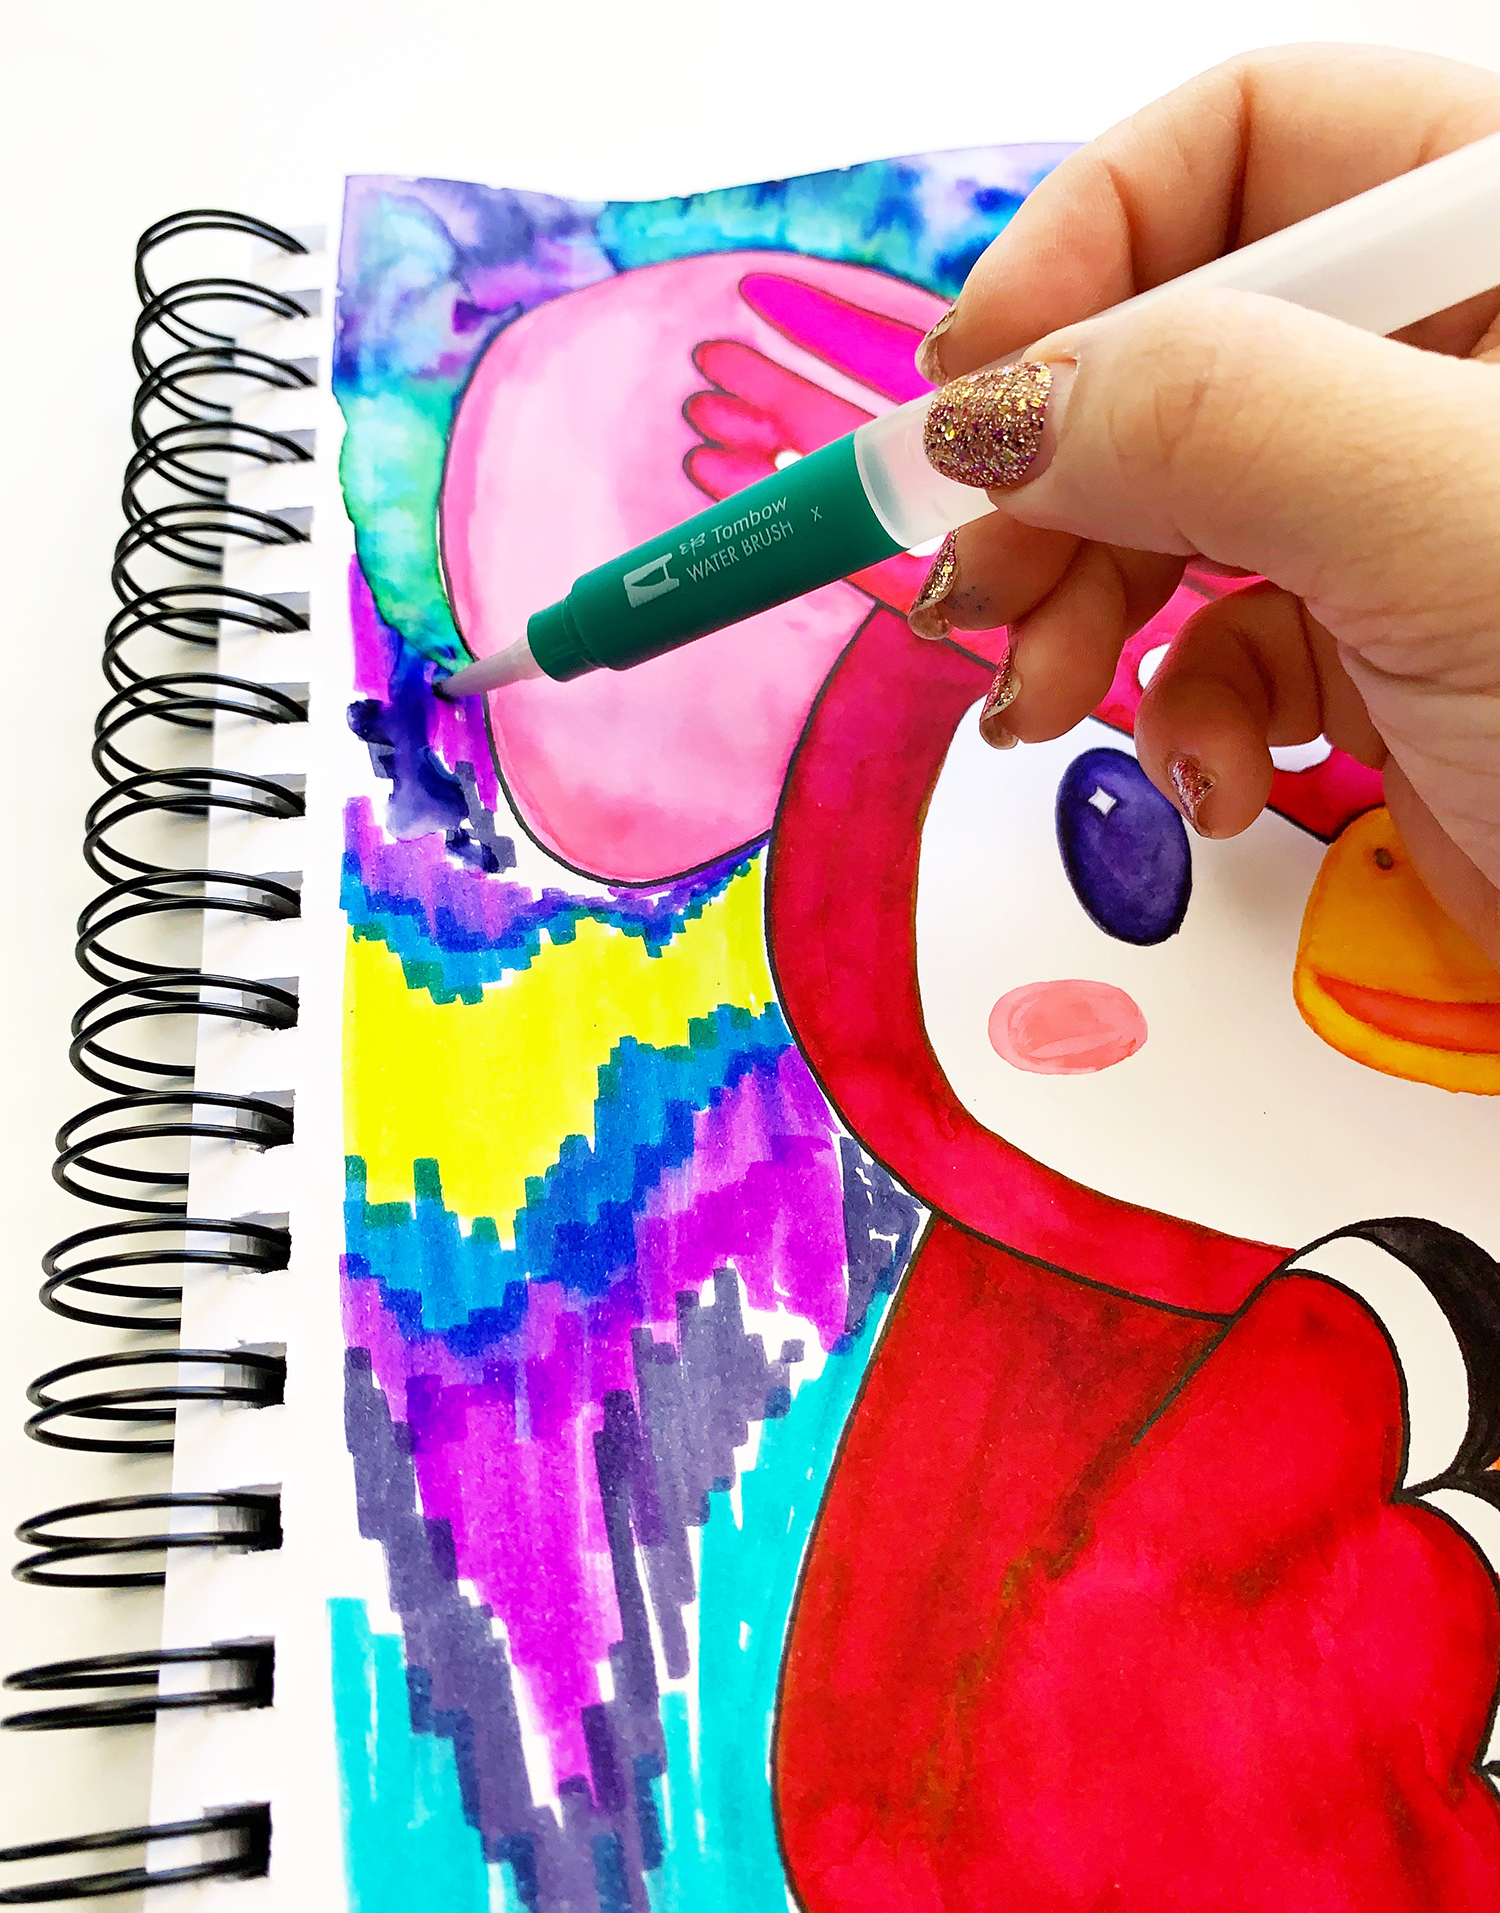
Step Eight:
Work on the background! In Animal Crossing New Horizons, Celeste only shows up at night. So, I decided to do a background mimicking the Northern Lights. Pick a green Tombow Dual Brush Pen like the 133 and a variety of blues and purples. The closer you get to the horizon line, the lighter the colors are. Make sure you put blue between the purple and green, so they don’t create brown tones.
Step Nine:
Once everything is completely dry, use a ruler to draw lines of the same green, light blues and purples like the Aurora Borealis. You can use a white pen to add more details.
If you need more galaxy inspiration check out this post by Katie Smith!

My daughter is really happy to have this little owl on her wall! You can use the Tombow Mounting Putty to put framed art or unframed art on your walls.
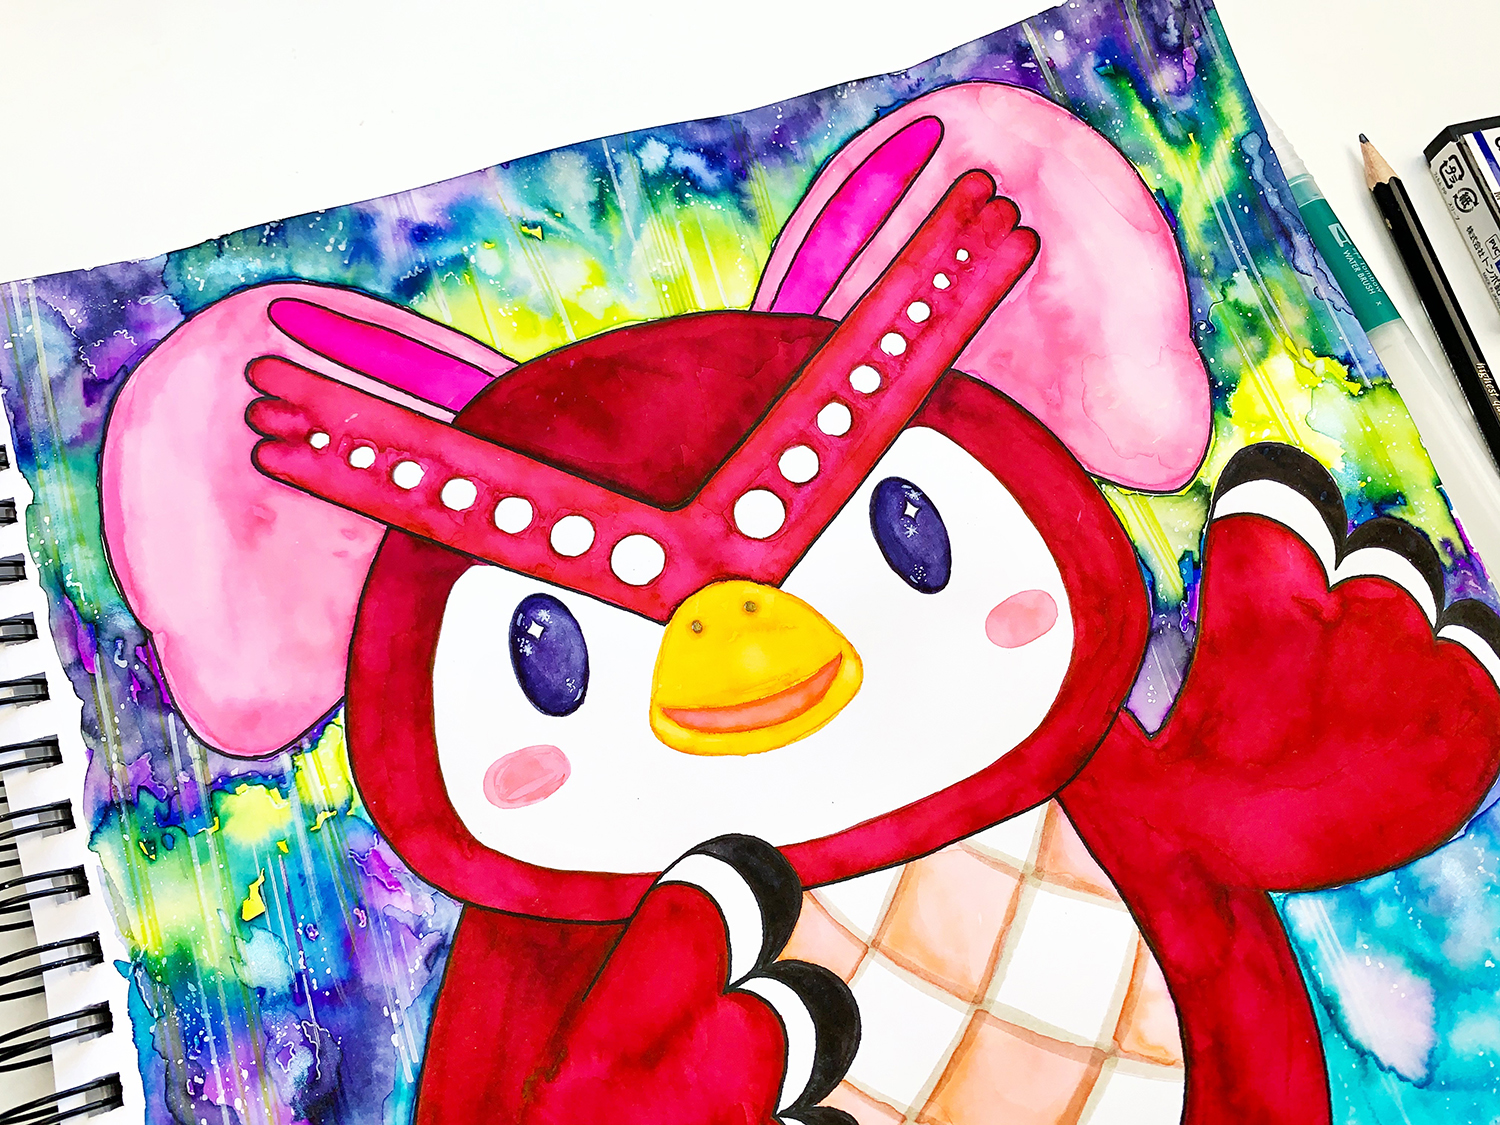
I hope my fellow Animal Crossing fans will enjoy this portrait of Celeste! Take care!