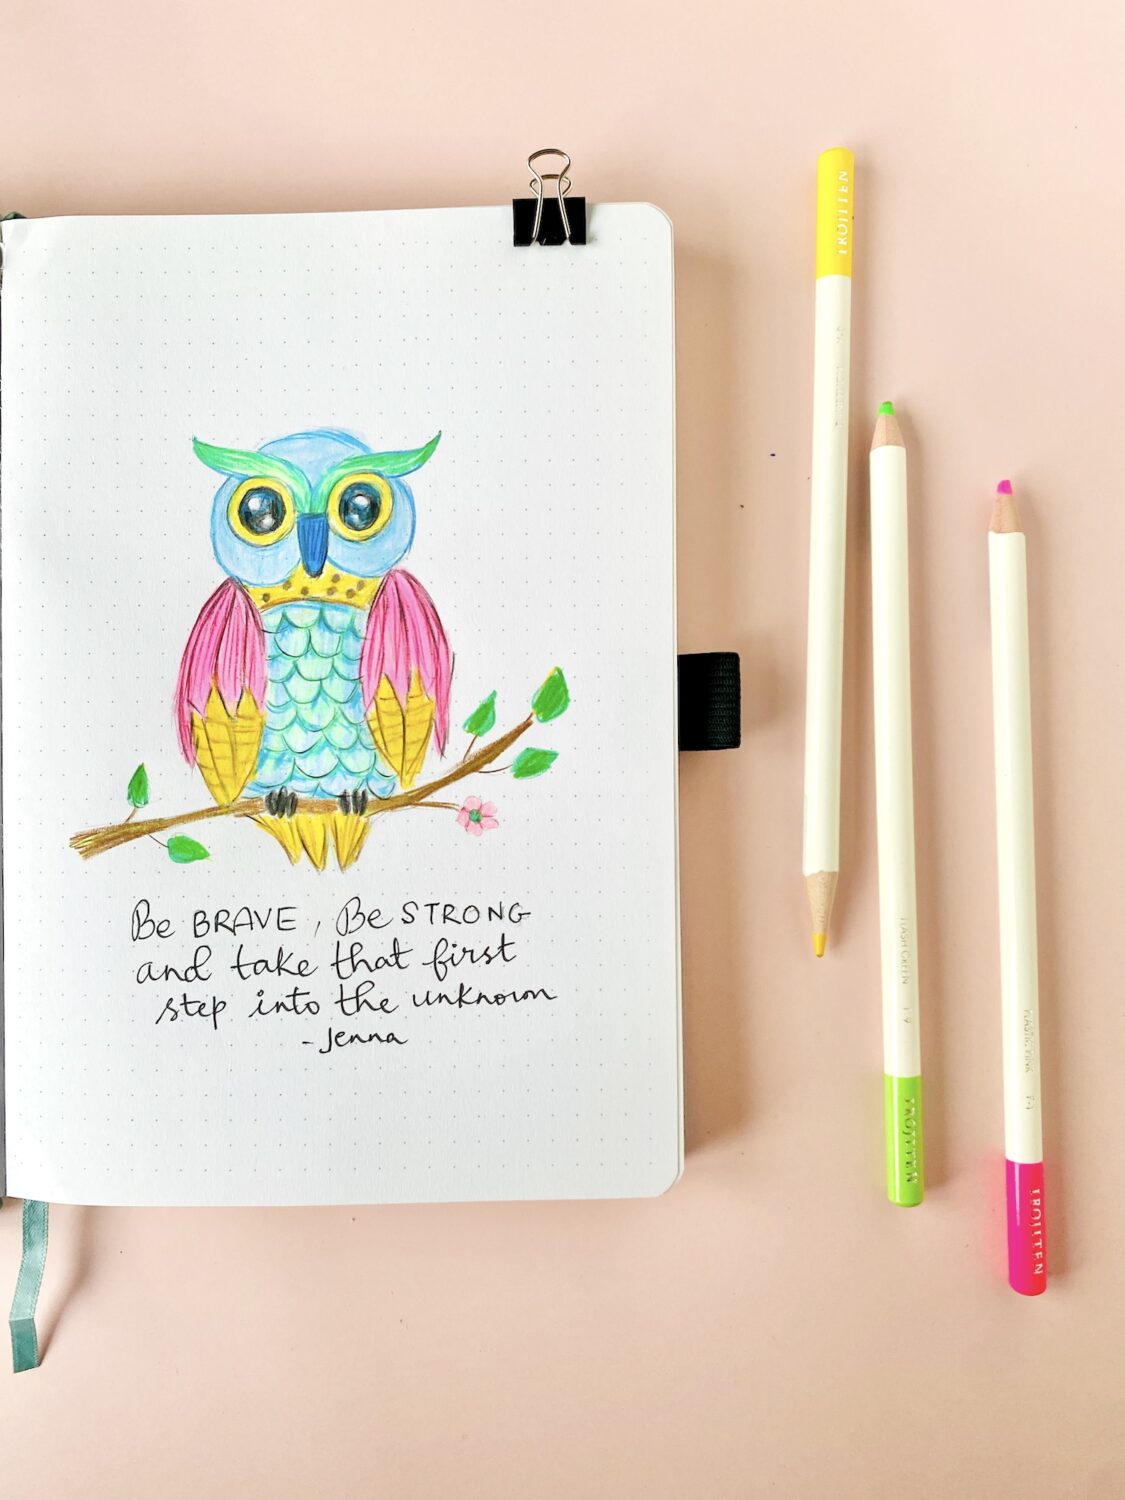
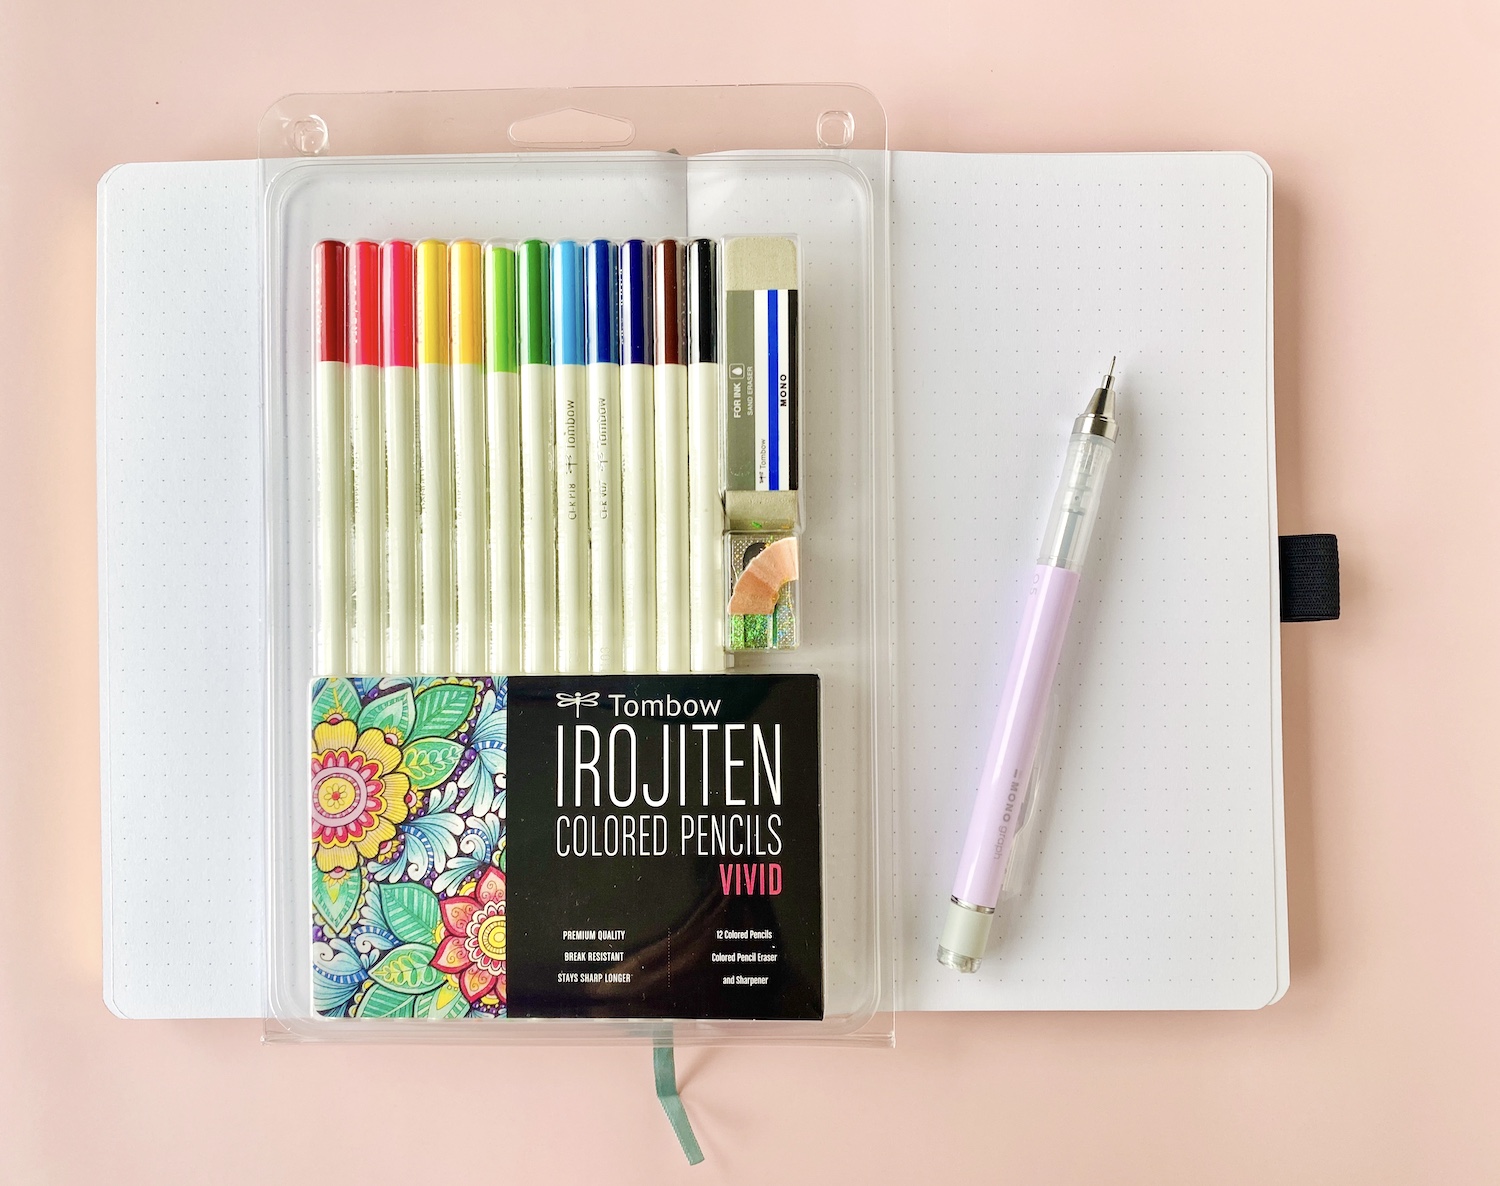
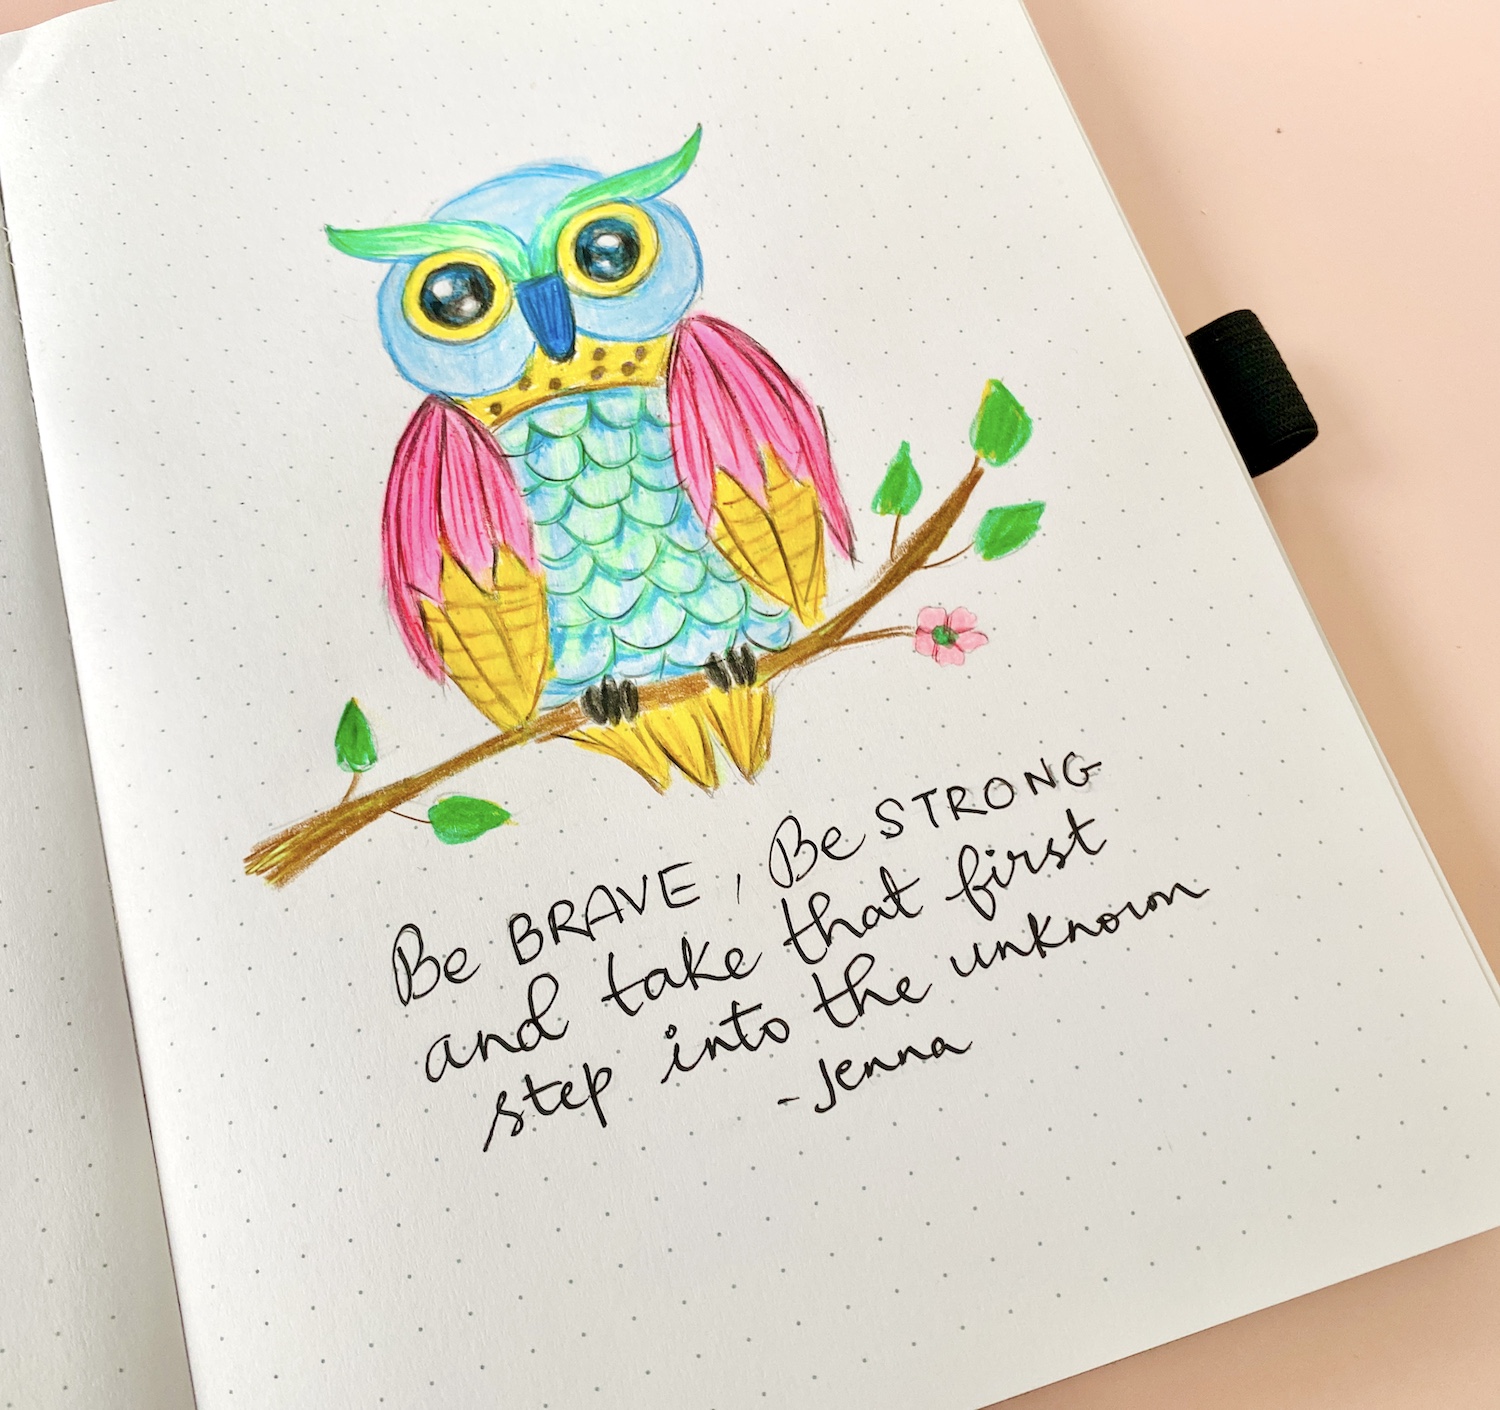
Hello friends! I’m Smitha, and today I have a colorful owl illustration tutorial that uses my favorite art supply! The Irojiten Colored Pencils. One of my favorite mediums to use is the colored pencil, it is so satisfying to put pencil and paper and watch the colors come alive.
Supplies:
- Journal or Sketchbook
Step 1:
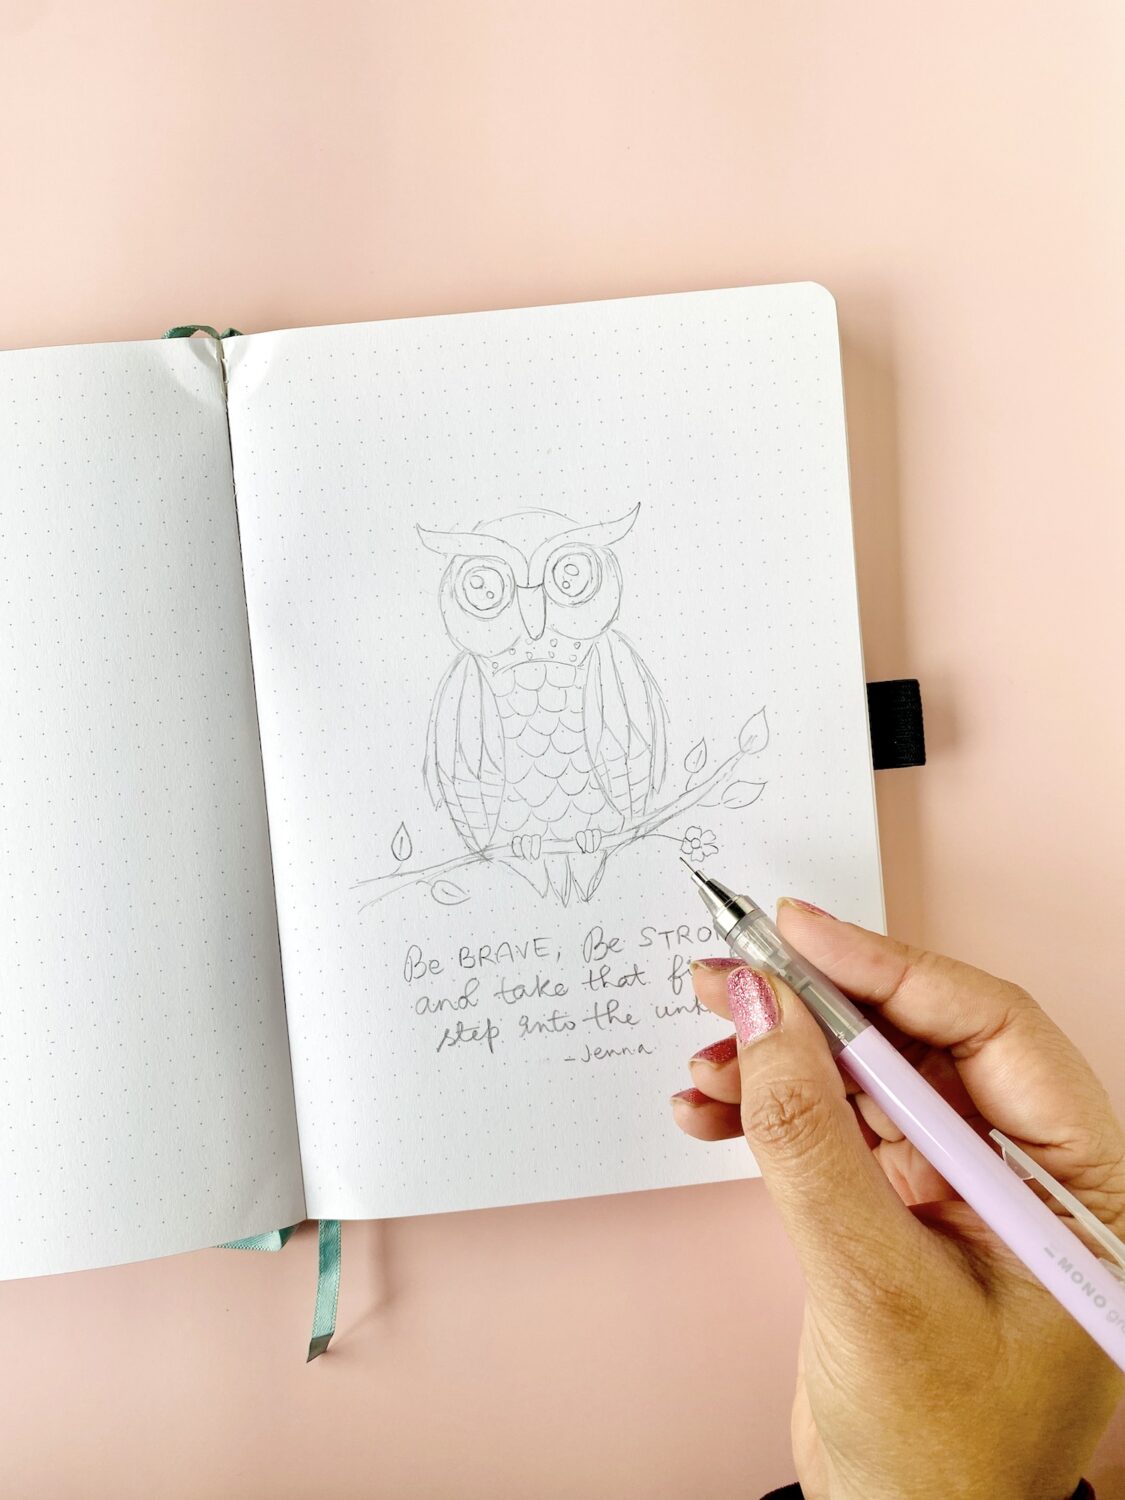
For this Owl Illustration Tutorial, lets begin with a rough pencil sketch. I like using MONO Graph Mechanical Pencil, to lightly figure out my owl drawing sketch in my journal. This can easily be erased, repositioned and you can add more details as needed.
Step 2:
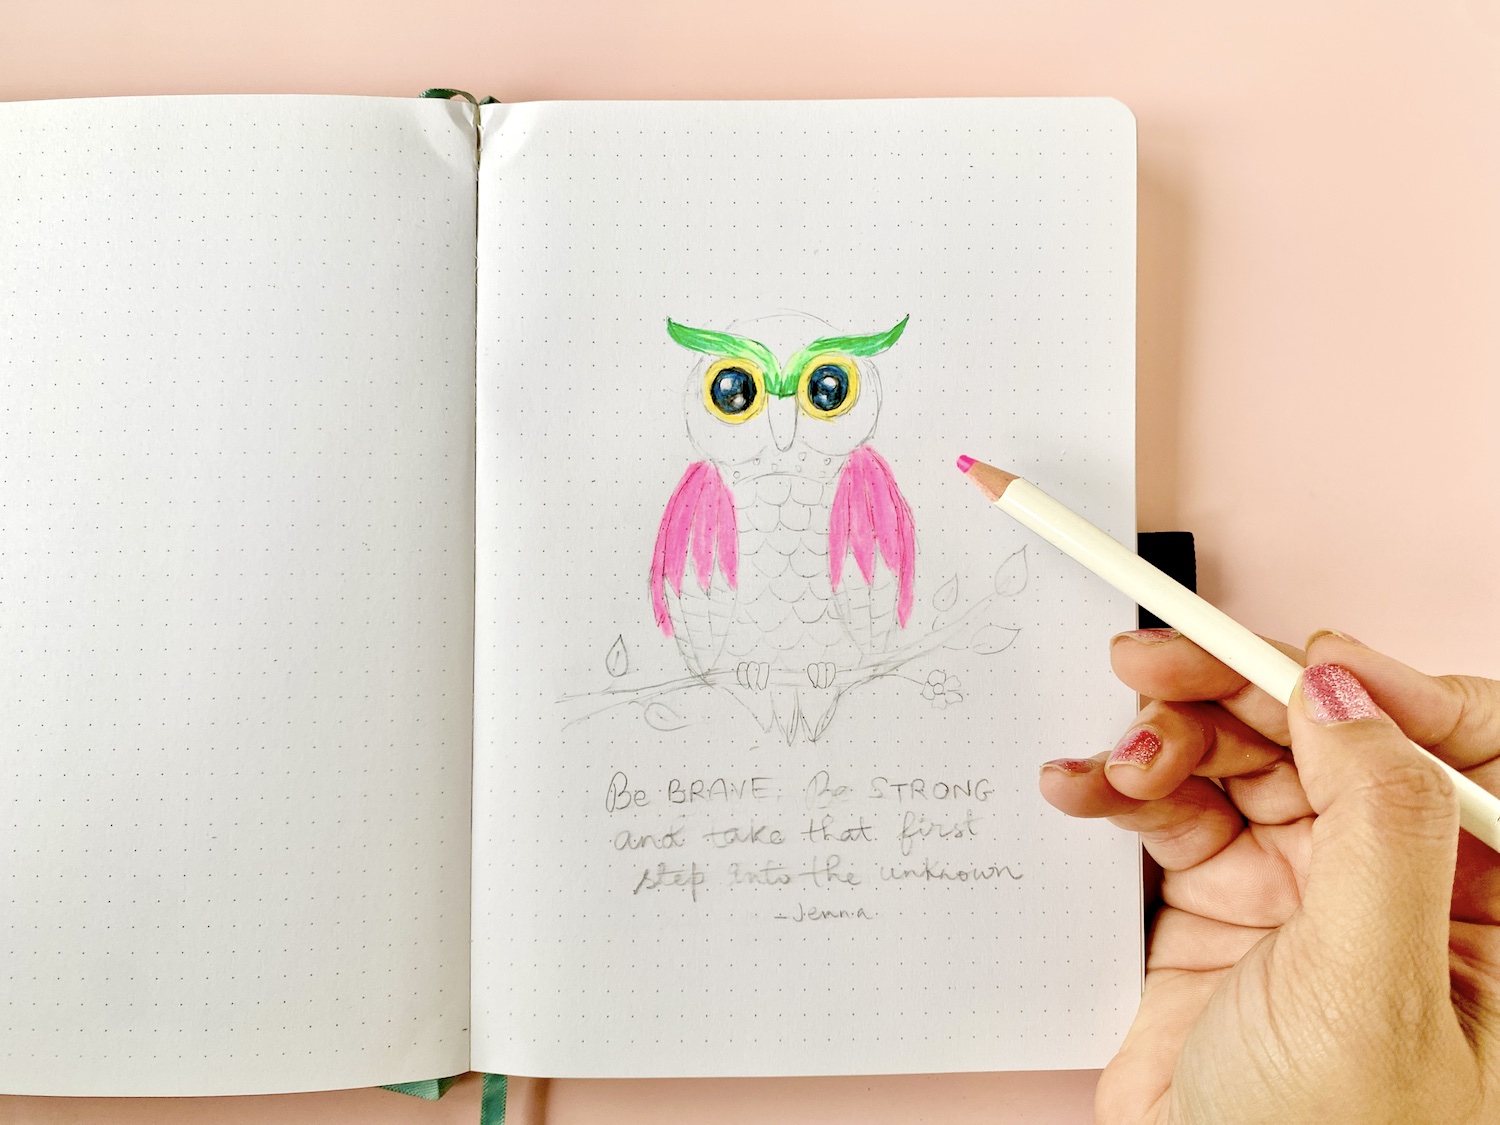
The Irojiten Colored Pencils add deep saturated color to the paper, the vividness of the colors create bold illustrations easily. I love that you can overlap two colors to create depth with simple hatch lines here.
Step 3:
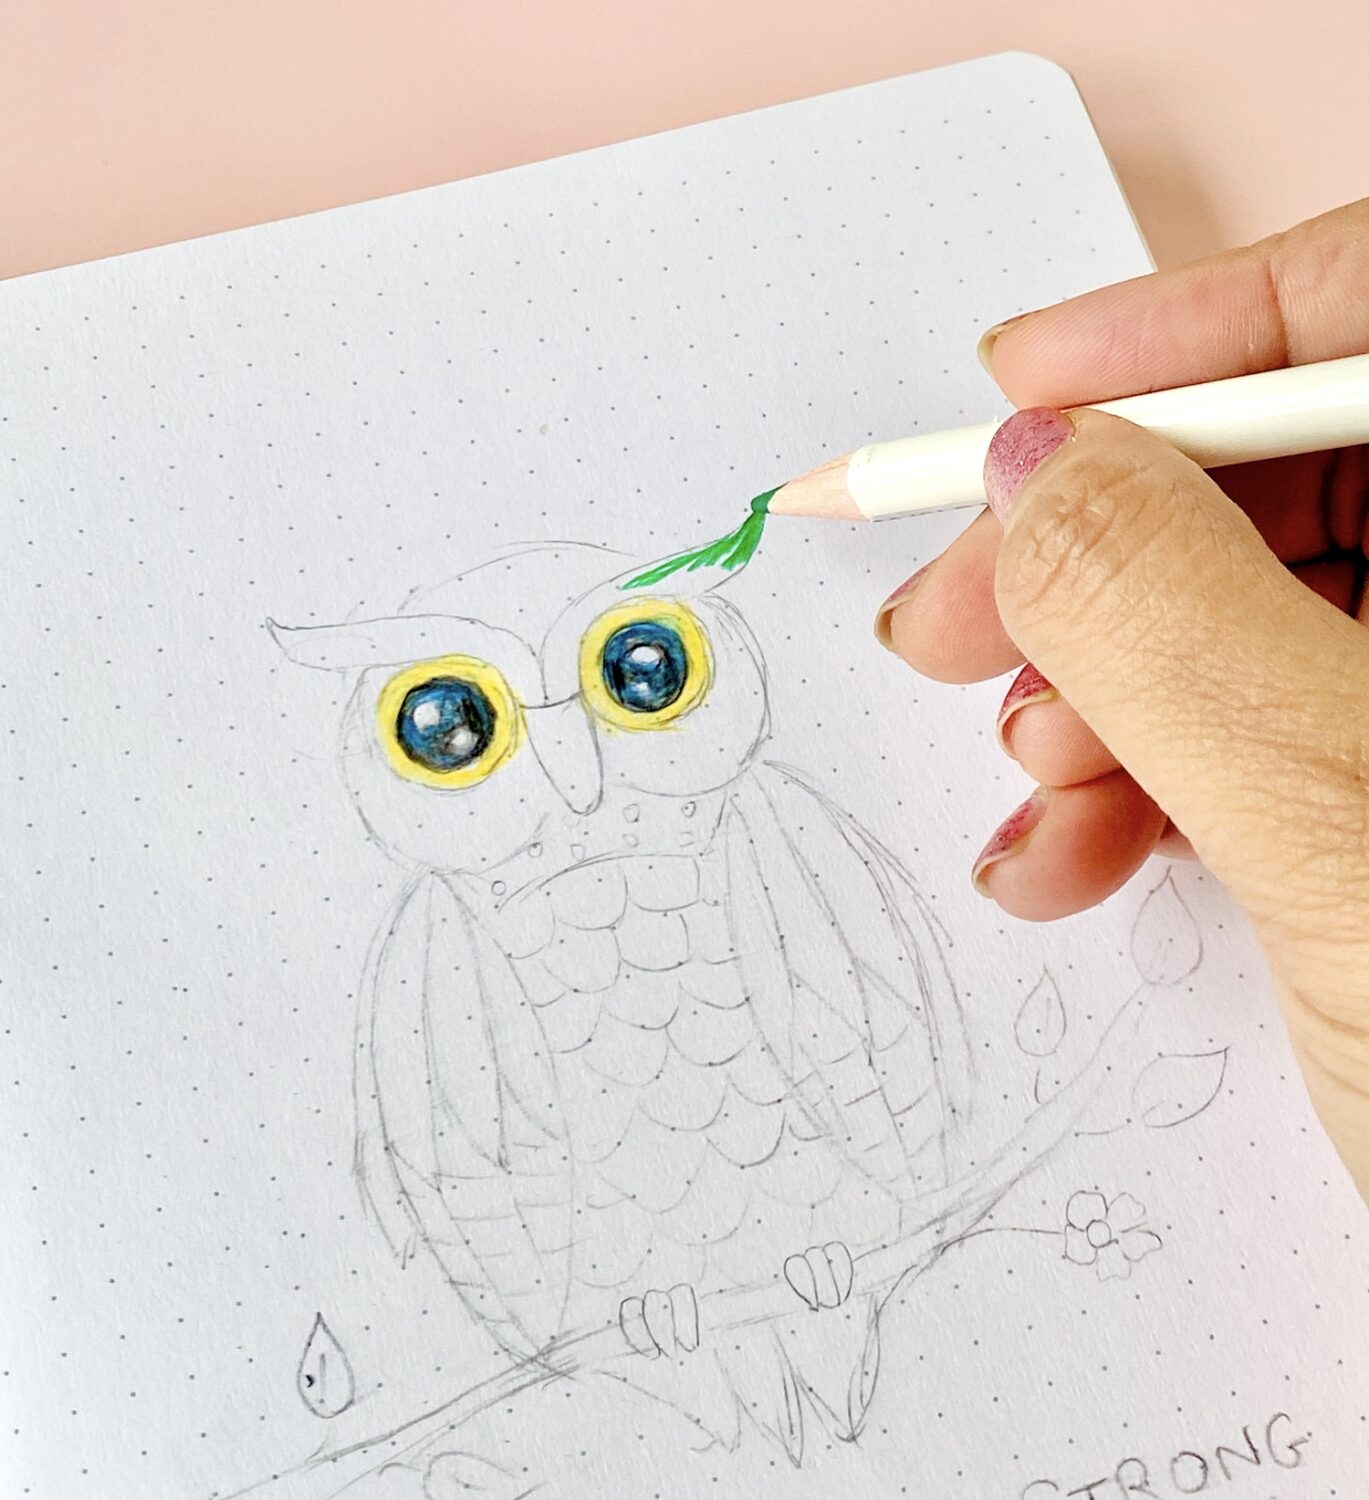
To create the effect of feathers, try adding short lines that overlap slightly. I like to use a pencil that is not too sharp, but has a soft edge to it that will add more color to the paper quickly. In a few strokes you can add so much detail to this owl!
Step 4:
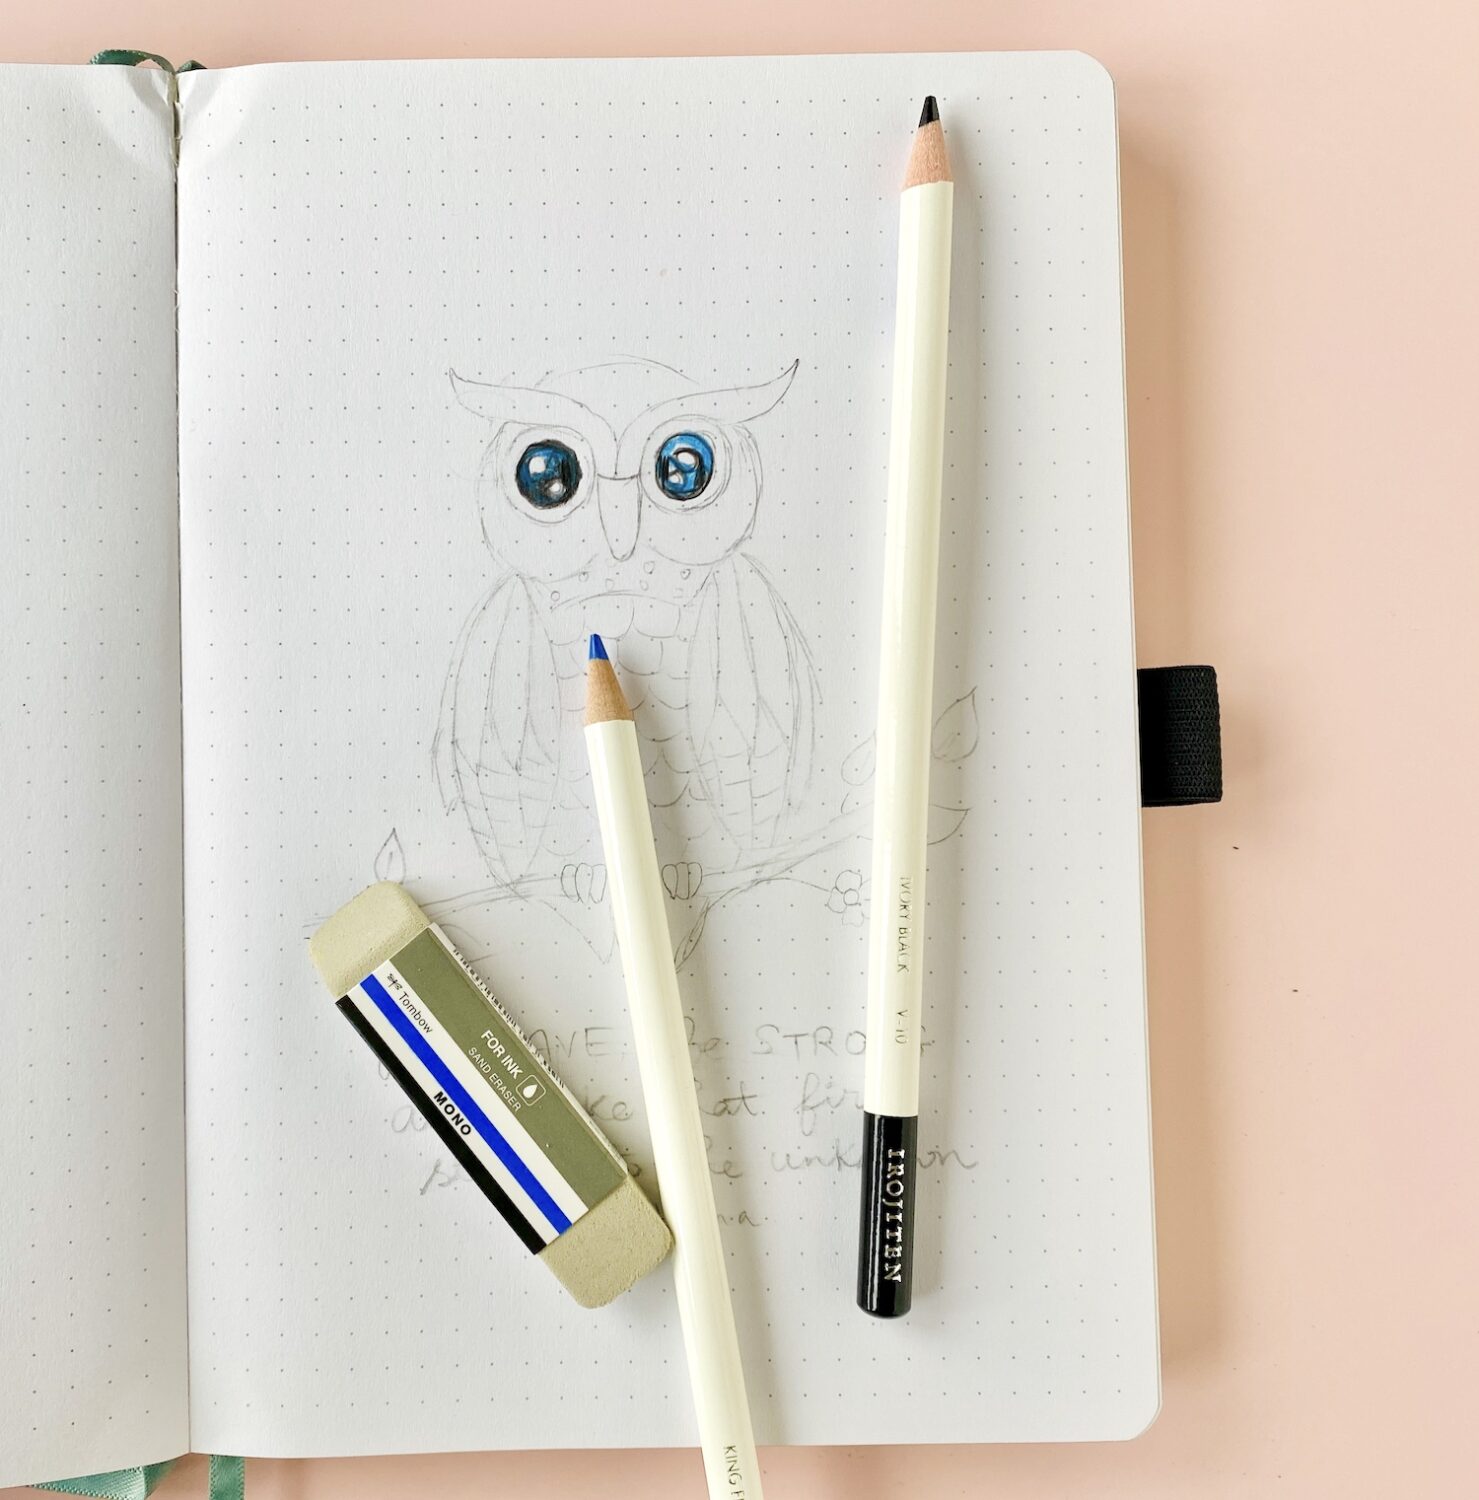
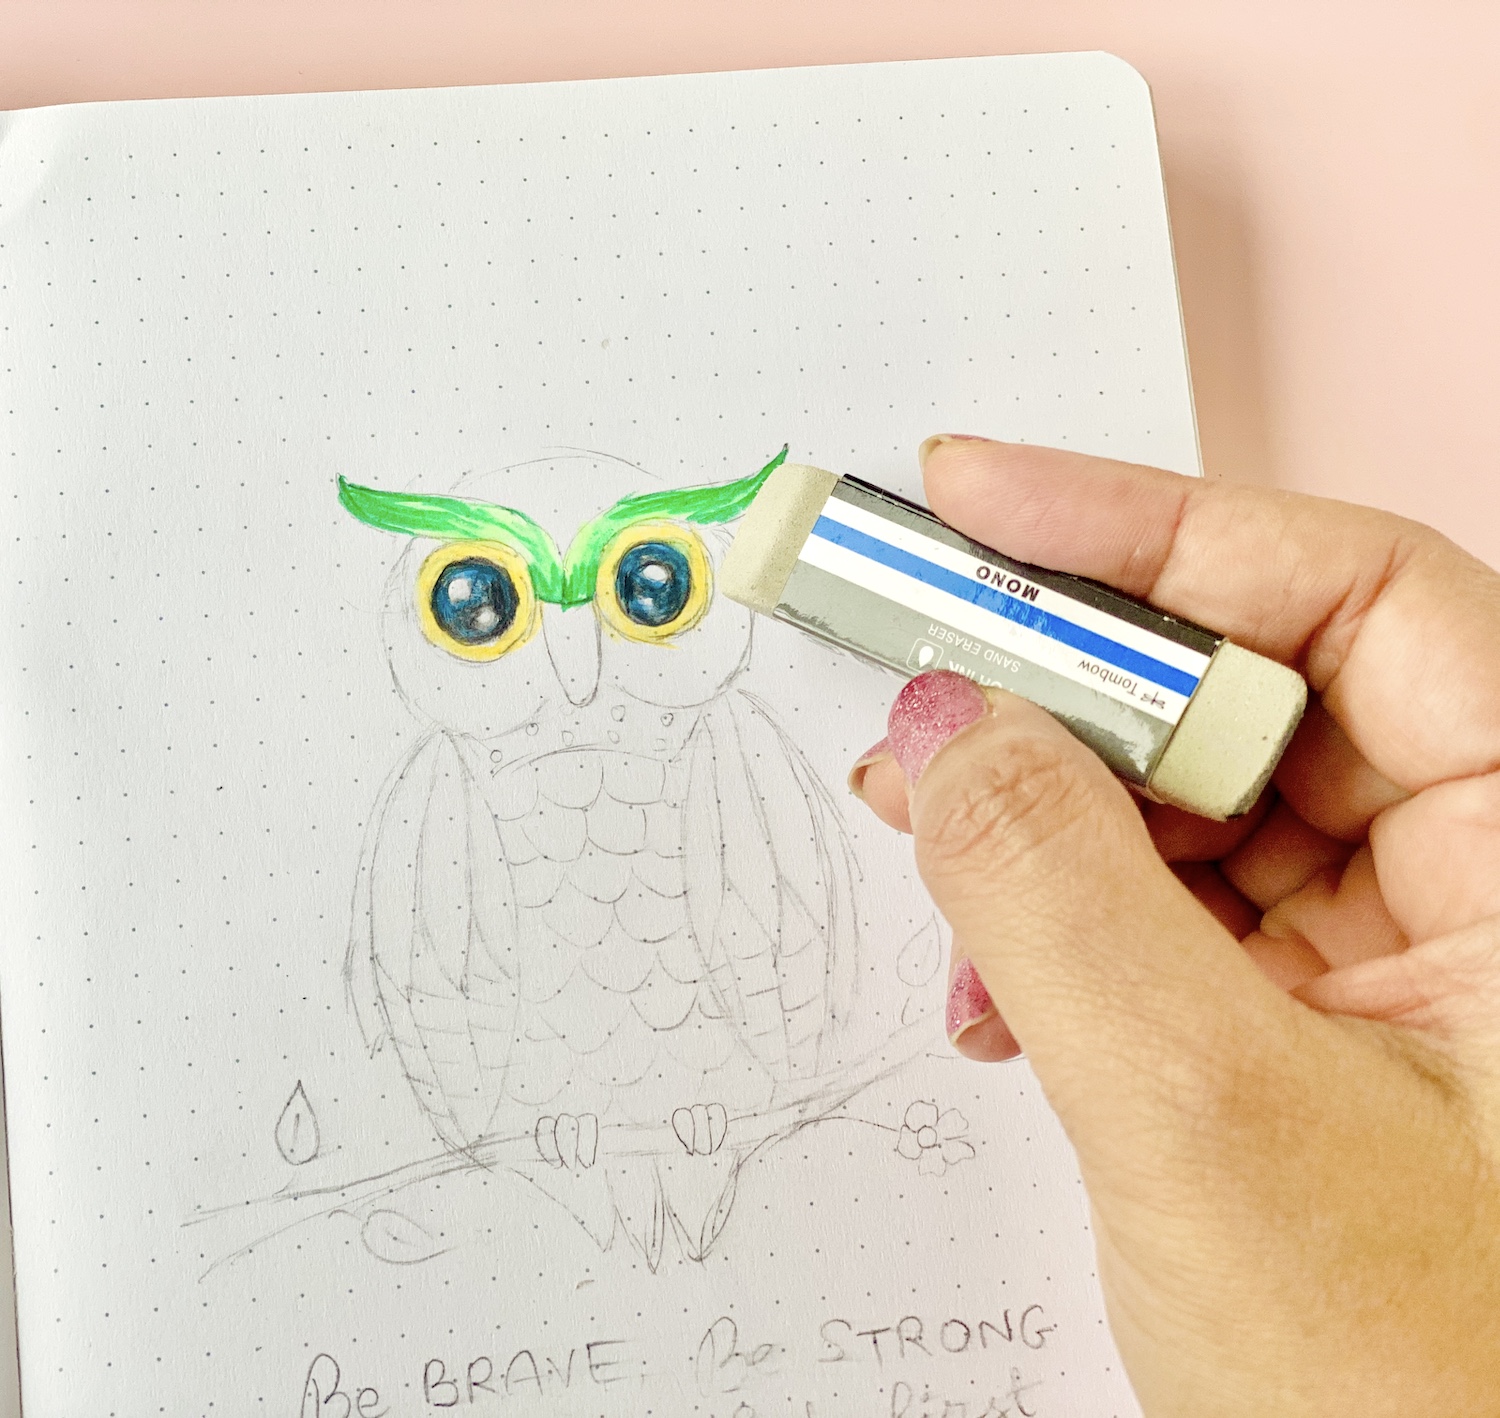
Another great way to add drama to your illustration is to blend colors using an eraser. I’m using the MONO Sand Eraser here, to gently blend the green and yellow colors. The eraser will erase the colored pencil lines easily- and if you apply light pressure, you won’t erase the color entirely, but instead feather the two colors together.
Step 5:
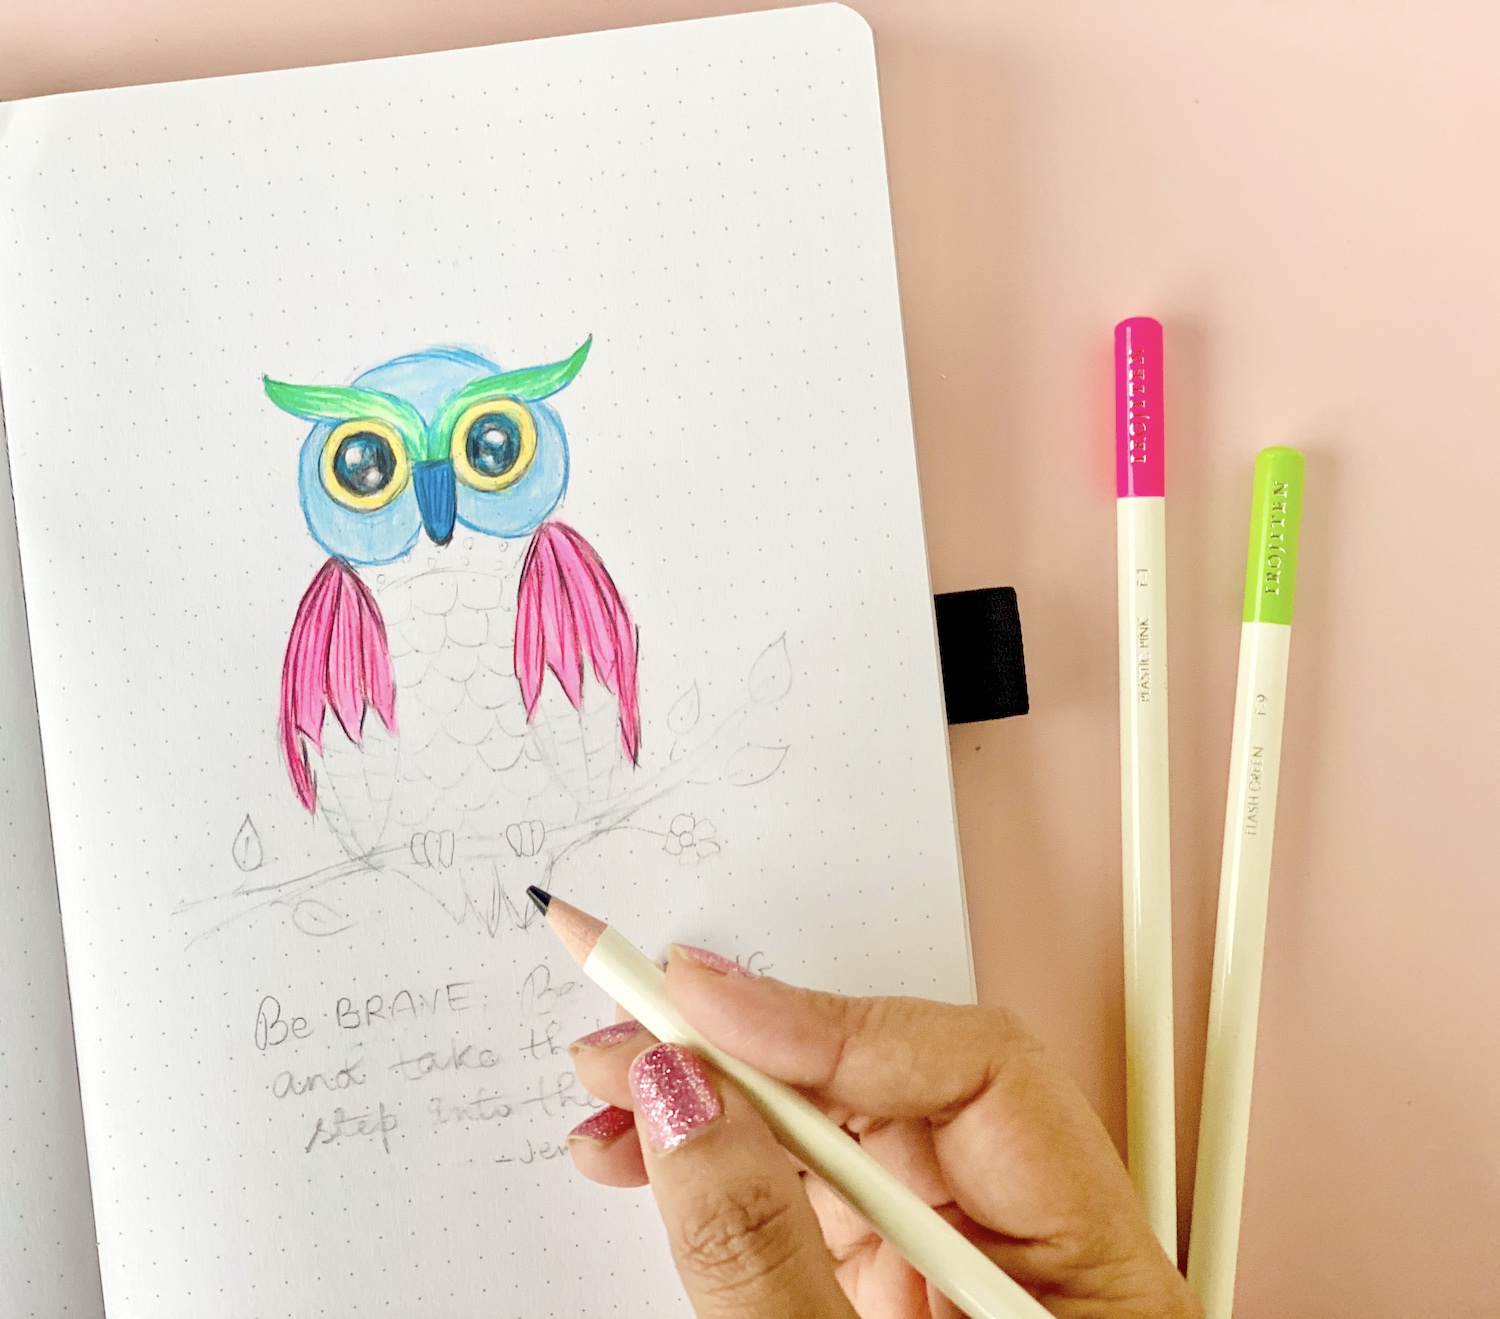
Continue in this manner, adding more colors to each area of your owl, making it as colorful or as monochromatic as you want it to be. I love a good rainbow, and tried to use all the bright colors I could!
ALSO READ: How to Draw Lips Using Irojiten Colored Pencils
I hope you enjoyed this Owl Illustration Tutorial and are inspired to create something yourself today friends! Happy Crafting!
Smitha
