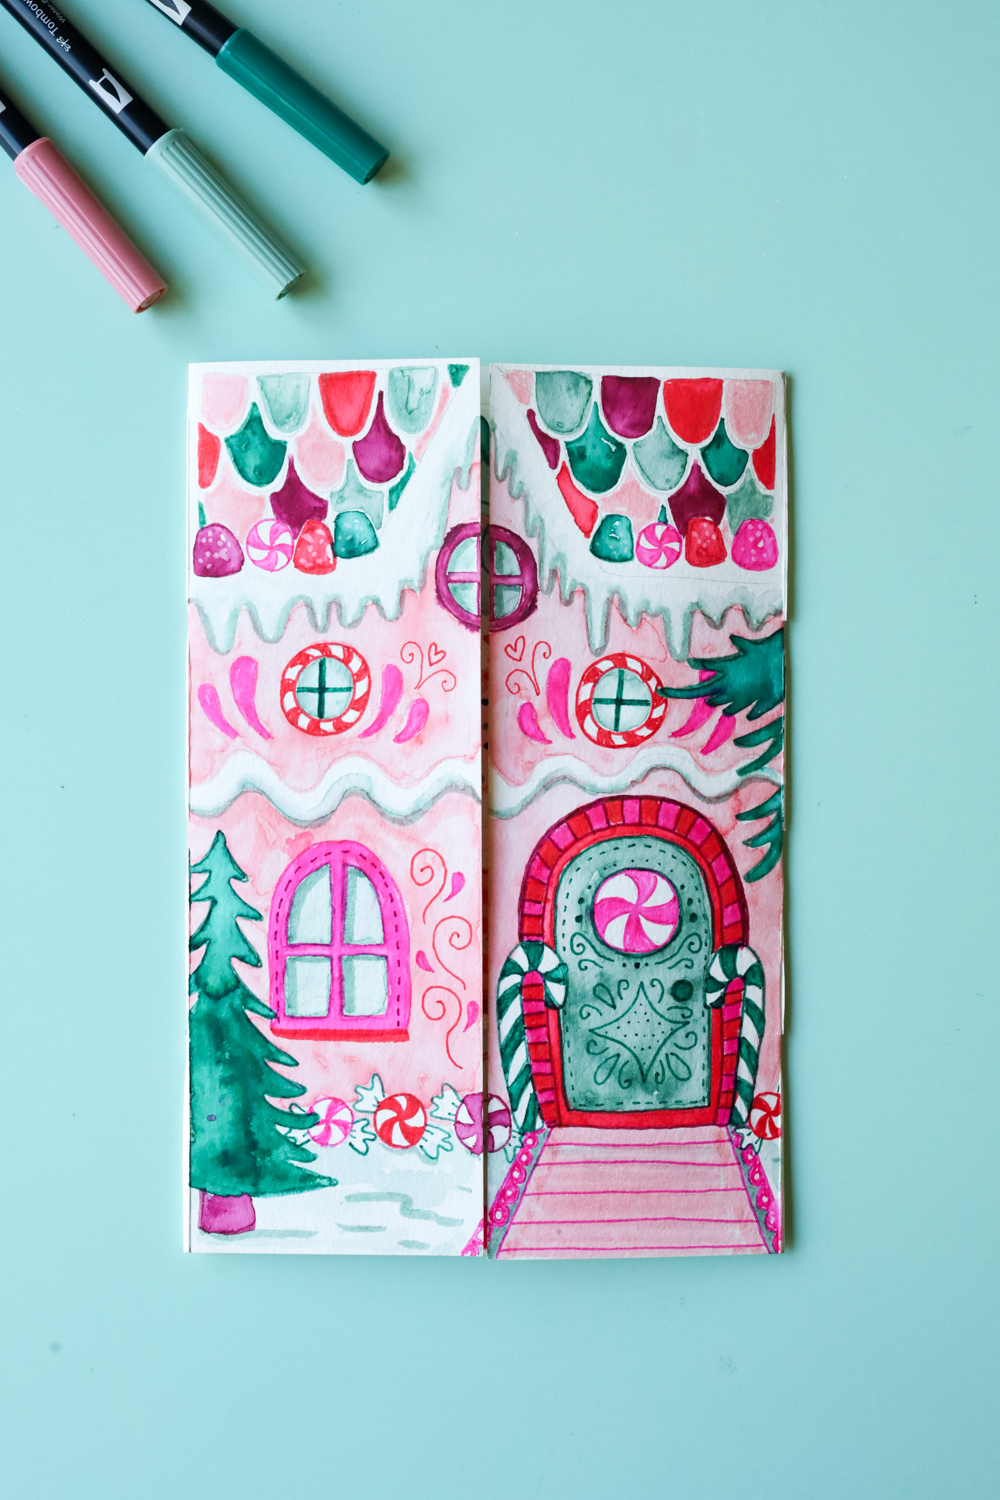
Hi there, it’s Katie here to show you how to make a cute DIY Advent Calendar Book that looks like a cute little gingerbread house (but pink, because that’s my favorite color!).
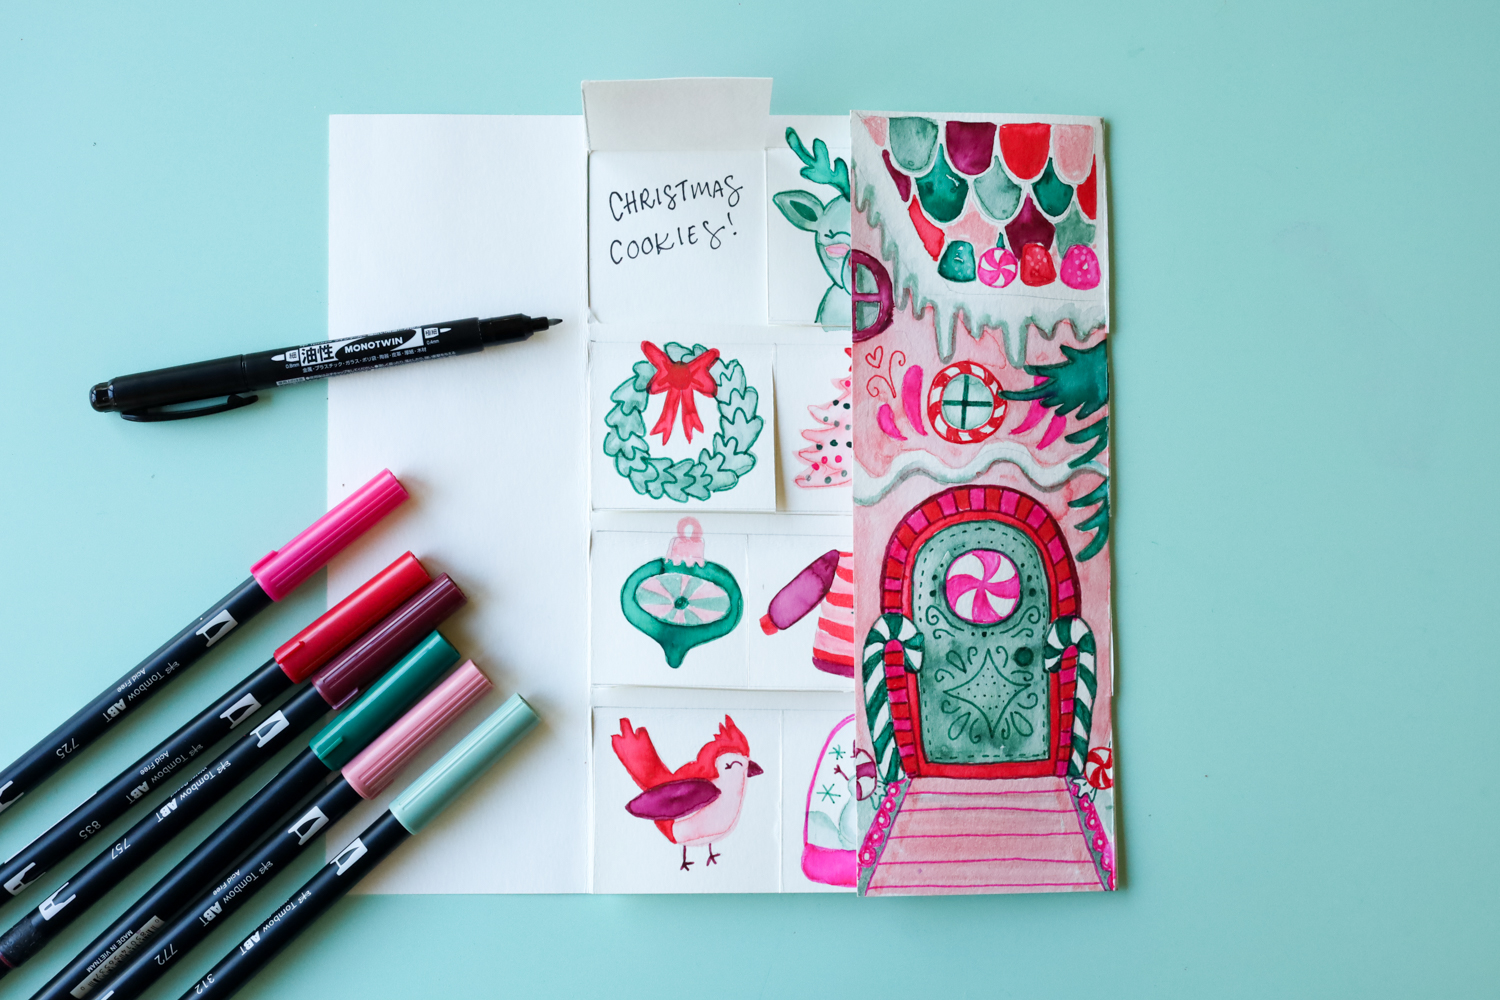
I love making advent calendars because they make every day leading up to the holidays feel extra special. This booklet has 12 flaps for each day that you can write a new Christmas activity to do for the 12 days leading up to Christmas! This would be so fun to make and give to a friend as an early Christmas gift to spread the holiday cheer!
DIY Advent Calendar:
Supplies:
- Tombow Dual Brush Pen Art Markers, Very Berry, 6-Pack
- Tombow MONO Drawing Pencil
- 2 pieces of 9×12″ Watercolor Paper
- Ruler
- Craft Knife
- Bone Folder (optional, this is just to really crease the paper but you can fold it by hand too!)
- Paint Brush + Water (optional)
- Tombow Xtreme Adhesive Tape Runner, Permanent
- Tombow MONO Twin Permanent Marker
Step one:
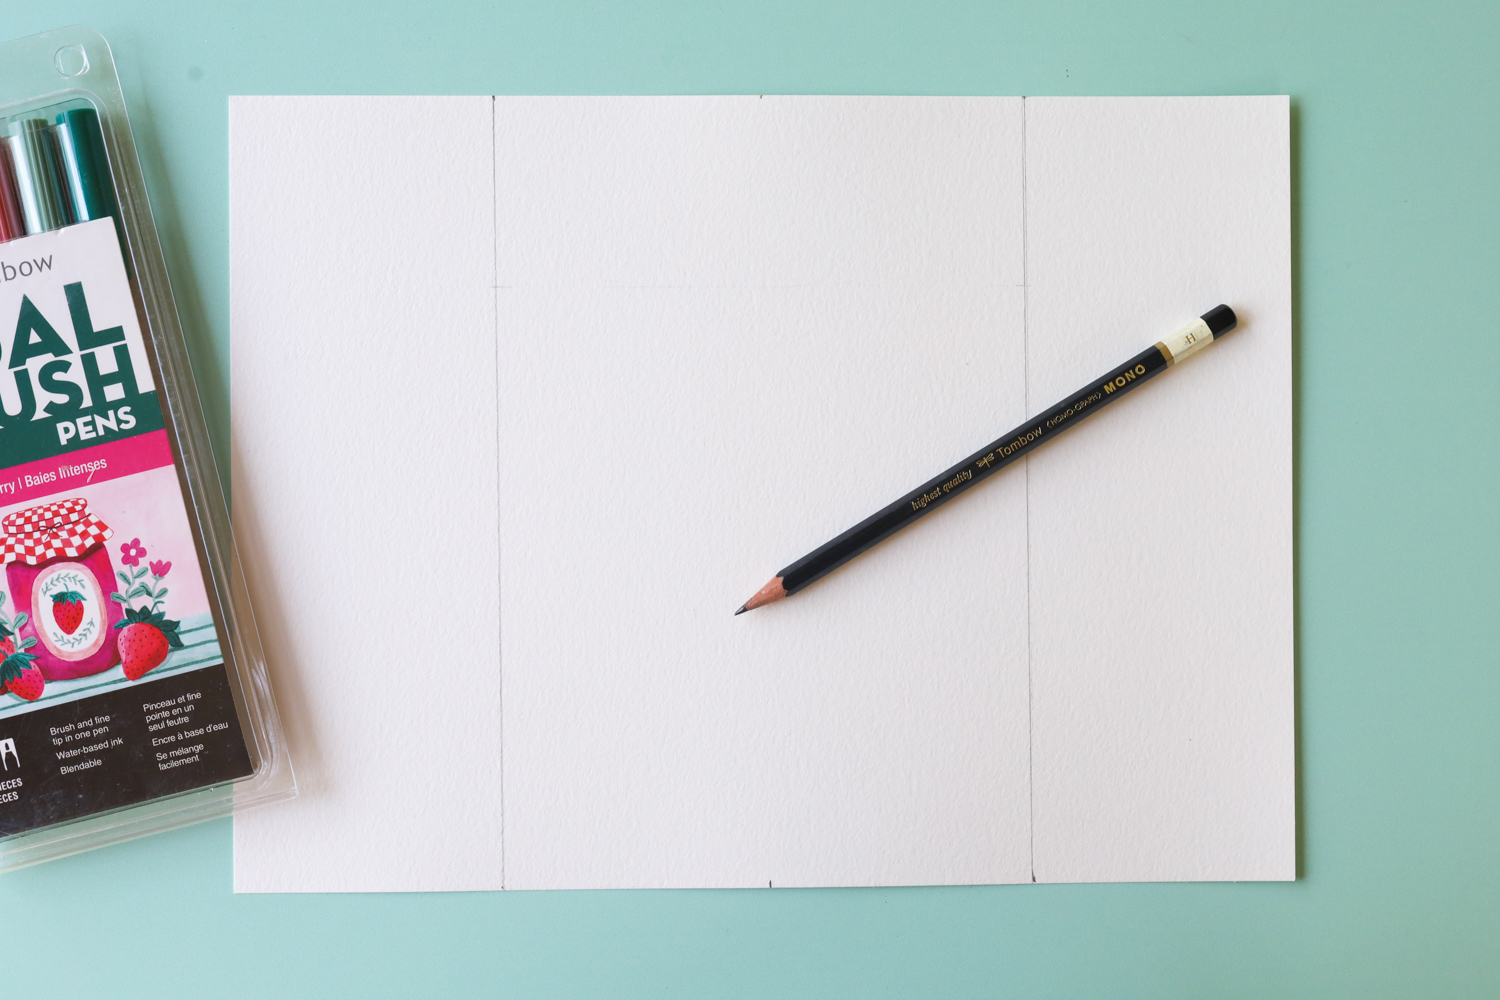
Start by using a ruler to create 2 vertical lines onto 1 piece of 9×12″ watercolor paper. You want them 3″ in from either side, so that the middle section is 6″ wide.
Step two:
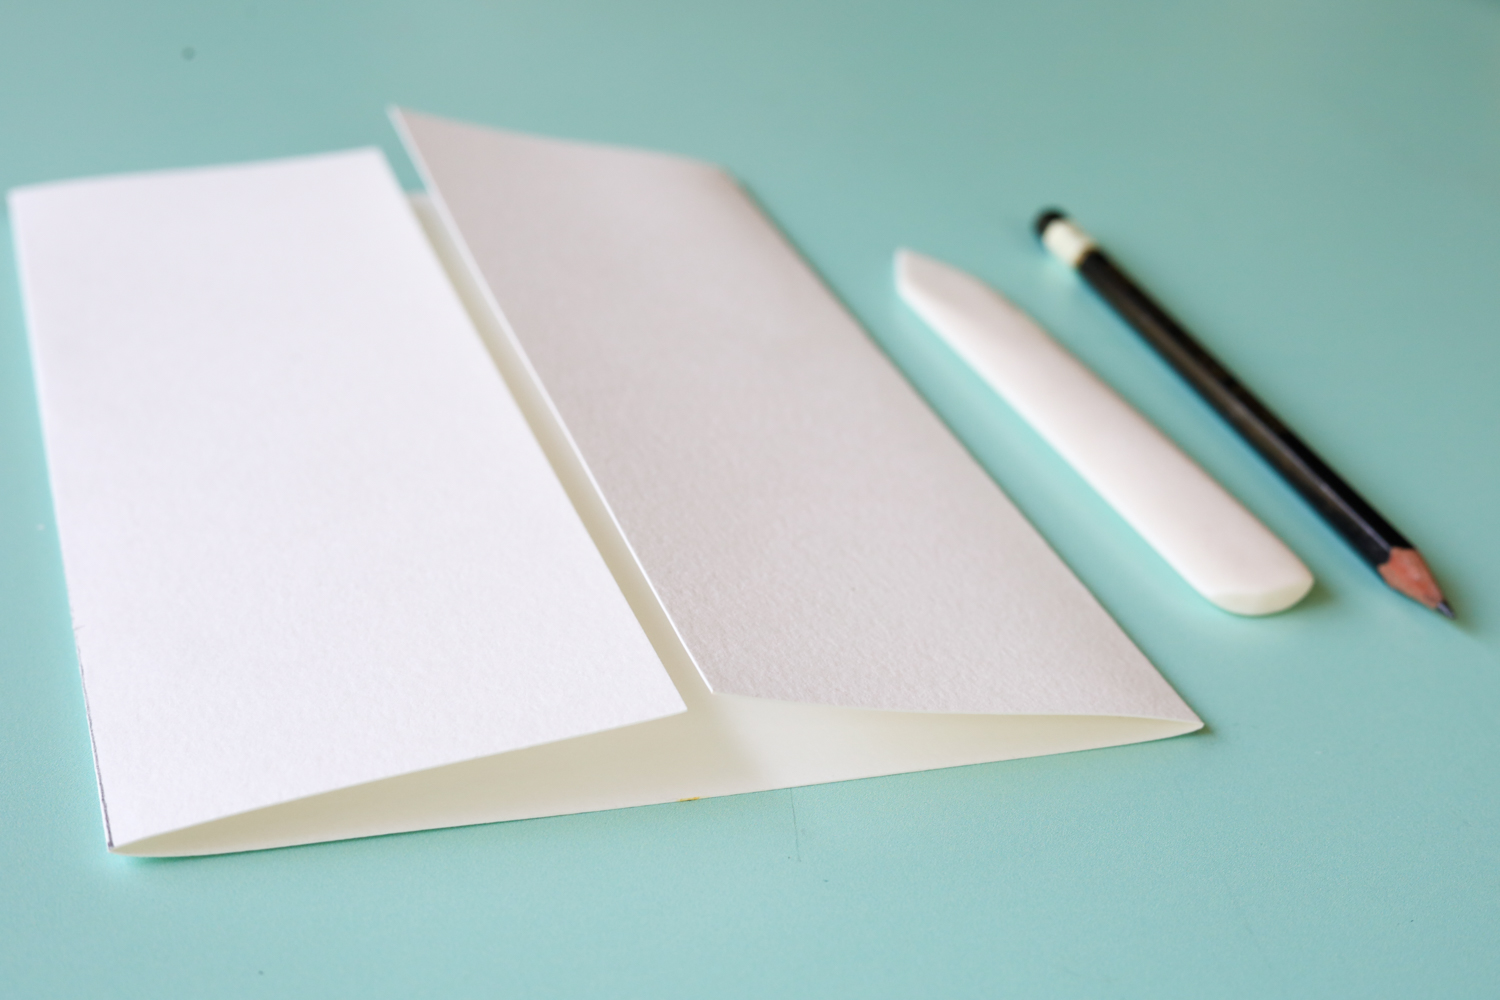
Fold in both 3″ sections to create flaps. If you have a bone folder you can use it to run it along the crease and really crease it, if not, just crease it with your fingers!
Step three:
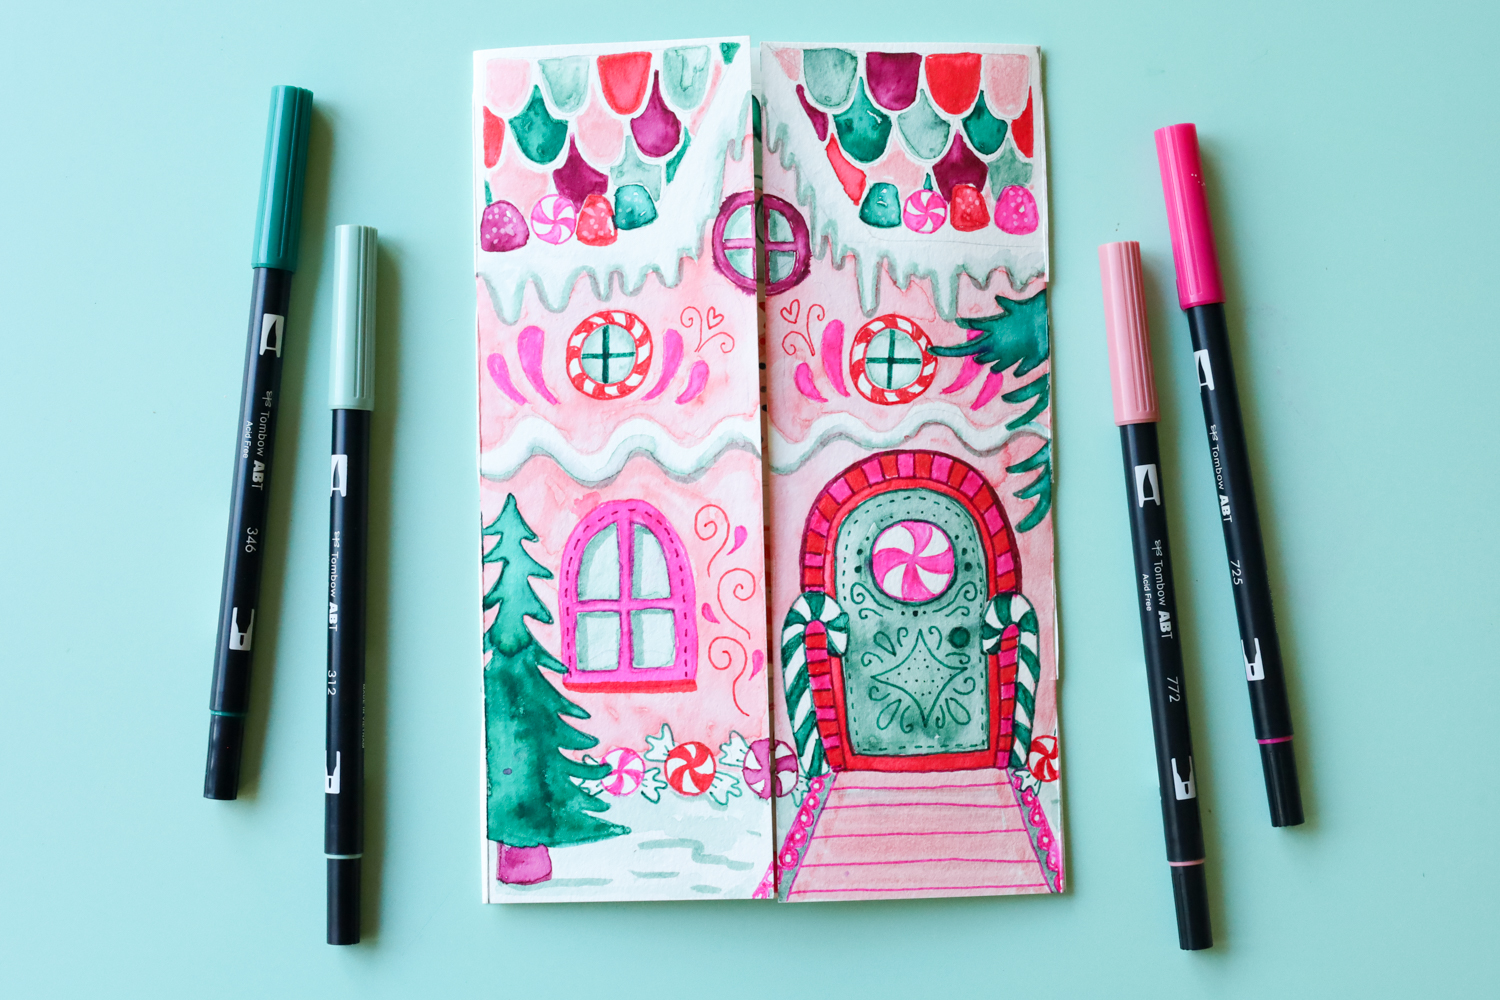
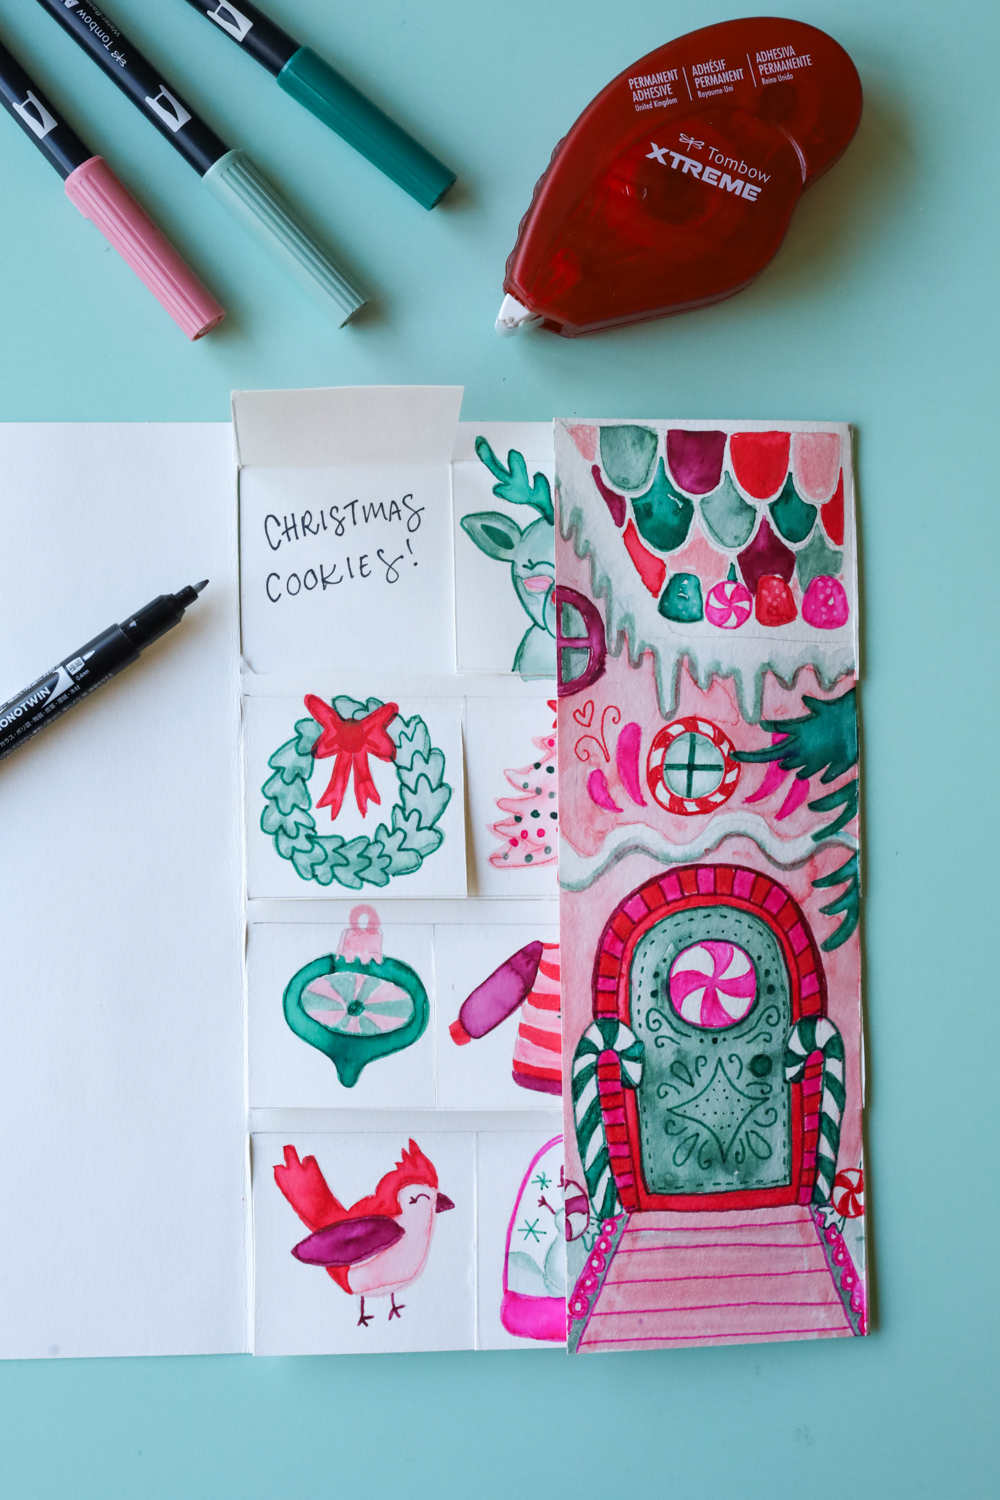
Use a MONO Drawing Pencil to sketch out your house design onto the front of the 2 folded flaps (they should meet in the middle).
Next, Color in your house sketch using Dual Brush Pens. I’m using the Very Berry set, because I love the pink and teal shades. Even though it’s a Summerry set, I think these colors are a perfect holiday palette as an alternative to the classic red/green!
Optional, you can also use a paint brush and water to “paint” your house and give it a watercolor feel. I love the artsy watercolor style, so that’s what I’m doing here. Learn how to watercolor with Dual Brush Pens here.
You can also just color it in with the Dual Brush Pens, no water needed!
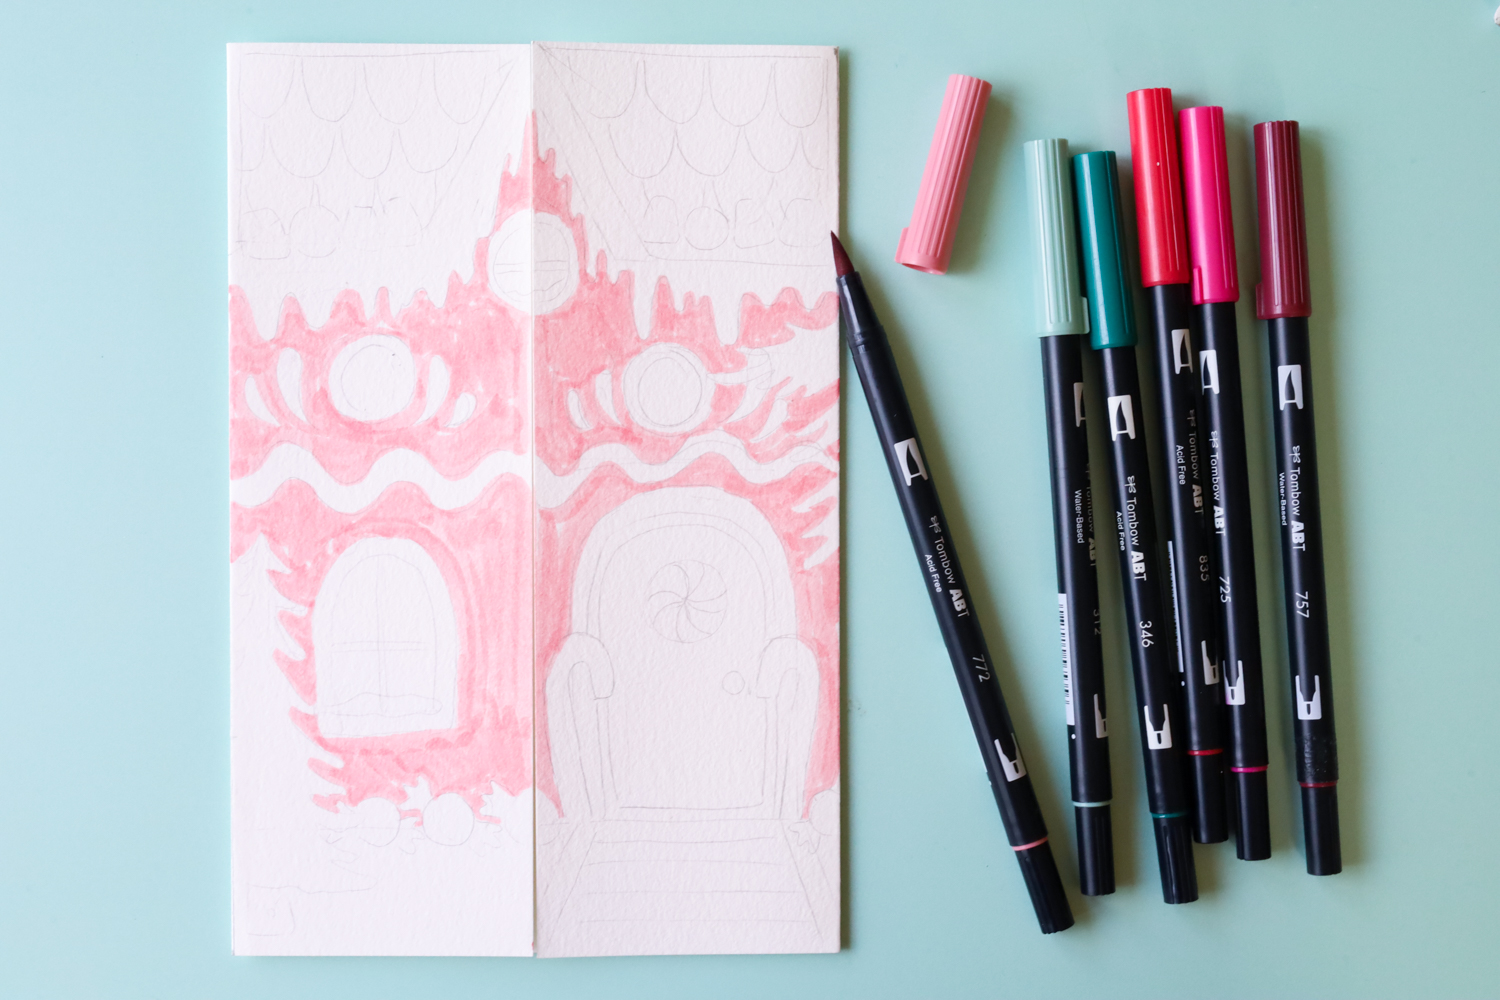
Don’t forget that the Dual Brush Pens are double sided! The bullet tip is fantastic for drawing small details or adding outlines!
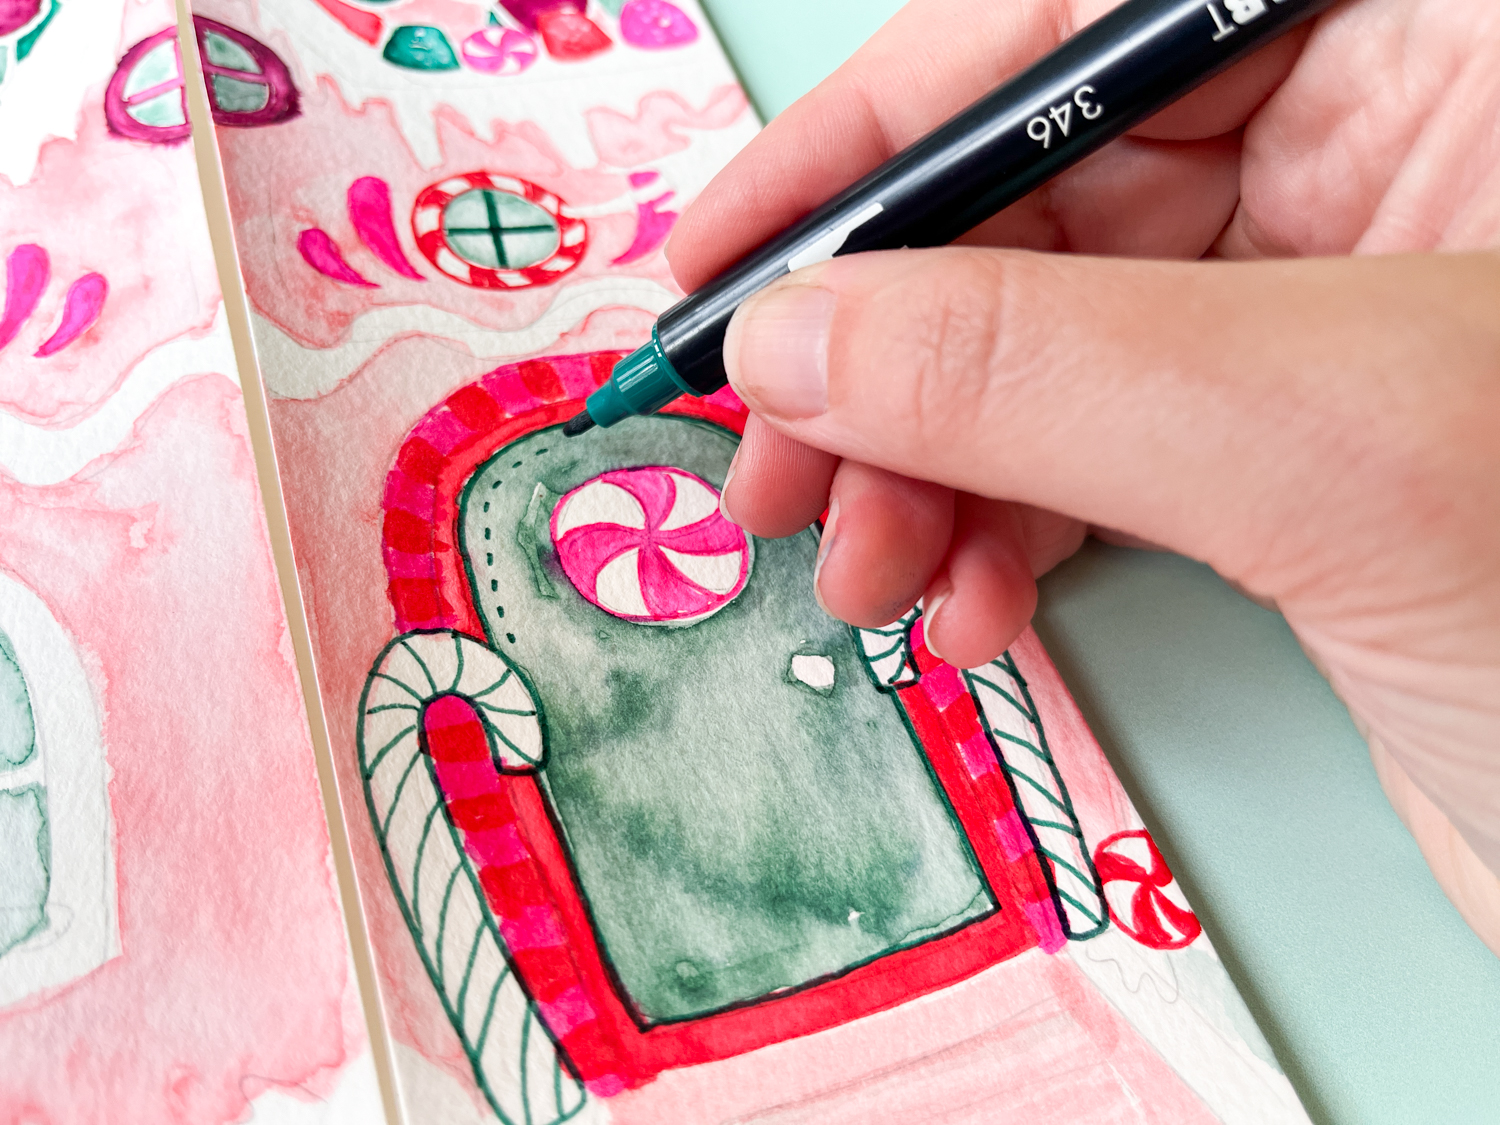
Step four:
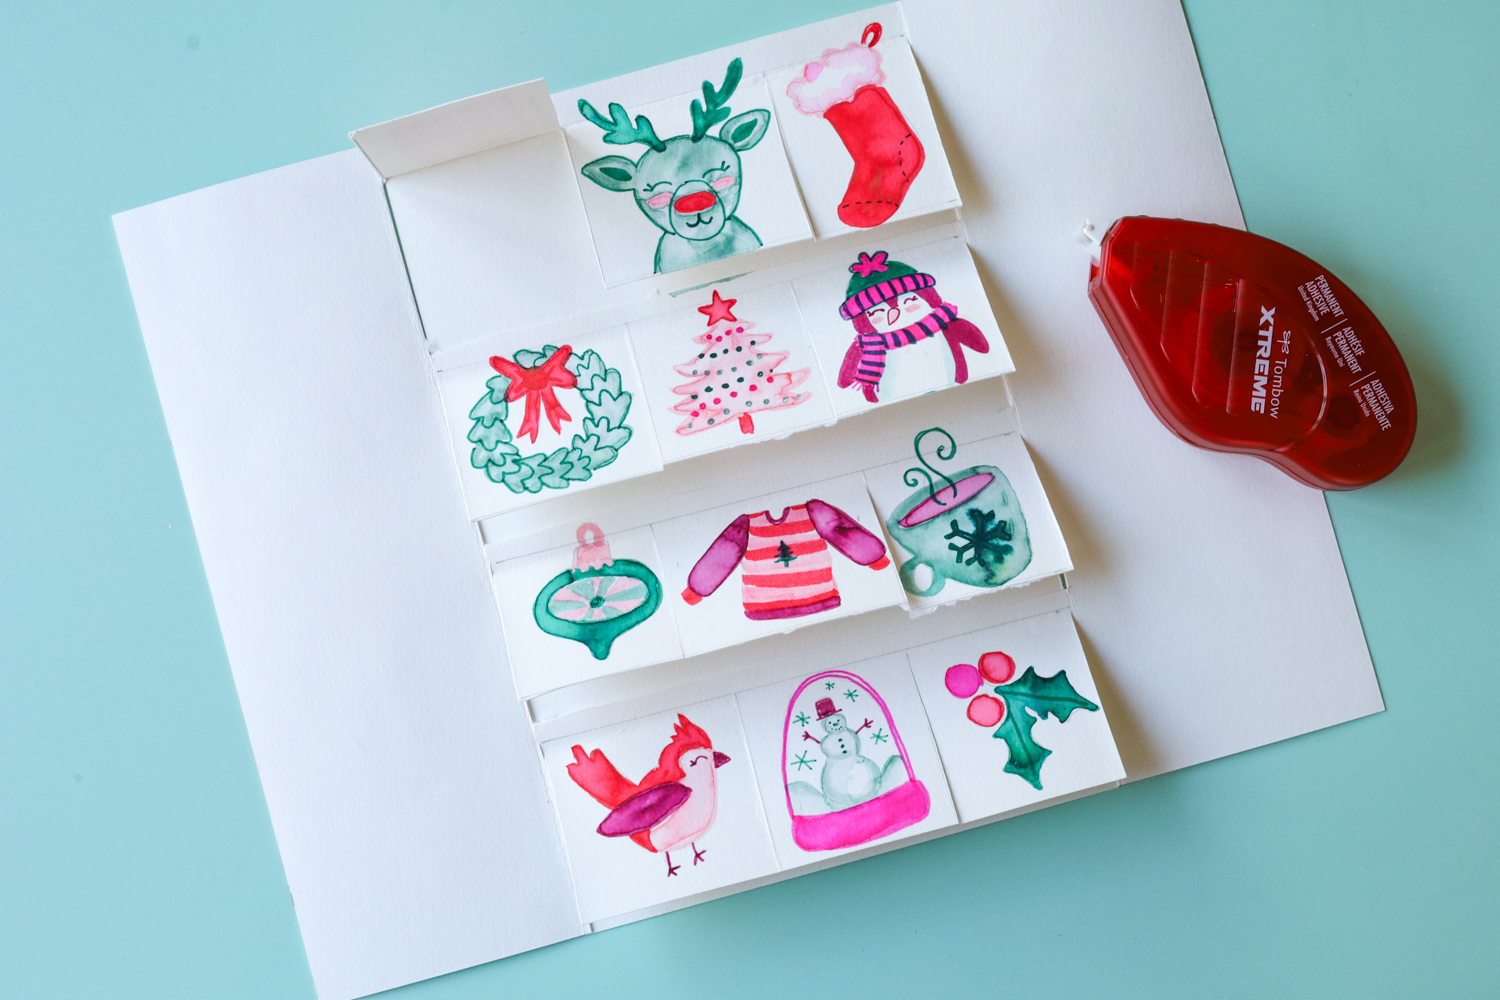
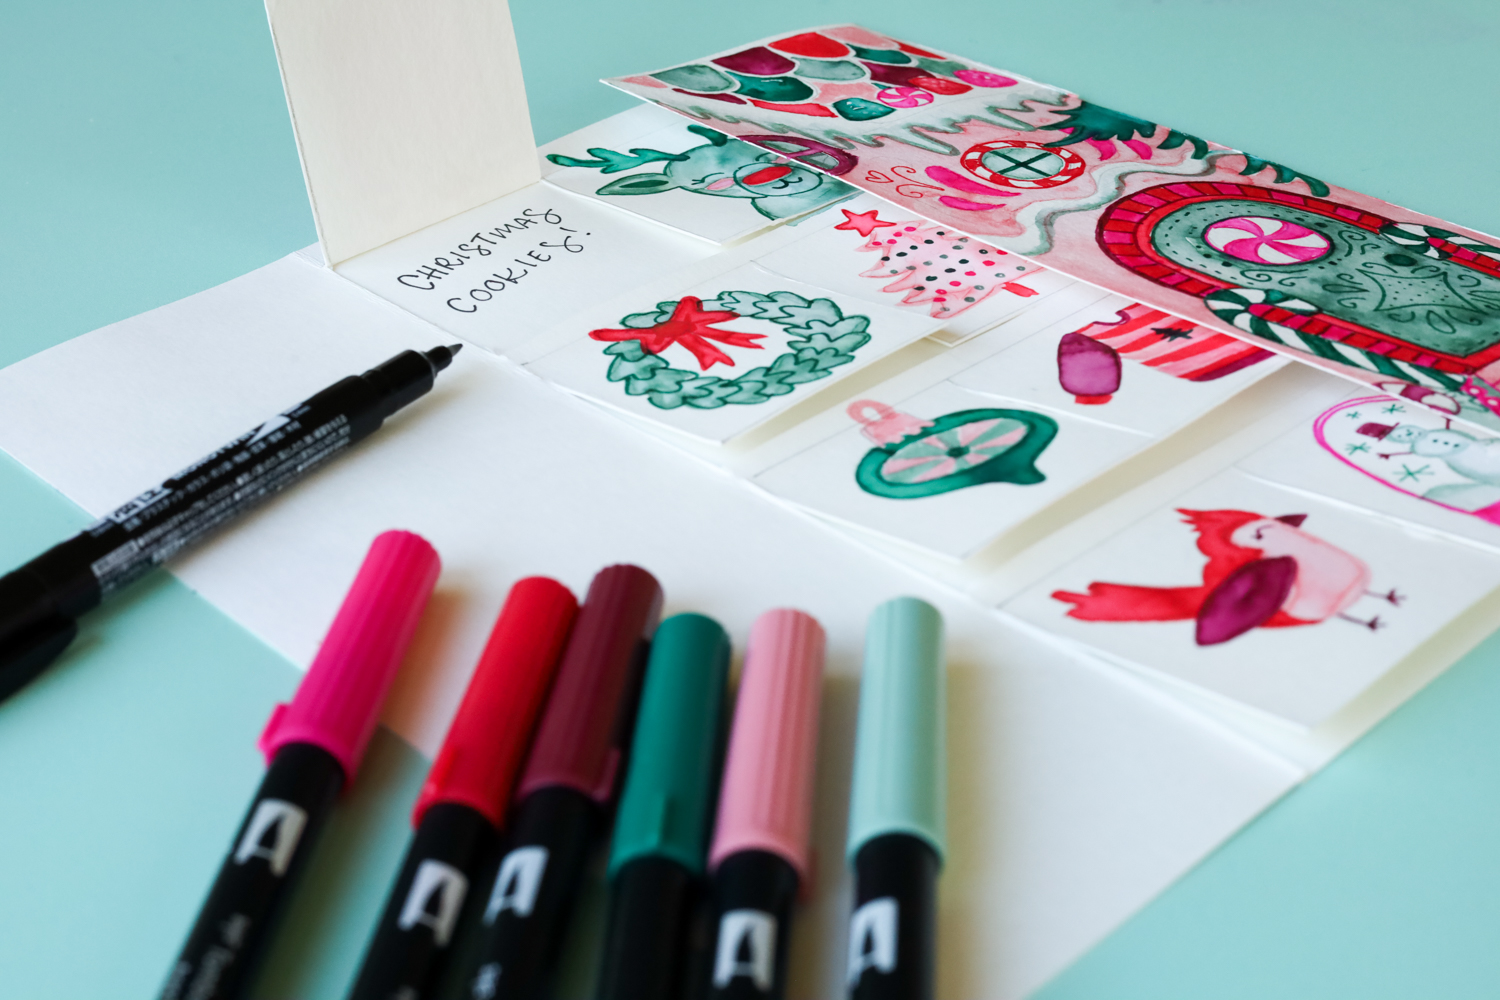
Next, open up the flaps and draw 12 holiday doodles onto the center section of the paper using Dual Brush Pens. Have fun, draw anything you think is cute and Christmasy!
Note: It would probably be helpful to sketch out a grid of 12 squares first before adding your doodles & making sure each doodle fits within their square. I didn’t do this, so on the next step, my doodles are actually larger than some of the flaps.
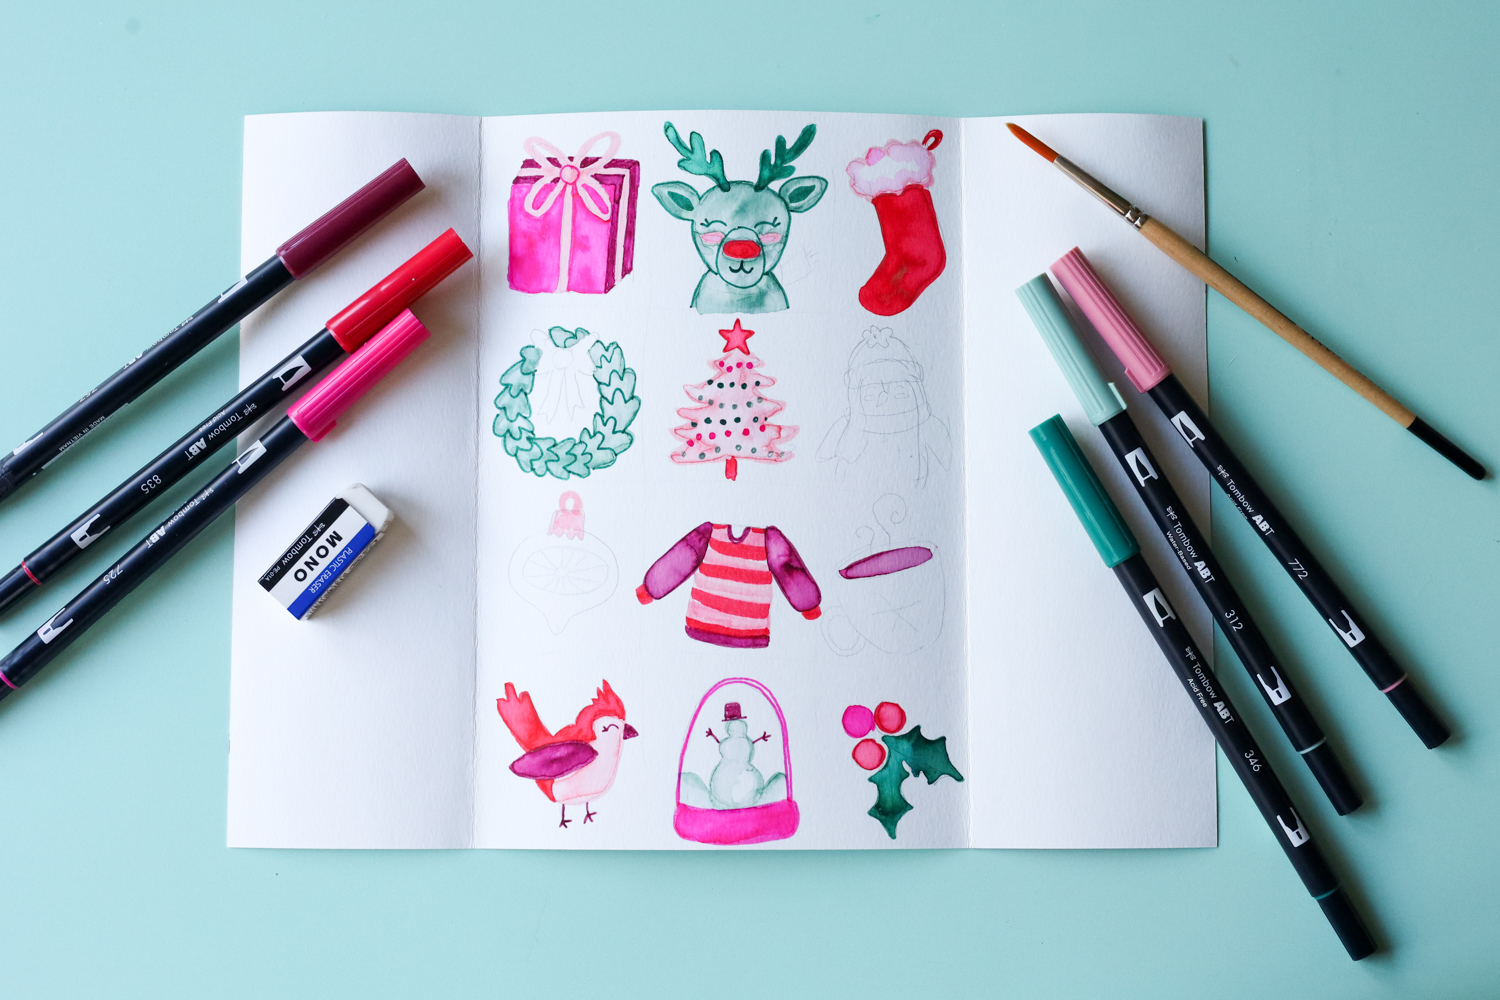
Step five:
Draw out a grid around your doodles and use a craft knife to cut around the sides and bottom to create flaps.
Super important: leave a horizontal strip between each row of doodles/flaps that attaches to the top of the flaps AND the 2 side pieces of paper to hold everything together!
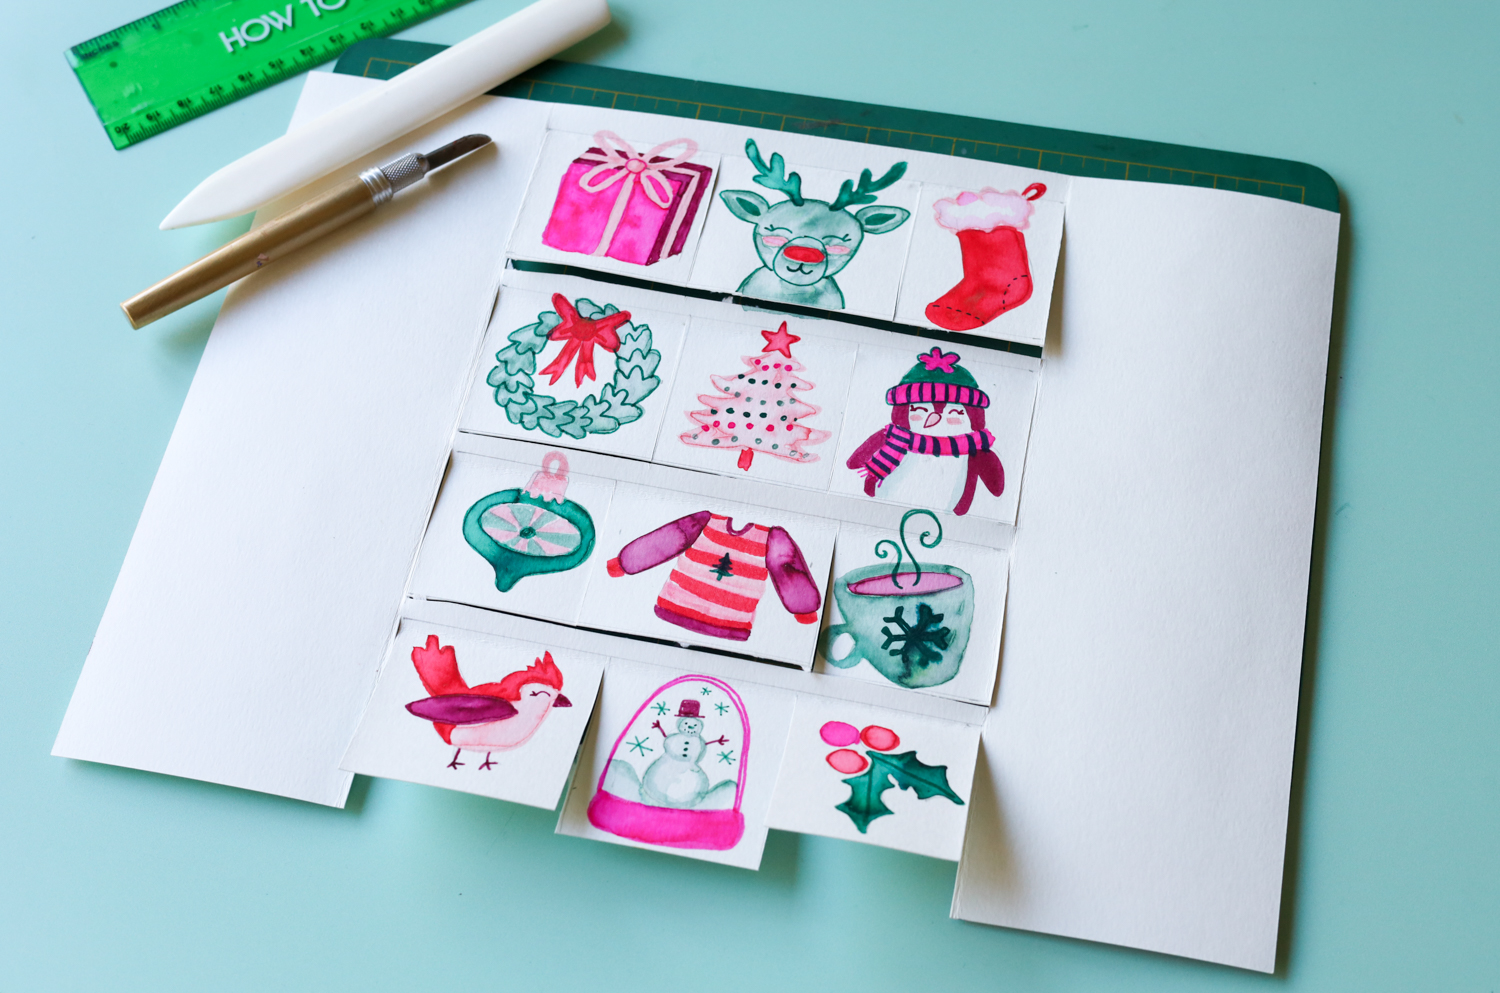
Step six:
Cut your second piece of watercolor paper down to 6×9″.
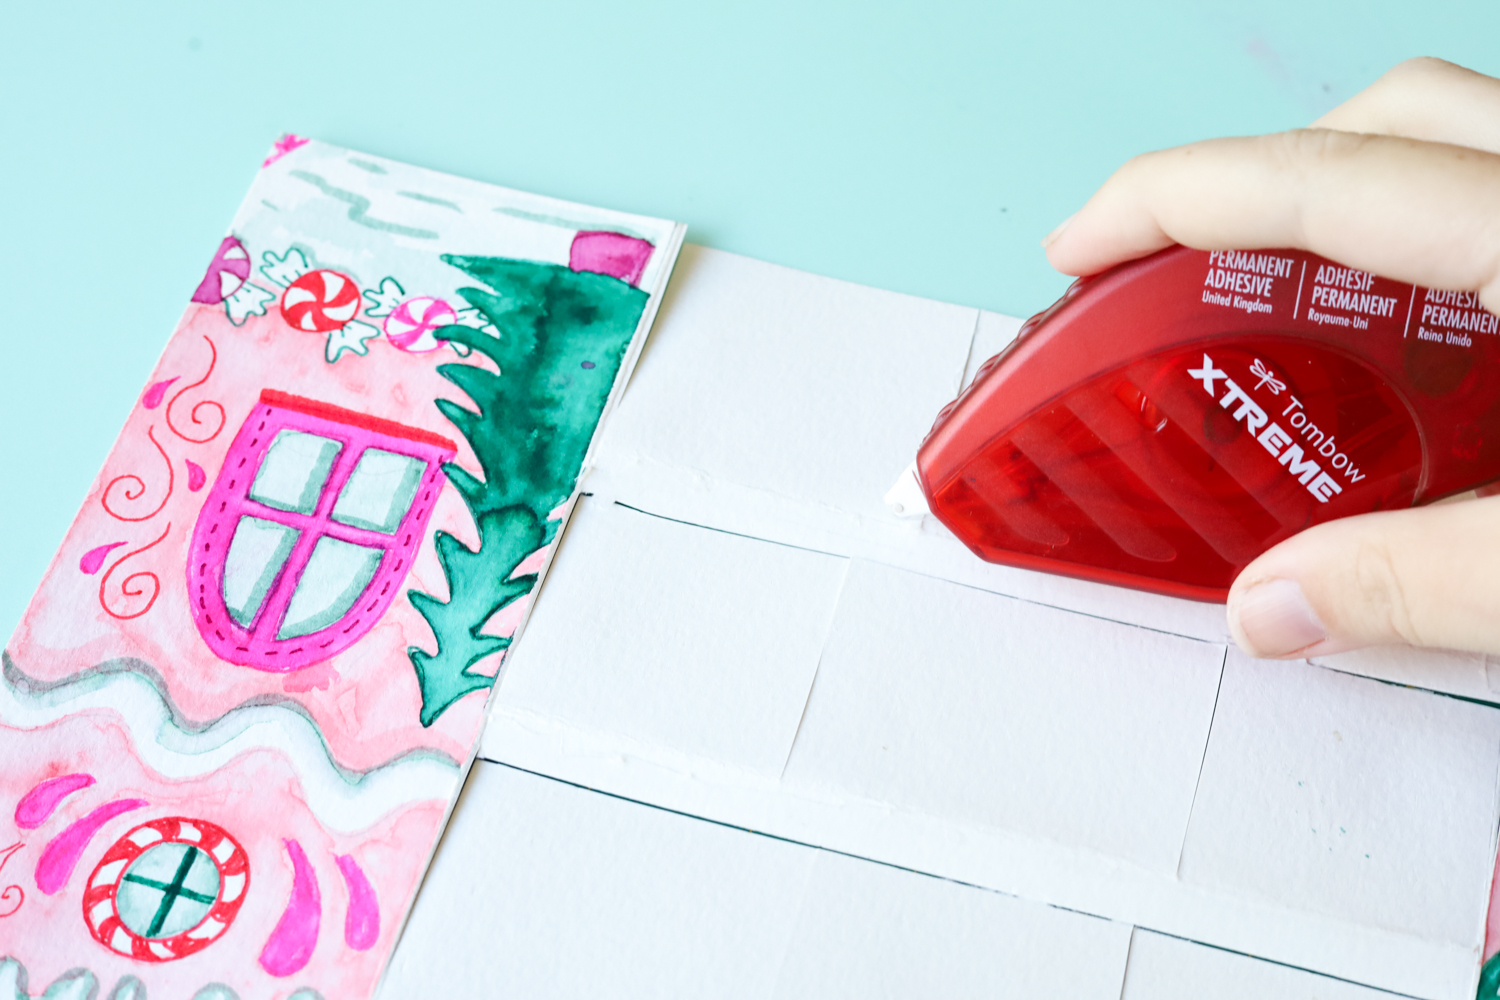
On your first piece of watercolor paper (your advent calendar with your doodles and house)– Apply Tombow Xtreme Adhesive to the back of each of the horizontal strips in between the rows of flaps.
Adhere your 6×9″ piece of paper down to the back of your advent calendar, sticking it down to the adhesive you just applied.
Step seven:
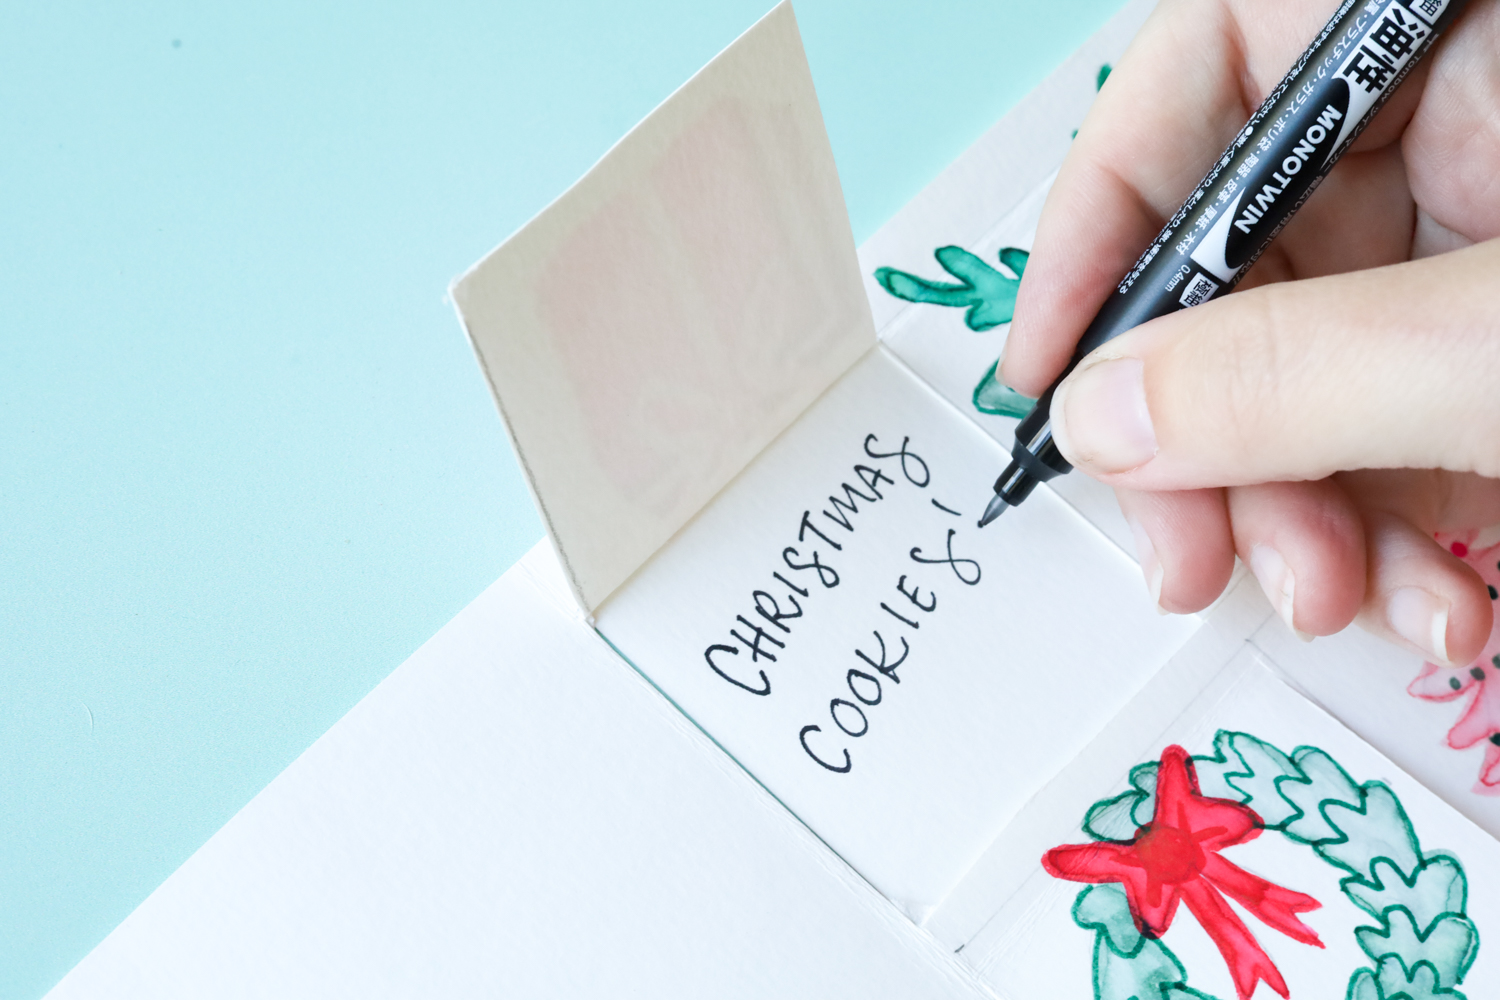
Fold each of the flaps up and then back down to crease them.
Use your MONO Twin Permanent Marker to write a different Christmas activity for each day beneath the flaps!
and that’s it! I hope you loved making this DIY Advent Calendar with me! I would love to see what your gingerbread house looks like, so if you share yours on instagram make sure to tag both @tombowusa & @studio.katie so we can see!
If you’re still looking for fun ideas, here are 10 Easy Holiday Craft & DIY Ideas!