Hey friends! I’m Sara Hynes, and today I’m going to show you how to make a fun and punny Valentine’s Day card—complete with heart confetti! Not only is this card easy to make, but it’s also guaranteed to bring a smile. Let’s jump in!
What You’ll Need:
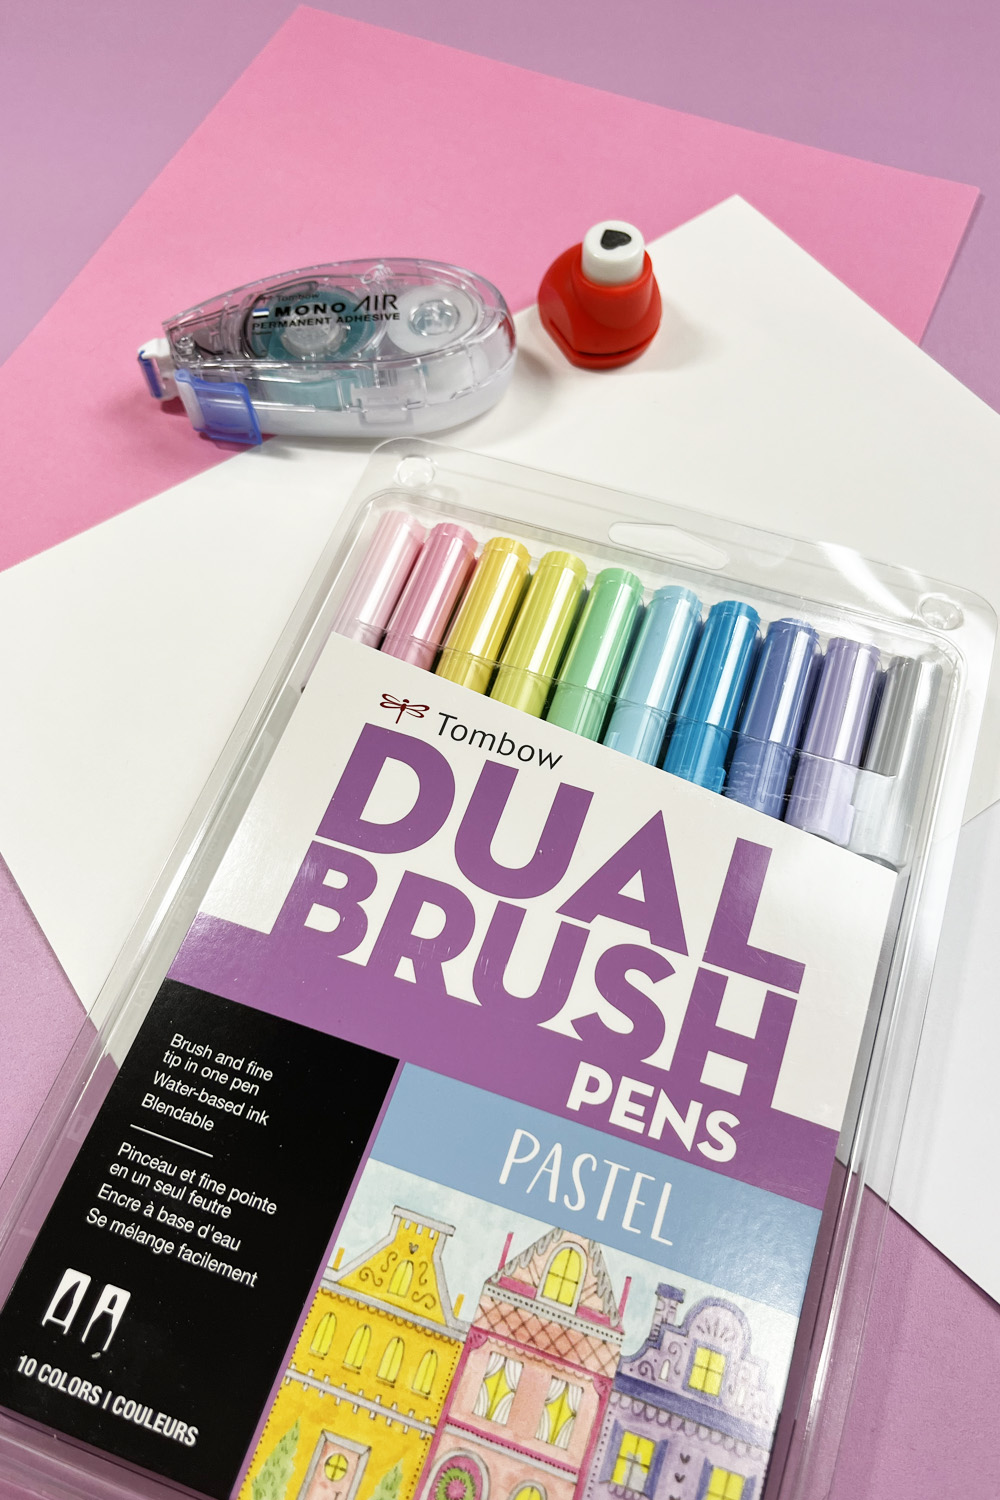
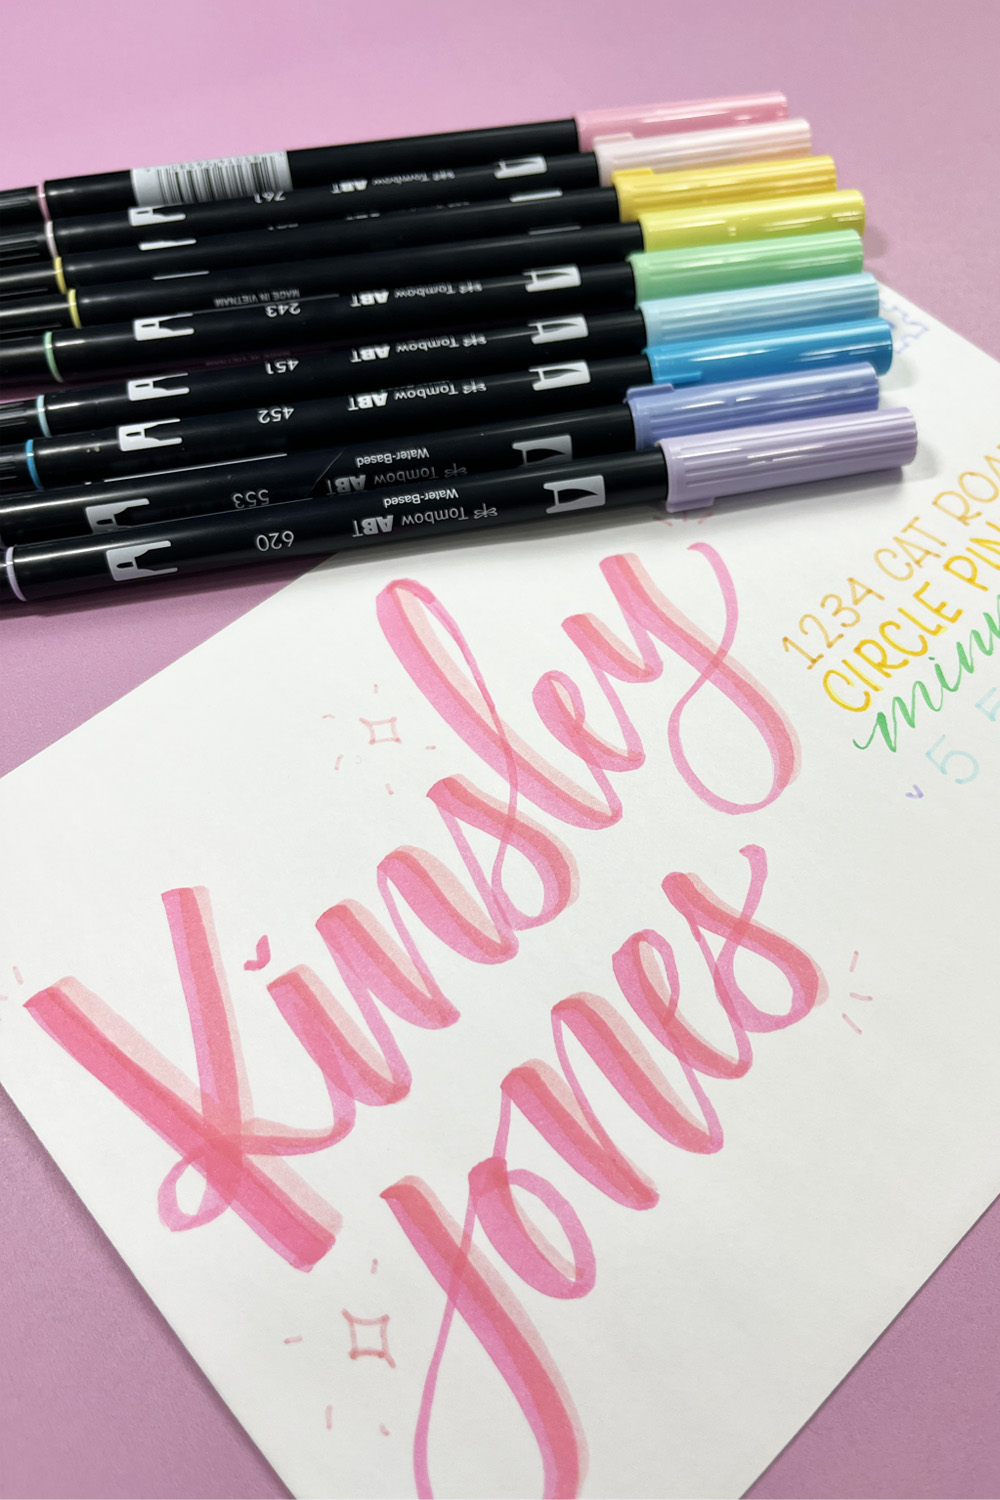
- Dual Brush Pen Art Markers, Pastel, 10-Pack
- Marker paper
- Heart-shaped punch (optional, but helpful)
- MONO Air Touch Adhesive
- MONO Graph Mechanical Pencil
- Colored cardstock (your choice of color)
- Fudenosuke Brush Pen, Hard Tip, Black
- Scissors
- MONO Glue Stick
- Dual Brush Pen – 025 Light Orange
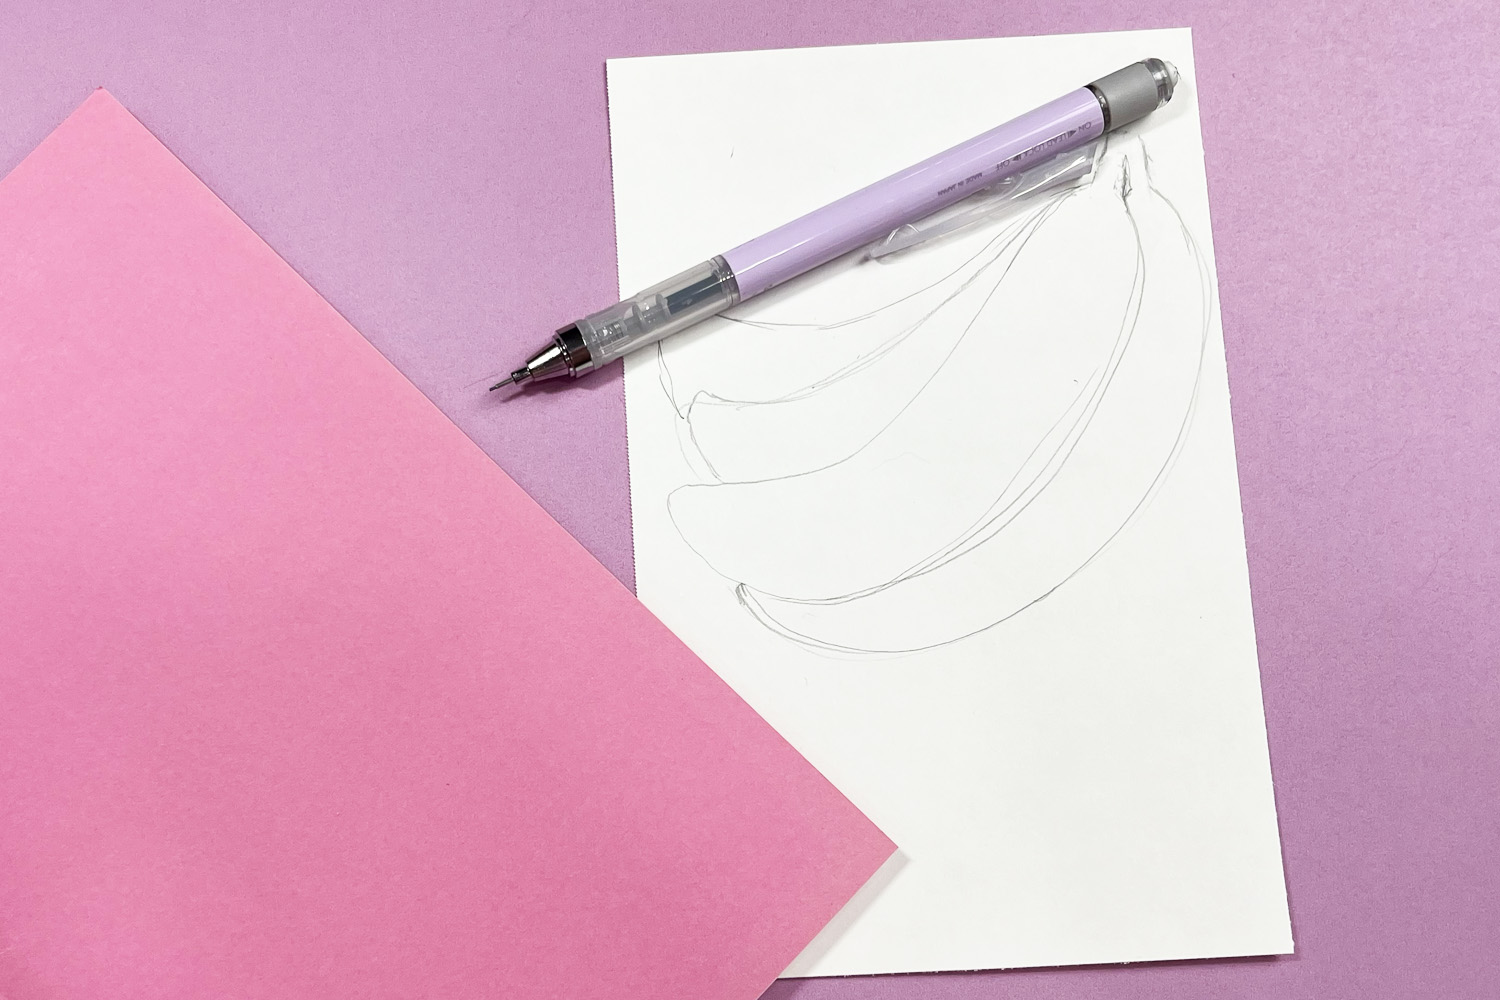
Step 1: Fold the Card
Start by folding your colored cardstock in half (hamburger style). This will form the base of your card. Next, grab your marker paper and lightly sketch a bunch of bananas using your MONO Graph Mechanical Pencil.
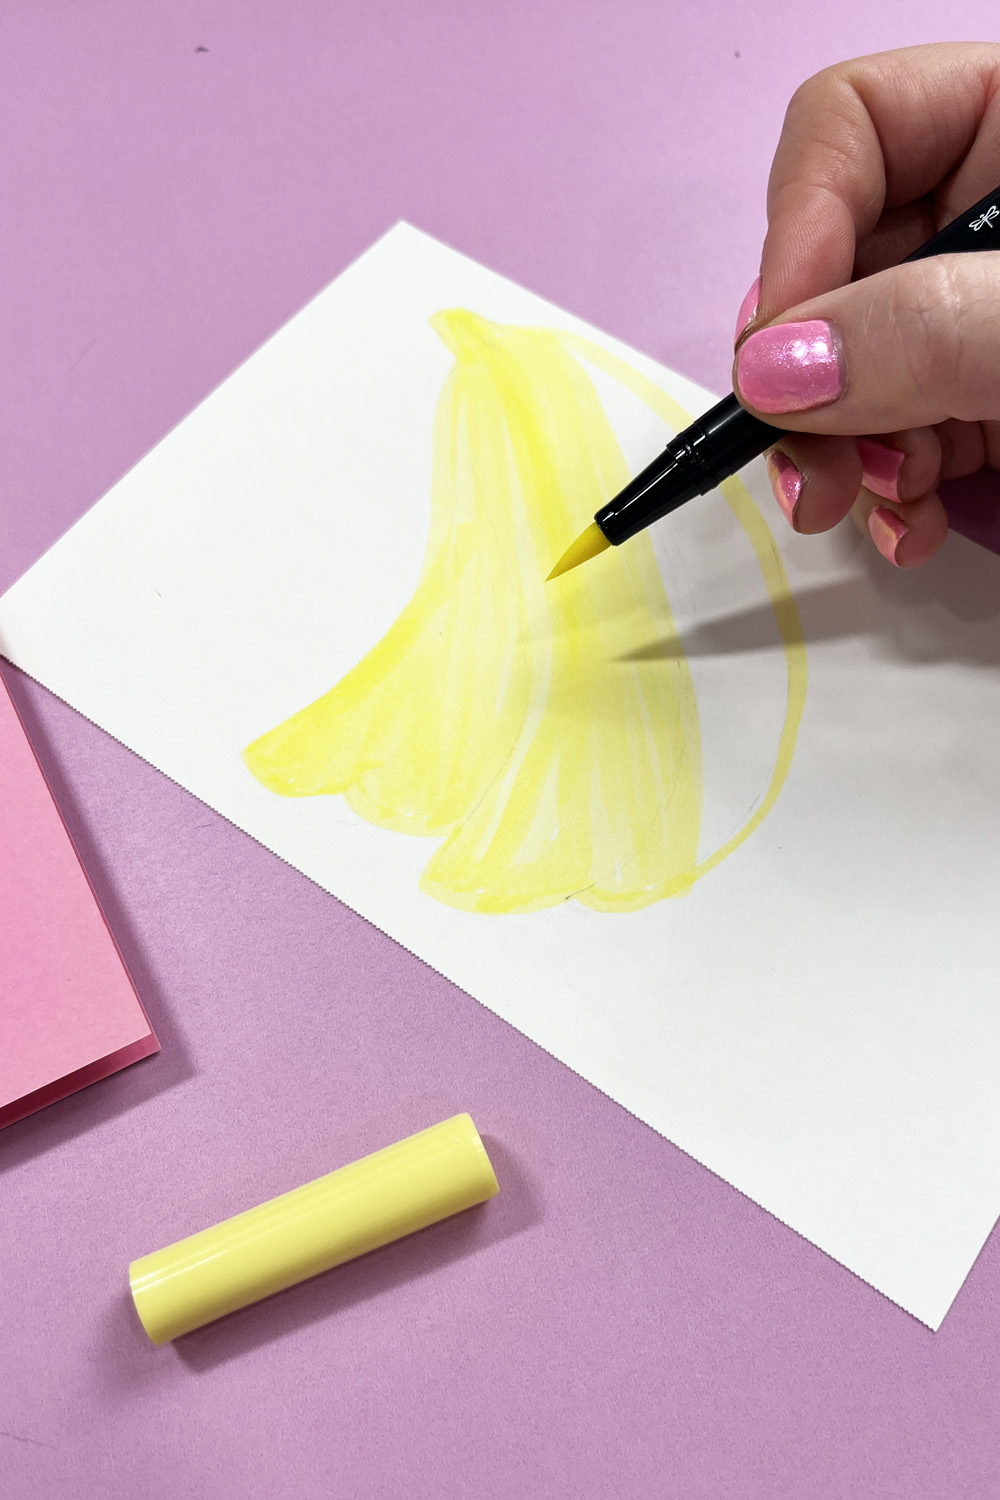
Step 2: Color the Bananas
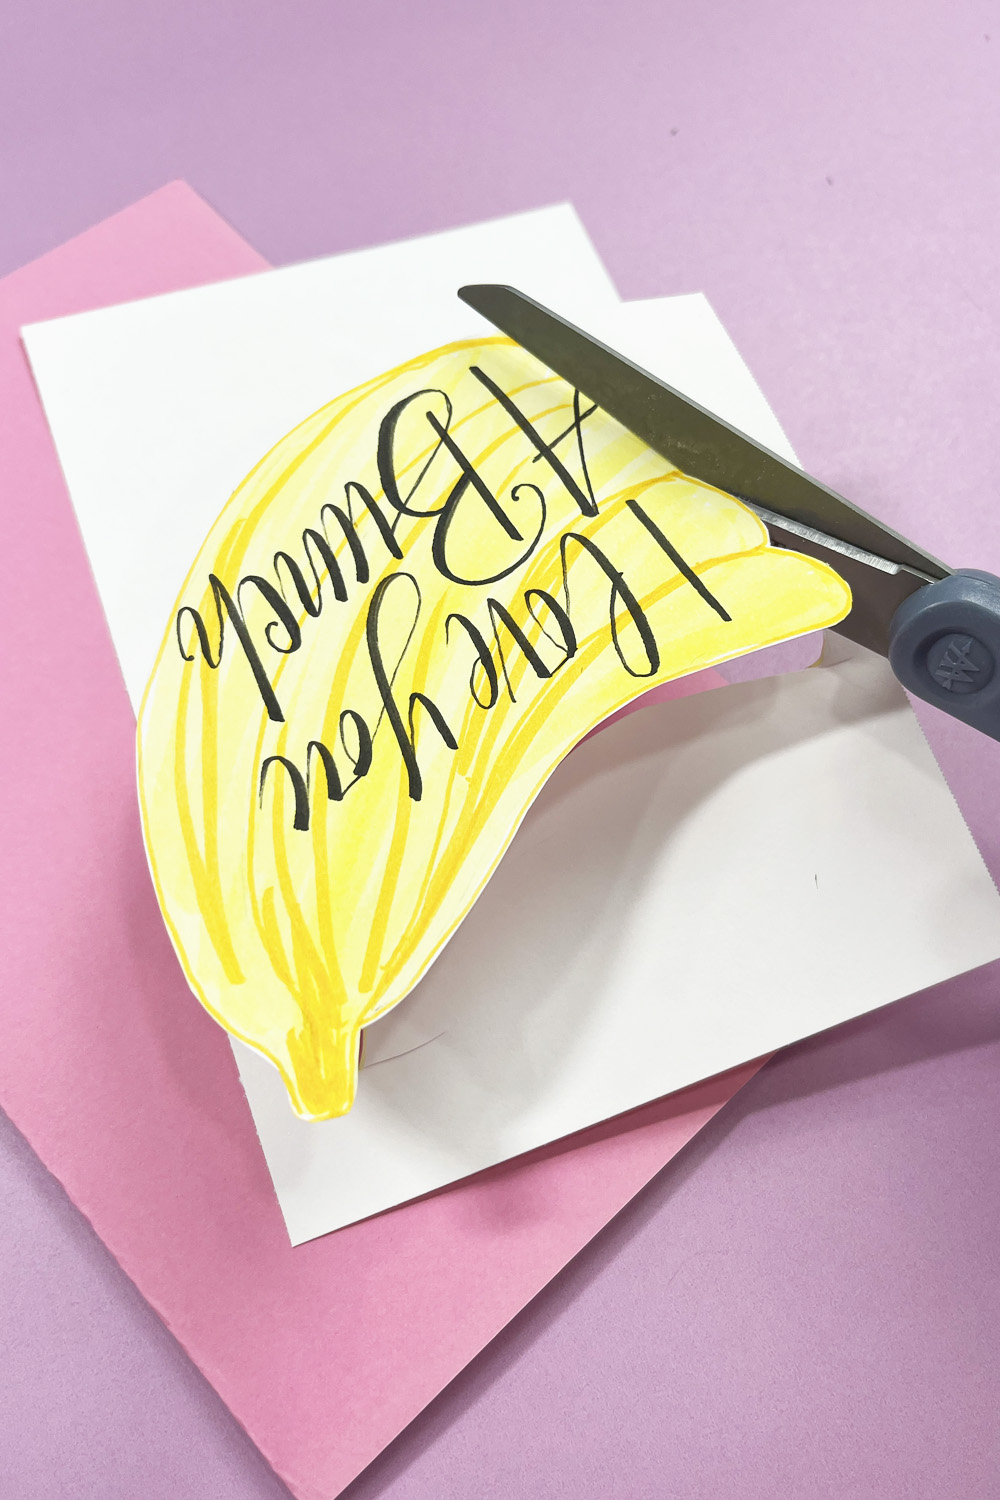
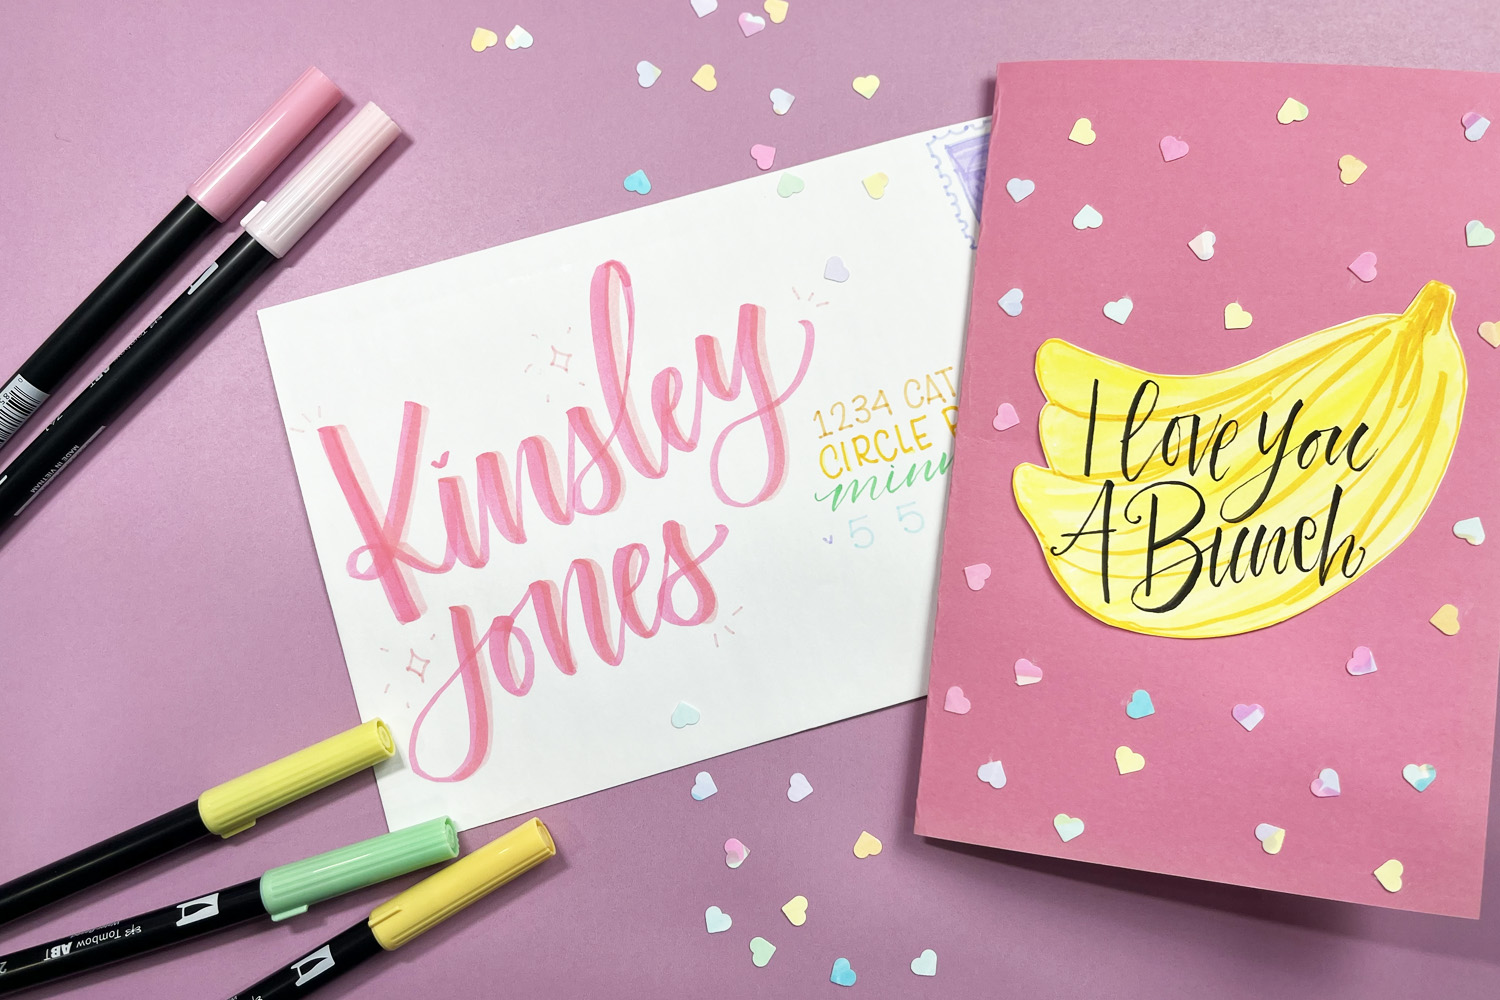
Once you’re happy with your sketch, gently erase the lines so they’re faint. Now, use the Dual Brush Pen 062 Pale Yellow to color in the bananas. After that, grab your Dual Brush Pen 025 Light Orange to outline each banana and add some shading for depth. Next, use the Fudenosuke Brush Pen (hard tip) to add the text “I love you a bunch.” When your bananas are all colored and the phrase looks just right, cut out the banana bunch along the perimeter.

Step 3: Make the Heart Confetti
Take your Dual Brush Pen Art Markers (Pastel 10-Pack) and fill your marker paper with random, colorful strokes on both sides. Once it’s covered in a beautiful rainbow of pastel colors, grab your heart-shaped punch and punch out as many hearts as you can. If you don’t have a heart punch, you can always cut them out by hand.

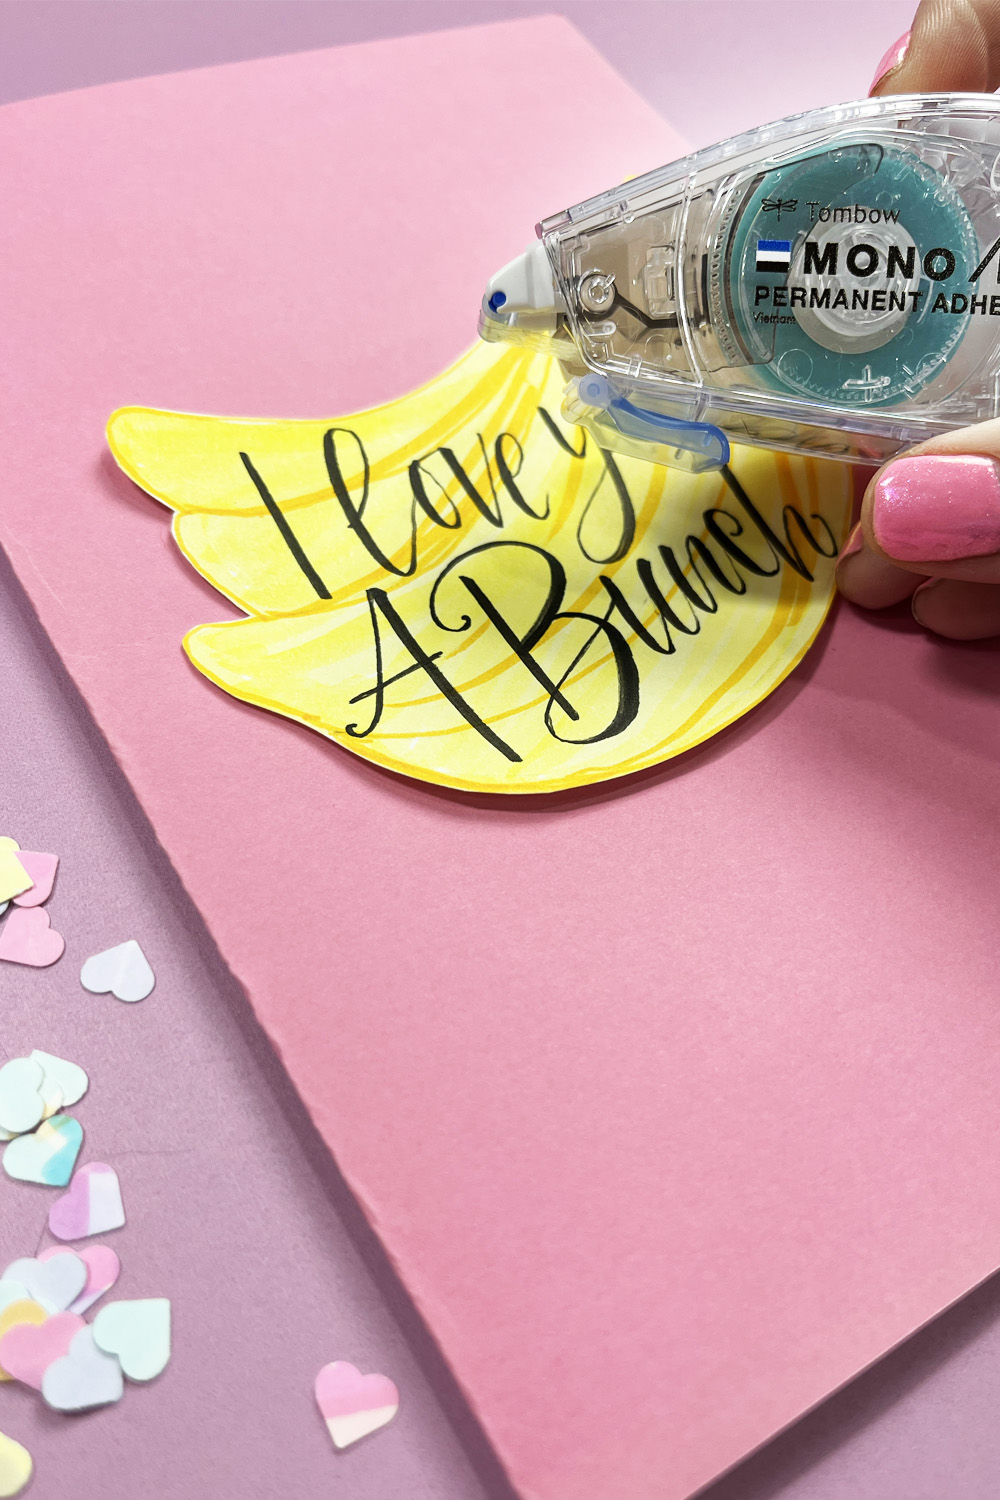
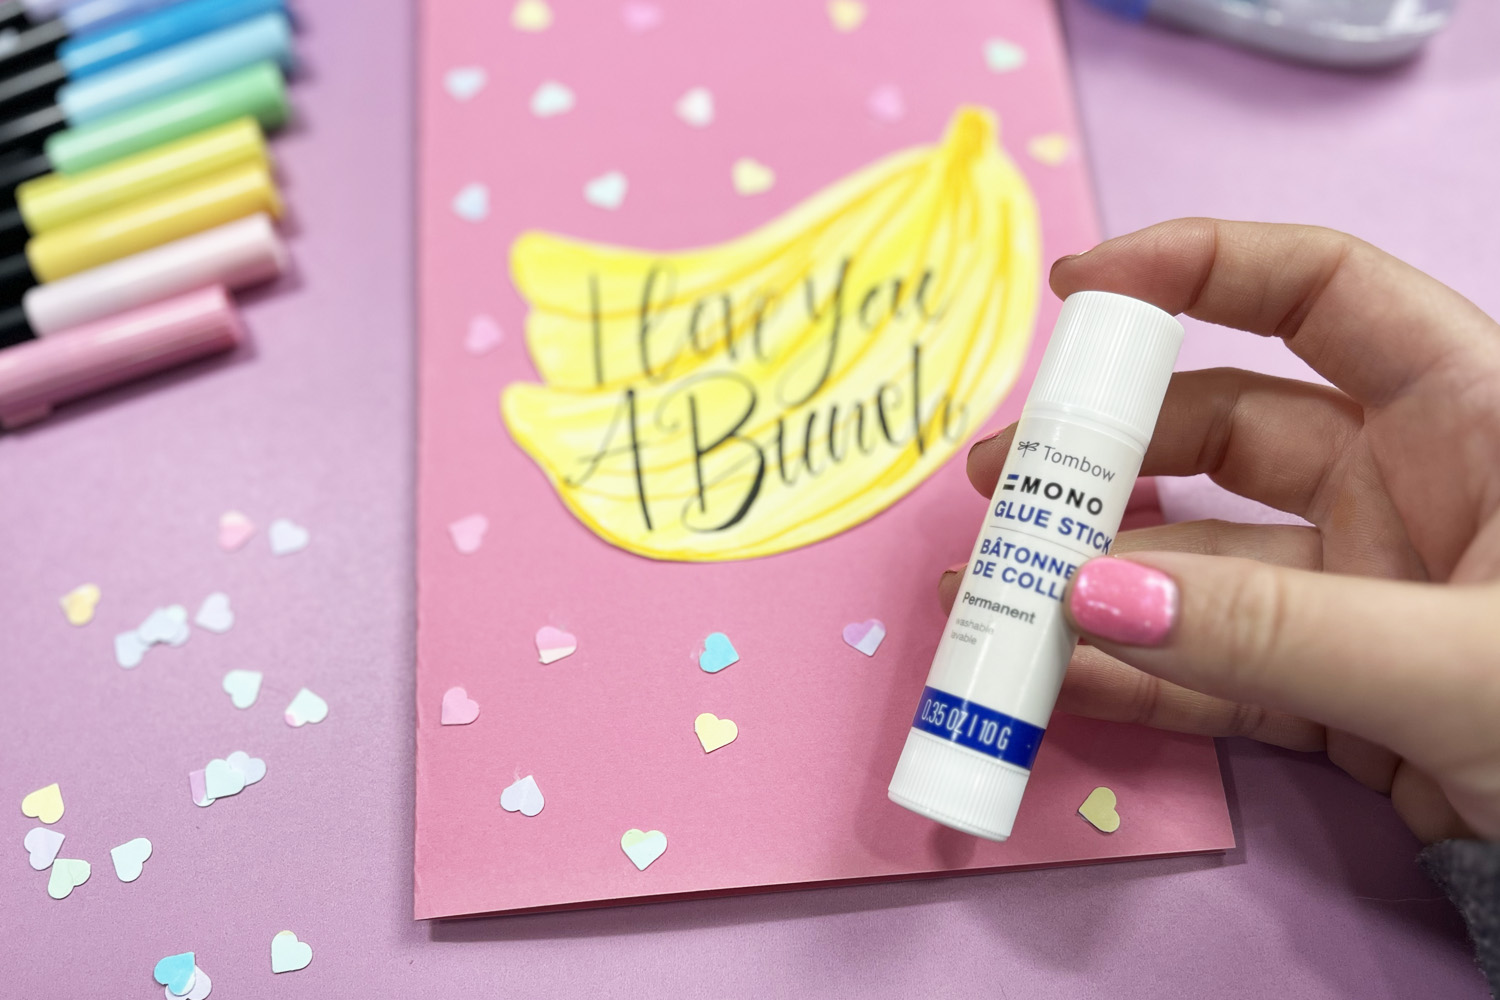
Step 4: Assemble the Card
Using your MONO Air Touch Adhesive, attach the banana cut-out to the front center of your folded cardstock. Then, grab your MONO Glue Stick and add your heart confetti all around the bananas. Feel free to scatter the hearts as much as you like!
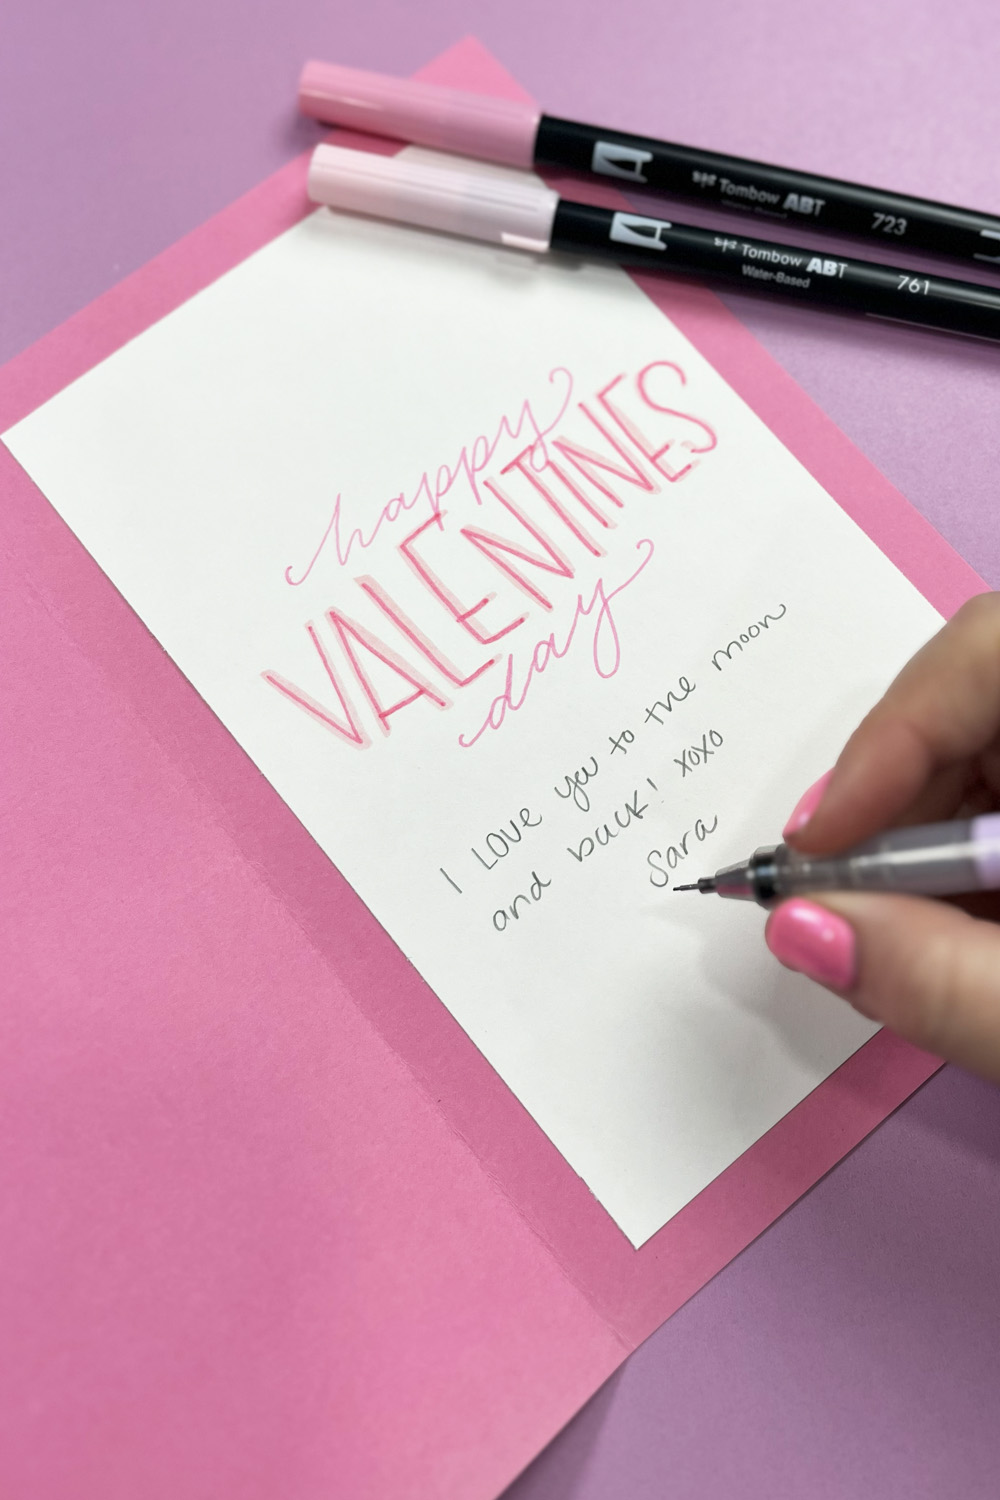
Step 5: Add a Personal Message
For the inside of your card, use your MONO Air Touch Adhesive to attach a piece of white marker paper. I used the Dual Brush Pens (761 Carnation and 723 Pink) to write “Happy Valentine’s Day” and added a personal message, but feel free to write whatever you’d like!
Step 6: Decorate the Envelope
Don’t forget the envelope! I used the Dual Brush Pen Art Markers Pastel 10-Pack to letter the recipient’s name and address on the front of the envelope. To finish, place your card inside and sprinkle a few heart confetti pieces in there as a fun surprise.
I hope you had fun making this cute DIY punny Valentine’s Day card! I’m sure whoever receives it will love it. Want to see more fun craft ideas? Head over to the Tombow blog for additional inspiration! And don’t forget to tag @sarahynesdesigns and @tombow in your creations—I love seeing your work!
Happy Valentine’s Day!