Hi all, it’s Carola and in this post, I’m going to share a step-by-step DIY beaded holiday decoration that you can easily recreate. The beauty of these beaded tree decorations is that you can hang them as tree ornaments, include them in handmade gifts, or use them as table decor. All you need are some basic craft and stationery supplies listed below.

Supplies Used:
- TwinTone Marker Set, 12-Pack Bright
- MONO Graph Mechanical Pencil, Pastel, Ice Blue
- MONO Natural Eraser
- white cardboard, Kraft paper cardstock, string, beads, scissors
Step-by-Step Process To Create A Beaded Holiday Decoration:
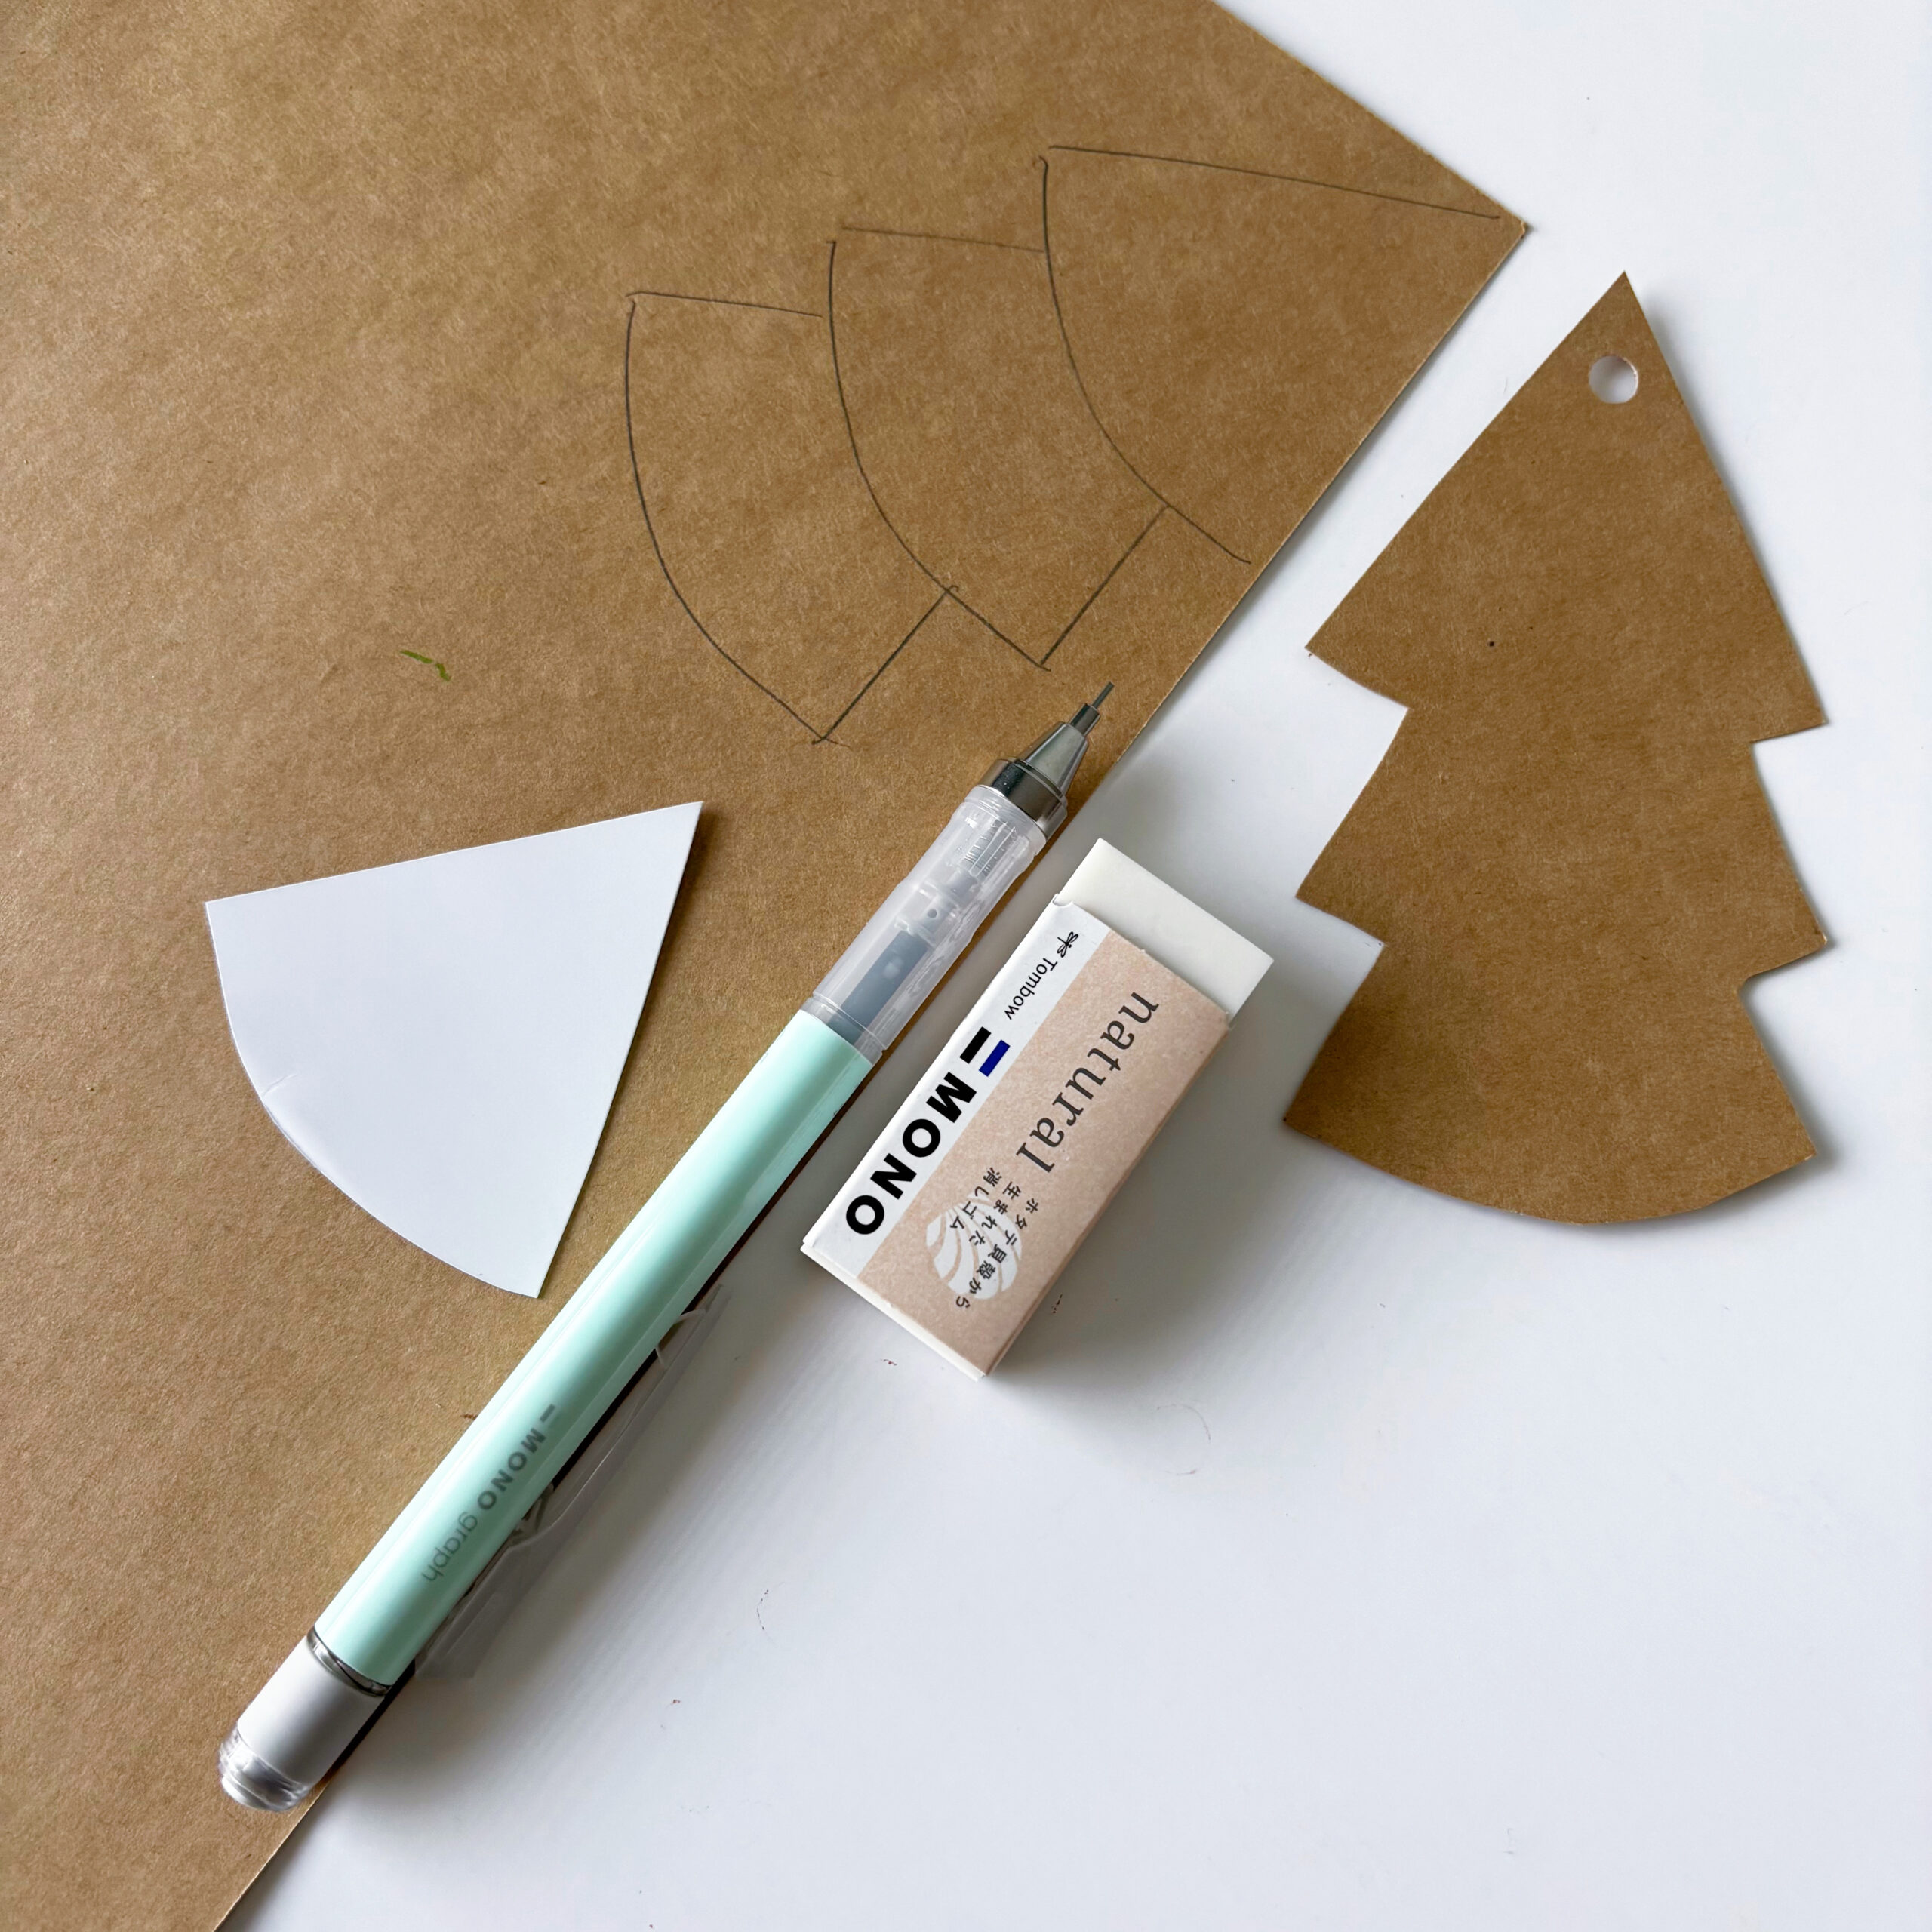
Step 1: Draw and cut a simple triangle template with a curved bottom on white cardboard.
Step 2: Using this template, draw and cut 4-5 trees on the Kraft paper cardstock. After you cut out the trees, you can erase the pencil lines.
Step 3: Punch a hole at the top of each tree.

Step 4: Using the TwinTone Marker Set, doodle circles and leaves on each tree.
Step 5: Then, cut a piece of string, long enough to wrap around the tree. I used transparent string but you can use any you want. Add beads onto the string and tie the string through the top hole. If you have a decorative bead (such as a star), you can add it to the top knot. If you want to use these decorations as tree ornaments, you can tie the string with a big loop (as I did with one).

And there you have it – a simple but decorative holiday craft that you can create! If you make your own holiday decorations, we would love to see it! Share it with us by tagging @TombowUSA and @FromCarola on Instagram.
If you want to try out more fun craft projects, take a look at this post on National Coffee Day Custom Cup Sleeves