I wanted to do something bright for this Halloween post; so….I came up with Candy Monsters! Here are the simple steps that you or your children will have lots of fun drawing and coloring with Tombow products!
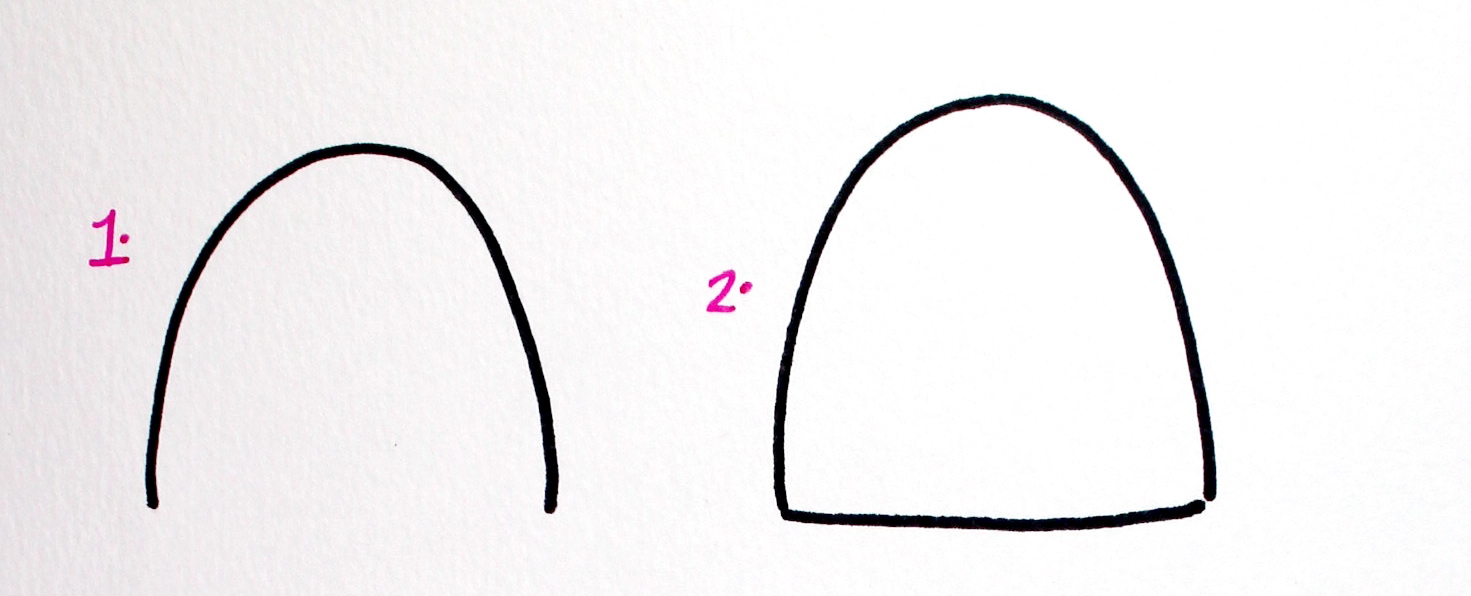
1. Start with a MONO Twin Permanent Black Marker. They work perfectly with the Dual Brush Pens as they dry instantly with no smudging or color transfer! Draw a upside-down U shape. Easy, right?
2. Draw a line at the bottom of your U. Now you have the Candy Monster’s body done!

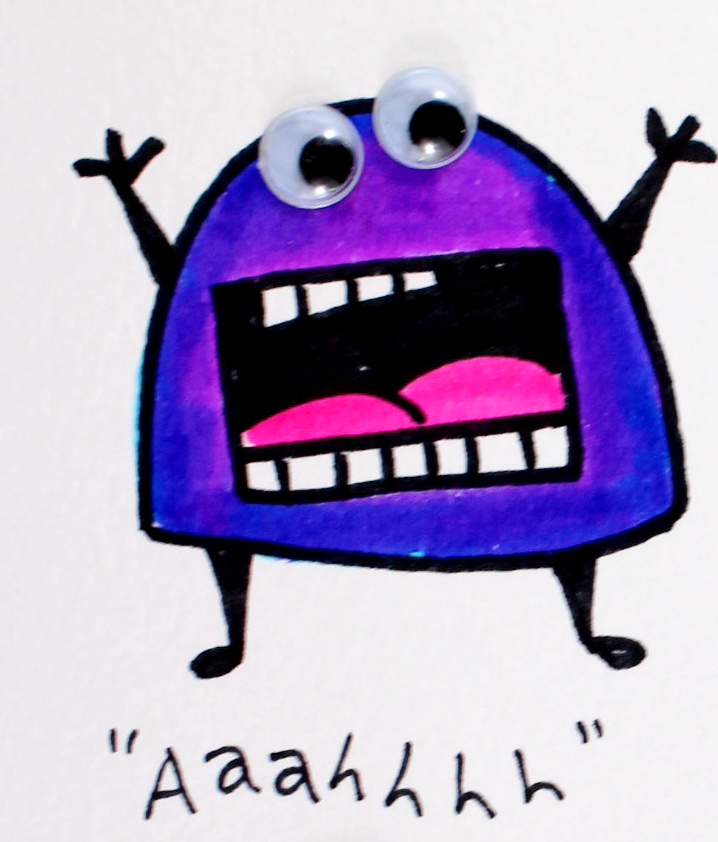
3. Add little arms and legs.
4.With the MONO Twin, color in the arms and legs. Add a rectangle for the mouth and place a line at the top and the bottom. These are going to be his teeth!

5. Add lines for the teeth. Add the tongue.
6. With the MONO Twin, color in the inside of the mouth. If you feel so inclined, blacken in a tooth! Color your monster using Bright colors of Dual Brush Pens. I gave a little bit of color variation by adding an outline of a darker shade to the body, then using the same color, but a lighter hue, color it in. The colors will blend creating the effect. Add a drop of MONO Multi Liquid Glue to attach the googly eyes (or eye!) Ta Da! Candy Monster is done!

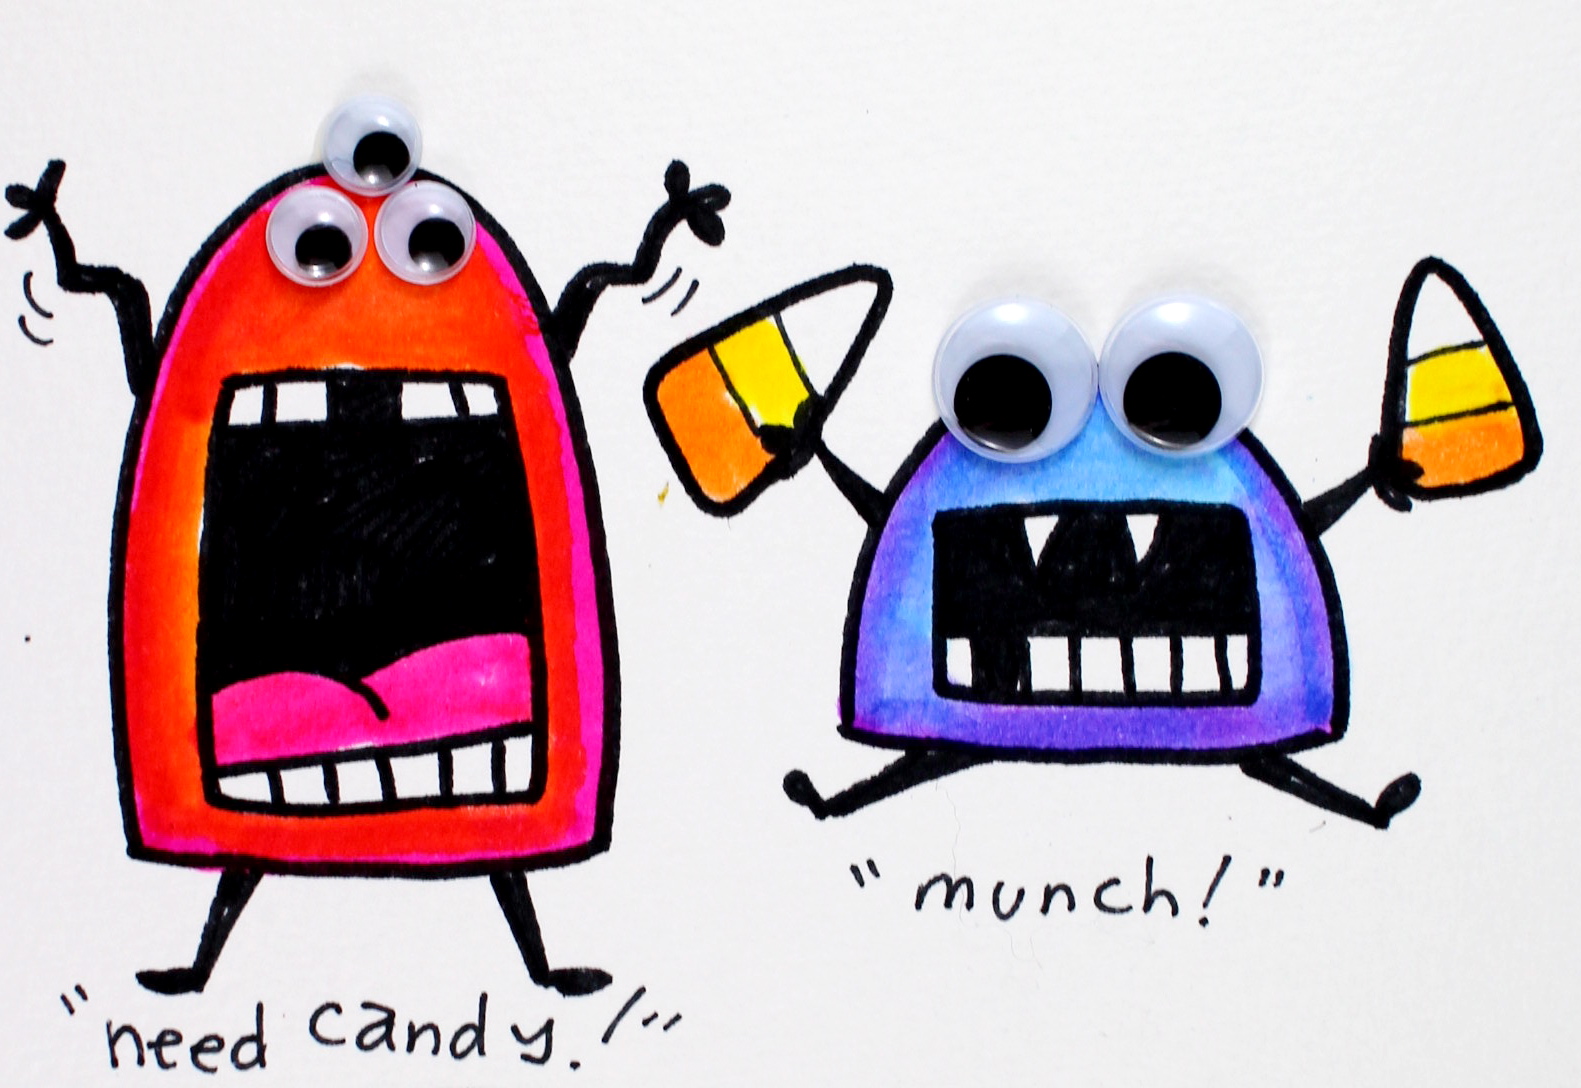
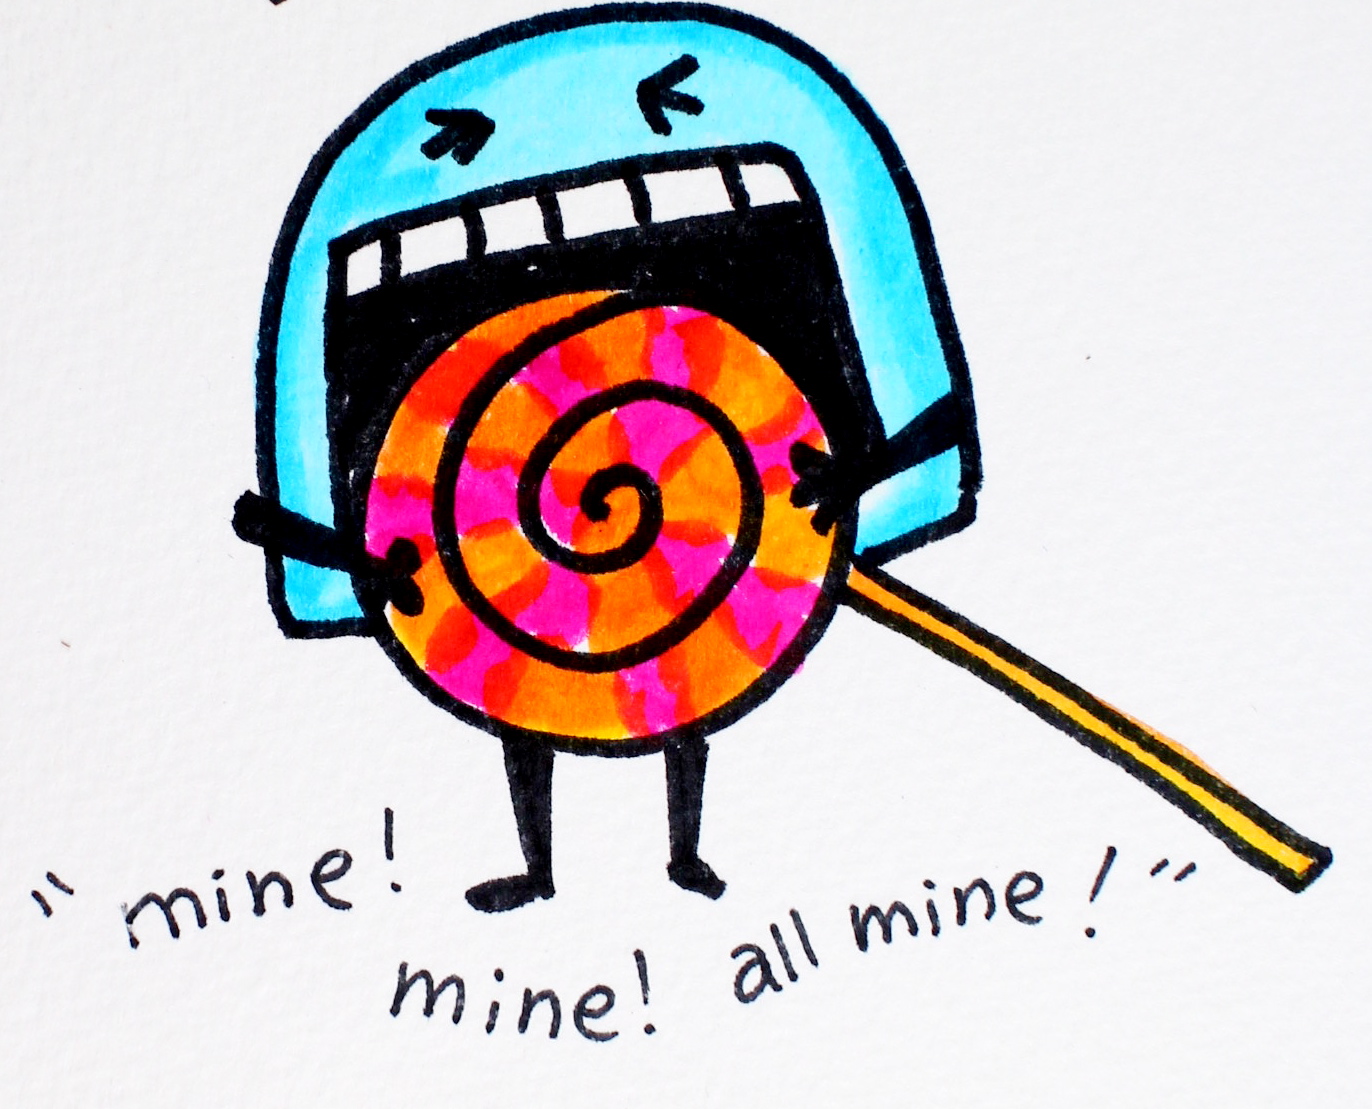
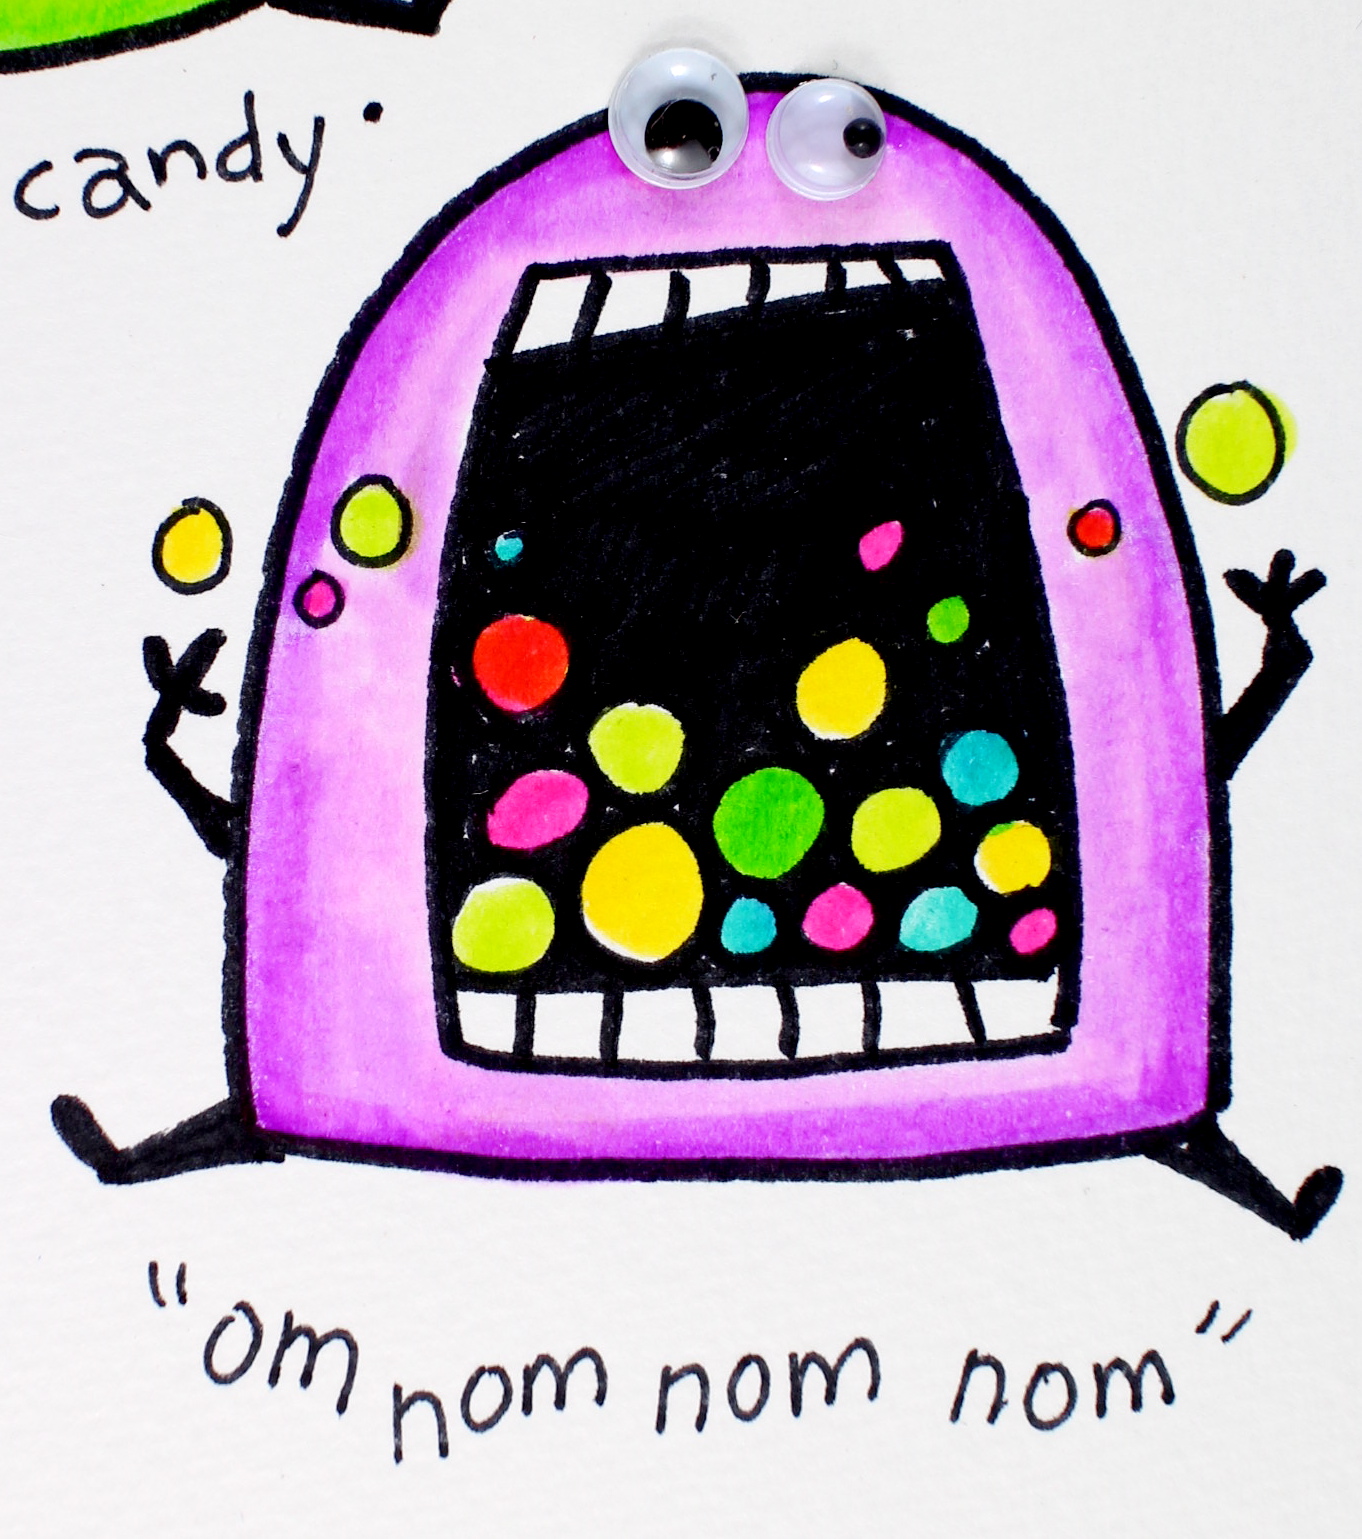
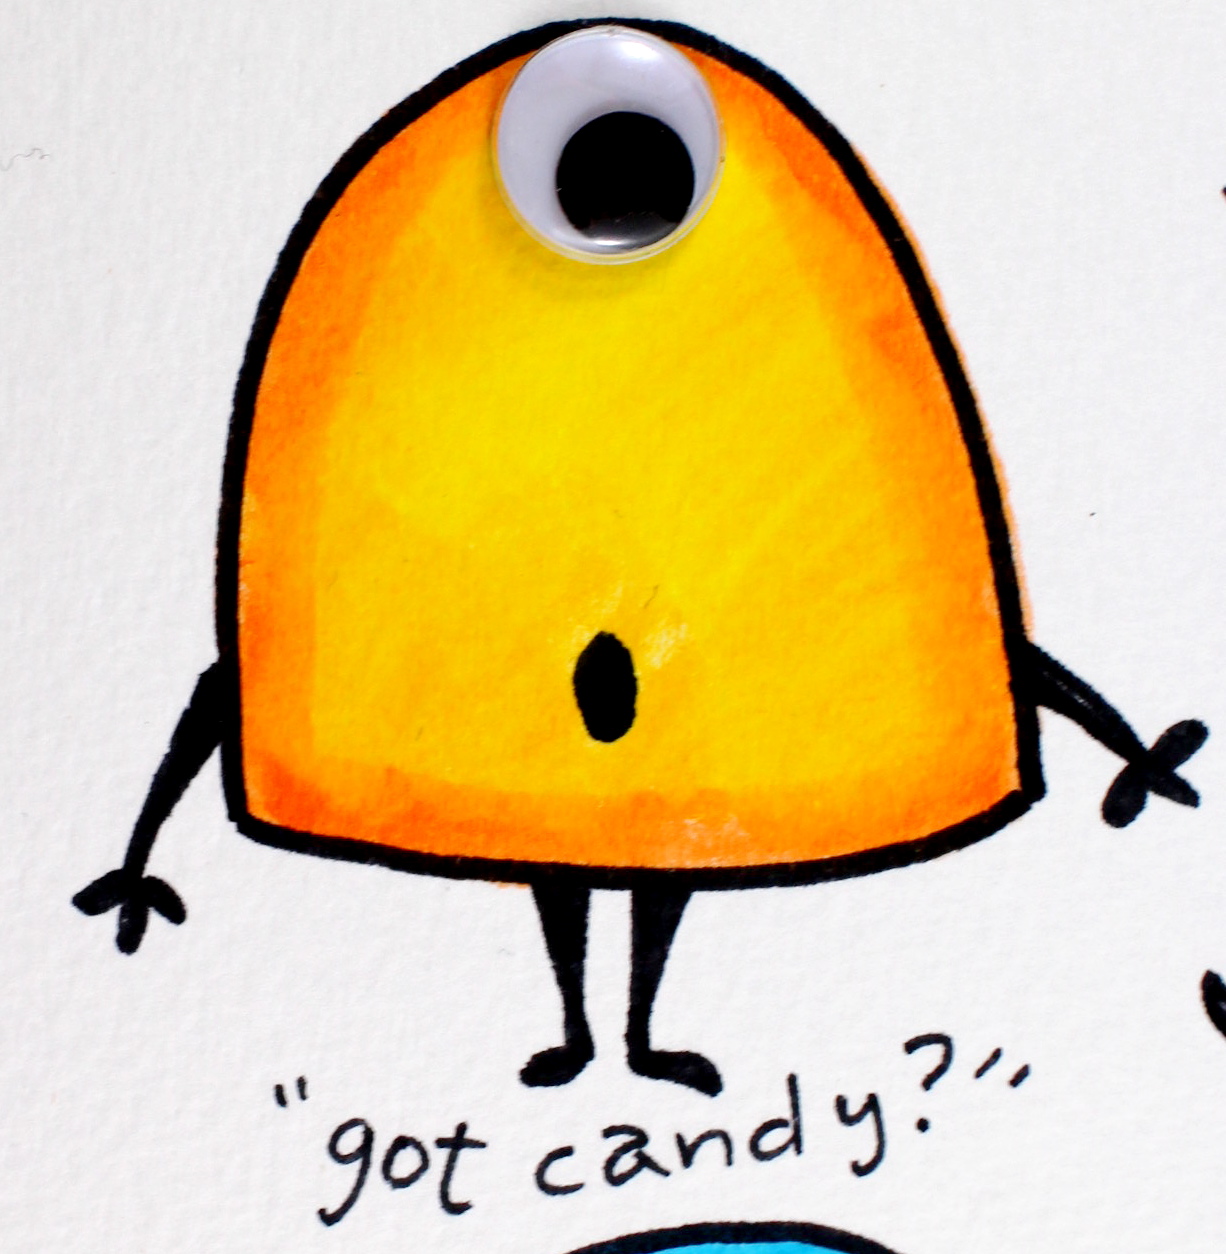
Now for the really fun part! With a simple design, it’s really easy to change your monster. Add different eyes, one eye, or three eyes…change the legs and arms so your monster is sitting or jumping….add candy…it’s endless what you can do! Decorate candy bar wrappers, treat bags or cards, you can but these little fellows on anything! Happy Halloween!
These are adorable!!…and easy enough for a non-artist to reproduce, like me!
Very cute!
My grandchildren love to paint and these cute Candy Monsters will make for a perfect project the week after Halloween.
What incredible brush pens!! I’ve been wanting to try them,just not sure of the best brand. Think I found it and definitely need,need, need these!! I need CRAFT SUPPLIES! hahahaha!! Thank you so much for the opportunity! 🙂
This is really cute and I love all the colors you used!! Can’t wait to make some!
Those are so cute and so much fun Marie!!! Love them!!!
these are adorable! I have drawn them and even carved stamps (for my use only!) based on these. Thank you.
Love these AMAZING pic?