Hello friends, it’s Smitha here with a new blog post! The new year is here and today I am sharing 5 simple tips to keep in mind while setting up your planner that will help you be more productive.
Material list for setting up your planner:
- TwinTone Marker Sets
- Zoom L105, Ballpoint Pen, Champagne Gold
- MONO Adhesive Removable
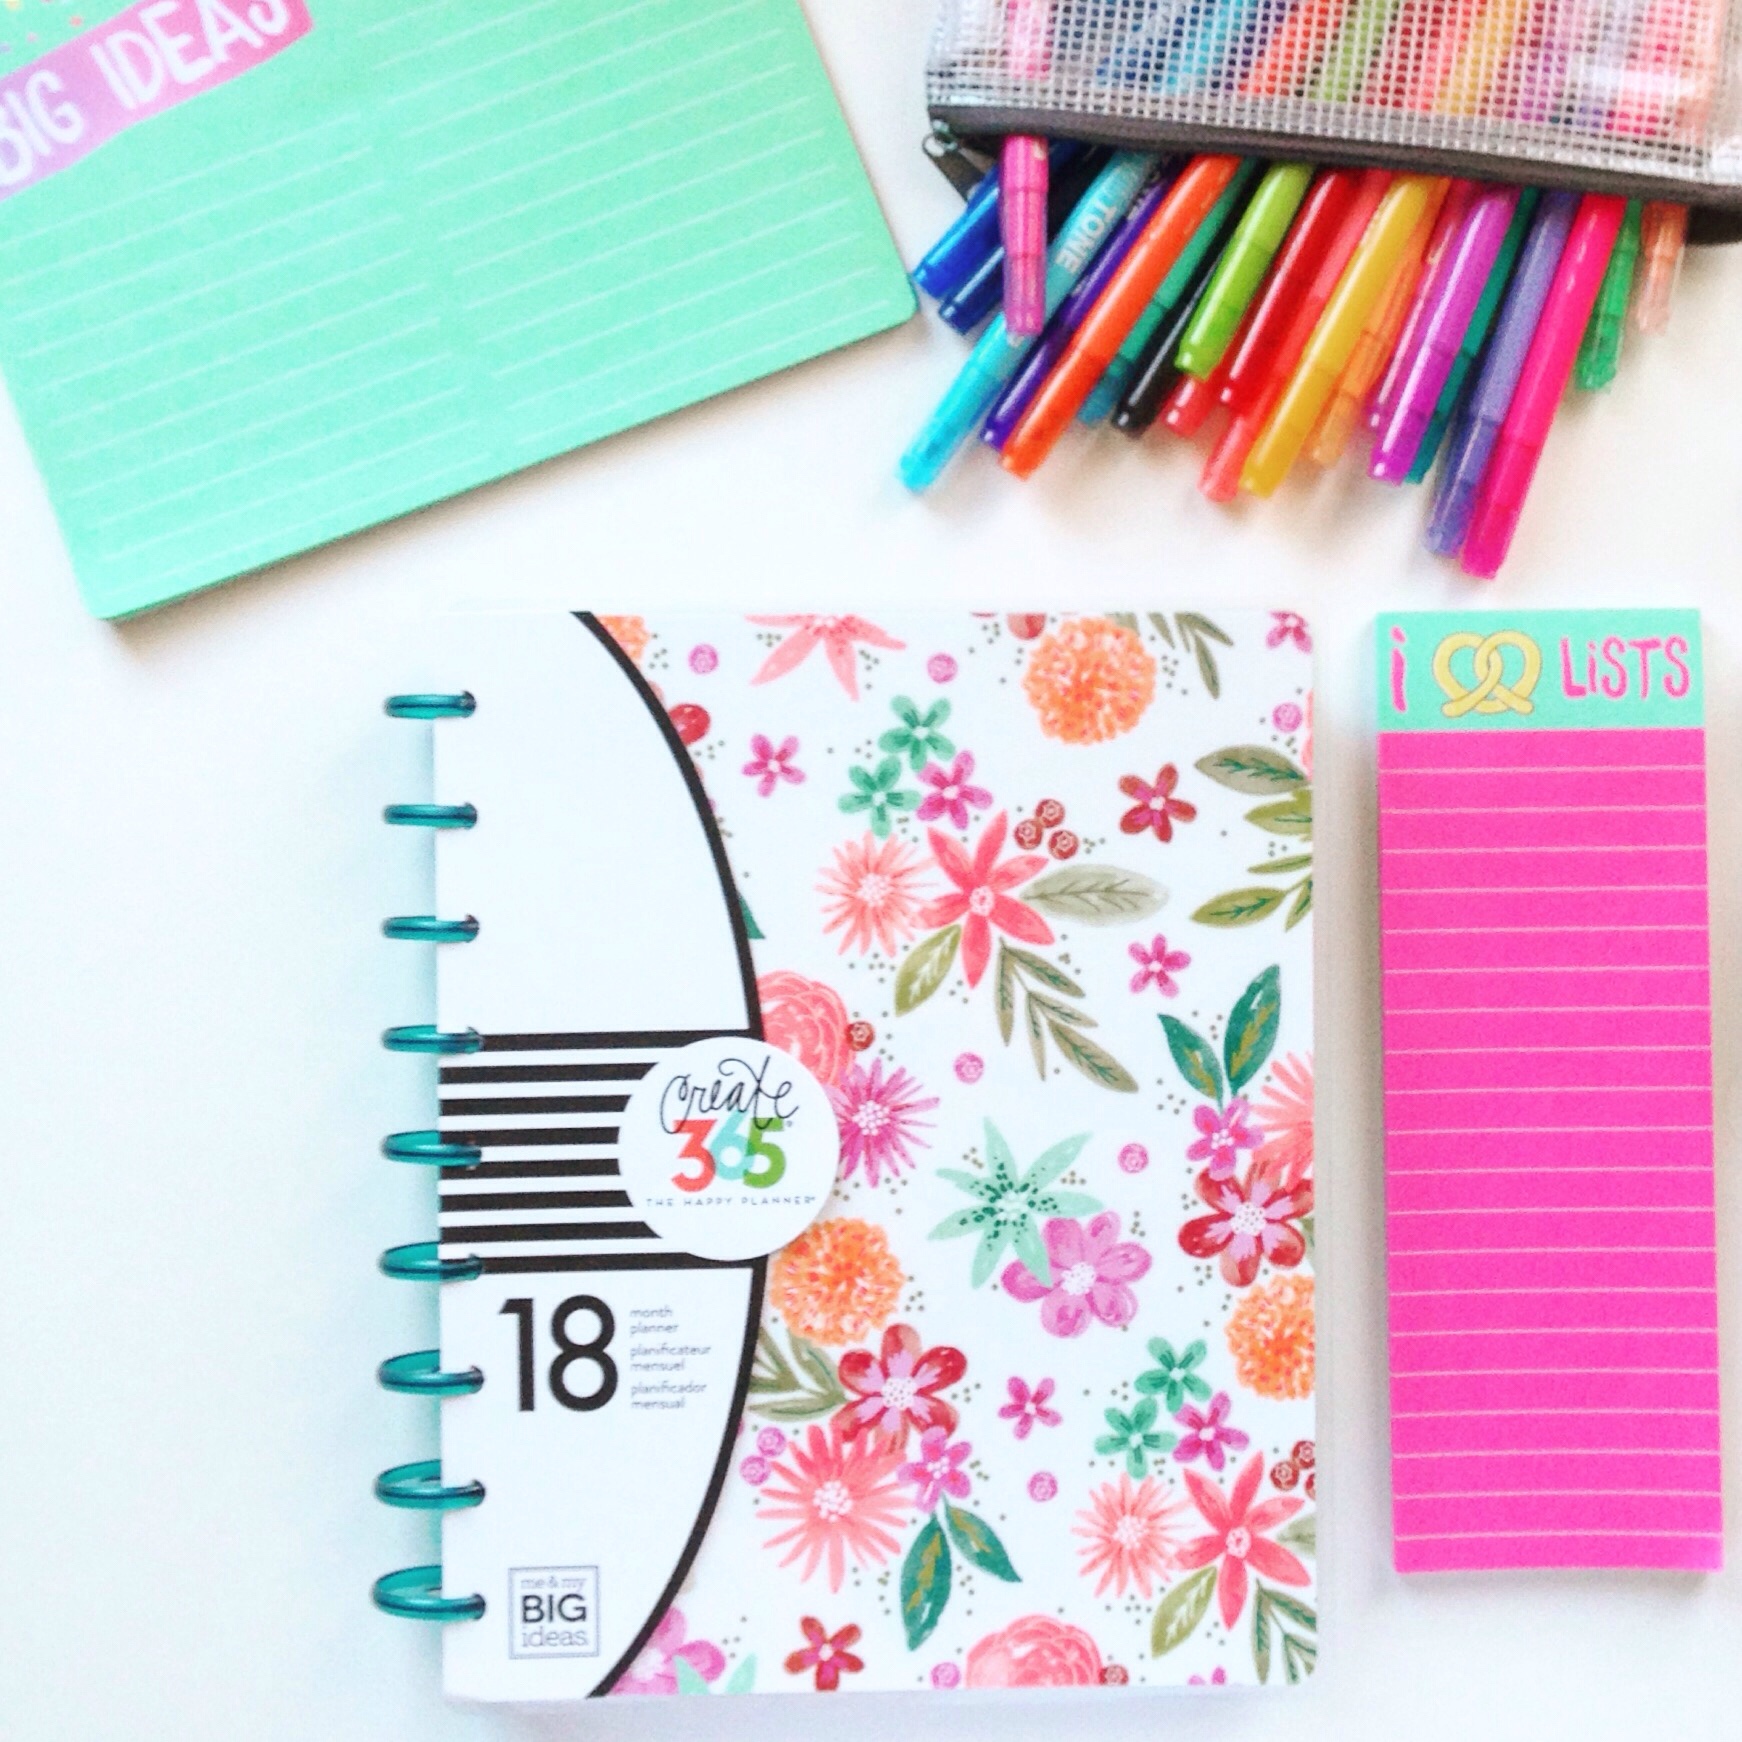
- Planner of choice, I am using The Happy Planner
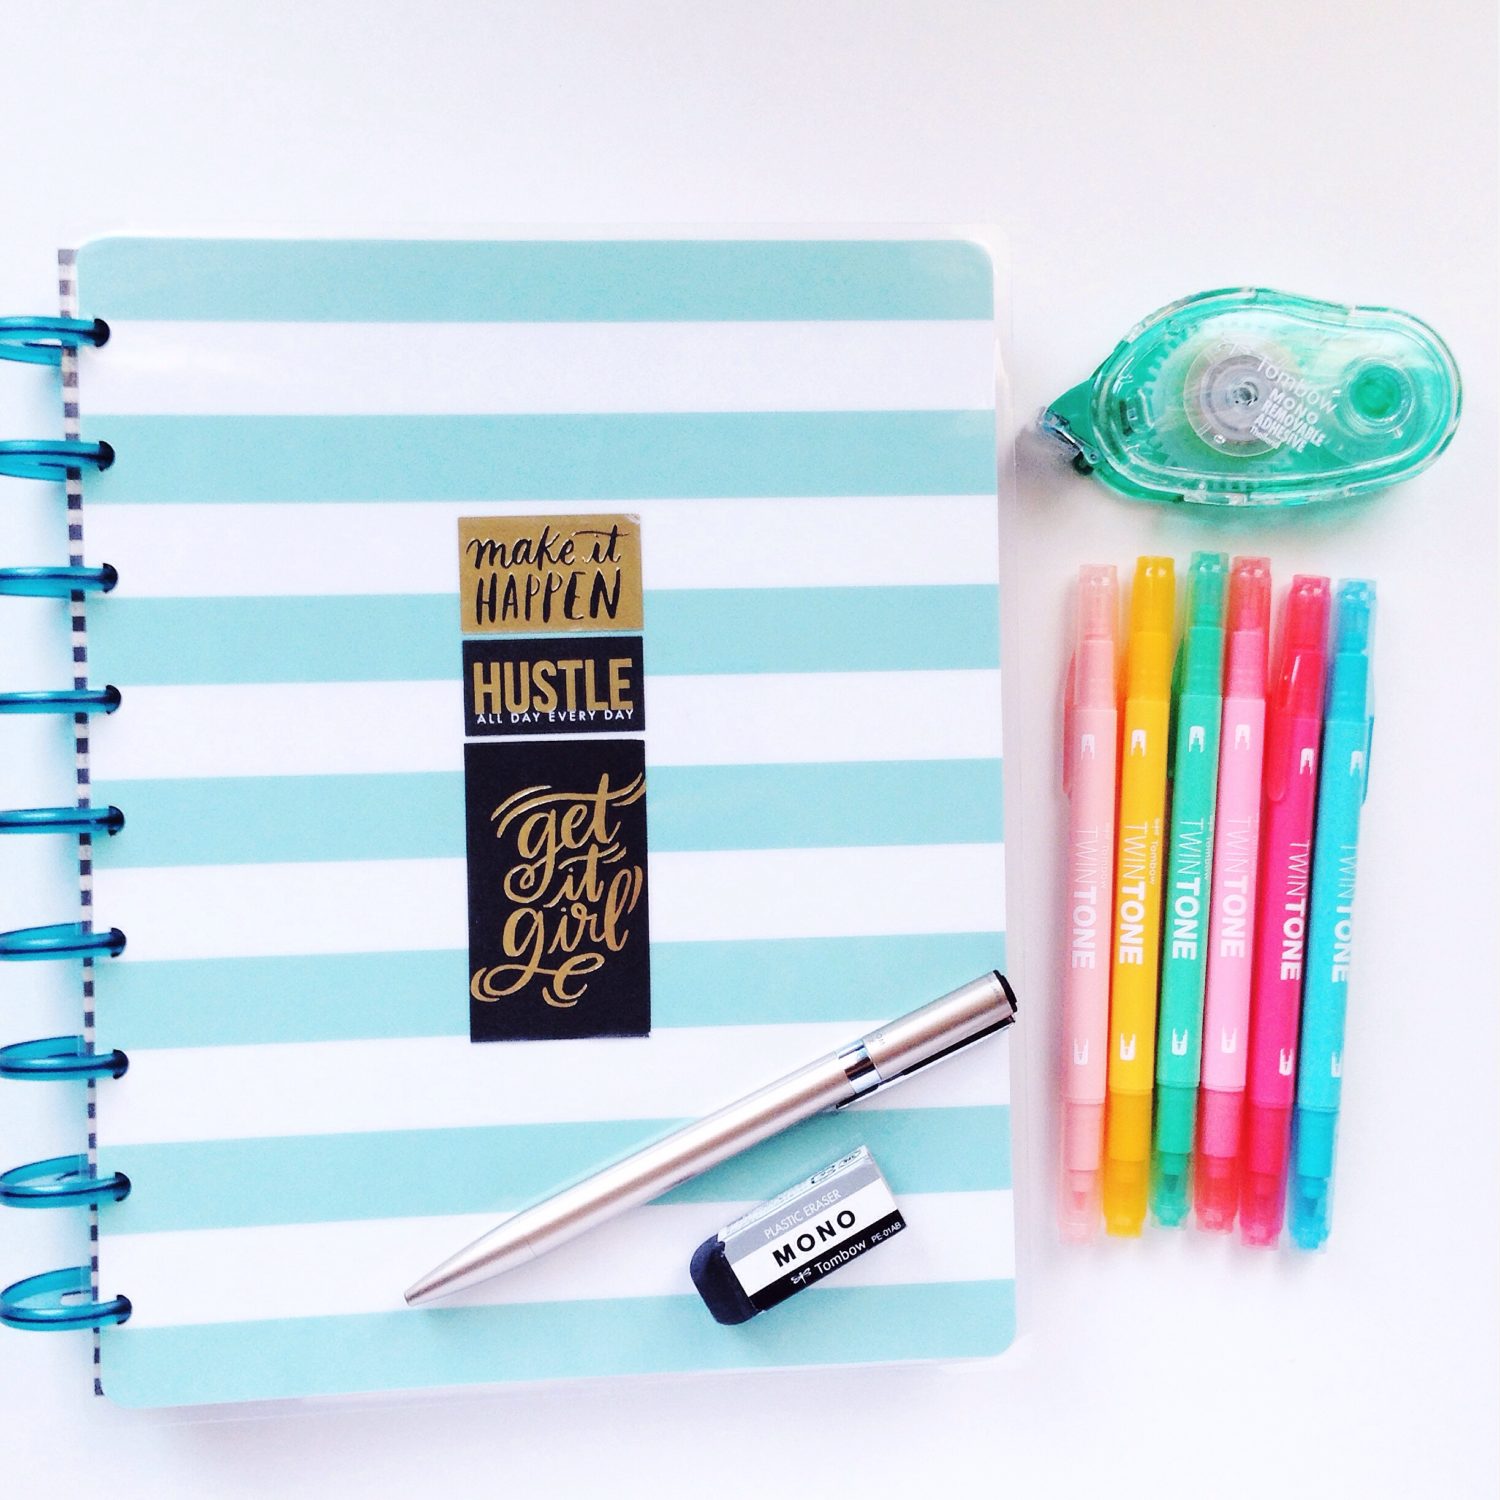
The planner I chose to use this year is an 18-month planner that I started using in July 2017. I decided to continue using this into my 2018 year as well, because it’s so perfect for my needs. But, since the new year was here I felt like it needed something new. So I simply flipped the cover from it’s flower side to this teal stripe side and added a few stickers. Now this planner is uniquely mine and makes me smile every time I look at it. And that feeling is important as are these other 5 tips I have for you.
Tip 1: Put together a planner supply kit.
Choose some of your go-to planner supplies – for me it’s my favorite pen – the Zoom L105 ballpoint pen, a few of my favorite colors of TwinTone Markers and an adhesive of choice. Keep all of these together in a zipper pouch or something so that you can reach for them every time you need them. I like to change out the colors I use every few weeks and keep things fresh. Keeping all of your supplies together like this helps you spend less time looking for your pen and more time focusing on planning.
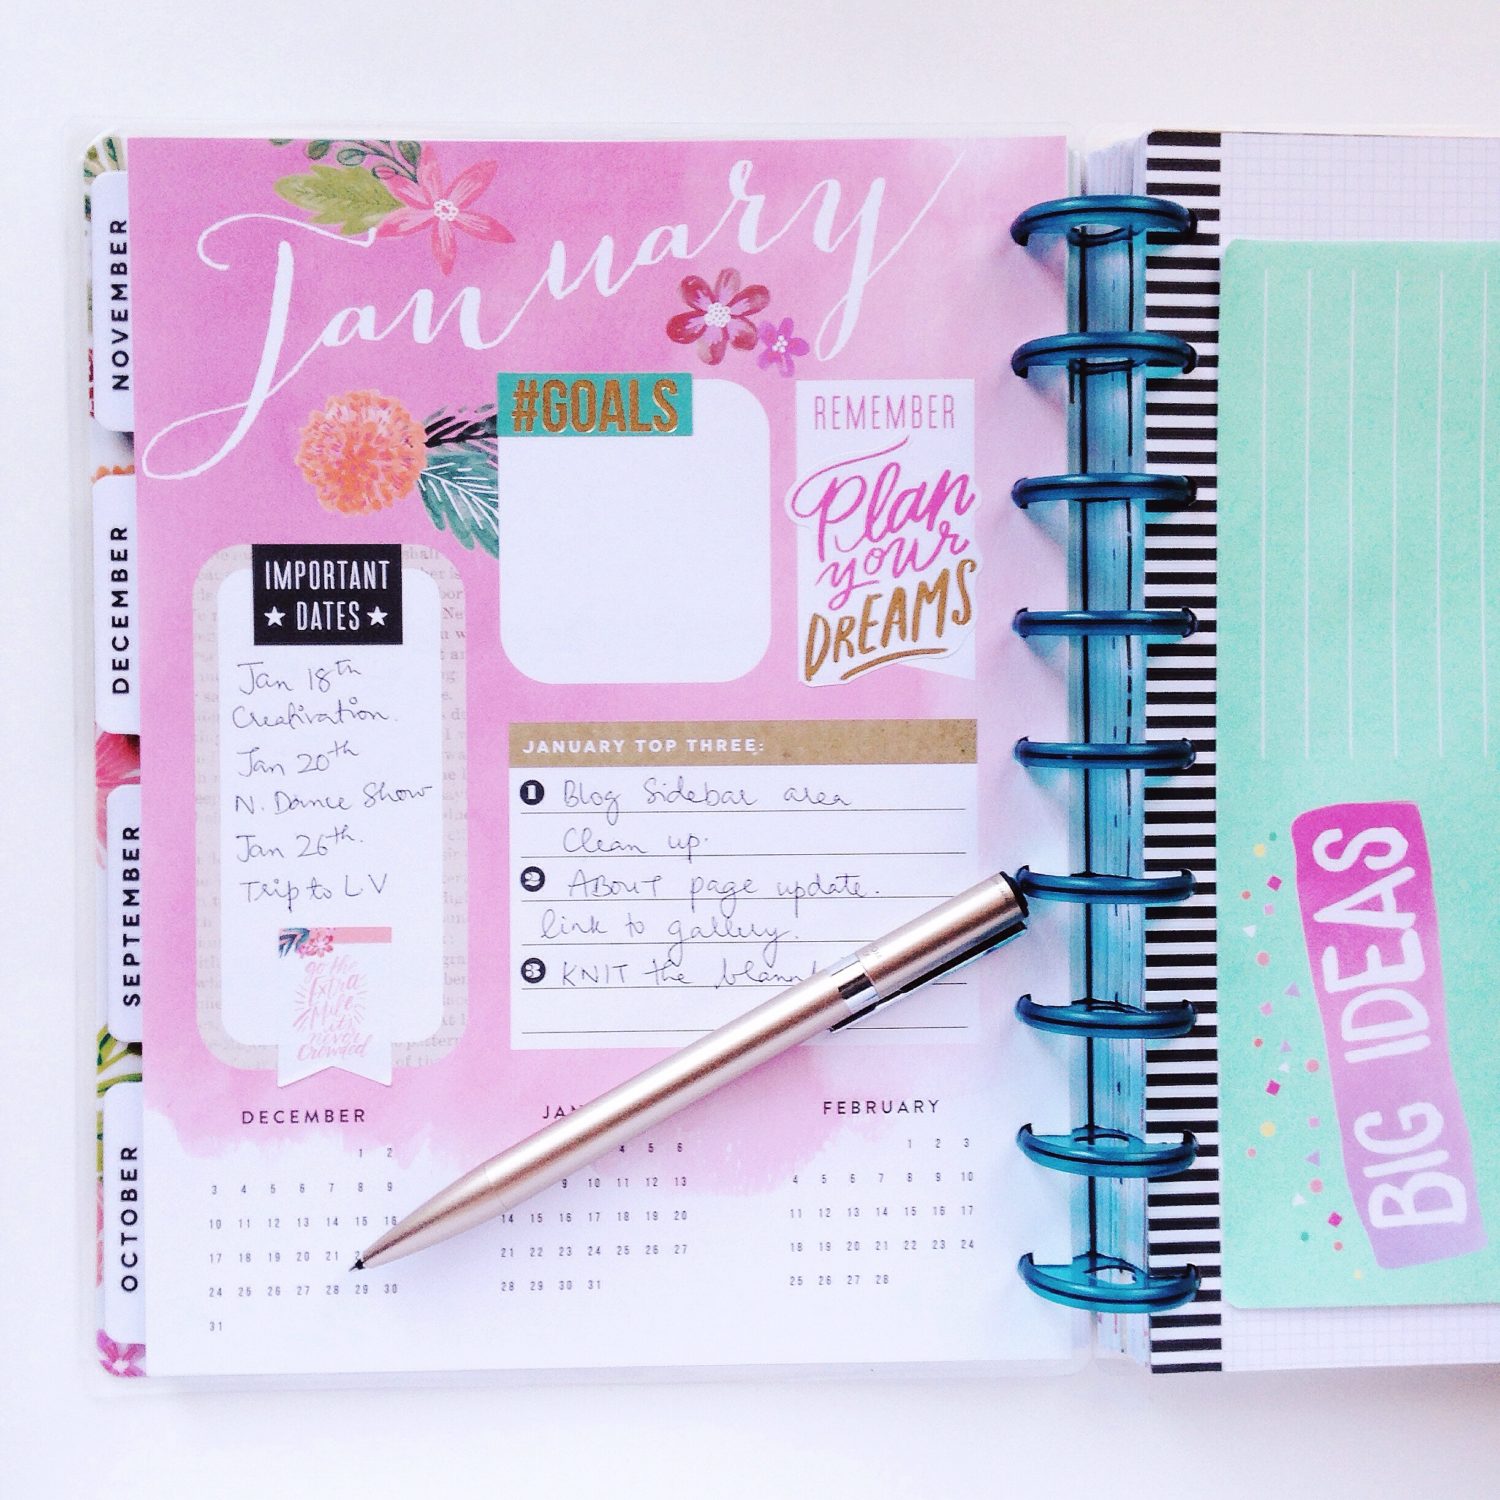
Tip 2: Write down three actionable points.
Once you have chosen your dedicated supplies, it’s time to start planning. Writing down anything, even the smallest goal, idea or plan is a great way to reiterate that plan to your brain. But what I like to do is to really think and write down the 3 things that I really want to accomplish in that month. And then write down those 3 things as actionable points. My 3 points for this month are:
- Clean up blog side bar
- Update blog about page with links to galleries
- Knit my blanket
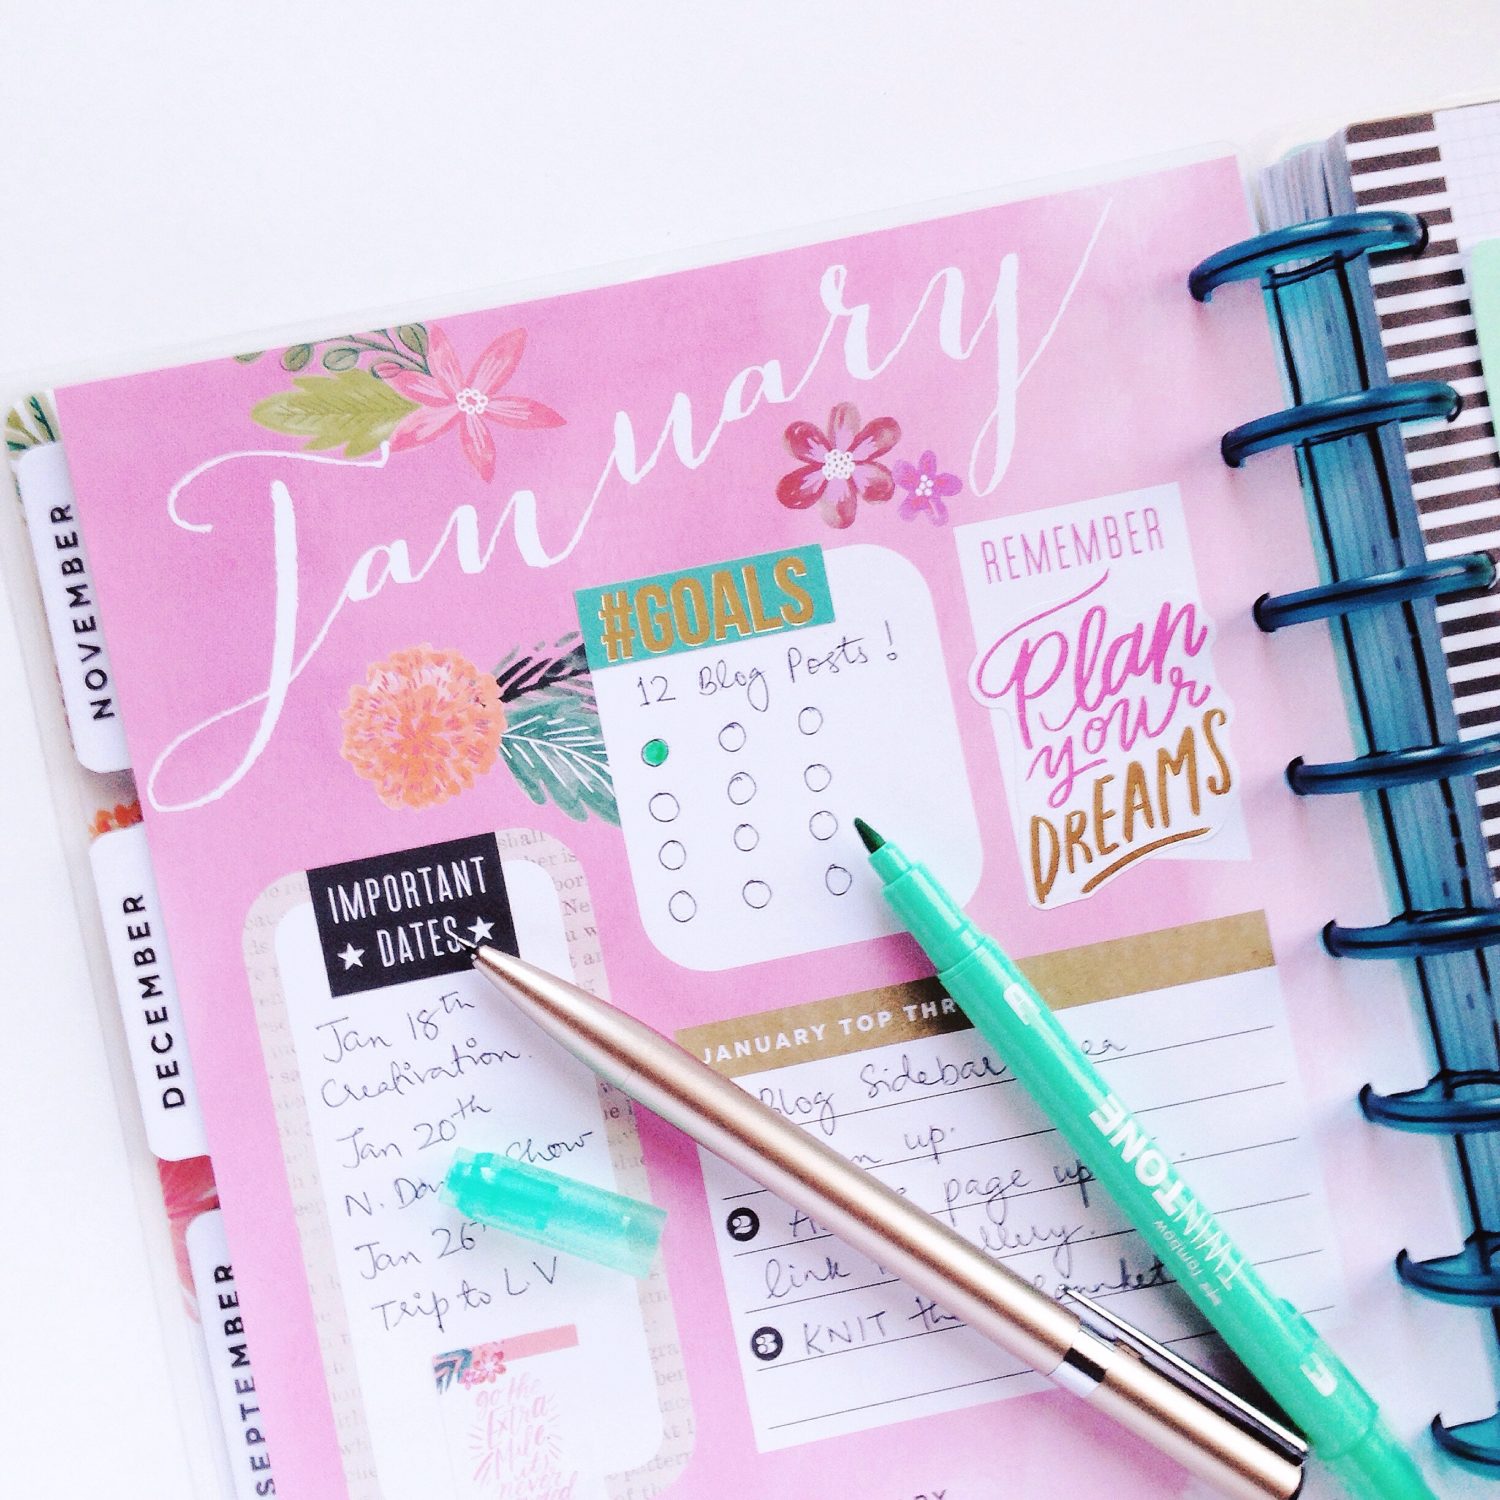
I also like a nice, clean look to my planner and always try to use the same Zoom L105 pen to maintain that look. This gold little pen is great for planners and a great weight to write with.
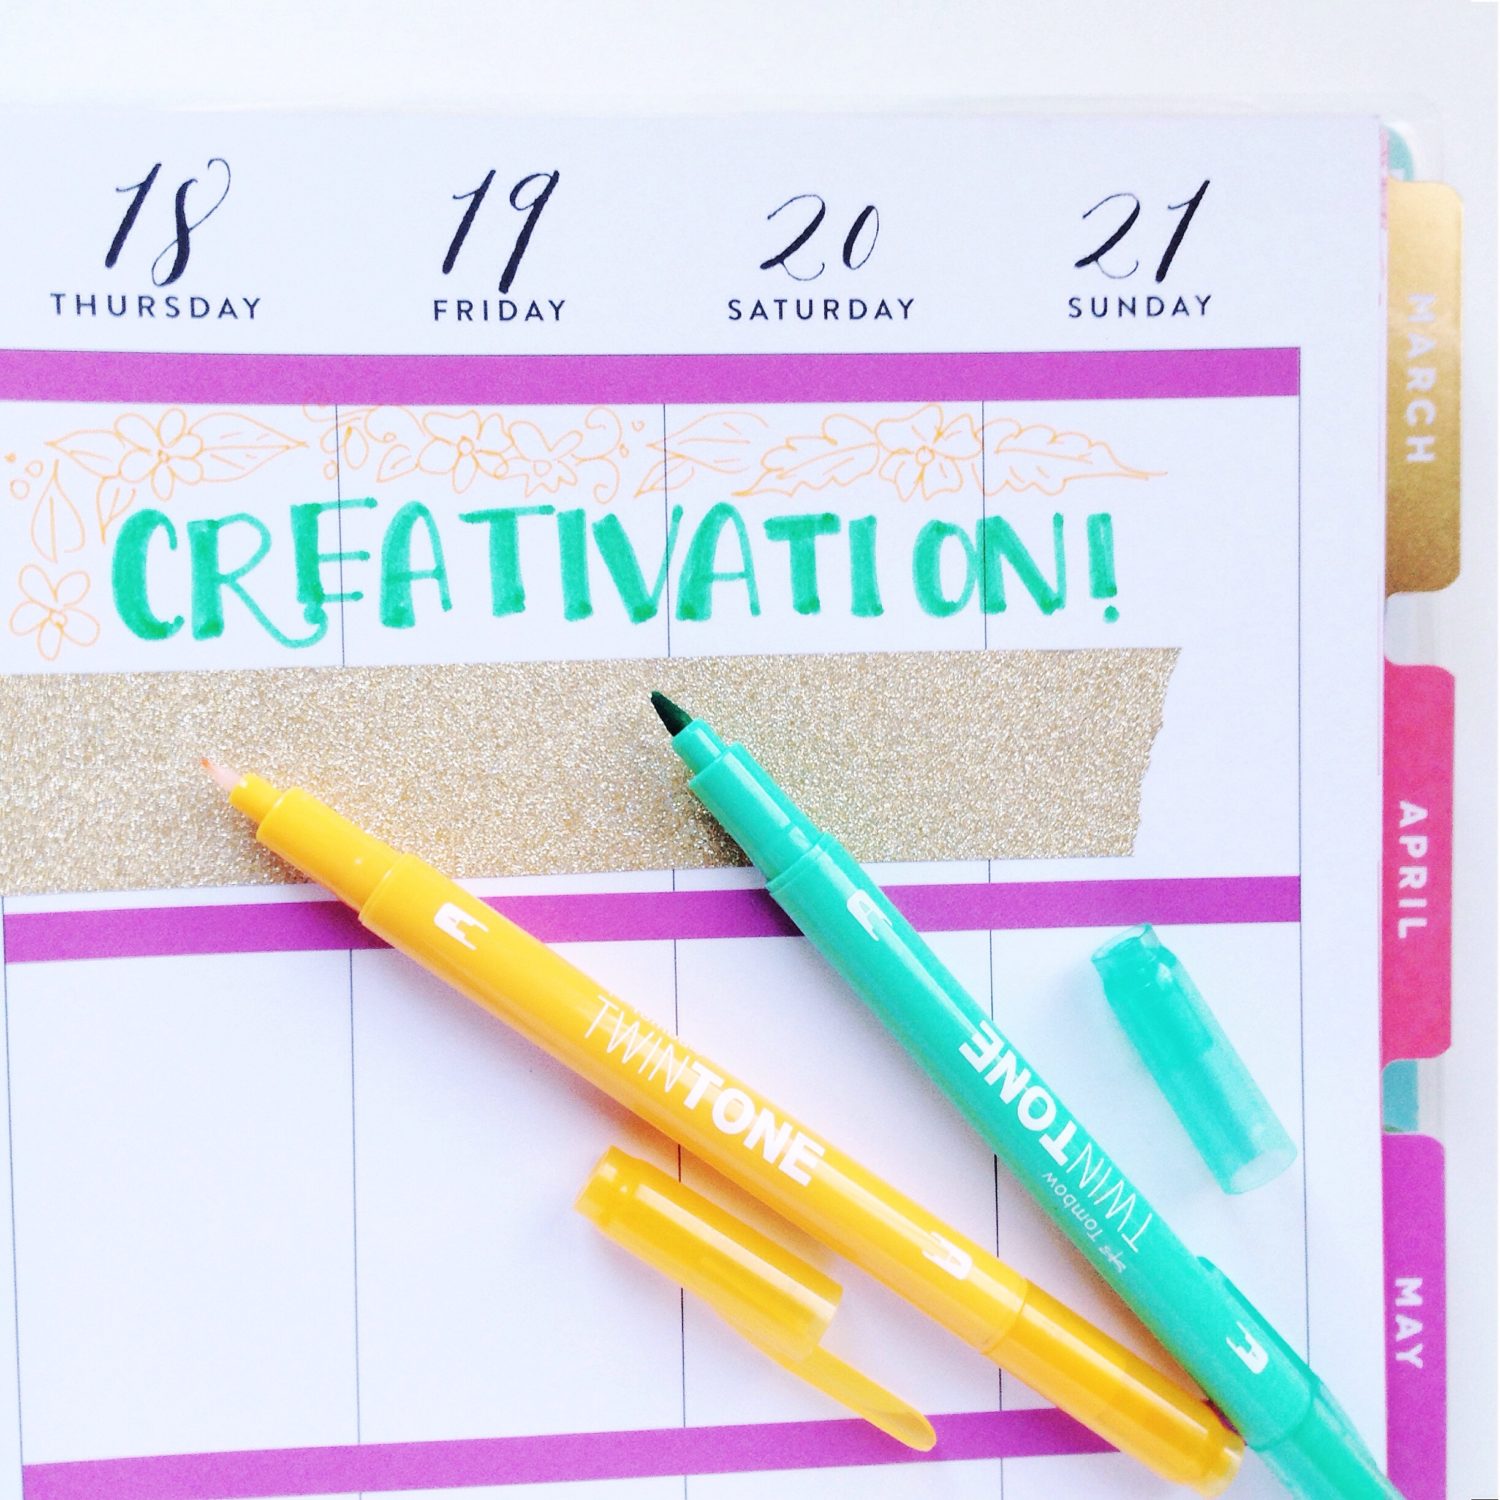
Tip 3: Make it colorful and creative.
For my weekly calendar section, I like to play a little and get creative. Bring in color, type and sometimes doodle flowers as well. This is my 10 minutes of fun and color makes me happy. The TwinTone markers are great to use in your planners, and they come in such pretty colors! And remember there is no right or wrong way to decorate your planner, just do you.
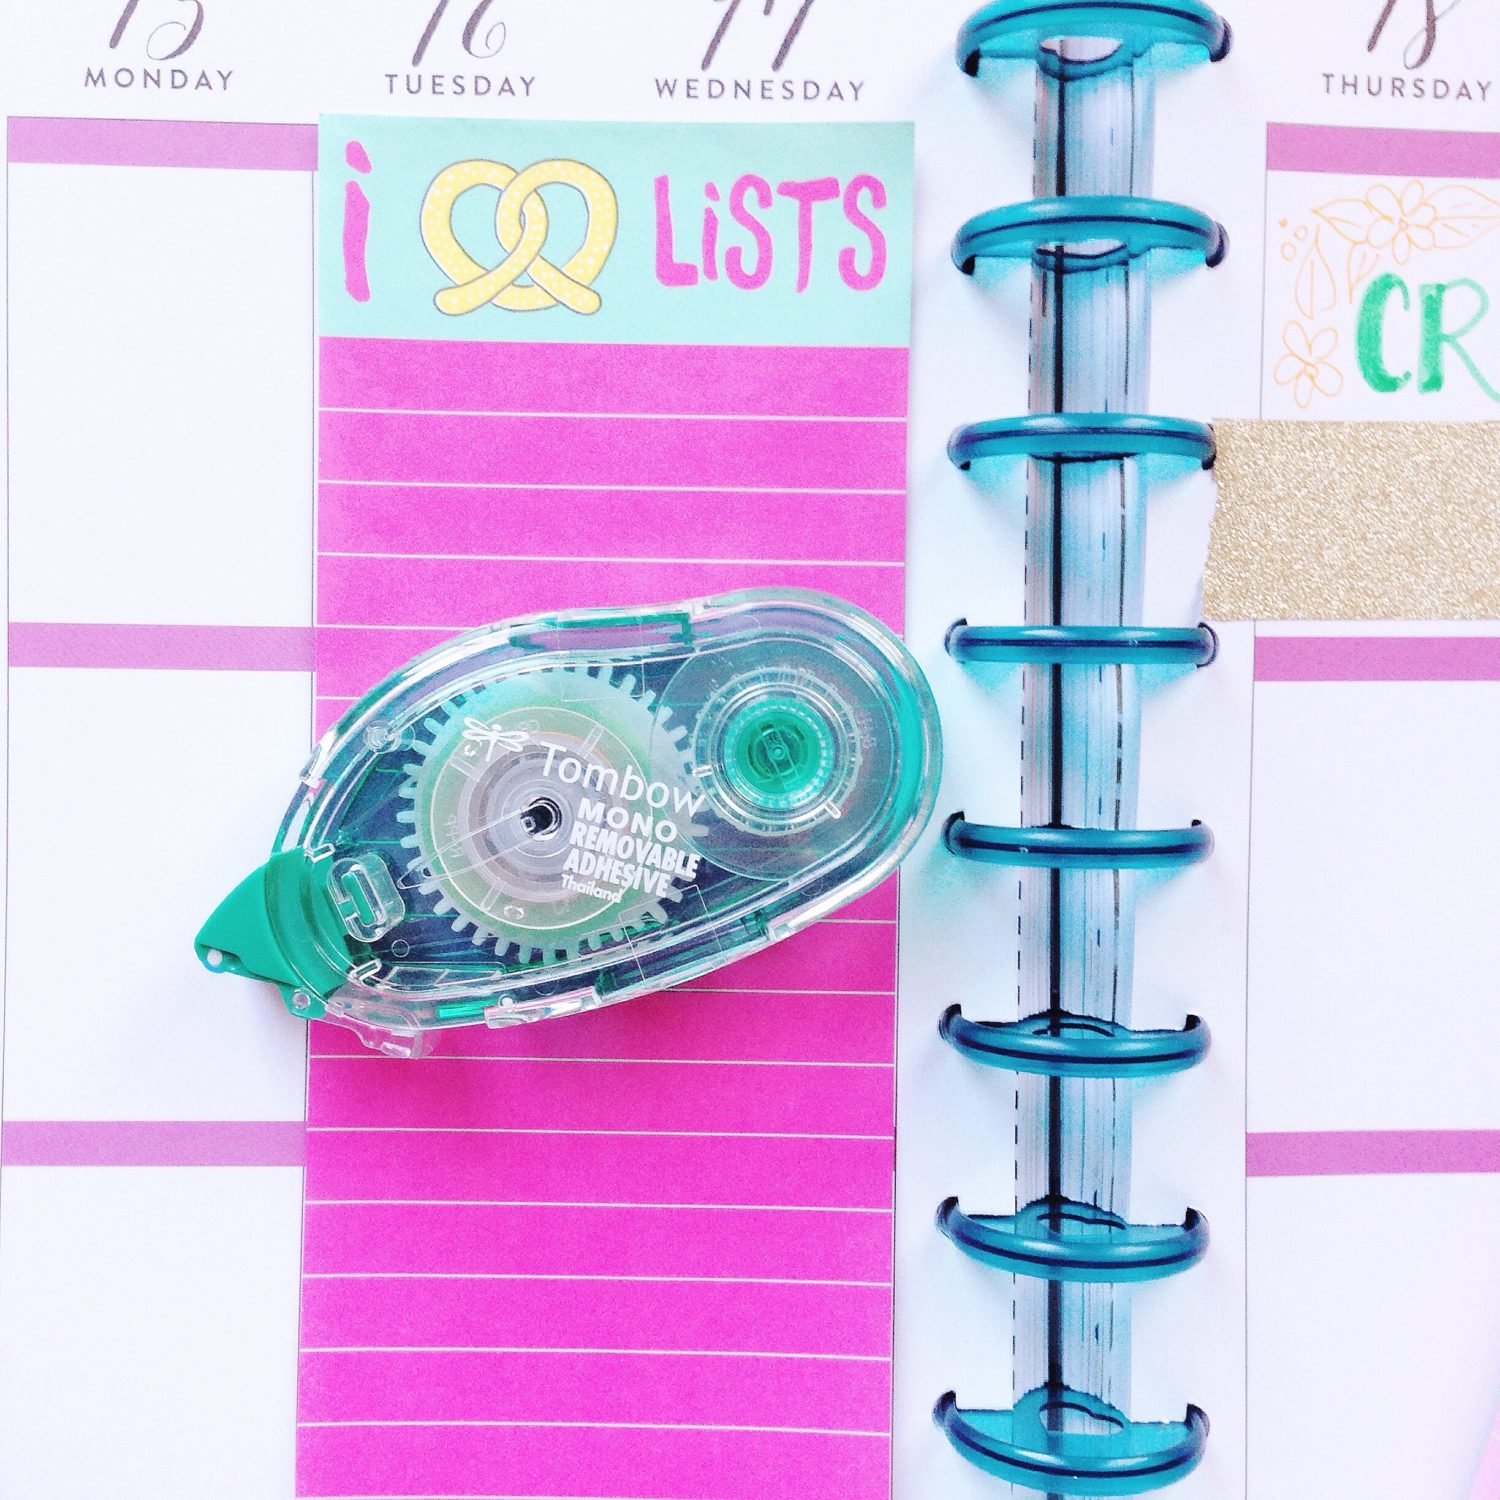
Tip 4: Make lists! Lots of them.
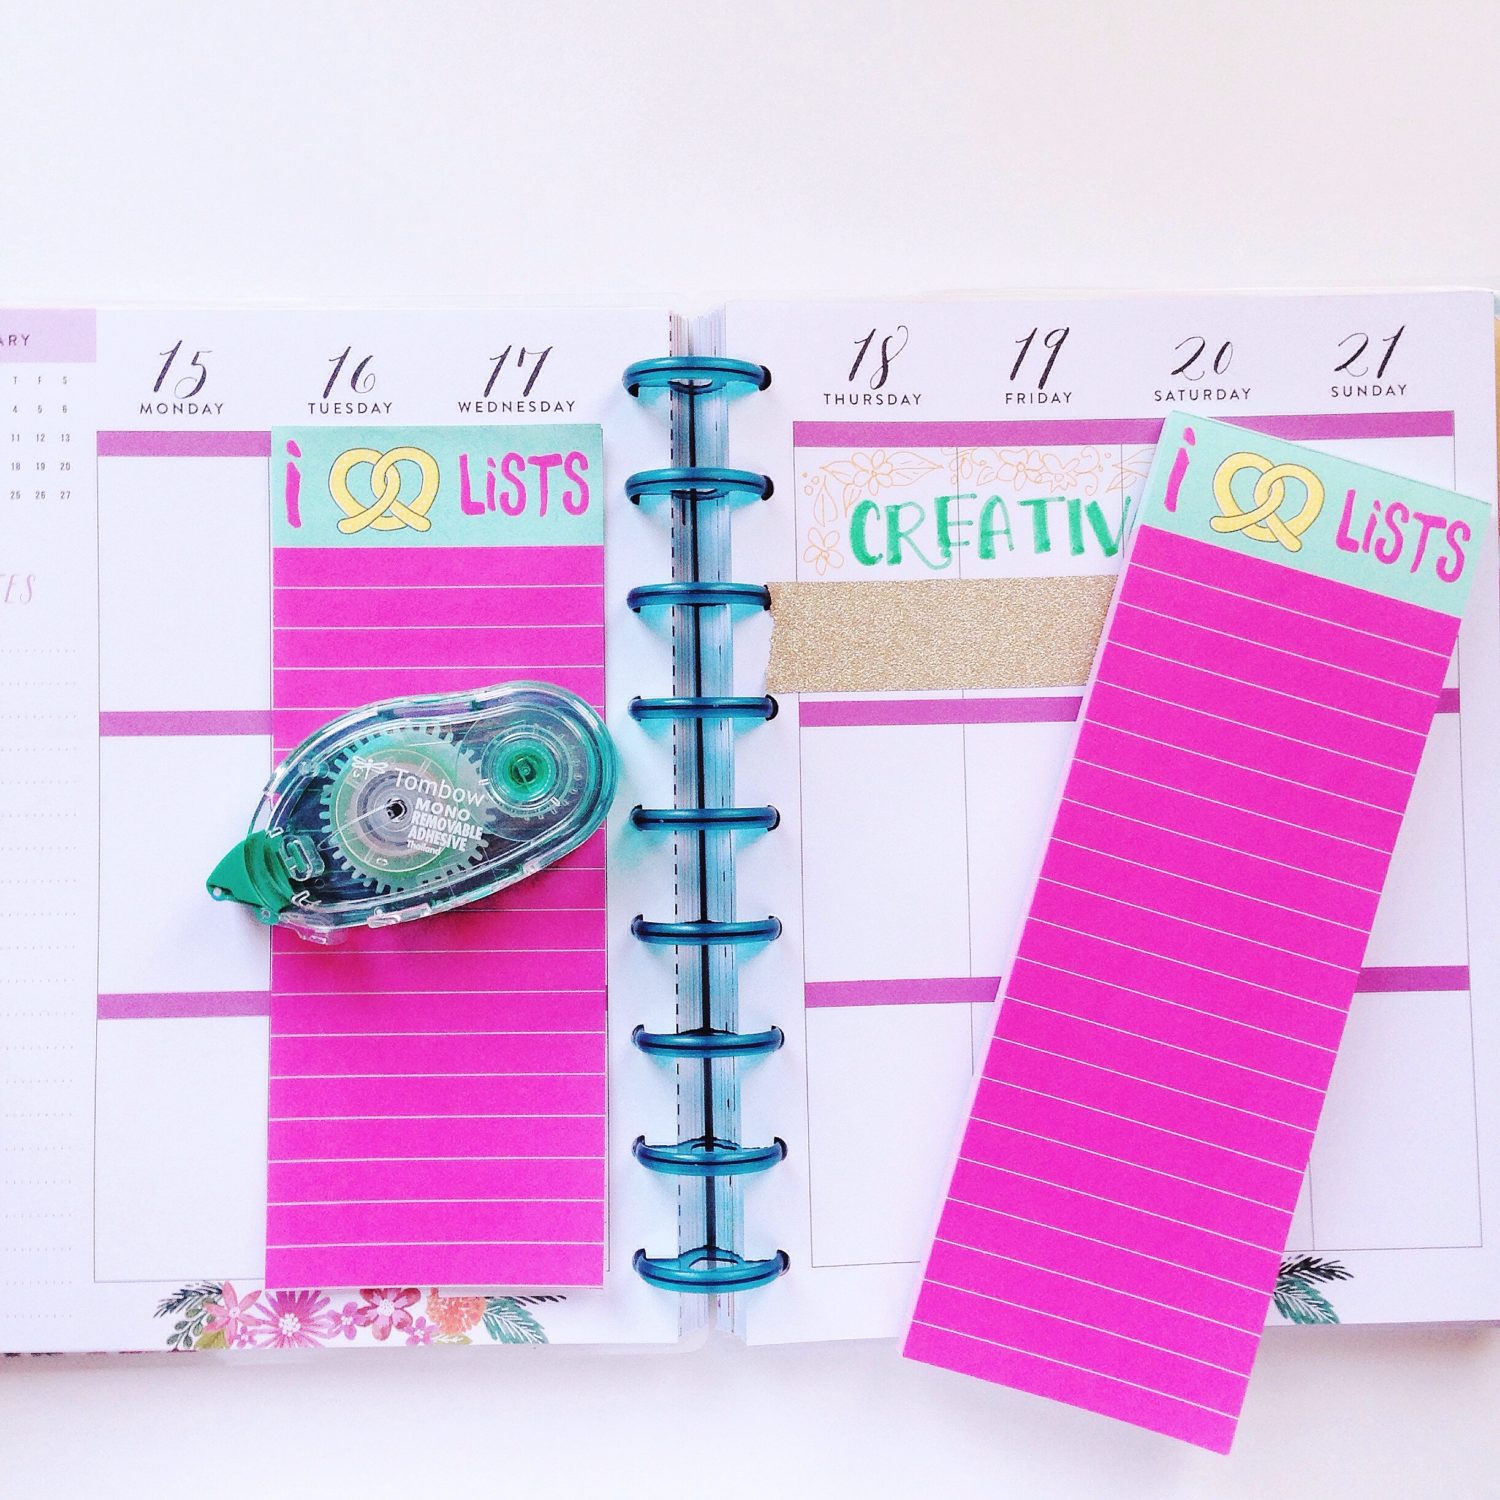
Another thing I like to do while setting up my planner is to create room for lists. I am a big list maker and have so many lists in my mind. Jotting them down makes me feel more in control of the chaos for sure. But, I tended to accumulate so many to do lists all around the house. Instead of that, I found a better solution for my list making. I tear sheets off of a list pad and then temporarily glue them down to my planner using the MONO Removable Adhesive. This tape runner makes any sheet sticky but not permanent.
This week, I will be traveling to Phoenix and whenever I have a big event- travel, party or celebration – I add a to-do list for the day before. This way I fill up my list all month long as I remember things that need to be taken care of and then on the day of, I can just move my list from the planner onto my fridge easily.
Tip 5: Set your goals and crush them.
And my final tip is: keep a small goal tracker. Make it fancy or simply doodle circles to check off, it doesn’t matter. But make sure the goals are attainable but push you out of your comfort zone just a tad. My goal for January as a blogger is to have 12 blog posts go live. I usually am able to do 8-10 posts, so 12 is something I think I can conquer. I just doodled 12 circles and color them for each blog post I publish. It’s a cute way to keep track of small goals. And I have to say, coloring in each circle makes me feel that much more closer to the finish line.
So those are my 5 tips for setting up your planner each month. Leave me a comment below and let me know if you have other tricks to help keep you on track! I would love to learn what works for you when setting up your planner.
Before I leave you, here is another post idea: making your own DIY Planner Bookmark. I think you’ll enjoy this easy tutorial!
I’ll be back soon with another tutorial, till then, Happy Crafting!

Smitha Katti
www.smilingcolors.com
Pingback: Template for Easy Weekly Planner Spreads - Tombow USA Blog