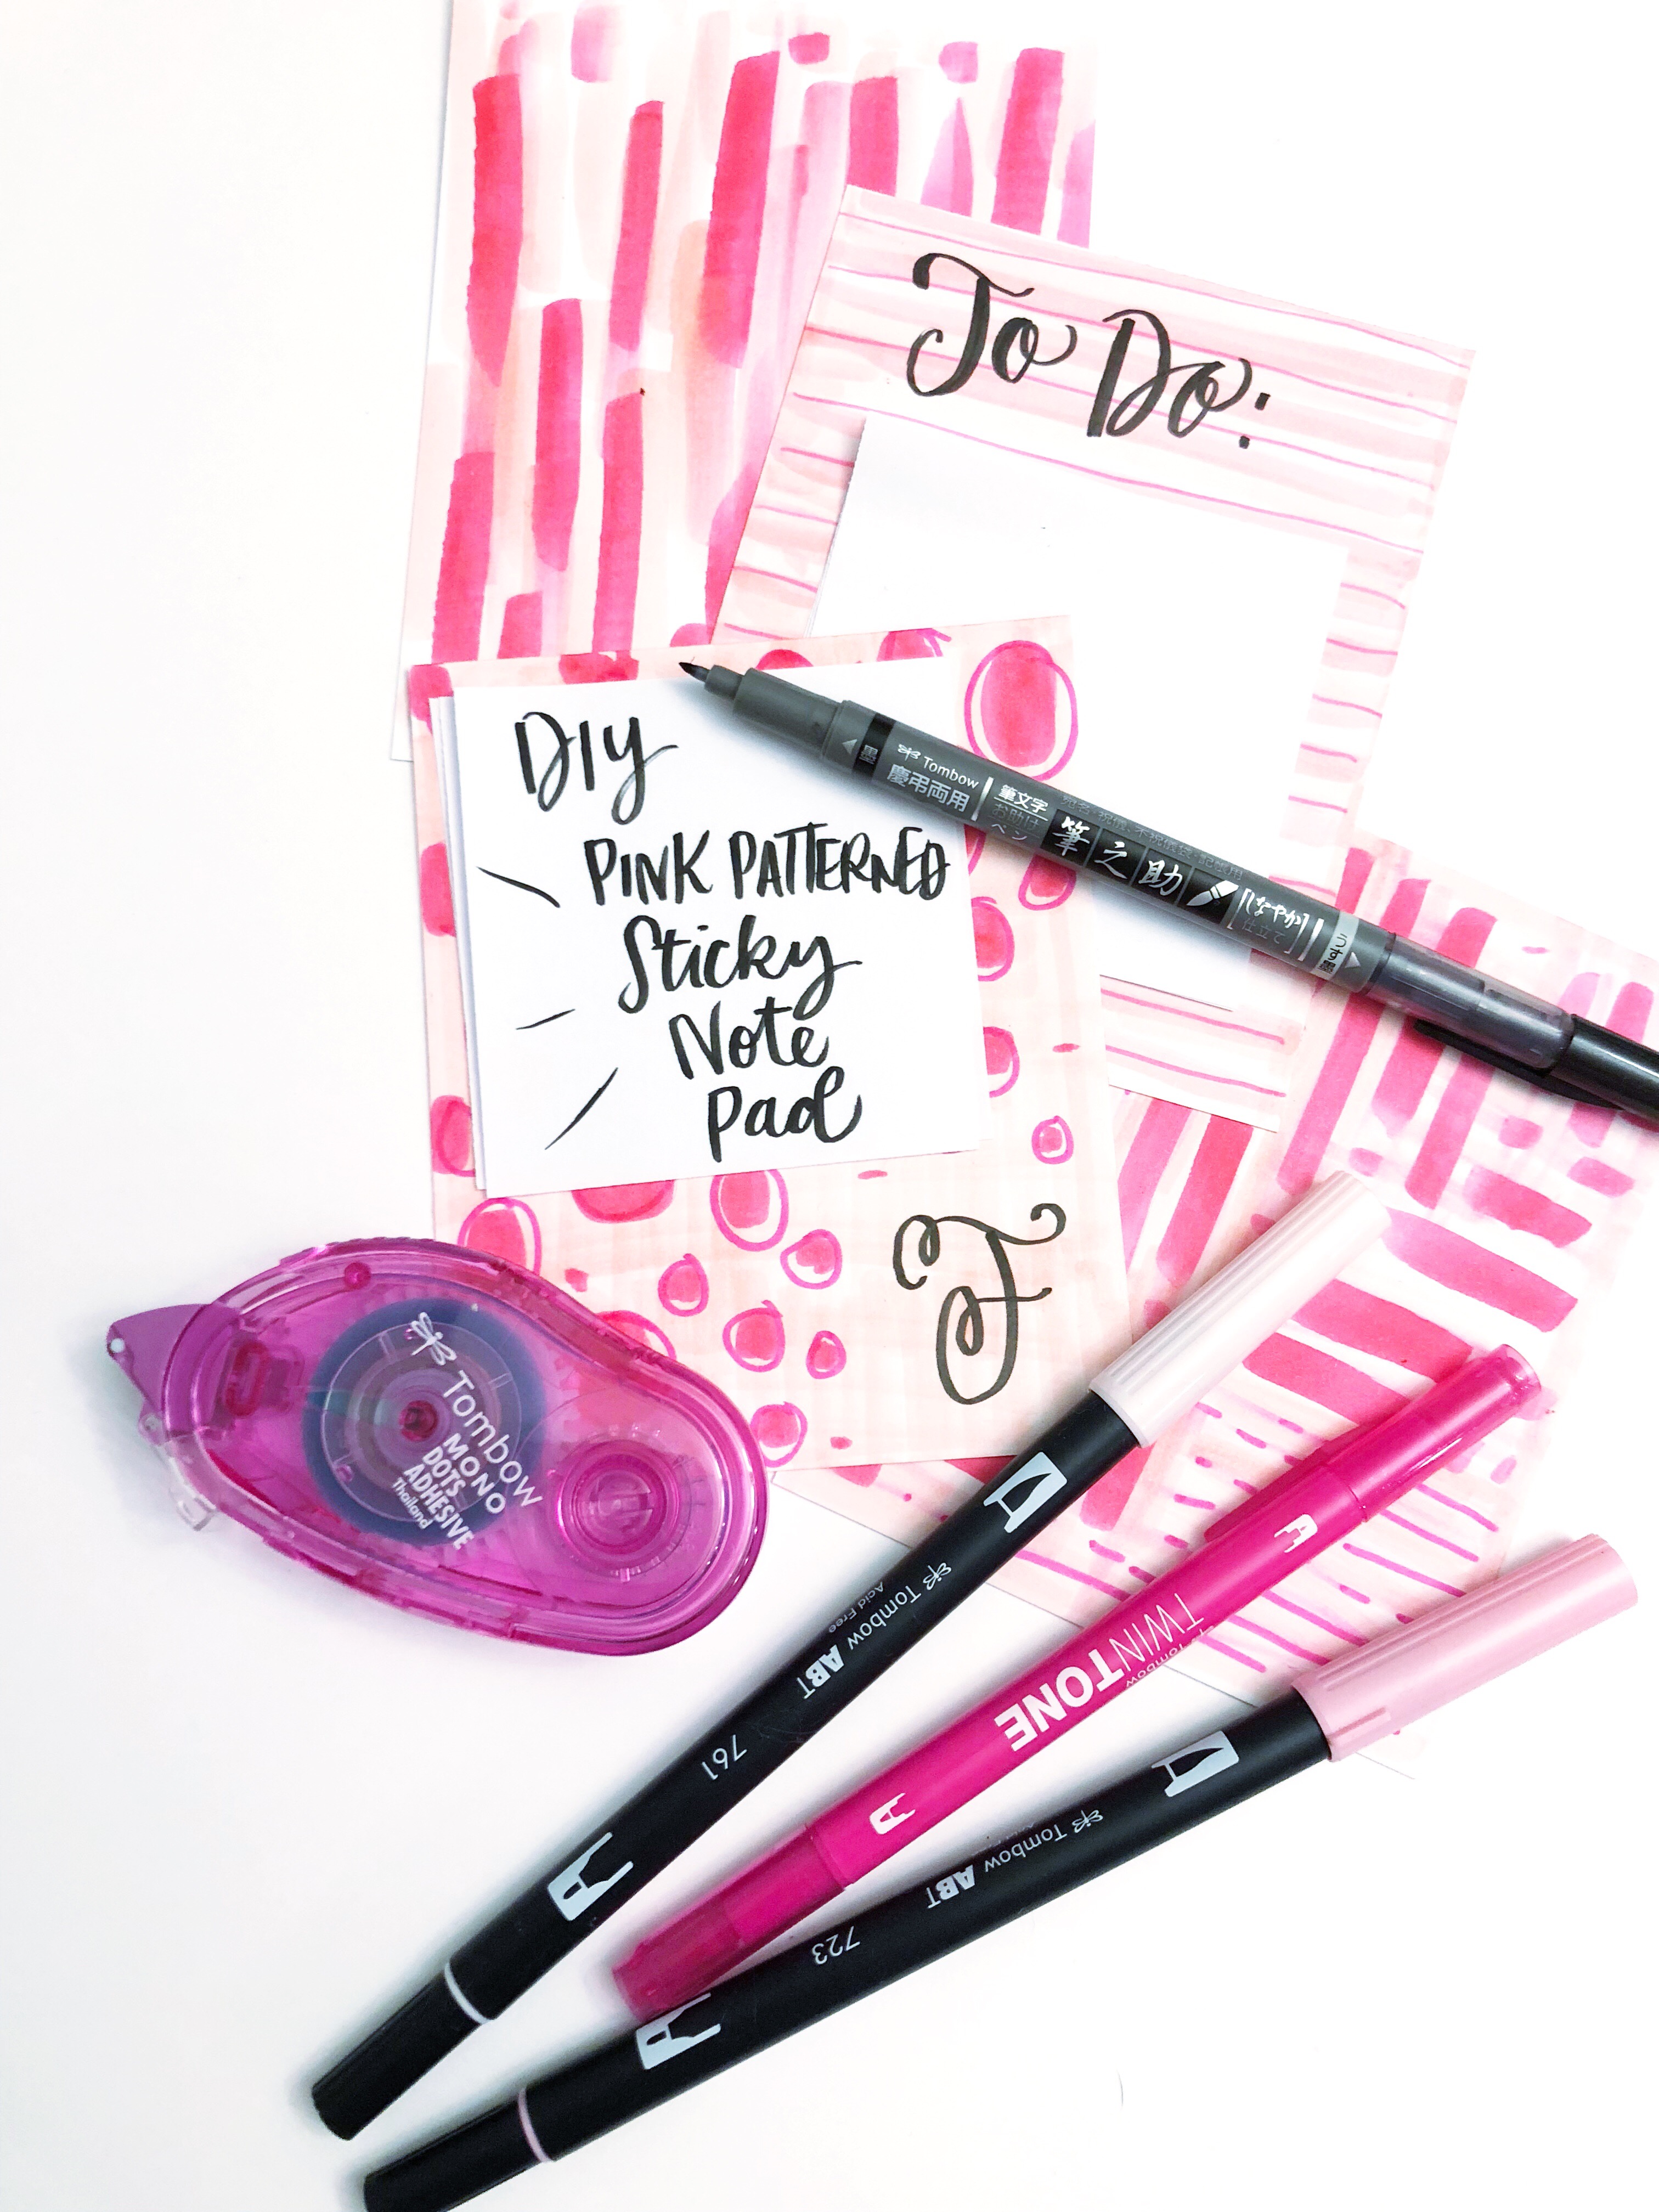
Let’s celebrate National Pink Day (June 23!) with a fun tutorial for DIY Pink Patterned Sticky Note Pads! Pink is such a vibrant and fun color and mixed with fun patterns is the perfect start for a fun and easy project!
YOU’LL NEED:
- Bristol Paper or smooth cardstock
- White copy paper (can be color or scraps of different kinds of paper)
- Paper cutter or scissors
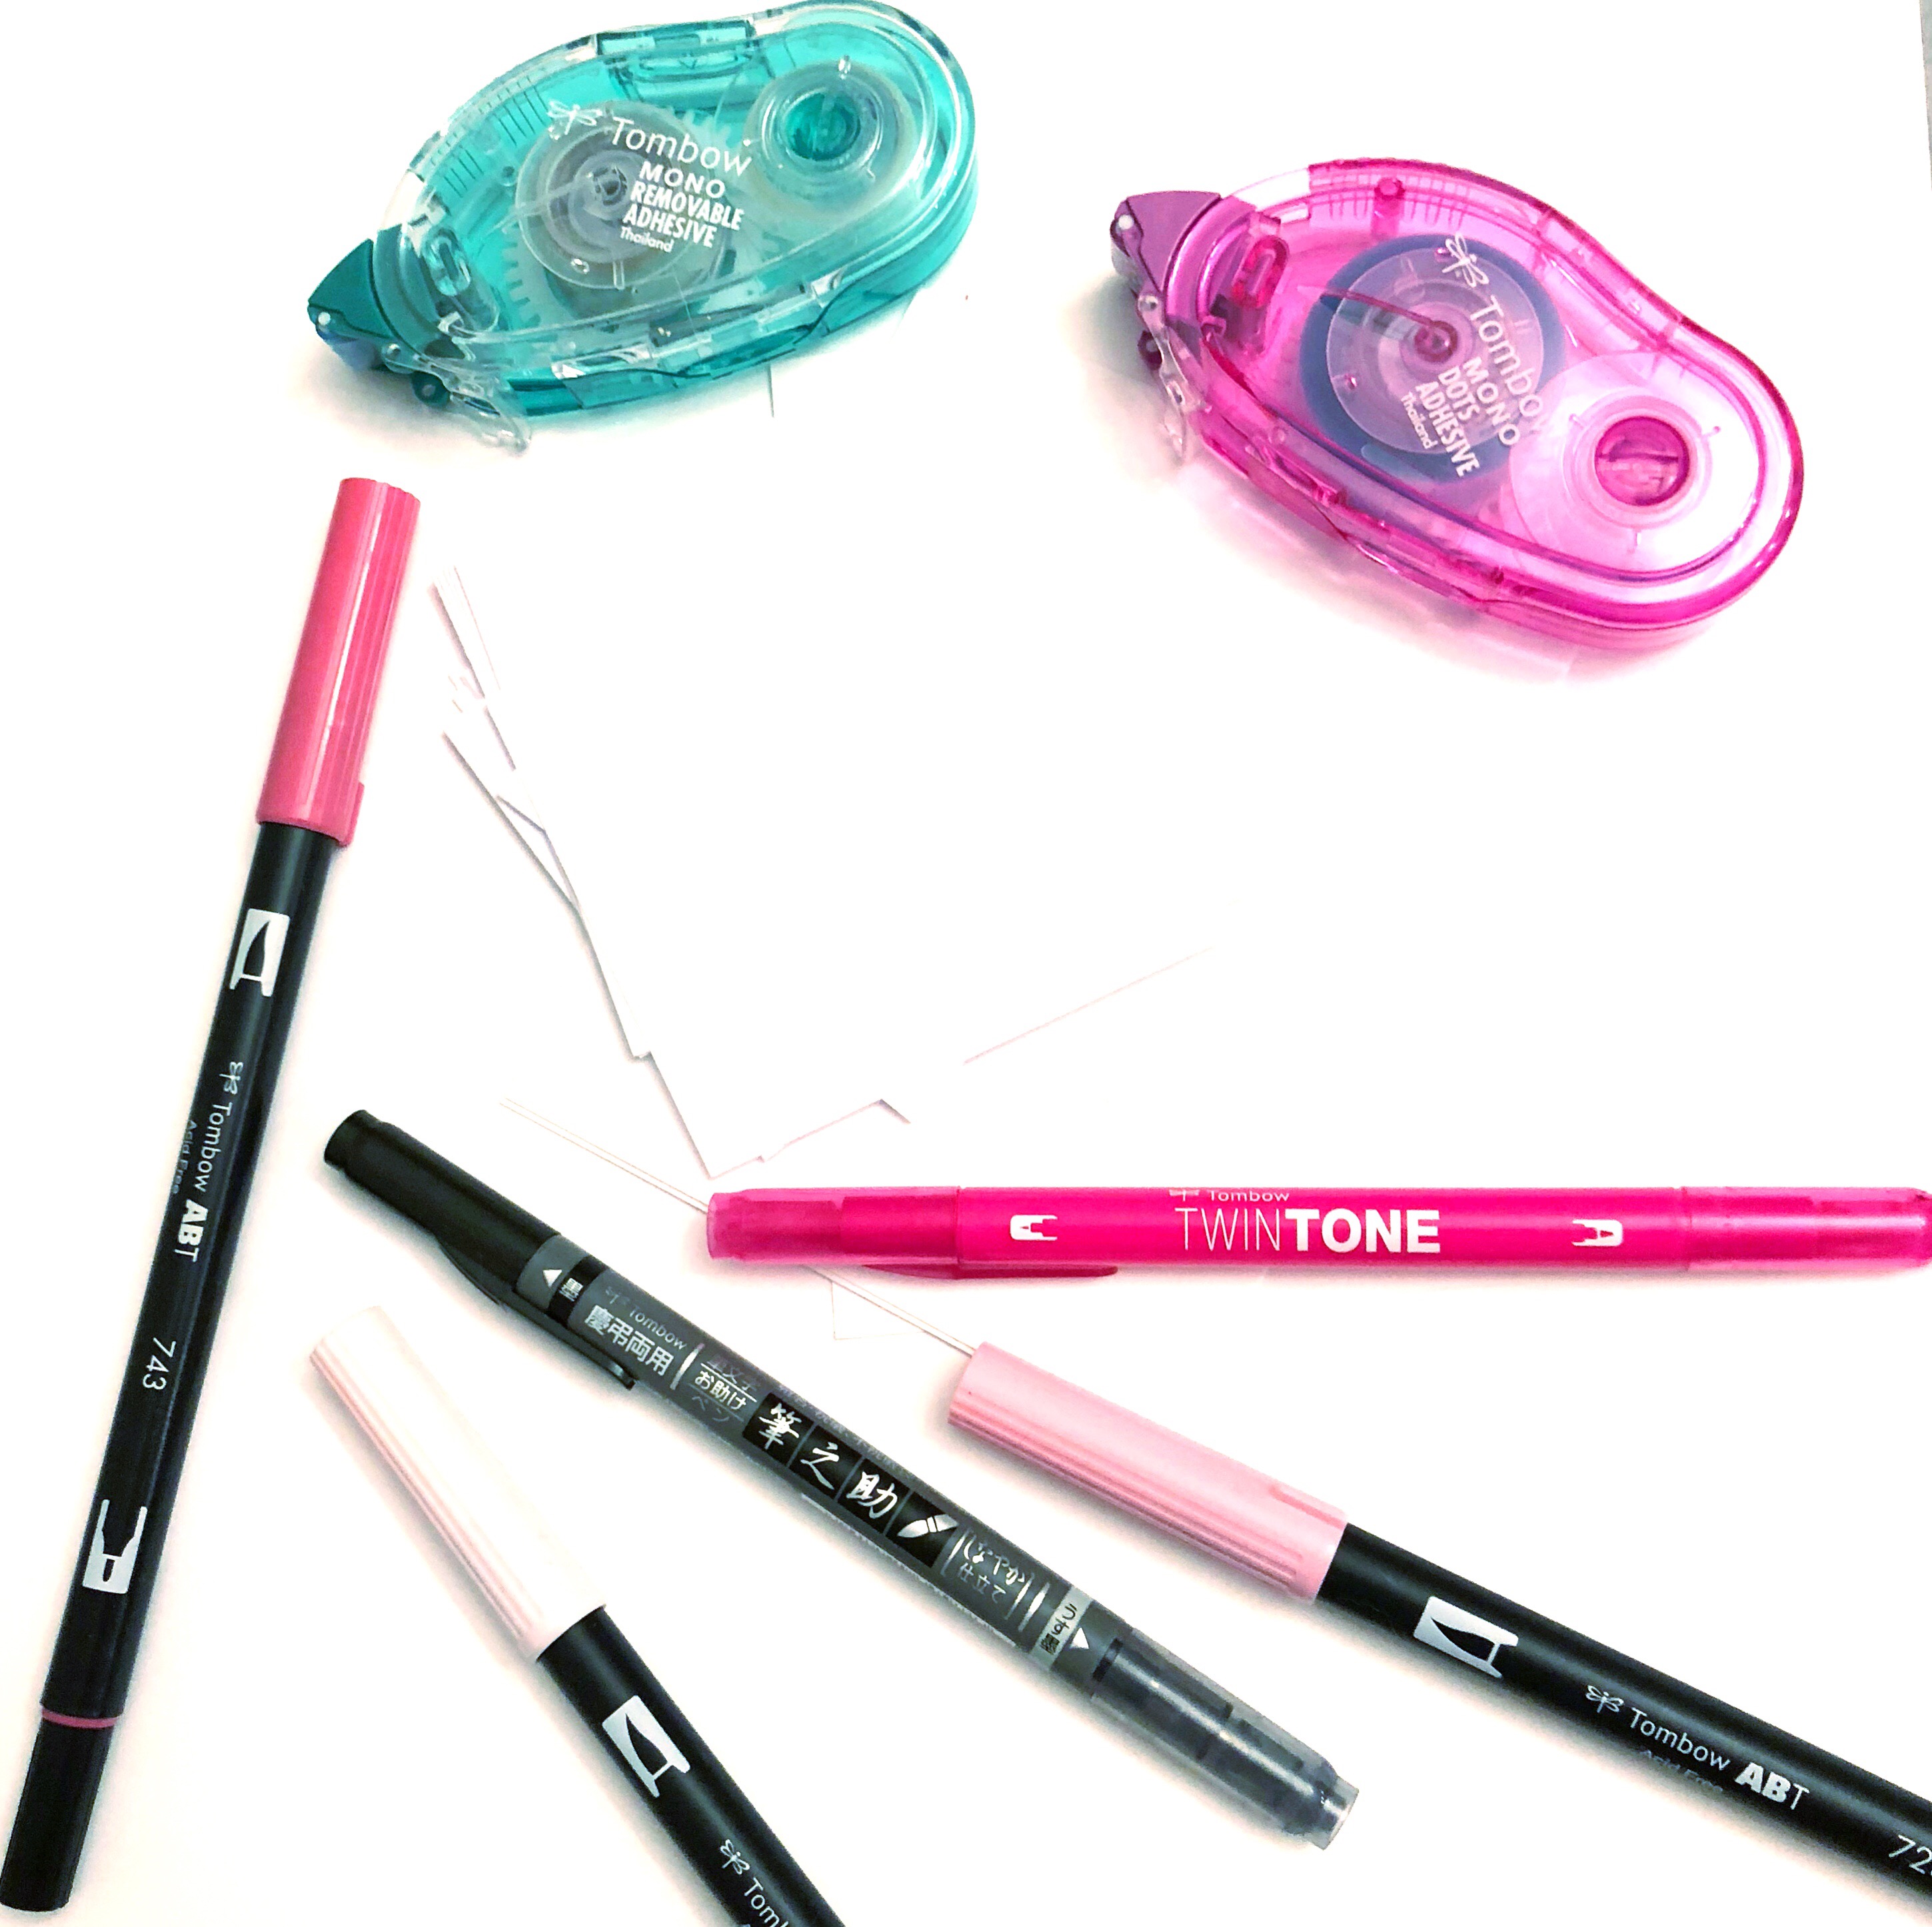
- Tombow Dual Brush Pens in pink shades
- Tombow TwinTone Markers in pink shades
- Tombow Fudenosuke Brush Pen (I used the Twin Tip)
- Tombow MONO Dots Adhesive
- Tombow Removable Adhesive
STEP 1: CUT THE PAPER
Start by cutting your paper. The sticky notes are 3-inch squares cut from copy or scrap paper. The Bristol paper or cardstock will serve as a holder for the sticky notes and will need to be cut in a 4-inch by 5-inch rectangle. You can choose whatever size you’d like for the project to be, but these dimensions are what I used to create the project.
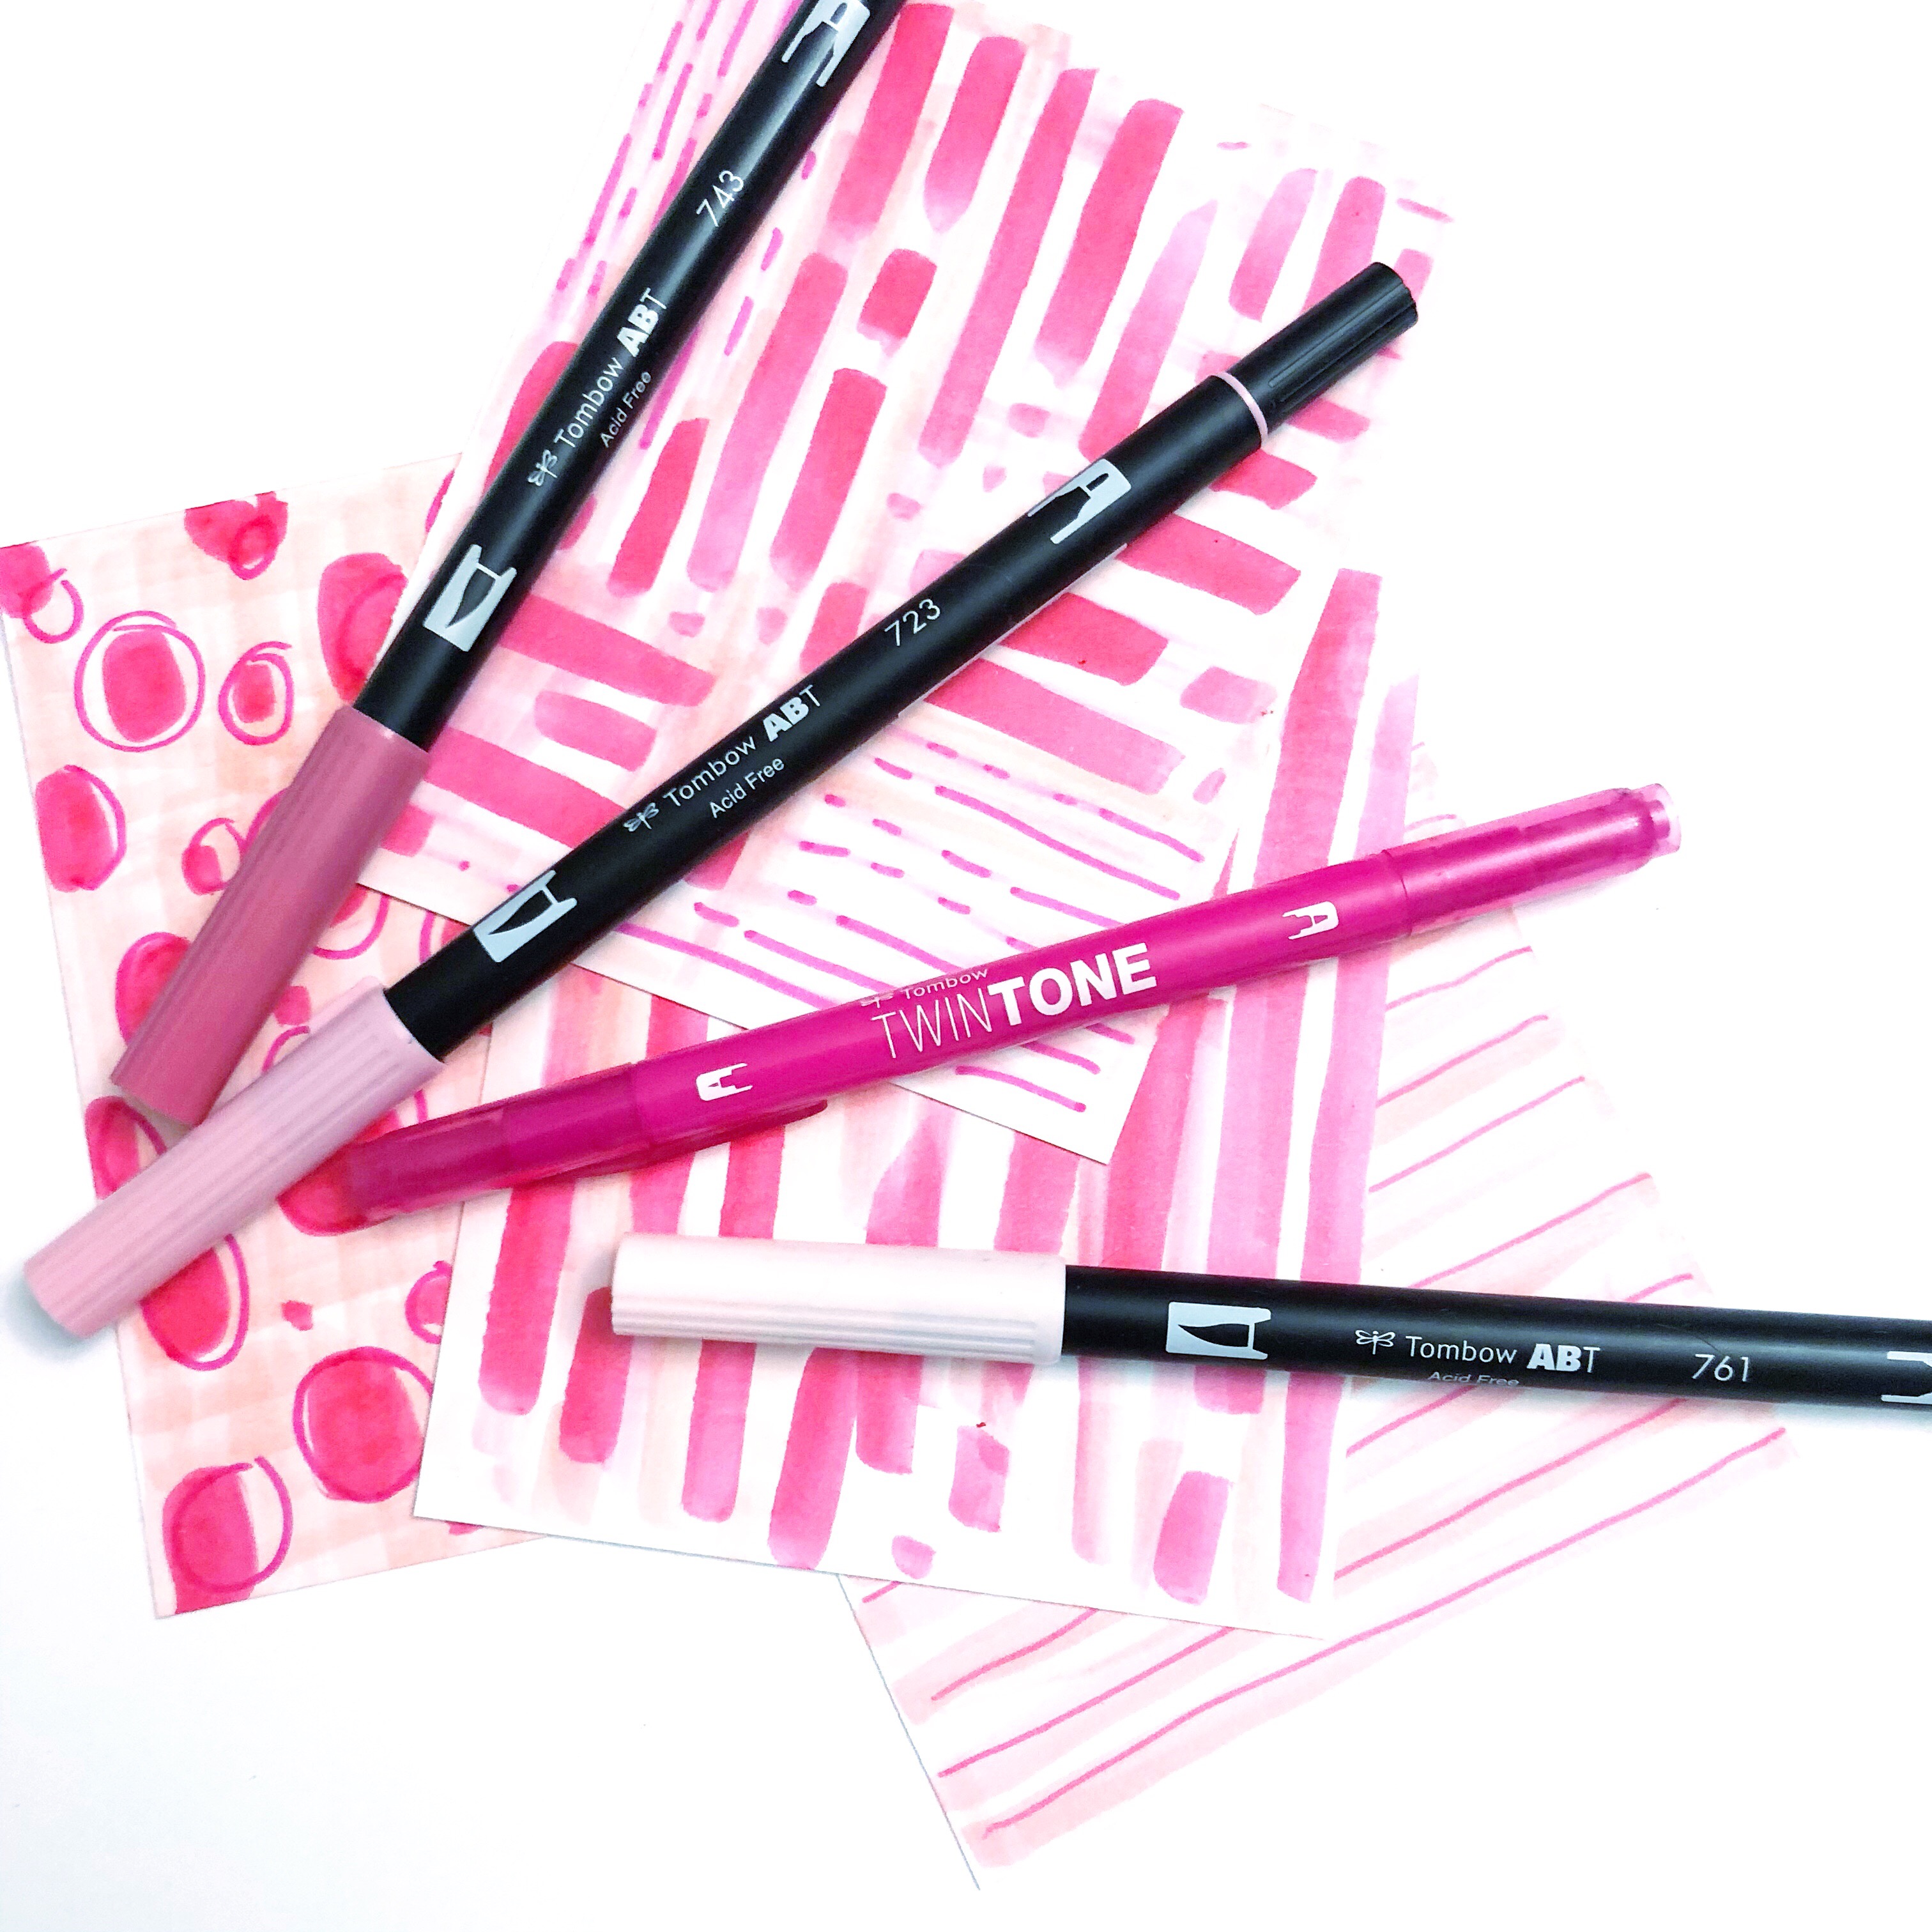
STEP 2: CREATE A PATTERN
Using pink shades of Tombow Dual Brush Pens and TwinTone Markers, create a fun pattern on the piece of Bristol/cardstock. The pattern can be random or classic and looks best when using several different shades of pink. Once the pattern is complete, let the ink dry for a few minutes before attaching the sticky notes.
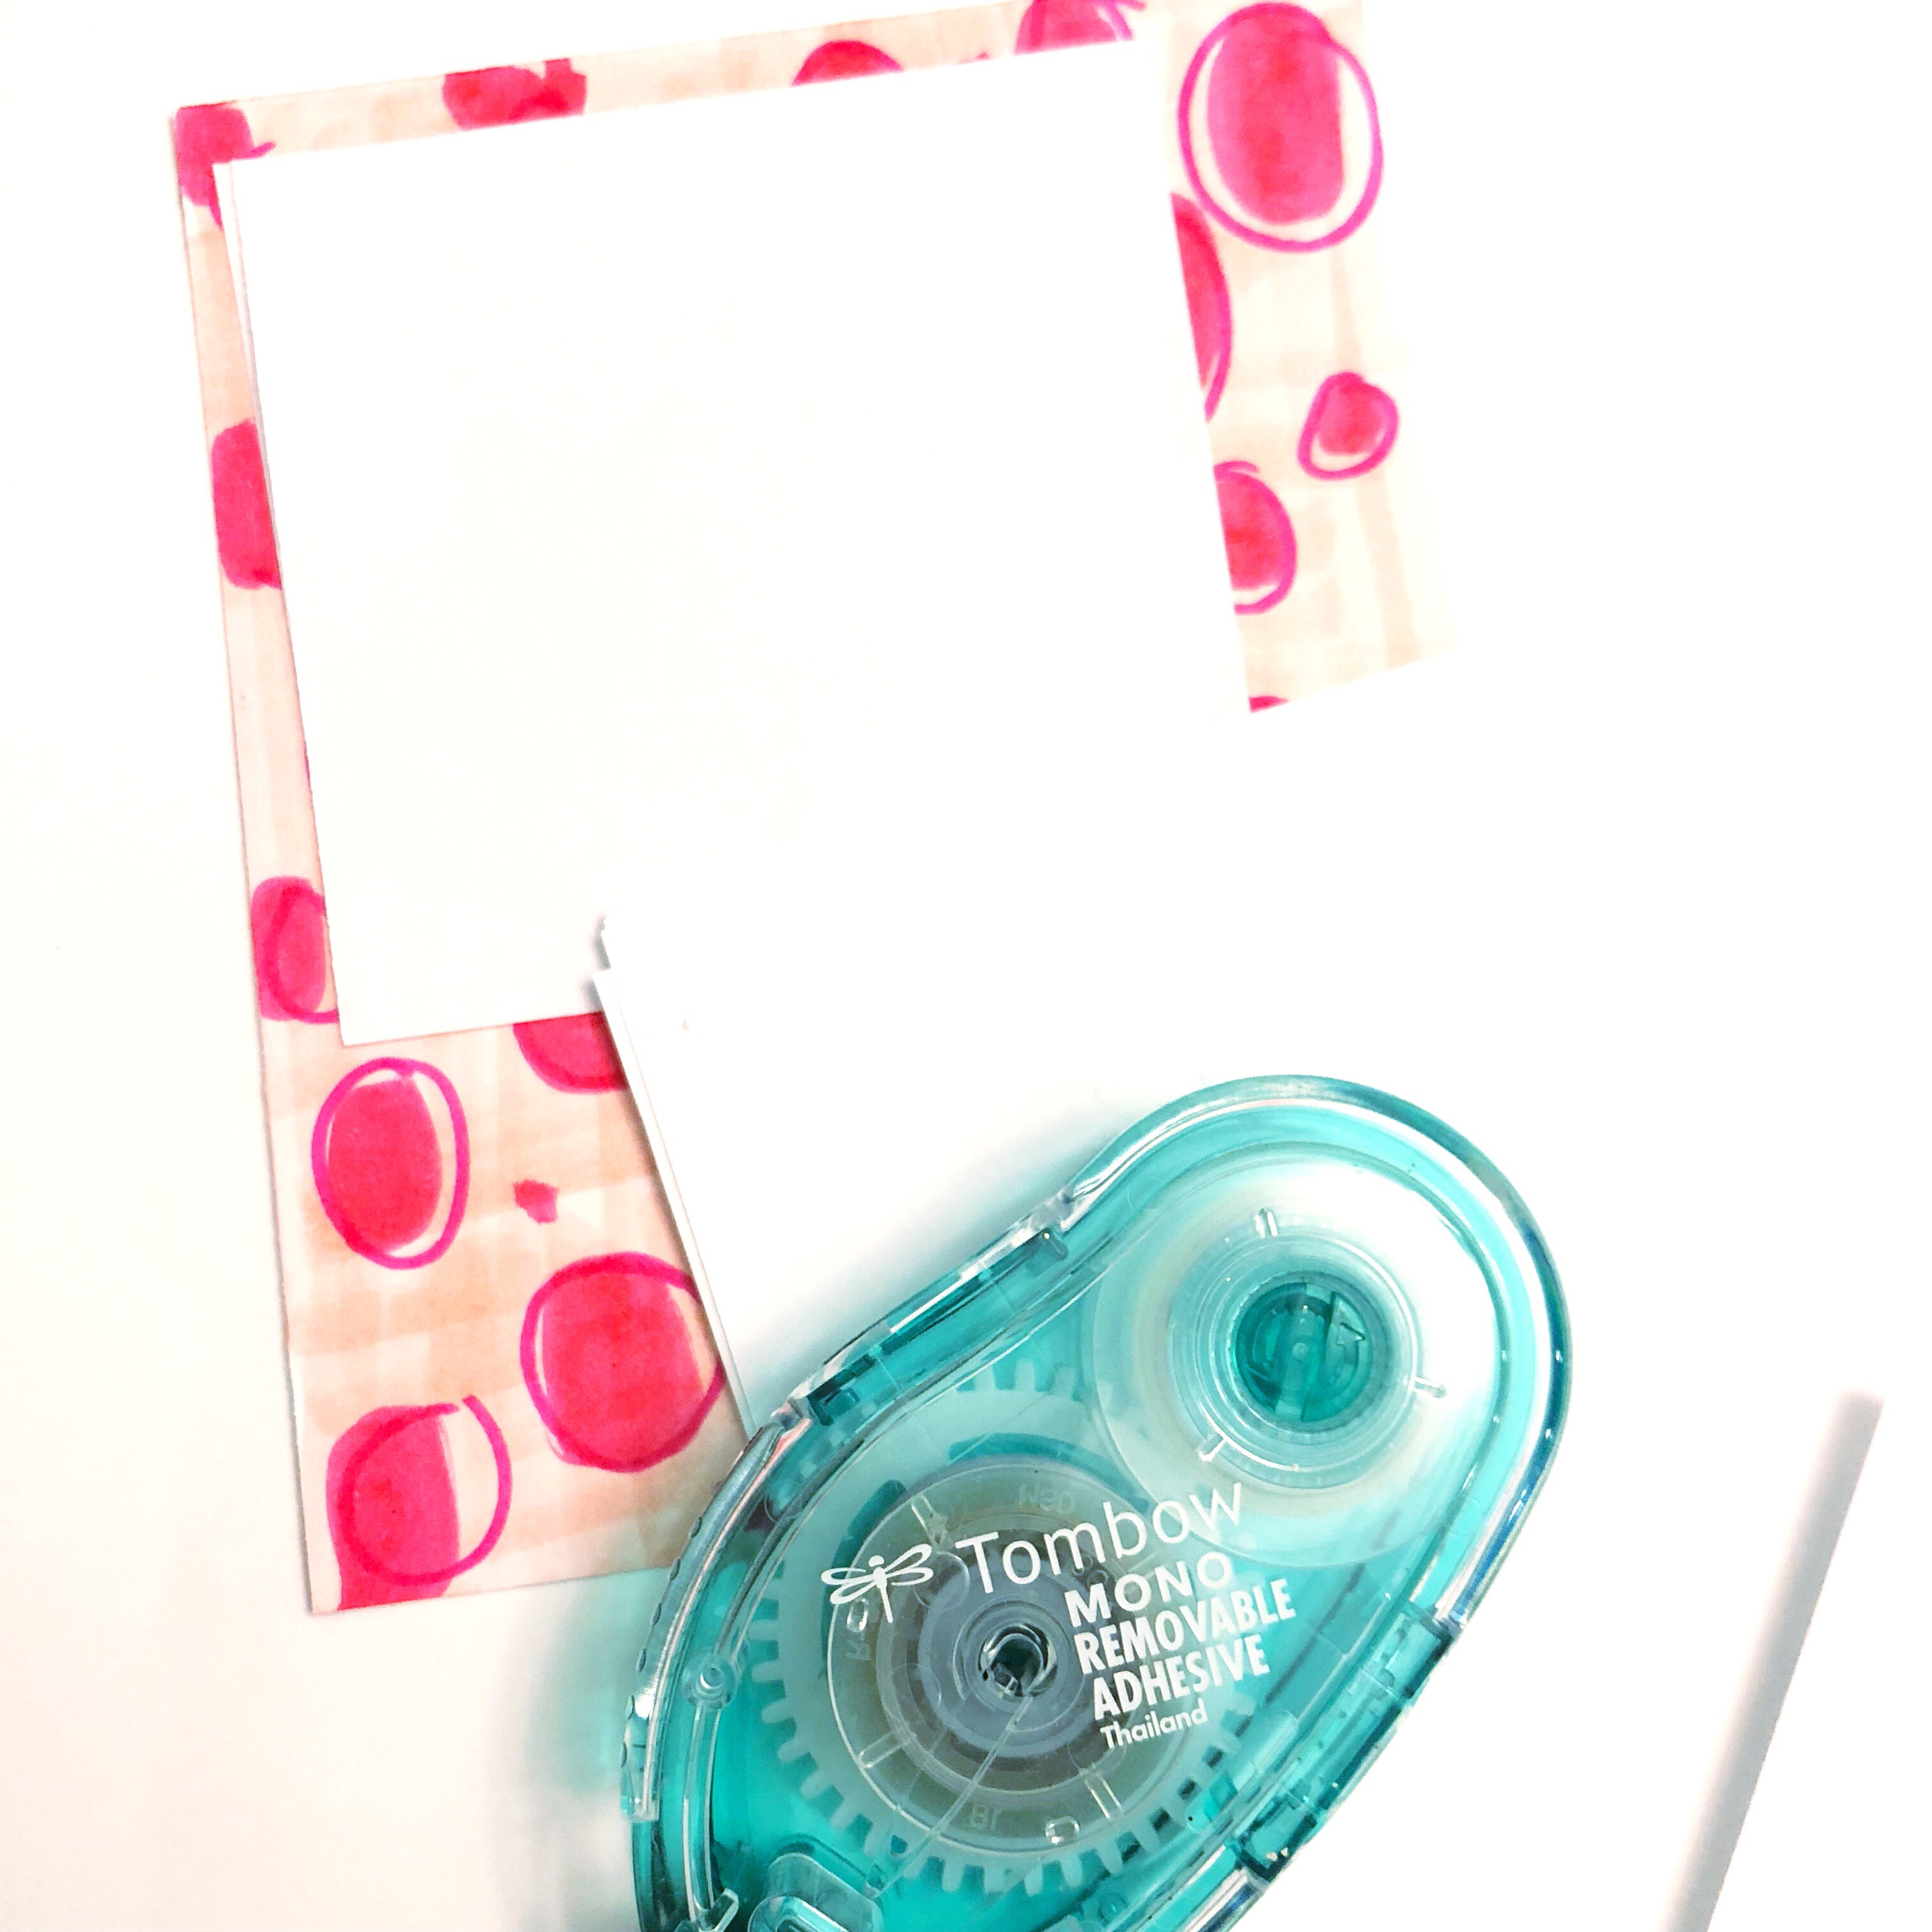
STEP 3: MAKE AND ATTACH THE NOTES
Place the sticky notes where you’d like them on the card. Apply one strip of Tombow MONO Removable Adhesive to the top of each square note and then gently apply pressure to the top until each note has been stuck onto the pad. The notes will easily peel off and stick somewhere else when being used.
STEP 4: PERSONALIZE IT
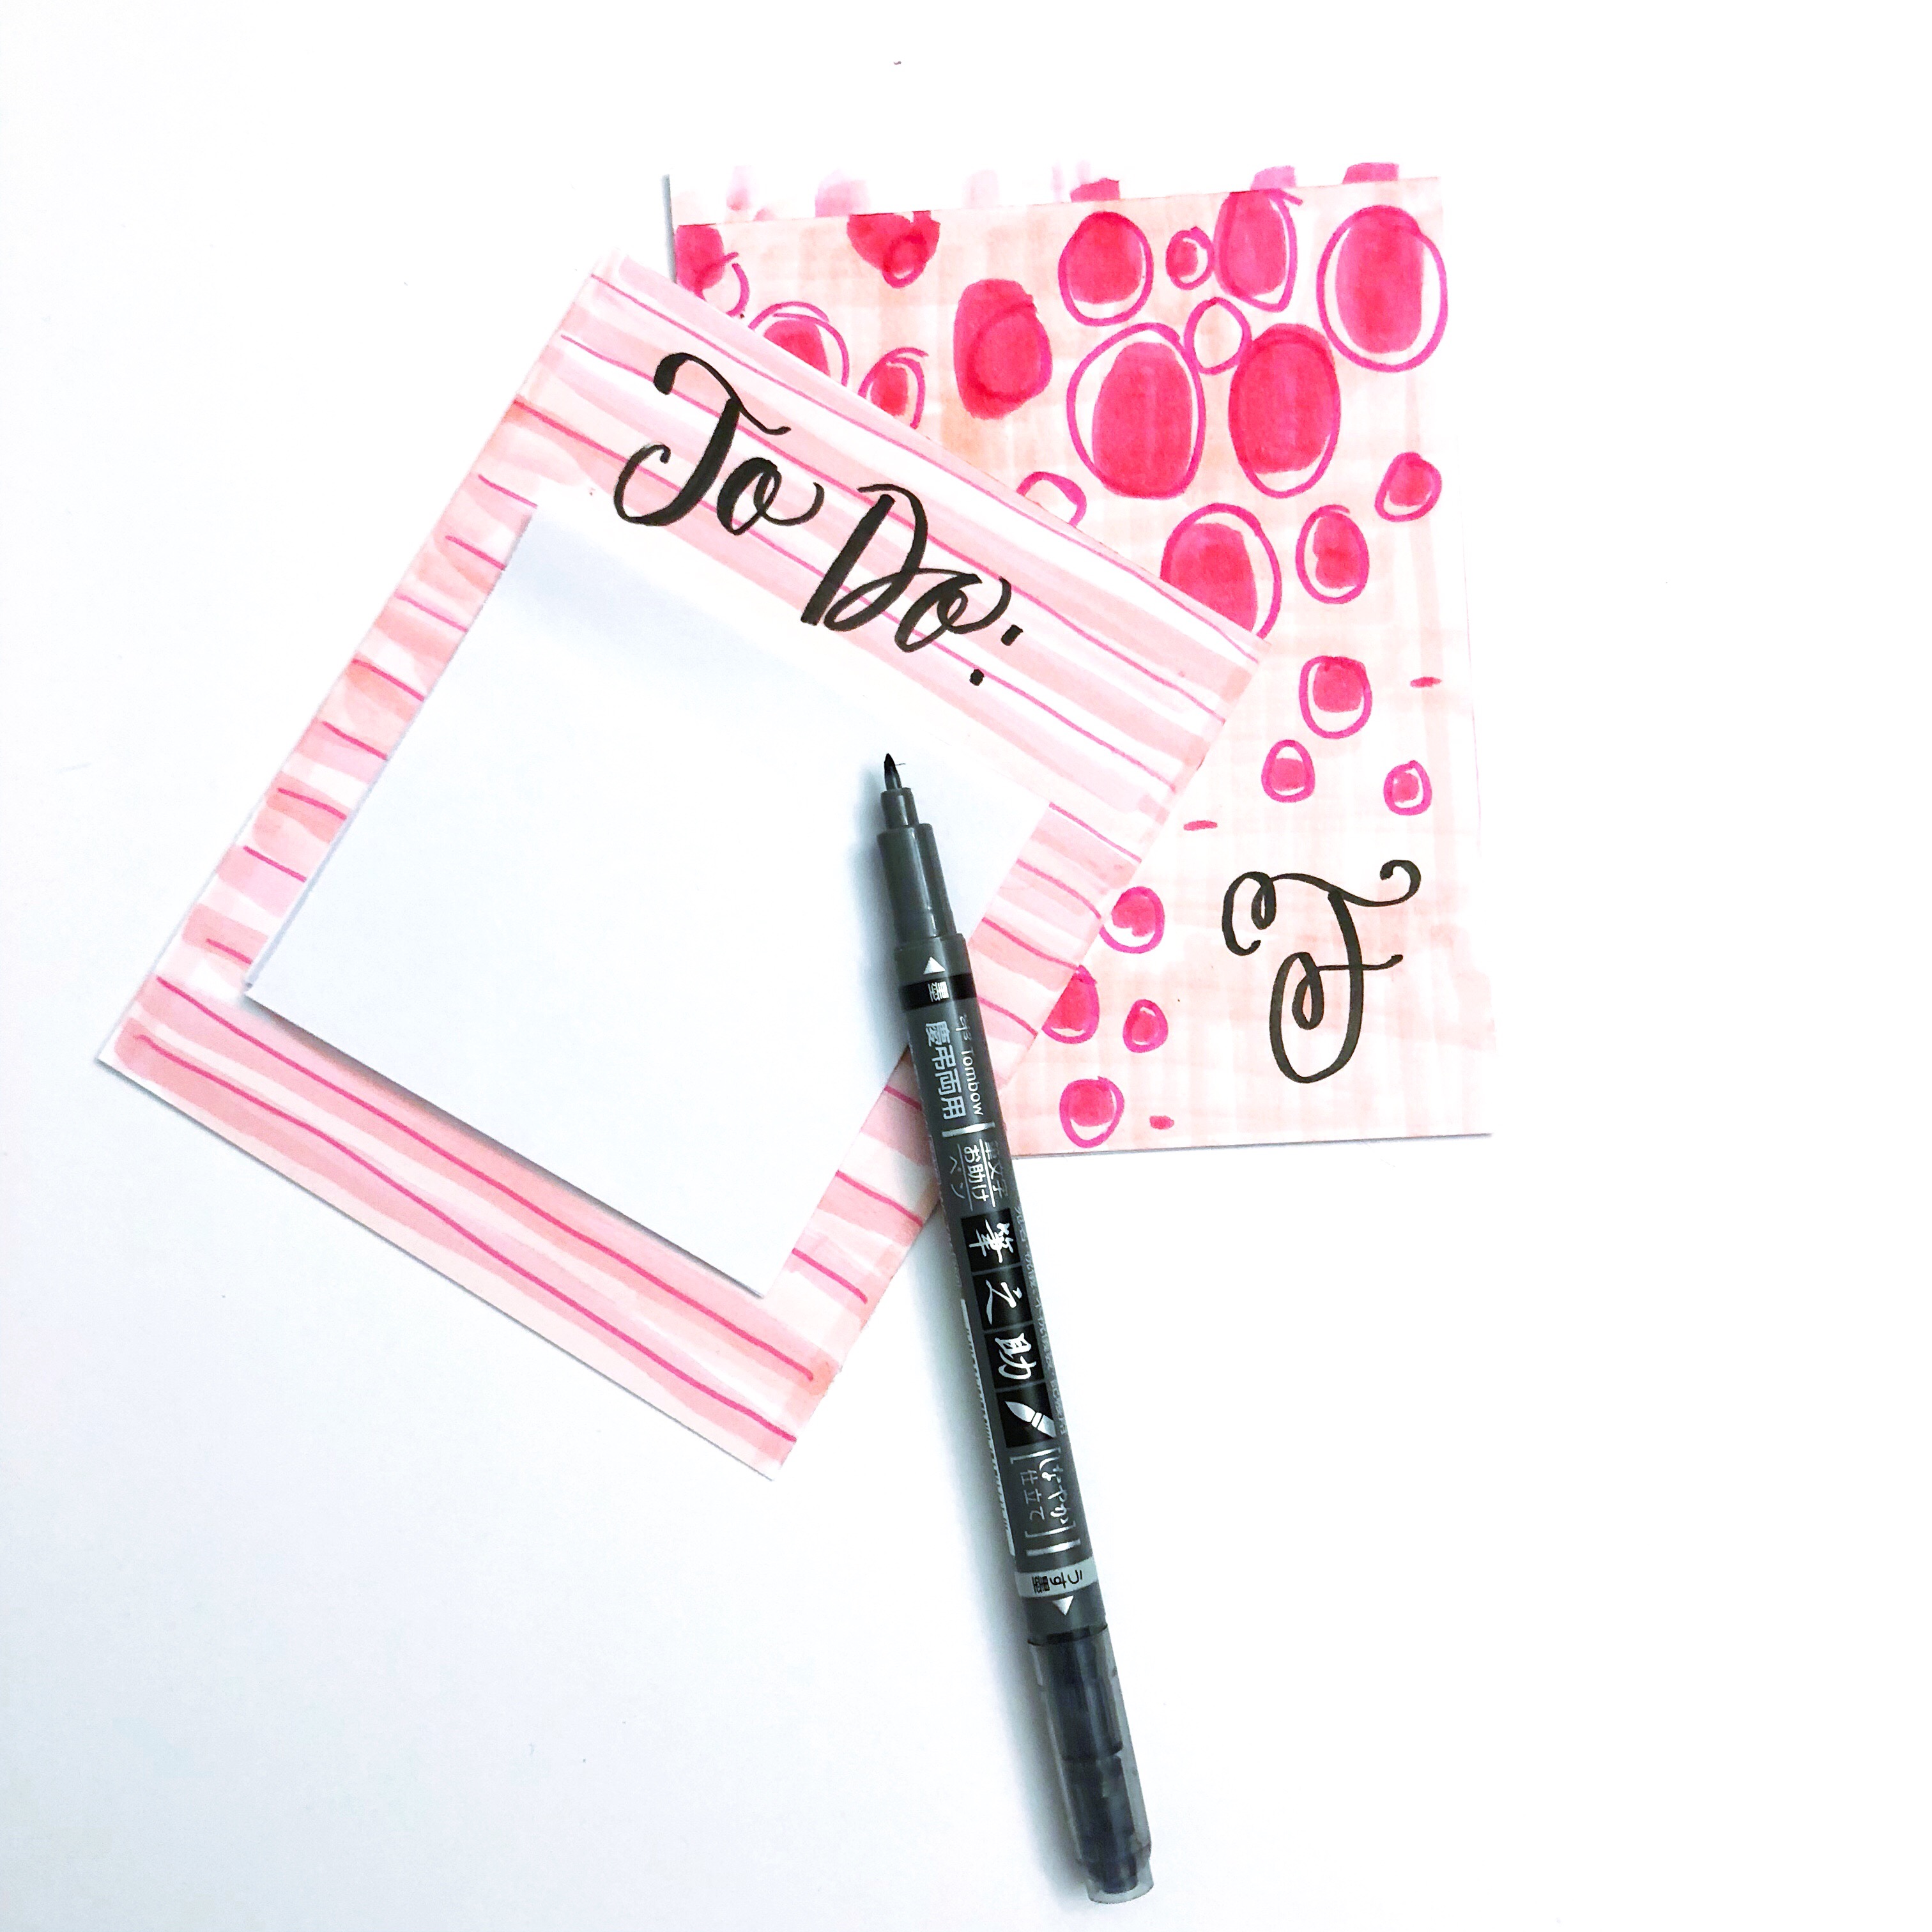
Add a personal touch to the sticky note pad by adding a quote, phrase, or even a name or Initial with the Tombow Fudenosuke Twin Tip Brush Pen. I chose to use this pen because it has both black and gray tips and creates super fun calligraphy.
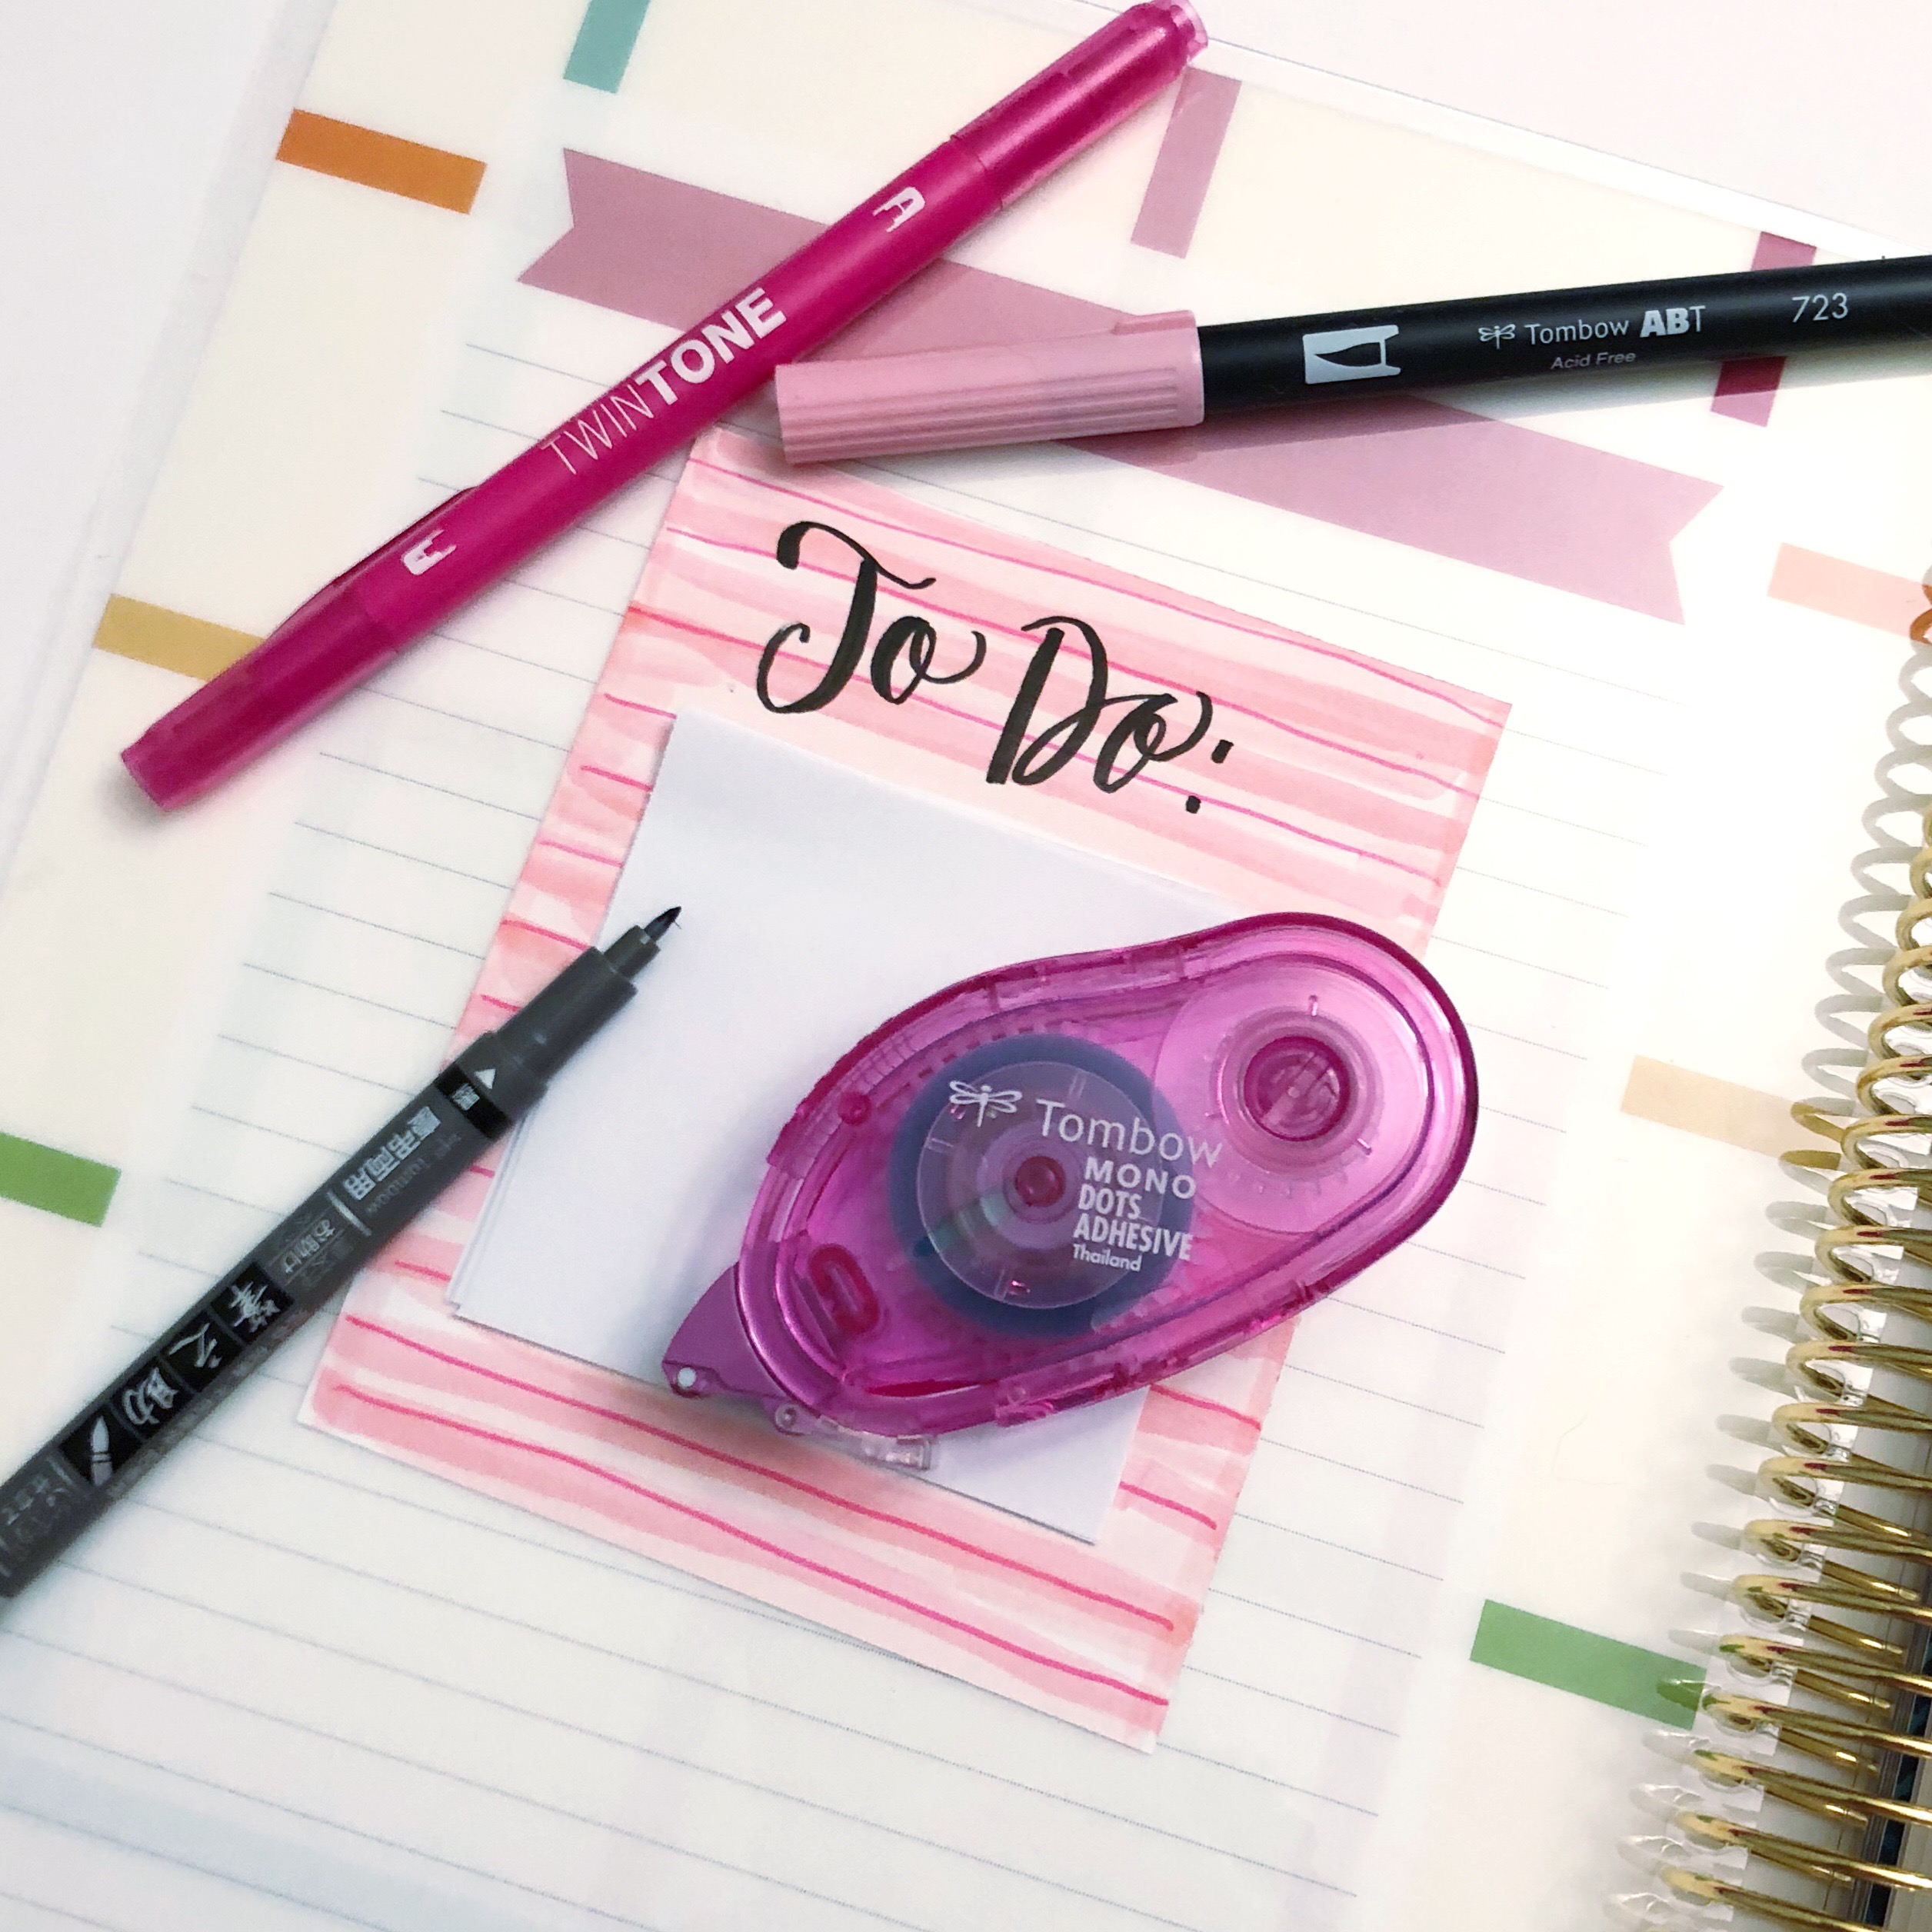
Yay! Now the sticky note pad is ready to stick somewhere permanently. The Tombow MONO Dots Adhesive can be used by applying a few swipes of the adhesive to the back of the note pad. This adhesive is permanent after being applied with pressure but is able to be repositioned quickly after being applied. Add a sticky note pad to your clipboard or planner. The pop of pink will go a long way!
Happy Lettering!
Lauren Fitzmaurice