Good morning y’all, Beth here with @creativelybeth to share an easy way to create a scrap tag art journal with a fun rainbow theme! When creating watercolor backgrounds with my Tombow Dual Brush Pens, I always make extra and then keep ALL the scraps. Back in April, I made this DIY Rainbow Butterfly Wreath and, well, being the good hoarder I mean crafter, I kept the leftover positive and negative die cut butterfly images. I knew that I would use those lovely scraps to make something special, and today is that day!
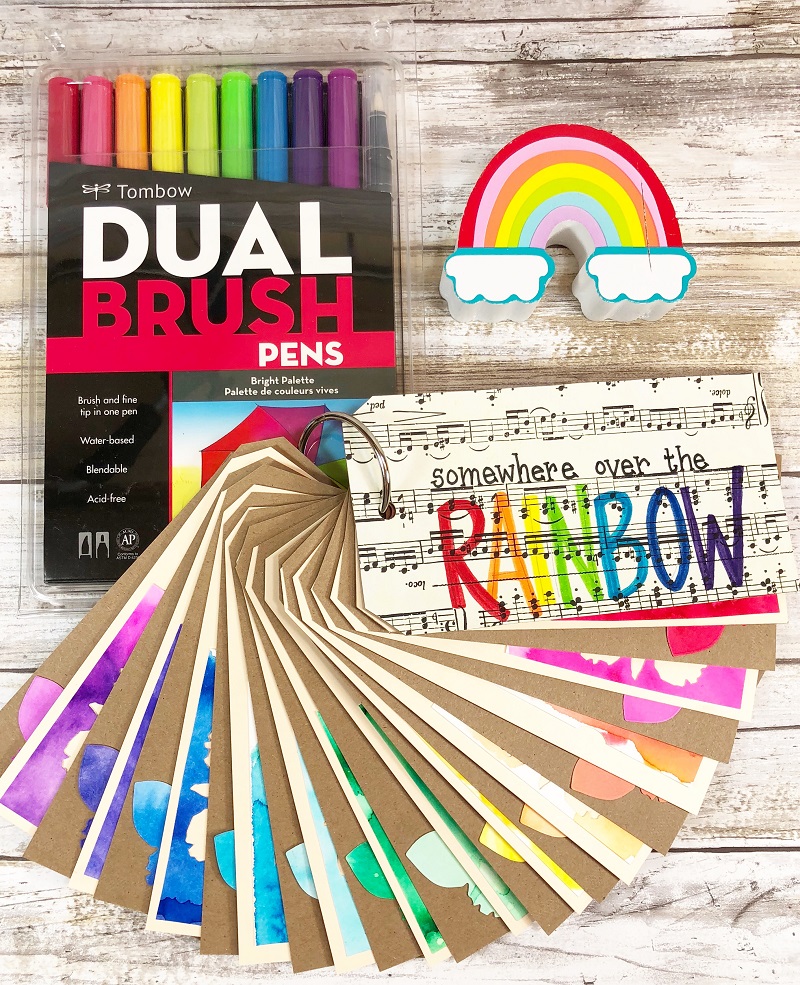
Here’s what you need to make a Scrap Tag Art Journal:
- Tombow Dual Brush Pens – the Bright Set and N15
- Tombow MONO Aqua Liquid Glue
- Tombow Xtreme Permanent Adhesive
- Tombow MONO Drawing Pens – 01, 03 and 05
- Tombow MONO J Drawing Pencil 2H
- Scraps from previous projects; Manilla Tags; Kraft Tags; vintage Sheet Music; Chipboard; Scissors; Hole Punch; Binder Ring
Step One
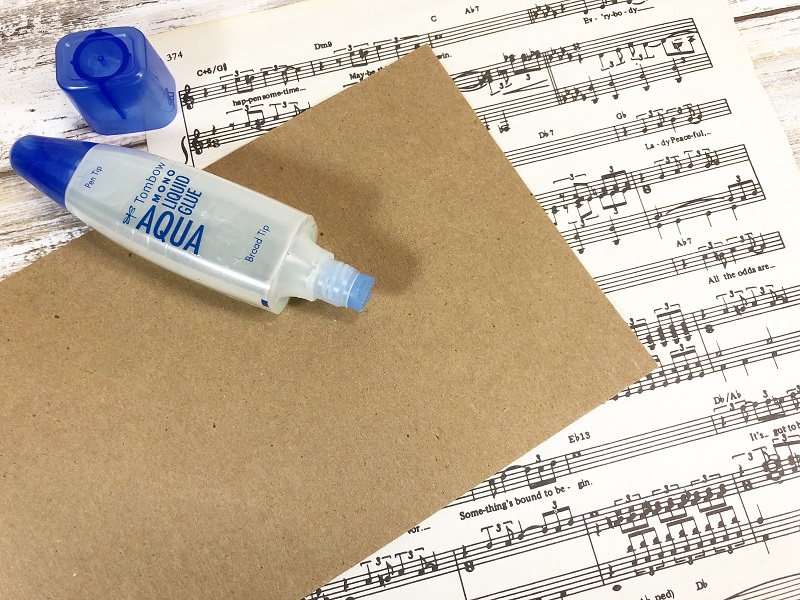
Begin by attaching vintage sheet music to chipboard with MONO Aqua Liquid Glue using the broad tip for the application. MONO Aqua makes the perfect decoupage medium for tons of surfaces, but especially paper!
Step Two
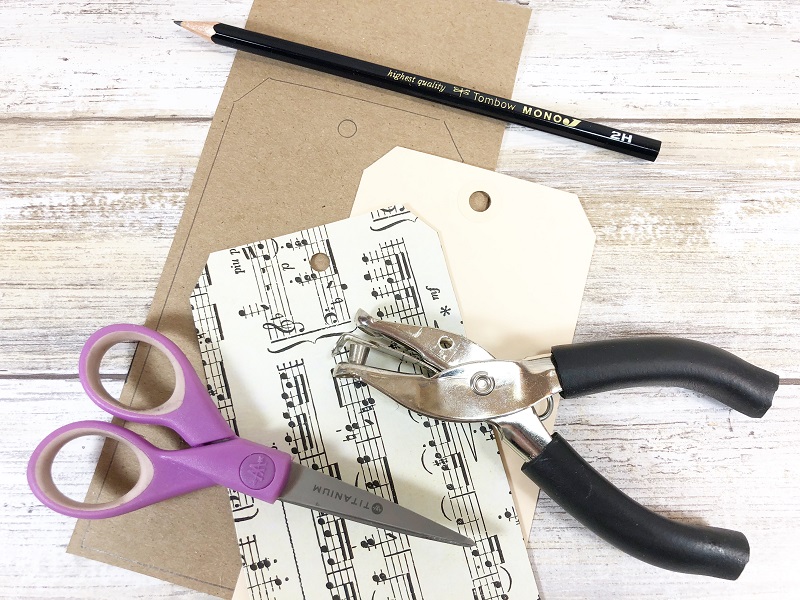
Once dry, then trace the shipping tag on to the back of the decoupaged chipboard, twice. Cut out with scissors and punch a hole at the top of each tag. These will become the covers of the scrap tag art journal.
Step Three
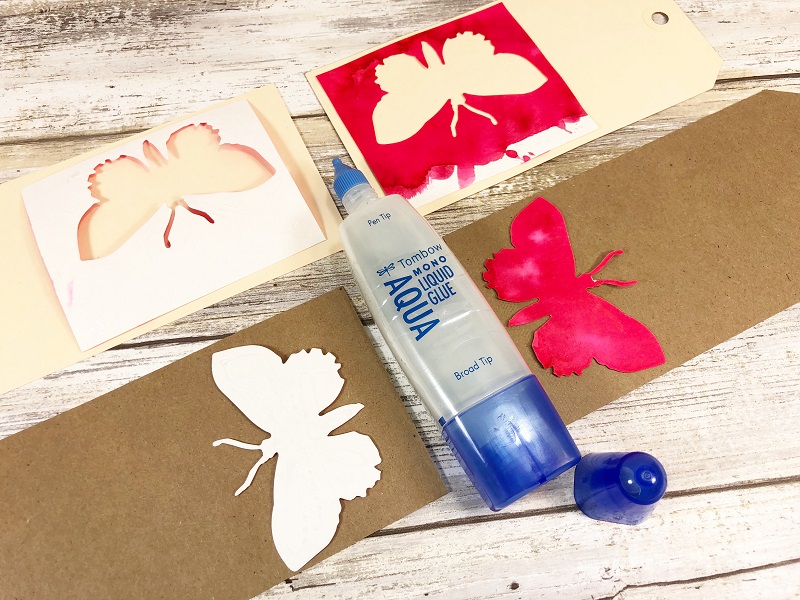
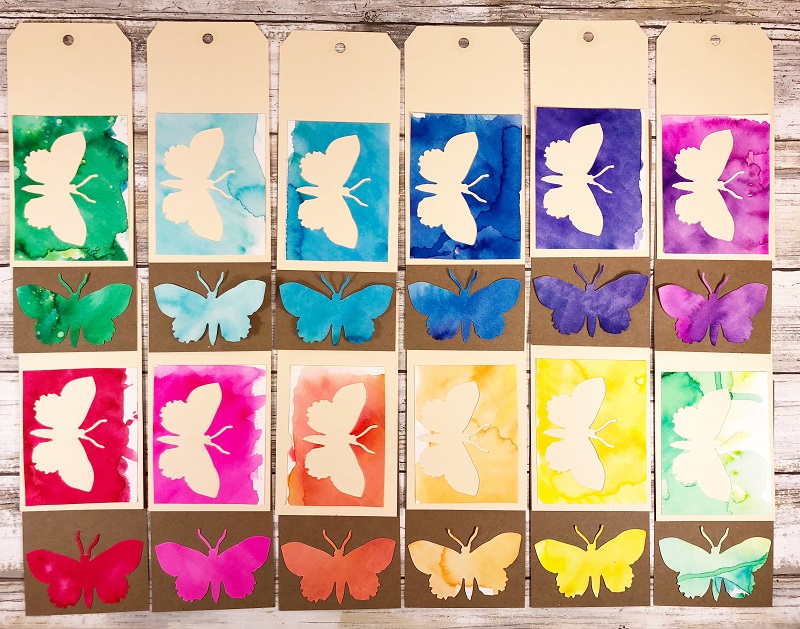
Trim and attach the negative butterfly die cut images to the manilla tags (I used #8 size tags) with MONO Aqua Liquid Glue using the pen tip. The MONO Aqua sets up in just minutes with a strong bond. Adhere the positive butterfly die cut images to the kraft tags with a line of Tombow Xtreme Permanent Adhesive, which is five times string than the standard tape runners. Simply roll to apply and then swipe tip to the side for a clean application.
Step Four
Create two tags for each color in your rainbow! I love the variety and contrast of these scrap tags.
Step Five
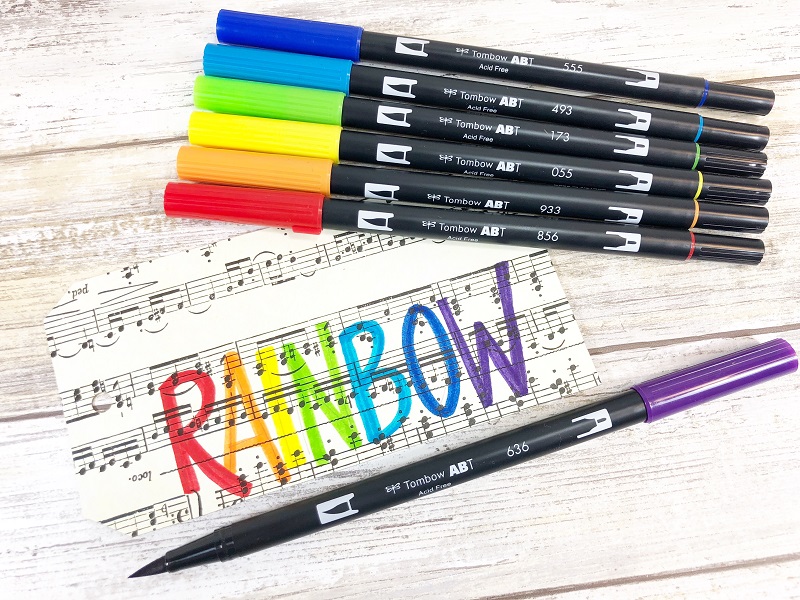
Sketch a title on the cover of your scrap tag art journal with the MONO J Drawing Pencil 2H. I selected “somewhere over the RAINBOW,” which is a great title for my rainbow butterfly theme. Ink in the word “RAINBOW” using each of the Dual Brush Pens from the Bright Set with the brush tip.
Step Six
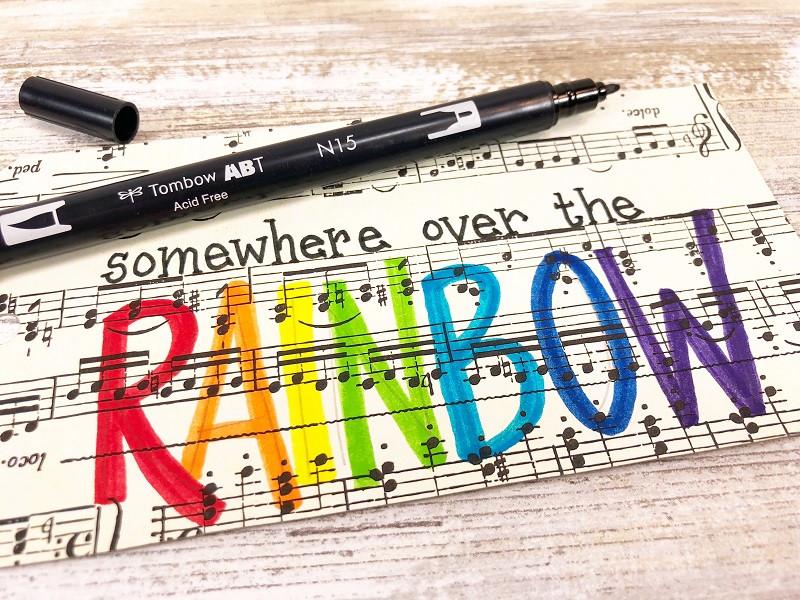
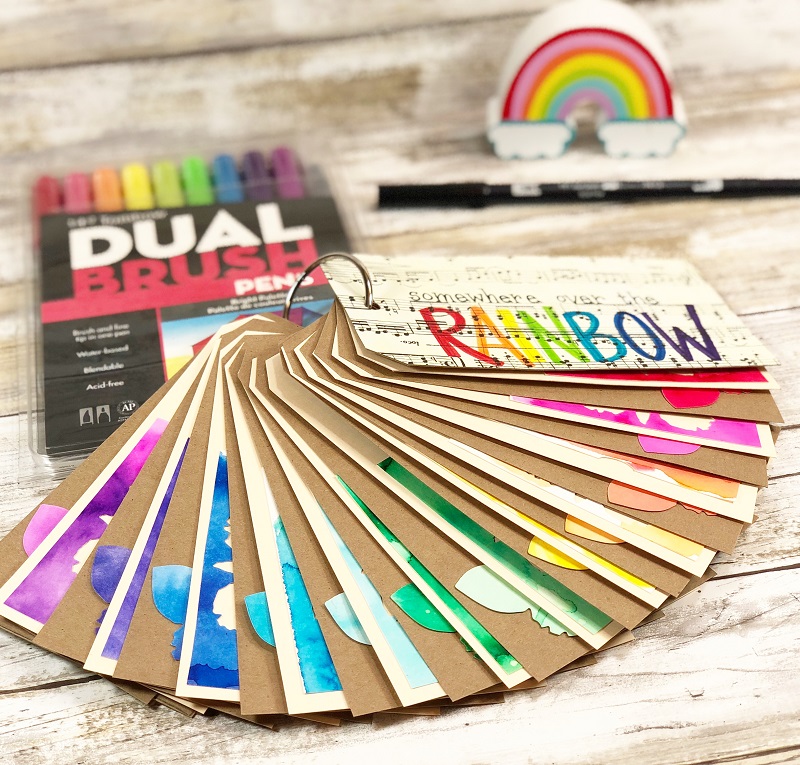
Ink in the “somewhere over the” with the bullet tip of Dual Brush Pen N15 Black and then put all the tags together with a binder ring.
The final step is to create art in your scrap tag art journal! I am going to record all my favorite rainbow quotes and practice my lettering in this fun journal. It’s the perfect size to tuck into a purse or bag and be creative on the go!
Be sure to check out all of the art journaling inspiration this week, here on the blog and over on the @tombowusa Instagram!
Thanks for stopping by!
Creatively, Beth
Pingback: 15 Easy Handmade Teacher Gift Ideas for Teacher Appreciation