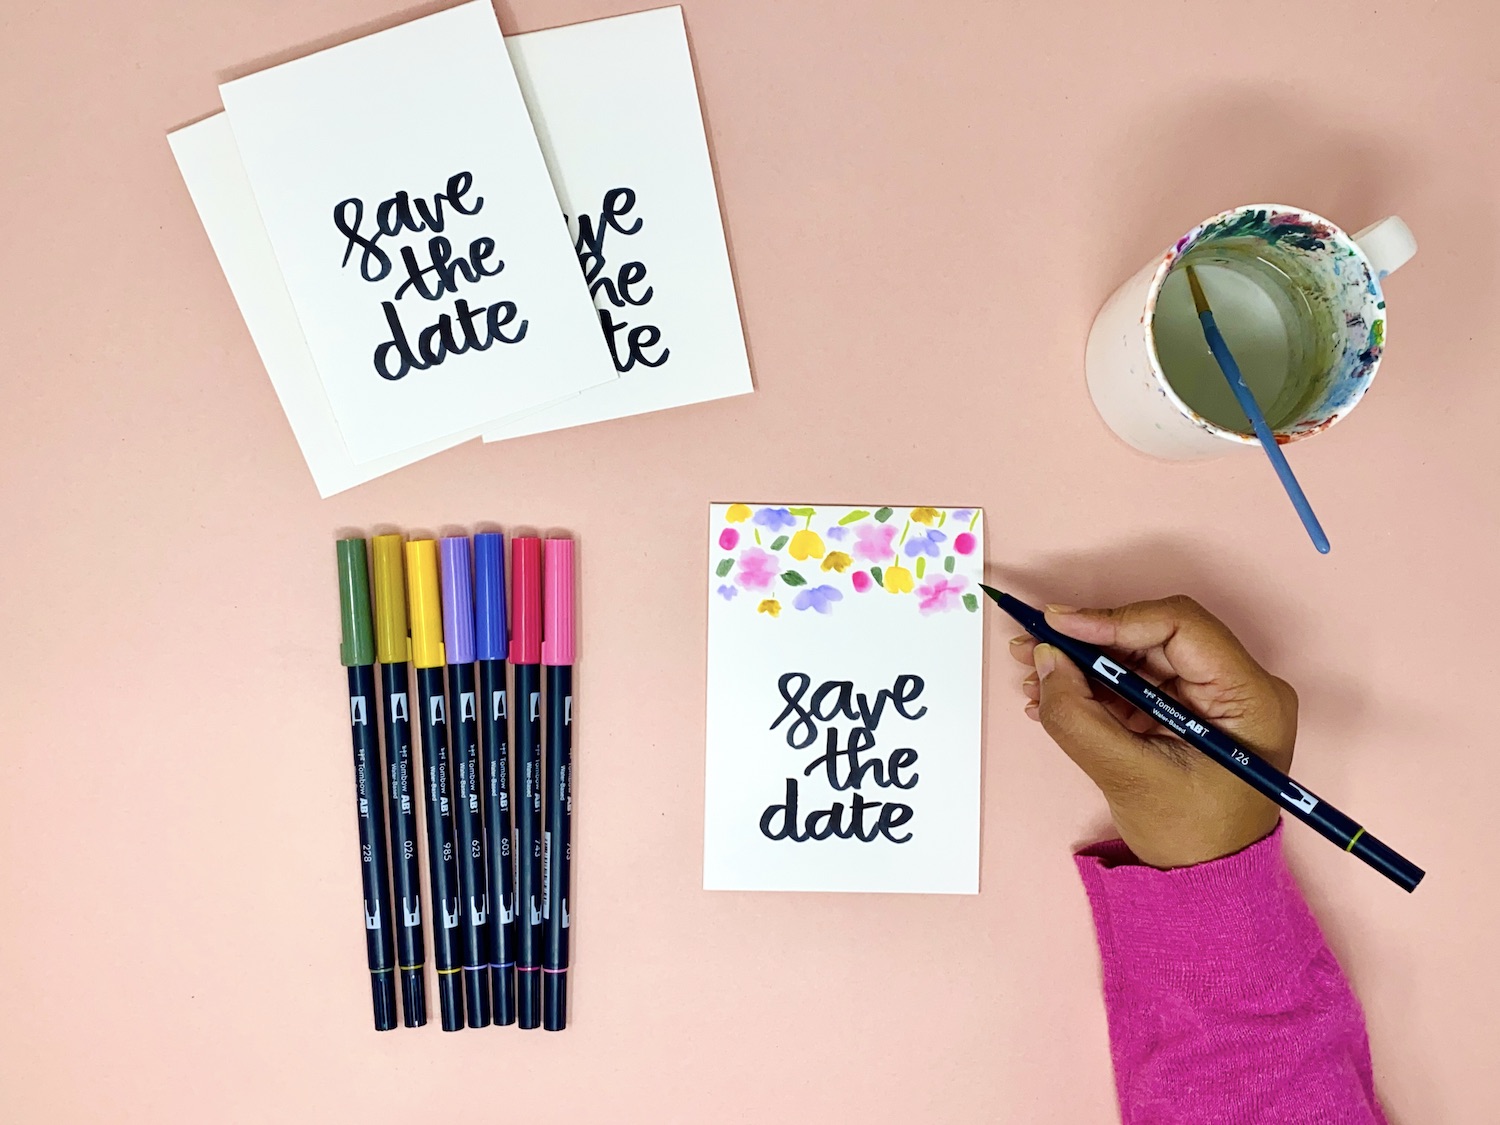
Hi Tombow Friends! This is Smitha Katti from the blog Smiling Colors, sharing a DIY Save The Date Card tutorial. You can use your Tombow Dual Brush Pens to create unique, customized DIY Save The Date Cards that truly represent you. Whether you are a beginner or advanced artist, these cards are simple to make in bulk and adds a personal touch to your upcoming wedding.
Supplies:
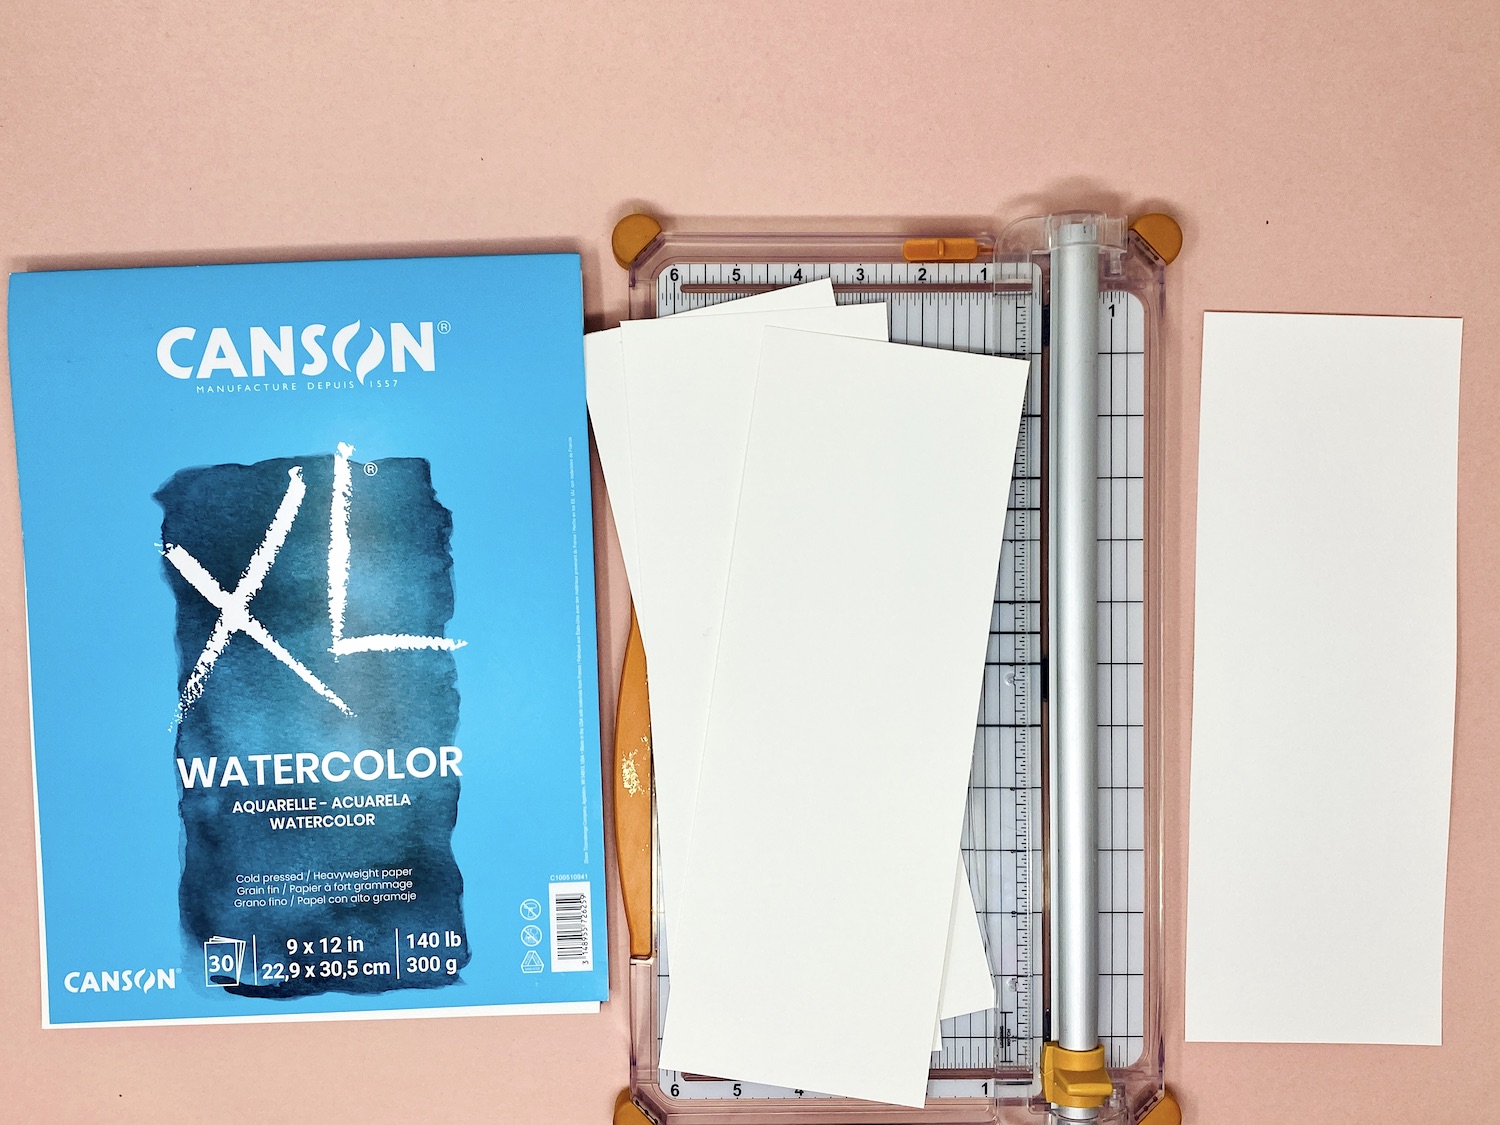
- Watercolor or Mixed Media Paper
- Paper Trimmer
- Dual Brush Pens
- Paint Brush
DIY Save The Date Card Tutorial
Step 1: Trim and fold card bases
Using Watercolor or Mixed Media paper is a great way to add thickness and texture to your cards. The Tombow Dual Brush Pens create beautiful watercolor effects on these papers and you can create dreamy romantic florals in a few easy steps.
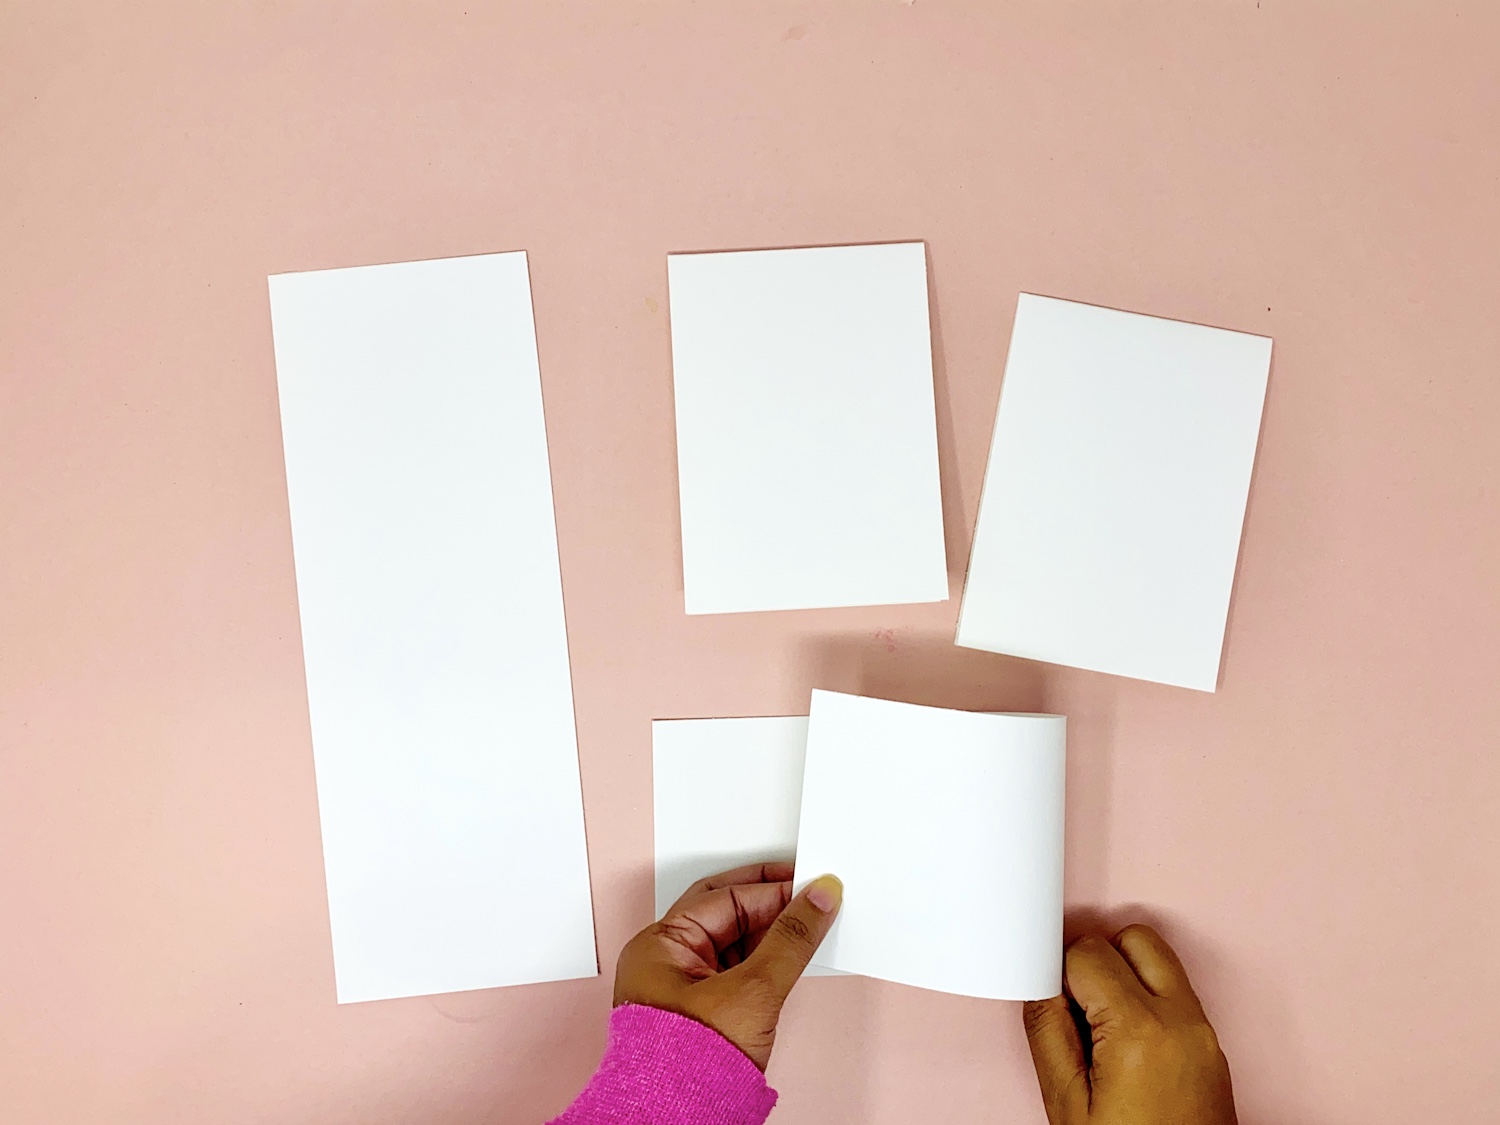
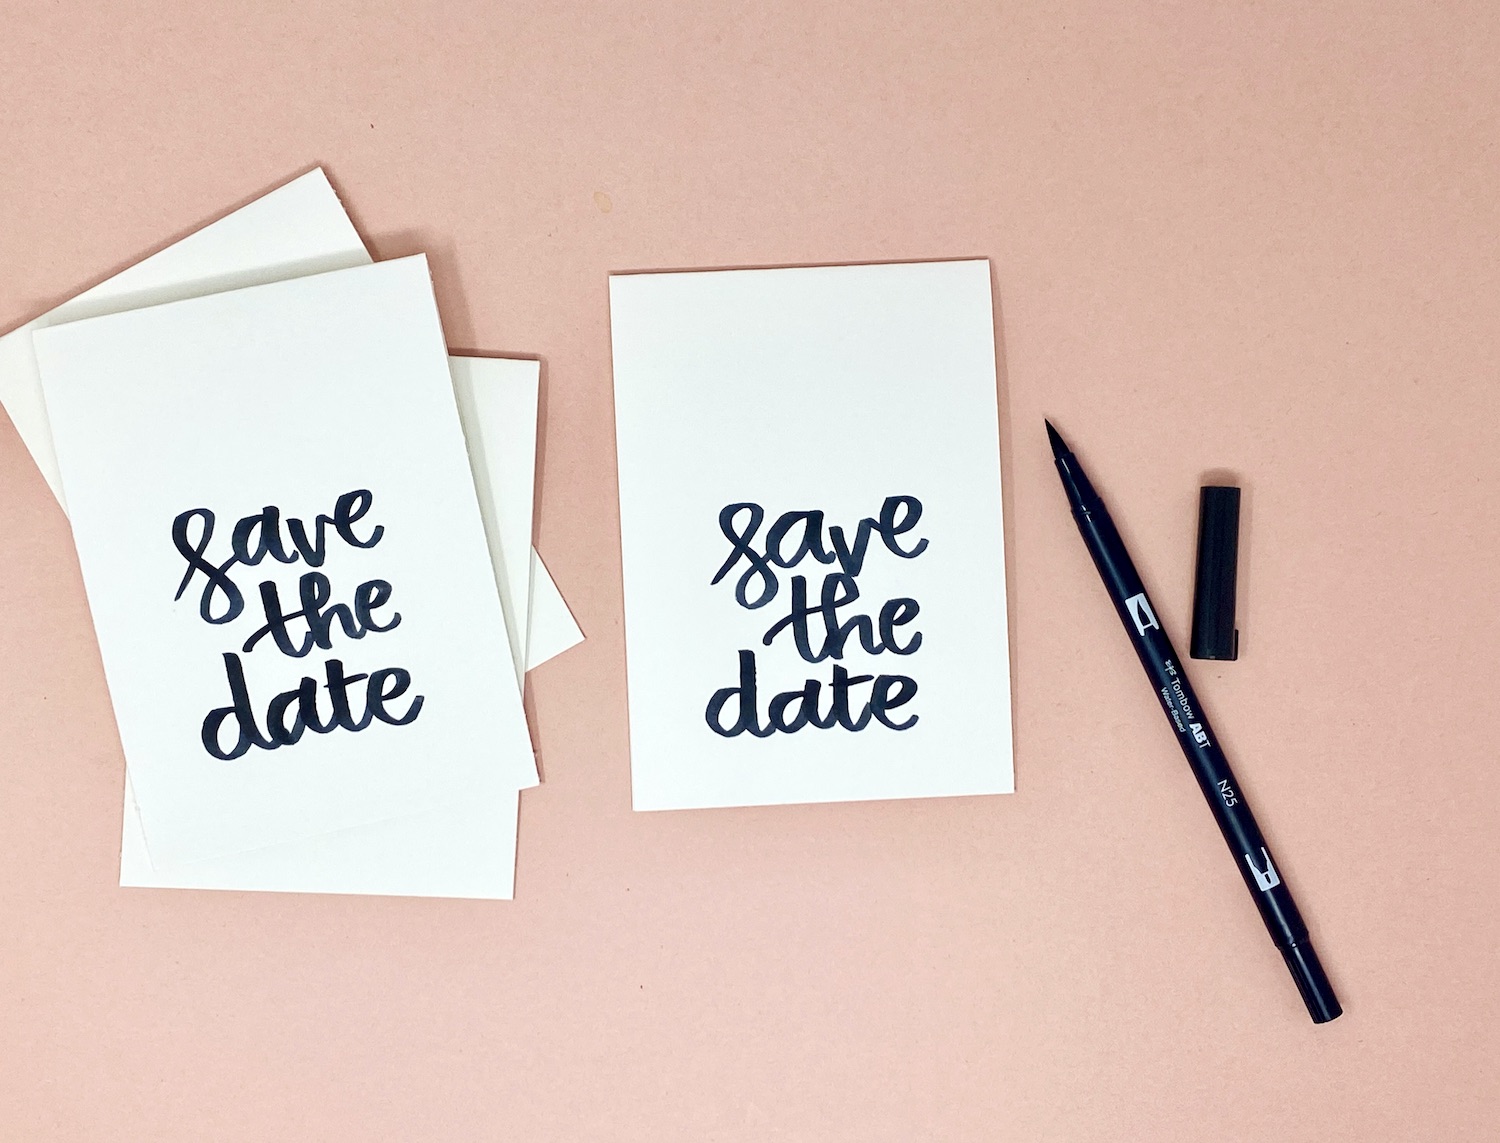
Start by trimming paper to measure 4.25 by 11 inches in size. Then carefully line up and fold each trimmed paper into half vertically to make a card.
Step 2: Handletter “Save the date”
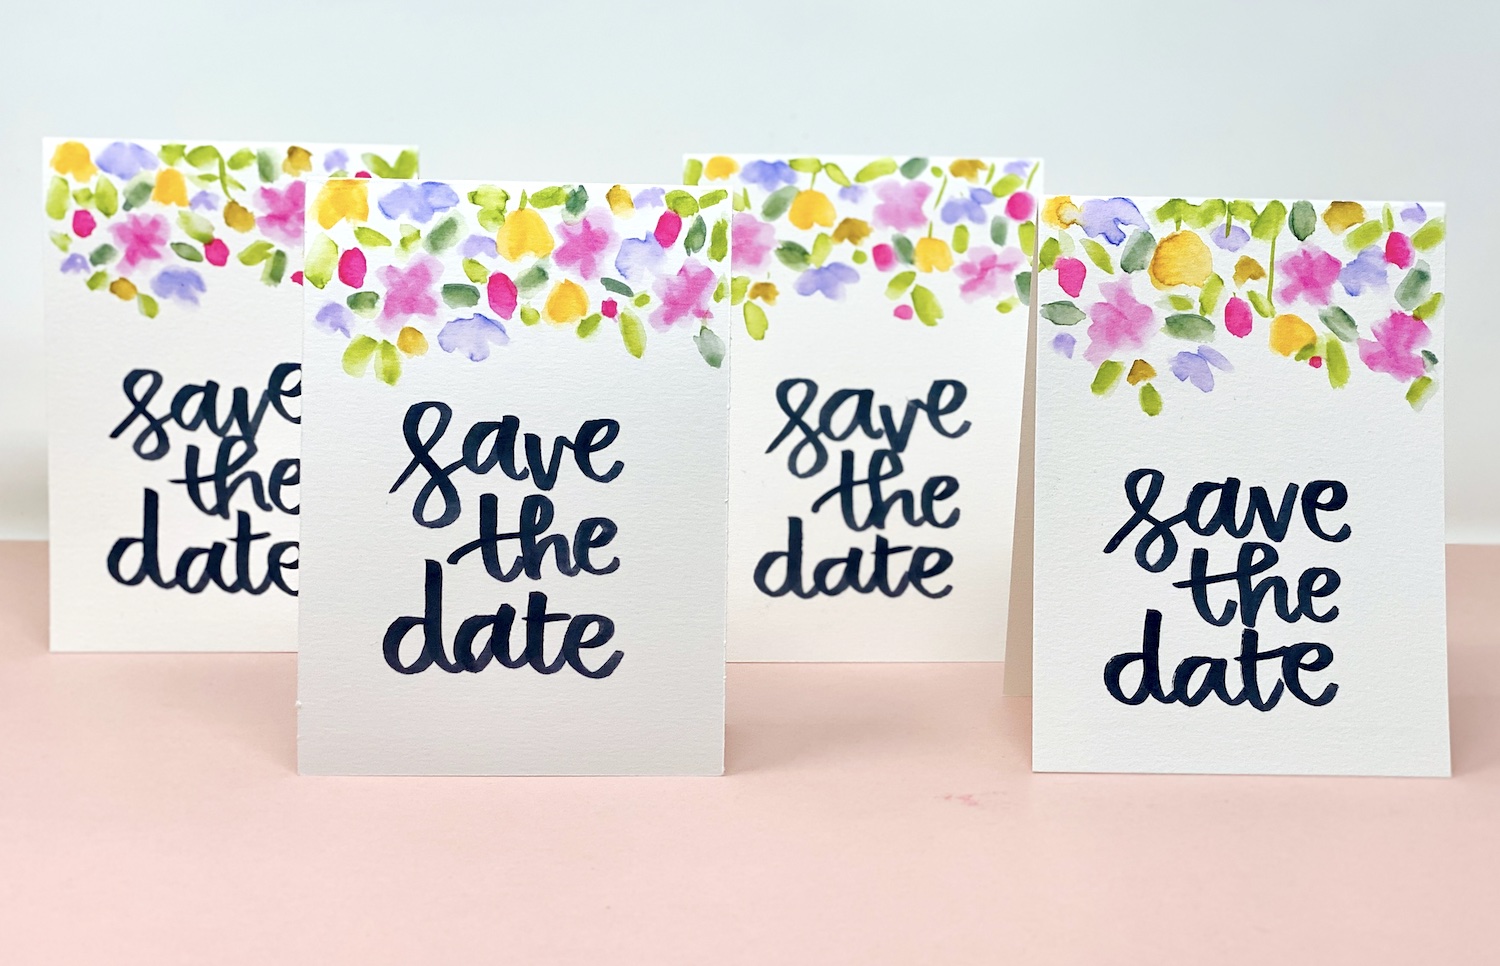
Using a simple brush lettering technique, write “save the date” onto the bottom half of each card. For best results, go slow and steady with your lettering strokes to achieve a neat finished product.
ALSO READ: 5 Tips to Lettering with Tombow Dual Brush Pens
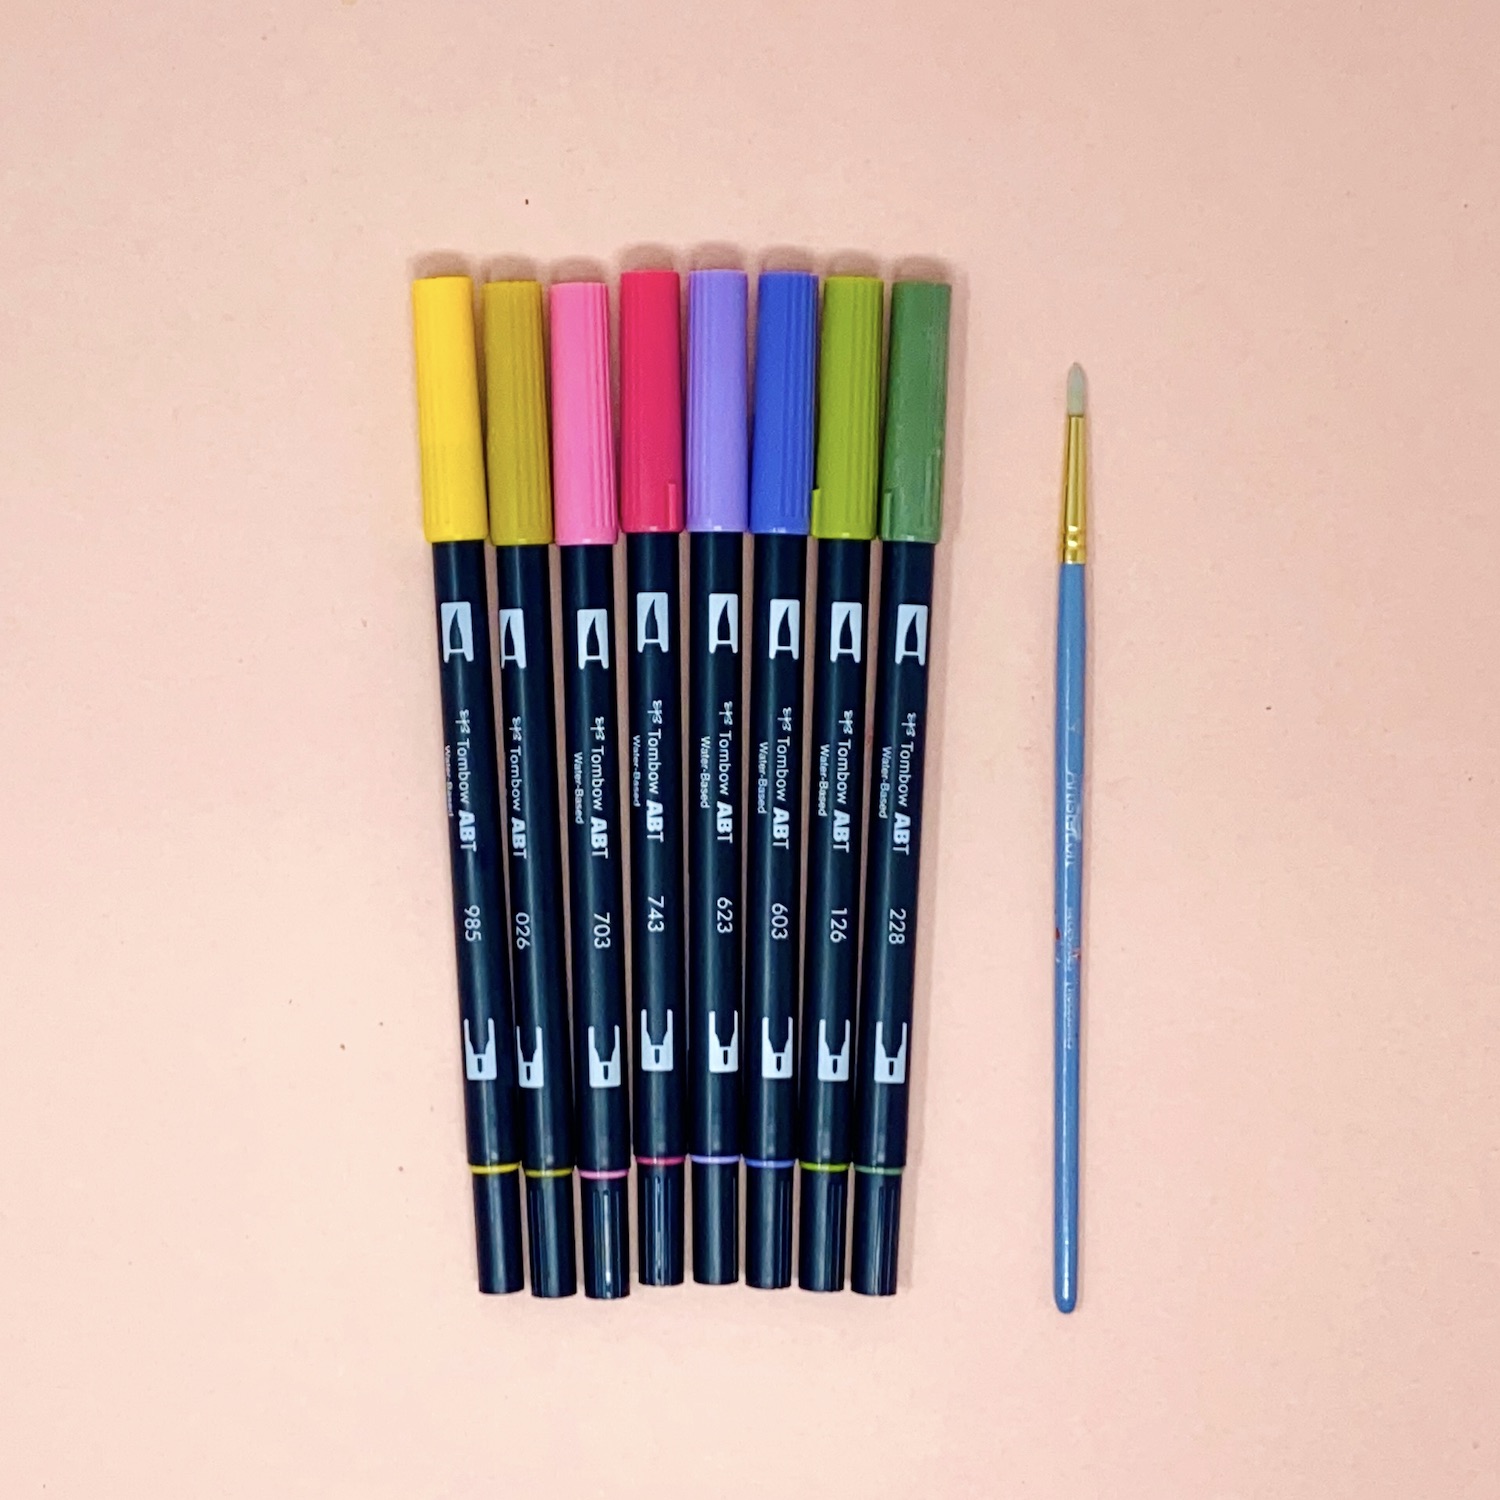
Step 3: Choose your colors
The Dual Brush Pens come in such a wide versatile range of colors to choose from. You will easily be able to find colors to match your wedding theme, venue or tablescapes. Here I selected a few spring/summer colors that are vibrant – always making sure you have a variety of greens thrown into the mixture as well.
Step 4: Paint your floral design
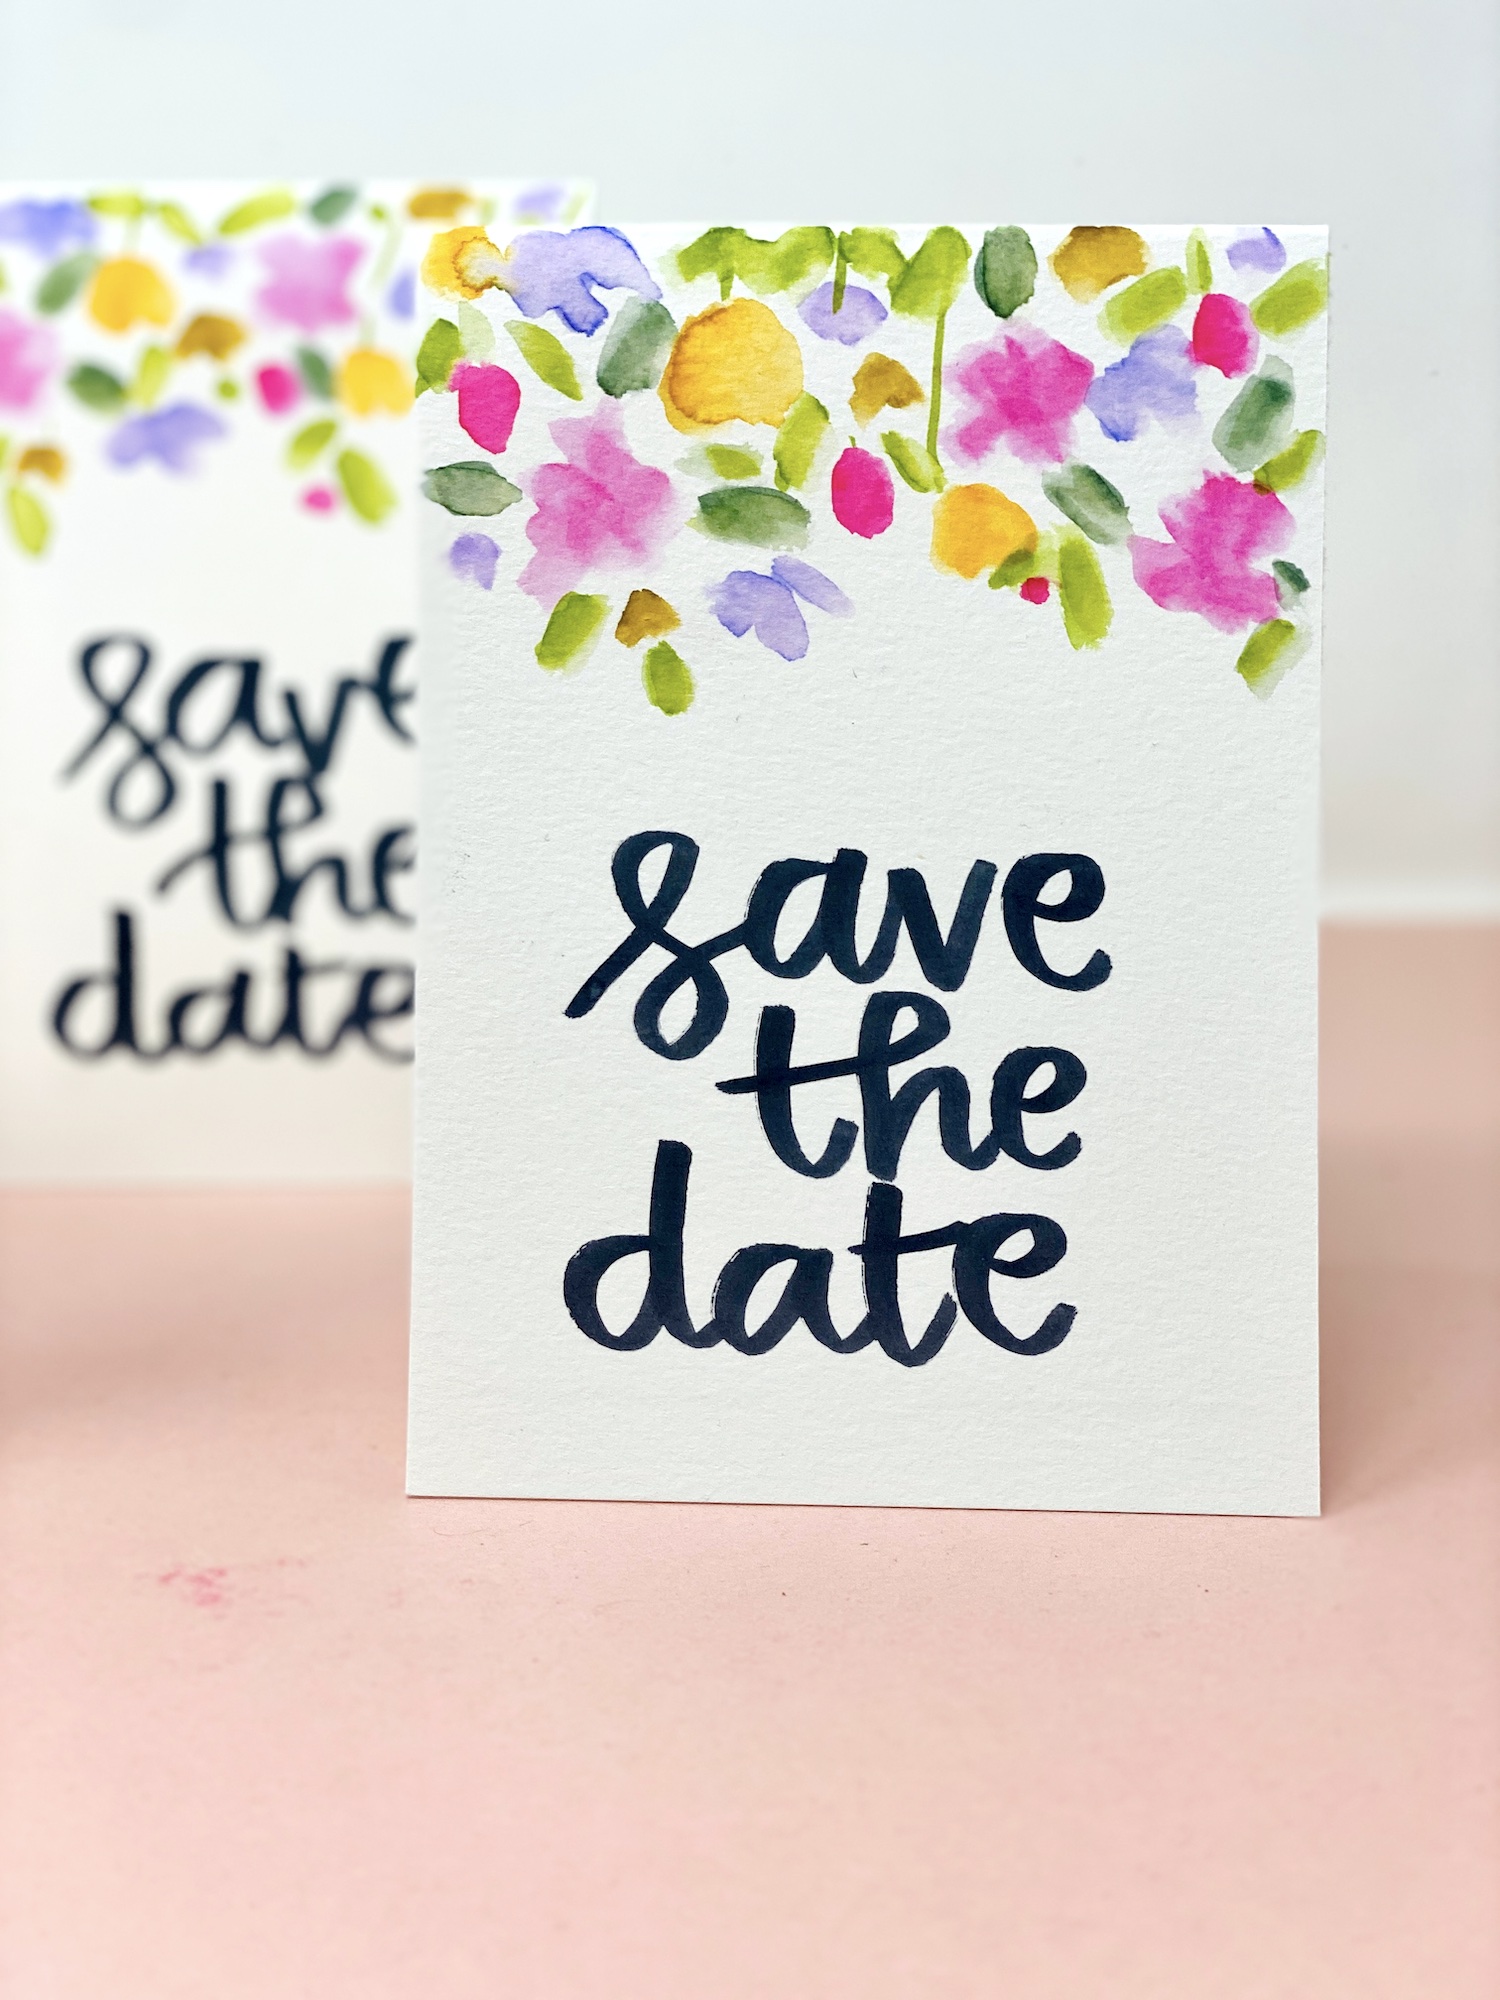
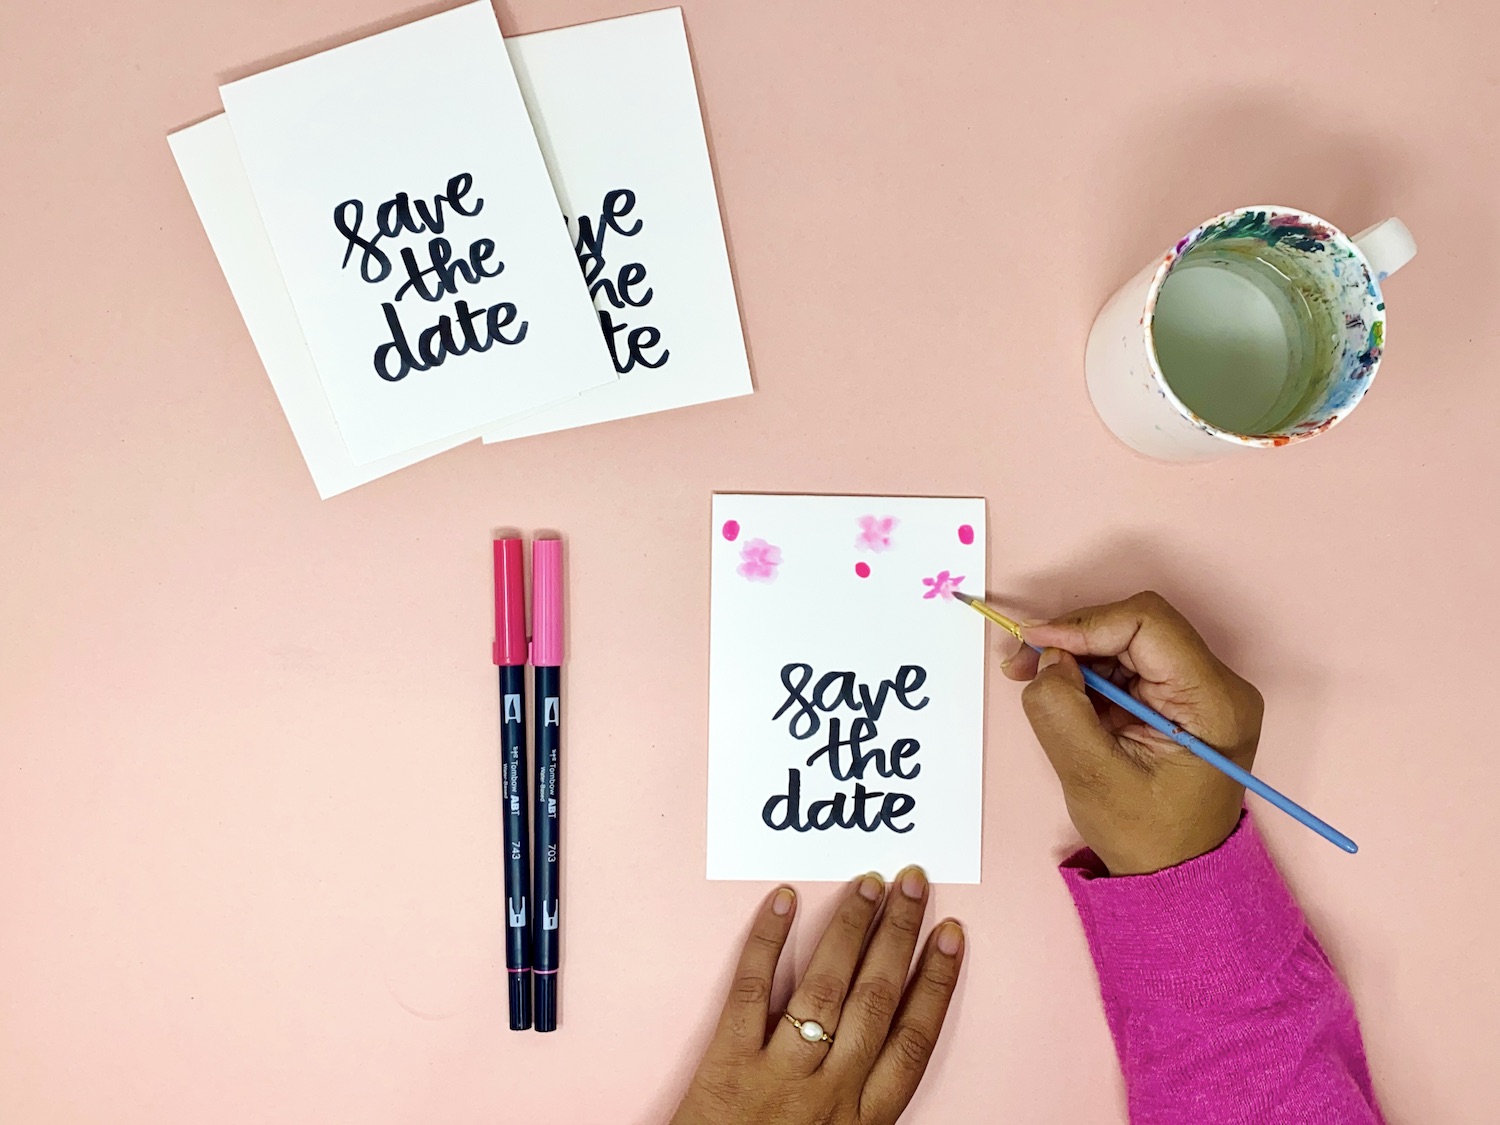
You can decorate the cards with any theme of your choice- florals, geometric shapes, shines and sparkles or any thing else you would imagine. The process remains the same though, apply the marker color onto paper. Distribute the color to appear a few times on the paper. Then dip your paintbrush in water, and gently paint over the marker. The water will react with the color and create dreamy effects effortlessly.
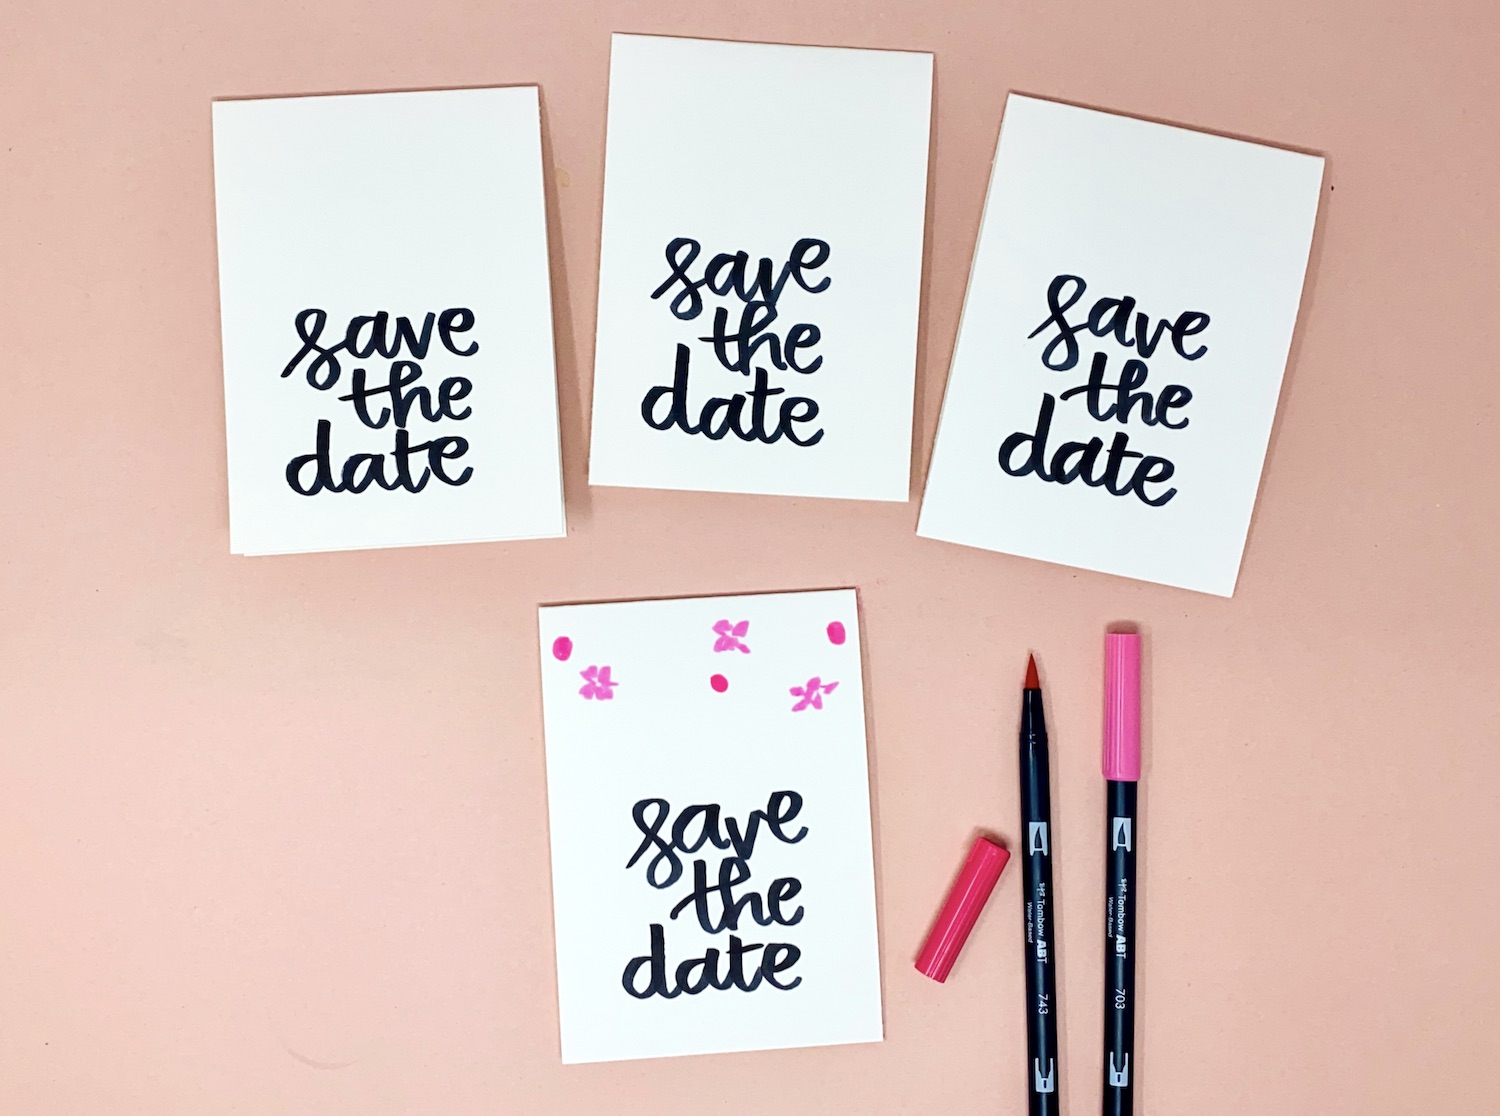
Repeat the above process till you have a color and floral composition that pleases you.
Once you have the first card designed and painted, the rest is a breeze as you just need to repeat the process. Form an assembly line and apply each color onto each card to make the process seamless.
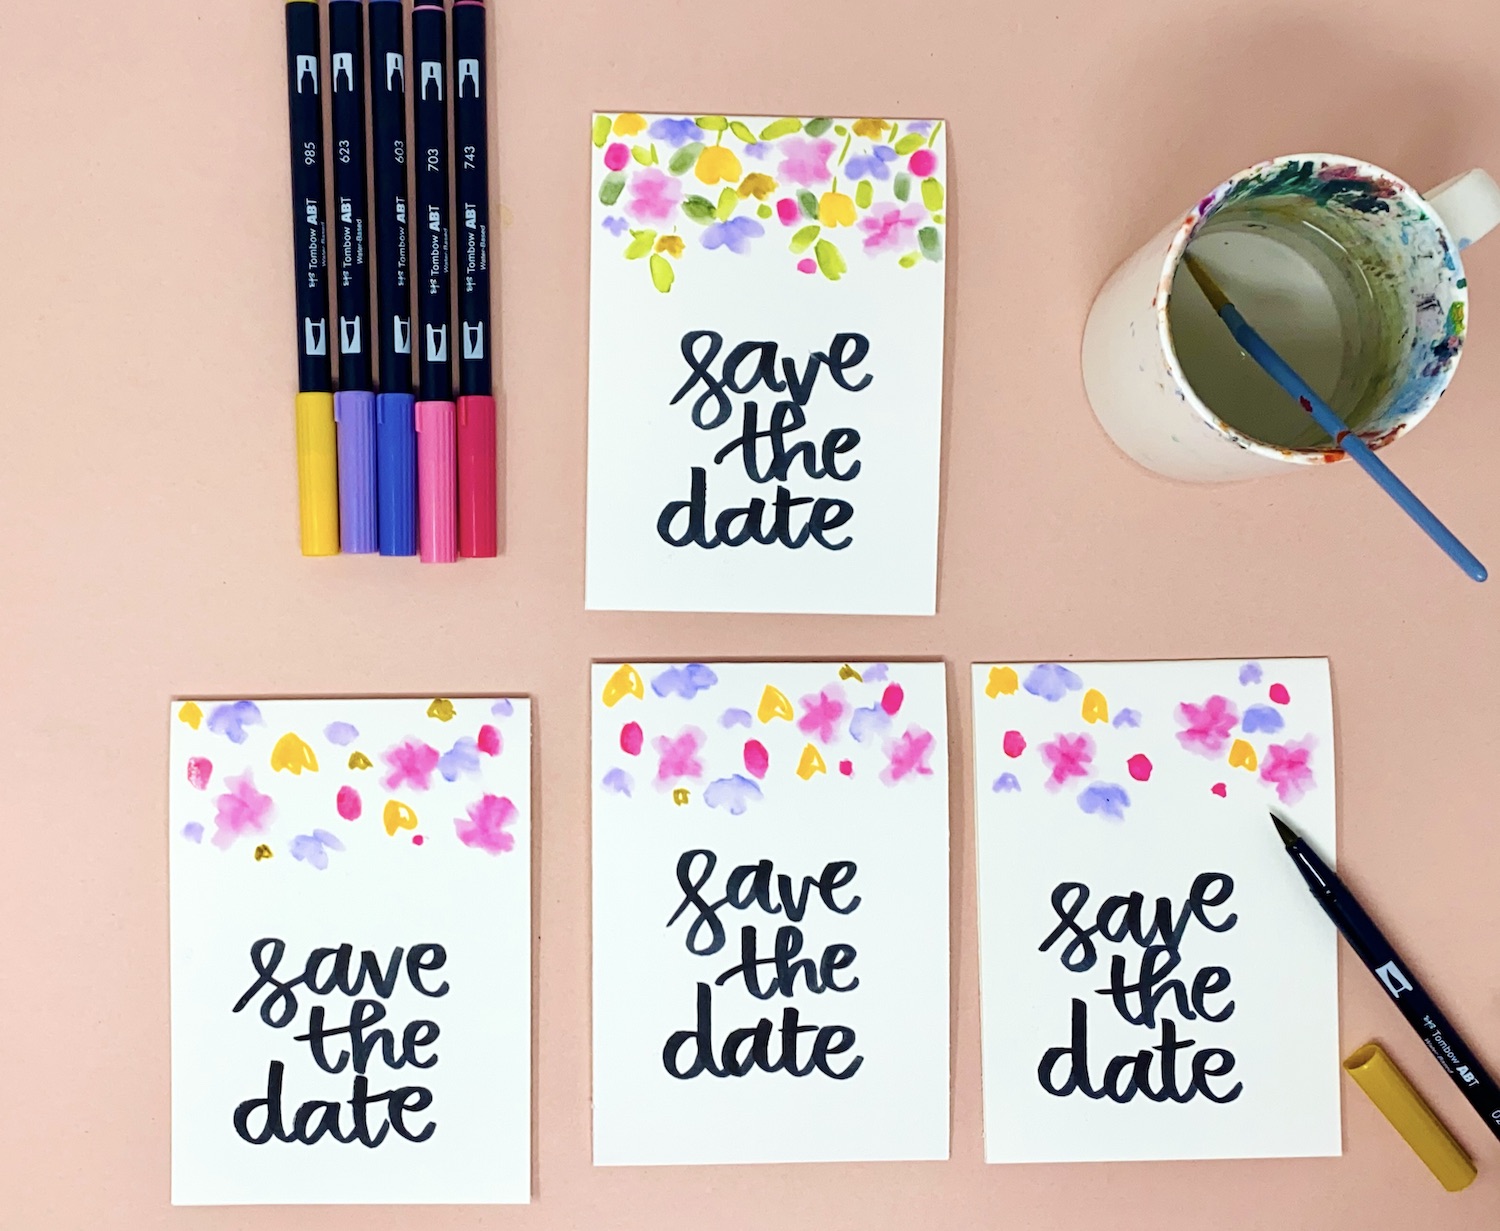
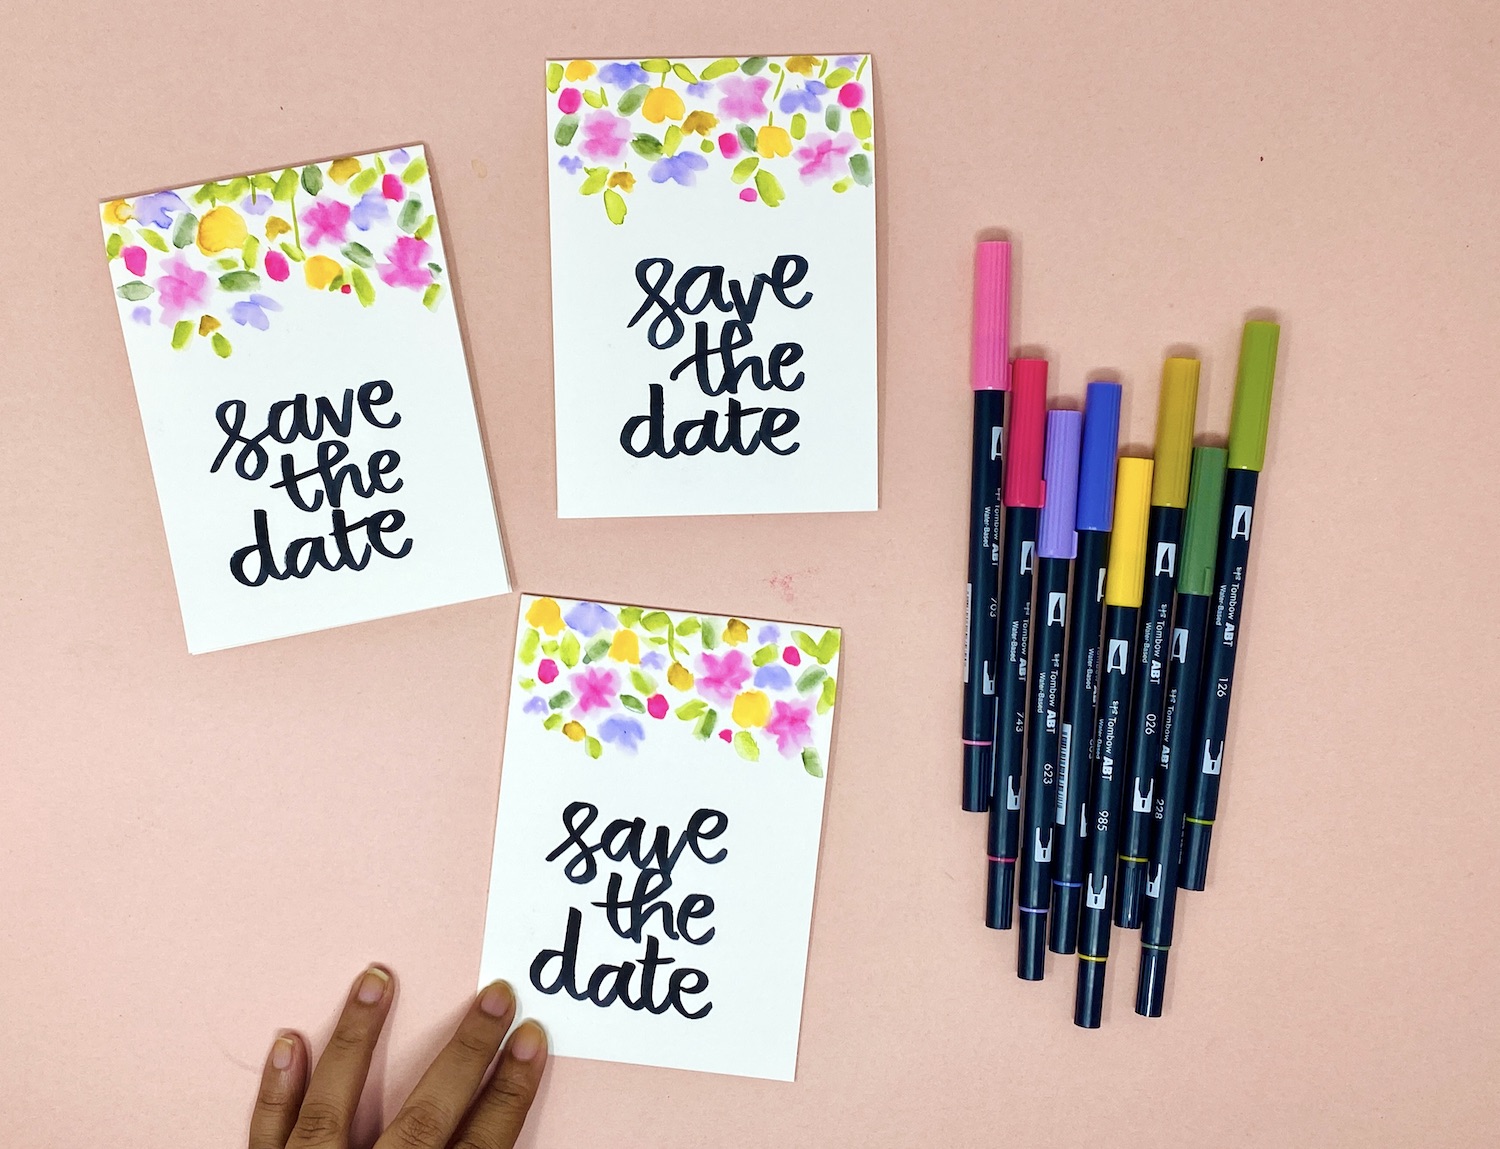
And here are the finished DIY Save the date cards we created today! I love how the typography stands out so boldly.