The DT received new products from Tombow to try out and play create with and I love it ALL!!!! Super duper stuff!
My first project is a card using Tombow’s Dual Brush Pens, (not new) New Foam Tabs, and New Stamp Runner Permanent Adhesive.
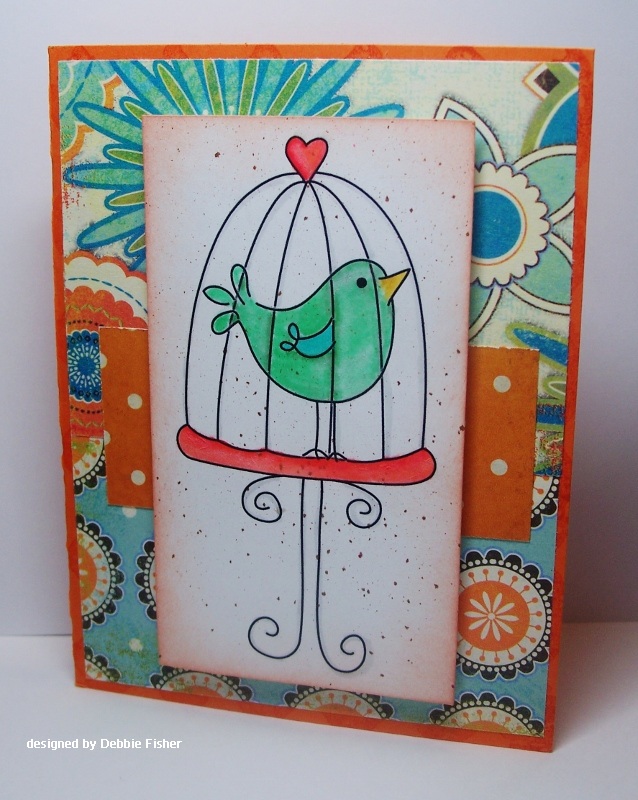
I used Designed2Delight’s Simple Valentine Birdcage digital image. I colored with Tombow’s Dual Brush Pens

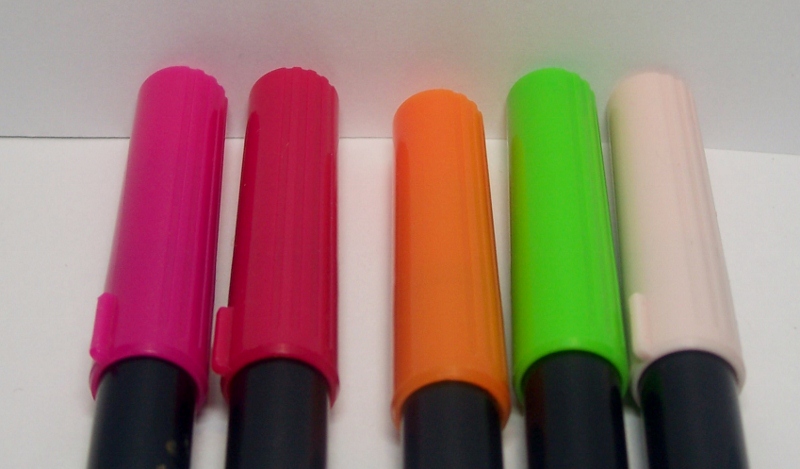
left to right: blender pen, #243, #192, #985, #905, #885, #452, #N65
I forgot to take a picture, but I used #977 a caramel color in my air art gun to spritz the splattered color on. I used to do that alot and saw my air art gun in the drawer when I was looking for something else, so decided to play with it again.
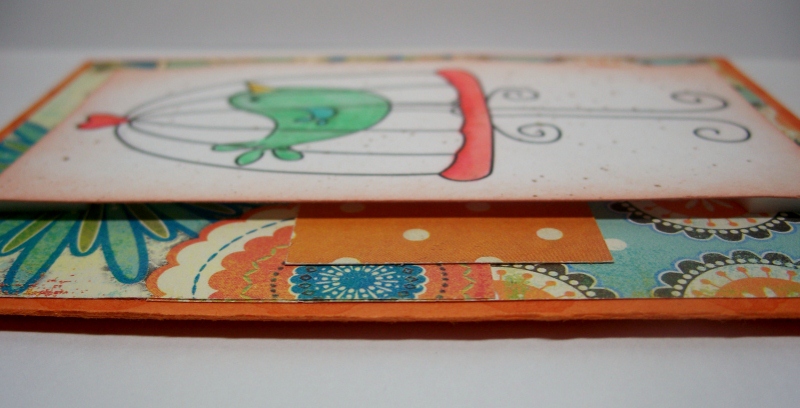
I made the card front with scraps from my scrap pile and layered the image in the center with the Foam Tabs.
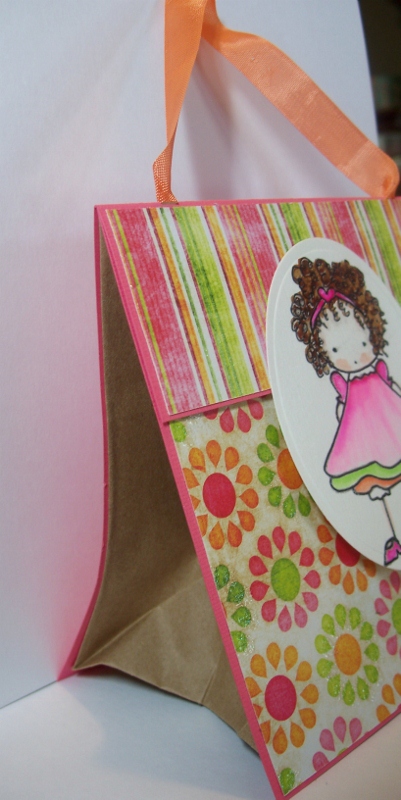
For my second project I created this cute little gift bag using Tombow’s Dual Brush Pens, Mono Glue Pen, New Stamp Runner Permanent Adhesive, and New Fastener Tabs.
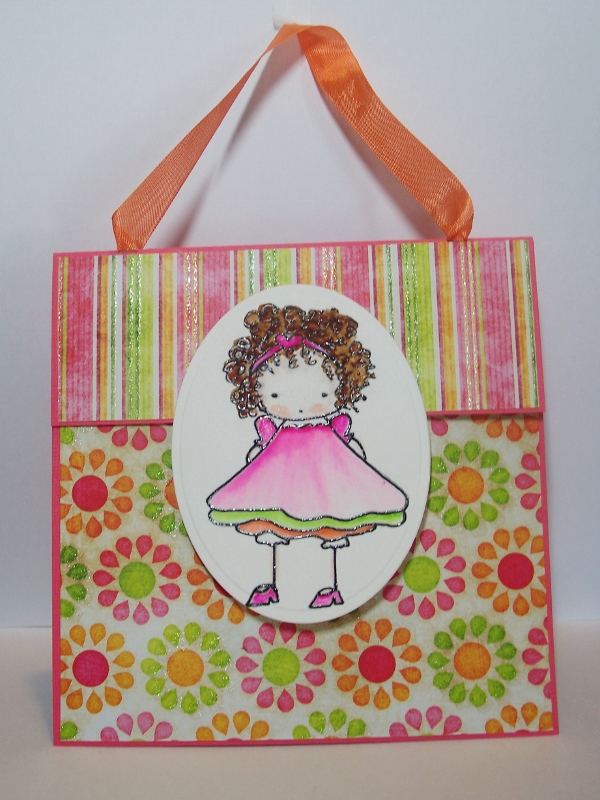
I printed this cute digital image (Chloe from Baby Bud Designs) on watercolor paper. Since I wanted to watercolor it, I needed to seal the ink. I don’t know if this has been done before, but I came up with the idea to draw over all the lines with Tombow’s glue pen and then emboss with clear embossing powder. Love how it turned out!
I used the following Dual Brush Pens:
#725, #755, #925, #173, #850, the blender pen and #879 for her hair (forgot to put that in the picture)
Here is a little tutorial of how I made the bag.
1. cut a lunch sack the same height as the width
2. cut solid cardstock 1/8″ larger than the width and height for the front and an additional 2″ for the back to create the flap
3. cut patterned paper 1/8″ smaller for the front and 1 7/8″ by 18″ smaller length for the flap

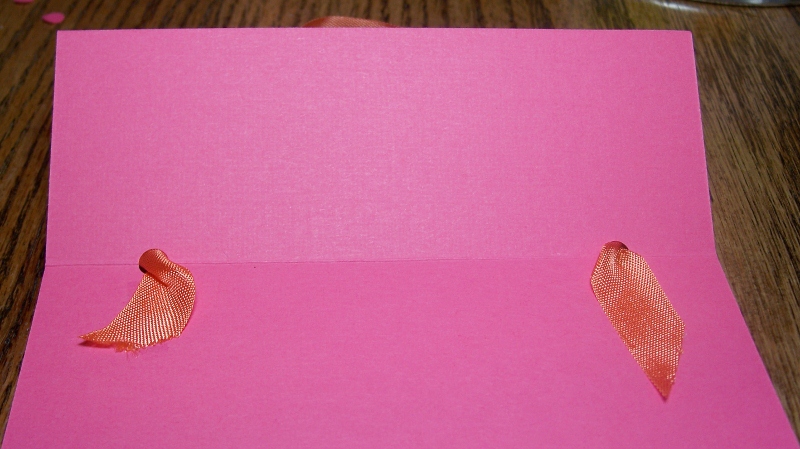
4. score the pack solid cardstock piece at 2″ on one short end
5. punch a hole from each end on the scored line

6. add ribbon thru the holes and adhere with adhesive
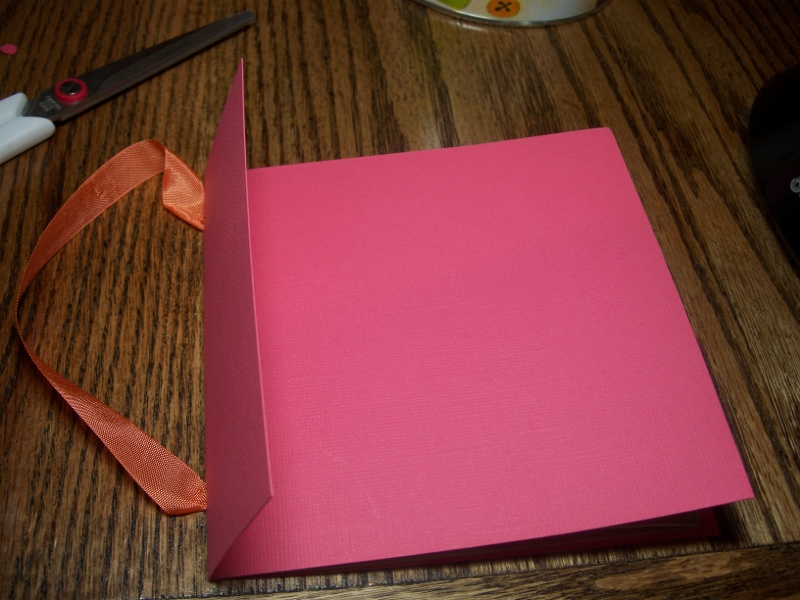
7. apply adhesive to one side of the cut paper bag and center it on the inside back piece of the solid cardstock
8. apply adhesive to the other side of the paper bag and line the front piece to the back edges (it will look like this)
9. apply adhesive to the patterned papers and adhere to the front panel and front flap

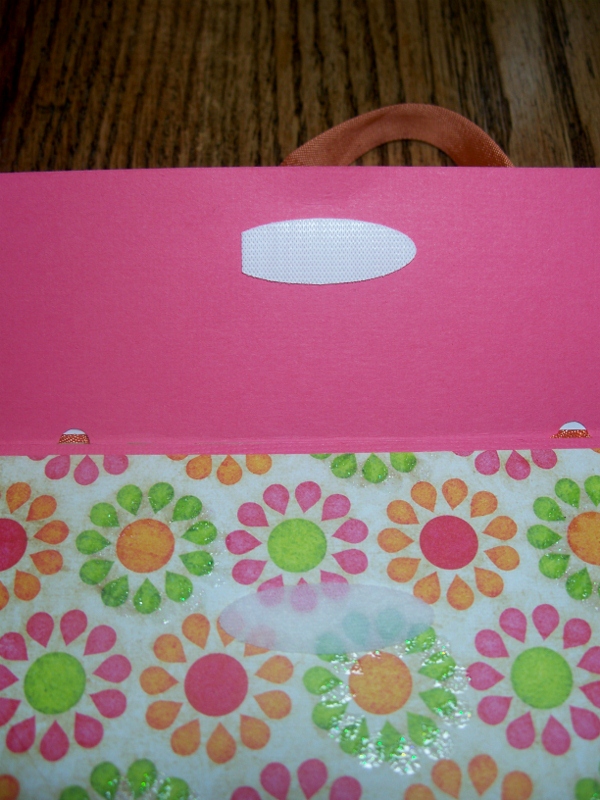
10. Use Tombow’s Fastener Tabs (these are ULTRA thin and so awesome!!) to
adhere to the inside flap.
11. Decorate front of bag as wished and fill with goodies for someone special. Ü
I hope you enjoyed the projects I shared with you today and will give Tombow’s new products a try. I know you are going to love them as much as I do.

OMG!! These are absolutely adorable, Debbie!!!
Both are darling! I especially love the top one… maybe it’s the colors–i don’t know… 🙂
Thank you so much ladies!
cute
These are absolutely fabulous projects! I used my Tombow markers on the card I posted today, too! http://justjingle.blogspot.com/2011/03/hey-chick-dee-skipping-stones-design.html
I really wanted to post a comment to be able to express gratitude to you for these fantastic secrets you are showing at this site. My rather long internet search has now been honored with awesome tips to share with my friends. I would repeat that most of us readers are unequivocally lucky to dwell in a superb community with many marvellous professionals with great opinions. I feel extremely lucky to have come across your weblog and look forward to tons of more brilliant moments reading here. Thanks once more for a lot of things.