i have followed teresa collins for sometime…and i am completely impressed with the path she has carved for herself in this craft industry. to be participating in a blog hop with her and her company is a fantastic opportunity…
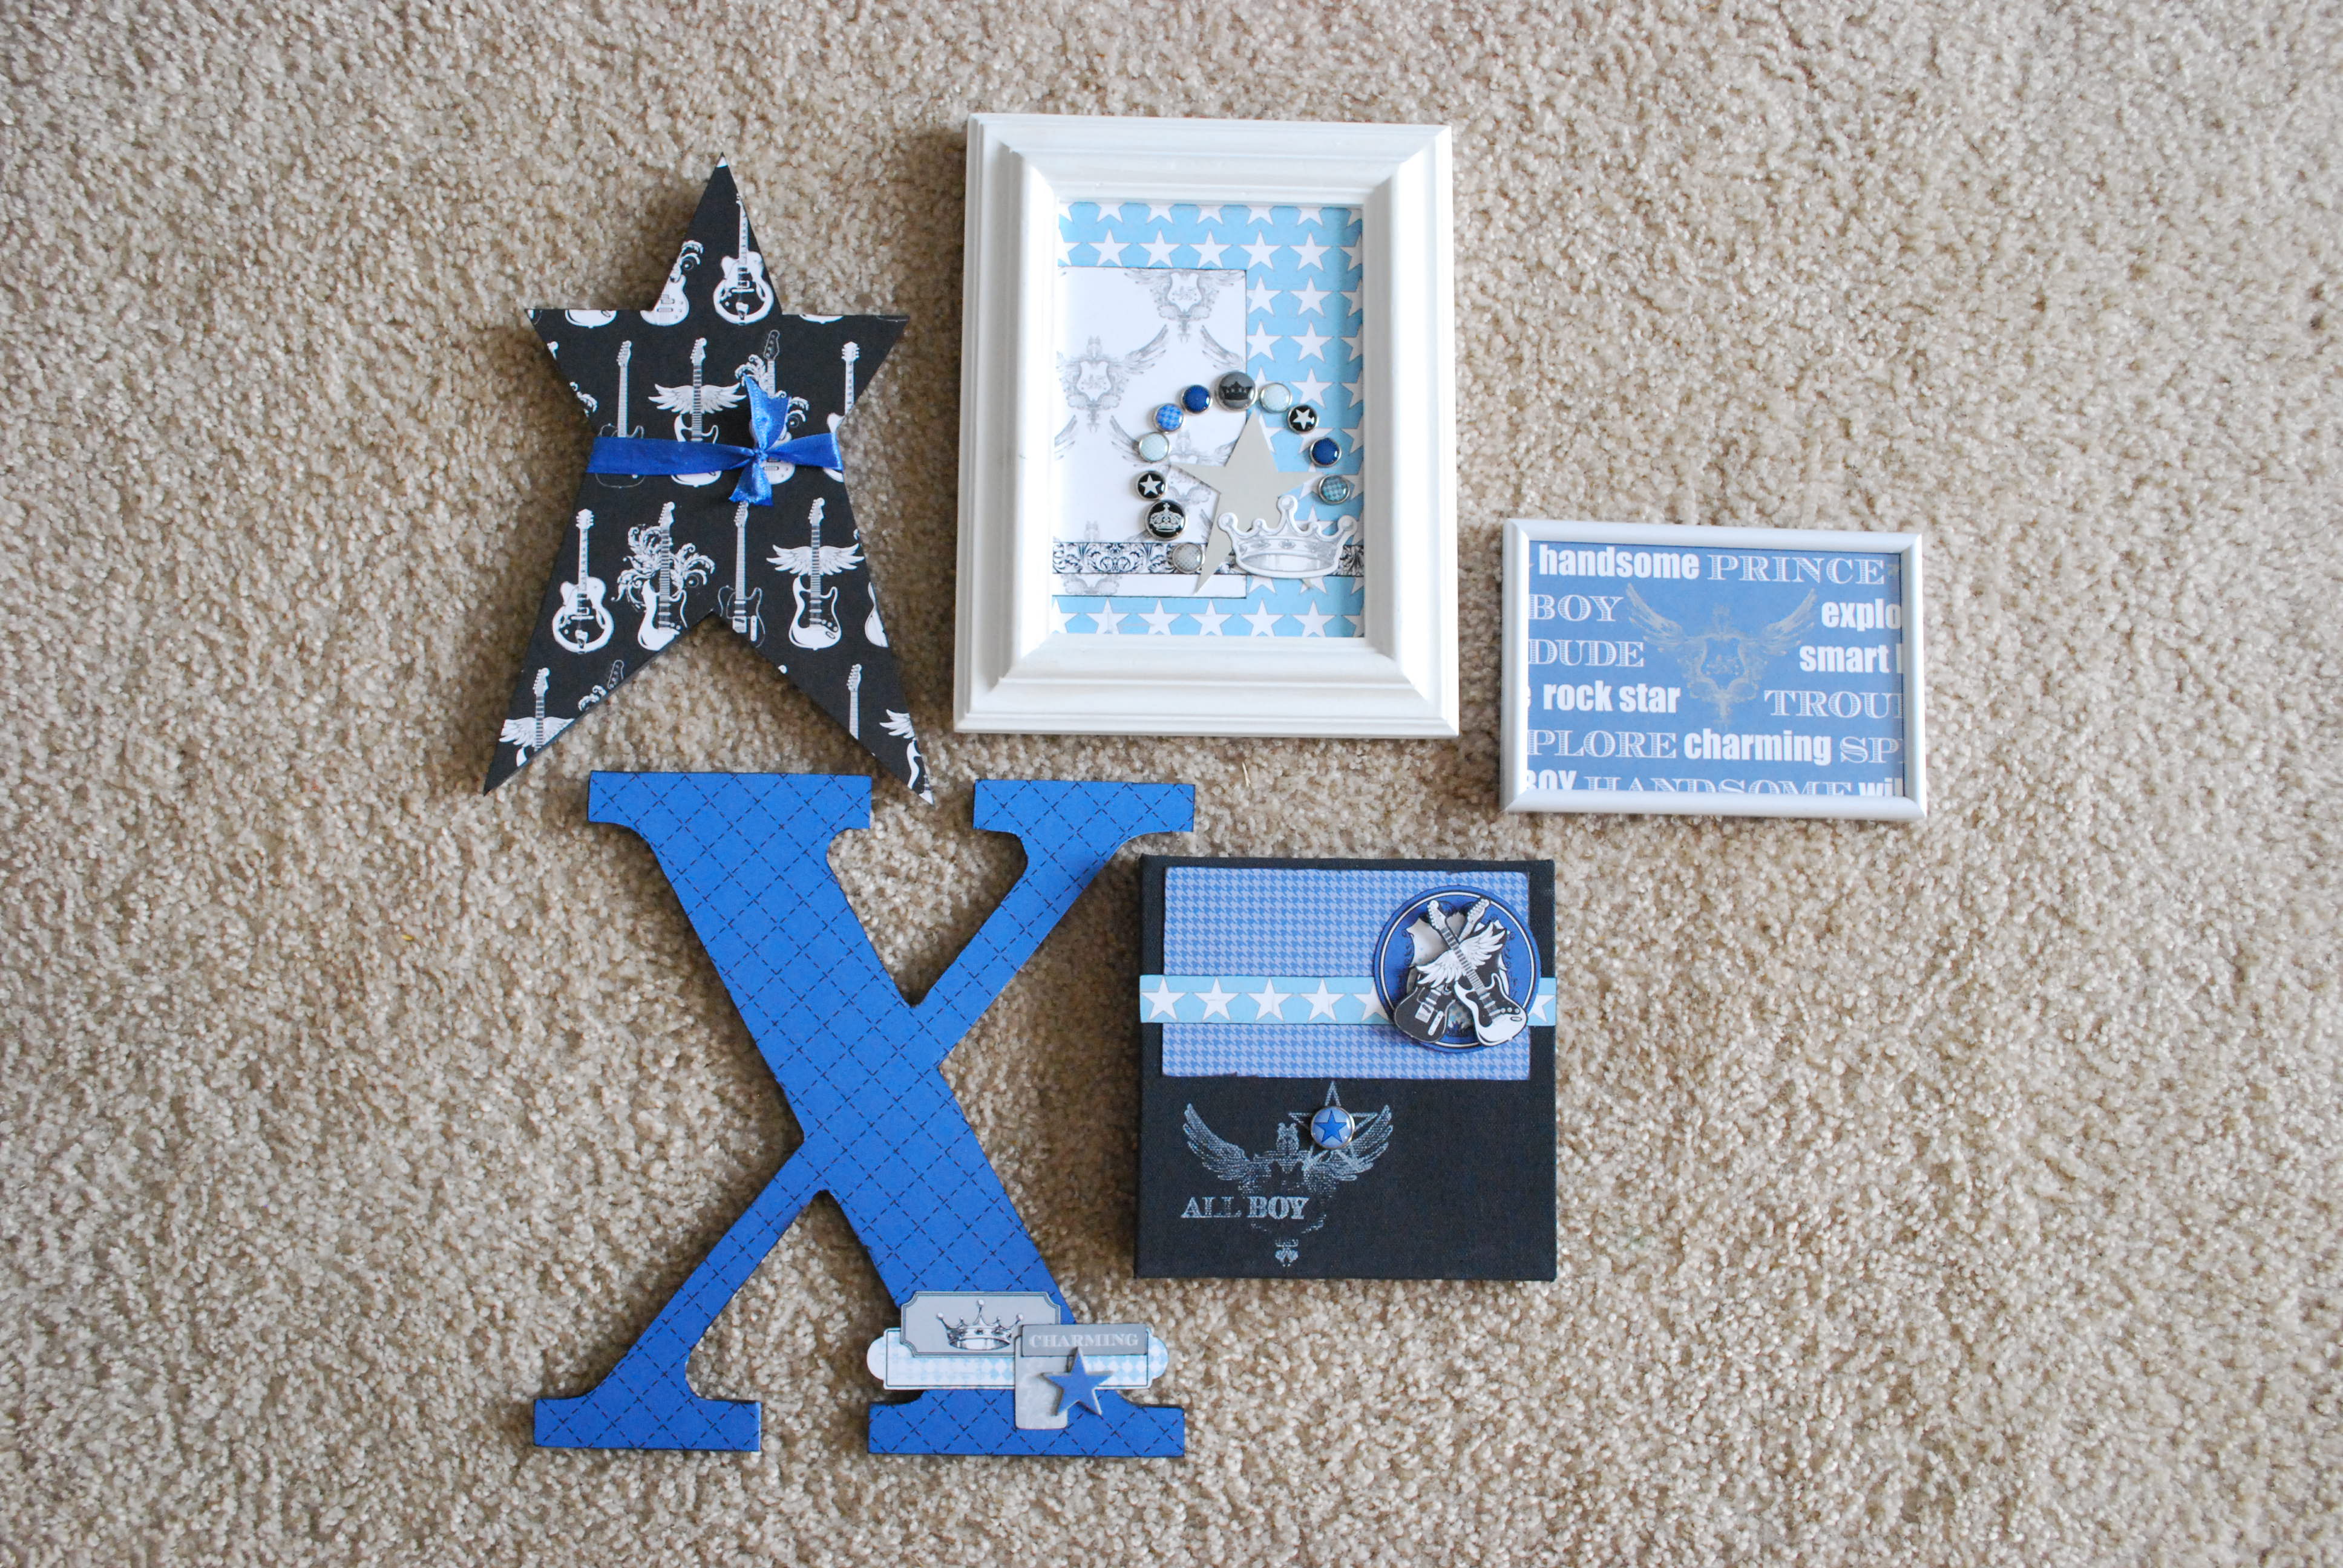
i loved the line “on the edge” that i received and i didn’t want to waste a piece of it, so i put together a collection of frames and shapes to decorate a boy’s room…without feeling too over-the-top or crafty.
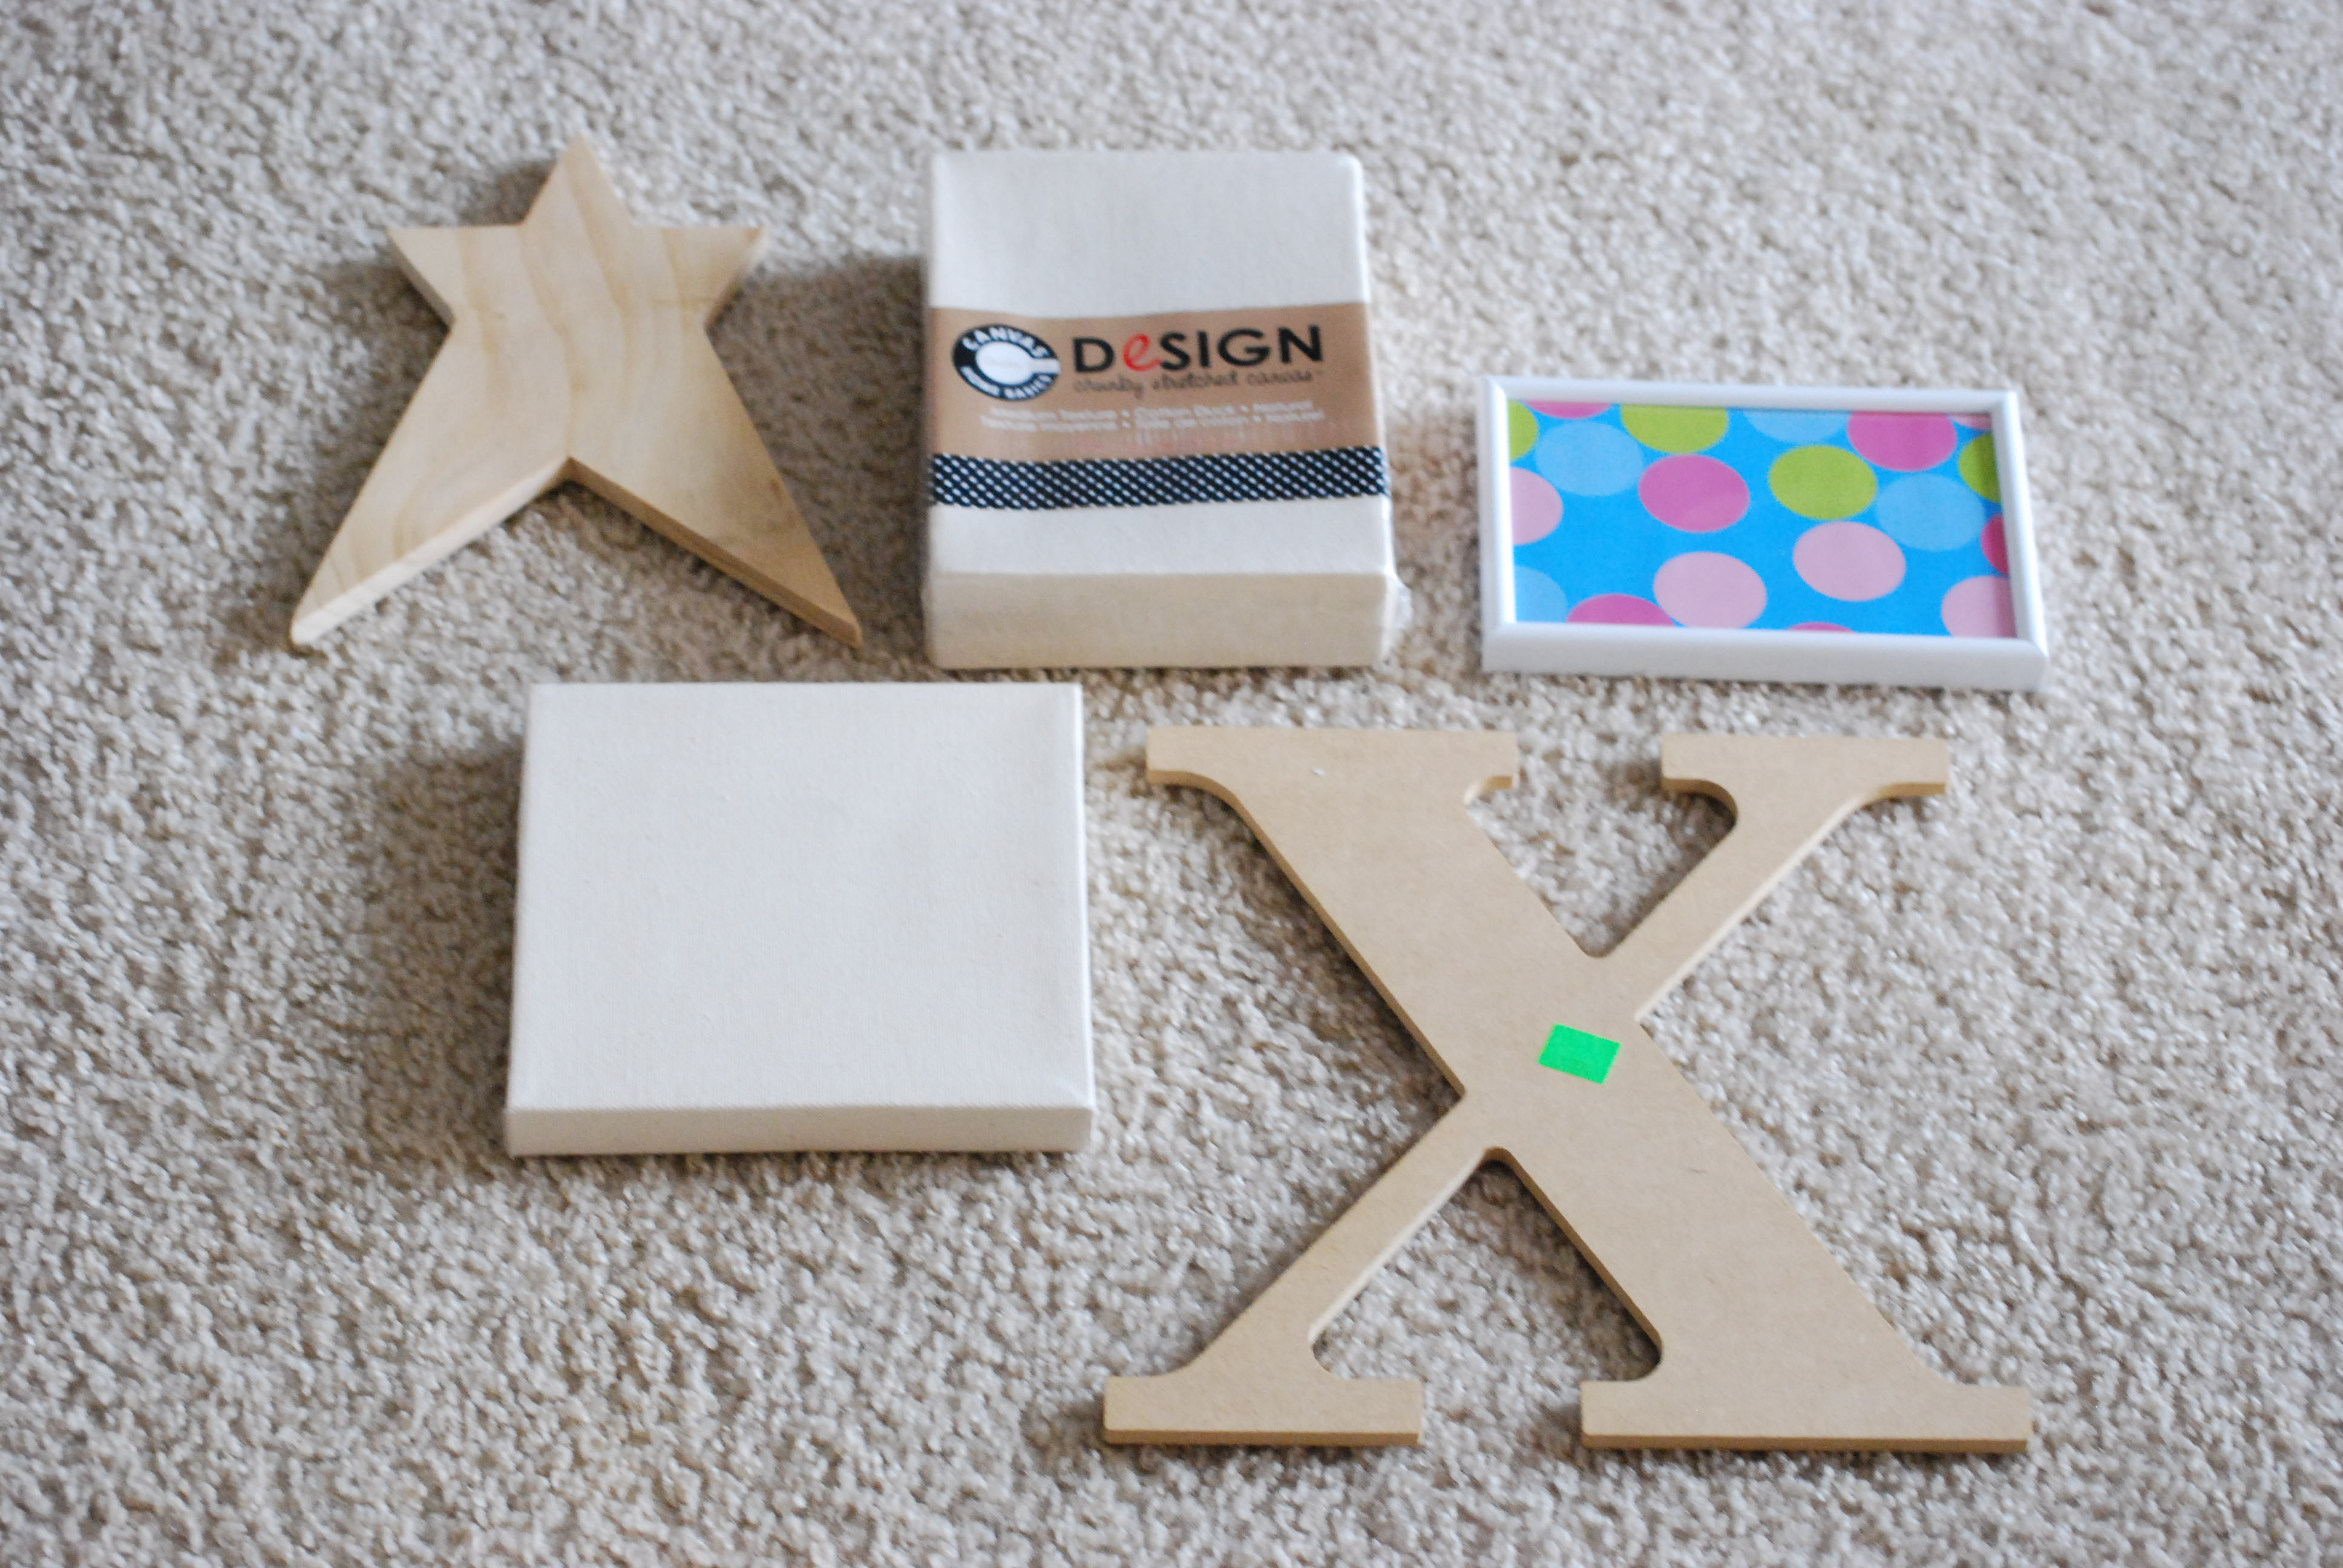
this is the point where i’m going to need to apologize. i know you all like pictures that show the process of how something was created, but this time, there aren’t any *GASP* when i sat down with my frames and wood shapes i only knew that i wanted to create with this fun product, but i really didn’t know what i was going to make with it. little by little i pieced it together, without ever thinking about photographing all my changes and indecision.
so, what i have for you is a list of “try-it-yourself” suggestions.
1. find frames, wood shapes, letters, canvas, etc to create an eye catching wall collage (i found original inspiration for mine over the last couple of months – a blog, a photo on the scrapbook site “two peas in a bucket”, and in magazines)
2. if all of the pieces are not the same color, or the colors you want to work with then paint them with acrylic paint. turn an off-white frame into a white on. paint the edges of wood pieces for a finished look and turn a white canvas dark grey.
3. use Tombow MONO Multi Liquid Adhesive to glue paper to wood and canvas. use the broad tip and smear the adhesive over the whole shape (or where it is needed) all the way to the edges, to keep the paper from lifting.
4.to get pattern paper to fit over your desired shape, trace the shape backwards on the backside of the paper you want to use, and cut it out.
5. ink the edges of all the paper with a Dual Brush Pen or an ink pad to give your project a finished look.
6. to create a circle for brads like in the white frame, trace a circle on a scrap piece of paper. on the scrap, along the traced line poke holes where the brads will go. then hold the scrap with the poked holes over the final project. using the paper piercer or pencil, go back through the holes to make marks to follow
7. brads will go through canvas.
8. staz-on ink pads are helpful for stamping on a painted canvas surface
9. teresa collins line even impressed my 7 year old…. and he is cool with me putting it up in his room…when he’s 10
10. have fun! try new things…even if you don’t have a predictable outcome in mind.
so, my pictures for you today….before & after! be sure to visit these sites for more creative projects with Theresa Collins: http://teresacollins.typepad.com/ http://teresacollinsdesignteam.blogspot.com


Love ~ Love ~ Love this!! I am sooooo doing this project! Thanks for the inspiration.
Awesome projects Sarah! I find blues hard to work with and this paper collection has a nice combo of blues.
Great idea!
Sooo cool! I love it!! Thanks for sharing!!
Great idea
very unusual
I love that every piece is handmade! Very nice!
I love the way she transformed the simple props into a lovely blue toned display. Very nice, very artistic.
Fabulous creations, Sarah
So unique…great detail!!
Karen x