 Ruffles are definitely “in”, showing up in clothing, home decor, pillows, lamp shades, and even scrapbook pages!! I acheived a similar look to ruffles by just using paper. I like to call this little technique the “waterfall ruffle” because it looks like falling water if the ruffle is adhered across the middle of the page.

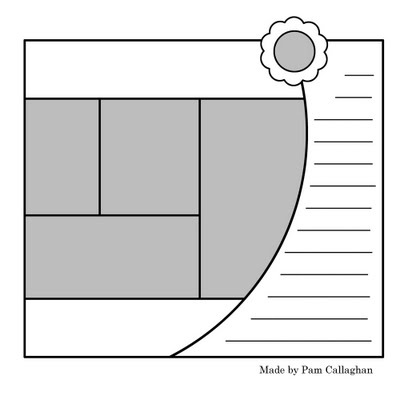
All you need to create this look is a scrap of paper about 5″ x 8.5″ (or whatever length you want your ruffle to be), scissors, and a project to use it on. I based this layout on a template from Ideas for Scrapbookers – Pammy’s Curvy Photoblock Template 2:
Here’s how I created the “waterfall ruffle” on my layout:
Cut the scrap into a curve on one edge so that the final ruffle will be along a curved edge, following the curvy edge of the template.

Snip into the edge of the paper, about 1″ to 2″ long cuts, all along the edge of the paper. The cuts should make sections of paper that are between 1/2″ to 1.5″ wide.
 Curl the cut strips up. Then gently roll the strips into little tubes.

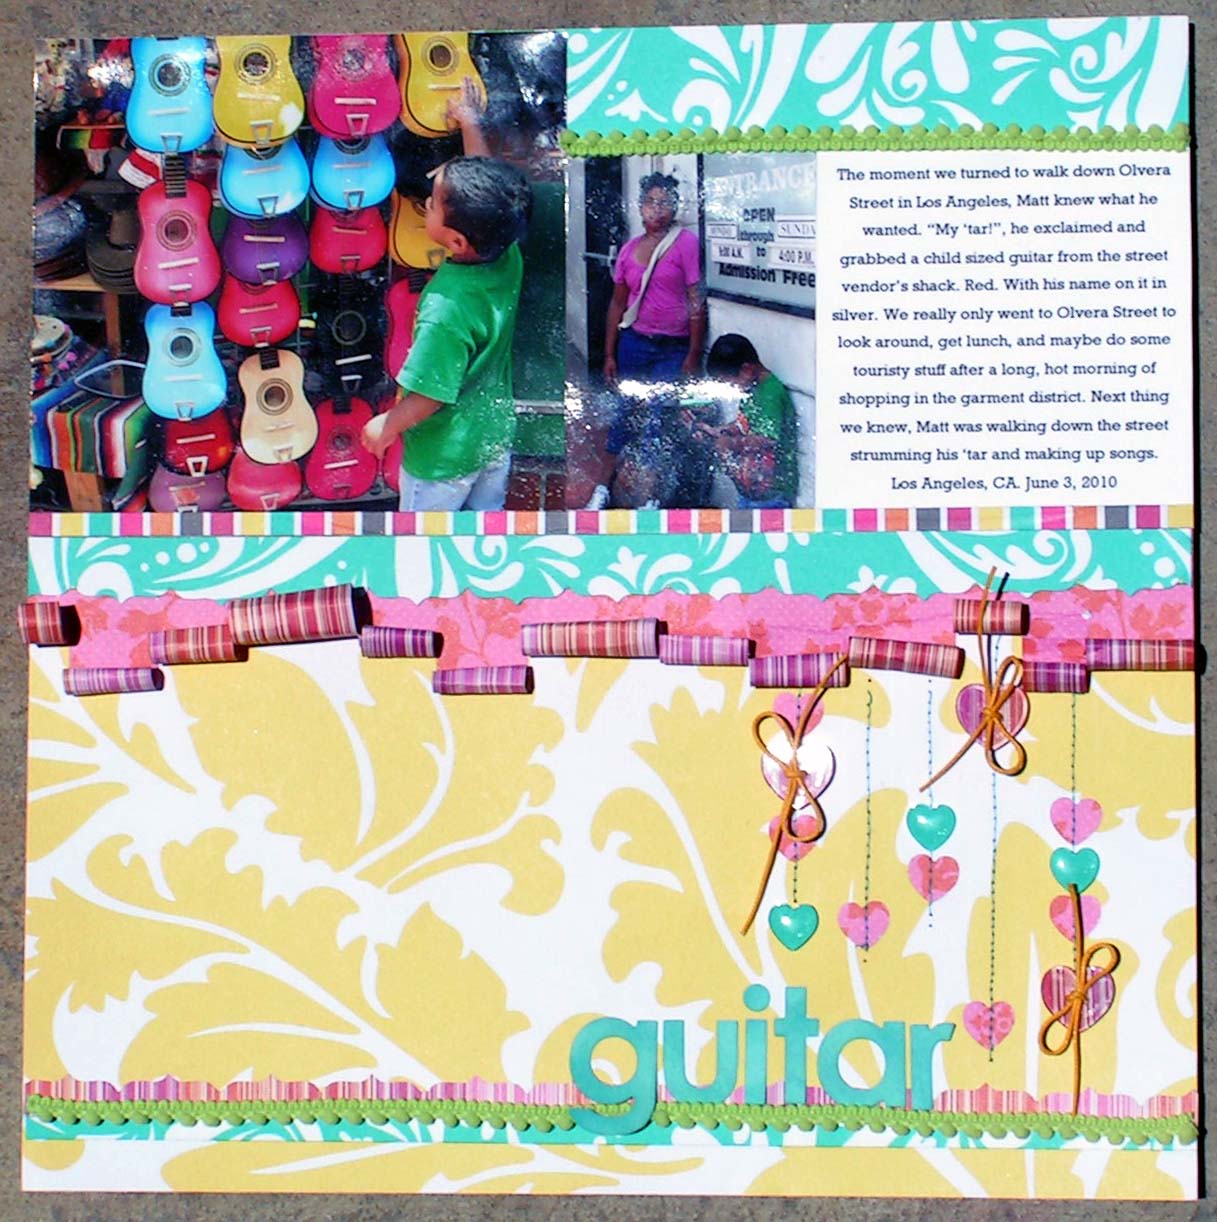
 After the strips have all been rolled up as desired, attach the ruffle to your layout using Tombow Mono Adhesive Dots. I like to use it under photos so that it peeks out a little. Here’s my finished layout, with the ruffle attached and some yellow fabric trim and aqua pearl trim tucked under the waterfall ruffle. Use a little dab of Tombow Mono Liquid Adhesive inside of the tubes to help stop them from unrolling. A few Tombow Power Tabs can be added under the ruffle to give it added dimension while also holding the ruffle firmly in place on the page.


On the “Guitar” layout below, I used a straight strip of patterned paper, about 4″ x 12″, to create the waterfall ruffle instead of a curved strip.

Hope you’re into the mood to start ruffling 🙂 This technique would be really fun to make an icy edge on a snow or winter page!
Supplies:
- Tombow Mono Adhesive Dots
- Tombow Mono Liquid Adhesive
- Tombow Power Tabs
- Paper by American Crafts
- Alpha Sticker by Basic Grey and My Little Shoebox
- Heart Shapes and Epoxies by Epiphany Crafts
- Threads by Coats & Clark
- Trims by Polka Dot Whimsy and Michael Levine’s
- Scissors by Fiskars/Fiskateers

