Love is in the air at Tombow! Here’s a cute little bag to fill with chocolates, theater tickets or diamonds for your sweetheart(s)! Follow the simple steps on how to create your own using Tombow’s new Adhesive Dots! Make sure you read the whole post so you see the bonus tip PLUS how to enter our Valentine Challenge and win a prize!

First the bag – using a 8″ x 5.5″ piece of unbleached muslin with the top edged frayed. Fold in half, place a 16″ piece of 1/4″ width silk ribbon from May Arts into the seam and sew up bottom and side.

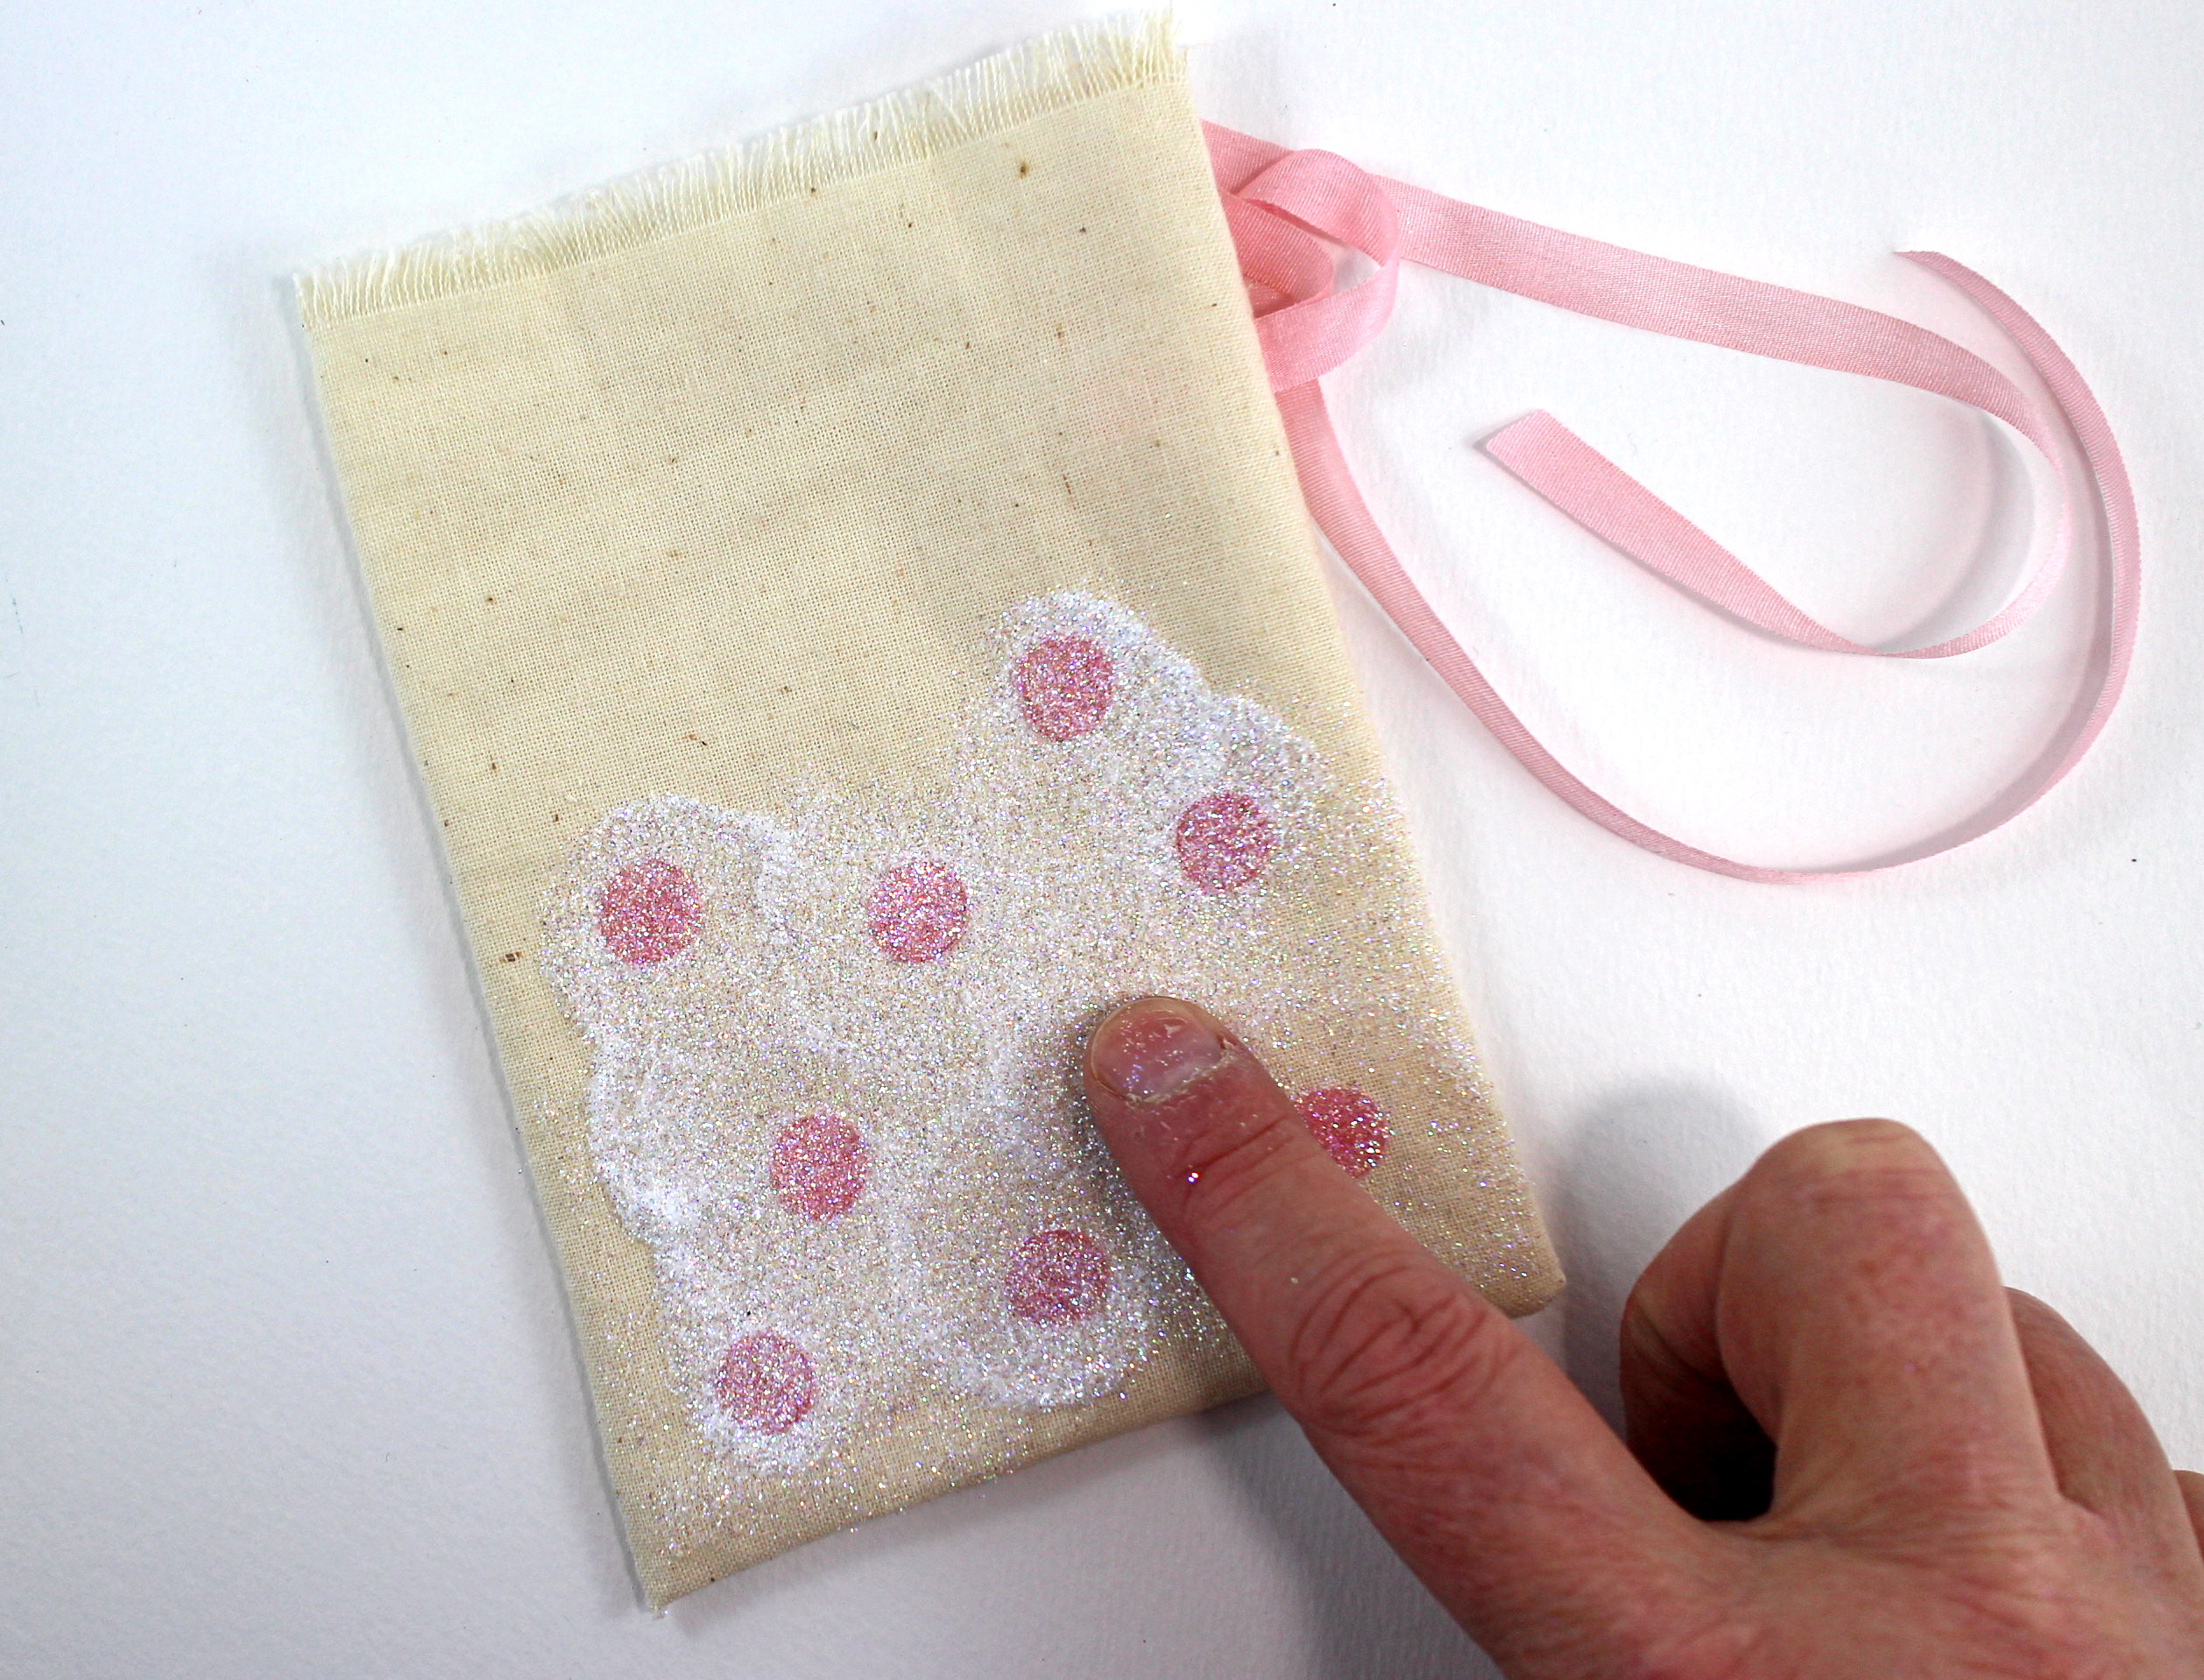
The NEW Adhesive Dots from Tombow are super for adhering paper panels or small embellishments with a firm, strong hold. They are also colored (Pink, Yellow, Green and Blue!) so you can see them. This glitter dot technique is also a favorite to do with the colored dots! With the pink Adhesive Dots, remove from the backing and place 8 to 10 dots onto the lower part of the bag.

Remove the top protective sheet and sprinkle on fine clear or transparent white glitter. Use your finger to rub the glitter into the Adhesive Dots.

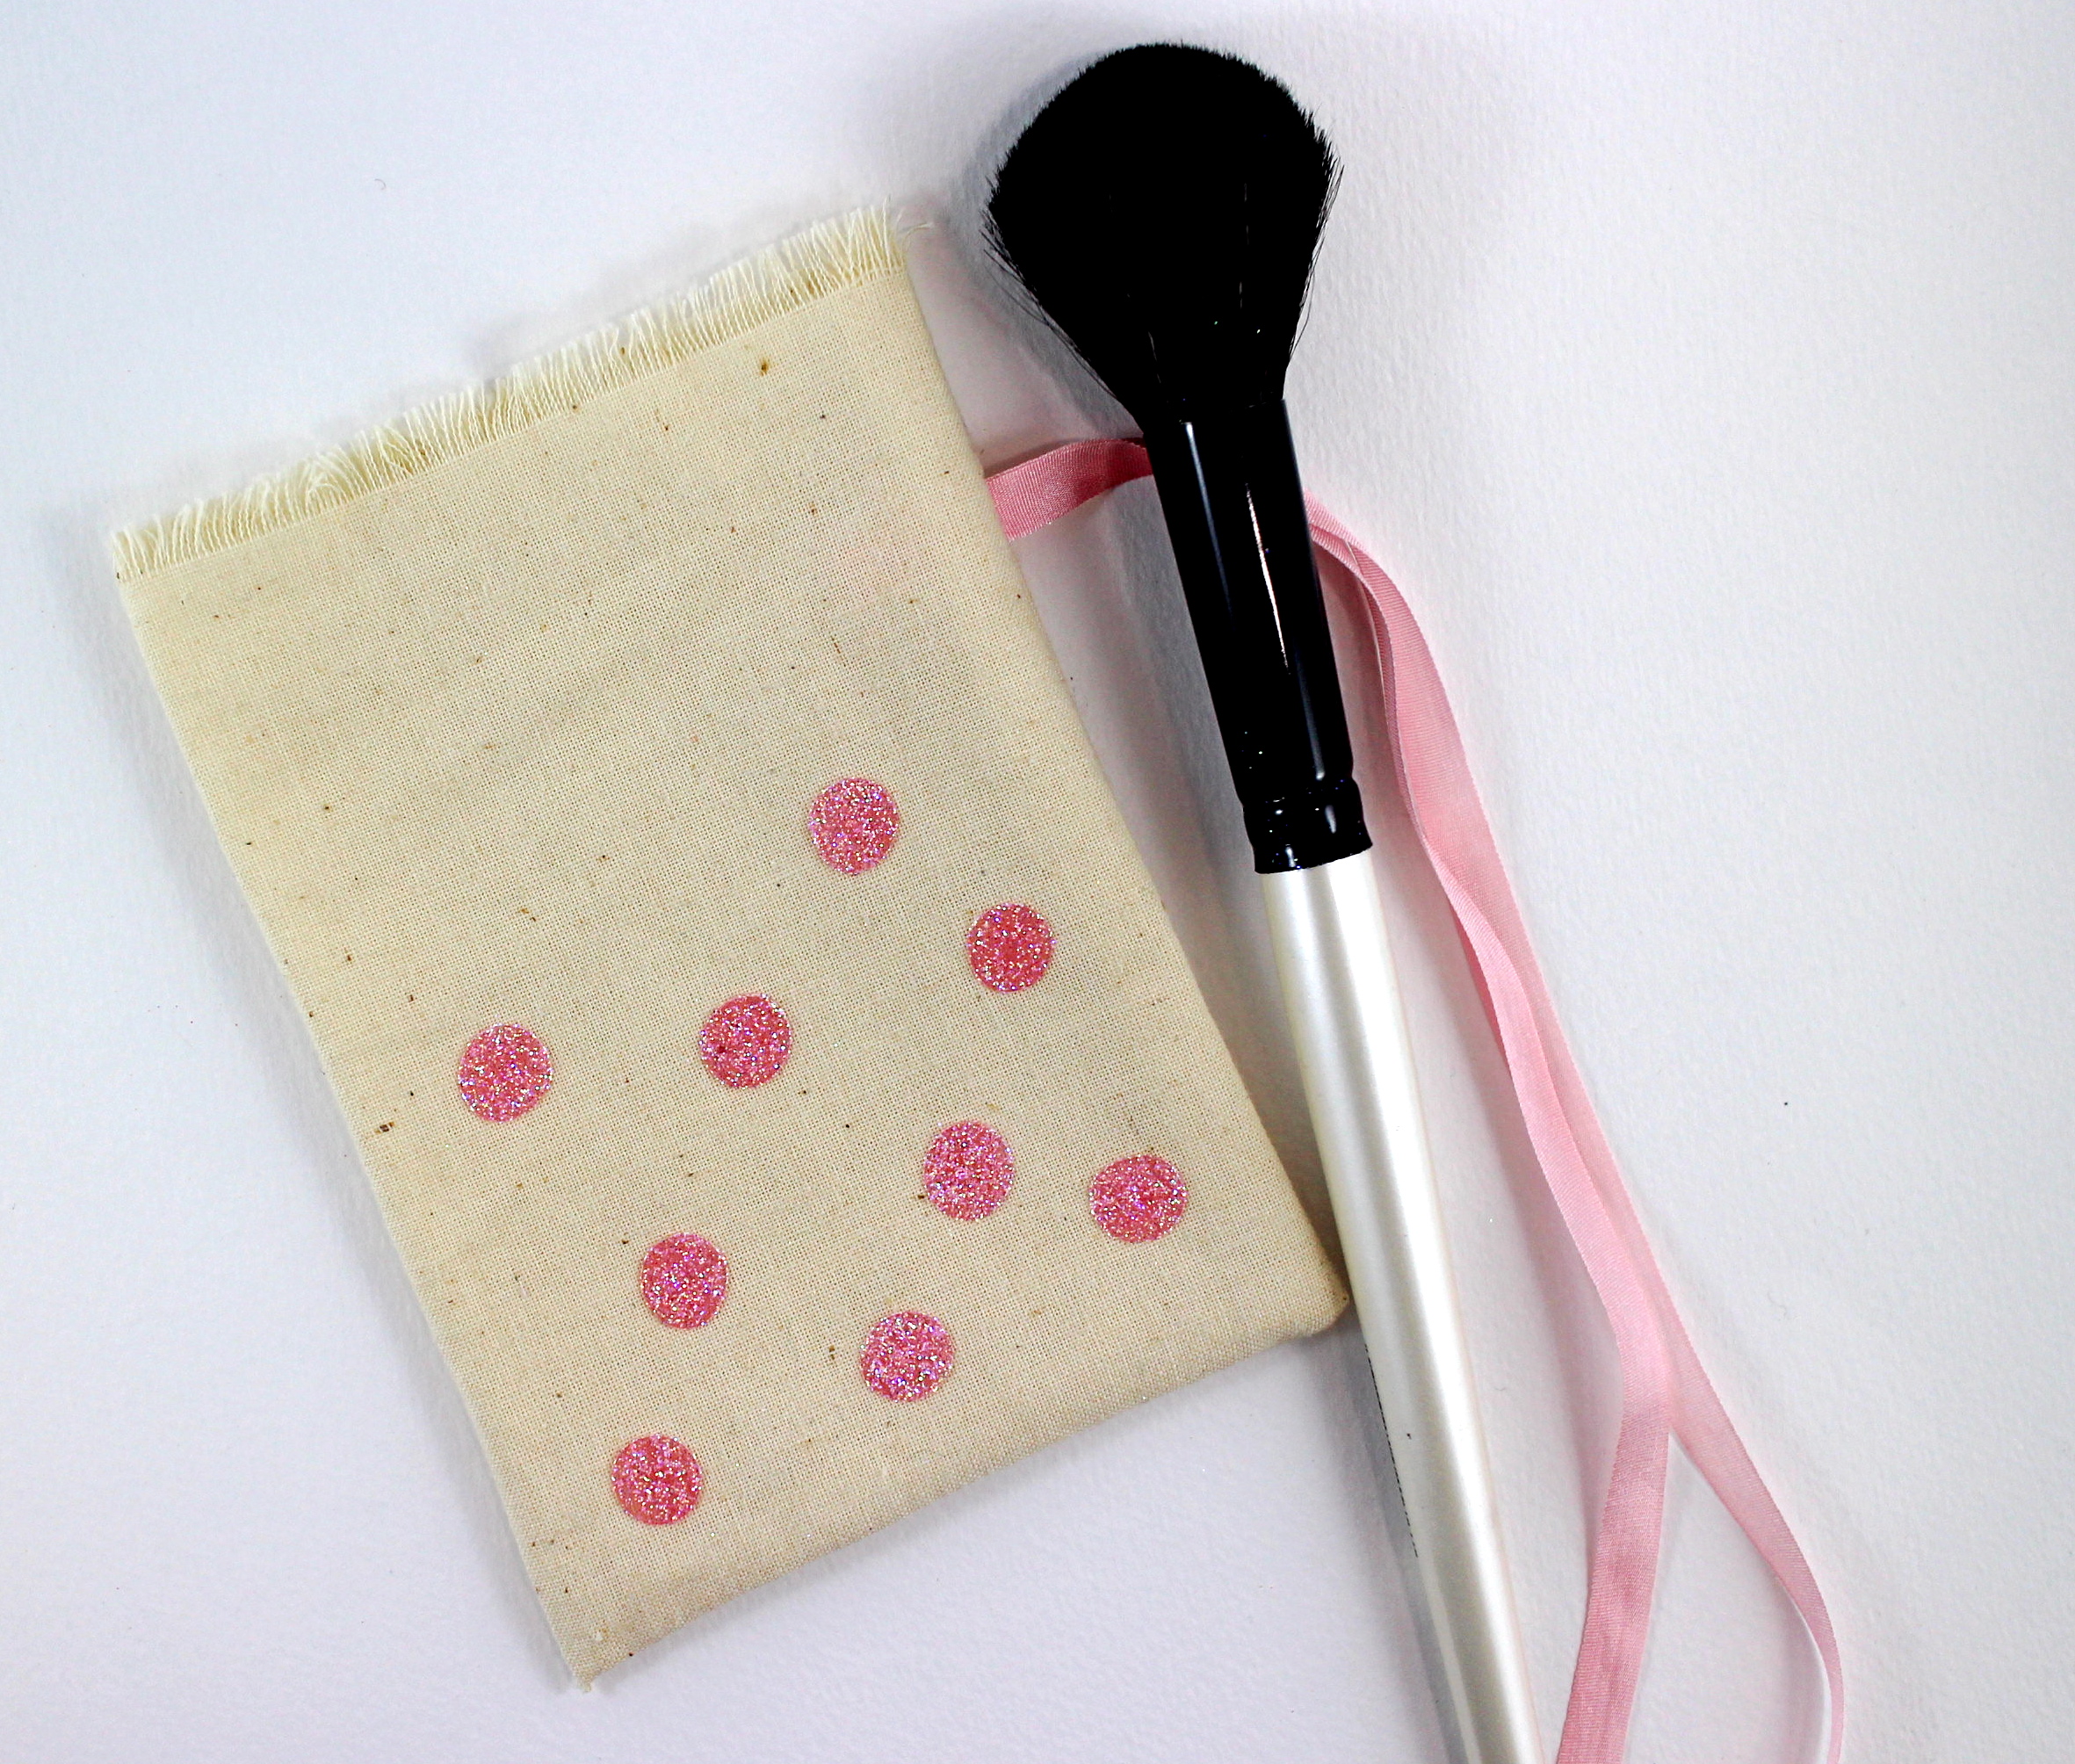
Brush the excess glitter onto a piece of paper to reclaim it. I like to use a large, clean mop style brush for this task.

To make the clothespin ‘tag’, I simply write my message with the fine point of a Dual Brush Pen, and then again with the Glue Pen. Sprinkle on the glitter and let dry.

Fill with treats, tie the bow, clip on your message! These are so simple you can make lots!
Bonus! Layer the adhesive Dots to create even more hues! From left to right: Pink Adhesive Dot, Pink and Yellow to create Orange, Yellow Adhesive Dot, Green Adhesive Dot, Blue Adhesive Dot, Blue and Pink to create Purple! I also forgot to include my favorite layered combination of Blue and Green to create a pretty Teal.


These are so fun and super cute!!
xxDaniella