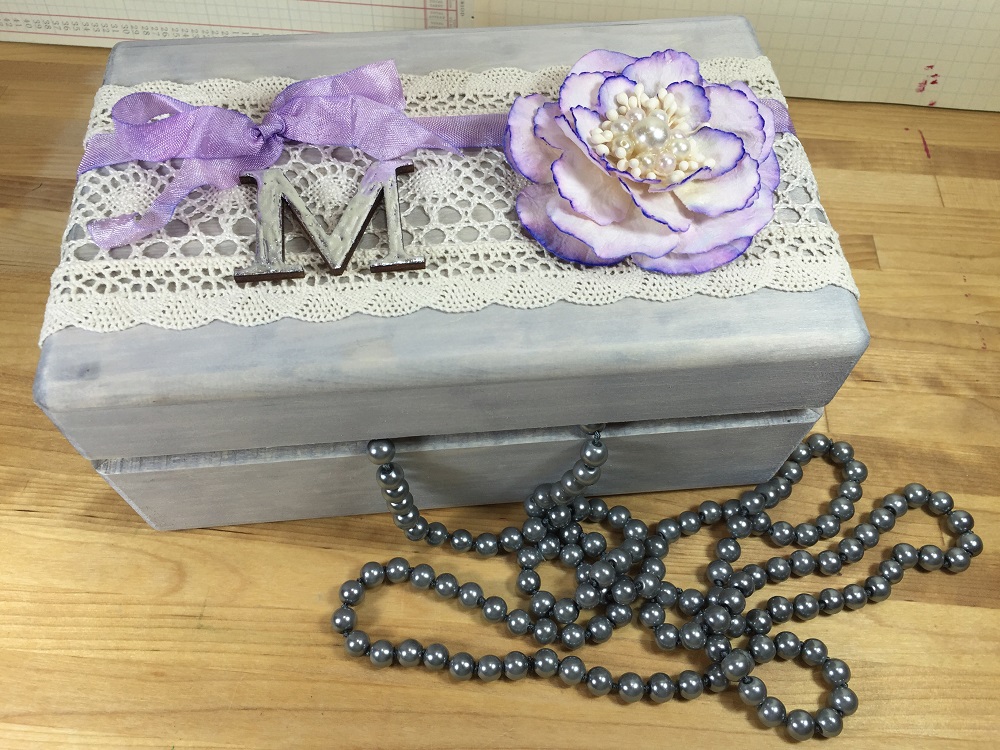
June is officially Wedding month and this week the Tombow Design Team is sharing gift ideas for your Bridesmaids. I love making handmade gifts that become treasured keepsakes, so I have created a special monogrammed keepsake jewelry box that your Bridesmaids can display and cherish! Tombow products make the creative process quick and easy!
Step One:
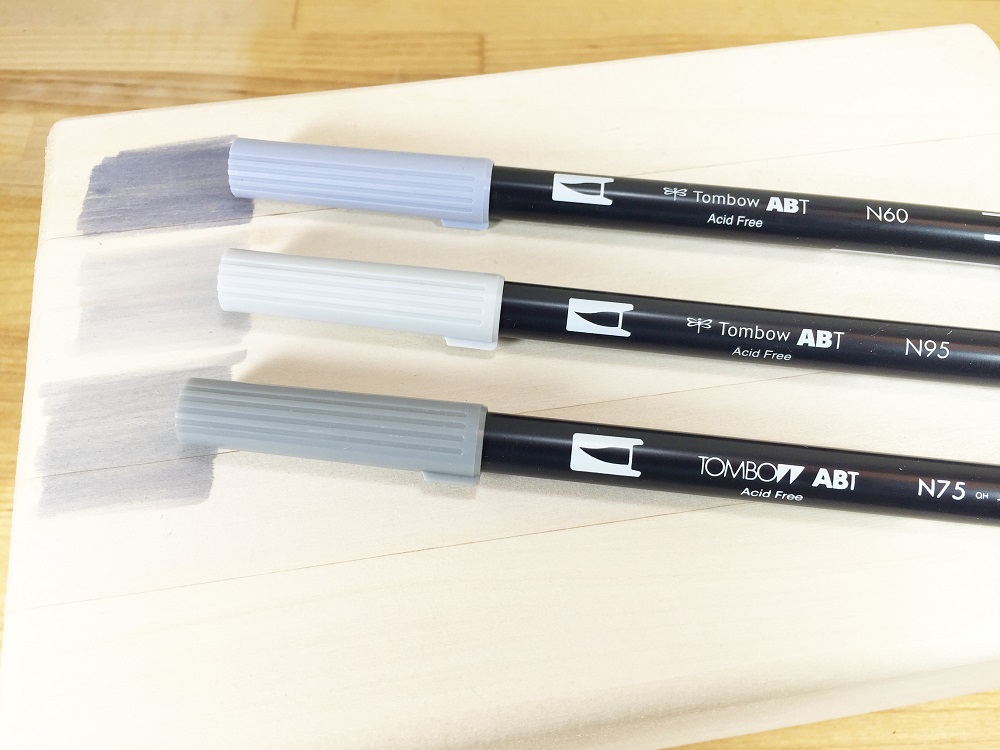
I always begin my projects with a color chart, especially when faux staining wood. I want to make sure that I select the perfect colors, and for this project I wanted a silvery gray, not too dark and not too light!
Step Two:
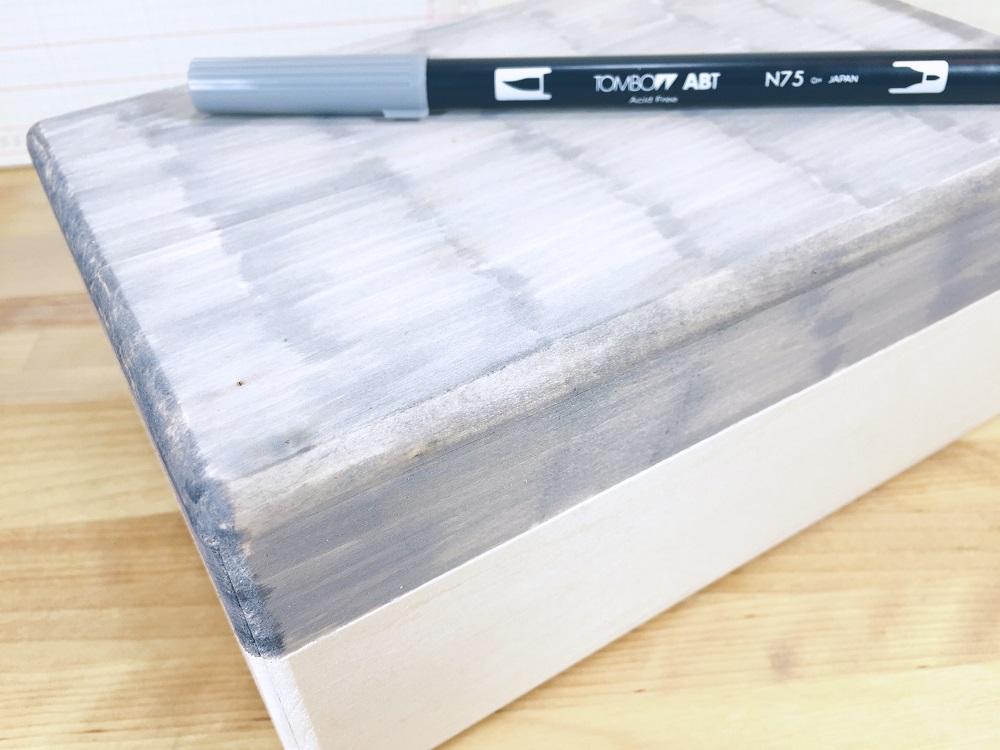
Start with the Roomy Box from Walnut Hollow and faux stained the inside and outside of the basswood jewelry box with my Tombow Dual Brush Pen N75 – Cool Gray 3. Soften the pen marks by rubbing the surface with a baby wipe and let dry.
Step Three:
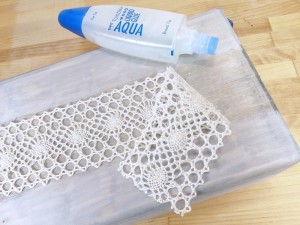
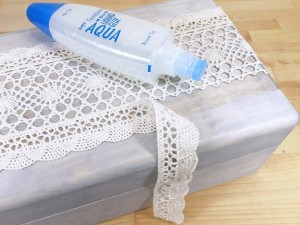
Once dry, attach cotton crocheted lace trim to the top and sides of the box with Tombow MONO Aqua Liquid Glue using the broad tip. I selected a 1 3/4″ wide lace for the center and trimmed the two plain edges with a scalloped lace that was 1 1/4″ wide. Trim excess lace from sides of box lid with sharp scissors and secure cut ends with a bead of glue from the pen tip. prop open until glue is dry.
Step Four:
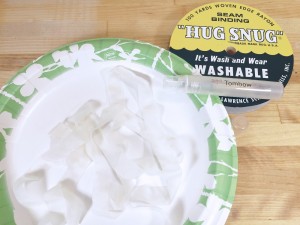
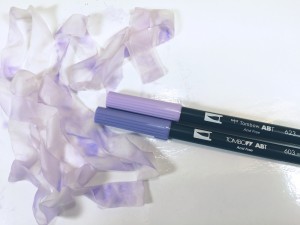
Custom coloring embellishments is easy with the 96 Tombow Dual Brush Pens colors to select from! I selected Tombow Dual Brush Pens 603 – Periwinkle and 623 – Purple Sage to custom color my seam binding ribbon. Cut 48″ of plain seam binding ribbon, place on a paper plate (or towel) and soak ribbon with plain water using the Tombow Blending Mister. Apply 603 and 623 to the Tombow Blending Palette and smoosh the wet ribbon in the ink with your fingers. Continue applying ink and smooshing the ribbon until you get the depth of color you are looking for.
Step Five:
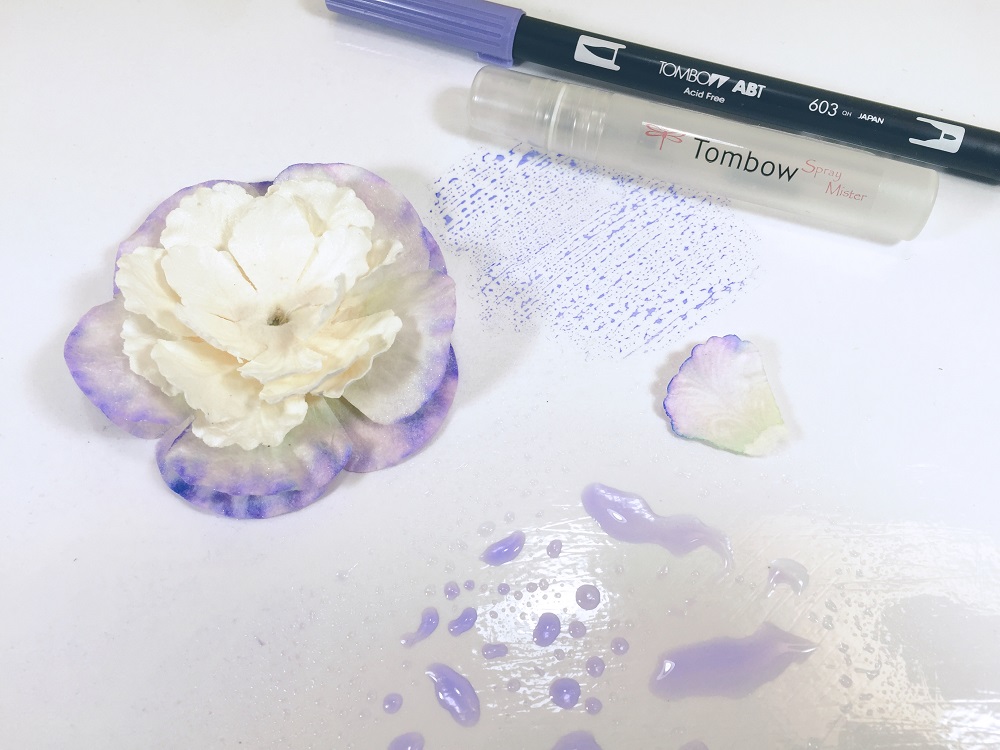
While the ribbon is drying on a paper plate, let’s custom color a flower. I found this plain ivory paper flower in my craft stash, from Prima. It is very important that the flower is paper based, because this technique will not work with synthetic, silk flowers. To test this technique, I snipped off a petal from the bottom layer of the flower. Apply Tombow Dual Brush Pen 623 – Purple Sage to your Blending Palette, mist with water from Tombow Blending Mister. Dip each petal edge in the watered down ink and let the color absorb about half way up the petal. Carefully outline the edge of the petal with Tombow Dual Brush Pen 623 – Purple Sage. Watch as the colored edge blends into the wet petal to create a wonderful customized watercolor effect! Repeat with all petals on flower, fluff petals then set aside to dry.
Step Six:
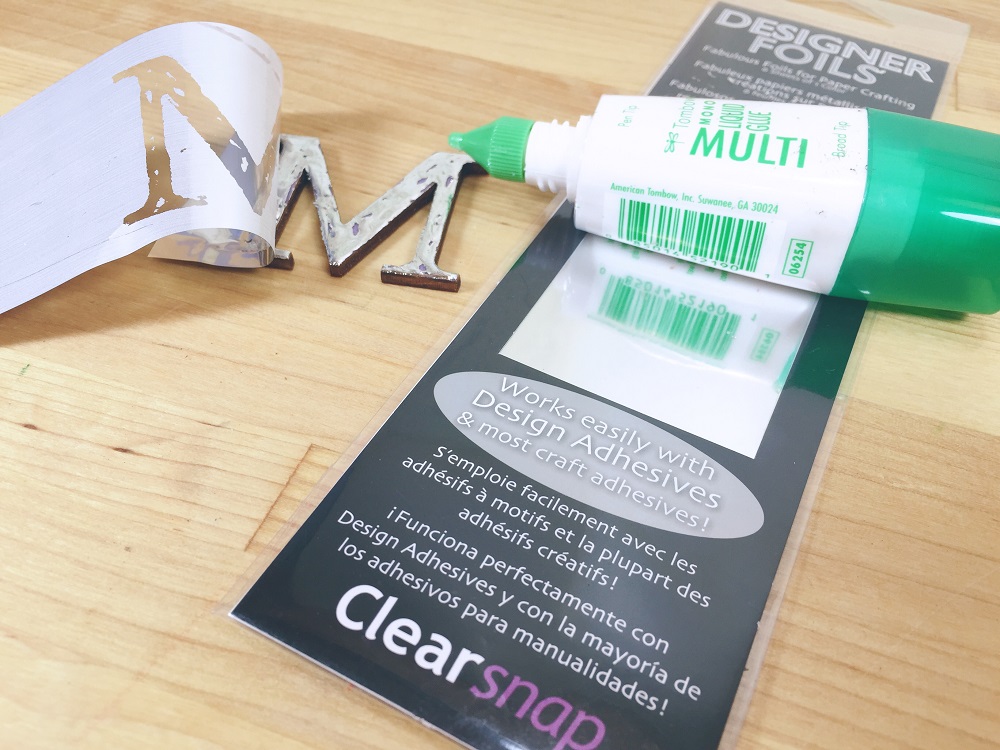
The final embellishment is a monogram. I found 2 1/2″ plain wooden letters at my local craft store for under a dollar! Apply a thin coat of Tombow MONO Multi Liquid Glue to the surface of the letter, then let dry. The MONO Multi stays tacky, even when dry and becomes the perfect medium for applying foil. I used Designer Foil from Clearsnap in Silver Fog to coordinate with my Keepsake Jewelry Box. Simply press the back side of the foil sheet into the adhesive, burnish gently with your finger and peel back to reveal a shimmering monogram! If there are any spots with no foil, just reapply until all of the adhesive is covered.
Step Seven:
Now it is time to assemble all of our elements! Adhere seam binding ribbon with Tombow Xtreme Adhesive which is a dry adhesive. It is important to use a dry adhesive in this application, because a wet adhesive will show through and “stain” the silky ribbon. Attach the paper flower and foil monogram with Tombow MONO Multi Liquid Glue for a strong, permanent bond. The last step is to measure, cut and adhere a piece of felt to the inside bottom of the Keepsake Jewelry Box with the MONO Multi glue.
Now for the GOOD STUFF! Here Comes the Crafts Sale! 25% OFF all Tombow Adhesives from June 6th through June 10th AND get FREE Shipping with your order of$25.00 or more! Don’t miss this deal and stock up!
Thanks for stopping by -Beth
