Happy Monday Tombow Fans! This is Jennie and school is about to start! Teachers are planning the beginning of the school year and this week the Tombow Design Team will inspire you with projects to decorate classrooms. Today I’m sharing how to make these easy diy classroom station signs. You could also make these at home for your kids.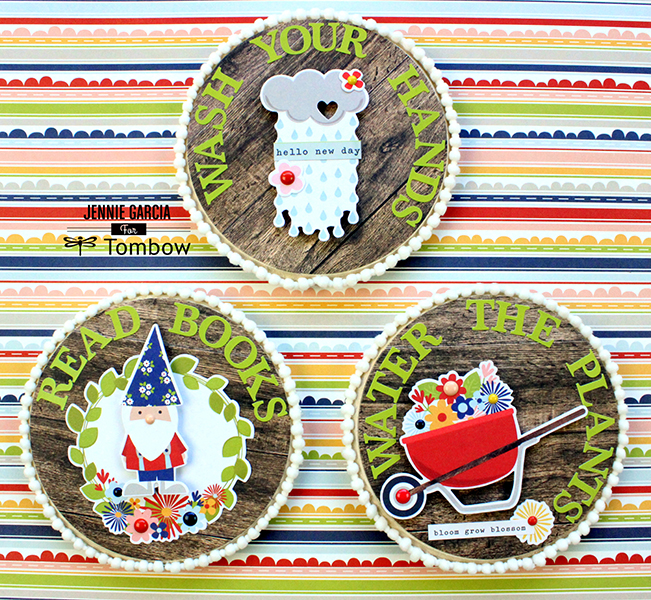
These signs were super easy to make. You will need: Simple Stories Patterned Paper and Die Cuts, a wooden frame from Walnut Hollow (4 1/2), Sizzix Circle Dies, Tombow Xtreme Adhesive, Tombow Foam Tape and Tombow Mono Multi Liquid Glue.
First, cut a circle that covers your frame. The 4 1/4 Sizzix Circle Die Fits perfectly in the Walnut Hollow Mini Circle Plaque. Glue the circle to the frame using the Tombow Xtreme Permanent Adhesive.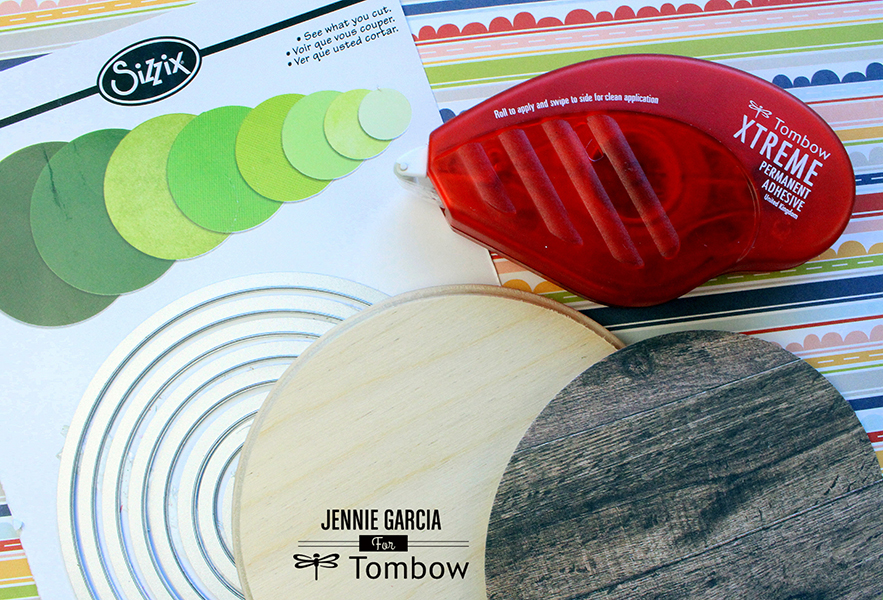
Write the name of the station first, then you can center the icon or die cut at the center. Add the die cut using the Tombow Foam Tape.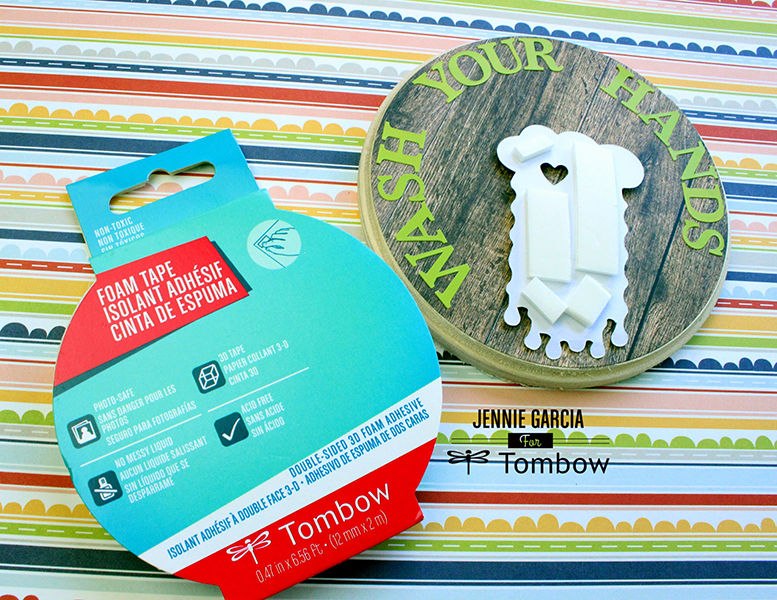
Add trim like these mini pompoms from May Arts around the frame using the Tombow Mono Multi Liquid Glue. Start at the bottom going all the way around inch by inch. If you put the glue all round at once it will become a sticky mess.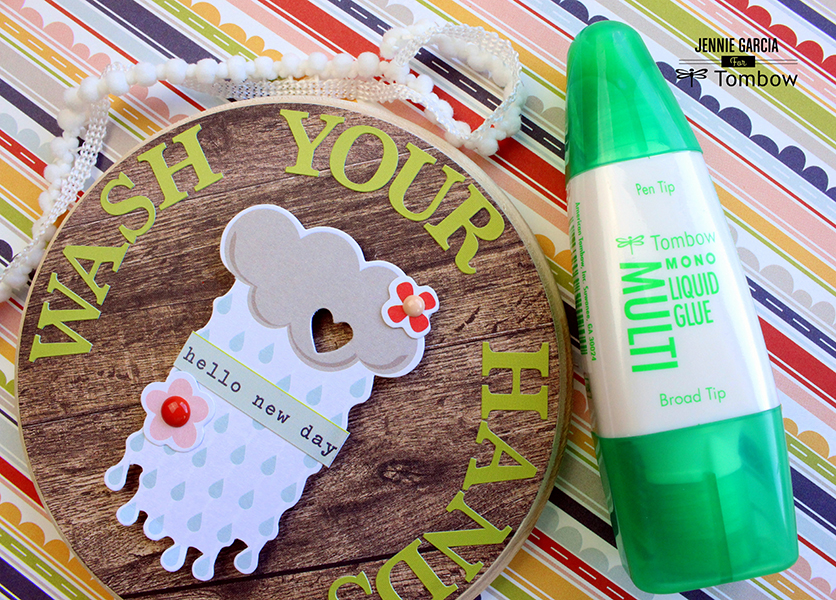
Ta-Da! It’s done! You will still have to remind them to wash their hands at least 1,000 times a day, but if you put them at eye level near the sink it might help.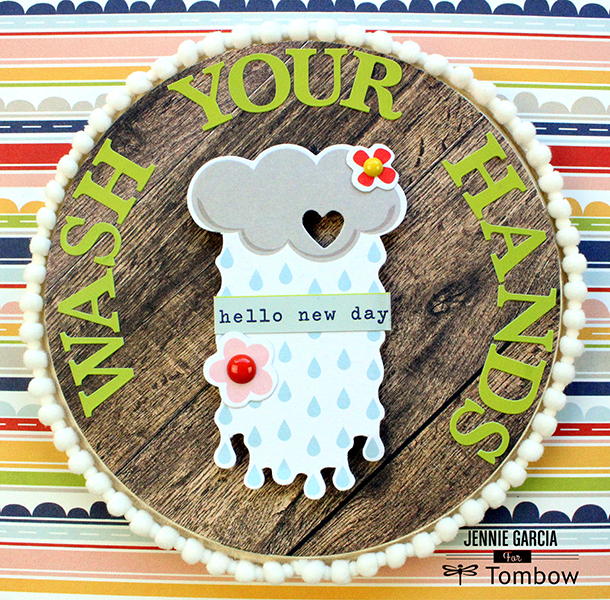
I added a few extra enamel dots for extra details.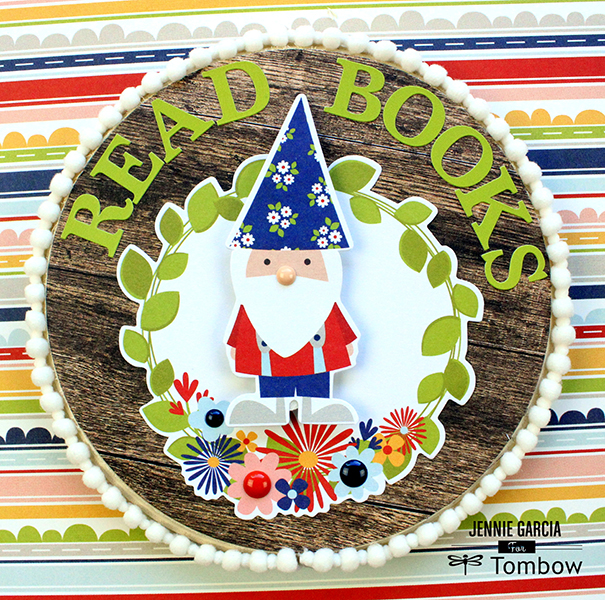
To attach these signs to the wall use the Tombow Mounting Putty, it’s durable, it holds 13 pounds per pack, it’s removable and it comes off quickly and clean. It’s a dream to renters, teachers, people who have temporary booths, parties and every temporary decor item or paper.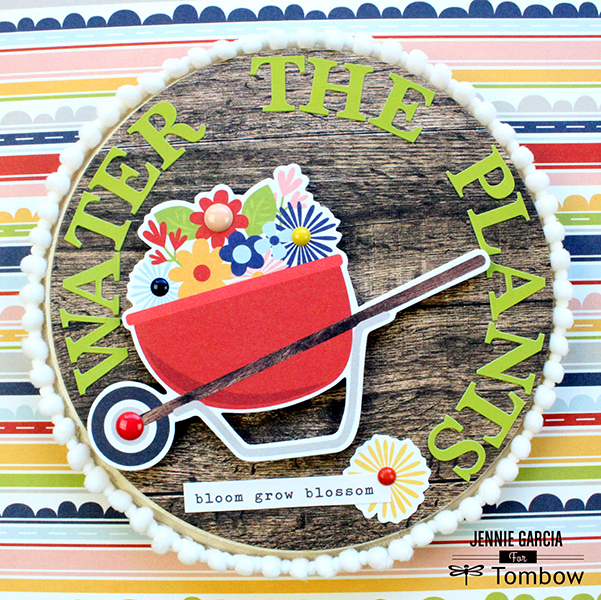
I hope you enjoyed this quick DIY! Share your own DIY Classroom Stations with us on social media. Tag @tombowusa so we can see what you are up to. See you tomorrow!
Love!
Pingback: Pantone Color Of The Year Inspired Wall Decor - Tombow USA Blog