Happy Monday Tombow Fans! Some might say that the NEW Lettering Sets are AMAZING! Everyone loved them so much that they are Out Of Stock! If you want to be notified when they are back in stock AND get a coupon make sure you join the waitlist. The Lettering Sets Party already started on Instagram. This week the Design Team is bringing the party to the blog! This is Jennie and I love lettering but I also like to get artsy so I’m going to show you how to make a galaxy using the Advanced Lettering Set!
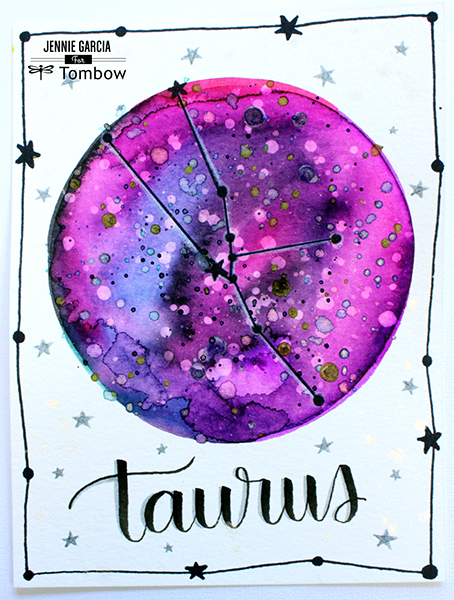
I drew a circle on watercolor paper using the 4H Mono Drawing Pencil from the set. Then I filled the circle with the Tombow Dual Brush Pens colors that come in the Advanced Lettering Set. I used a watercolor brush and water to blend the colors. After it’s dry, sprinkle plain water. Let it rest for a few seconds and then pick it up with a paper towel, that creates lighter dots. Then I added mists and I also scribbled the 373 Sea Blue on the Blending Palette and picked up the color from there with a watercolor brush and I made splatters in the circle.
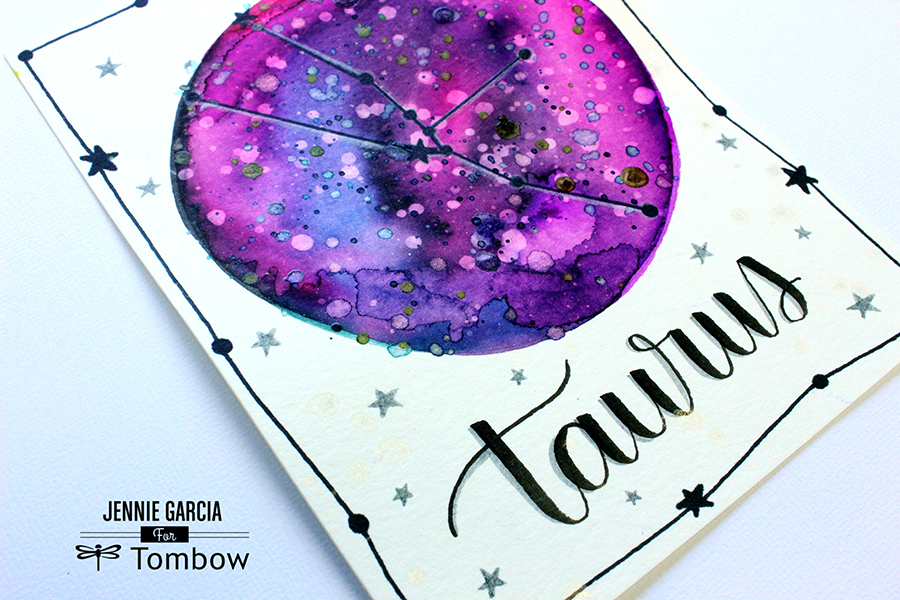
The lettering was done with the Tombow Fudenosuke Soft Tip Pen. To add shadow I used the gray from the Tombow Fudenosuke Twin Tip Pen. I doodled the border with the Tombow Mono Twin Permanent Marker. To doodle the gray stars I used the Tombow Fudenosuke Twin Tip Pen.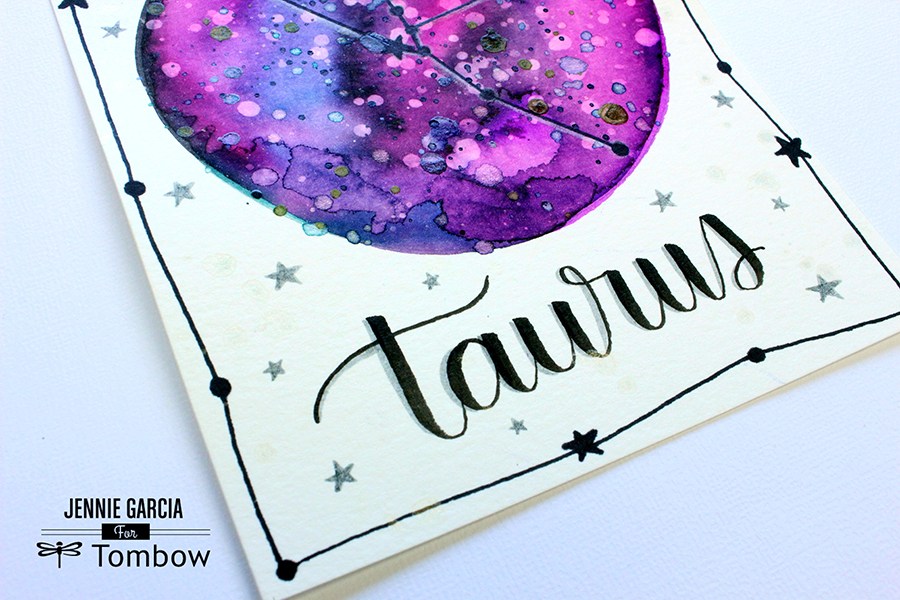
Did you grab a lettering set? Share your set with us on social media! Give this technique a try and make sure you tag me @jenniegarcian. Come back tomorrow to see what Beth makes with these amazing sets!
Beautiful!
I ABSOLUTELY LOVE THIS!!!
So beautiful ?
The Power Slmmaers line had comic accurate costumes for Rogue and Gambit, based on Joe Mad’s outer space saga that led to the trial of Gambit.