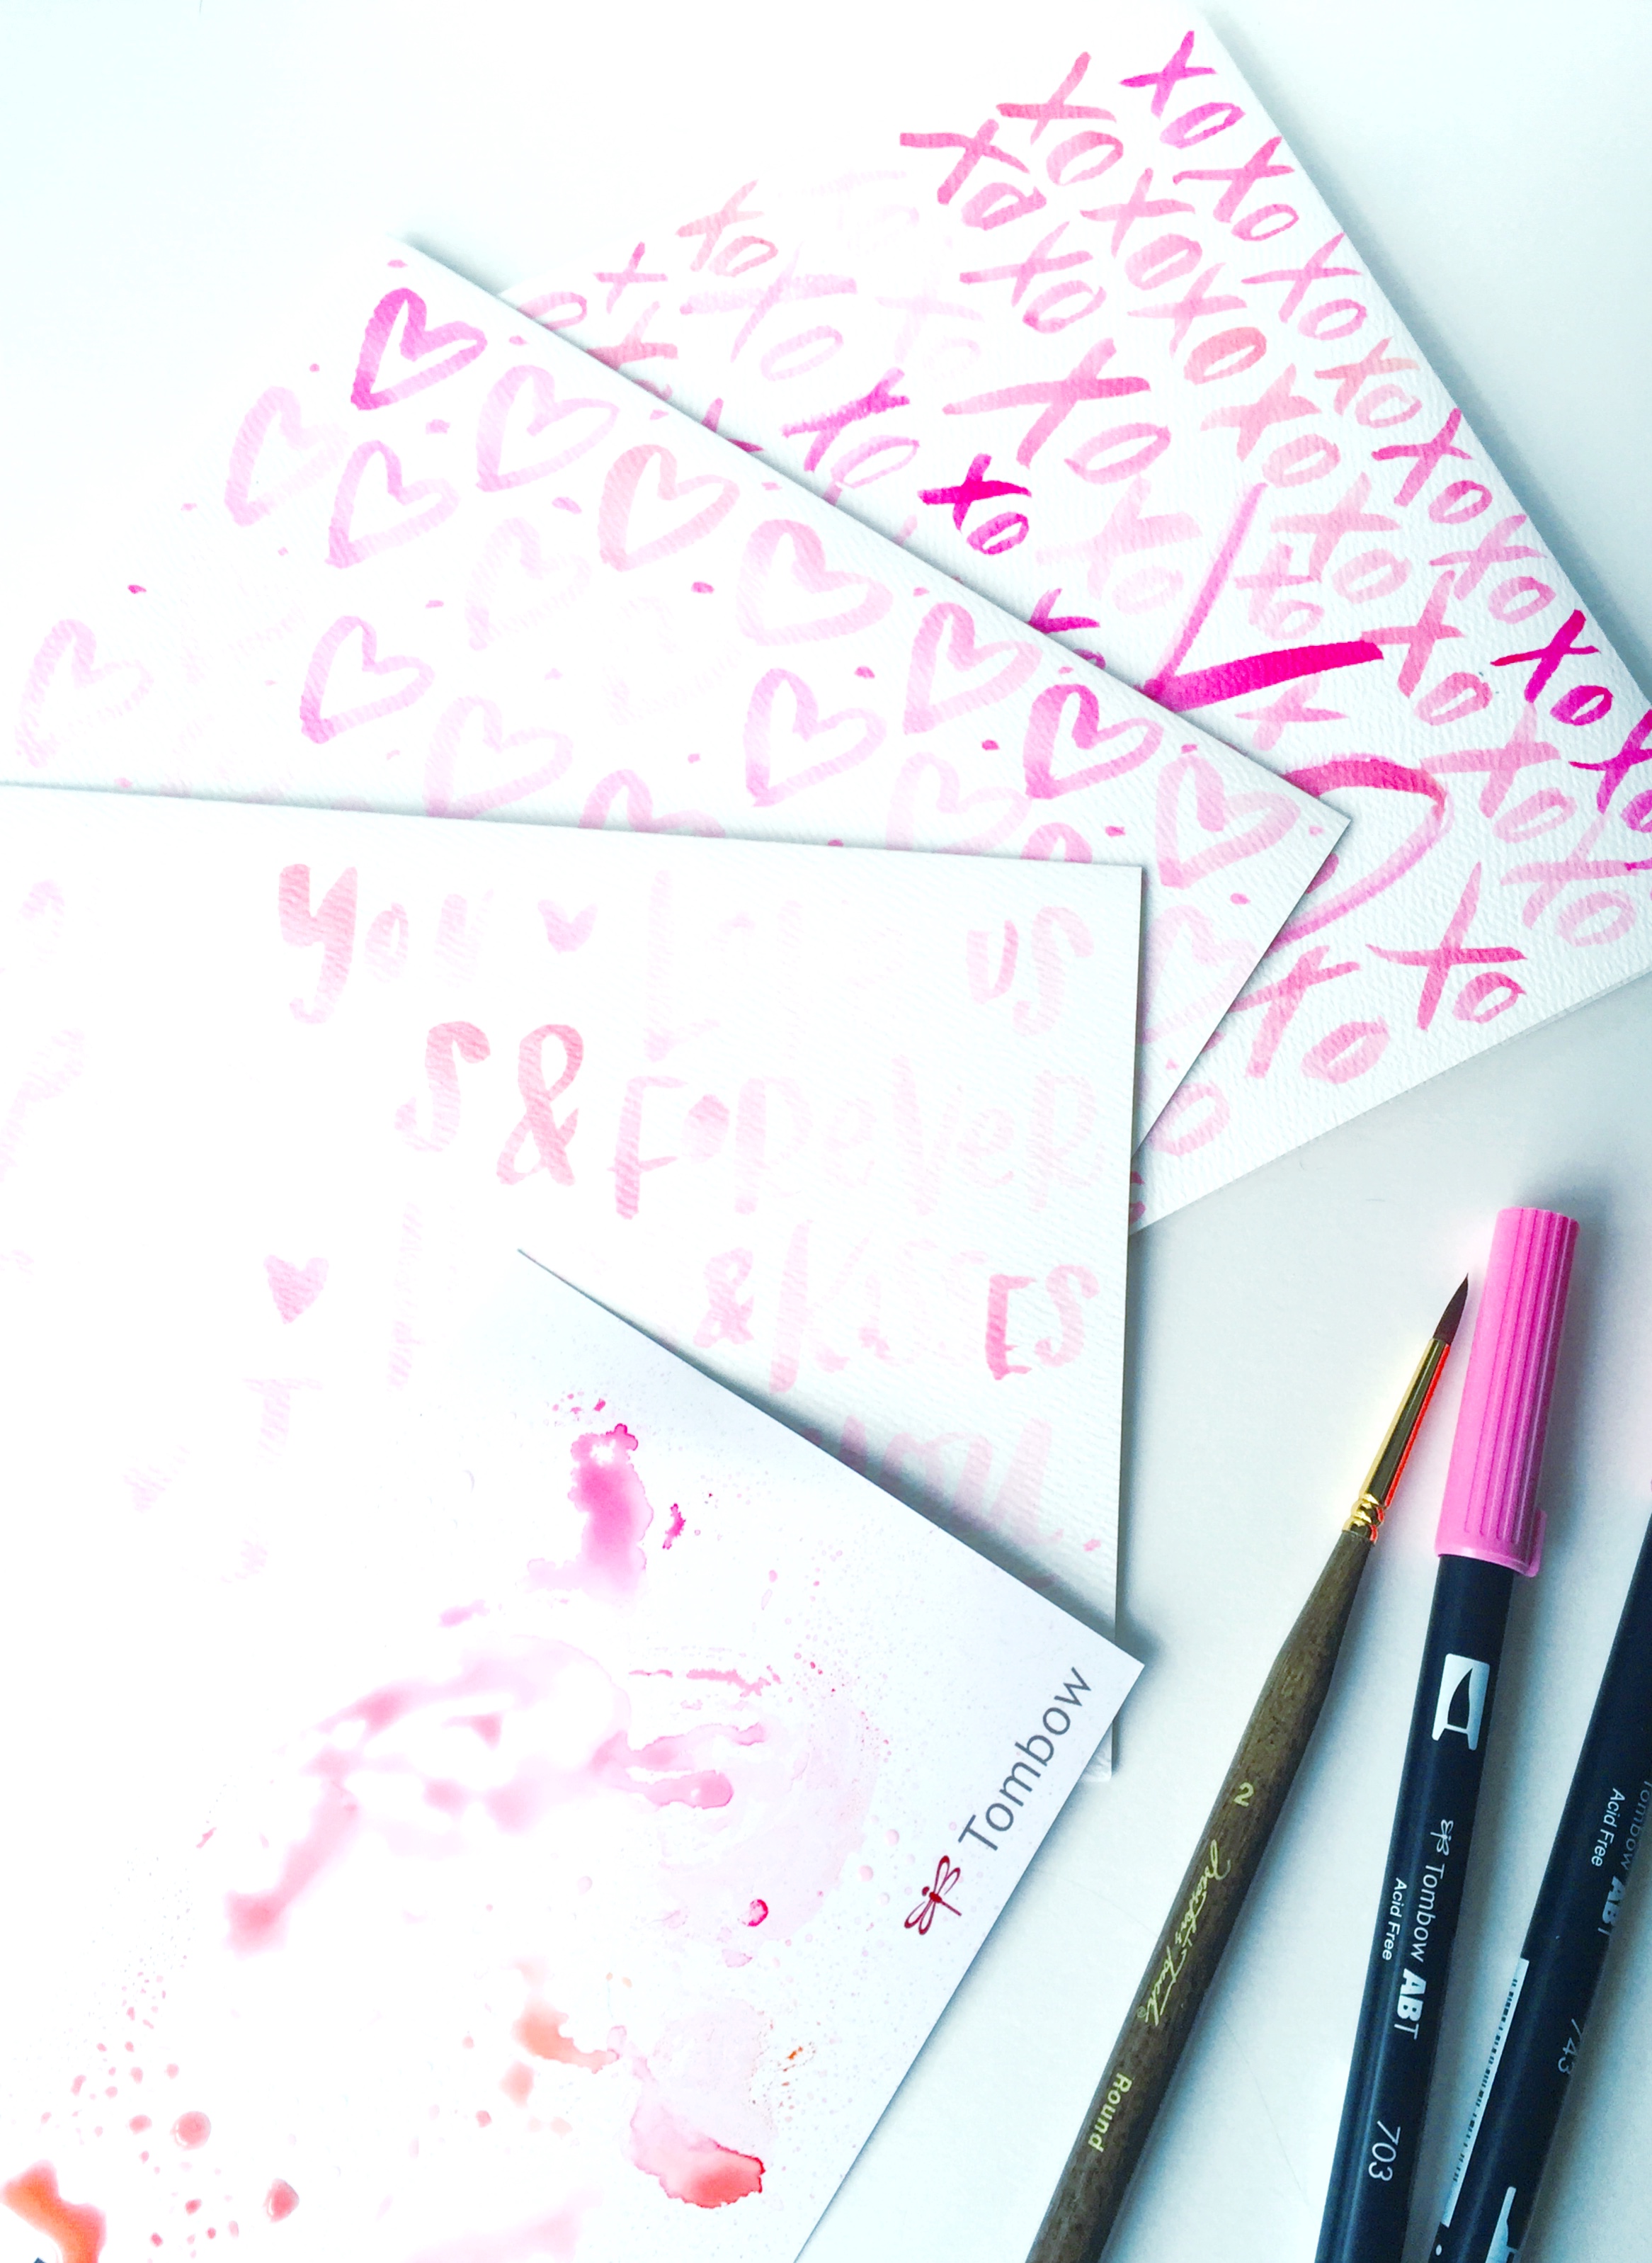
If you want to put a handmade touch on your gifts for February 14th, this tutorial for simple watercolor Valentines will be the perfect amount of inspiration to get you started! Hey there lovelies!!!! Lauren (@renmadecalligraphy) here and I am so excited to show you a fun and simple way to make some gorgeous handmade cards using some of my favorite Tombow USA products!
WHAT YOU’LL NEED
–Strathmore Creative Cards (pack of 10 cards and envelopes) or cards made from watercolor paper could be a substitute.

When I got my hands on some of these luxurious cards I just knew I had to use them in a blog post, ASAP! The texture of these cards makes them perfect for lots of different kinds of media, like drawing, stamping, calligraphy, and watercolor lettering.
–Pink and Red Tombow Dual Brush Pens
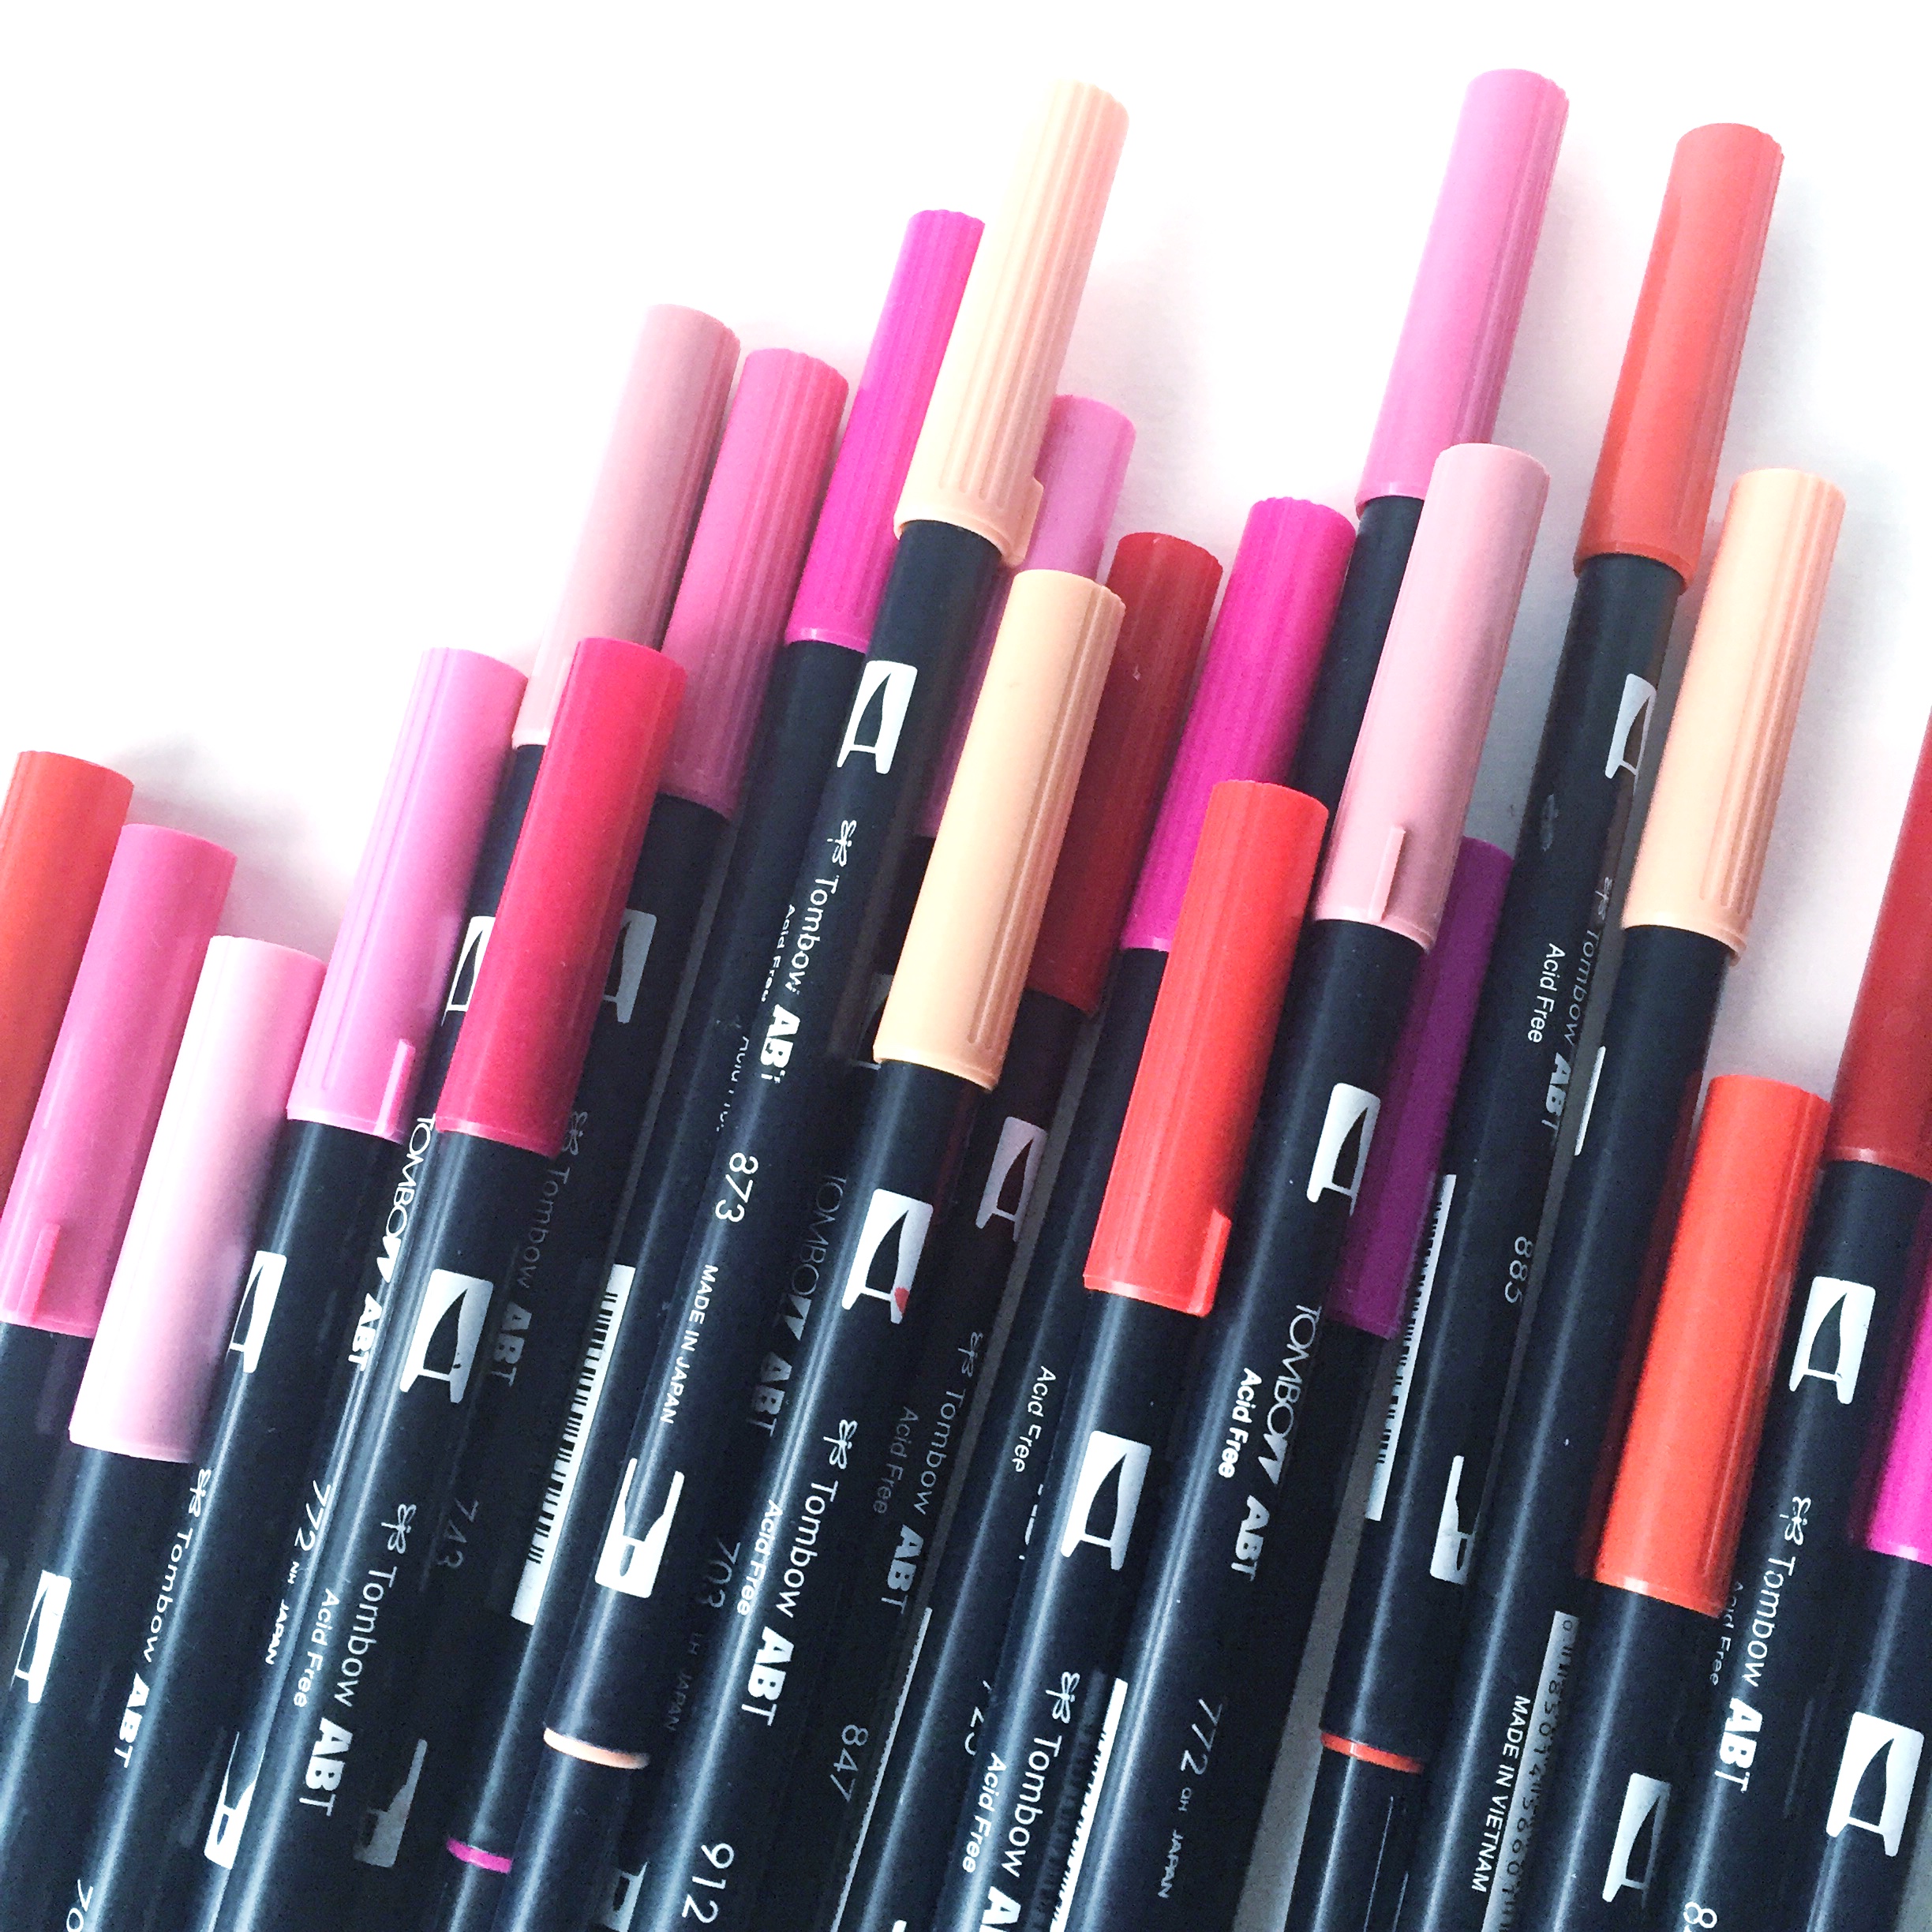
Go through your Dual Brush Pen stash and pull out all of the pinks and reds. This is a great way to incorporate old pens that may be running low or have a shredded tip. Make sure to get some deeper shades like a dark red or dark pink along with lighter peaches and pinks to add variety to the coloring of your designs.
–Tombow Blending Kit (mister and blending palette)
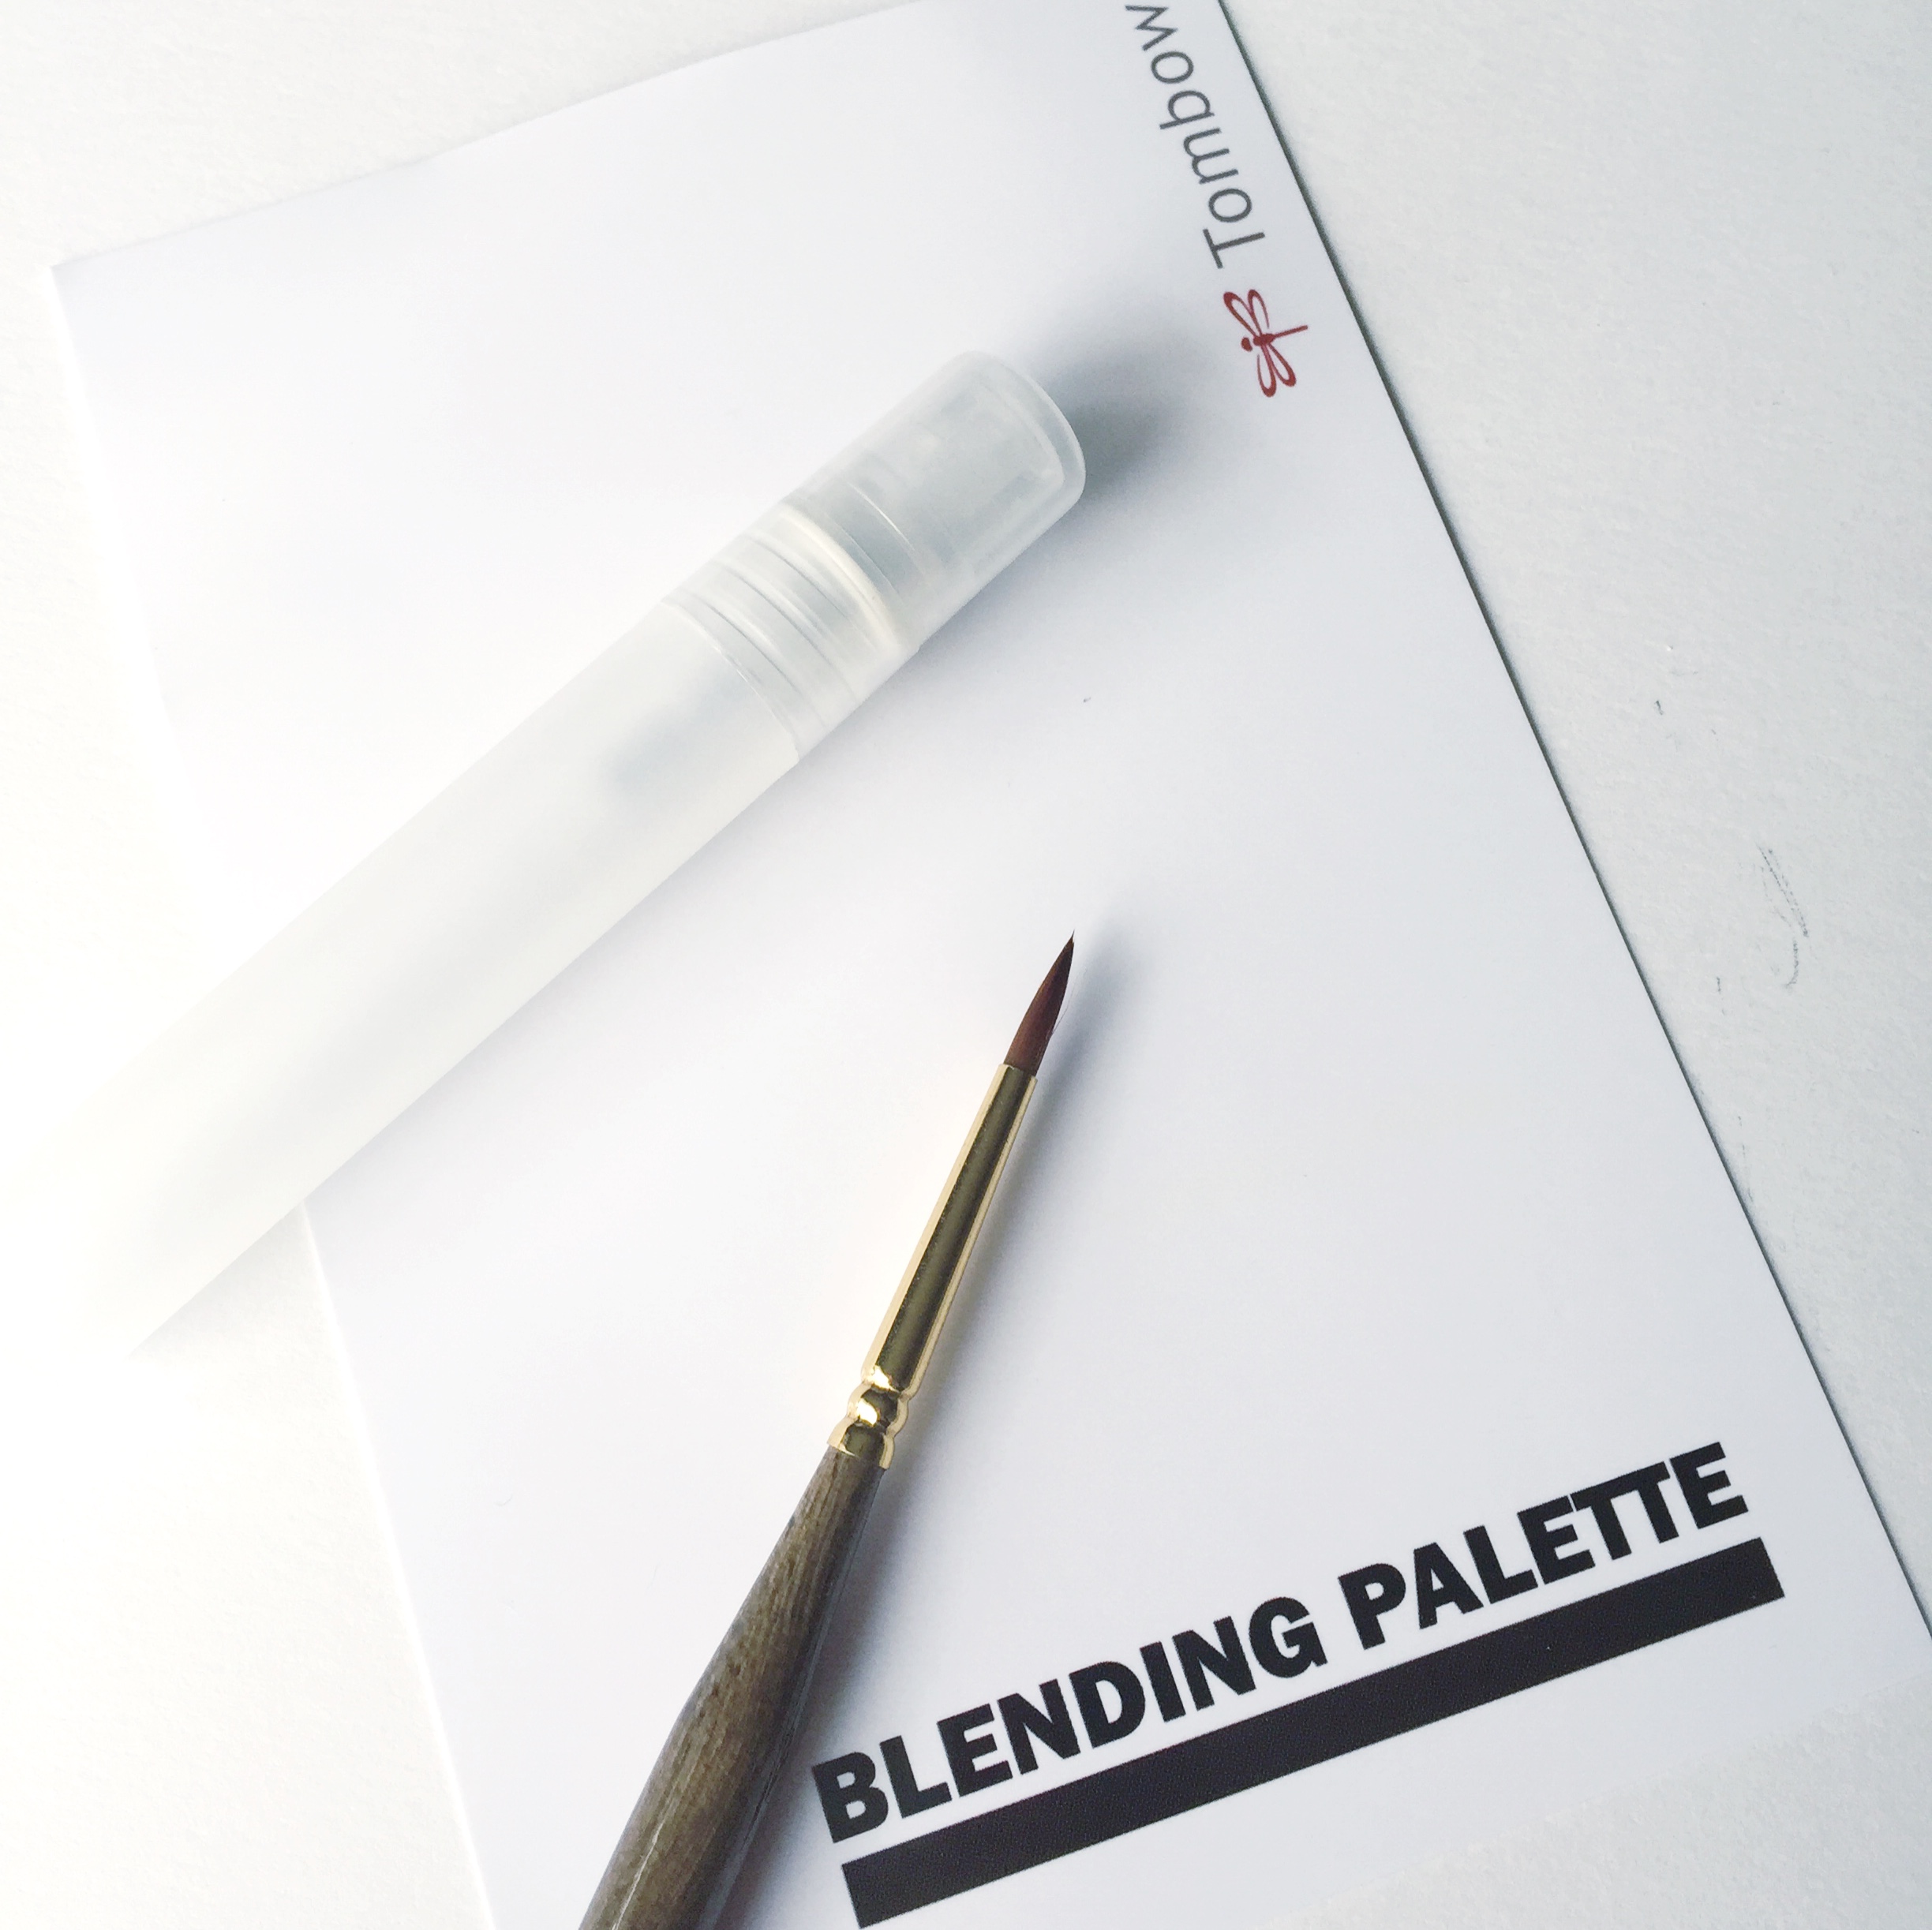
The Tombow Blending Kit comes with a blending palette, mister, and blender pen. For this project, the blending palette and mister will be used. Fill up the mister with water and look over the tips in the packaging of the kit.
-A watercolor brush (round in whatever size you prefer… I used a 2)
A round watercolor brush is the perfect tool for achieving the simple and fun look of these cards. You can use whatever size you feel comfortable to letter or doodle with. In this tutorial I used a size 2 and was very happy with how it worked with the size of the cards.
PREP THE PALETTE
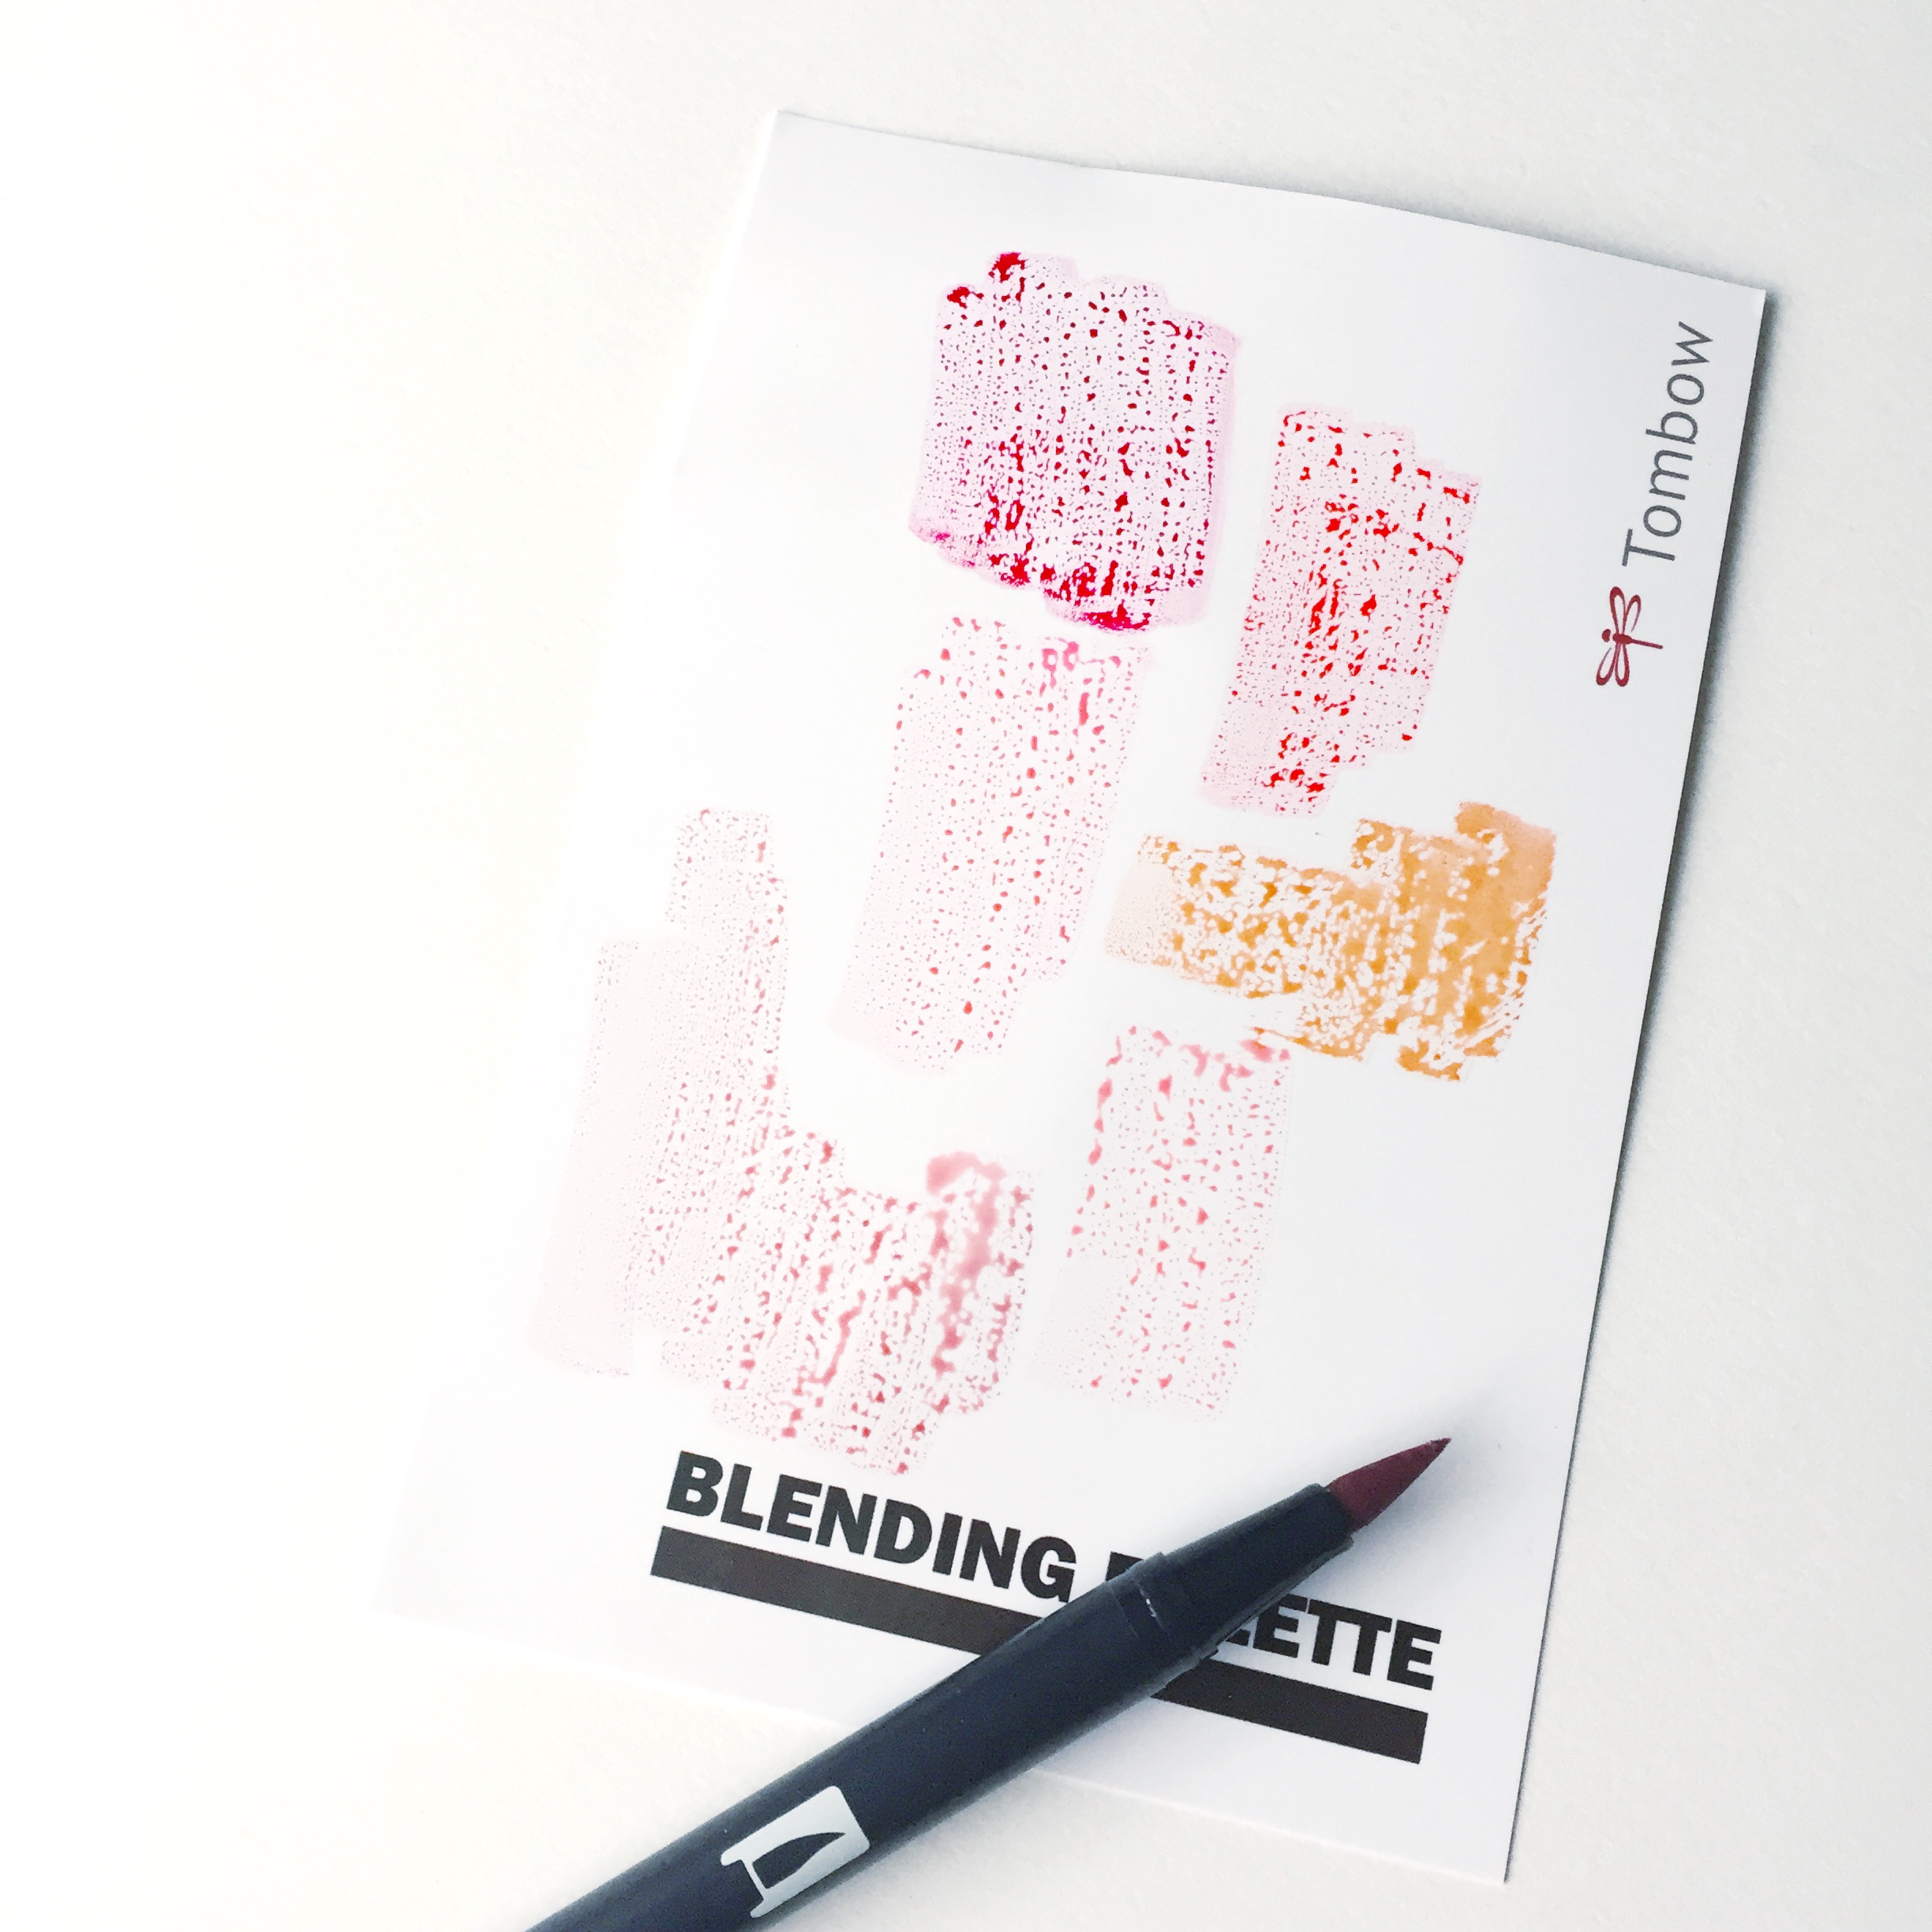
Now that you have all of the materials that you need to complete the project, it’s time to prep the blending palette. What does this mean? Well, it’s time to grab those Tombow Dual Brush Pens and scribble color all over the blending palette. I like to cover the whole white side with a variety of shades to mix and blend together. Then spray the blending palette over each of the colors with the mister. This will create little puddles of color that will be easy to manipulate with a round watercolor brush. Also note that throughout the project, you may want to add more water by misting a little more onto the palette or may also want to freshen the color by wiping it with a paper towel and reapplying the Dual Brush Pens.
CREATE THE CARDS
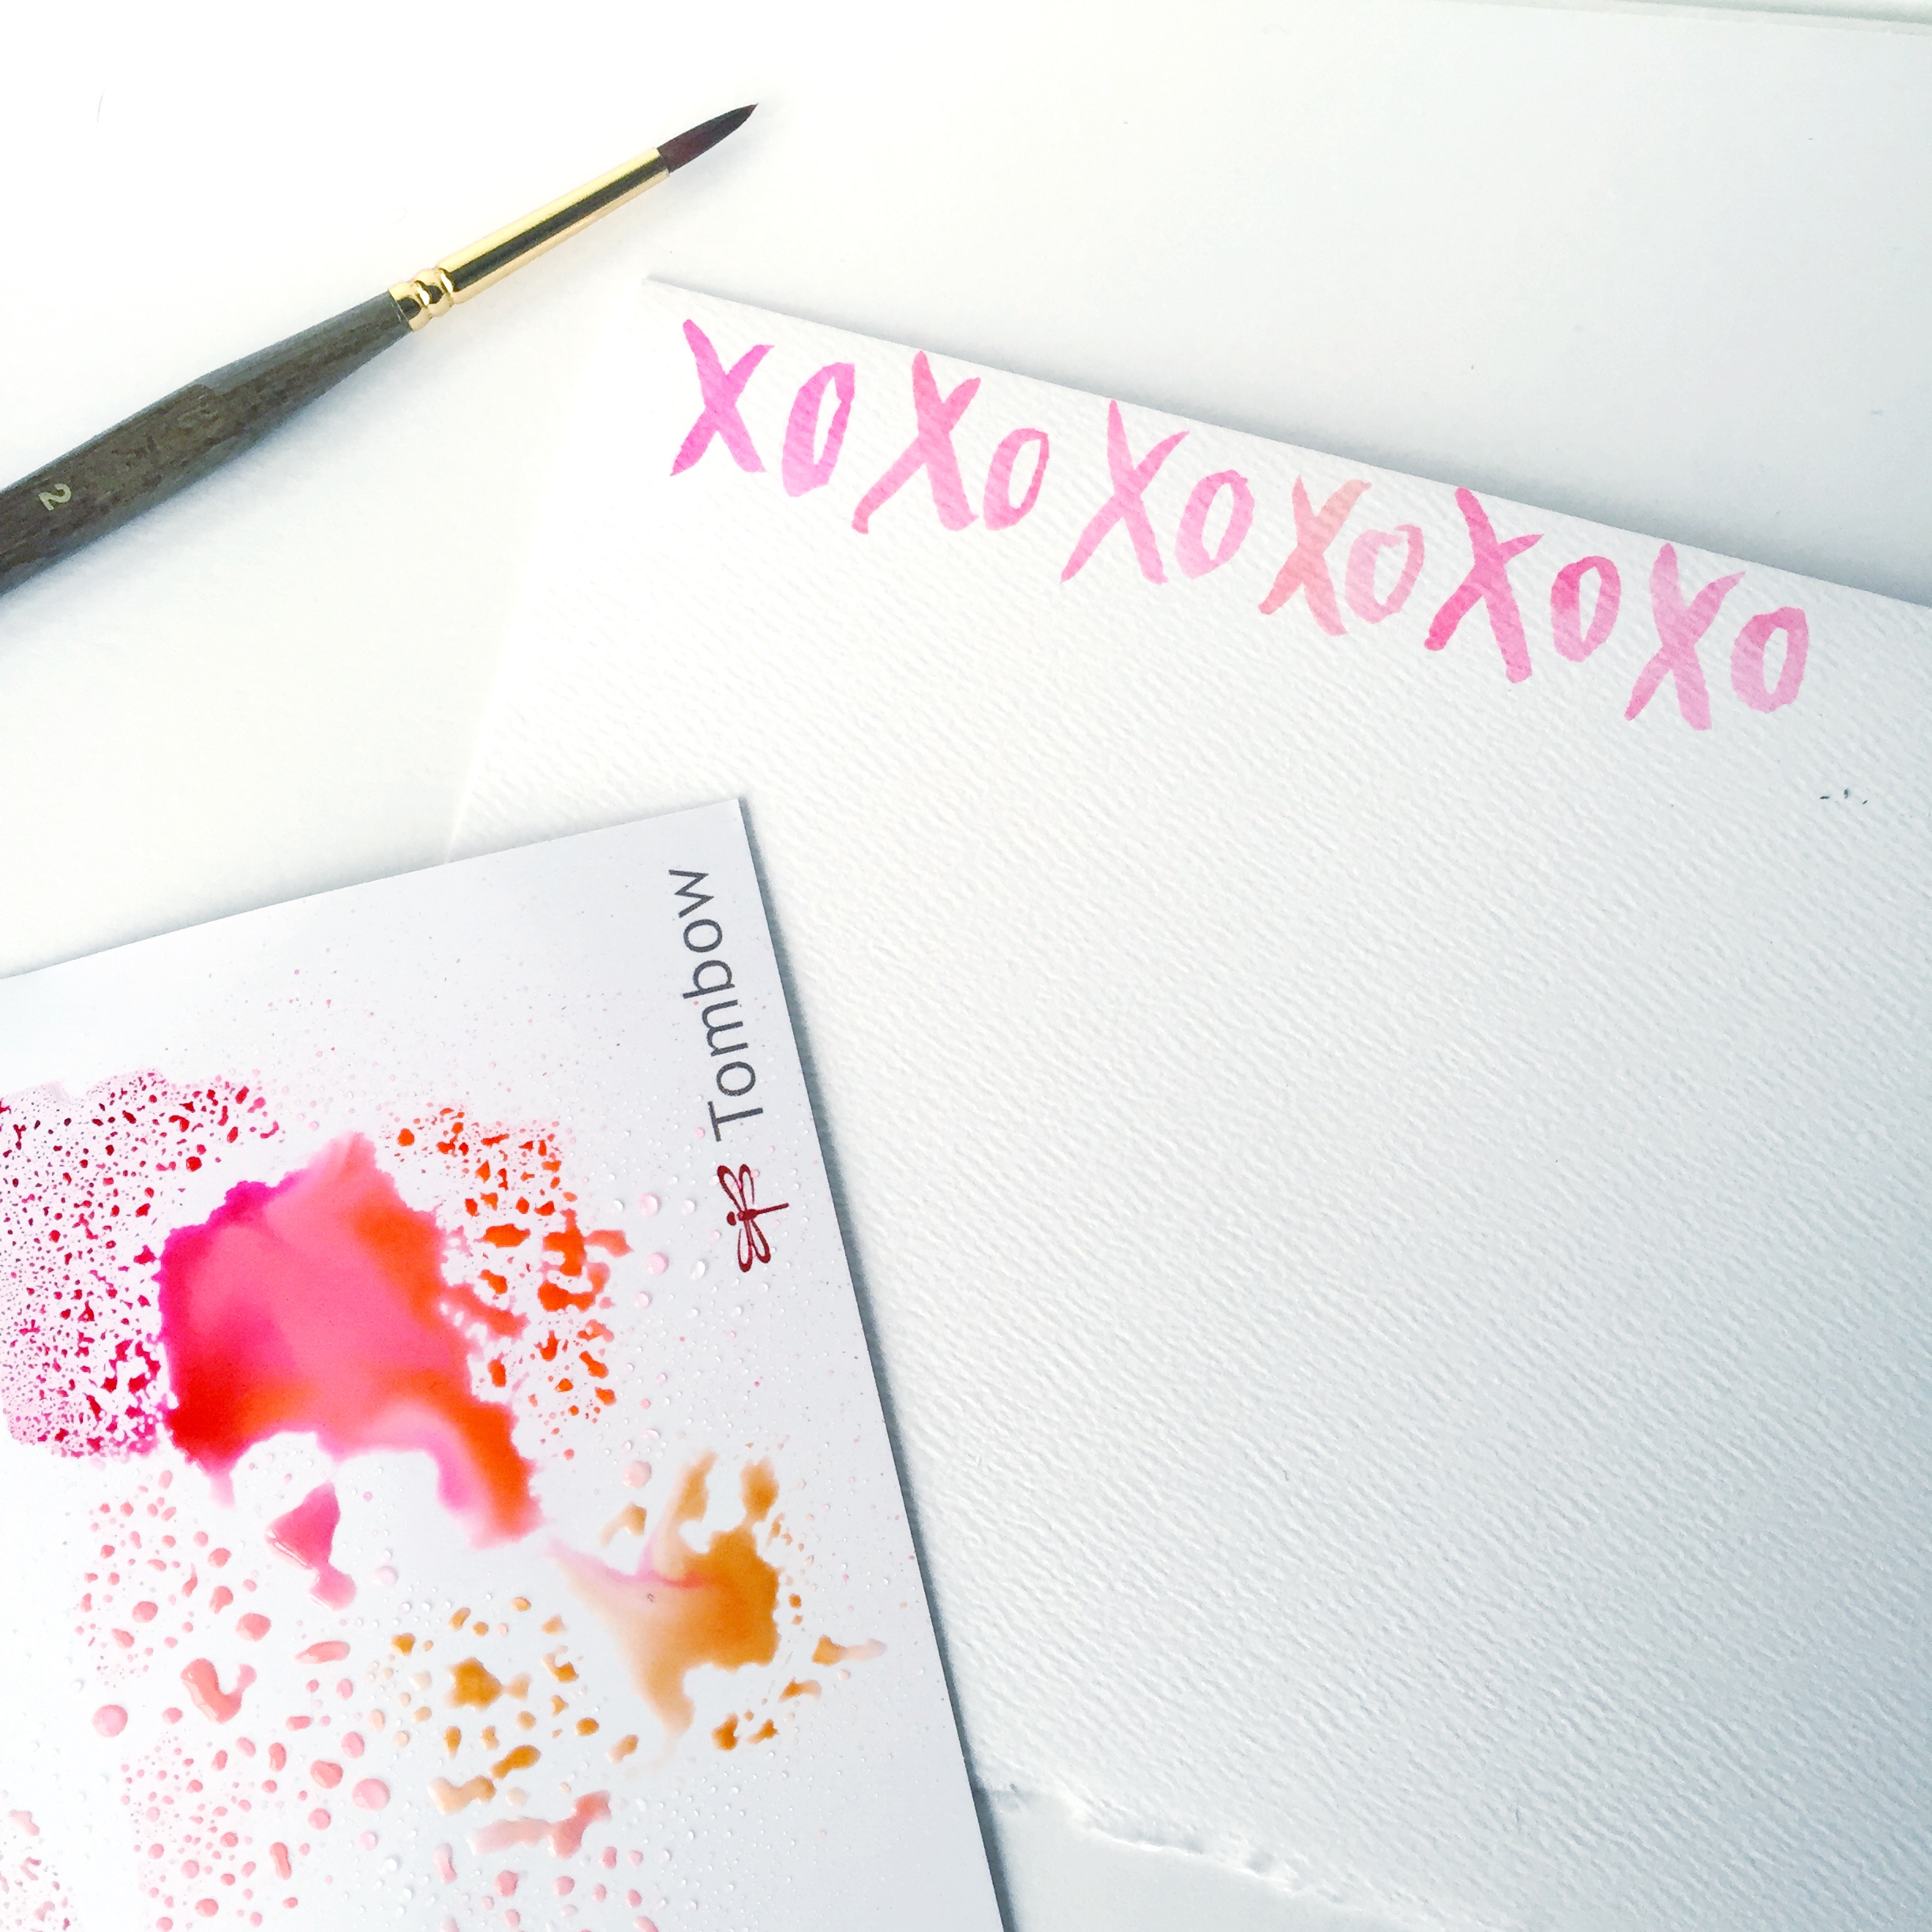
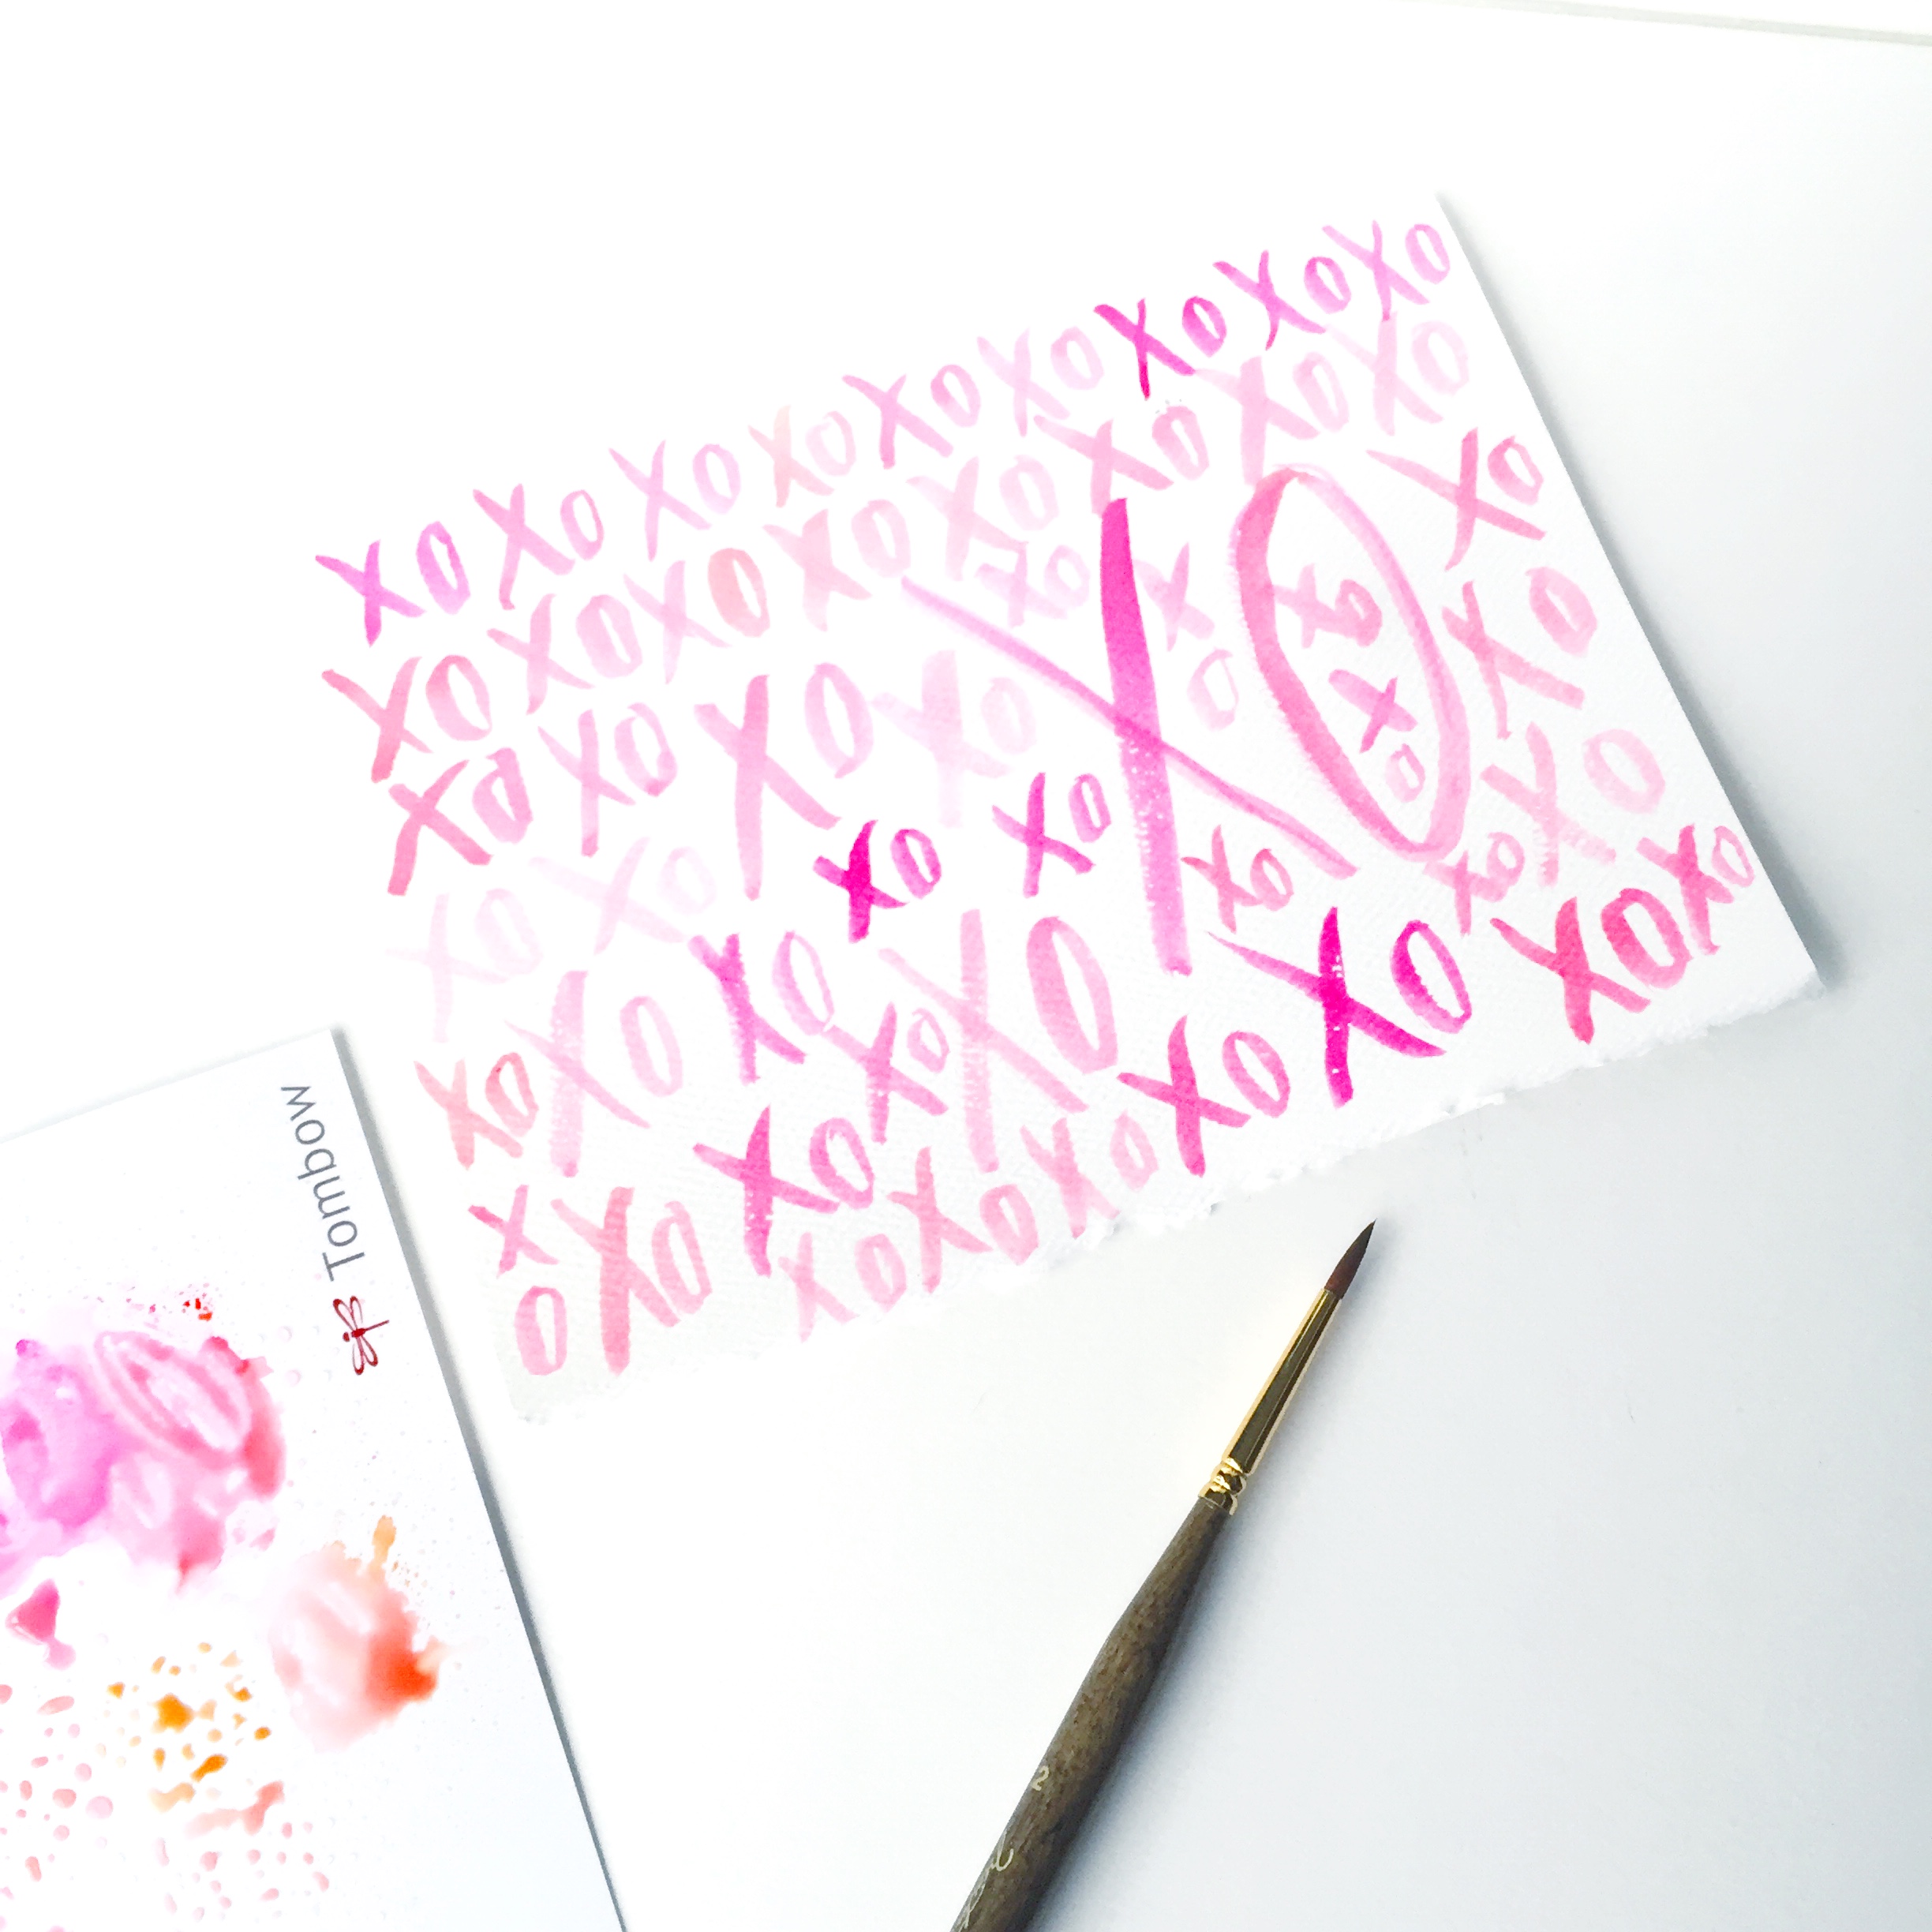
It’s now time to get creative. Think of a fun Valentine’s pattern, word, or phrase to write all over the front of your cards. I started with XOXO and wrote it all over the front of the card in different sizes. Dip your watercolor brush into one color and start writing then dip it again into another color. Continue doing this throughout the project for a fun blended effect.
Add a small message inside. Dip your watercolor brush into color on the blending palette and brush letter a sweet Valentine’s sentiment.
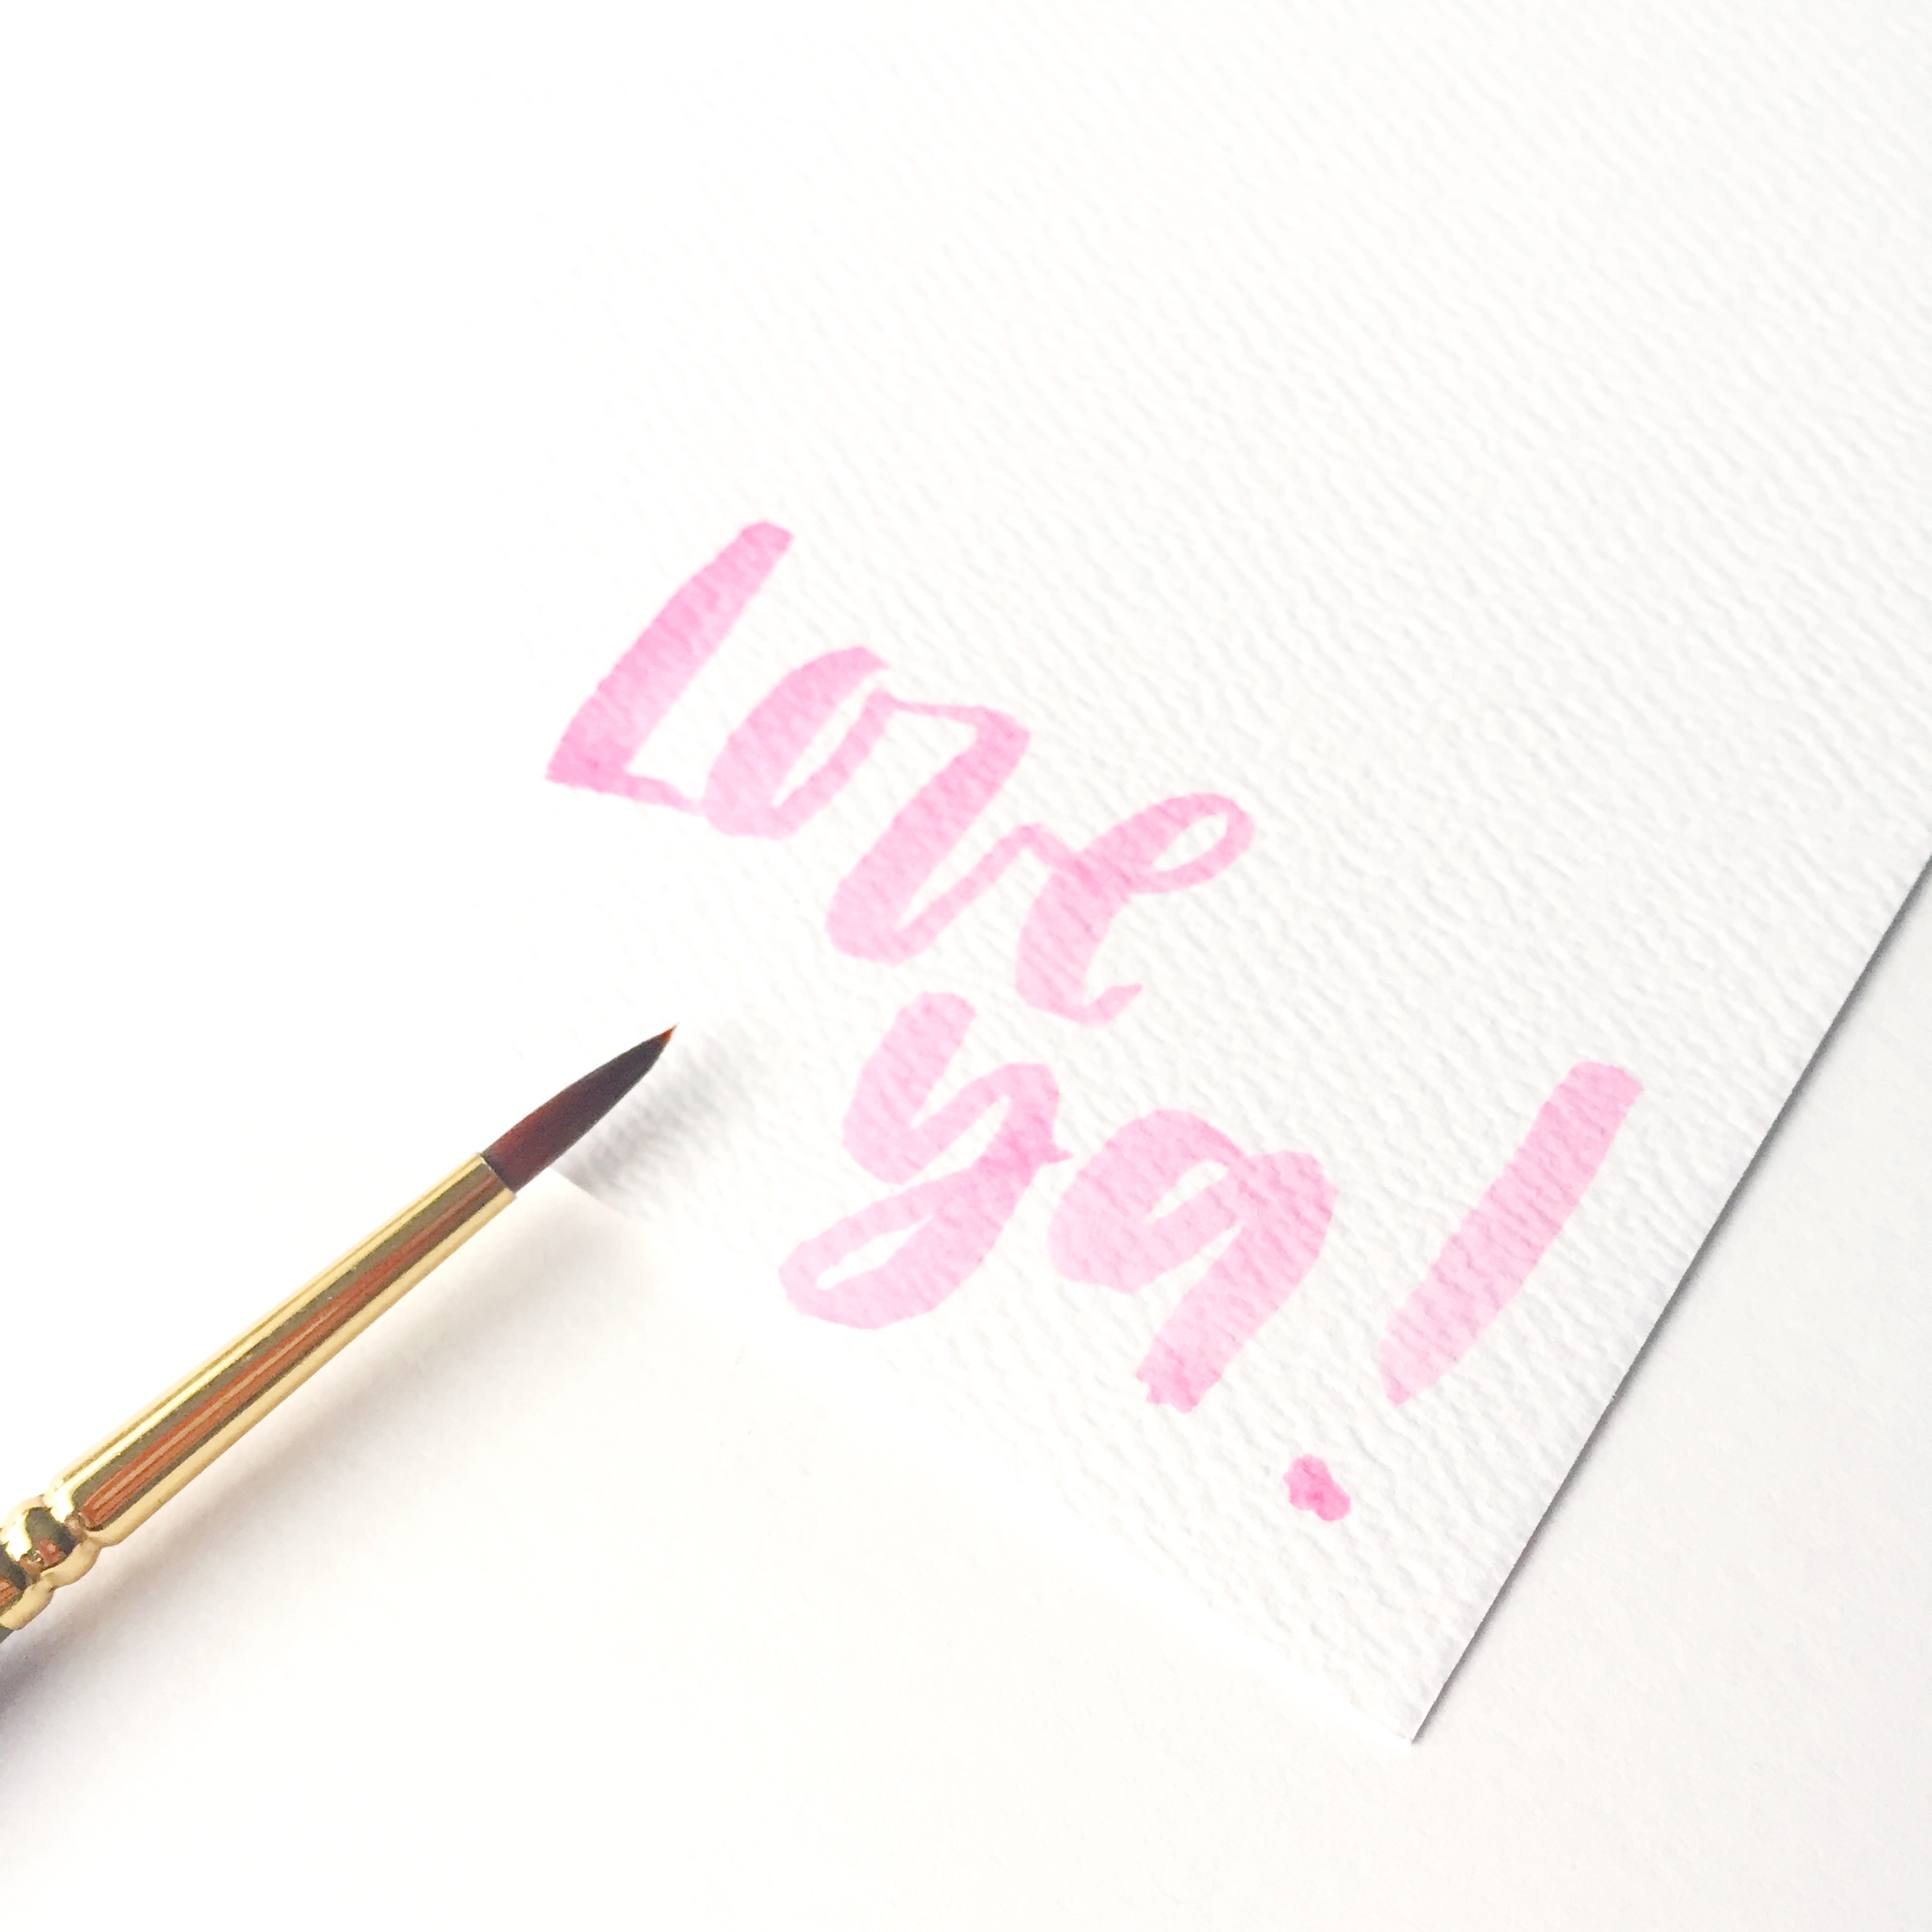
There are a variety of patterns and ideas that you can incorporate into this idea. Be creative and make the cards personal to your sweetie, bestie, or even your mom! Have a bunch of people you want to send a sweet card? Make each unique by adding a different design.
PERSONALIZE THE ENVELOPE
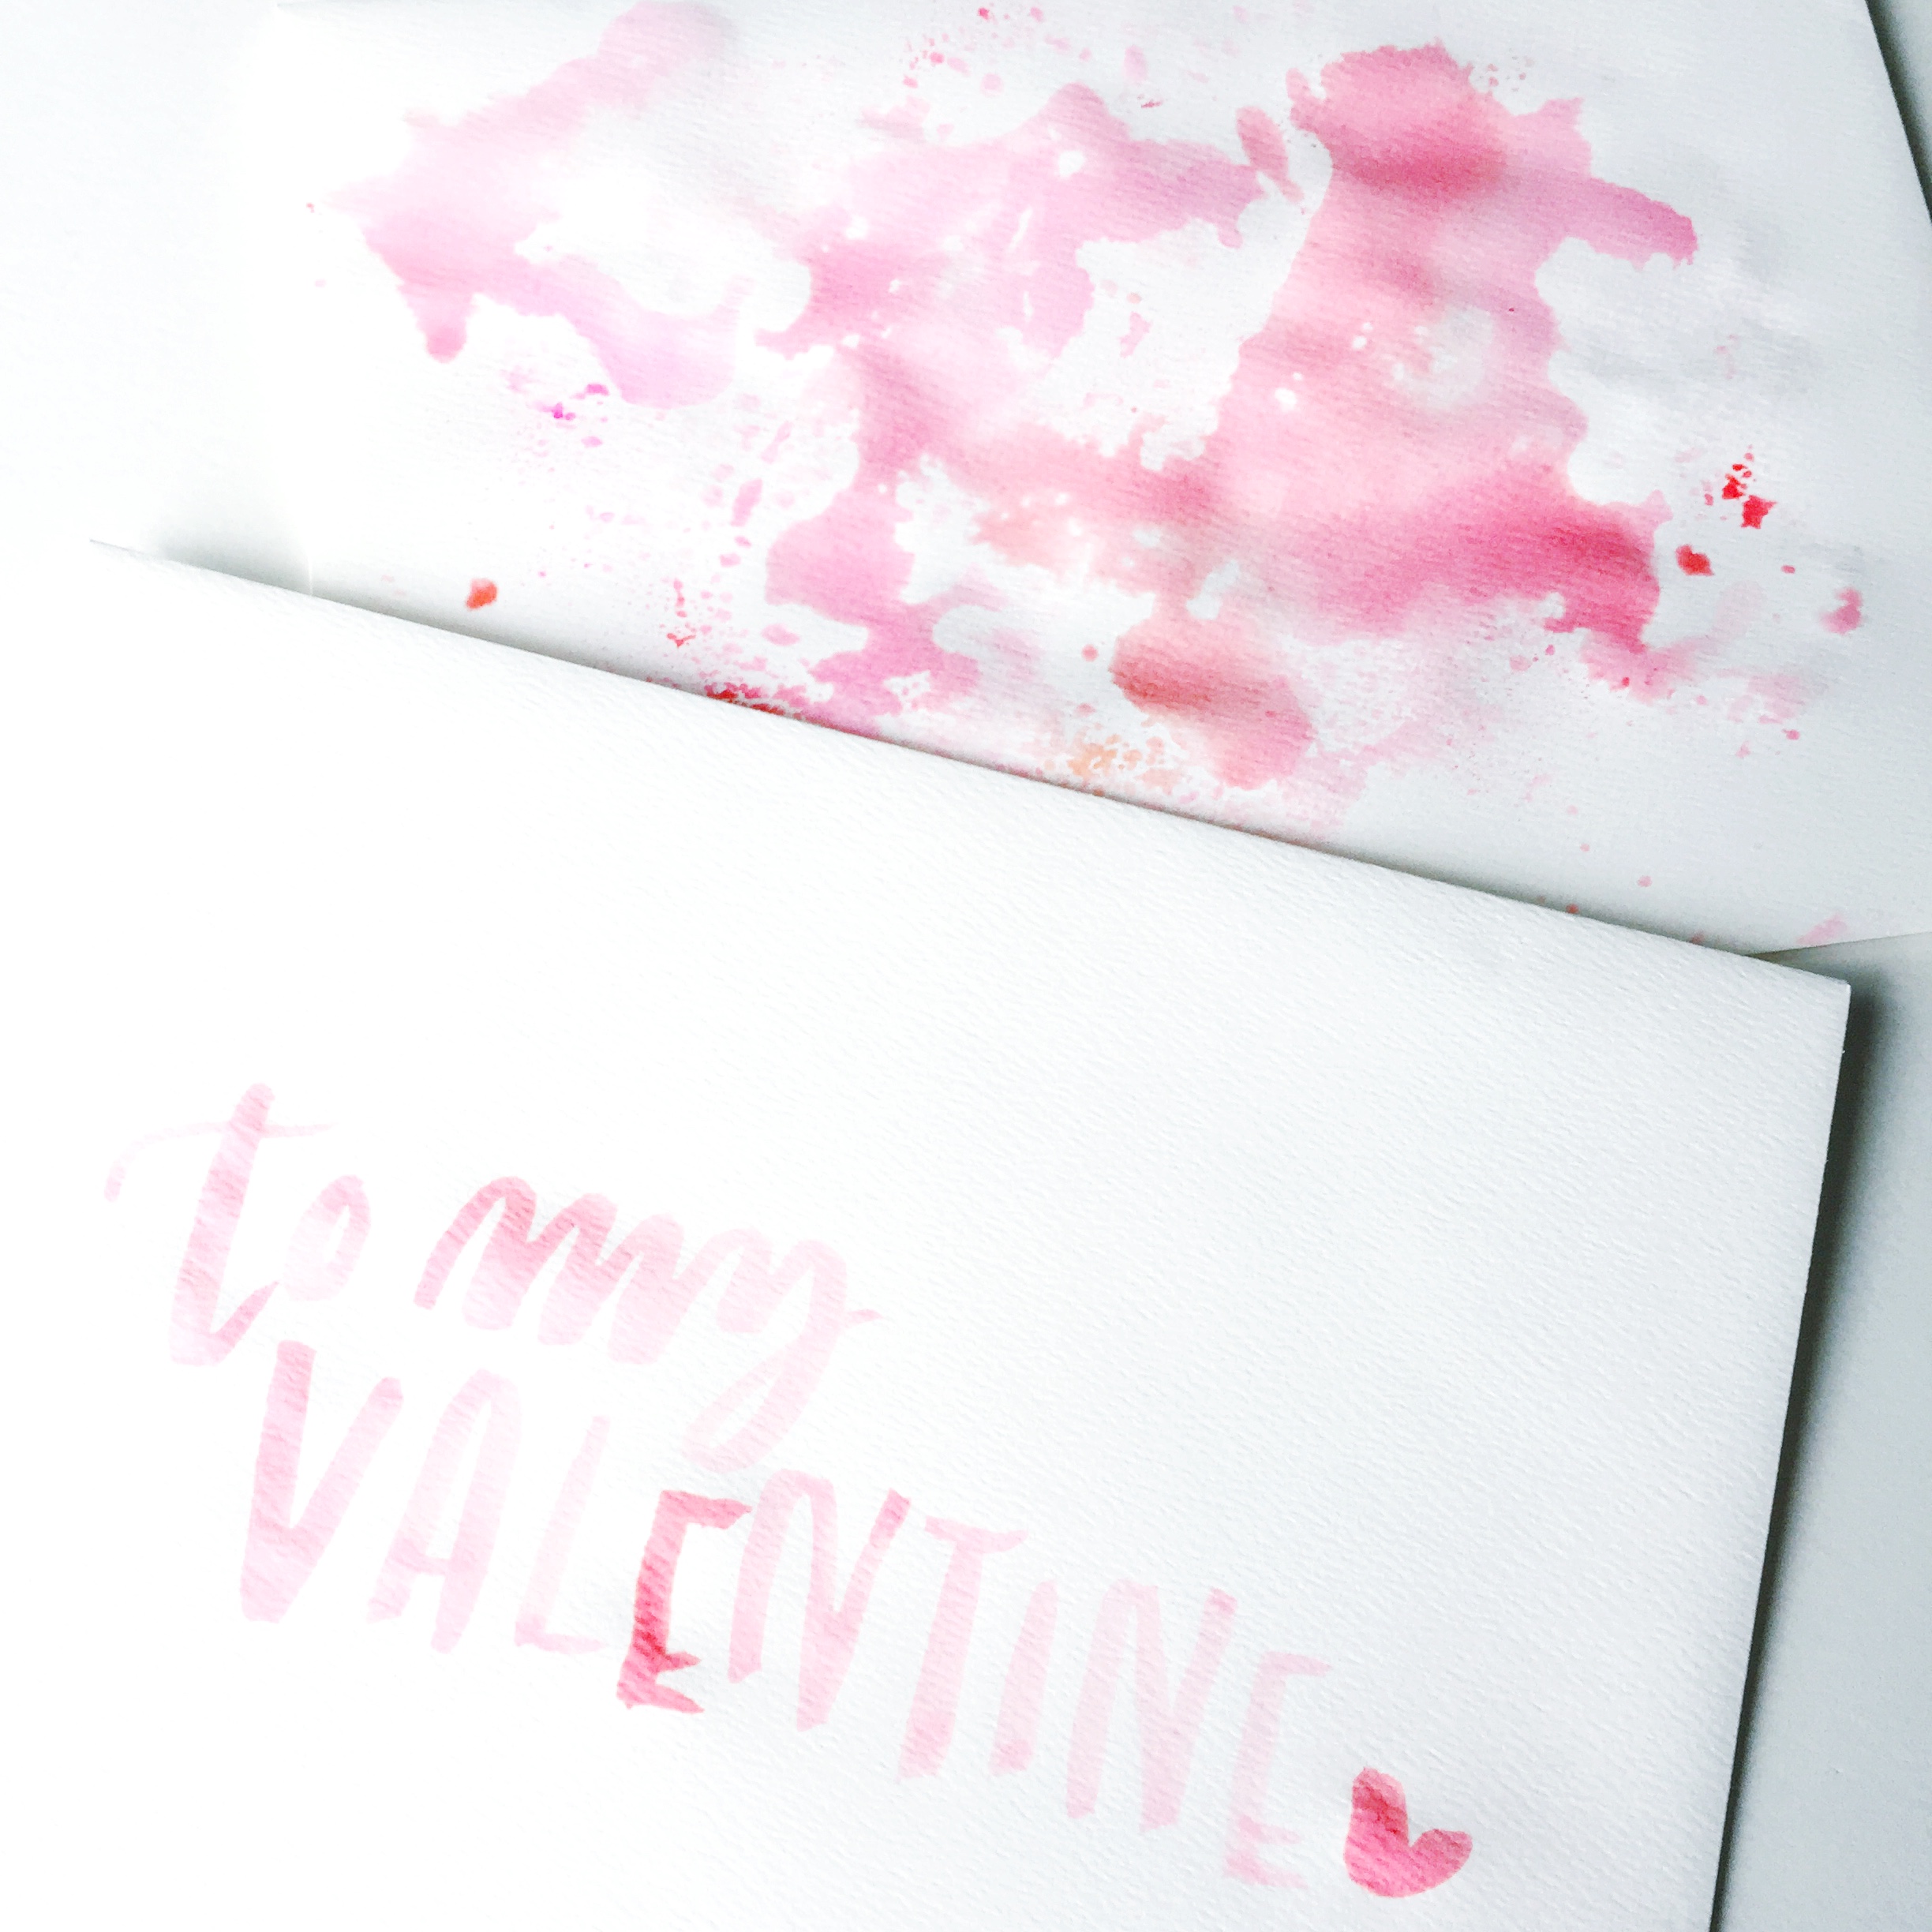
Dip your watercolor brush back into the color on the blending palette, and the letter who the card is to on the envelope. You can brush letter an address or keep it simple and say something like, “to my Valentine.” Another easy and fun technique that looks great layered with lettering is laying your blending palette on top of the envelope while it’s still wet with puddles of color. Then, lift it and lay it back down to create a fun pink and red splatter look. You could also add a pattern to the envelope to match the card that you make. Whatever you do, make the envelope and card fun to open and look at!
SEND IT TO SOMEONE YOU LOVE
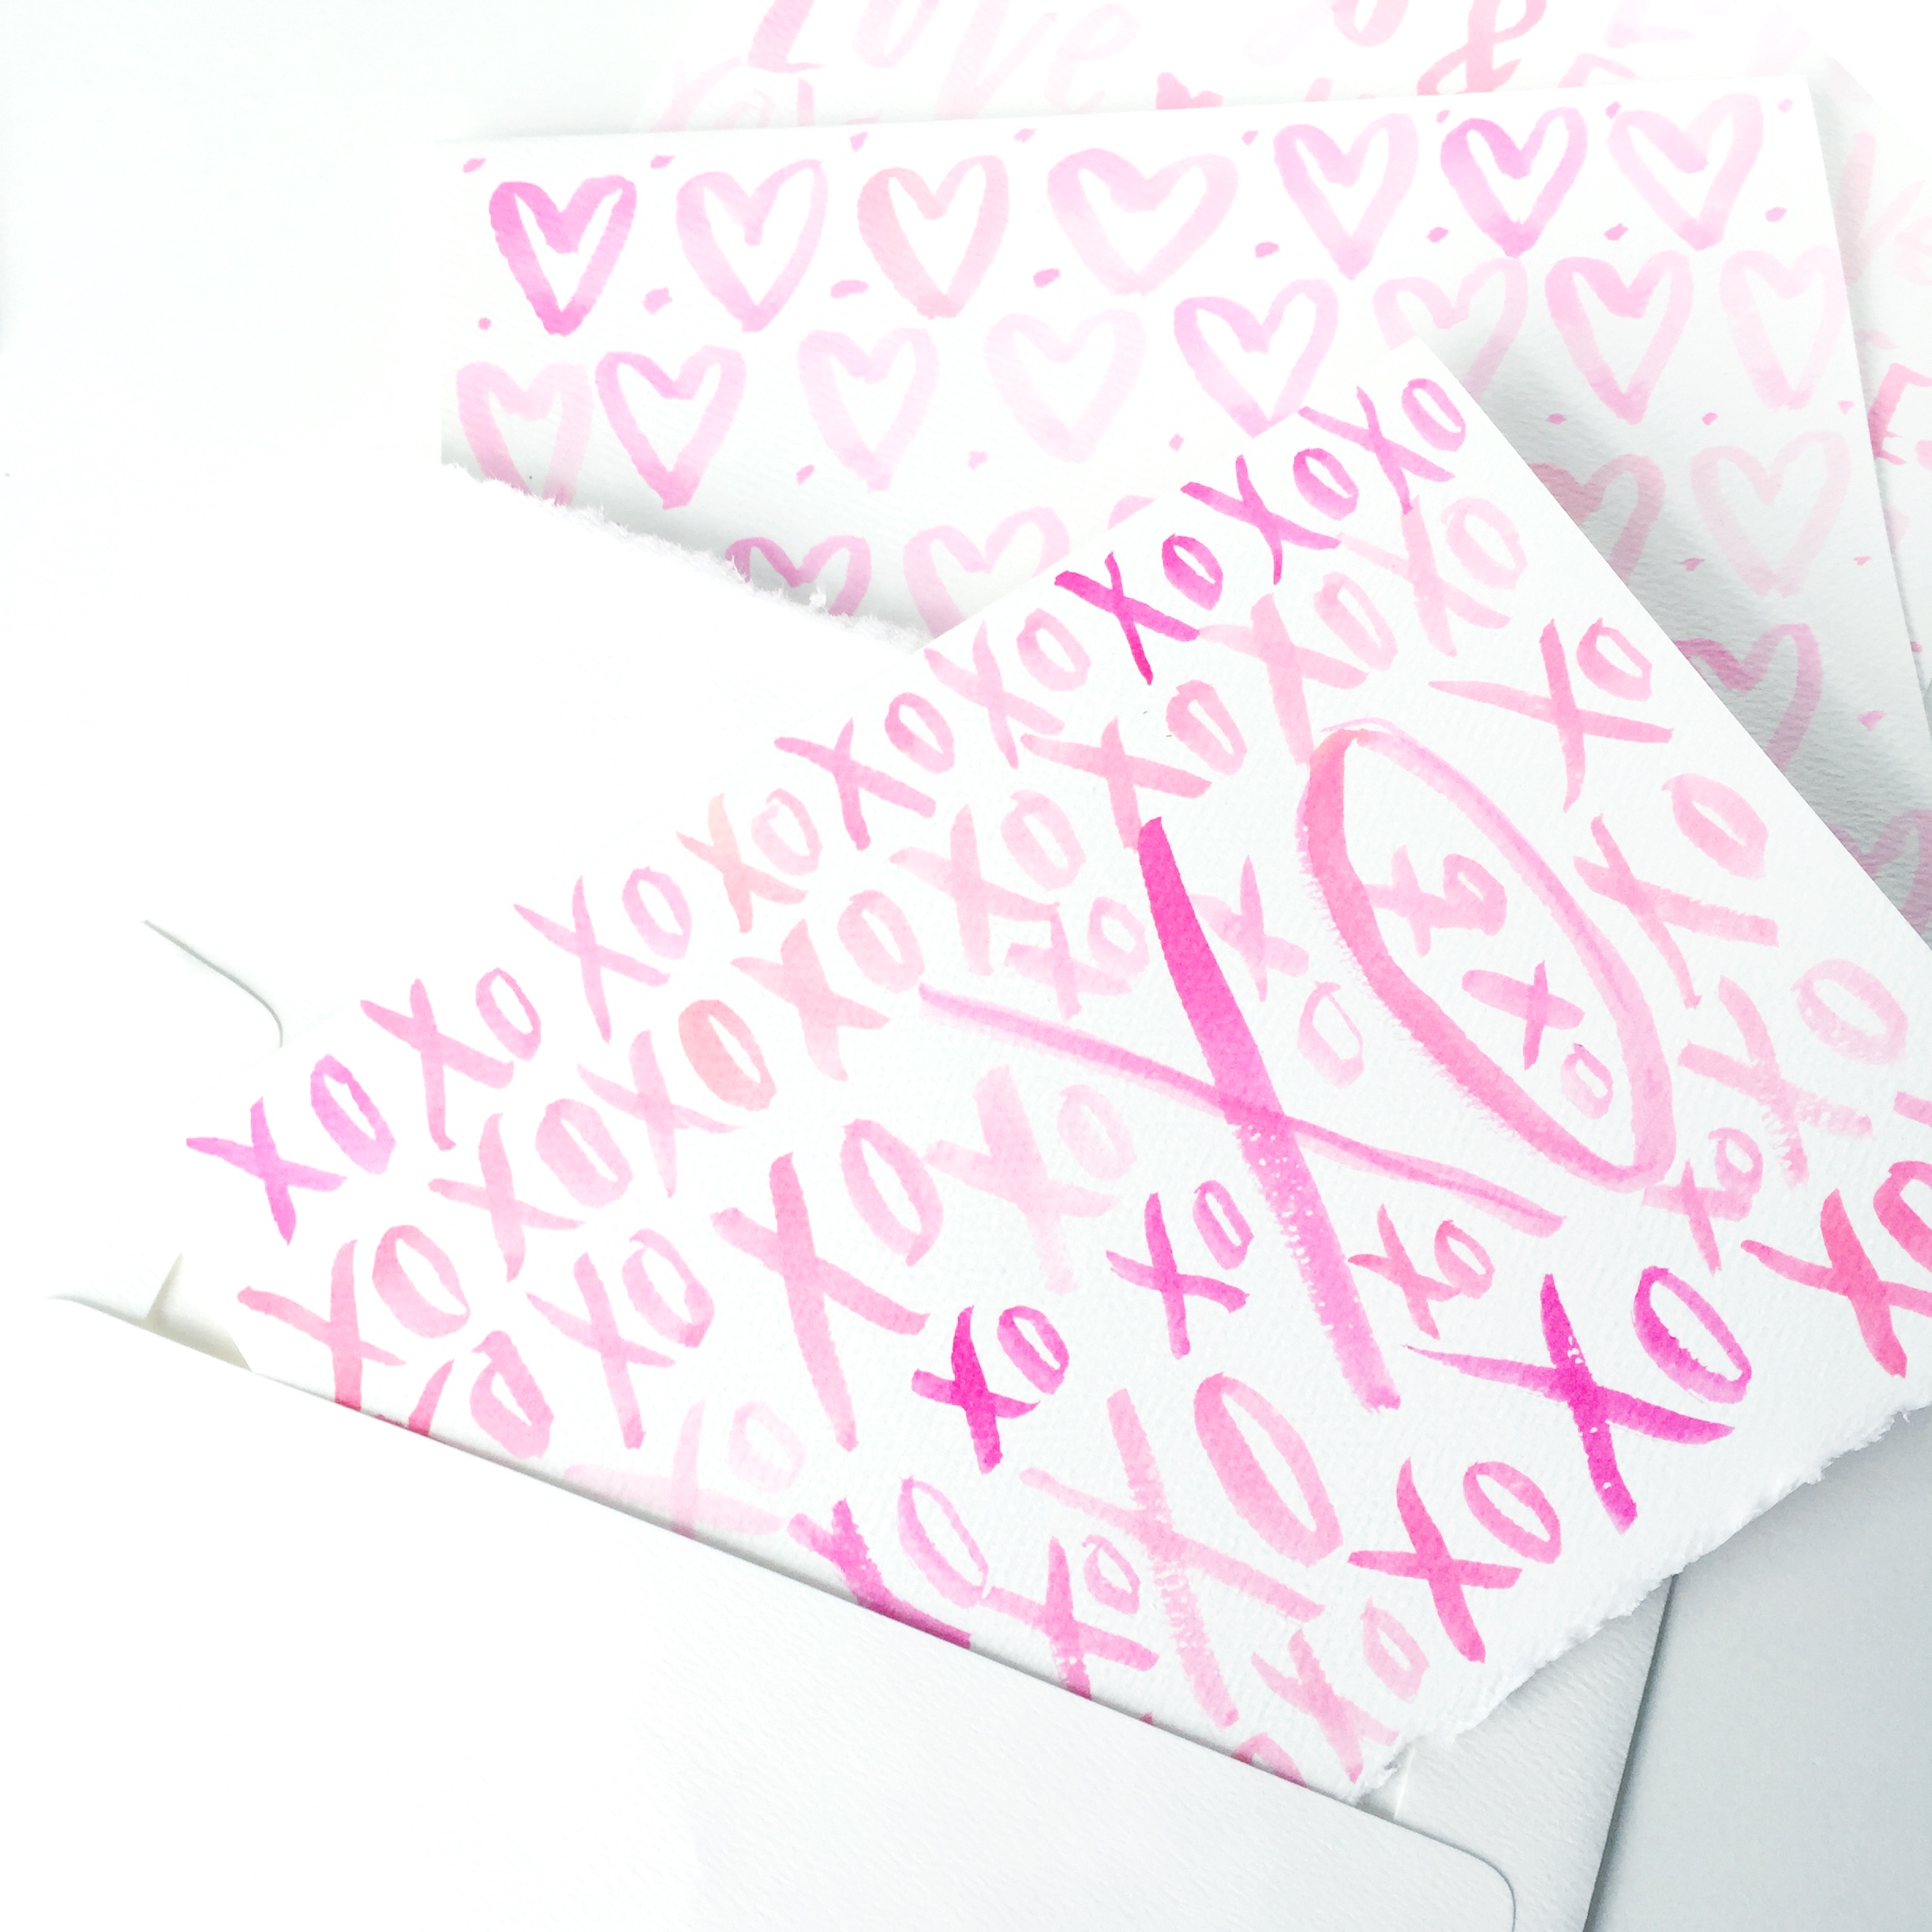
There you have it: a simple and fun spin on valentines! Now they are ready to mail or give to someone who is special to you! I hope you enjoyed this tutorial! Make sure to share your creations on IG with #tombowusa or #handwrittenwithtombow and tag me so I can see what you come up with! For products you see here, got to www.tombowusa.com. Want more lettering tips, tricks, and tutorials? Head over to @renmadecalligraphy on instagram or visit my blog at www.renmadecalligraphy.com. If you would like more support and to be a part of a fun lettering community of over 3,000 letterers, you should join The Letter Lovelies Community that myself and my calligrabestie @brittanyluiz created together! Here’s hoping your Valentine’s Day is super sweet!!!!
HAPPY LETTERING!
Lauren
Pingback: DIY S'more Kit for Valentine's Day - Tombow USA Blog
Pingback: How to Make Galentines Tea for Two Envelopes - Tombow USA Blog