Hello! It’s Marie Browning here, Tombow’s Signature Designer. Today I’m going to show you how to use Tombow’s NEW MONO Air Correction Tape to make easy word boxes for your next mixed media or art journaling project.
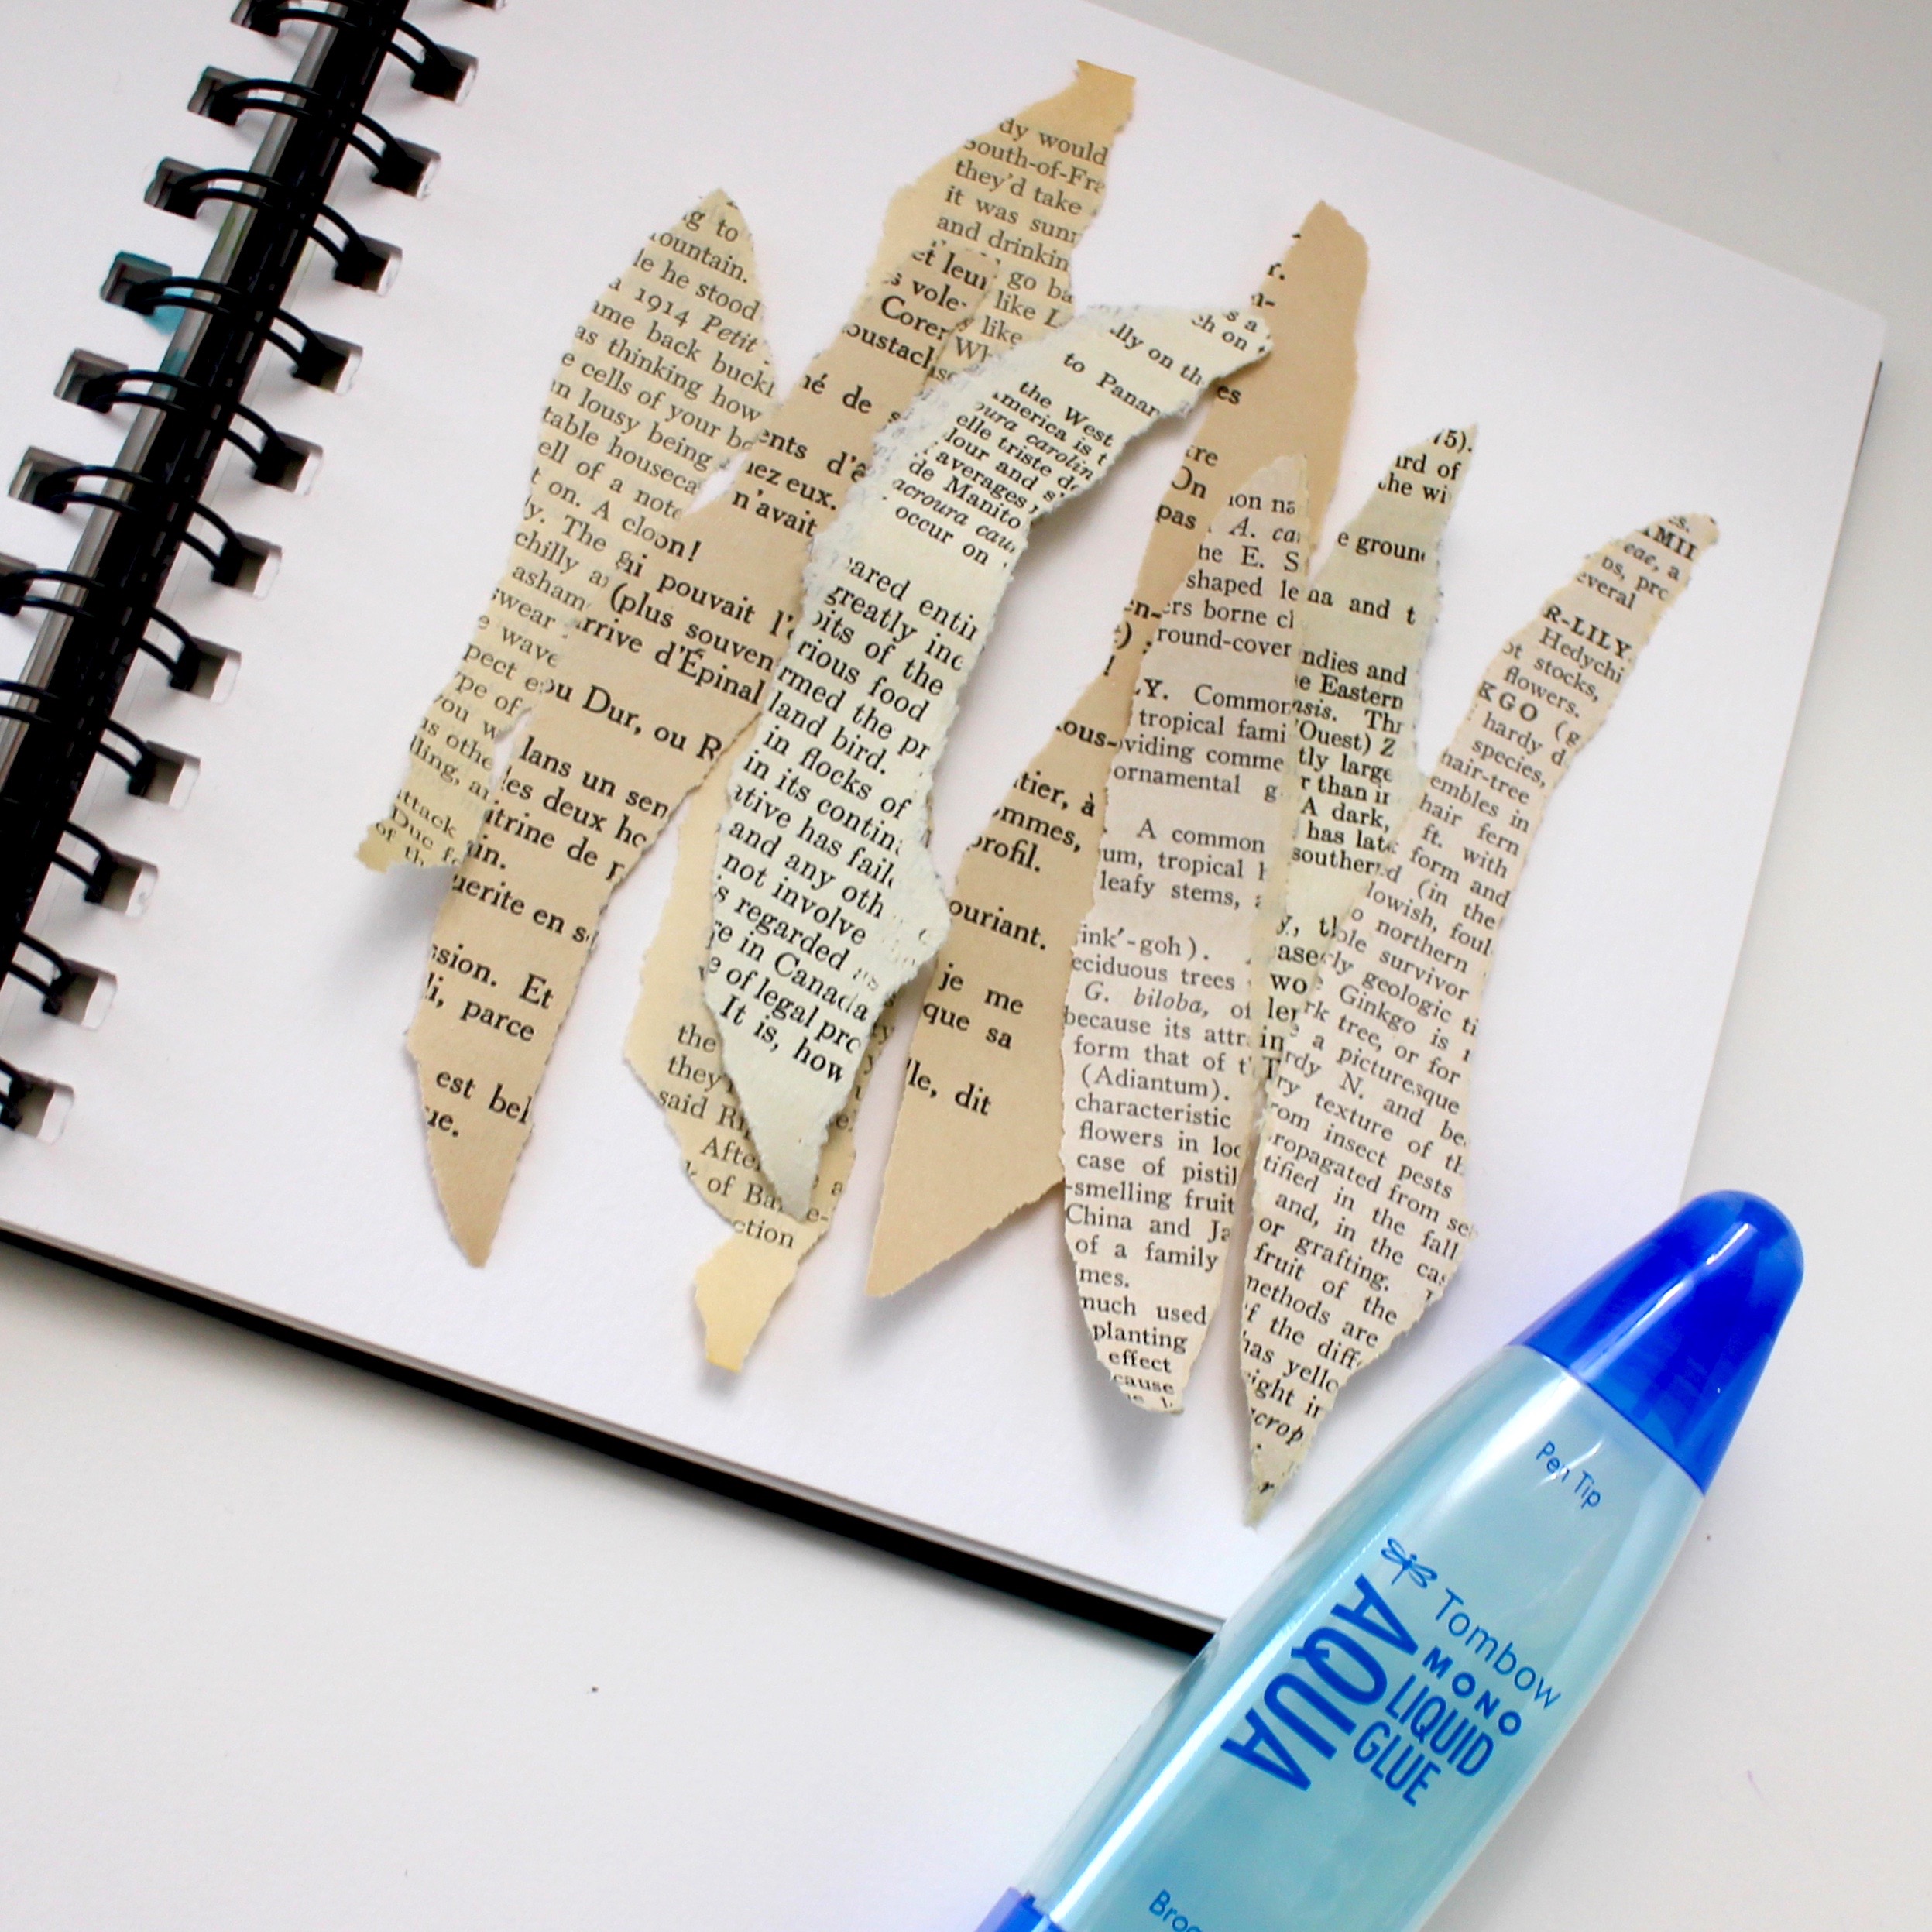
Step 1: Create the background
I created a background with torn book pages and Tombow MONO Aqua Liquid Glue. Use the broad applicator brush and apply glue to the journal page and over top the page pieces. Let it dry completely.
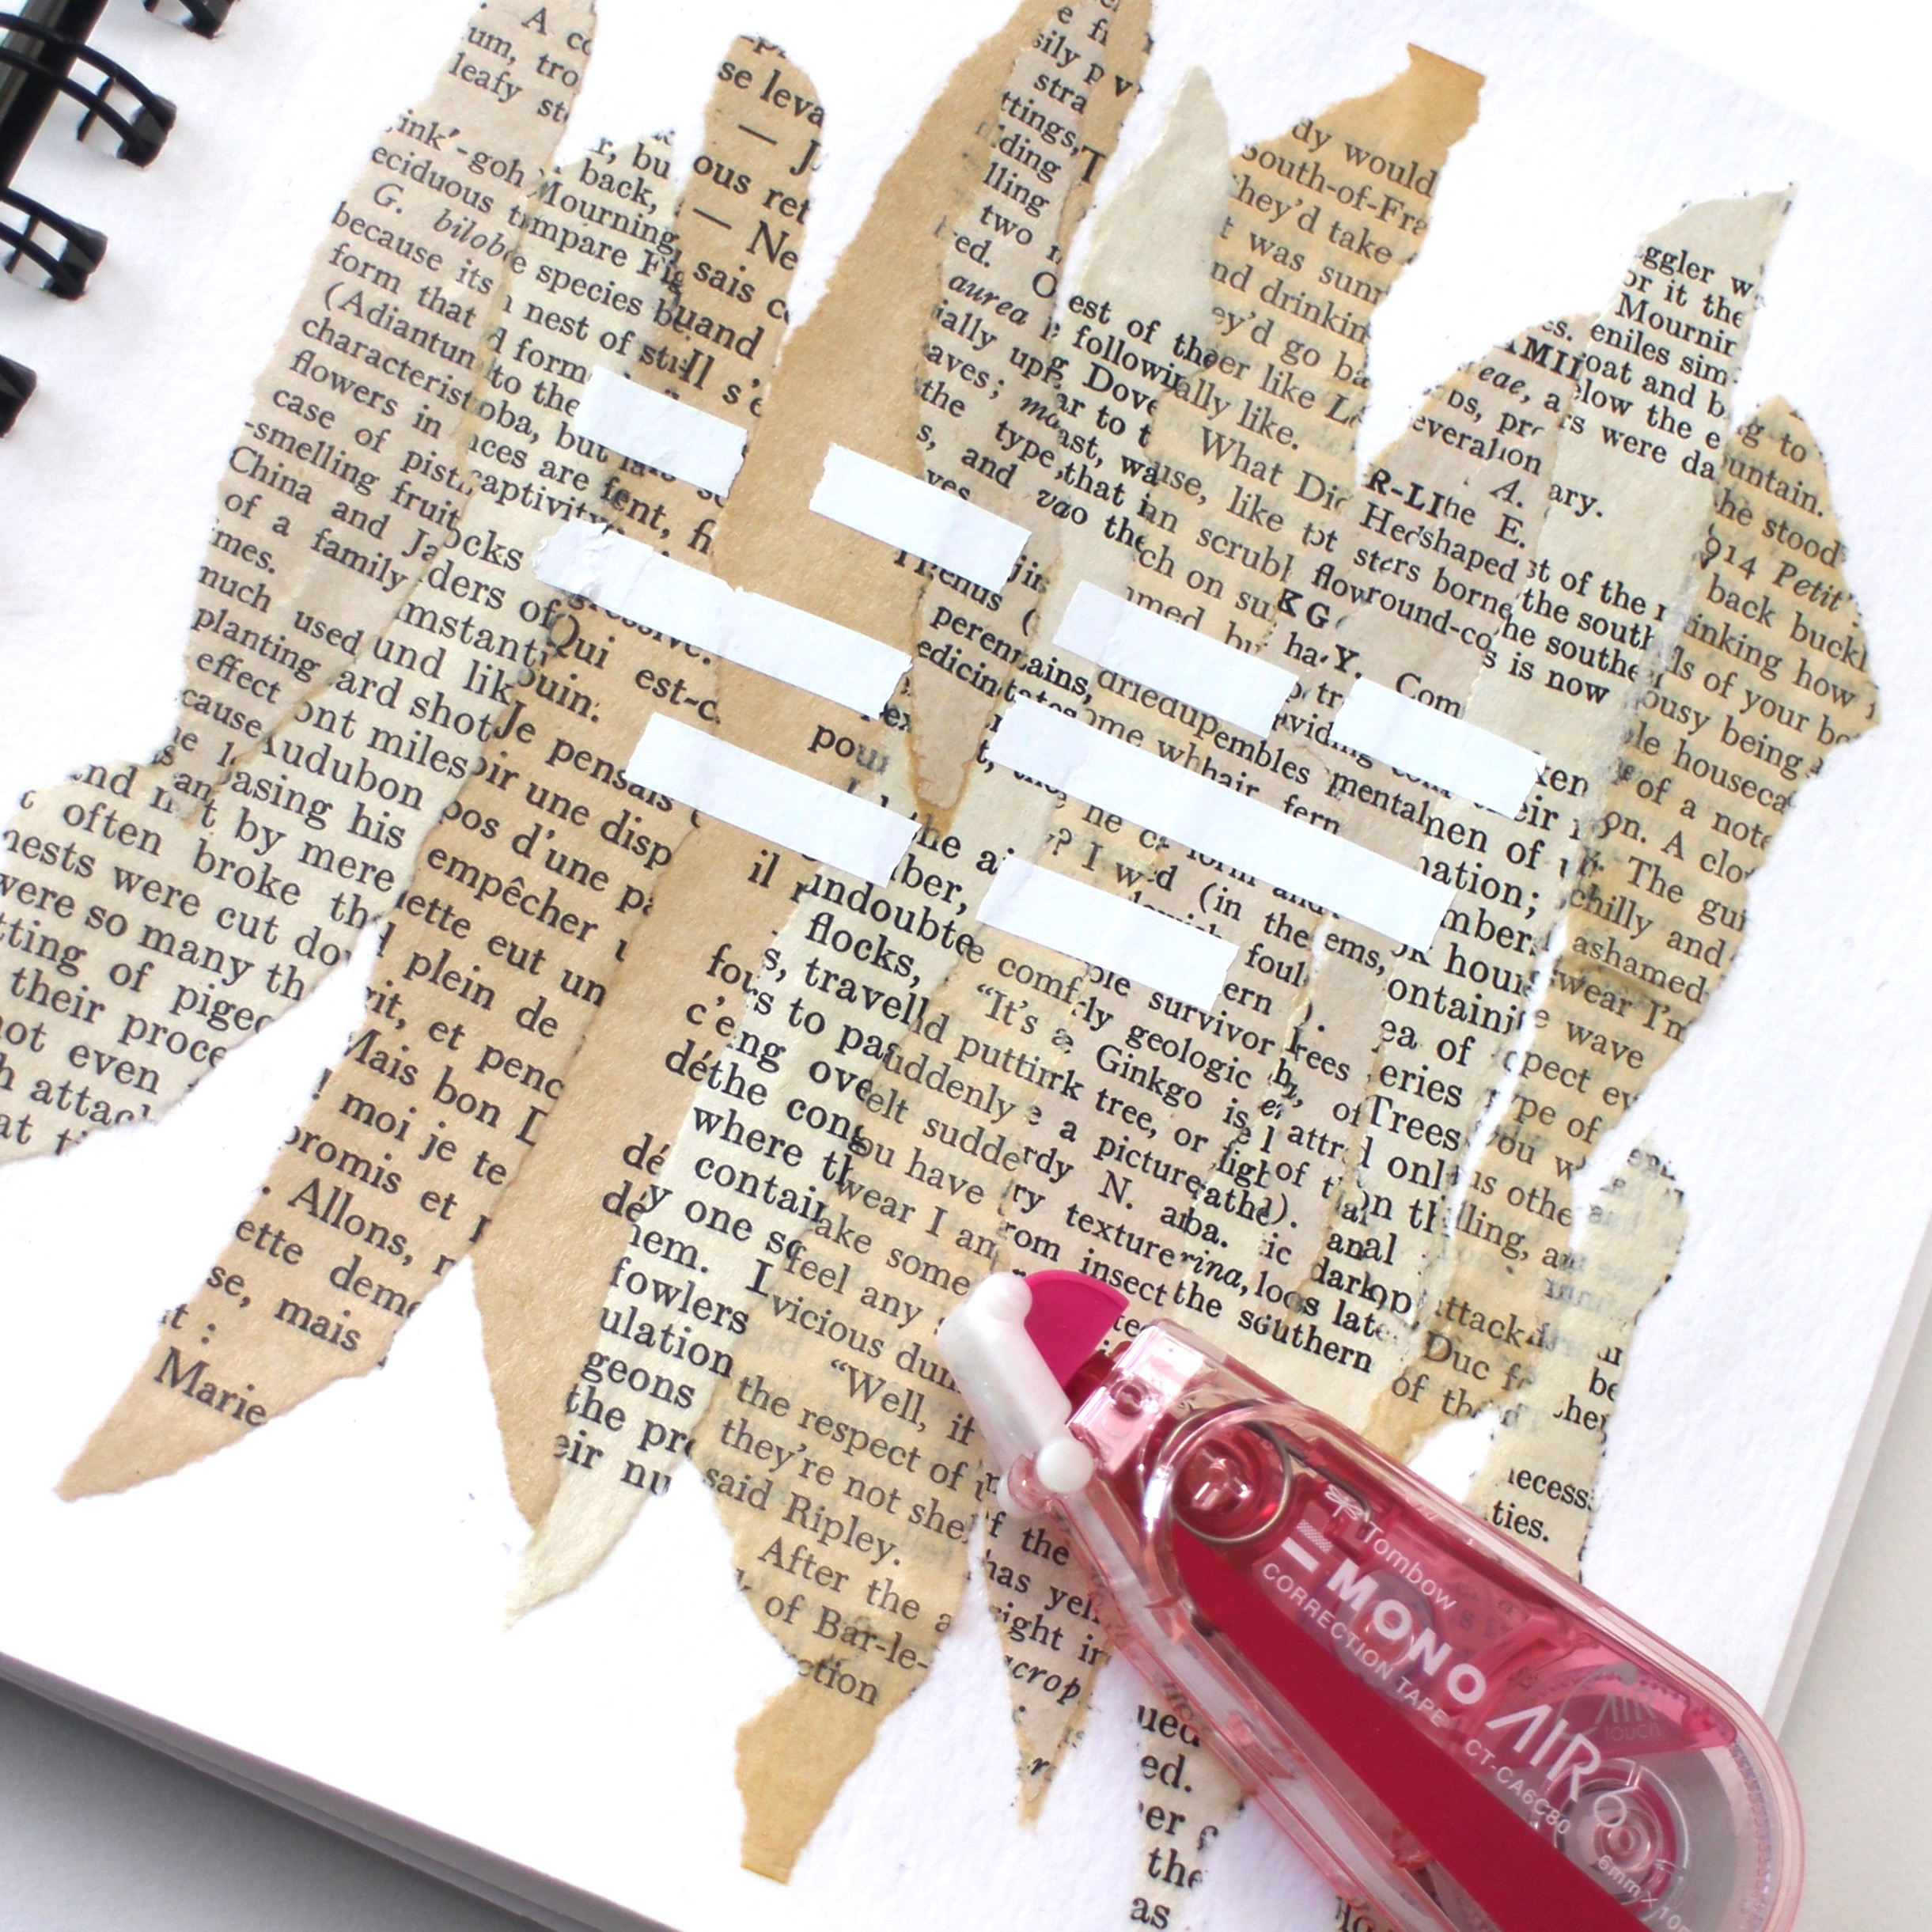
Step 2: Add the word boxes
Decide on your quote or saying and add one box per word using the MONO Air Correction Tape. Size the word boxes to fit the word. Don’t worry if the page is a bit bumpy or uneven, MONO Air goes over uneven or rounded surfaces with ease and a light touch. This is the first correction tape using flexible resistance from beginning to end; which means, it’s easy to use! I like that there is no drying time and it provides a smooth, skip-free application. It’s also ultra compact, so I can throw it in my pencil pouch and take with me!
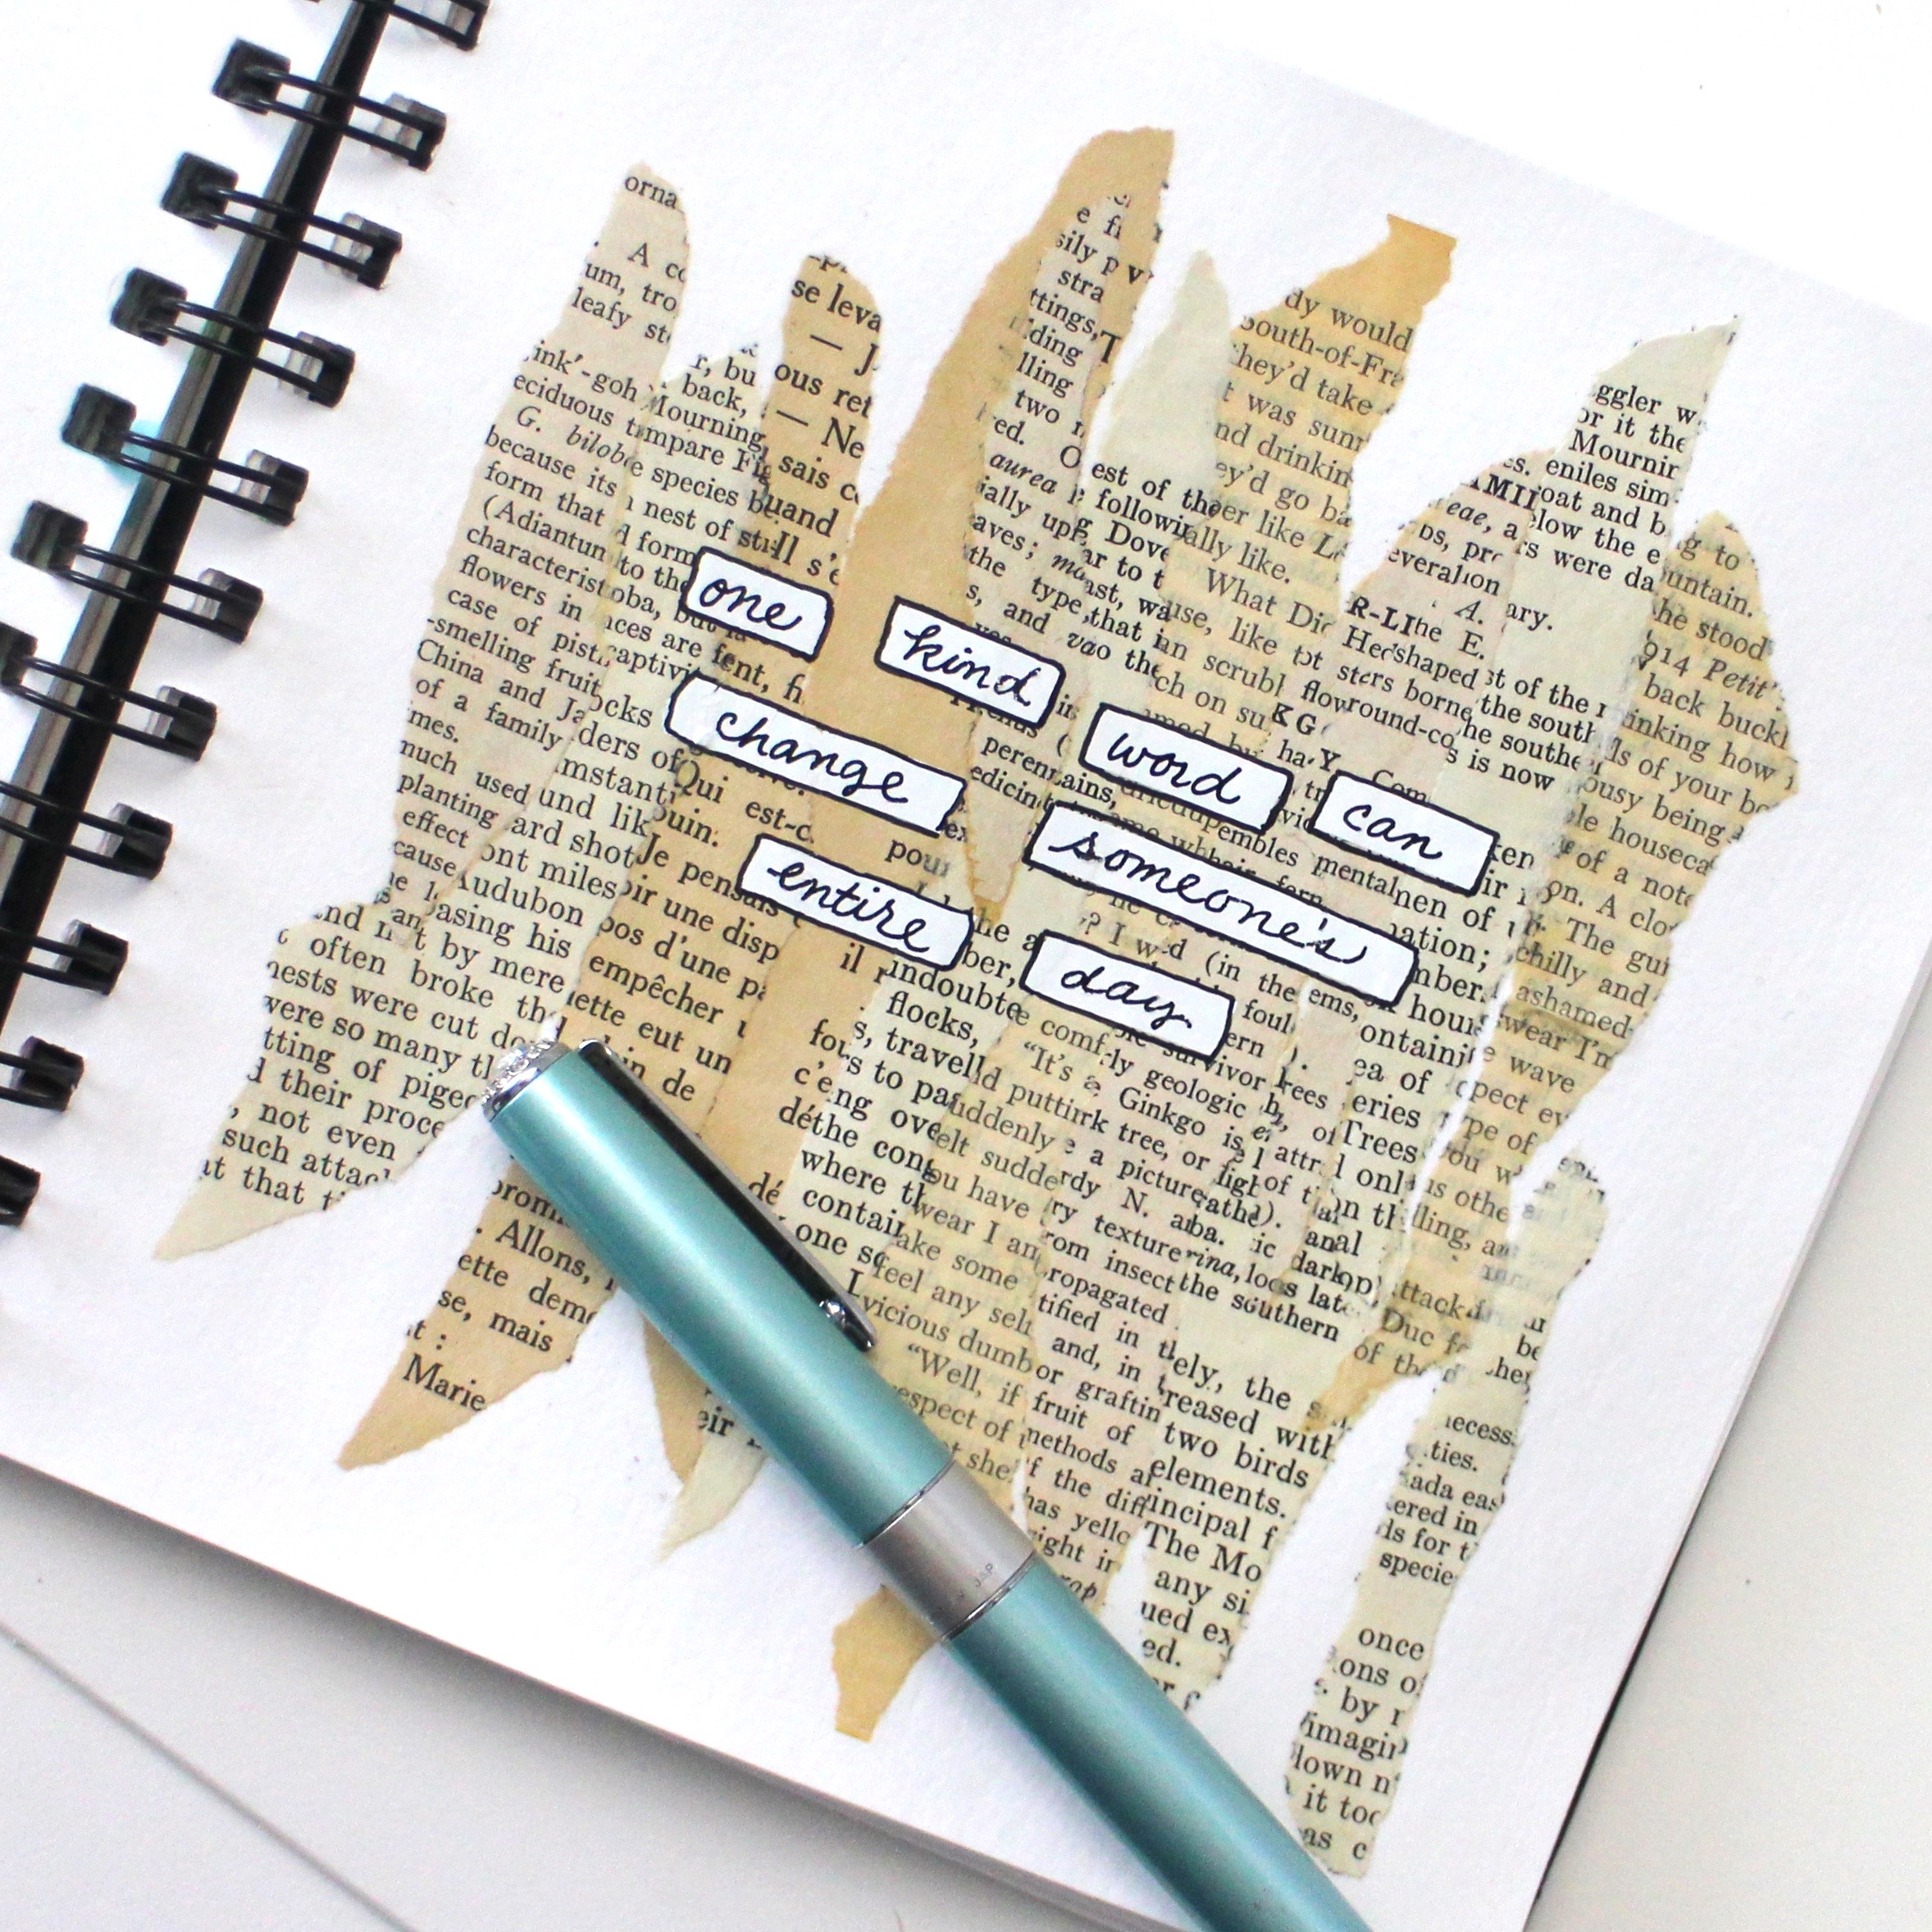
Step 3: Fill in the boxes
Add your words to the correction tape boxes with a black inked pen. I used my beautiful Zoom 505 SW Rollerball Pen. I also outlined the boxes so they popped off the page. Any black pen will do!
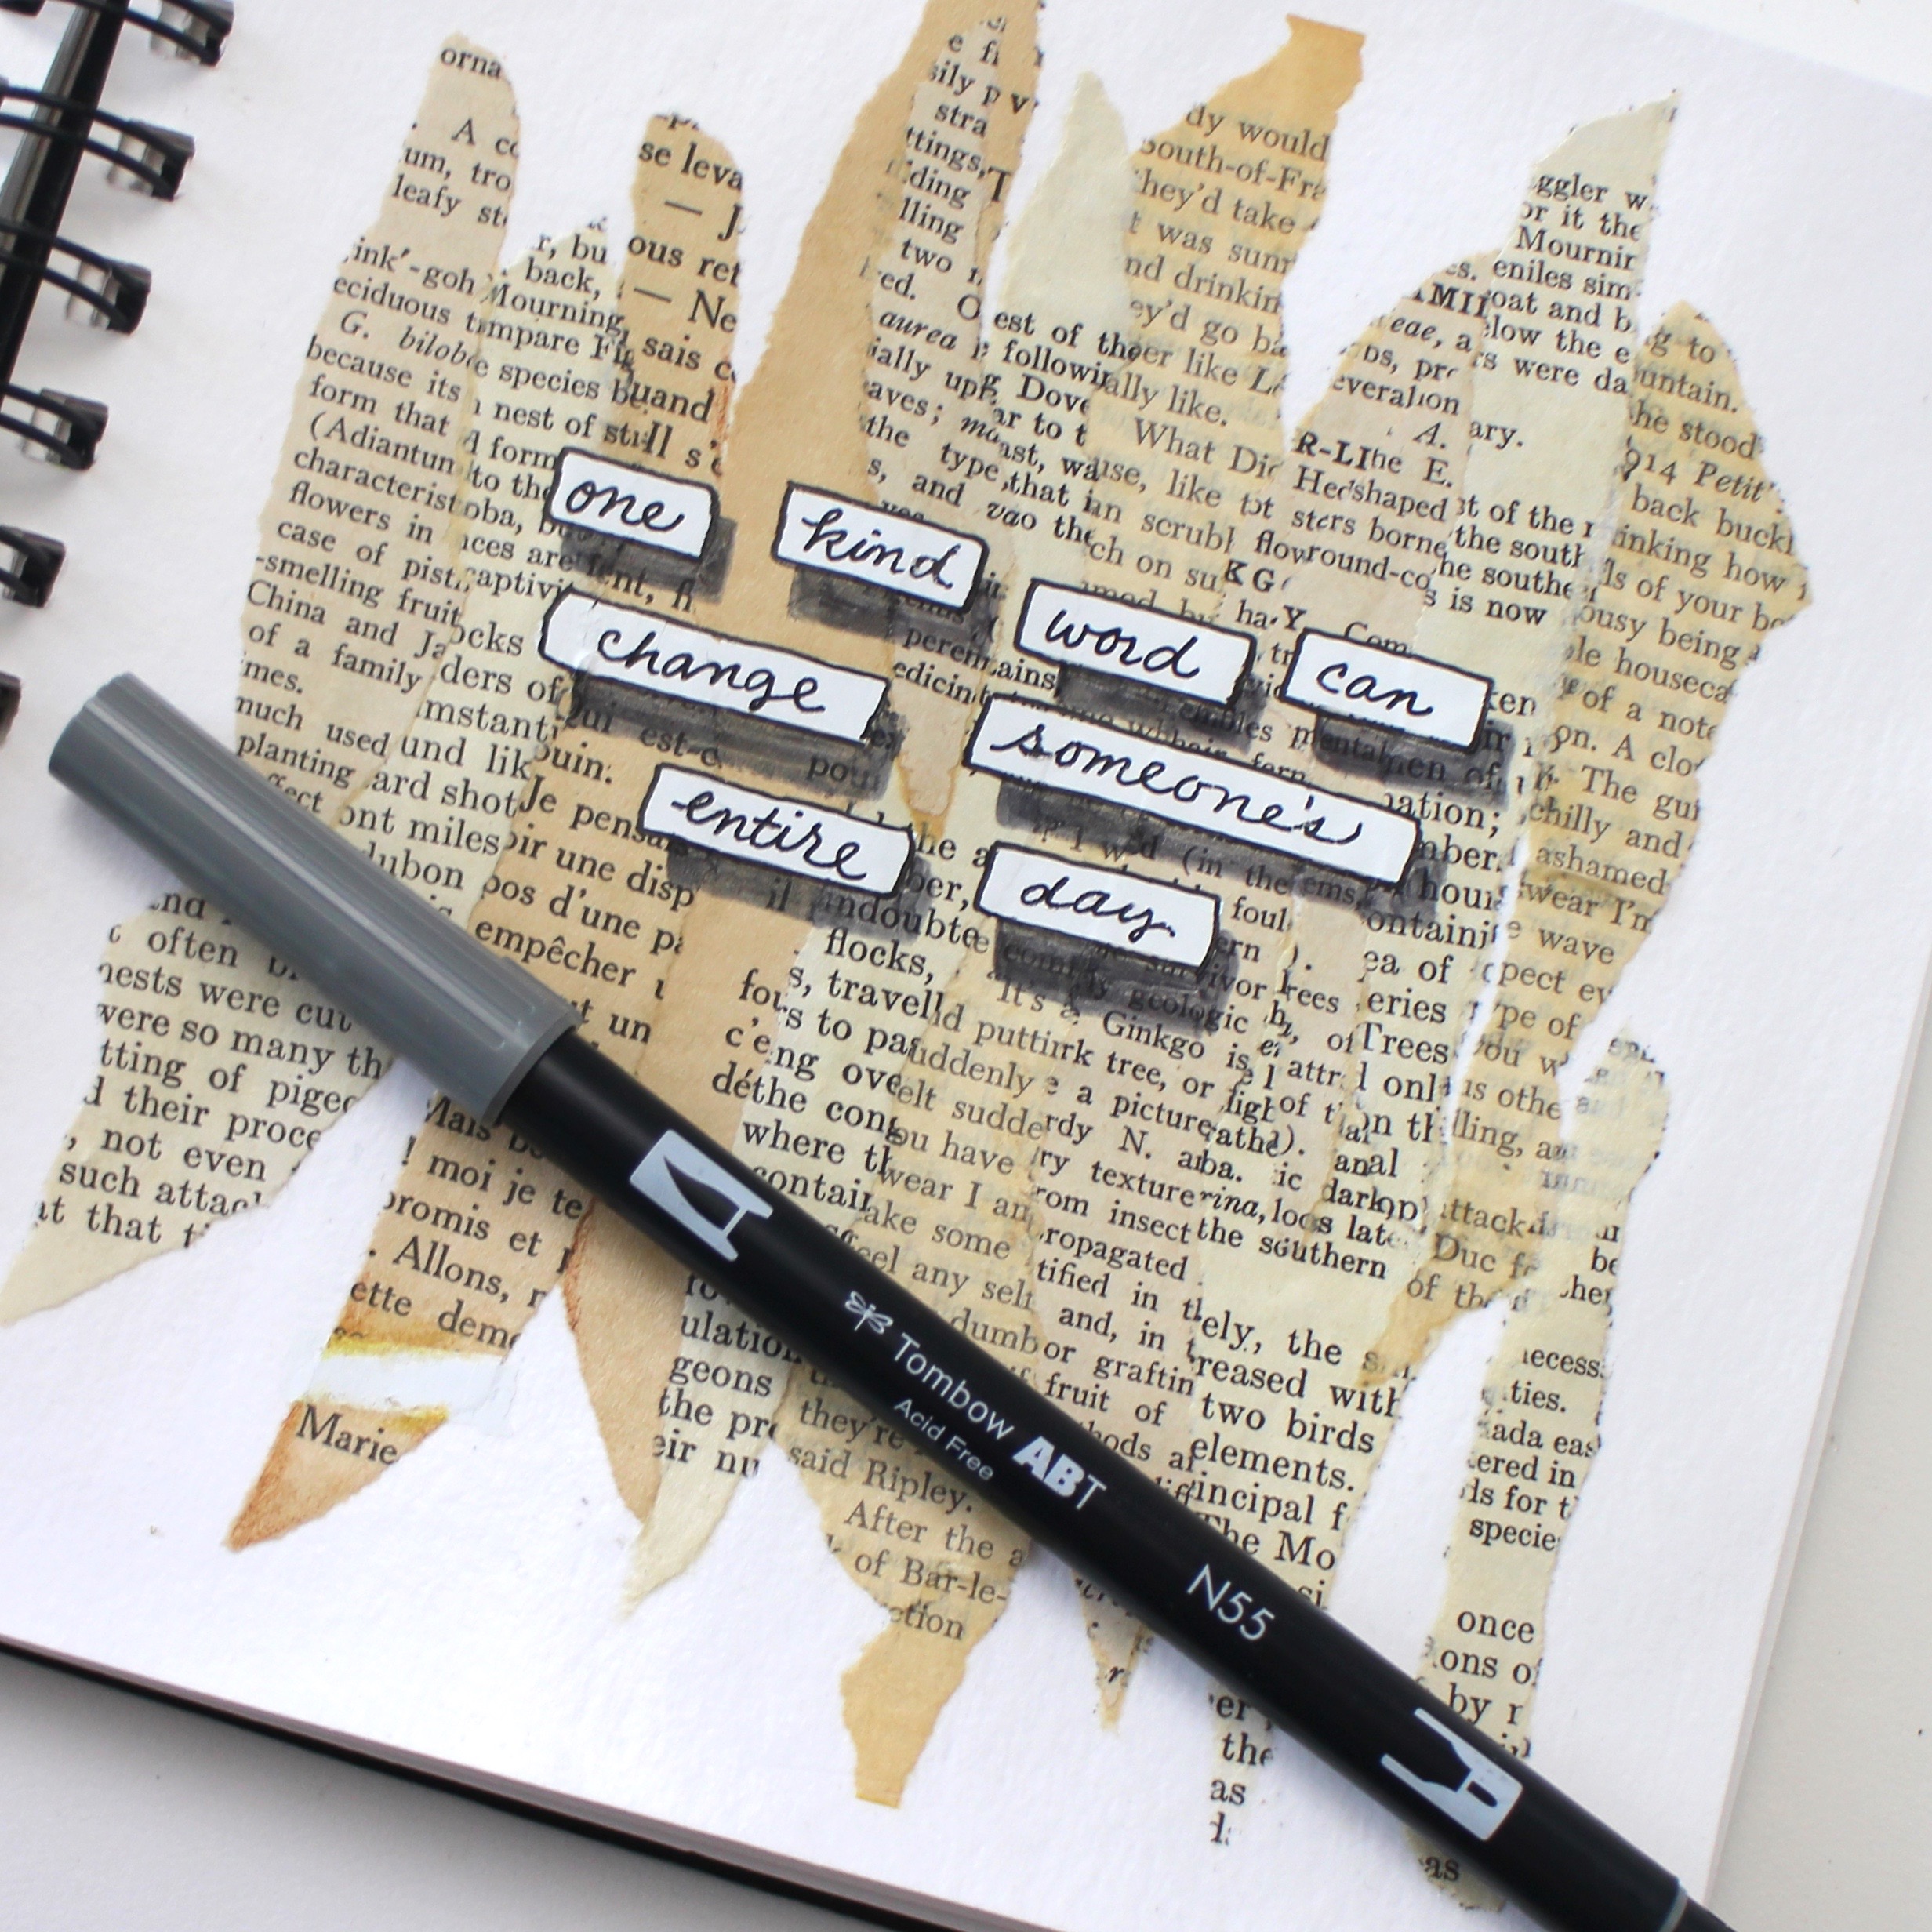
Step 4: Add shadows
This step is optional, but really adds depth and interest to your page. To make the boxes look they are floating on the page, add a shadow using the Cool Grey 7 – N55 Dual Brush Pen.
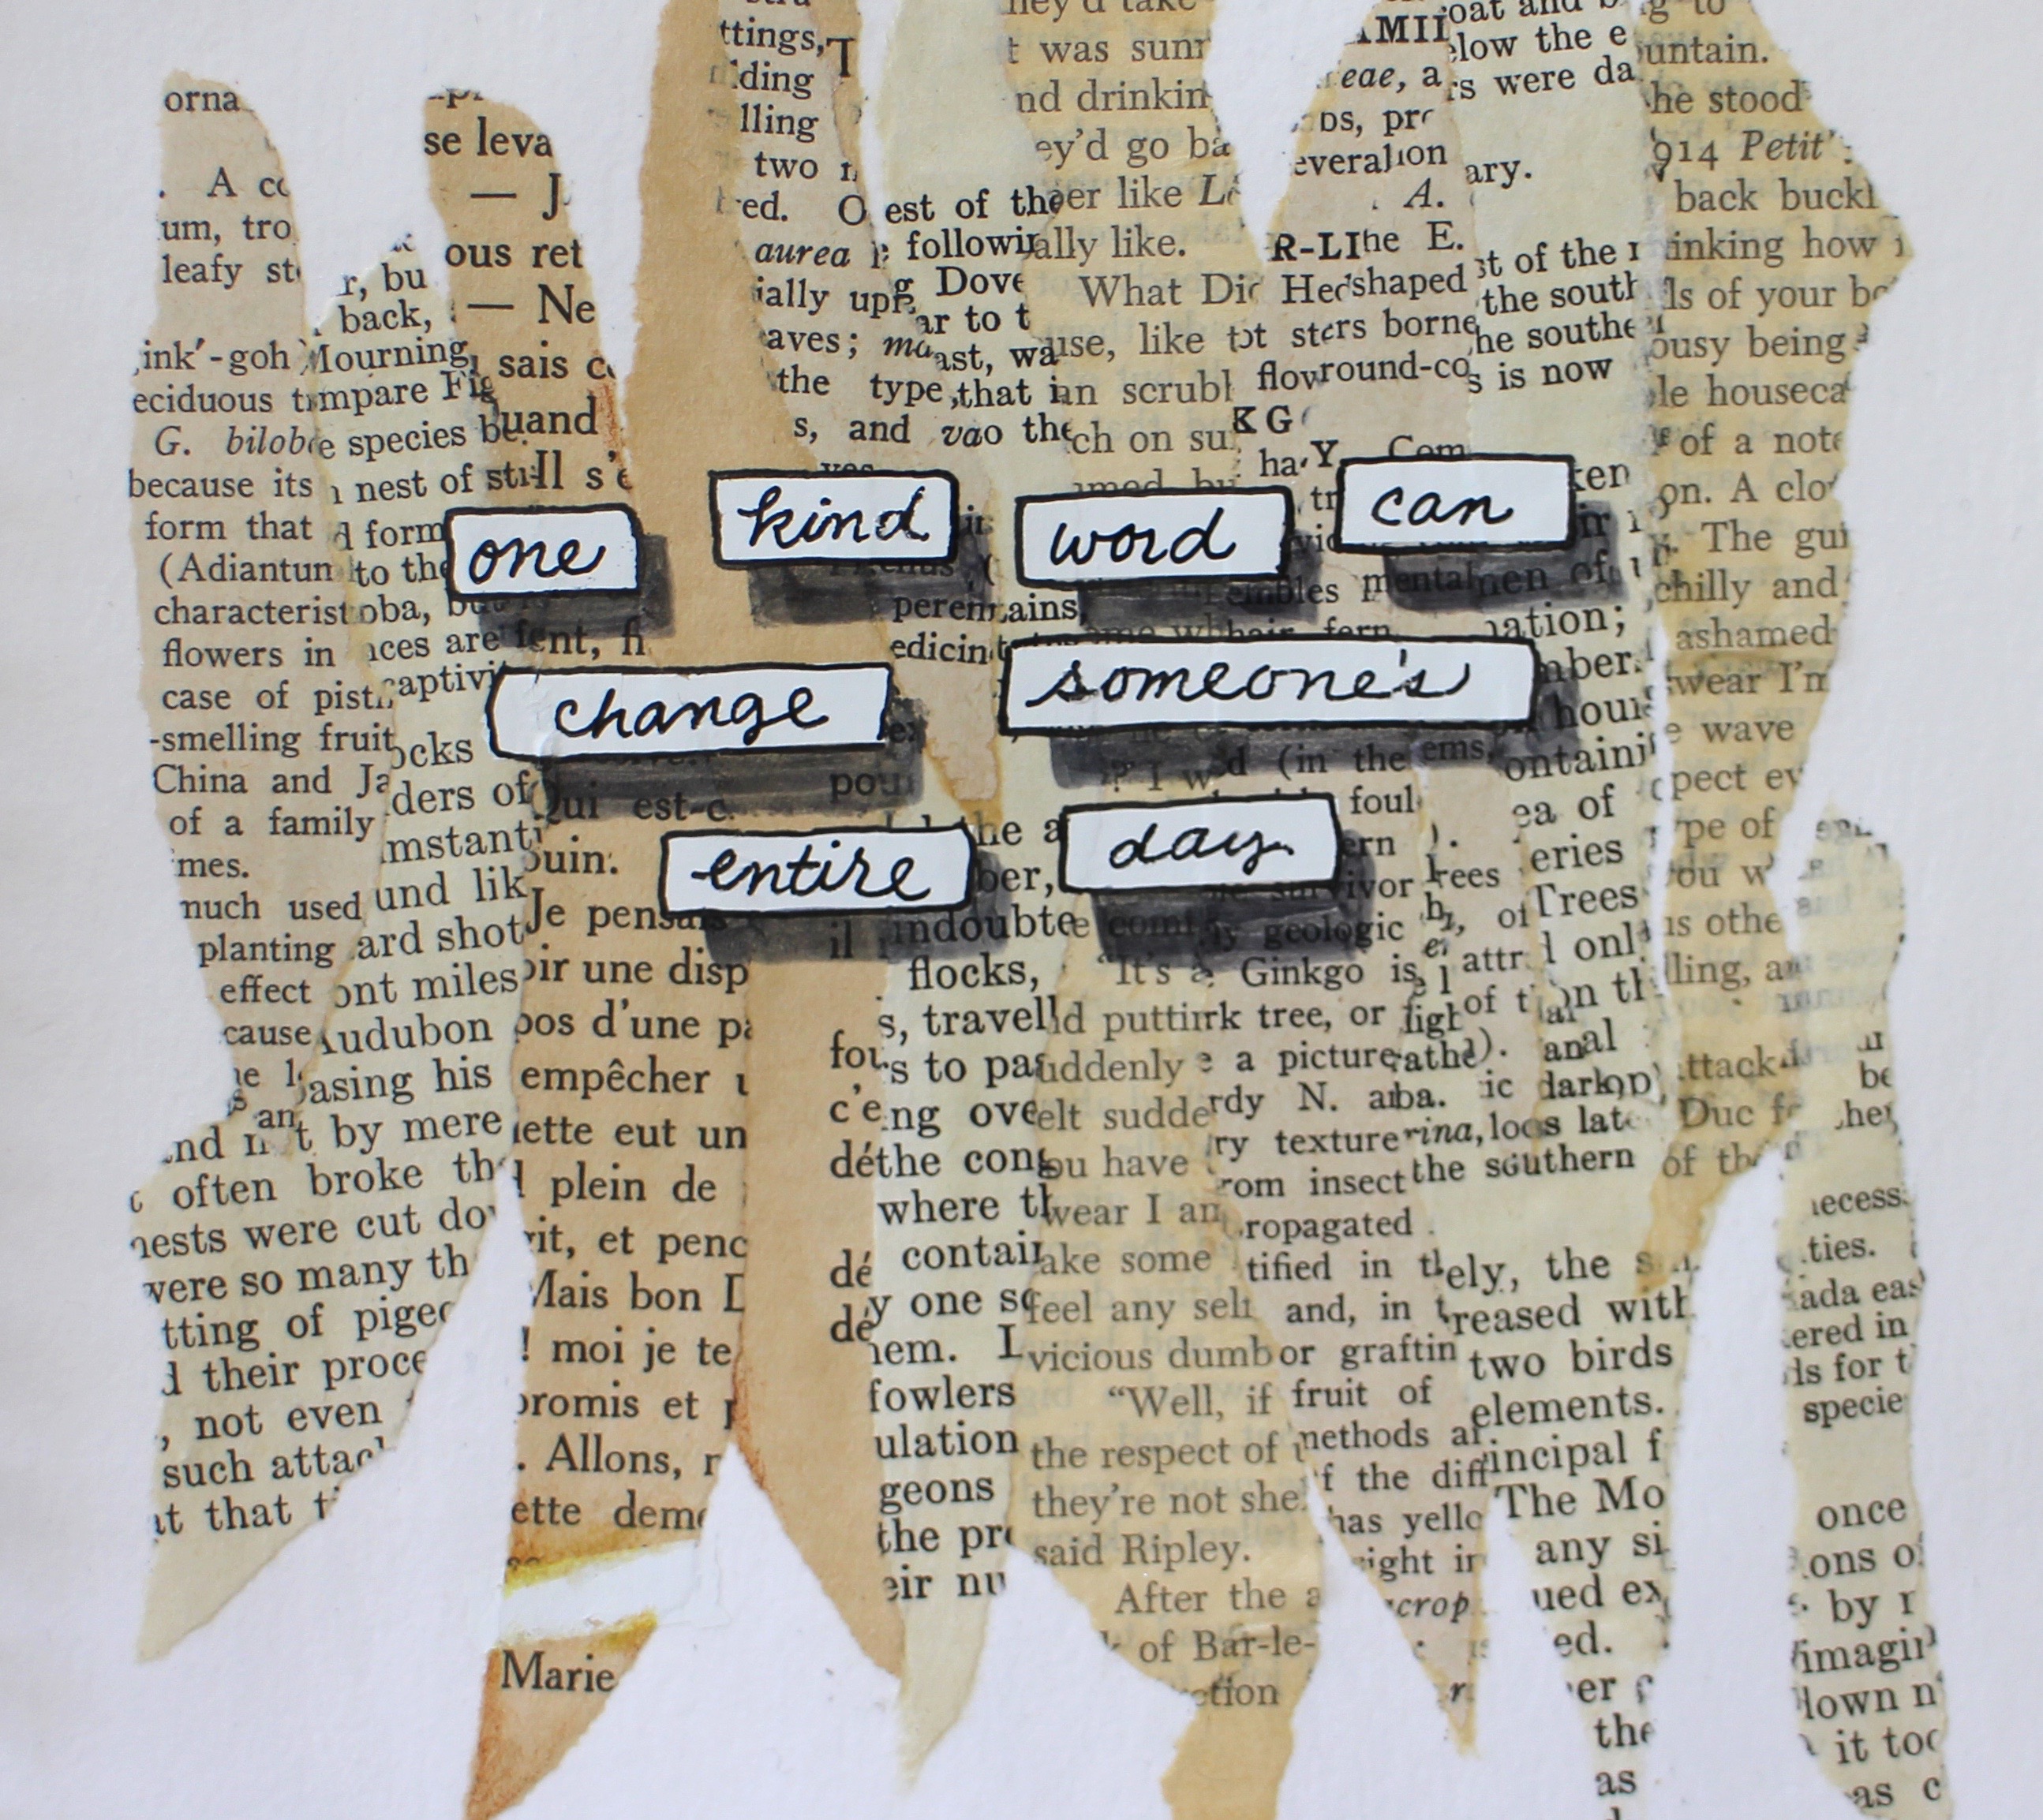
Here’s the finished page – look at the bottom left…I found my name in the text so I simply used the MONO Air Correction Tape to segregate and highlight the section!
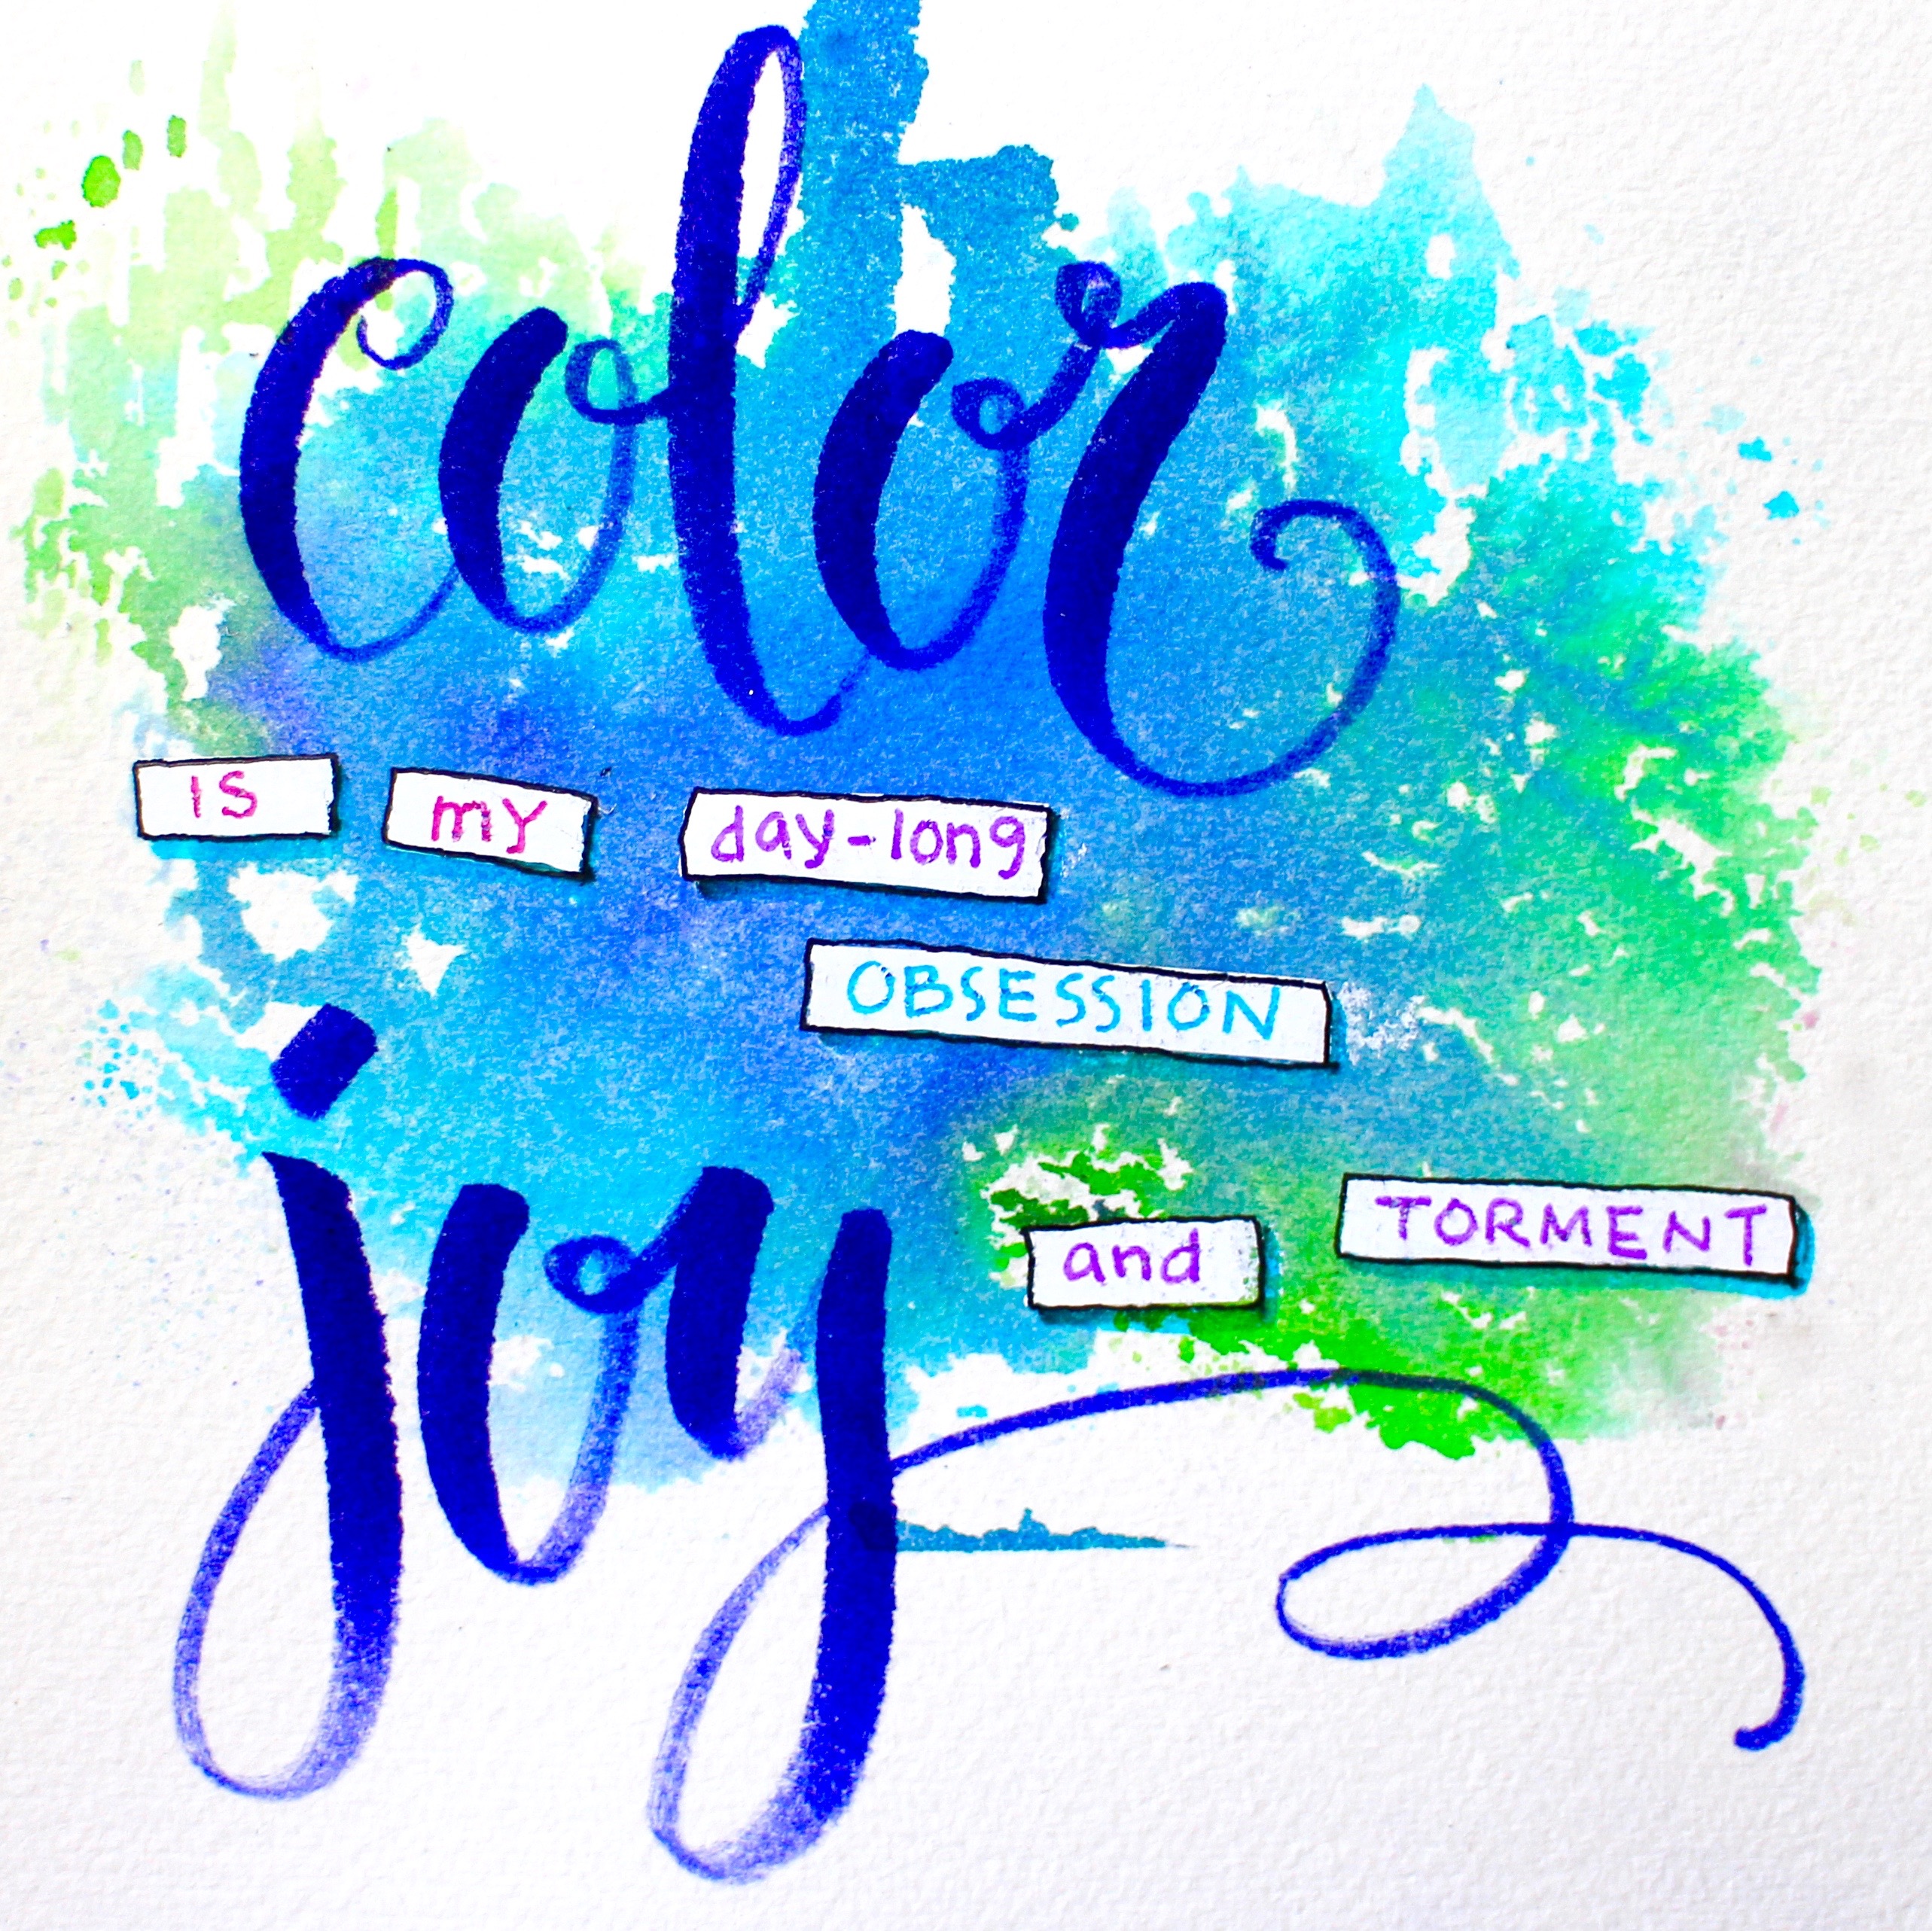
Here’s another example of word boxes with the MONO Air Correction Tape. Boxes were done on a Dual Brush Pen splash background and words added with both the brush tip and fine tip of the Dual Brush Pen
Let me know if you make word boxes in your journal!

Marie Browning, Tombow Signature Designer
What a fun idea! Thanks for your easy step-by-step instructions.