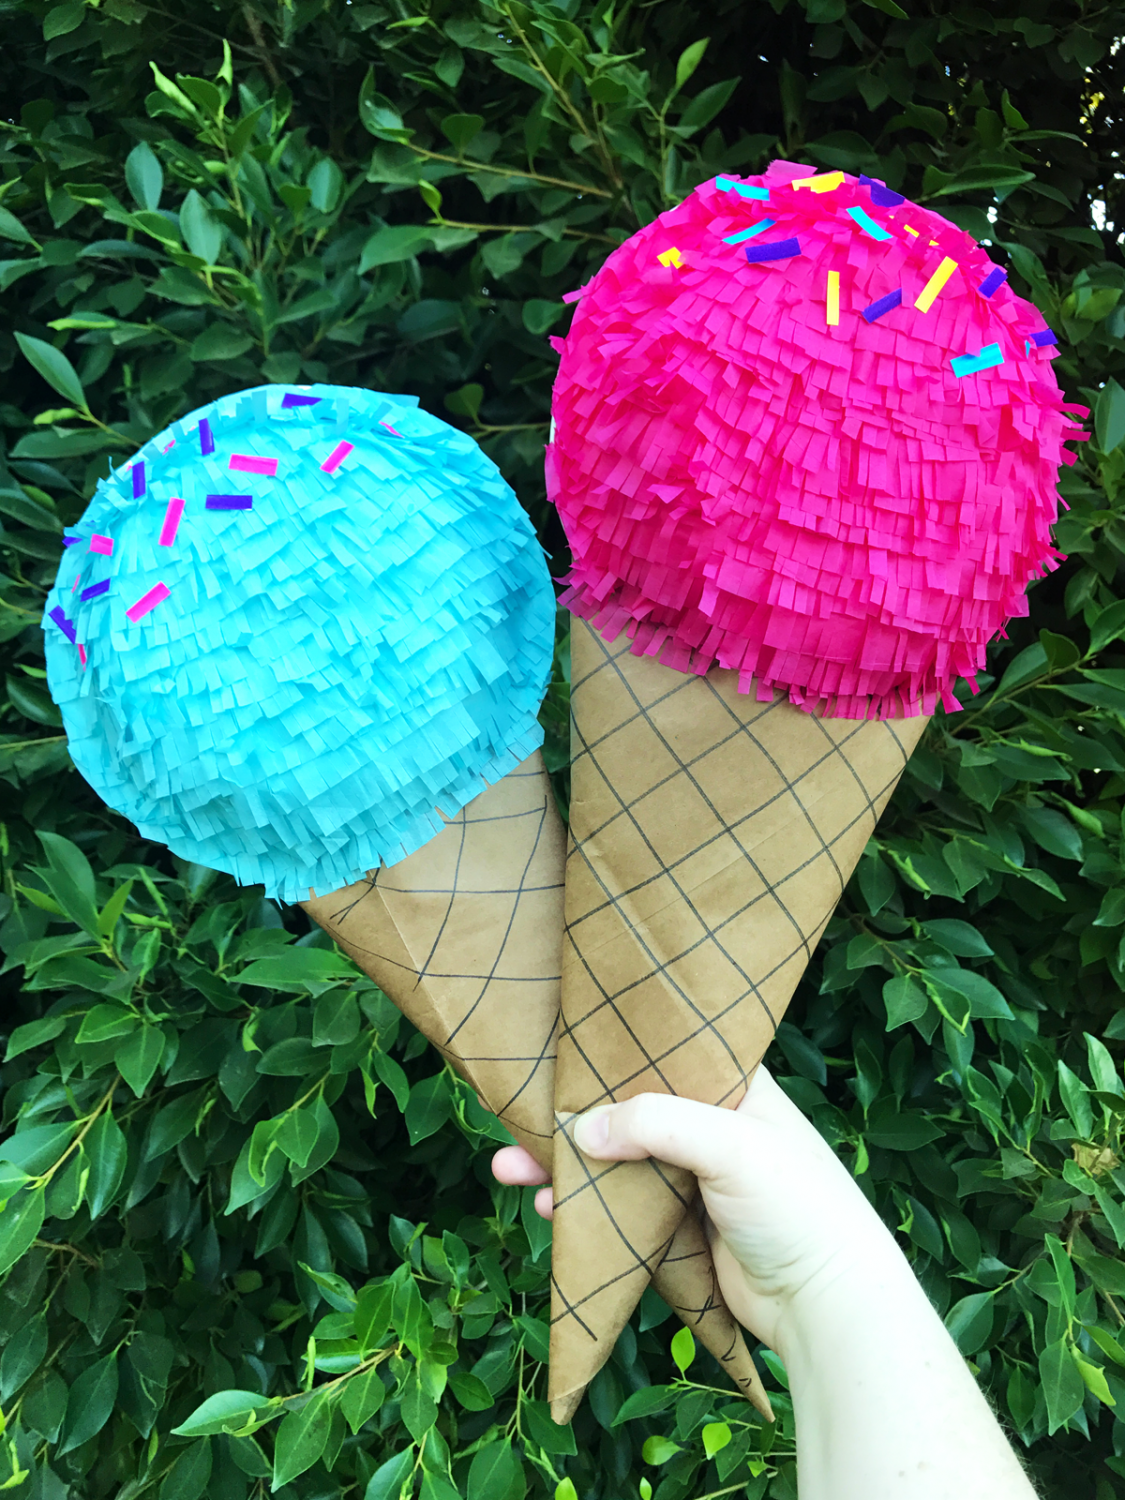
Hi Tombow friends, it’s Dani from @popfizzpaper! Today I’m sharing a fun ice cream piñata DIY! Ice cream piñatas are a great way to decorate for any kind of party, especially if there will be frozen treats involved. Let’s get started!
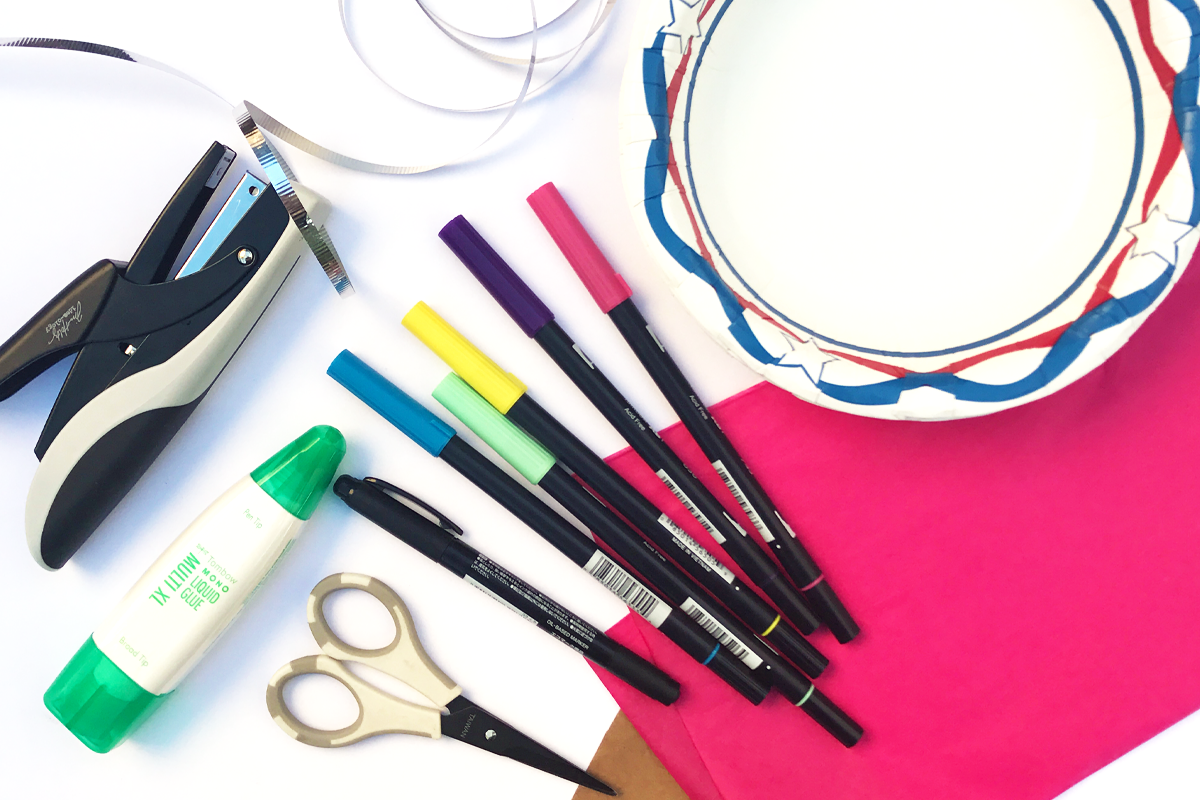
SUPPLIES:
- Paper bowls (I used 8″ ones)
- Tombow MONO Multi XL Liquid Glue
- Craft paper (I repurposed a paper grocery bag)
- Tombow MONO Twin Marker
- Scissors
- Stapler (optional)
- Paperclips
- Tissue paper in the colors you want your ice cream
- White cardstock
- Tombow Dual Brush Pens in sprinkle colors
- Candy, treats, confetti, small toys – whatever you want to fill your ice cream piñata with!
- Ribbon
STEP 1
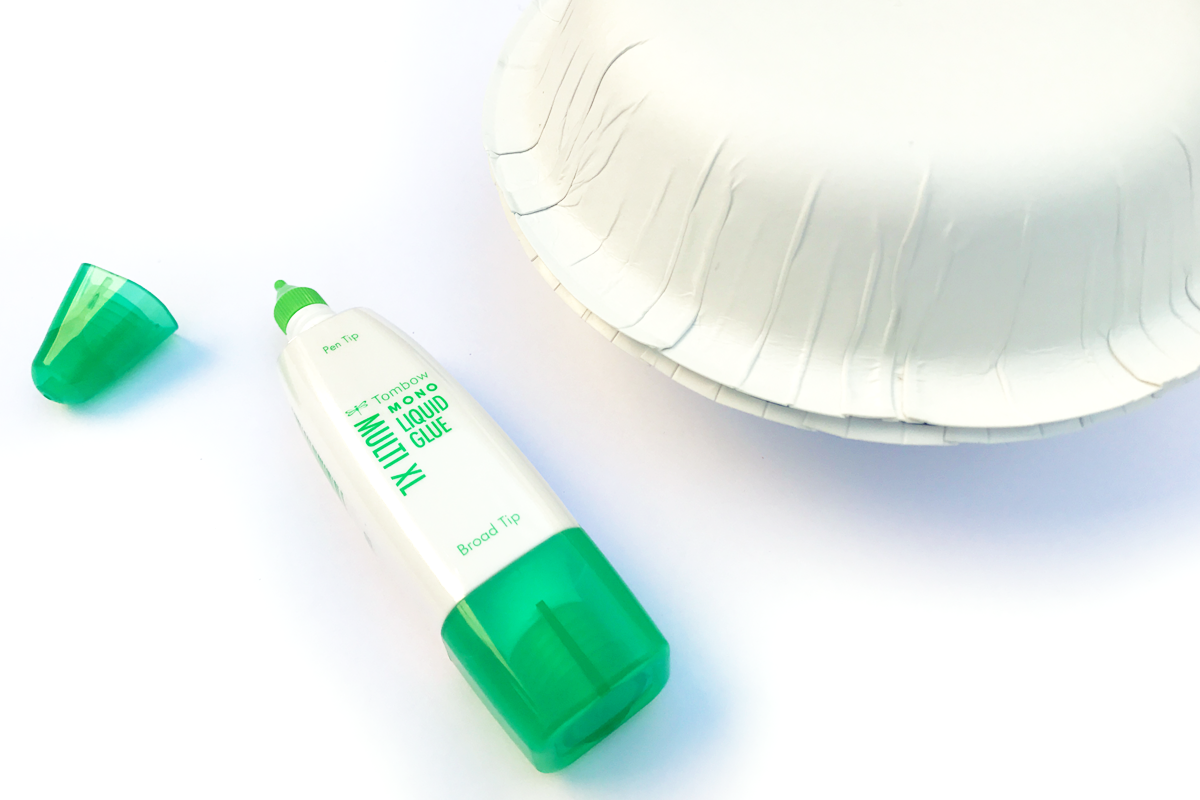
Take one of the paper bowls and put your piñata filling into it (candy, treats, etc). Add a line of Tombow MONO Multi XL Liquid Glue to the rim of the bowl. Take another bowl, flip it upside down, and place on top of the first bowl. This will become your scoop of ice cream. Make sure to let it dry completely.
STEP 2
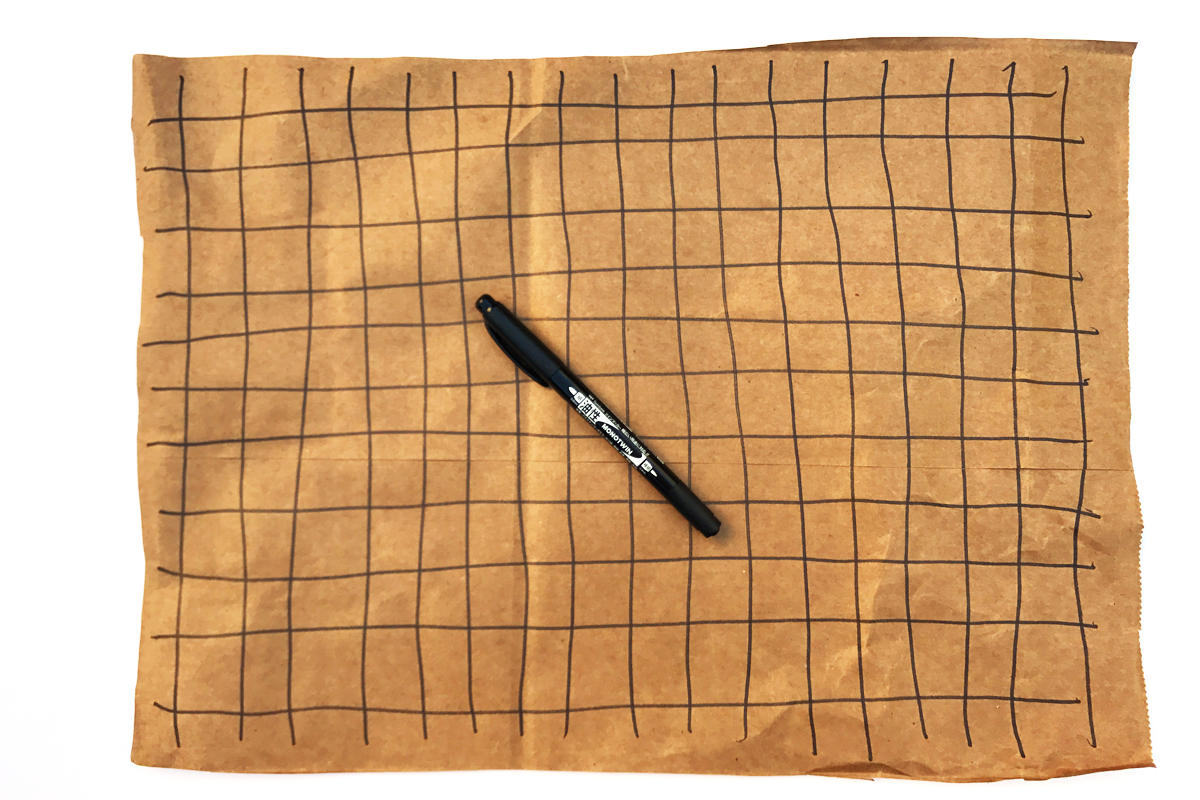
While your scoop is drying, draw a grid design on your craft paper with a black marker. The Tombow MONO Twin Marker works perfectly for this! Roll up the paper into a cone shape, add glue to the seam, and trim off any excess. This will become the cone portion of your ice cream piñata! You can use a paperclip to keep your cone from unrolling while it dries.
STEP 3
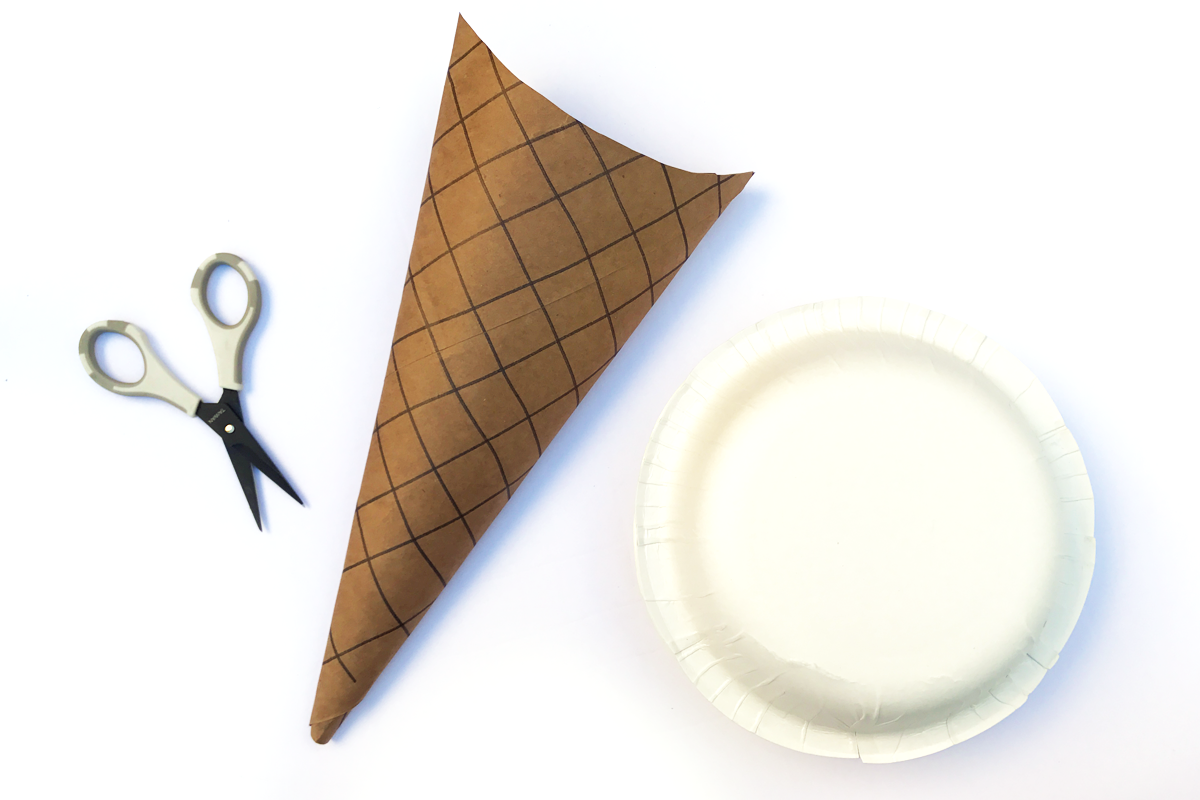
When both your cone and your scoop of ice cream are fully dry, you’re ready to start assembling! Take your cone and cut a rounded scoop shape out of the top of it. You’ll want it to look like the picture below. At this point, you could also add treats to the inside of your cone if you want!
STEP 4
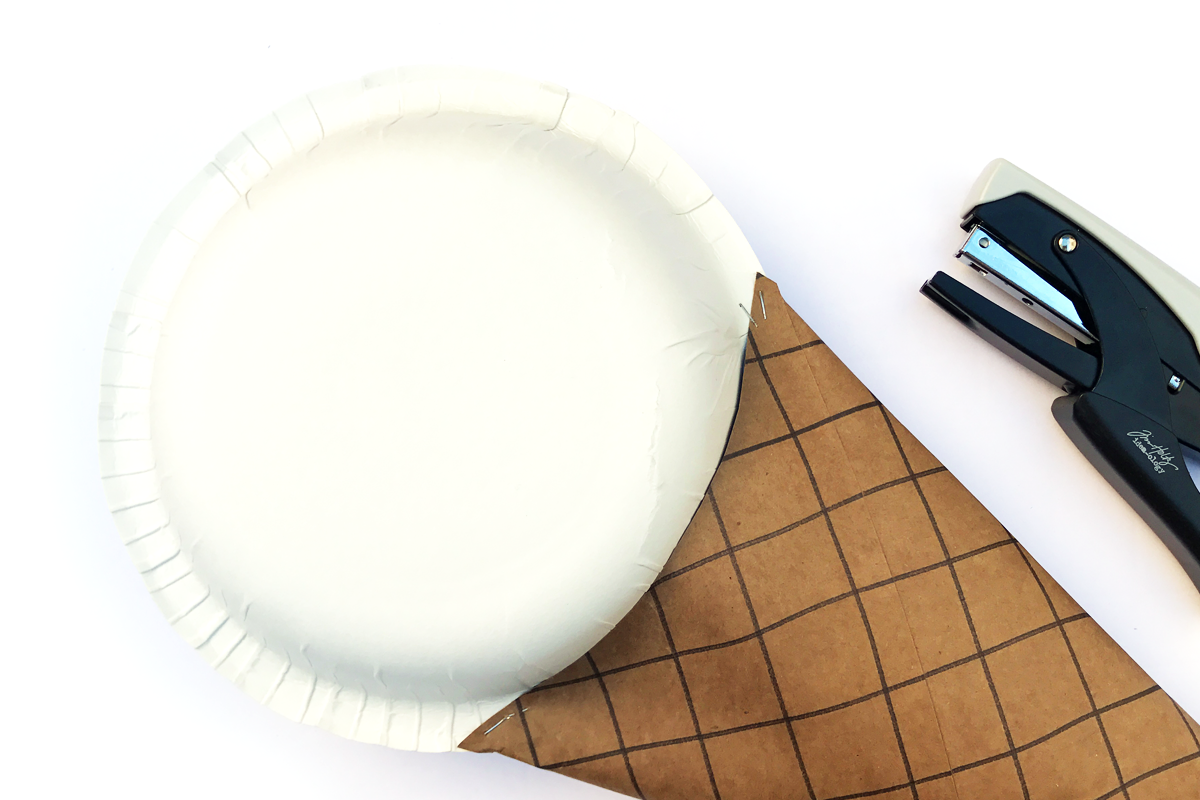
Cut little notches into the sides of your cone where it will overlap with the bowls. Use a stapler to attach the cone to the bowls. You could also use more of the MONO Multi XL glue to attach the cone, just be sure to hold the cone in place with paperclips while it dries.
STEP 5
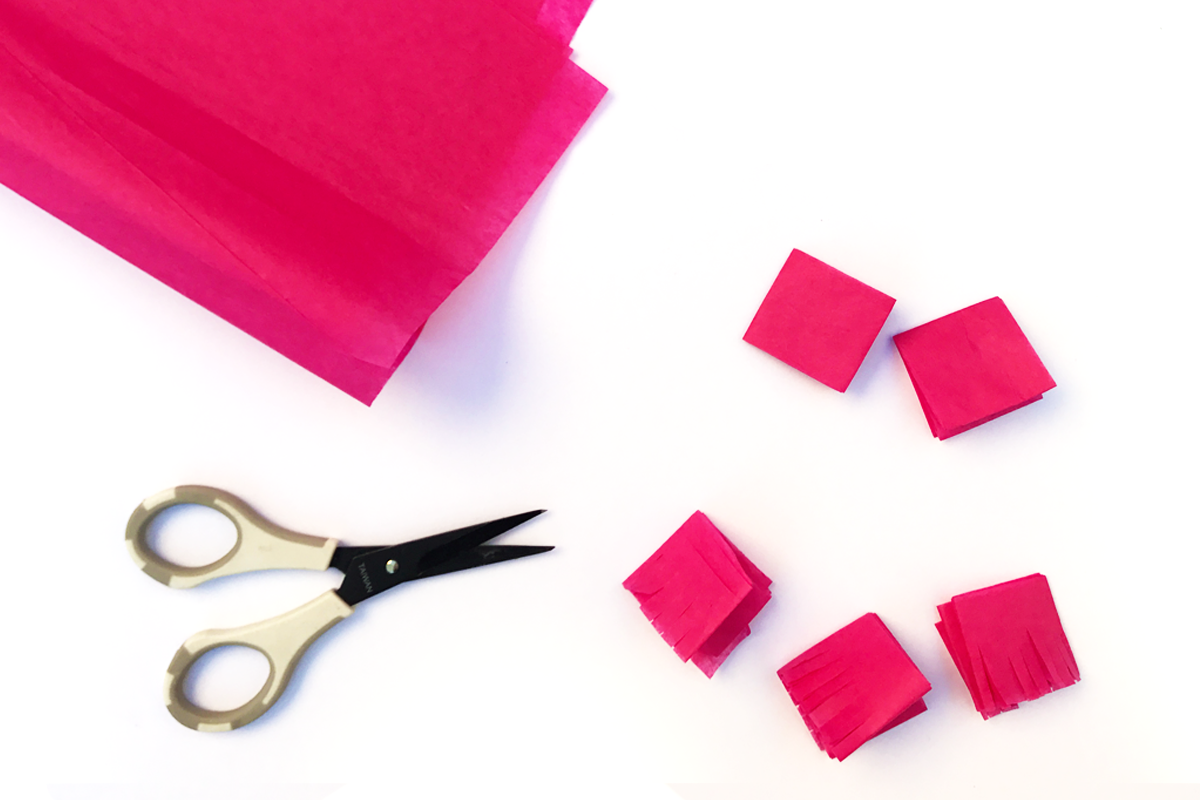
It’s finally time to add some color to our ice cream piñata with handmade tissue paper fringe. Here’s how to make it! Fold your sheet of tissue paper in half, then fold in half again a few more times, always in the same direction. Cut off a one inch wide section, perpendicular to the folded sides. Using small scissors, carefully cut into the bottom of this piece several times on one of the NON folded edge sides. When you unfold it, you should have a long strip of tissue paper with little fringes in it. Make enough of these tissue paper fringe strips so that you can cover the front and back of your scoop!
STEP 6
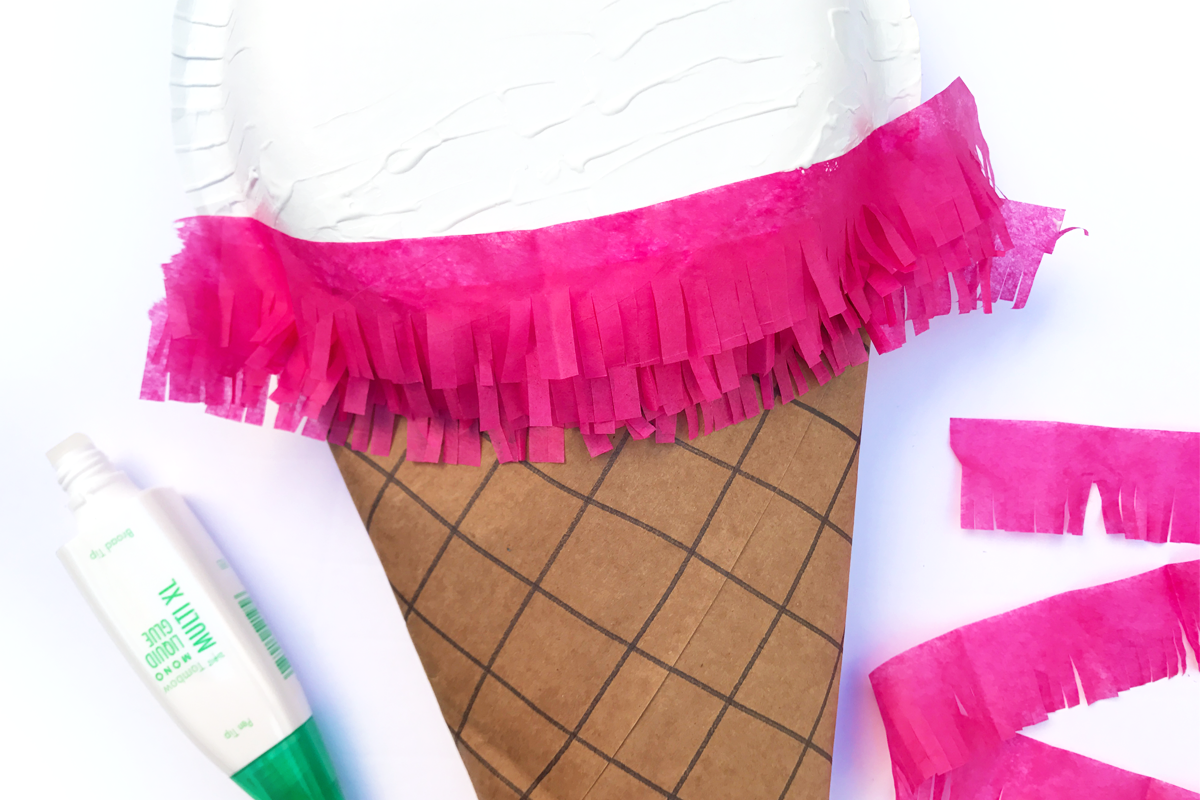
When you have a bunch of tissue paper fringes ready to go, add some of the MONO Multi Liquid Glue to your scoop. I like to use the broad tip side because it adds a lot of glue at once and lets you spread it out over a wider area. Working from the bottom up, add a section of glue, then start applying your tissue fringe. Make sure to overlap the previous layer of fringe so none of the bowl color shows through. I also like to have the sides of the strips overhang the scoop a bit so I can trim them off later, just to make sure there aren’t any bald spots along the edges. Repeat the process until your scoop is covered, then let dry!
STEP 7
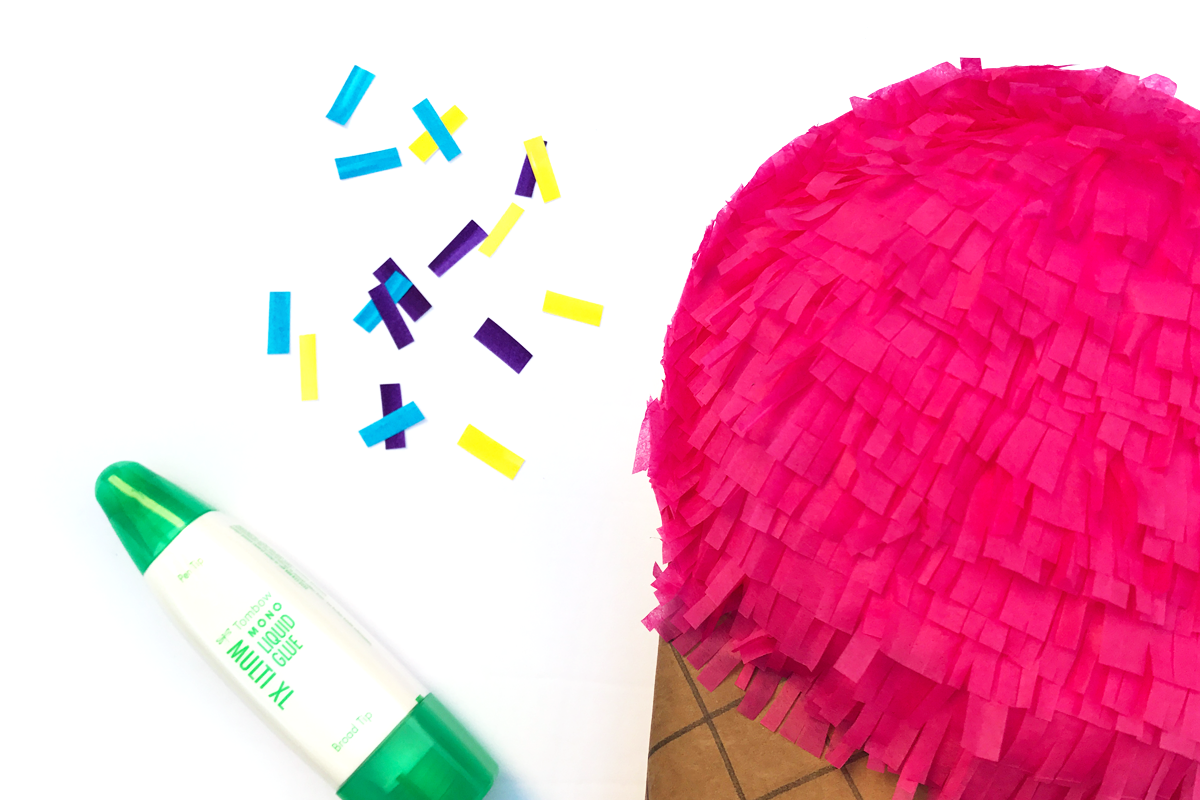
Once all the glue is dry, trim off any excess tissue paper. If you want sprinkles on your ice cream piñata, they are really easy to DIY, too! Use coordinating colors of Tombow Dual Brush Pens to create lines of color on white cardstock, then cut them into small rectangles. Ta-da.. sprinkles! Adhere them to your ice cream scoop with the MONO Multi Liquid Glue and let dry. Glue or staple a bit of ribbon to the top of your scoop for hanging purposes and your piñata is ready to party!
I love how these turned out and there are so many fun color combos that you could create these in! I’m thinking white and blue scoops with red sprinkles for July 4th, pastel colors like mint and yellow for a baby’s birthday, or bright colors for a barbecue. You could also make a coordinating mini piñata garland using this ornament tutorial by Jennifer – how festive would that be?!
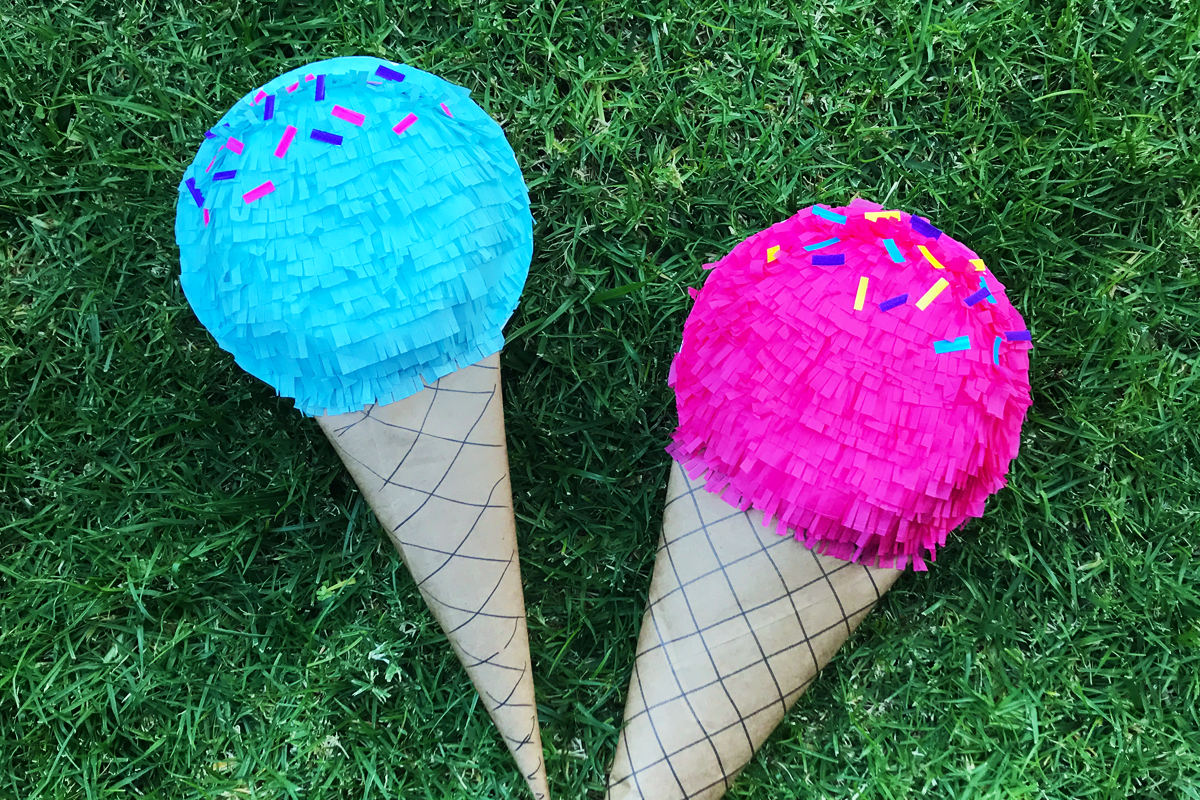
I hope you enjoyed this tutorial on how to make an ice cream piñata for your next summer party! If you do, please make sure to tag me @popfizzpaper on Instagram so I can see! Thank you so much for crafting with me today and I’ll see y’all next time.

These are so so adorable!