Hey Y’all, Katie here! This week on the Tombow blog we are spotlighting Summer Party DIY’s and what is more summer-y and trendy than a pineapple right now? Because pineapples (and other fruits!) are everywhere right now, I am sharing how to make a 3D honeycomb pineapple! Honeycomb tissue paper is something you can purchase, but also something that is pretty easy to make with just a bit of adhesive!
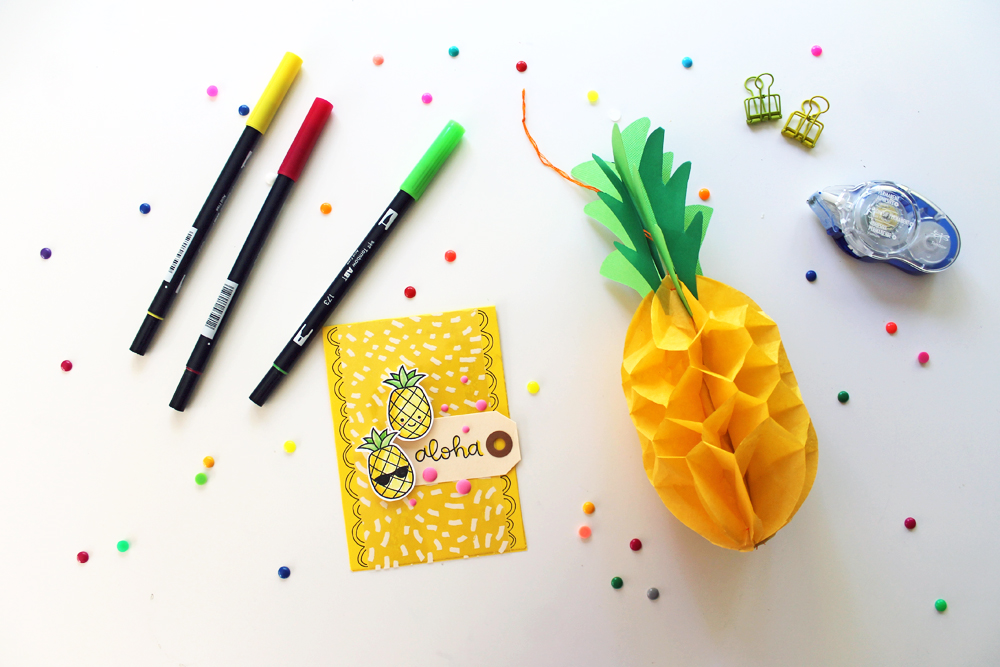
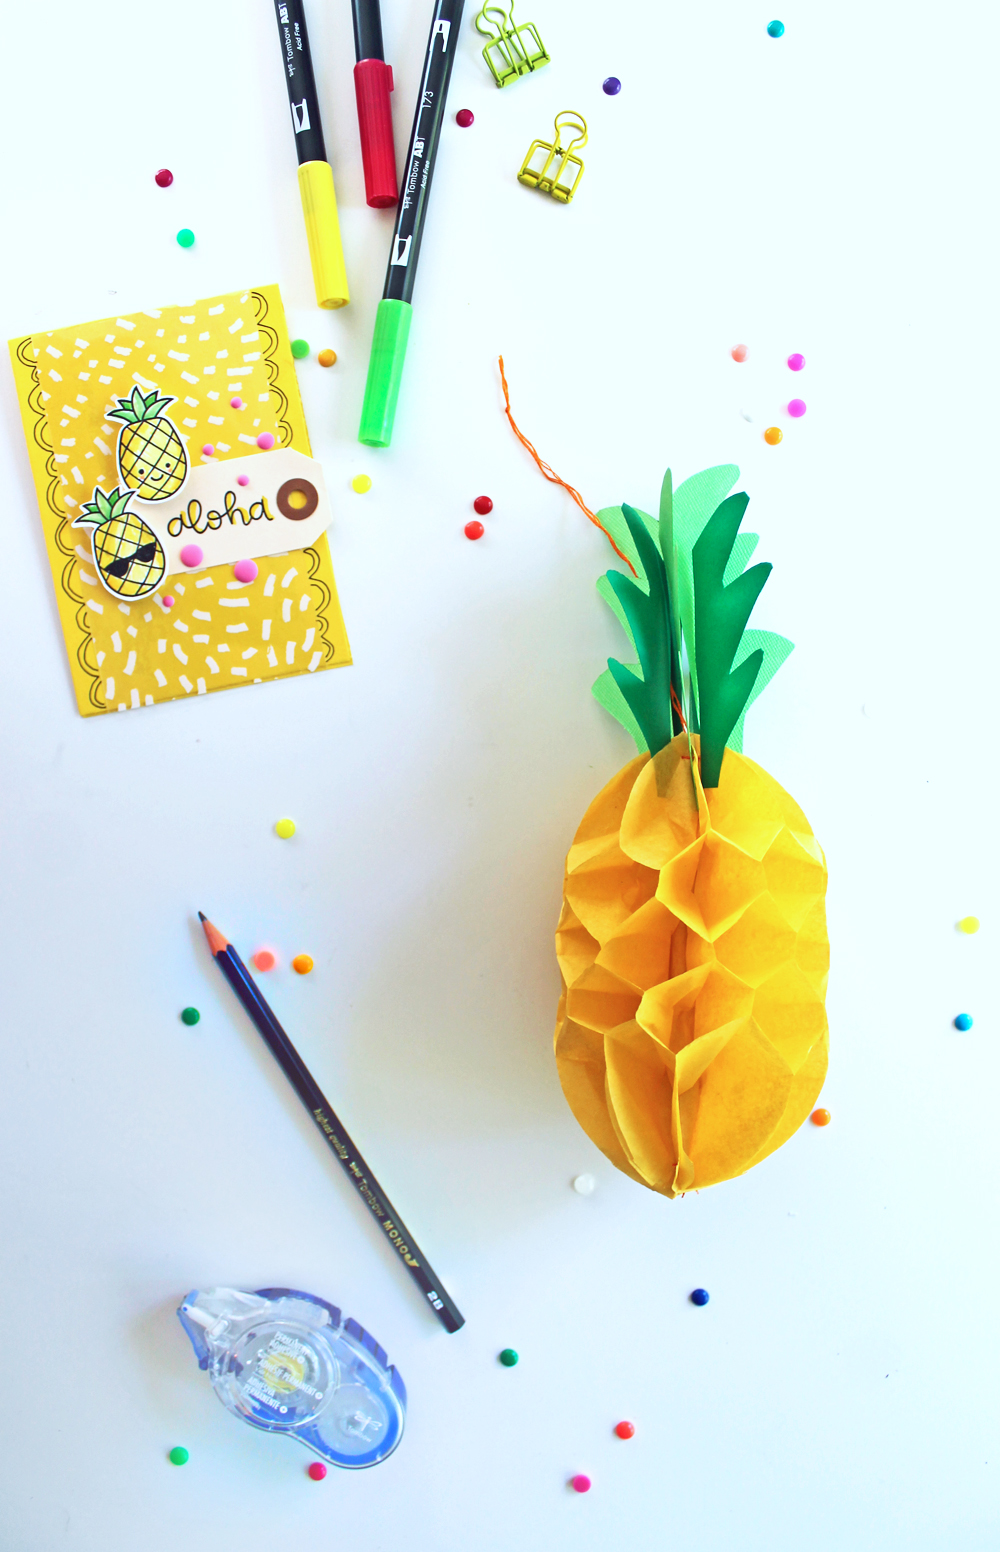
Supplies:
- Tissue Paper
- MONO Adhesive + Permanent
- MONO Adhesive Removable
- Yellow Cardstock
- Green Cardstock
- Needle
- Embroidery Thread
- Dual Brush Pens
- Scissors
Step one:
Start by trimming your tissue paper into 4×6″ rectangles. I used about 25 rectangles for one pineapple.
Step two:
On a scrap piece of cardstock, use 2 separate colors of Dual Brush Pens to make equally spaced marks 1″ apart. This measurement will be how large your honeycombs are, and I didn’t want mine any larger than 1″.
Make sure you use two different colors and alternate them. These will be your guides for gluing.
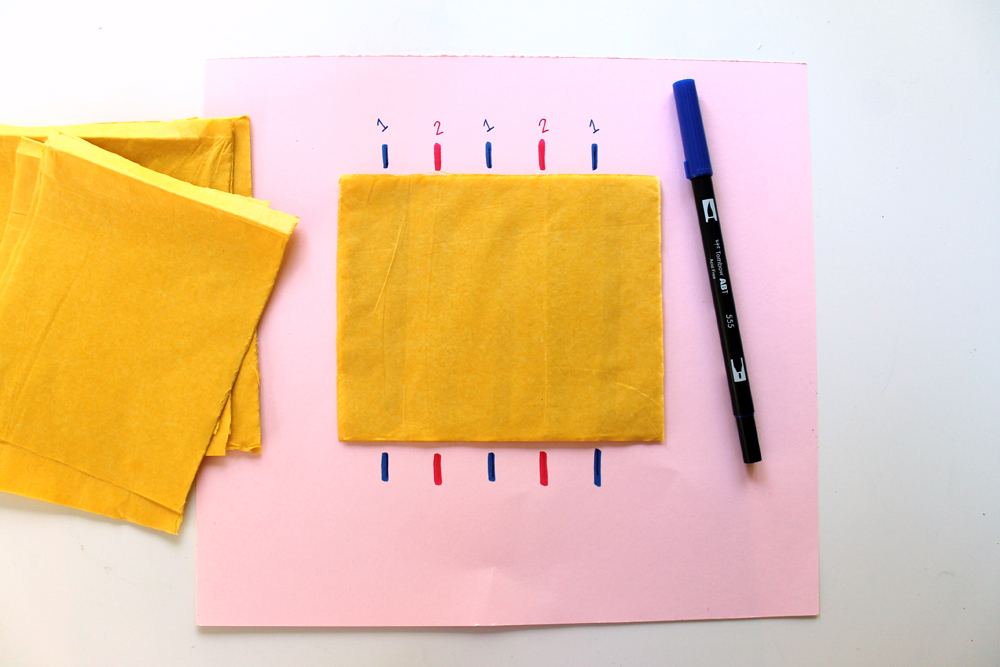
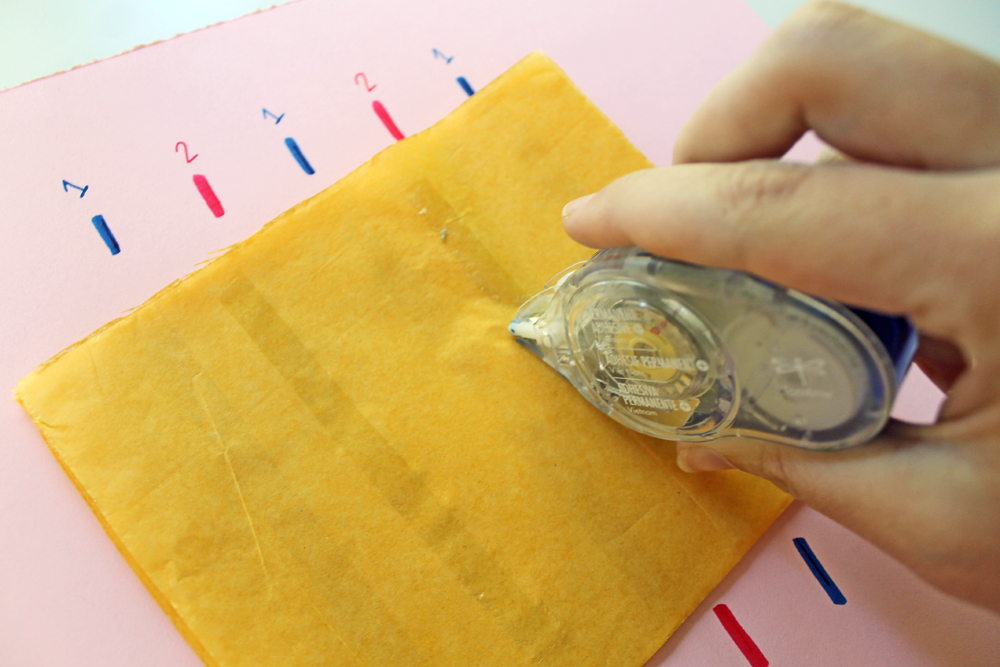
Step three:
Place 1 piece of tissue paper onto your cardstock guide. Take the MONO Adhesive + Permanent to strips of apply adhesive to your tissue paper following the guides of one of you colored marks. I started with the pink “2” marks.
Place a second piece of tissue paper on top.
Step four:
Repeat step three, but this time following the guides of the alternating color marks, #1.
Step five:
Repeat steps three and four, alternating the placement of the adhesive between each layer until you have about 25 pieces of tissue adhered together.
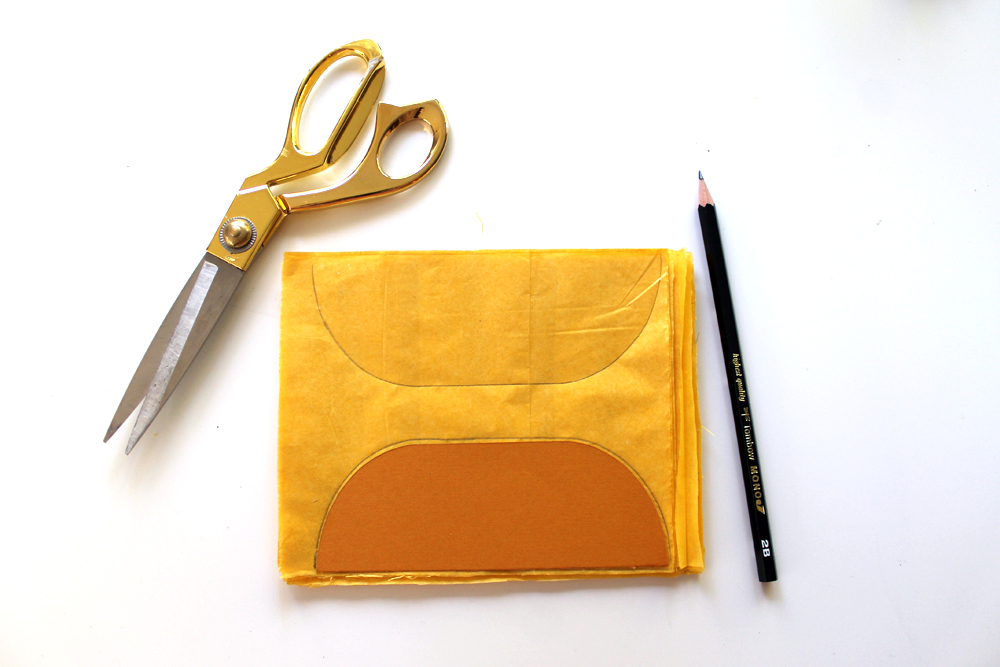
Step six:
Cut an oval out of yellow cardstock and then cut it in half, trace it onto your tissue paper stack. Cut out.
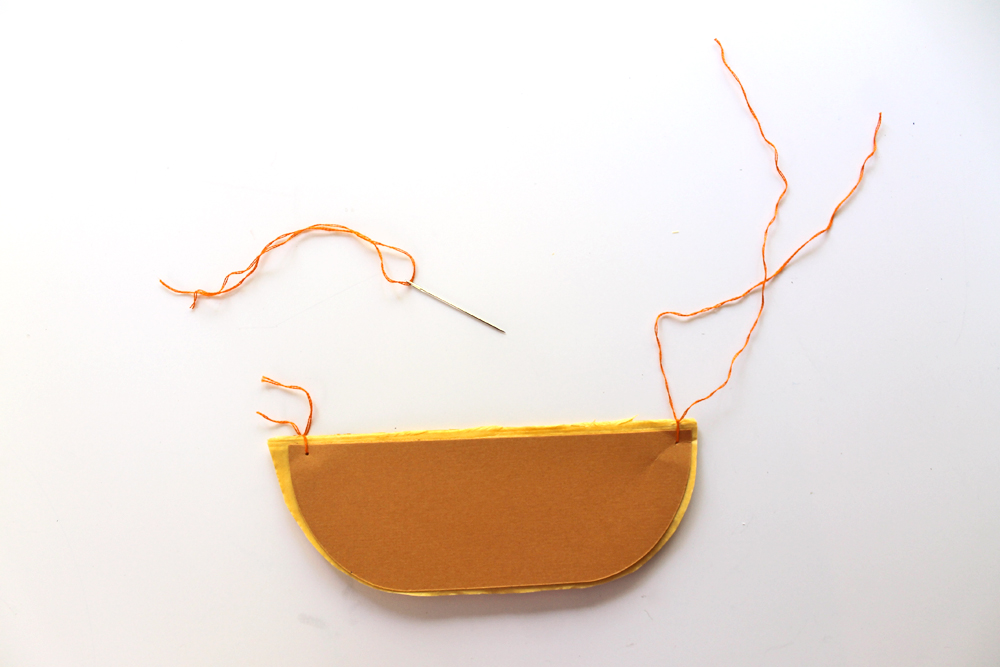
Step seven:
Adhere the two halves of the oval cardstock onto both sides of your tissue paper stack.
Use a needle and tread to tie a knot through all of the layers on each corner. This will keep the pineapple from coming apart at the top and bottom edges. Leave one side with longer thread to hang your finished pineapple with.
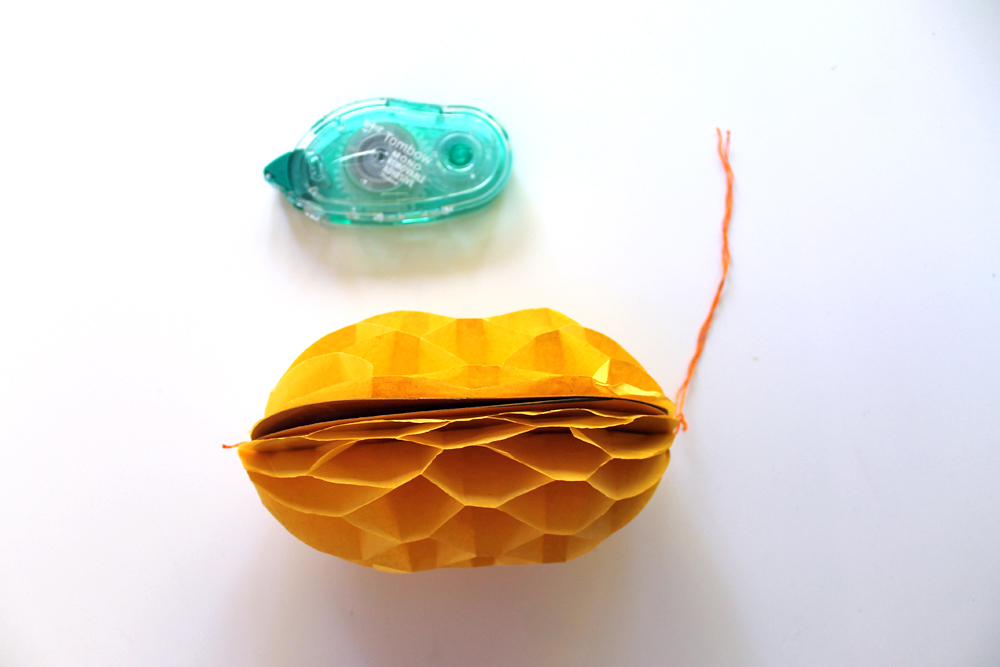
Step eight:
Use MONO Removable Adhesive to adhere the two cardstock sides of your pineapple together. I chose to use the removable adhesive, so that I can close the pineapple back up to store it if I want to.
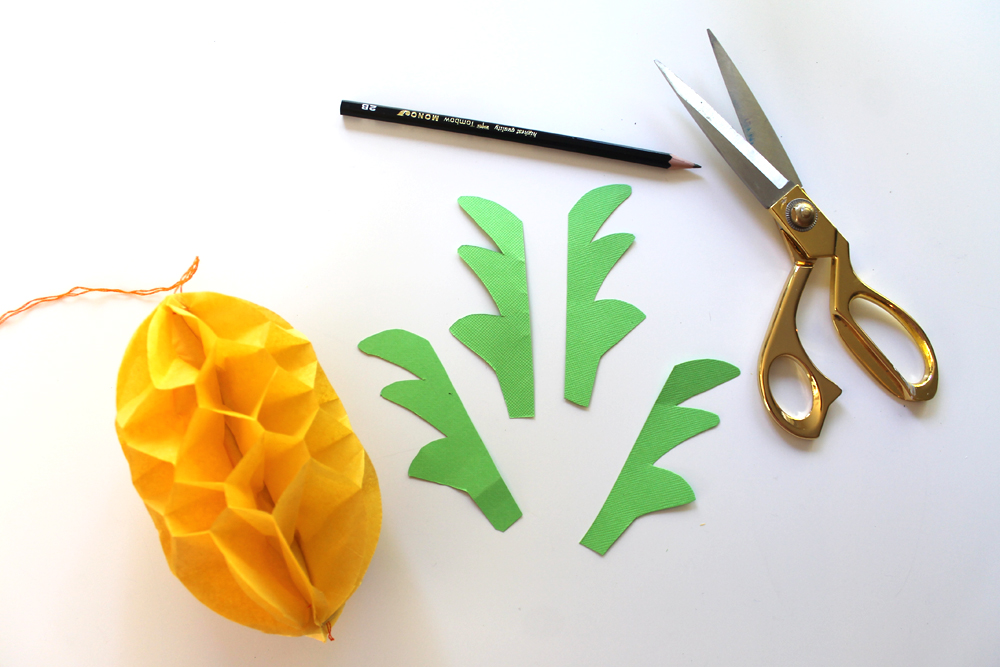
Step nine:
Cut 4-8 leaves from green cardstock and use MONO Adhesive + Permanent to adhere them to the top of the pineapple.
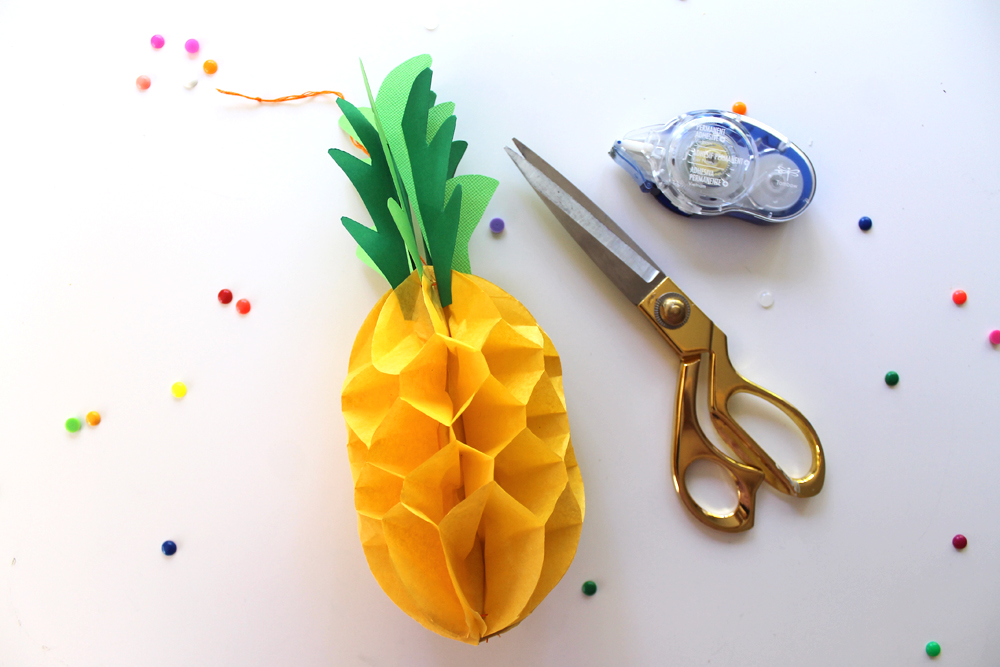
And you’re done! Once you get the hang of making them and figure out where to place your adhesive on the tissue, these whip up pretty fast!
You can grab the MONO Adhesive + Permanent right here. It’s perfect for this DIY because of it’s unique instant start system and it’s permanent bond, and you don’t have to wait for liquid glue to dry!
Who else is ready to make all the 3D honeycombs and pineapples now??
Pingback: DIY Tissue Paper Pineapples! – Studiokatie