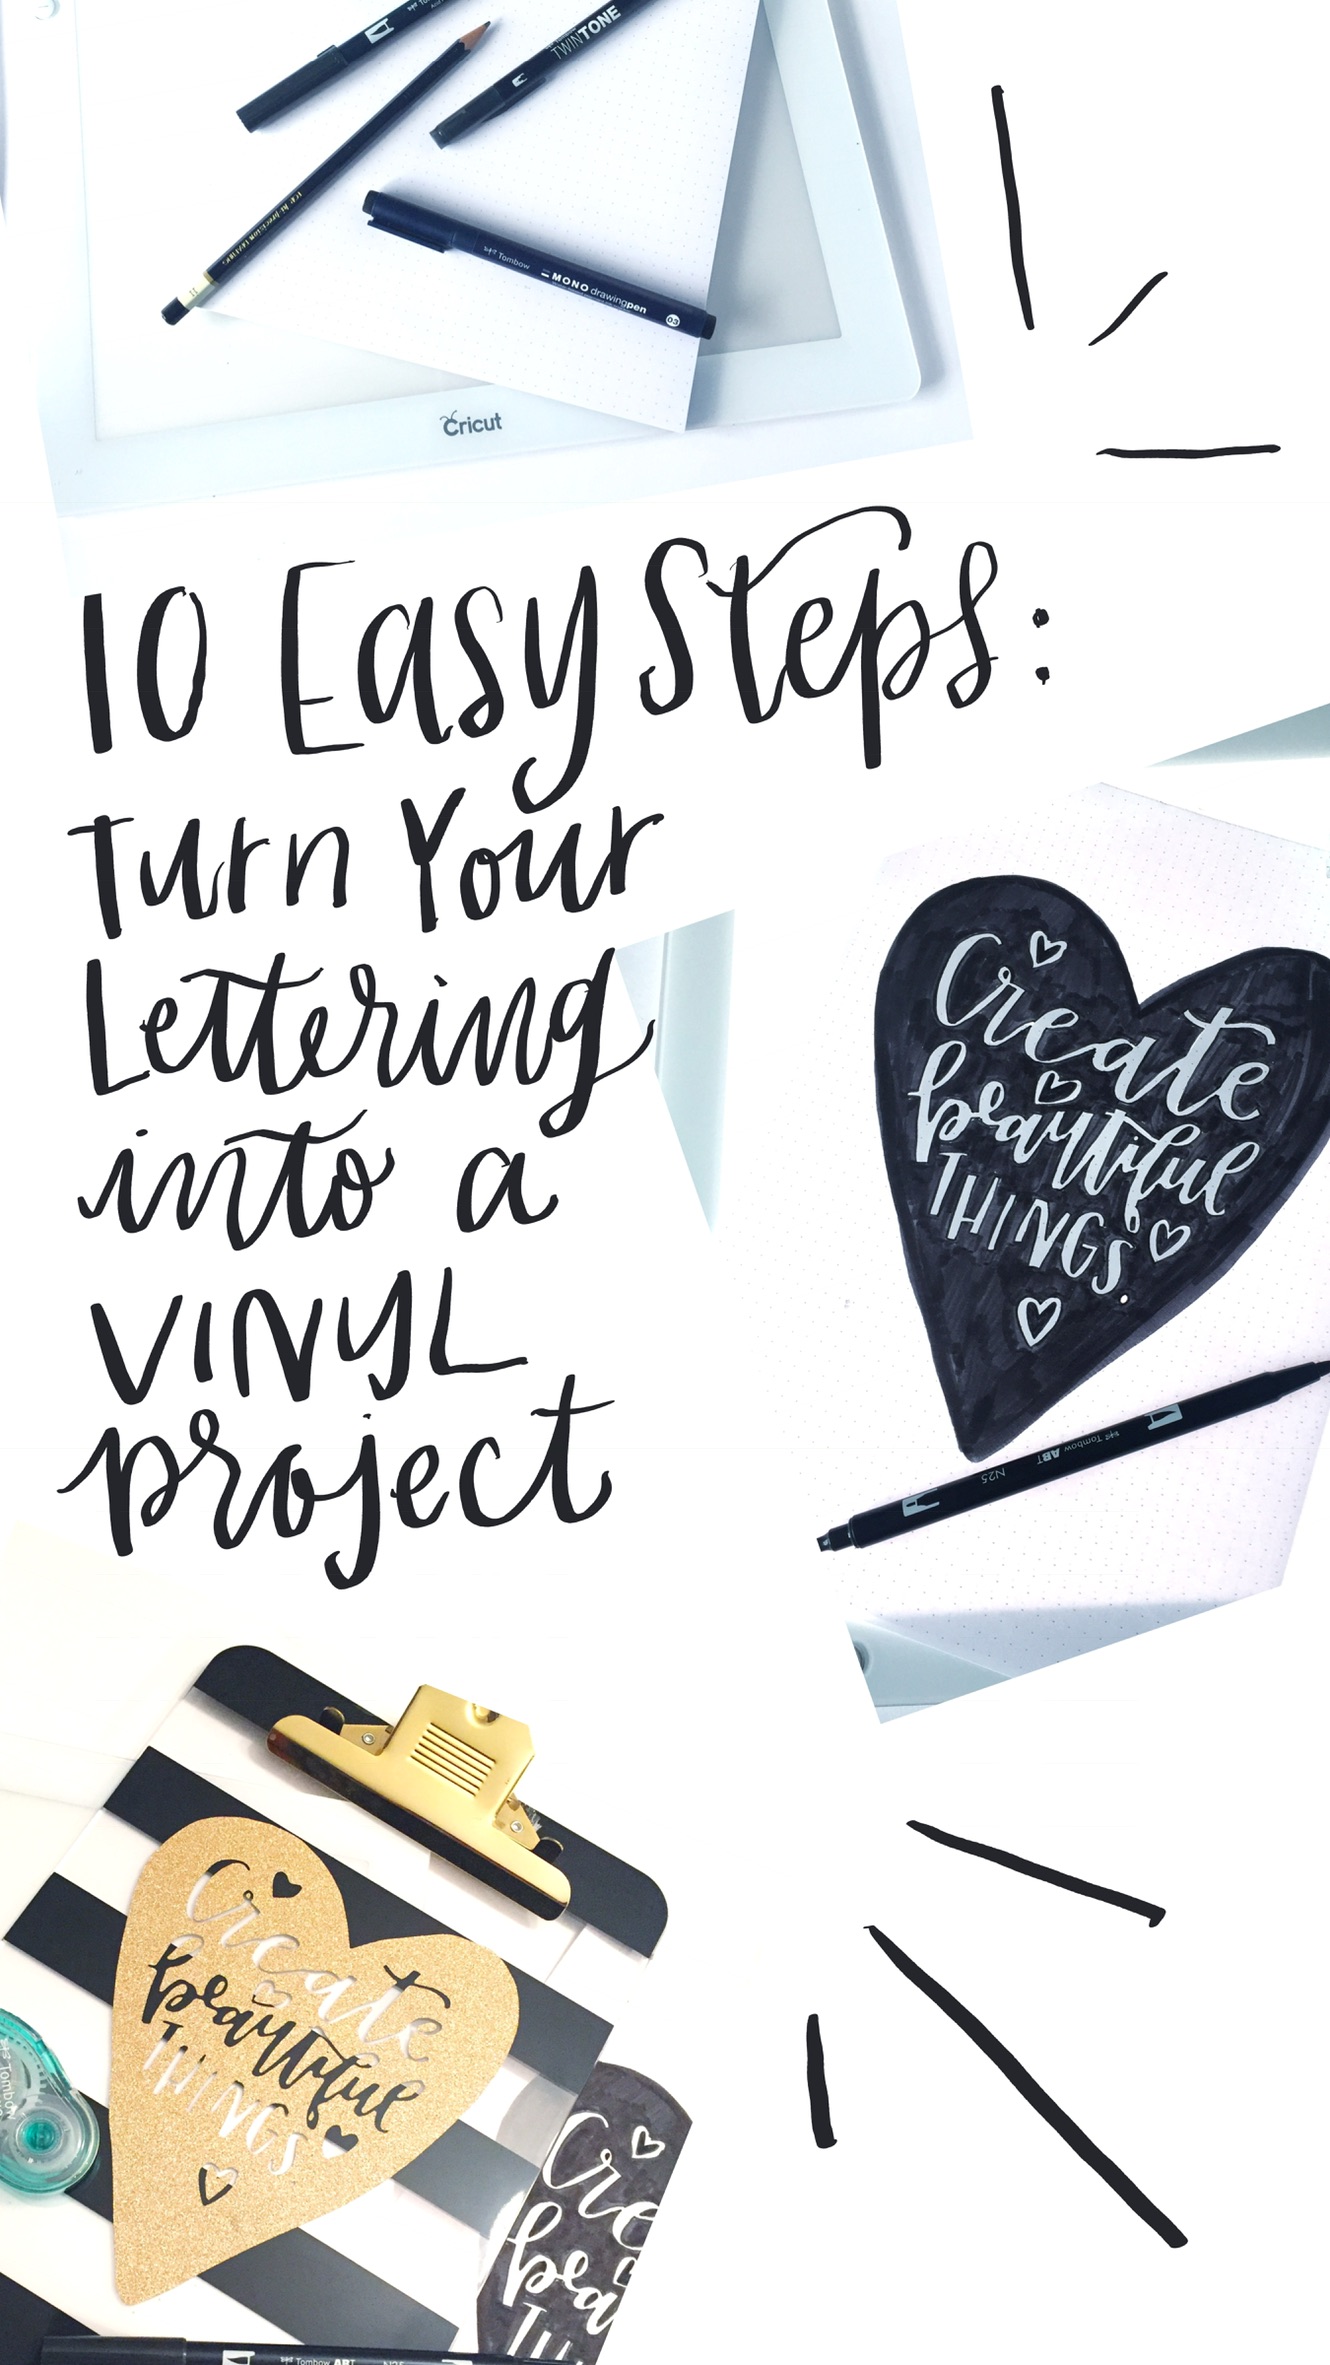
Have you ever wondered how to convert your own hand lettered pieces into a fun vinyl project? Hey there, lovelies! It’s Lauren of @renmadecalligraphy back to share with you 10 easy steps to take your Tombow brush lettering to a whole new level with the help of our friends at Cricut! Also a huge thank you to Cricut for sending the Design Team members each our own Cricut Explore Air 2 and Cricut BrightPad! I have been having a blast over here with these two amazing products that pair perfectly with my Tombow markers and adhesives. Today, these 10 steps will show you the play by play of how I created a super cute glitter vinyl lettering design to brighten up a plain striped clip board that I picked up at a craft store.
STEP 1: GATHER YOUR SUPPLIES
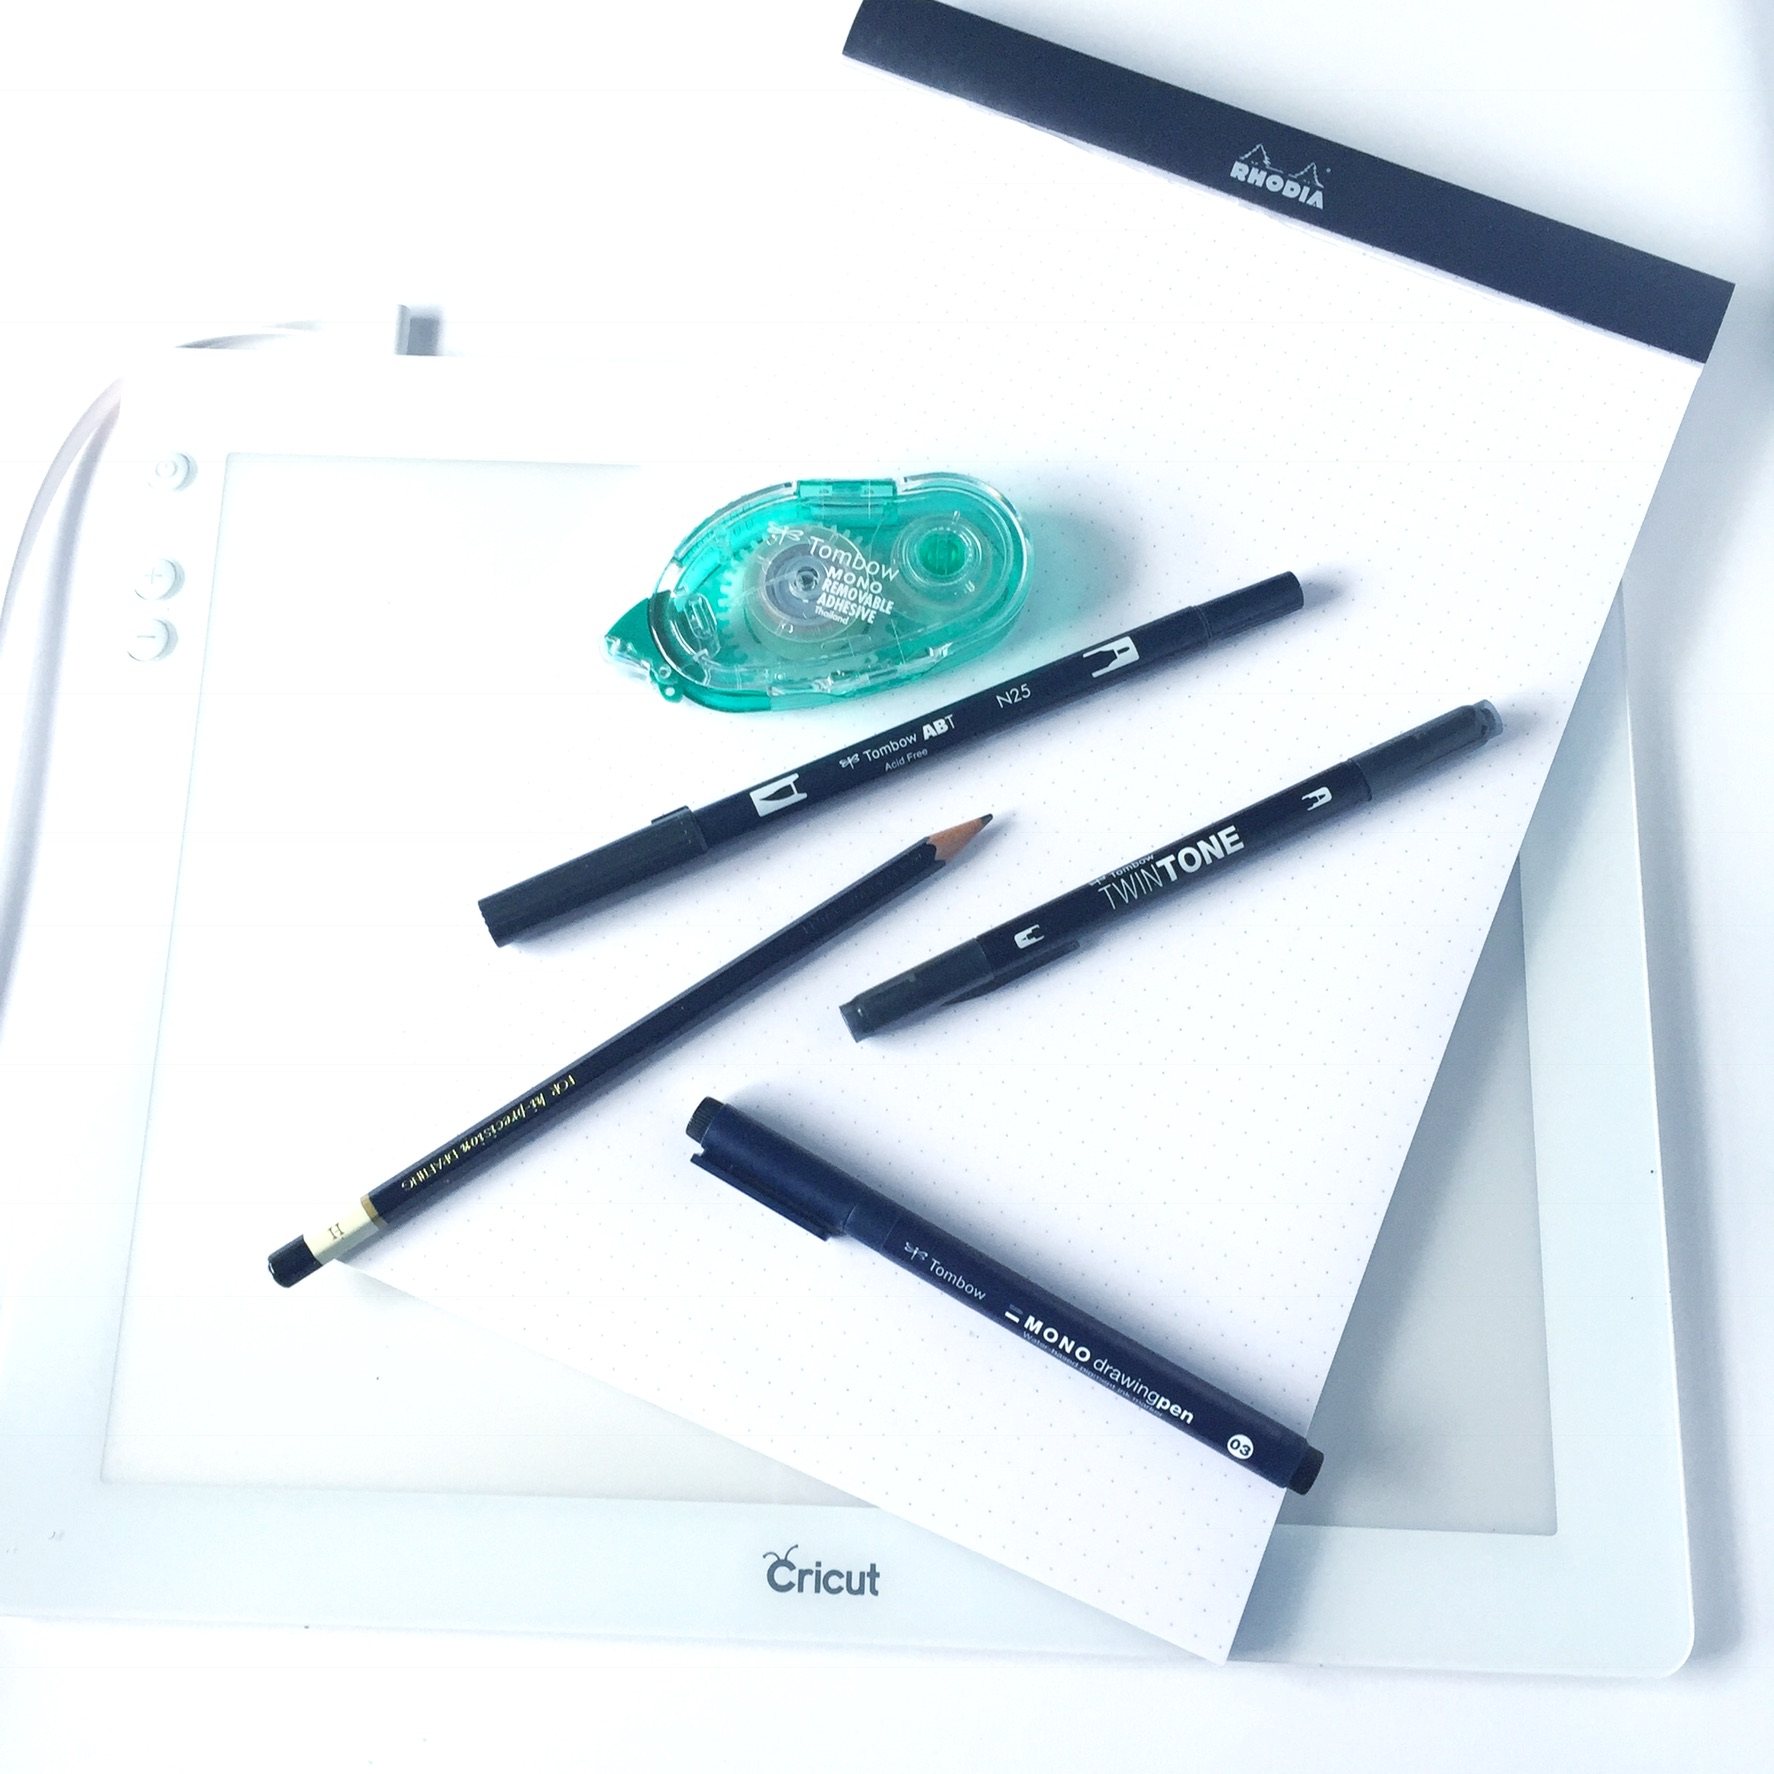
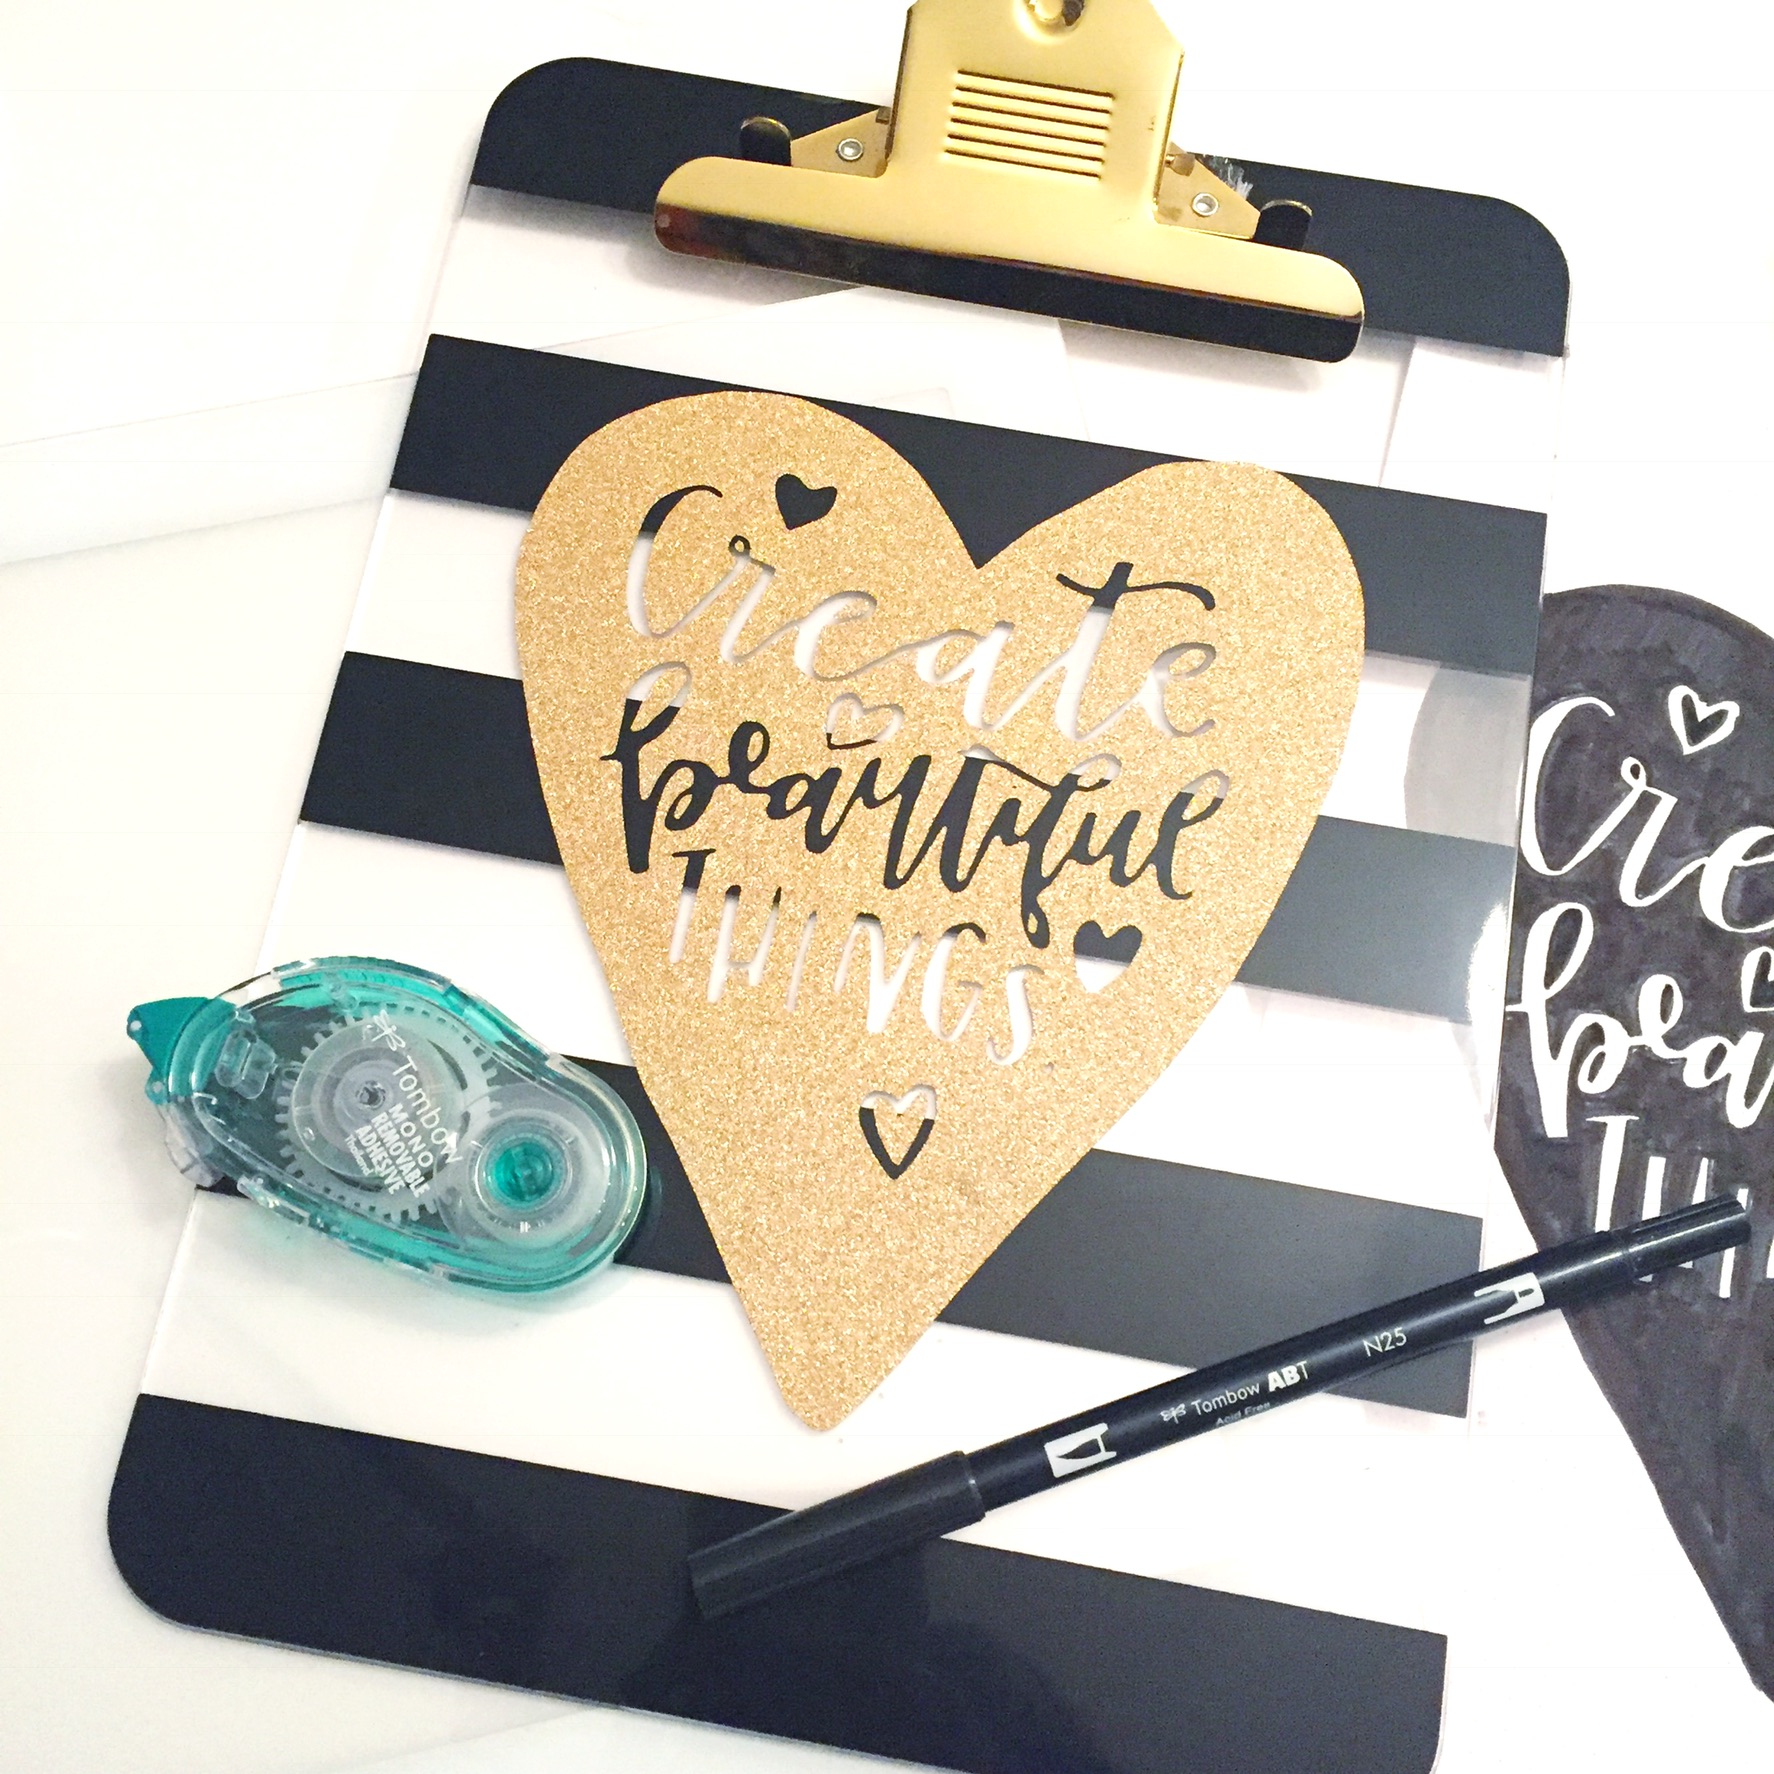
For this tutorial, I used:
- Any black or dark colored Tombow pen (I used the Tombow Dual Brush Pen and prior to this design had sketched an idea with a Tombow MONO Drawing Pencil).
- Several sheets of smooth white paper (I used the Rhodia Dot Pad)
- Tombow MONO Removable Adhesive
- Cricut Brightpad
- Cricut Explore Air 2 and Tools
- Cricut Gold Glitter Vinyl (they have so many fun options!)
- Cricut Transfer Tape
All of these items may not be readily available to you right now, but there are so many ways that you can use this fun equipment and I strongly recommend you look into snagging all of these items for your lettering stash!
STEP 2: SKETCH OUT A QUICK SHAPE
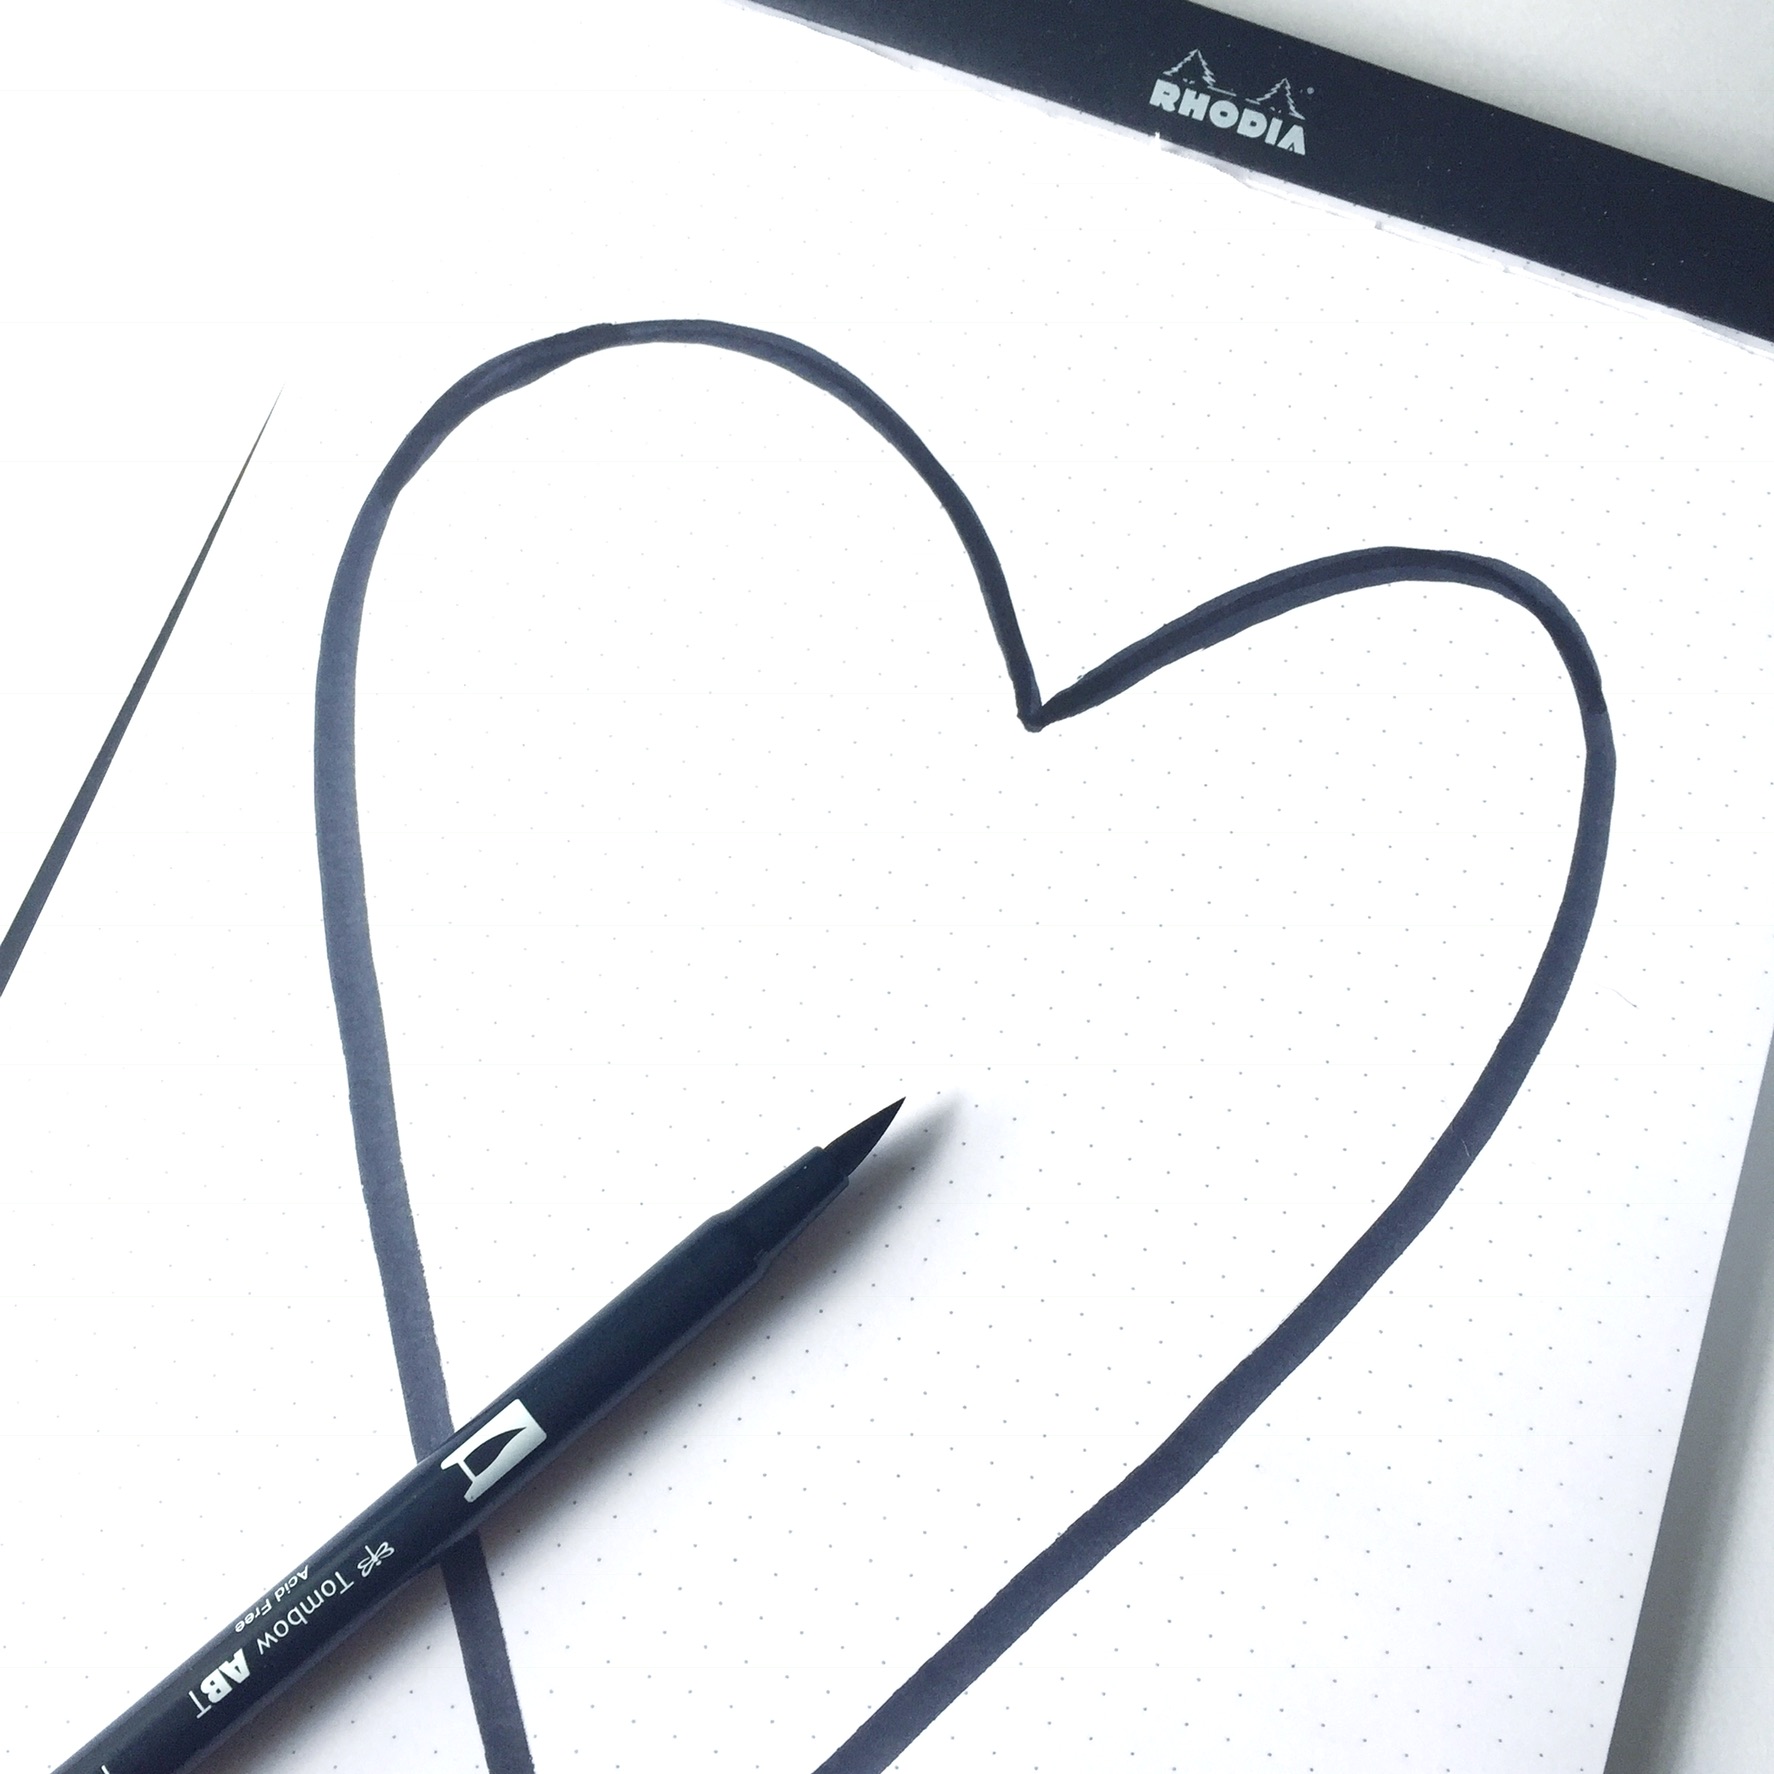
Start by sketching a simple shape that you will add lettering inside with your black Tombow Dual Brush Pen.
STEP 3: LETTER A QUOTE INSIDE THE SHAPE
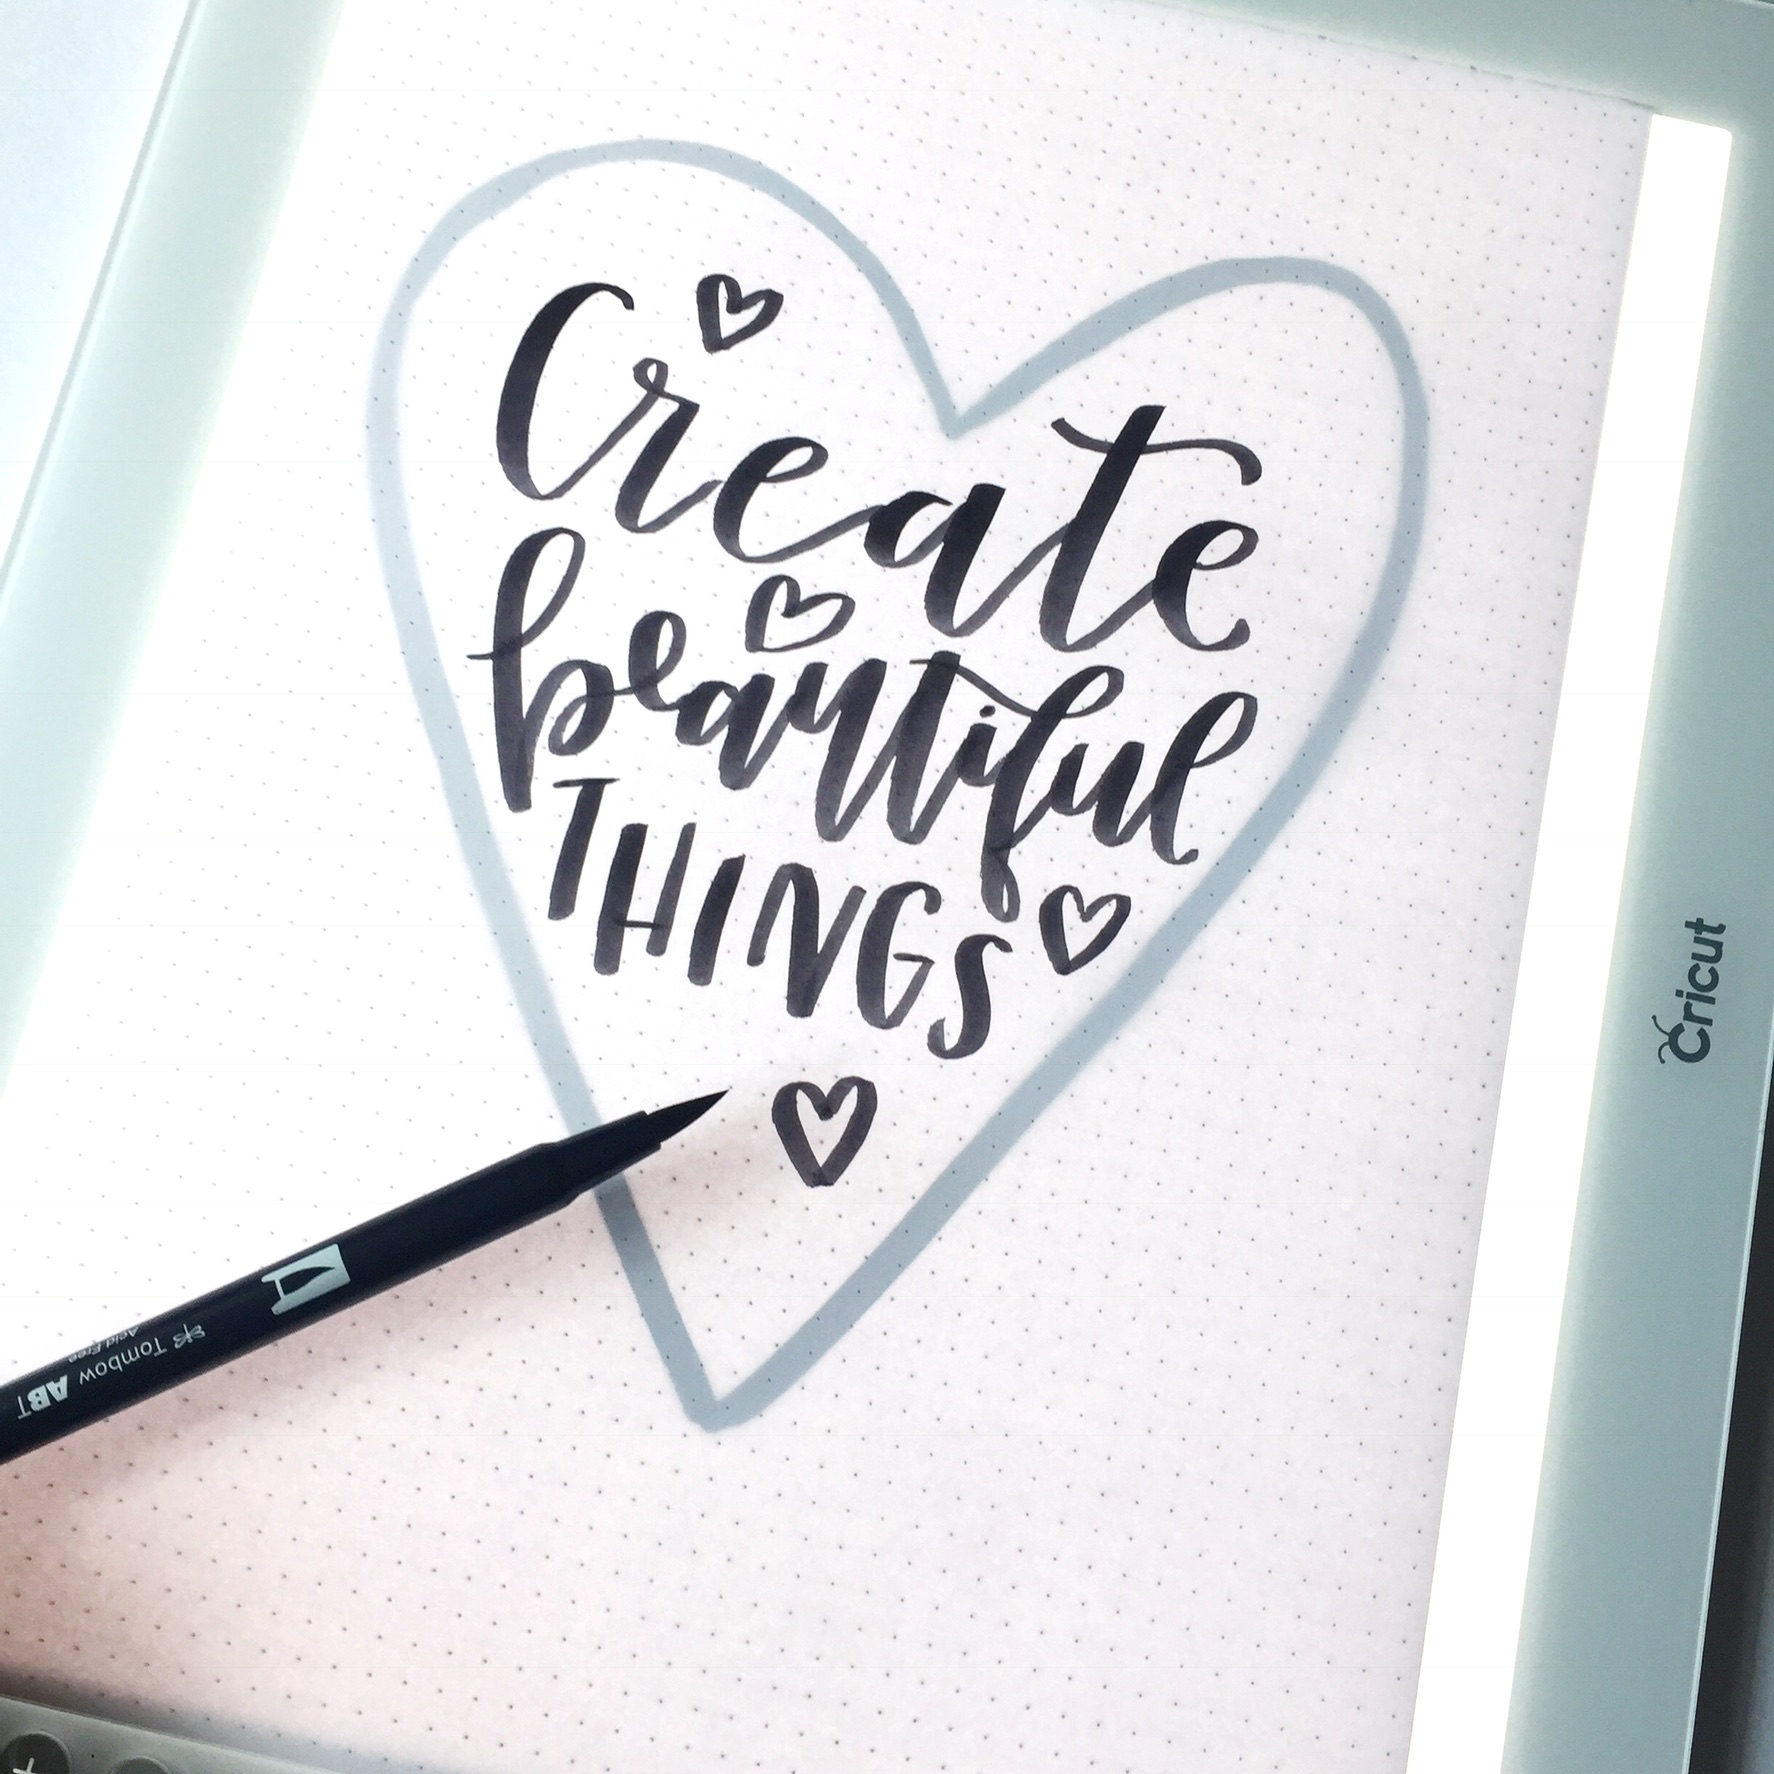
Place a separate sheet on top of the heart and letter a quote that fits inside of the shape.
STEP 4: TRACE AROUND THE LETTERING AND COLOR THE SPACE AROUND THE LETTERING
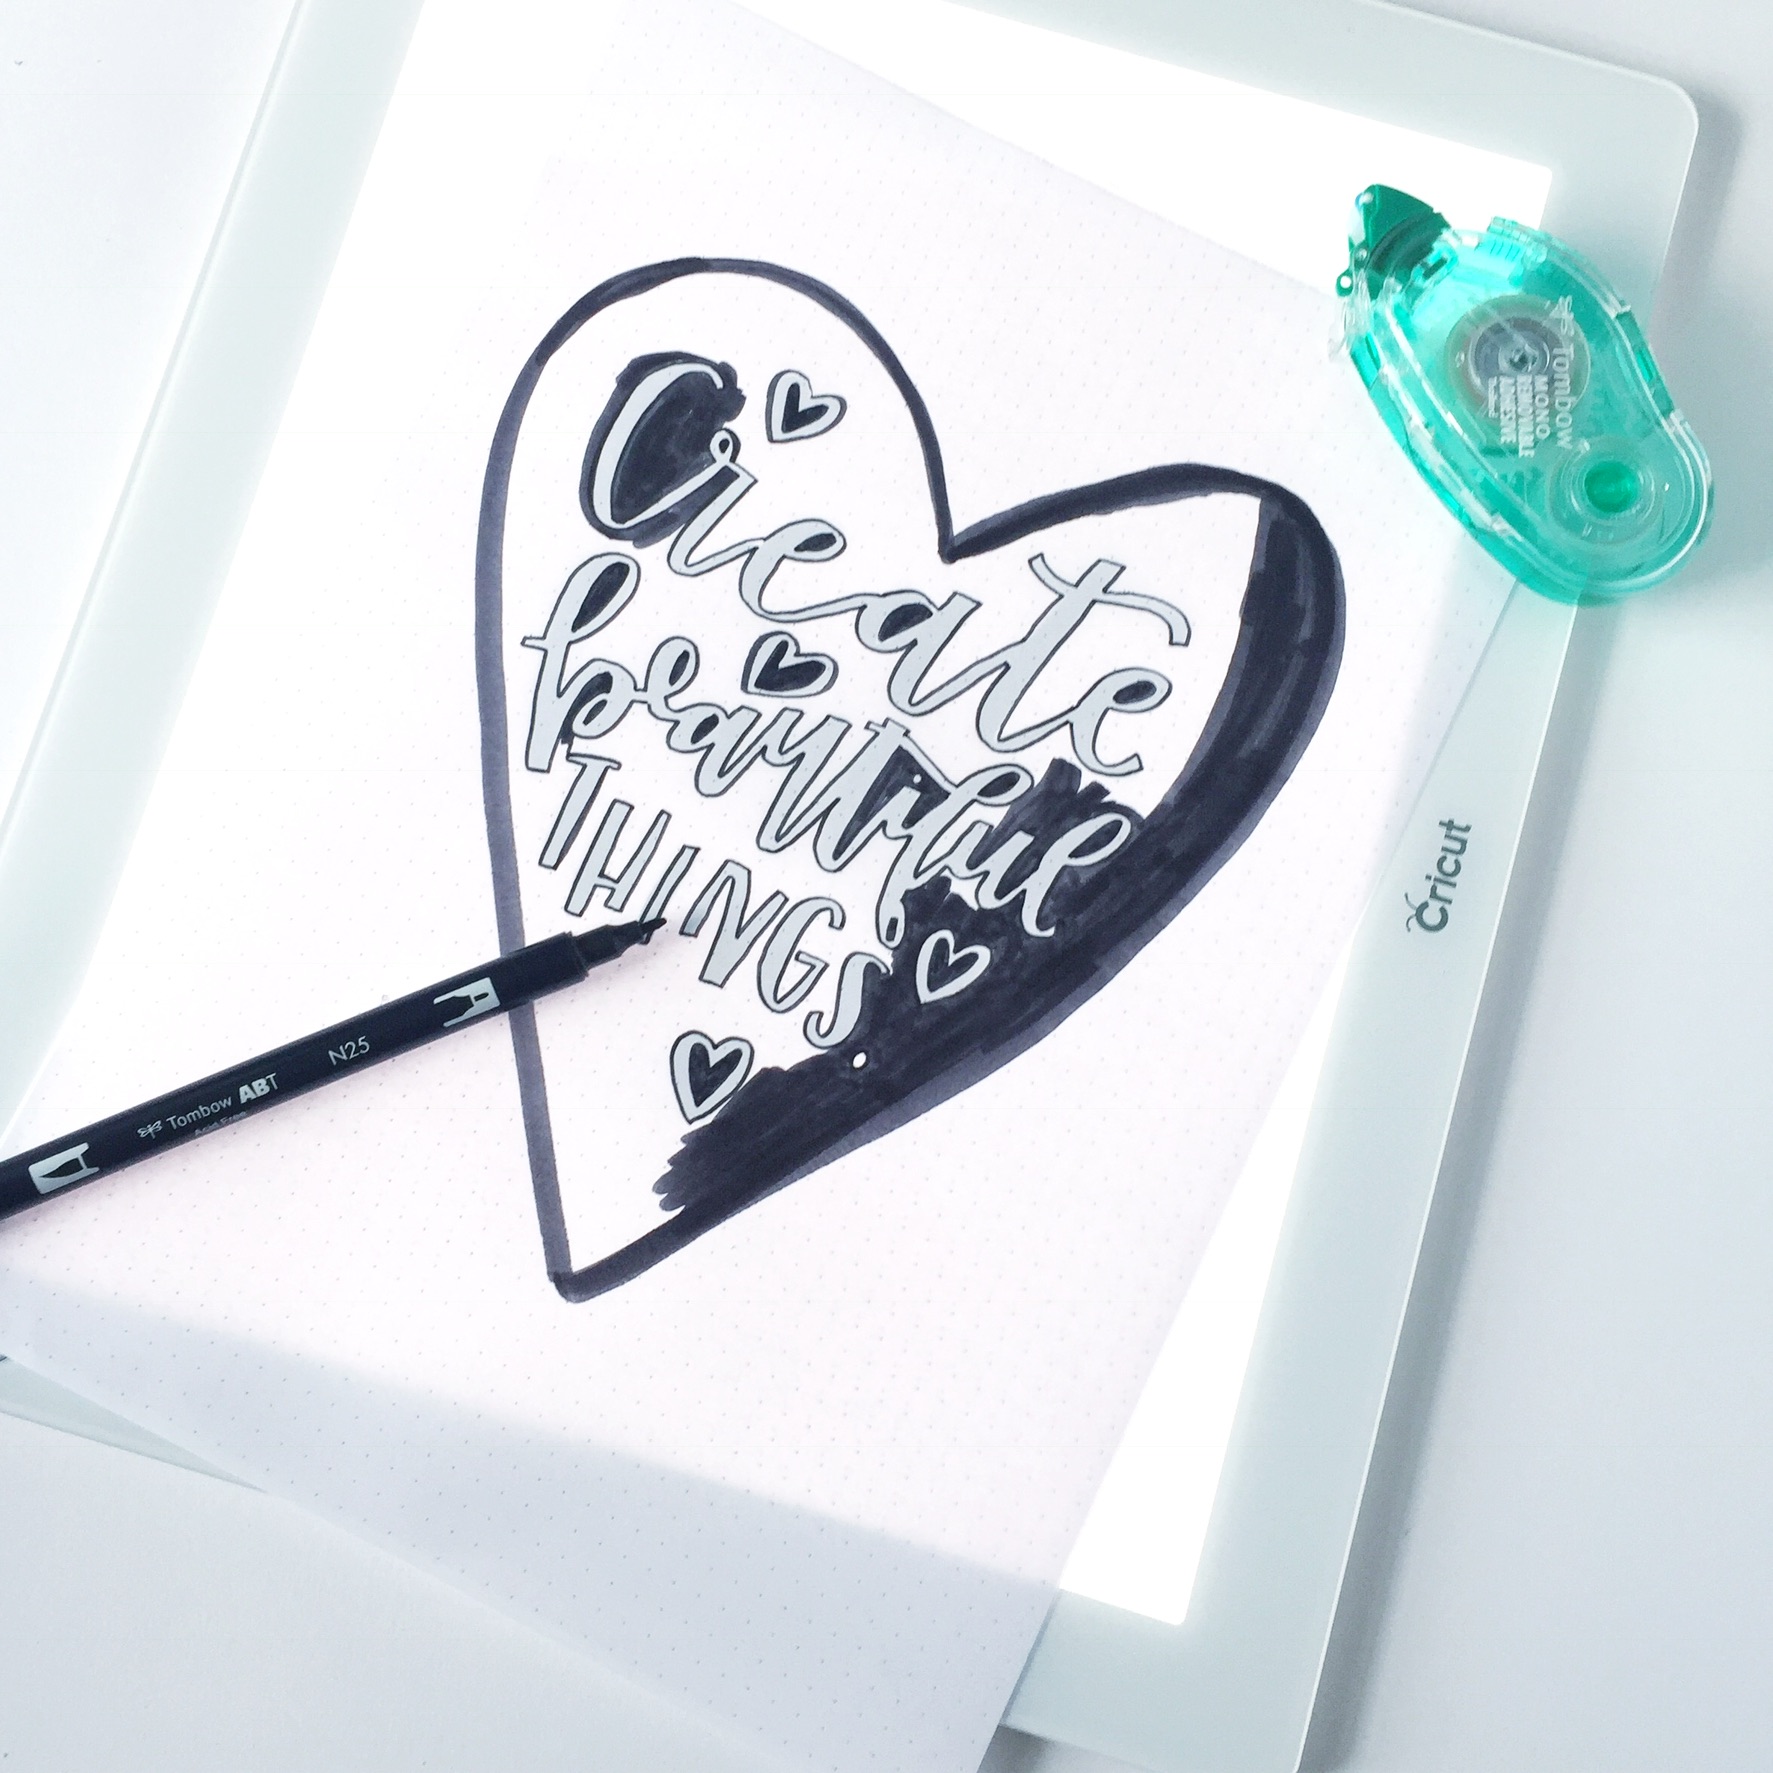
Using your Tombow MONO Removable Adhesive, place the heart shape on top of the quote and press firmly so that it will stay in place. This adhesive is my FAVORITE to use during the actual creation process of most of my Cricut projects. You can even place the MONO Removable Adhesive to the back of the paper and it will stay put on the Cricut BrightPad until you are ready to move it and will ball up and roll off when you rub your hand over it… genius! Color in the white space around the lettering with the Dual Brush Pen.
STEP 5: SNAP A PICTURE AND EDIT OUT BACKGROUND
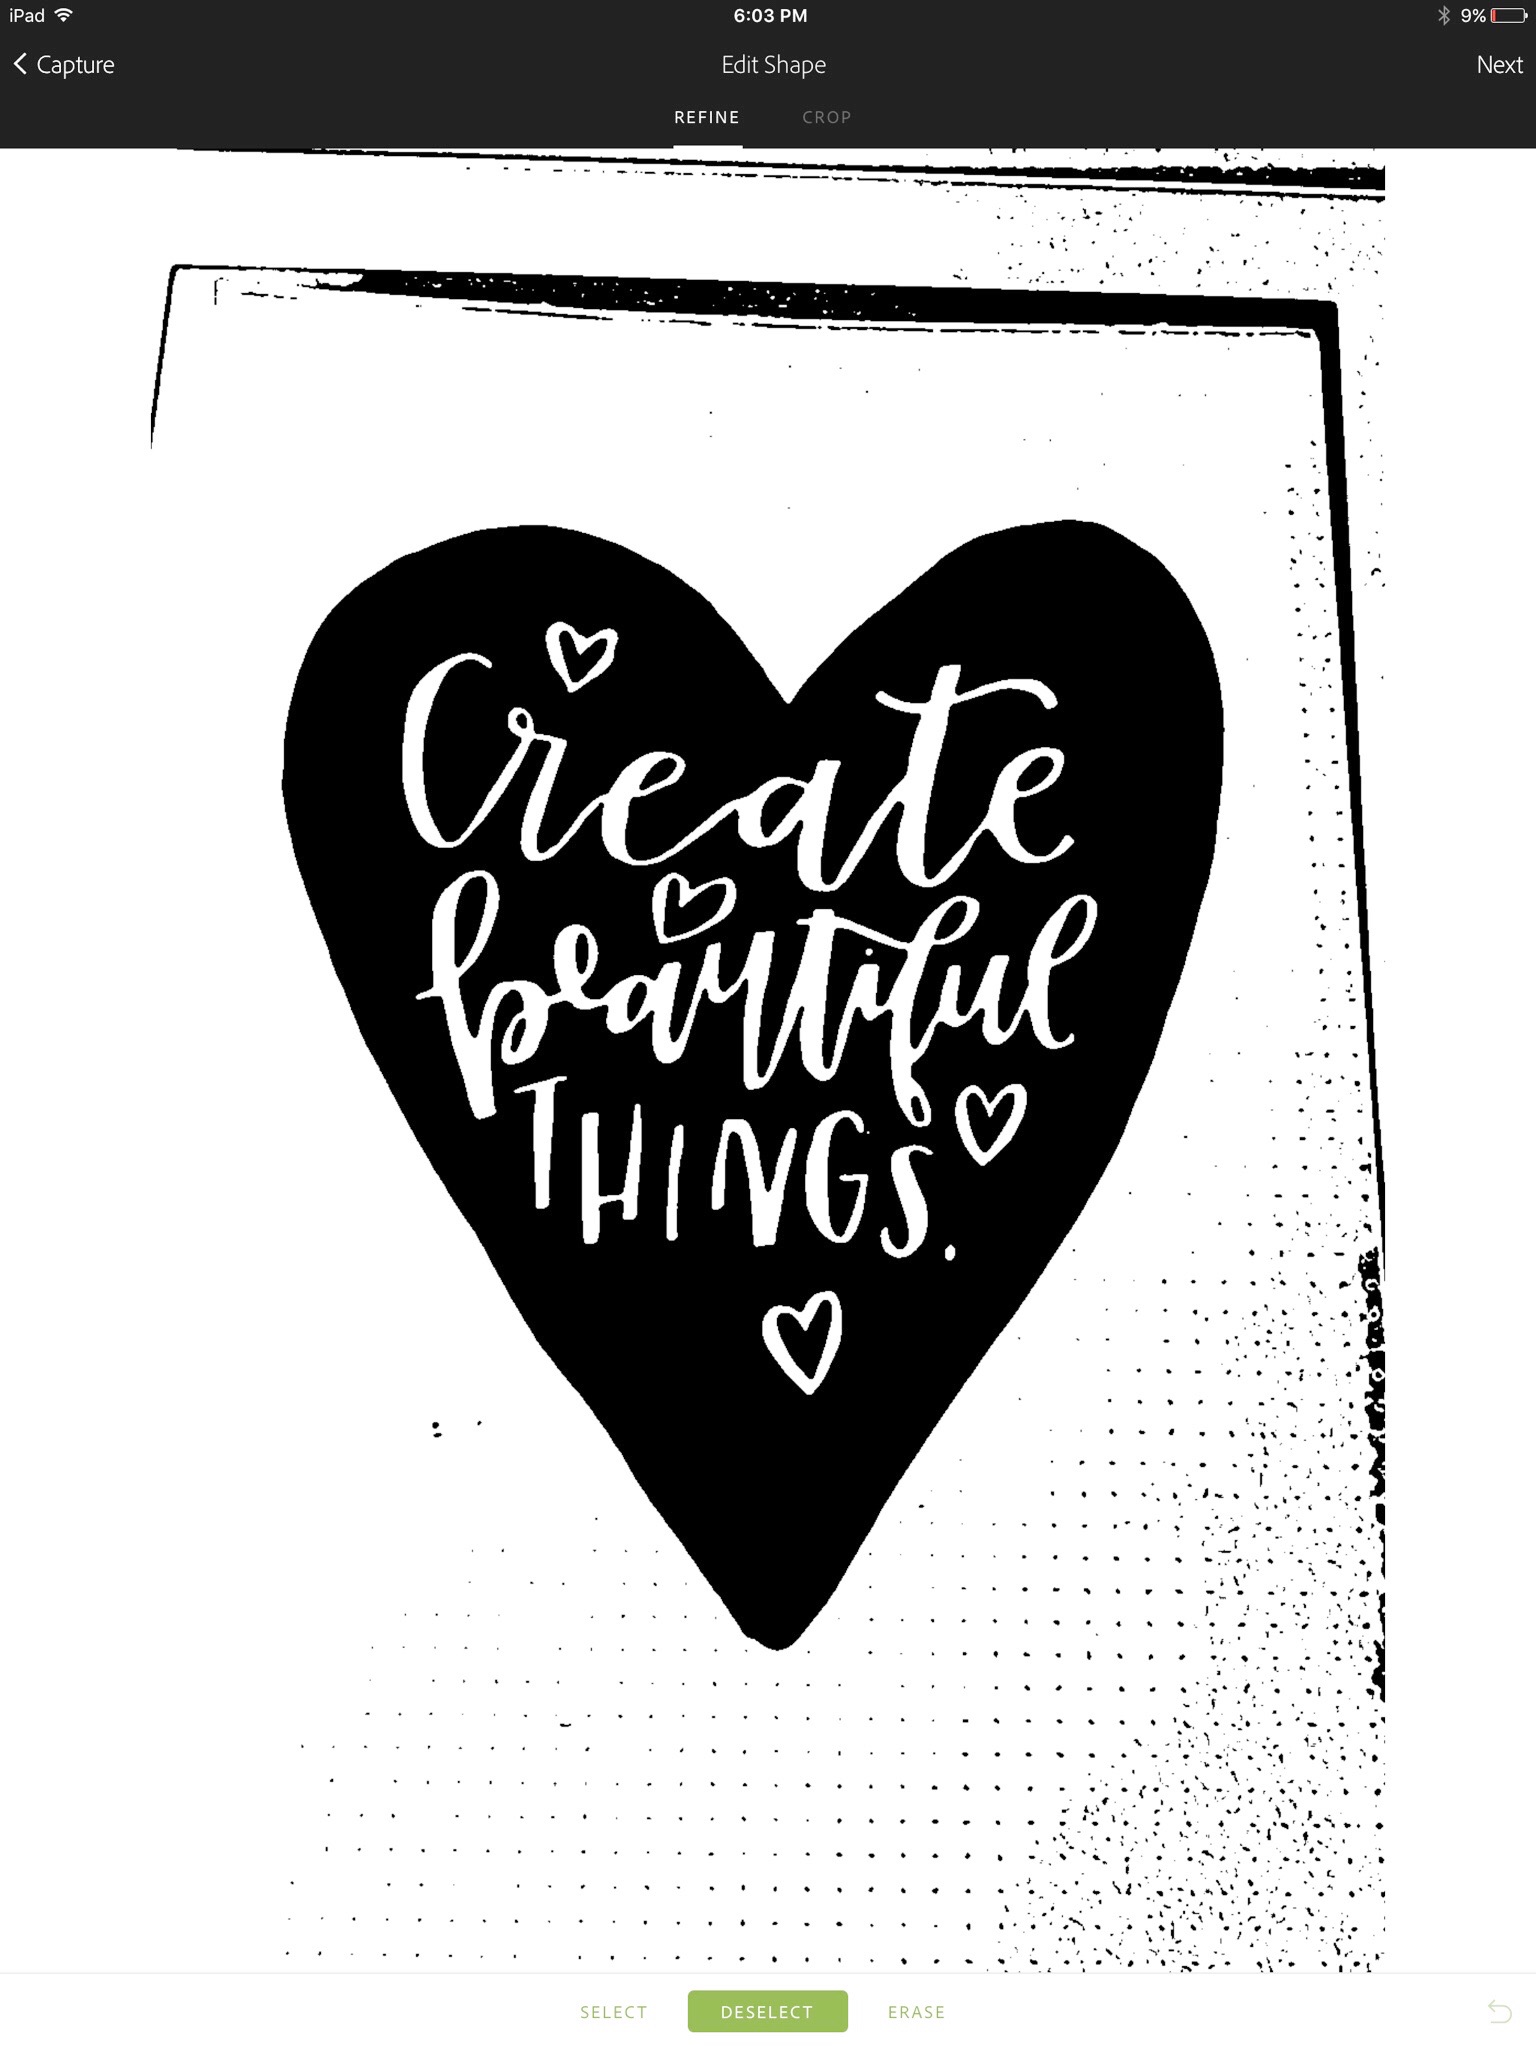
At this part of the project, you must use a tool to snap a picture and take out the background so that your picture will be easily created into an SVG file, which is just a fancy schmancy term for a cut file that can be used on the Cricut. There are several options that you can use when doing this. I snap a picture with my iPhone or iPad and upload it into my Adobe Capture App. This app is part of my Adobe Creative Cloud subscription and I LOVE it for creating shapes that are easily converted into an SVG file. In this app I clean up the background by deleting the dots that came through and cropping the image to frame the heart and get rid of the excess background.
Another option to create a file like this is to upload an image onto your computer and use the snipping tool. Once bringing it into Cricut Design Space you can easily edit out the background and make some tweaks so that the image is ready to go.
STEP 6: CREATE AN SVG FILE
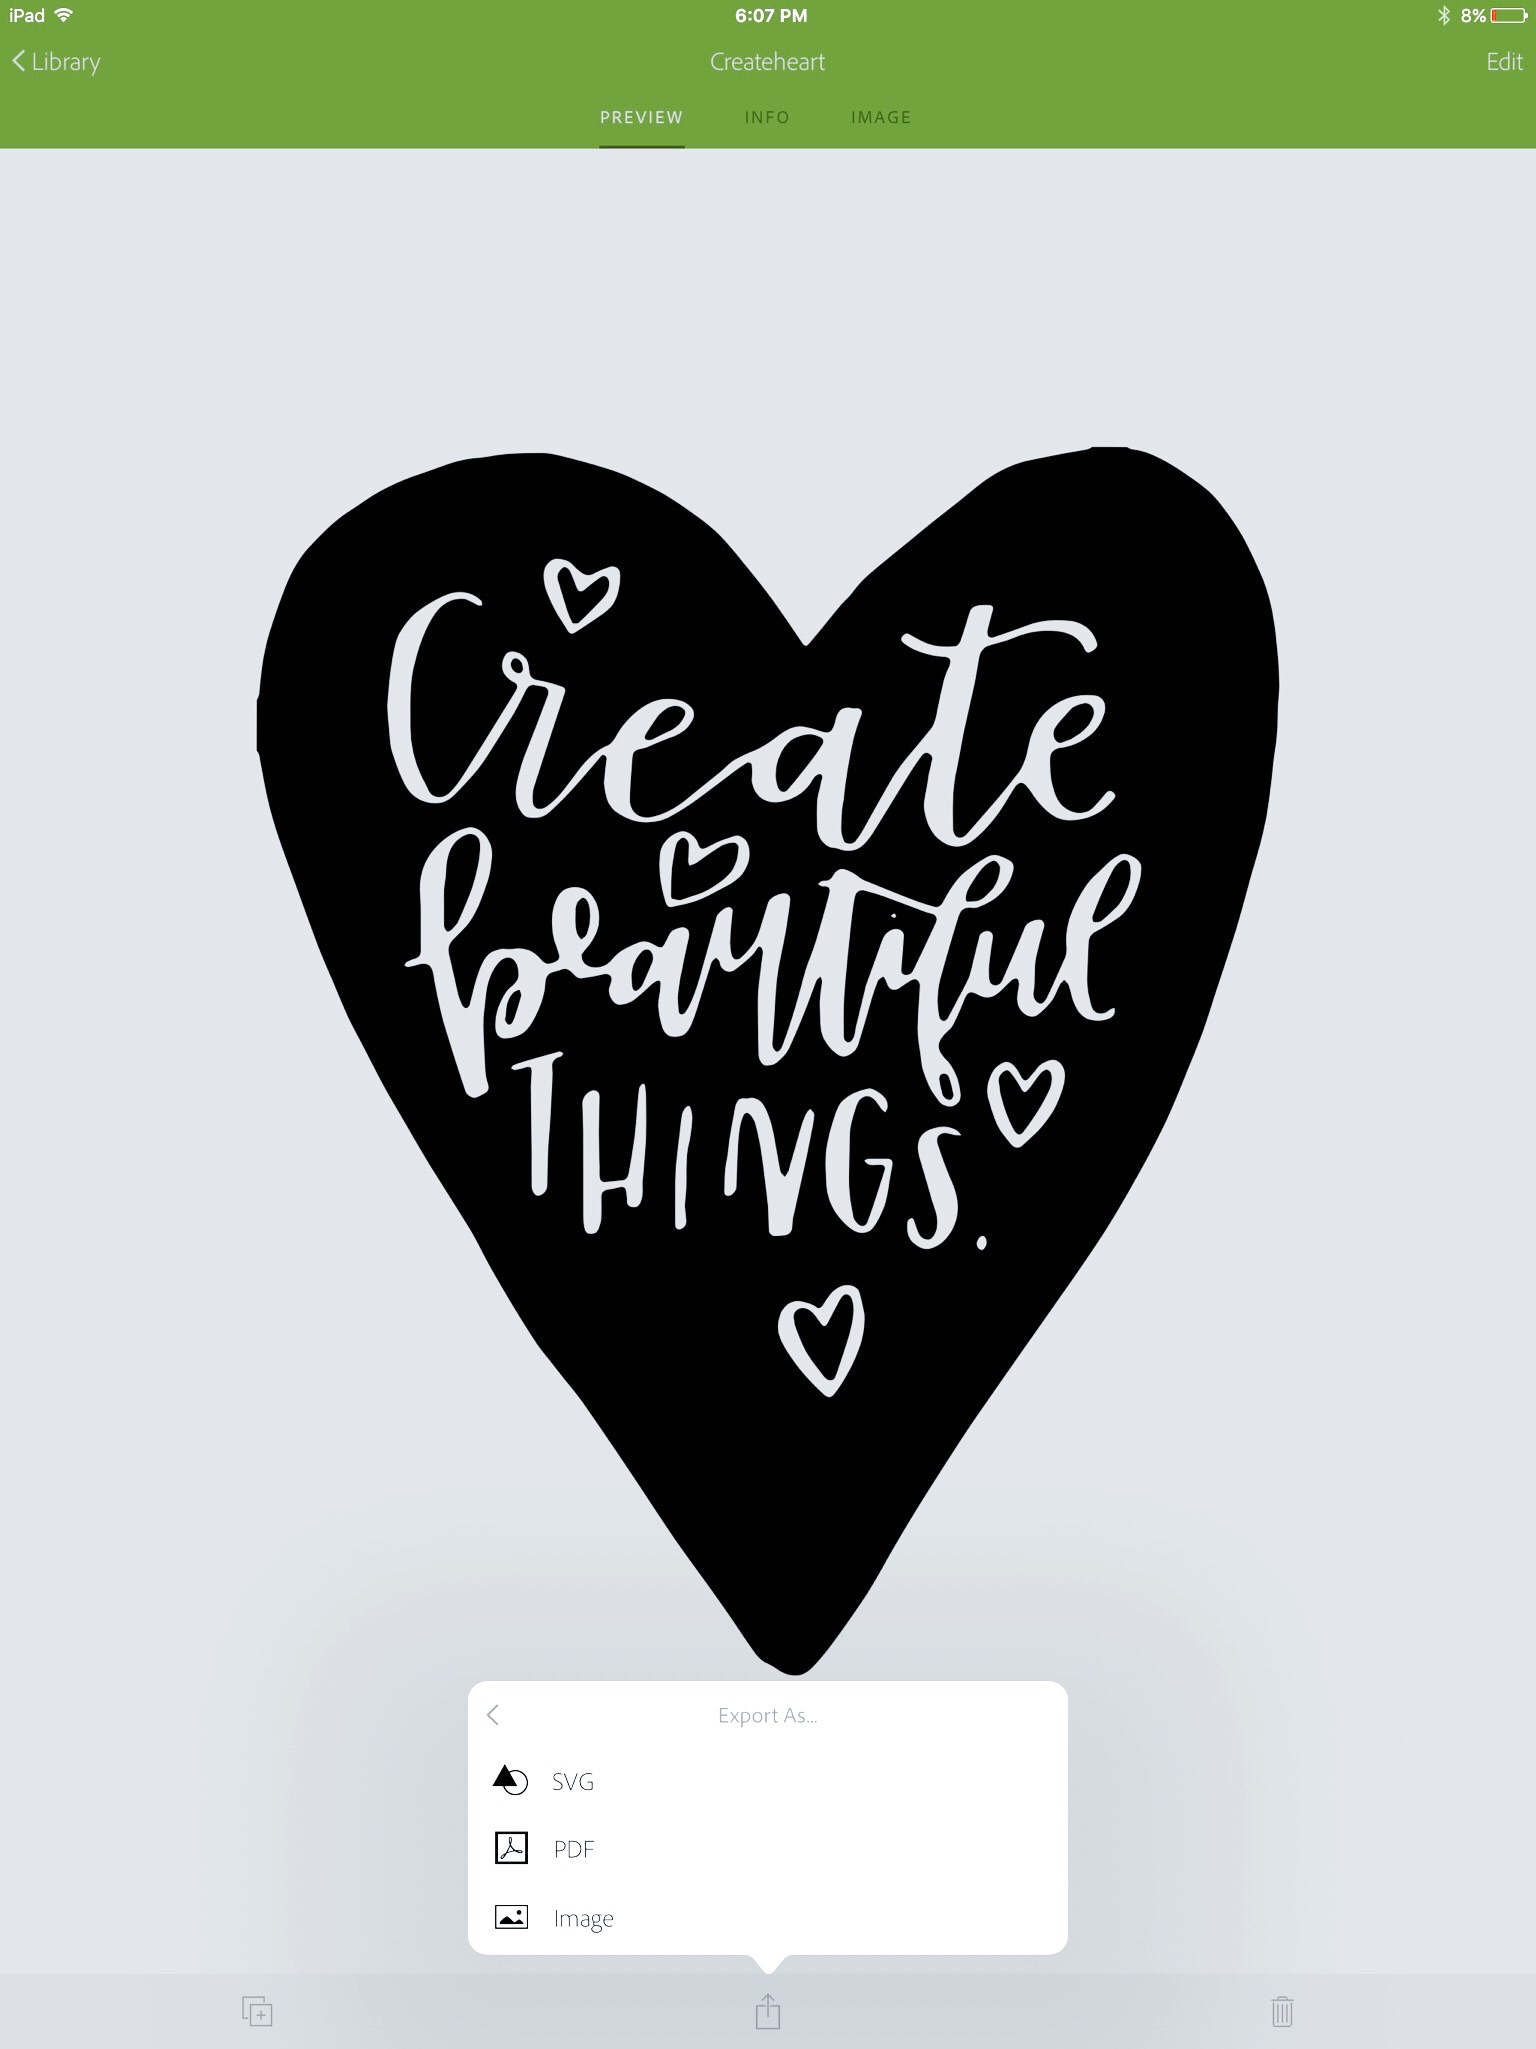
After saving the image in Adobe Capture, export the image as an SVG file. I do this and save it in my Drop Box so that it is quickly accessible on my computer.
STEP 7: UPLOAD THE SVG FILE INTO CRICUT DESIGN SPACE
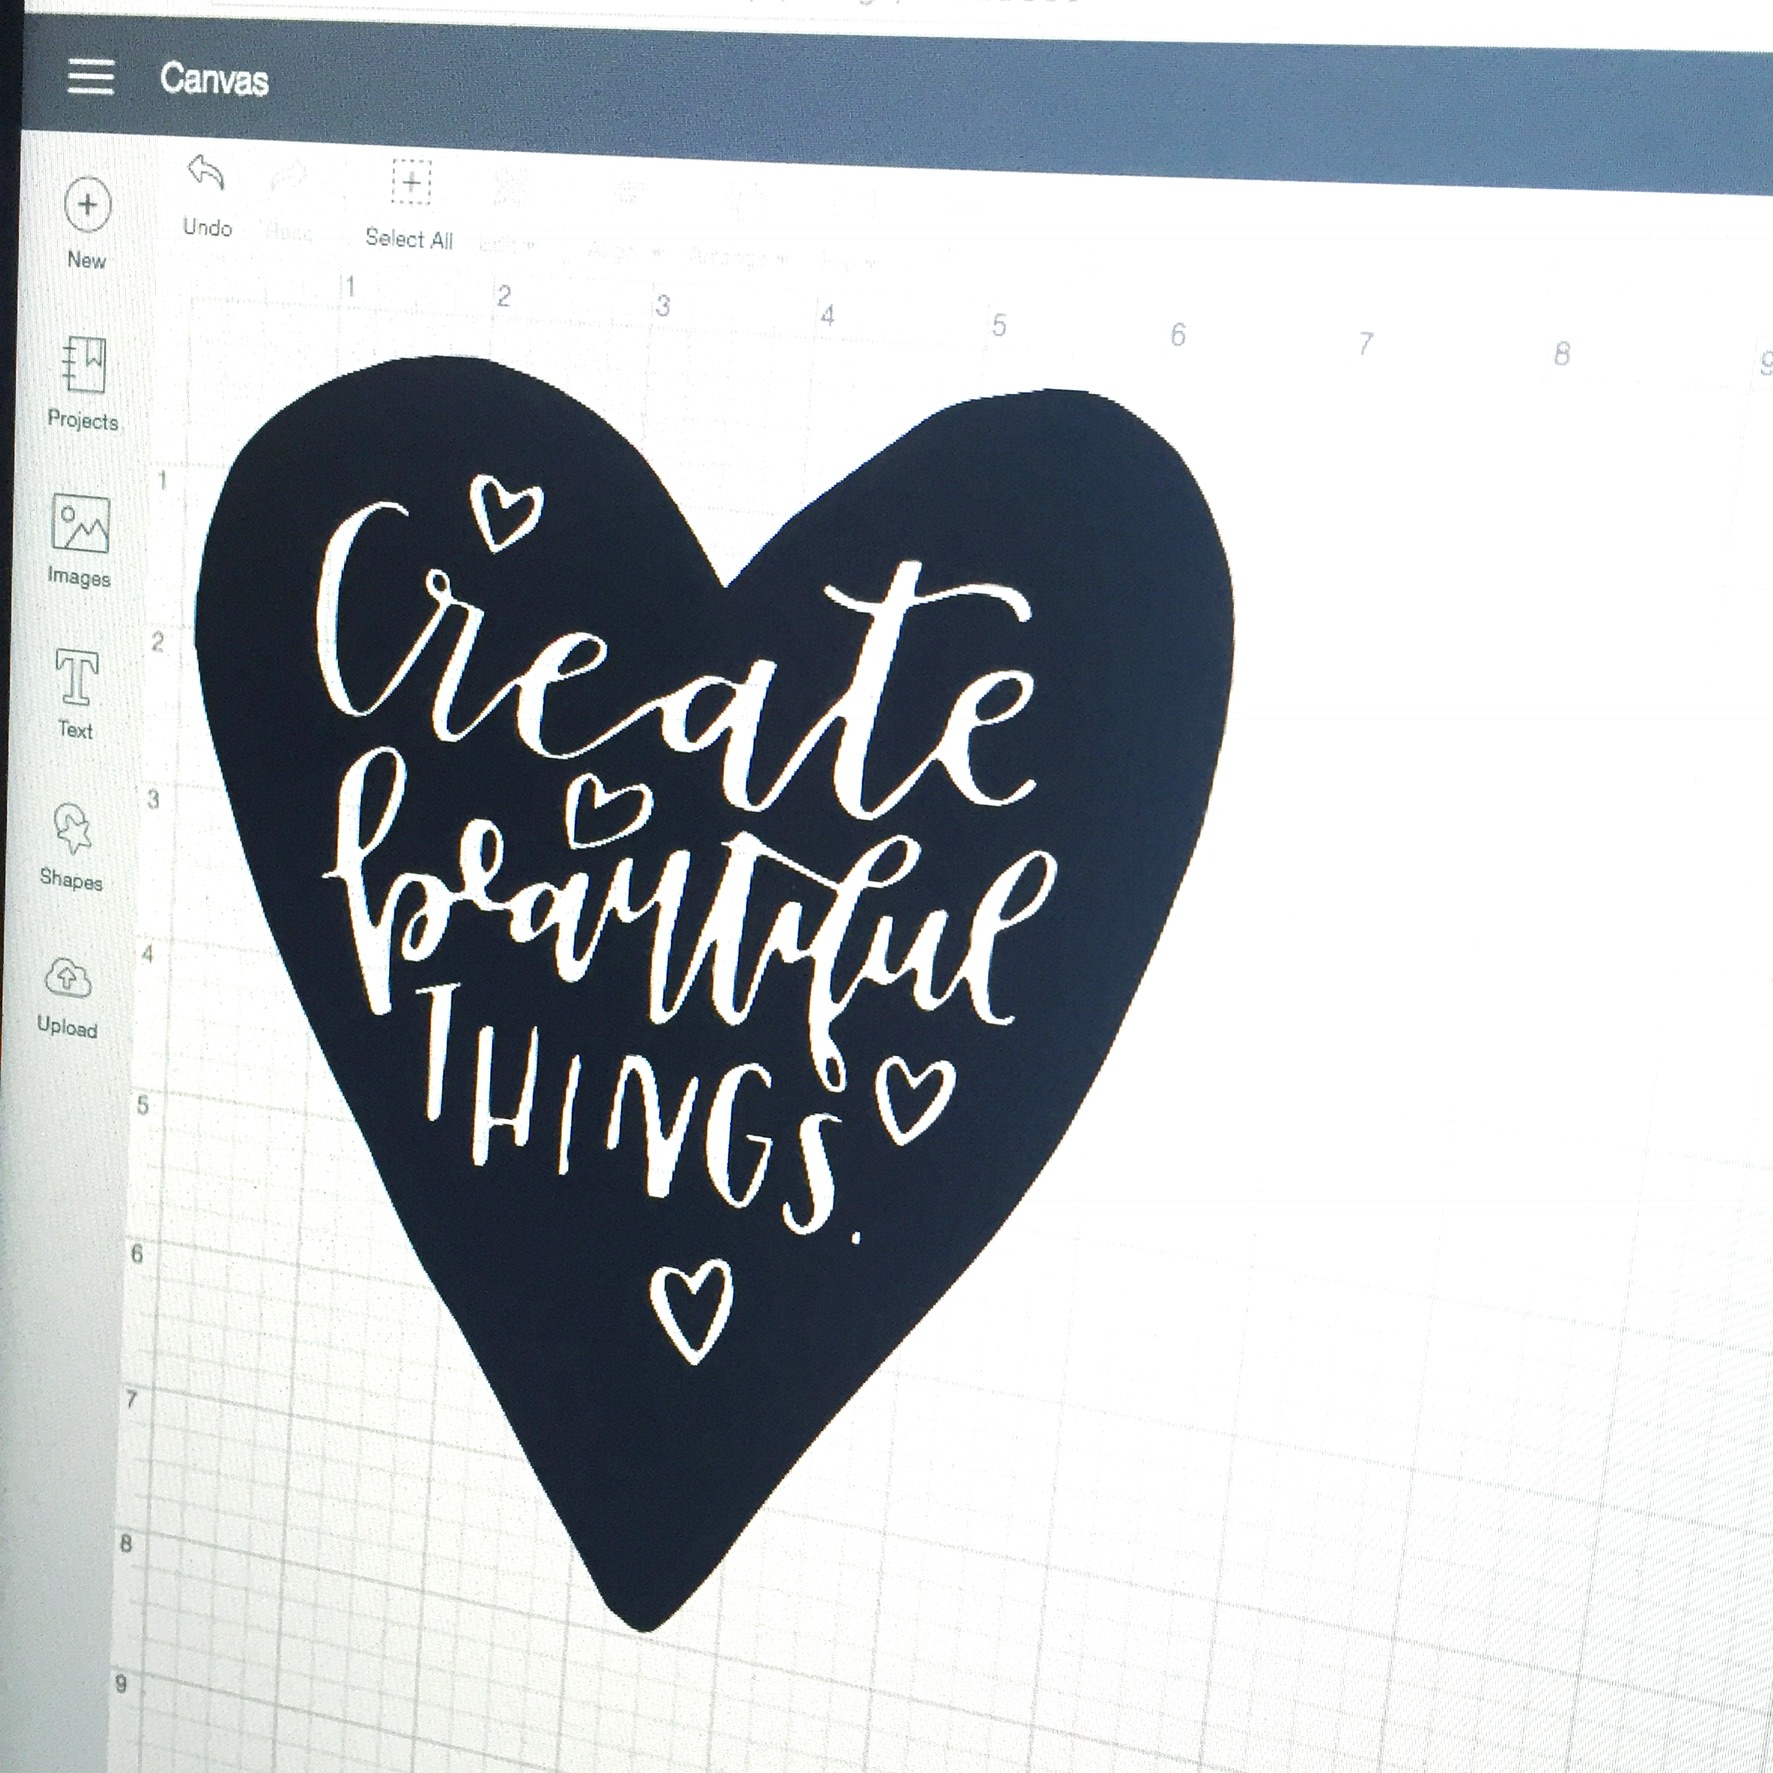
To upload your project into Cricut Design Space you must use your computer and also make sure you have the updated software, which only takes a few minutes to download the first time. After signing in to your account, start a new project and upload the new SVG file that you just created. I like to size the image so that it will fit on whatever I am printing it for. I kept the heart a little smaller than a piece of paper, since I was creating an embellishment for my clipboard. Once uploading the file and saving the project I also chose to weld all the cuts into one shape to make sure that the lettering was carved out of the heart. After saving, you are ready to use the Cricut Explore Air 2 to cut the vinyl.
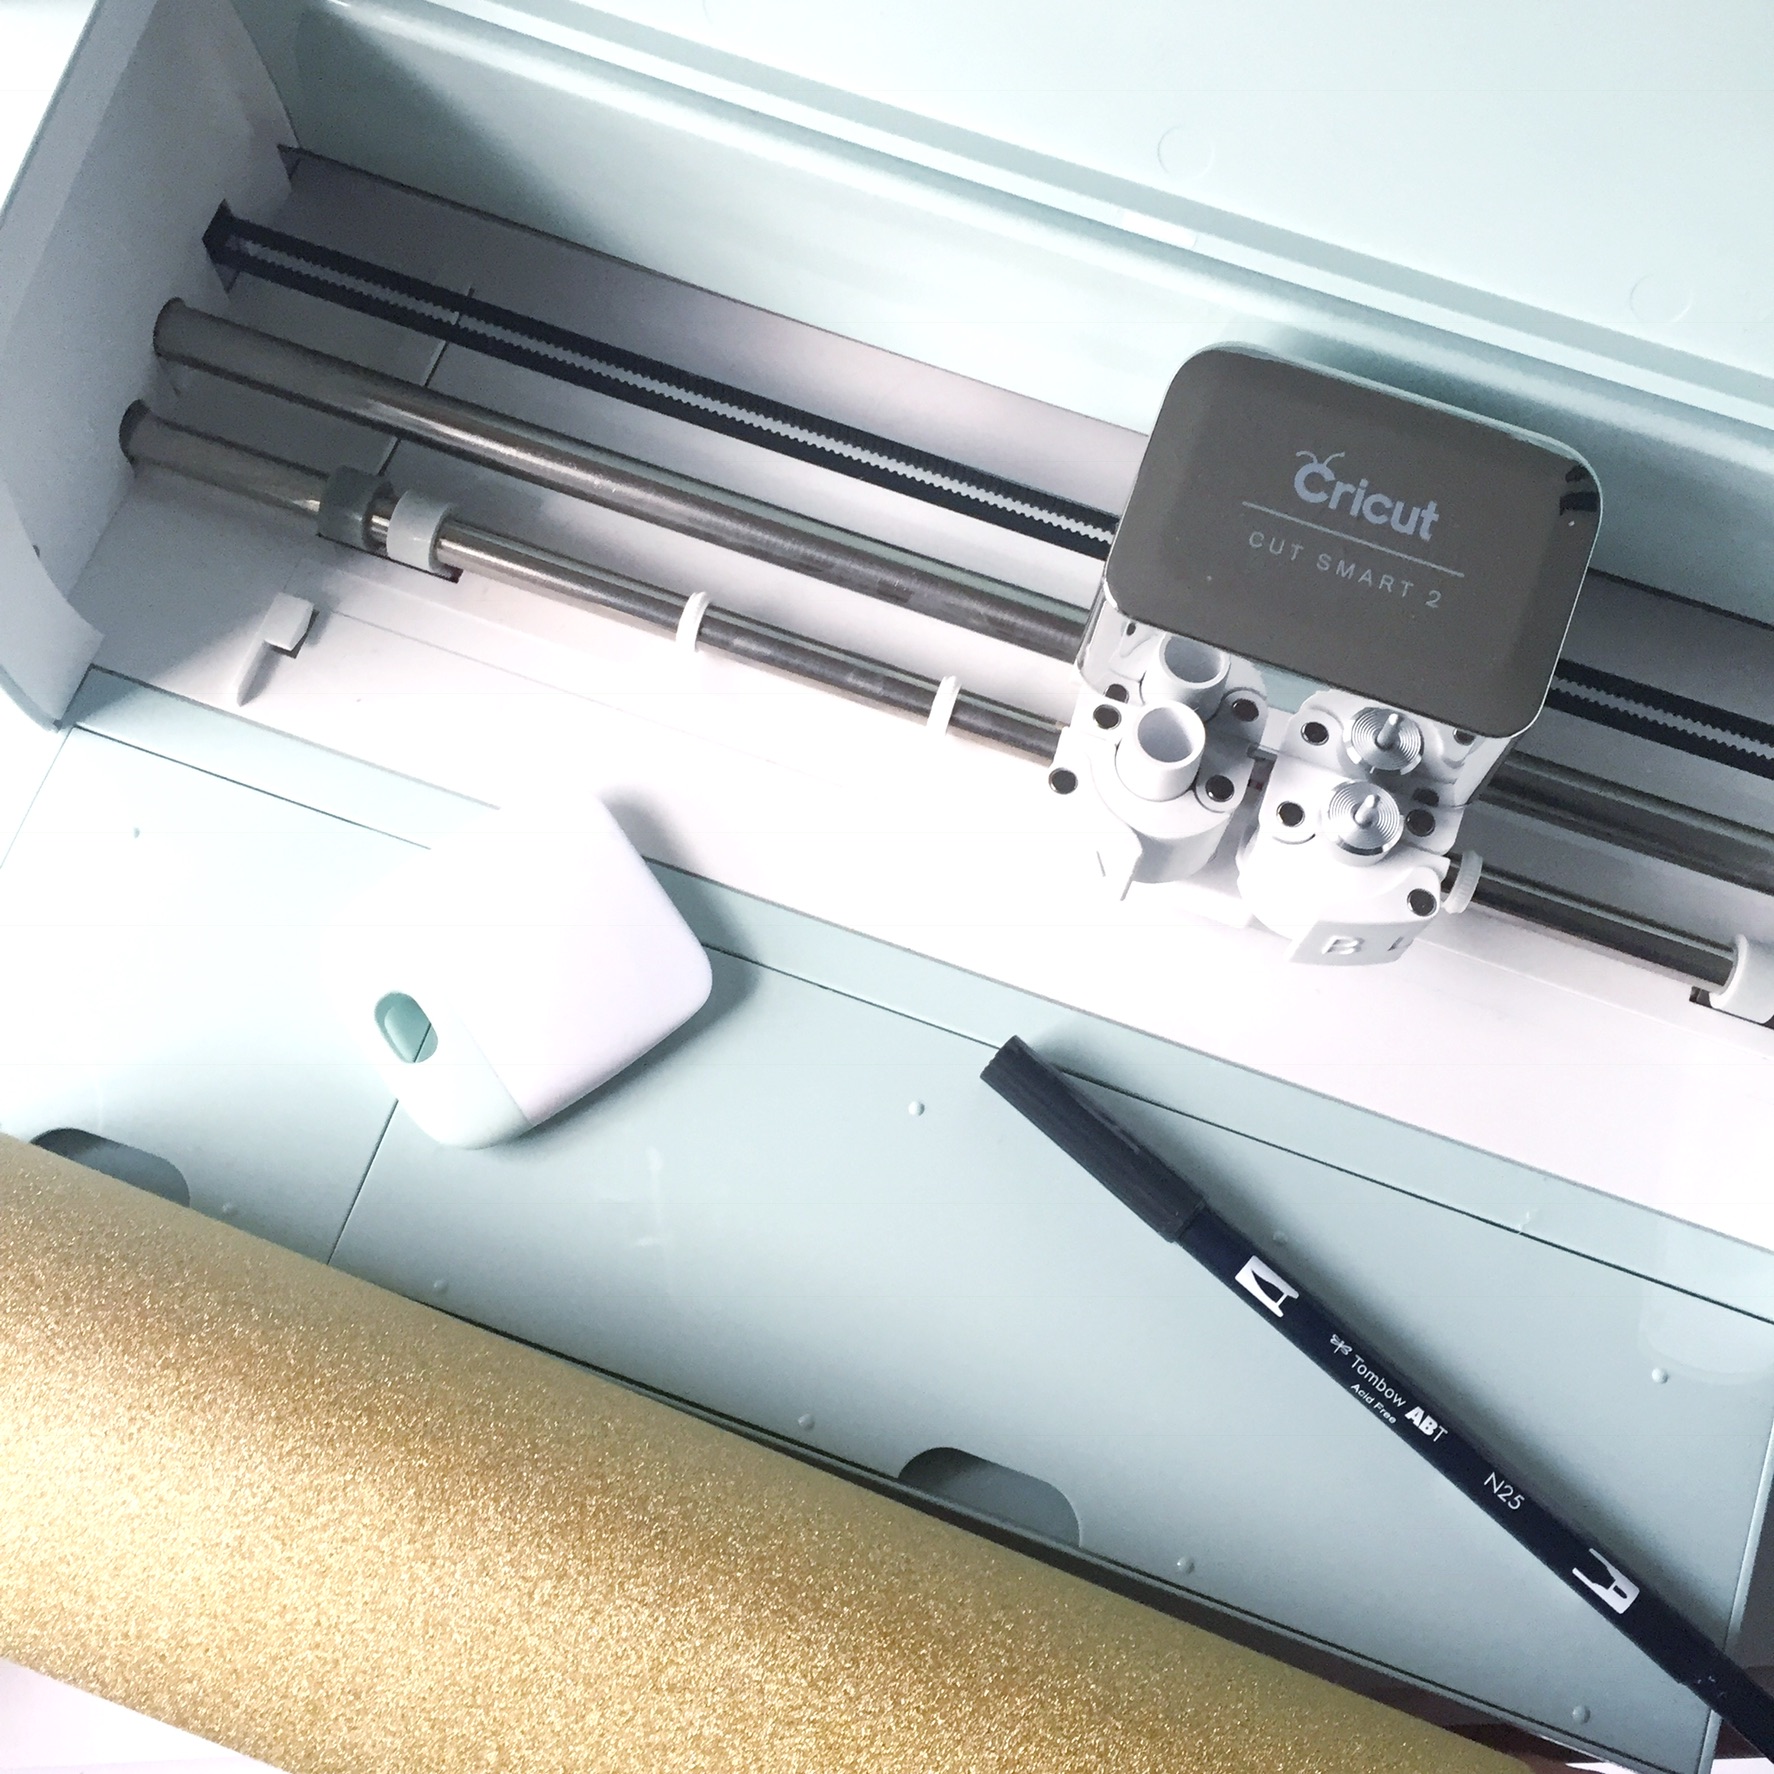
STEP 8: CUT THE VINYL
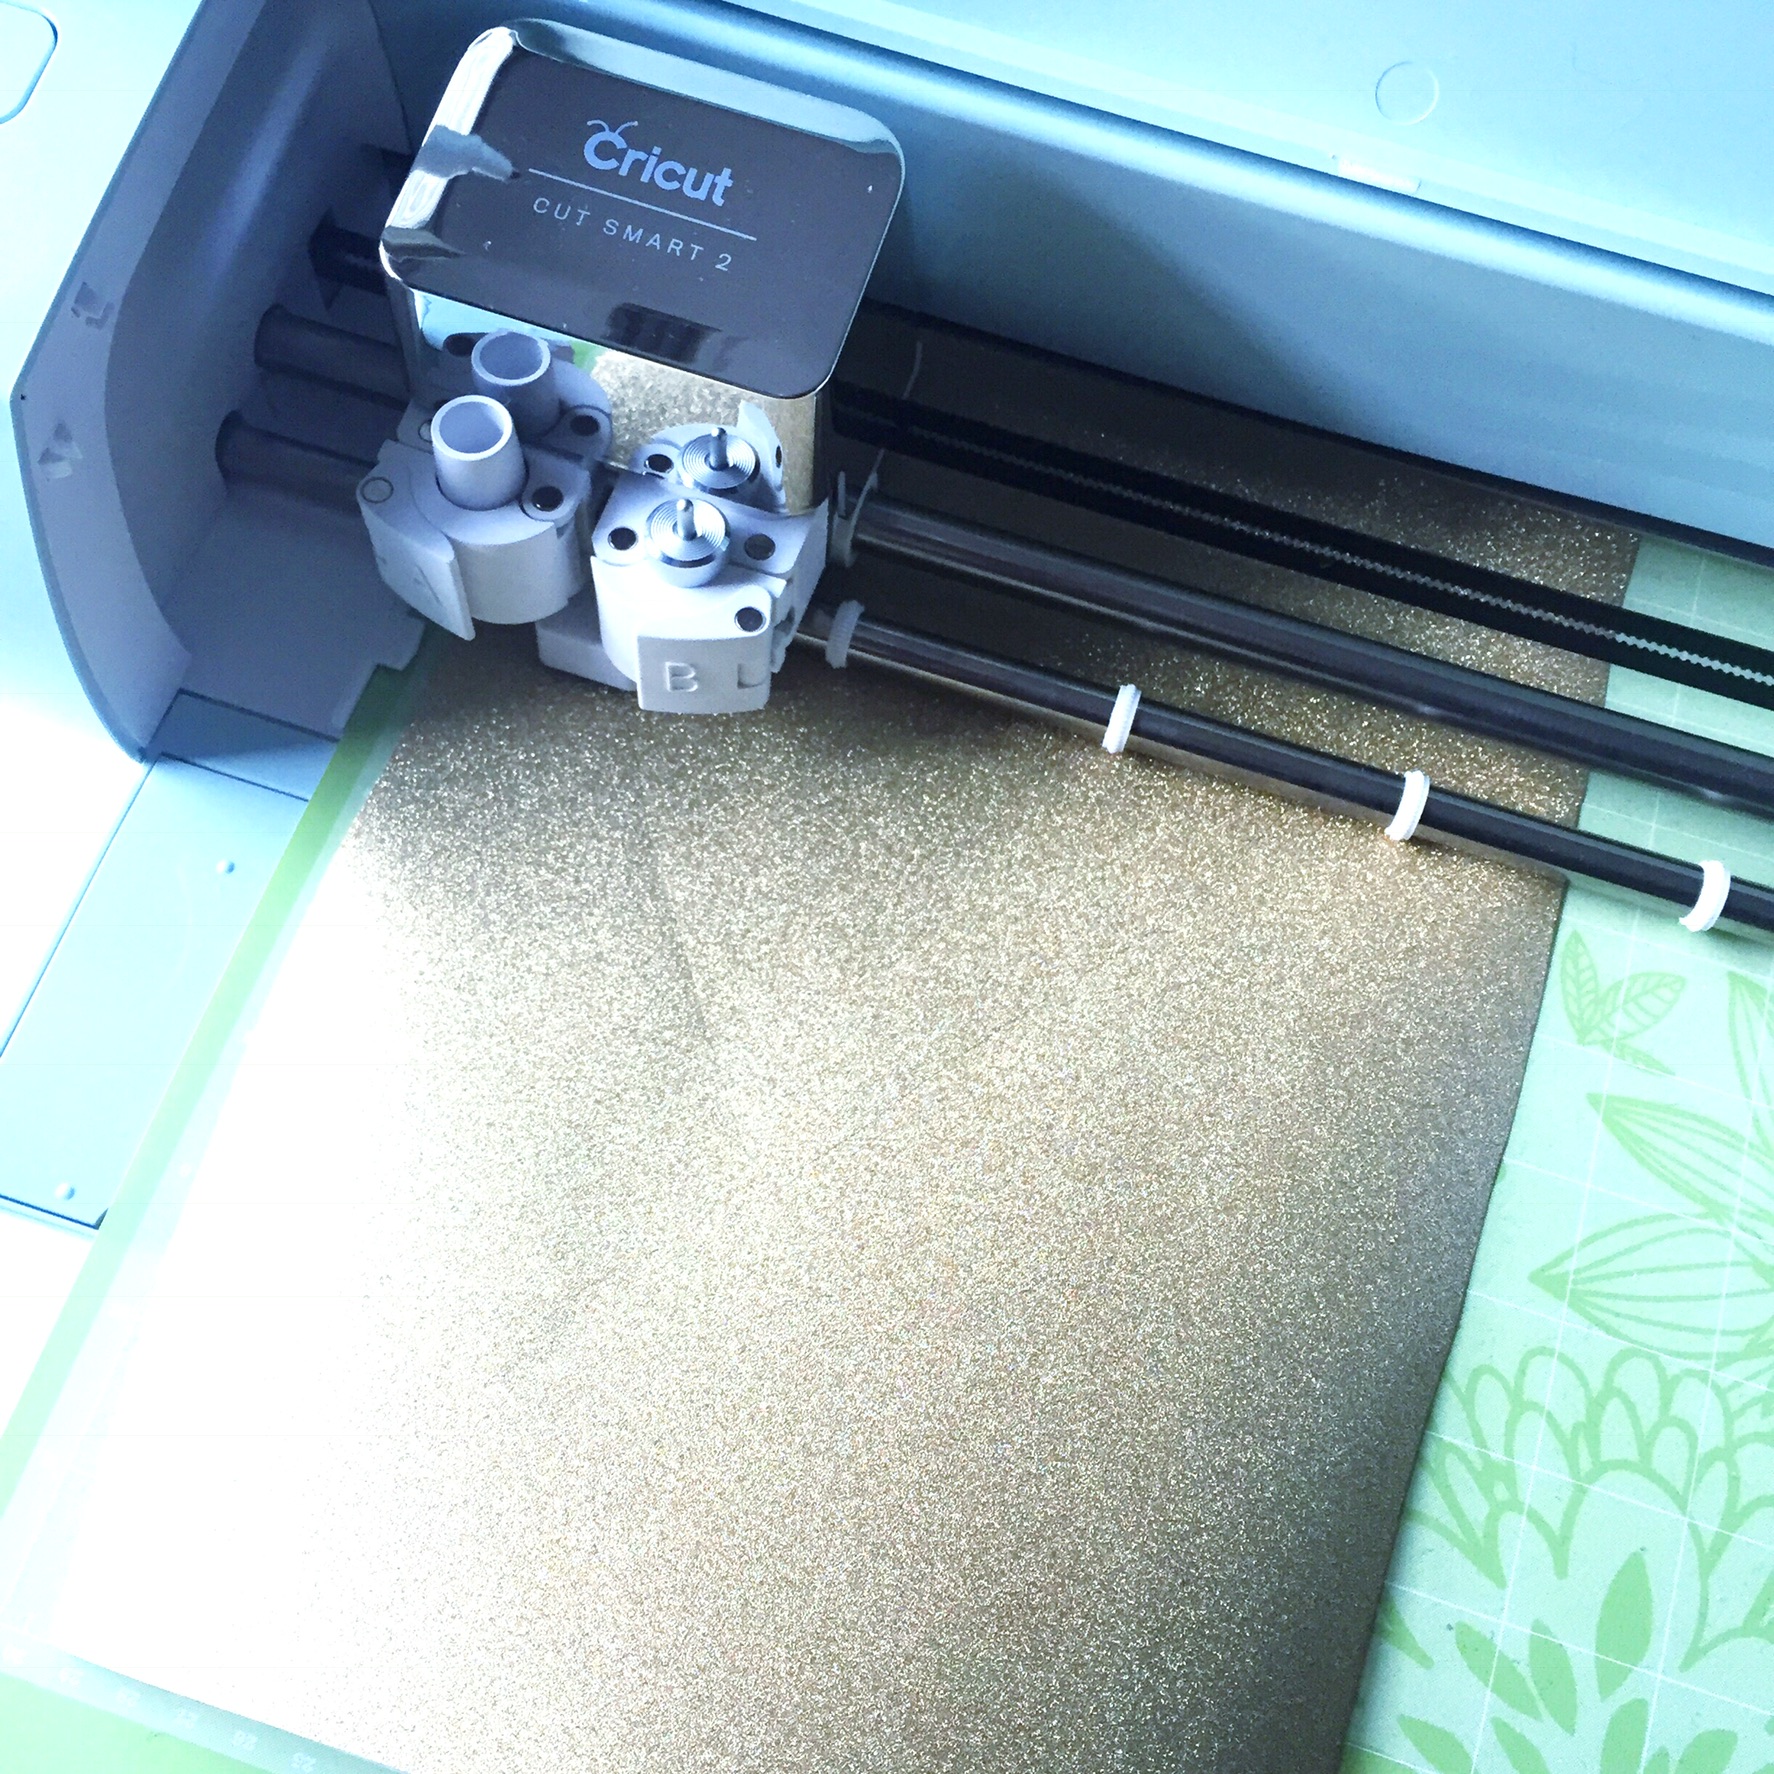
When working directly with my Cricut Explore Air 2, I like to control the machine and start projects using my iPad and sometimes my iPhone with the Cricut App. The app takes you step by step and communicates with your machine. Trim the vinyl you are using to the desired size and stick to the sticky cutting mat. Make sure that your machine is set to cut the correct material. For glitter vinyl, I went to custom settings and selected Glitter Vinyl in the menu. Once it’s ready, press the C button and the Cricut Explore Air 2 does all the work. When it’s finished cutting, eject the mat from the machine and remove the vinyl sheet.
STEP 9: WEED THE EXCESS VINYL
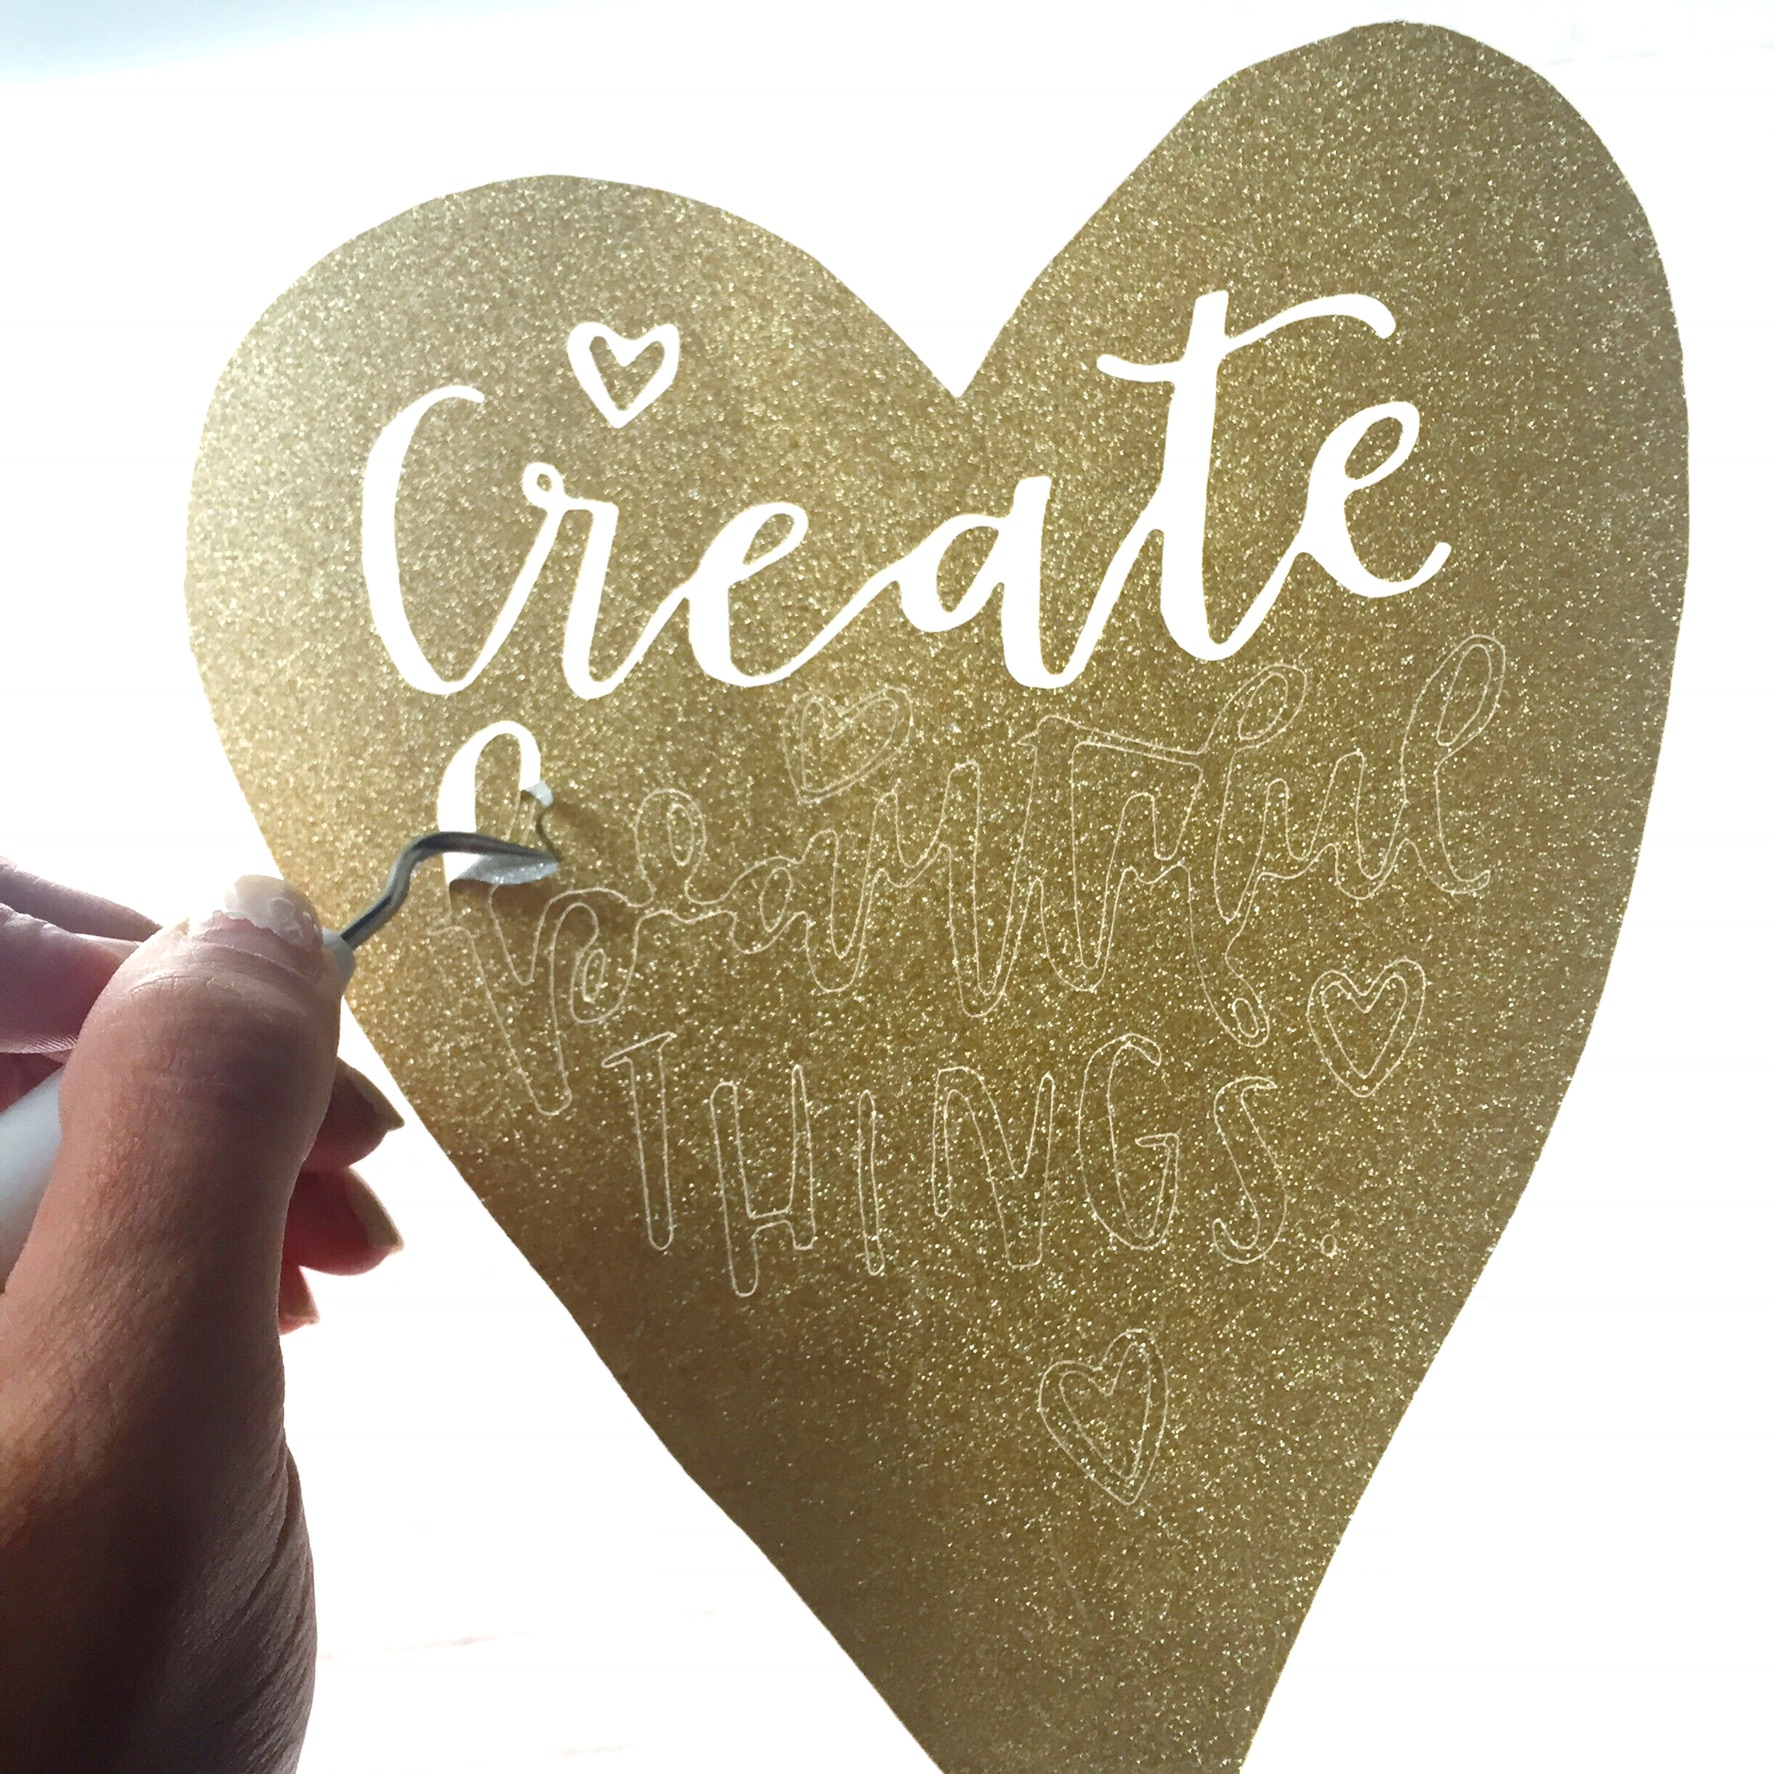
Now is when the design comes to life. First, remove the excess vinyl around the heart and then use the weeding tool to pull out all of the letters and parts of the heart shapes. For easy weeding of the vinyl, I again use the Tombow MONO Removable Adhesive to attach the backing paper of the vinyl to my Cricut Brightpad, which eases the weeding process for getting rid of the vinyl I no longer need.
STEP 10: TRANSFER VINYL TO ITS FINAL HOME
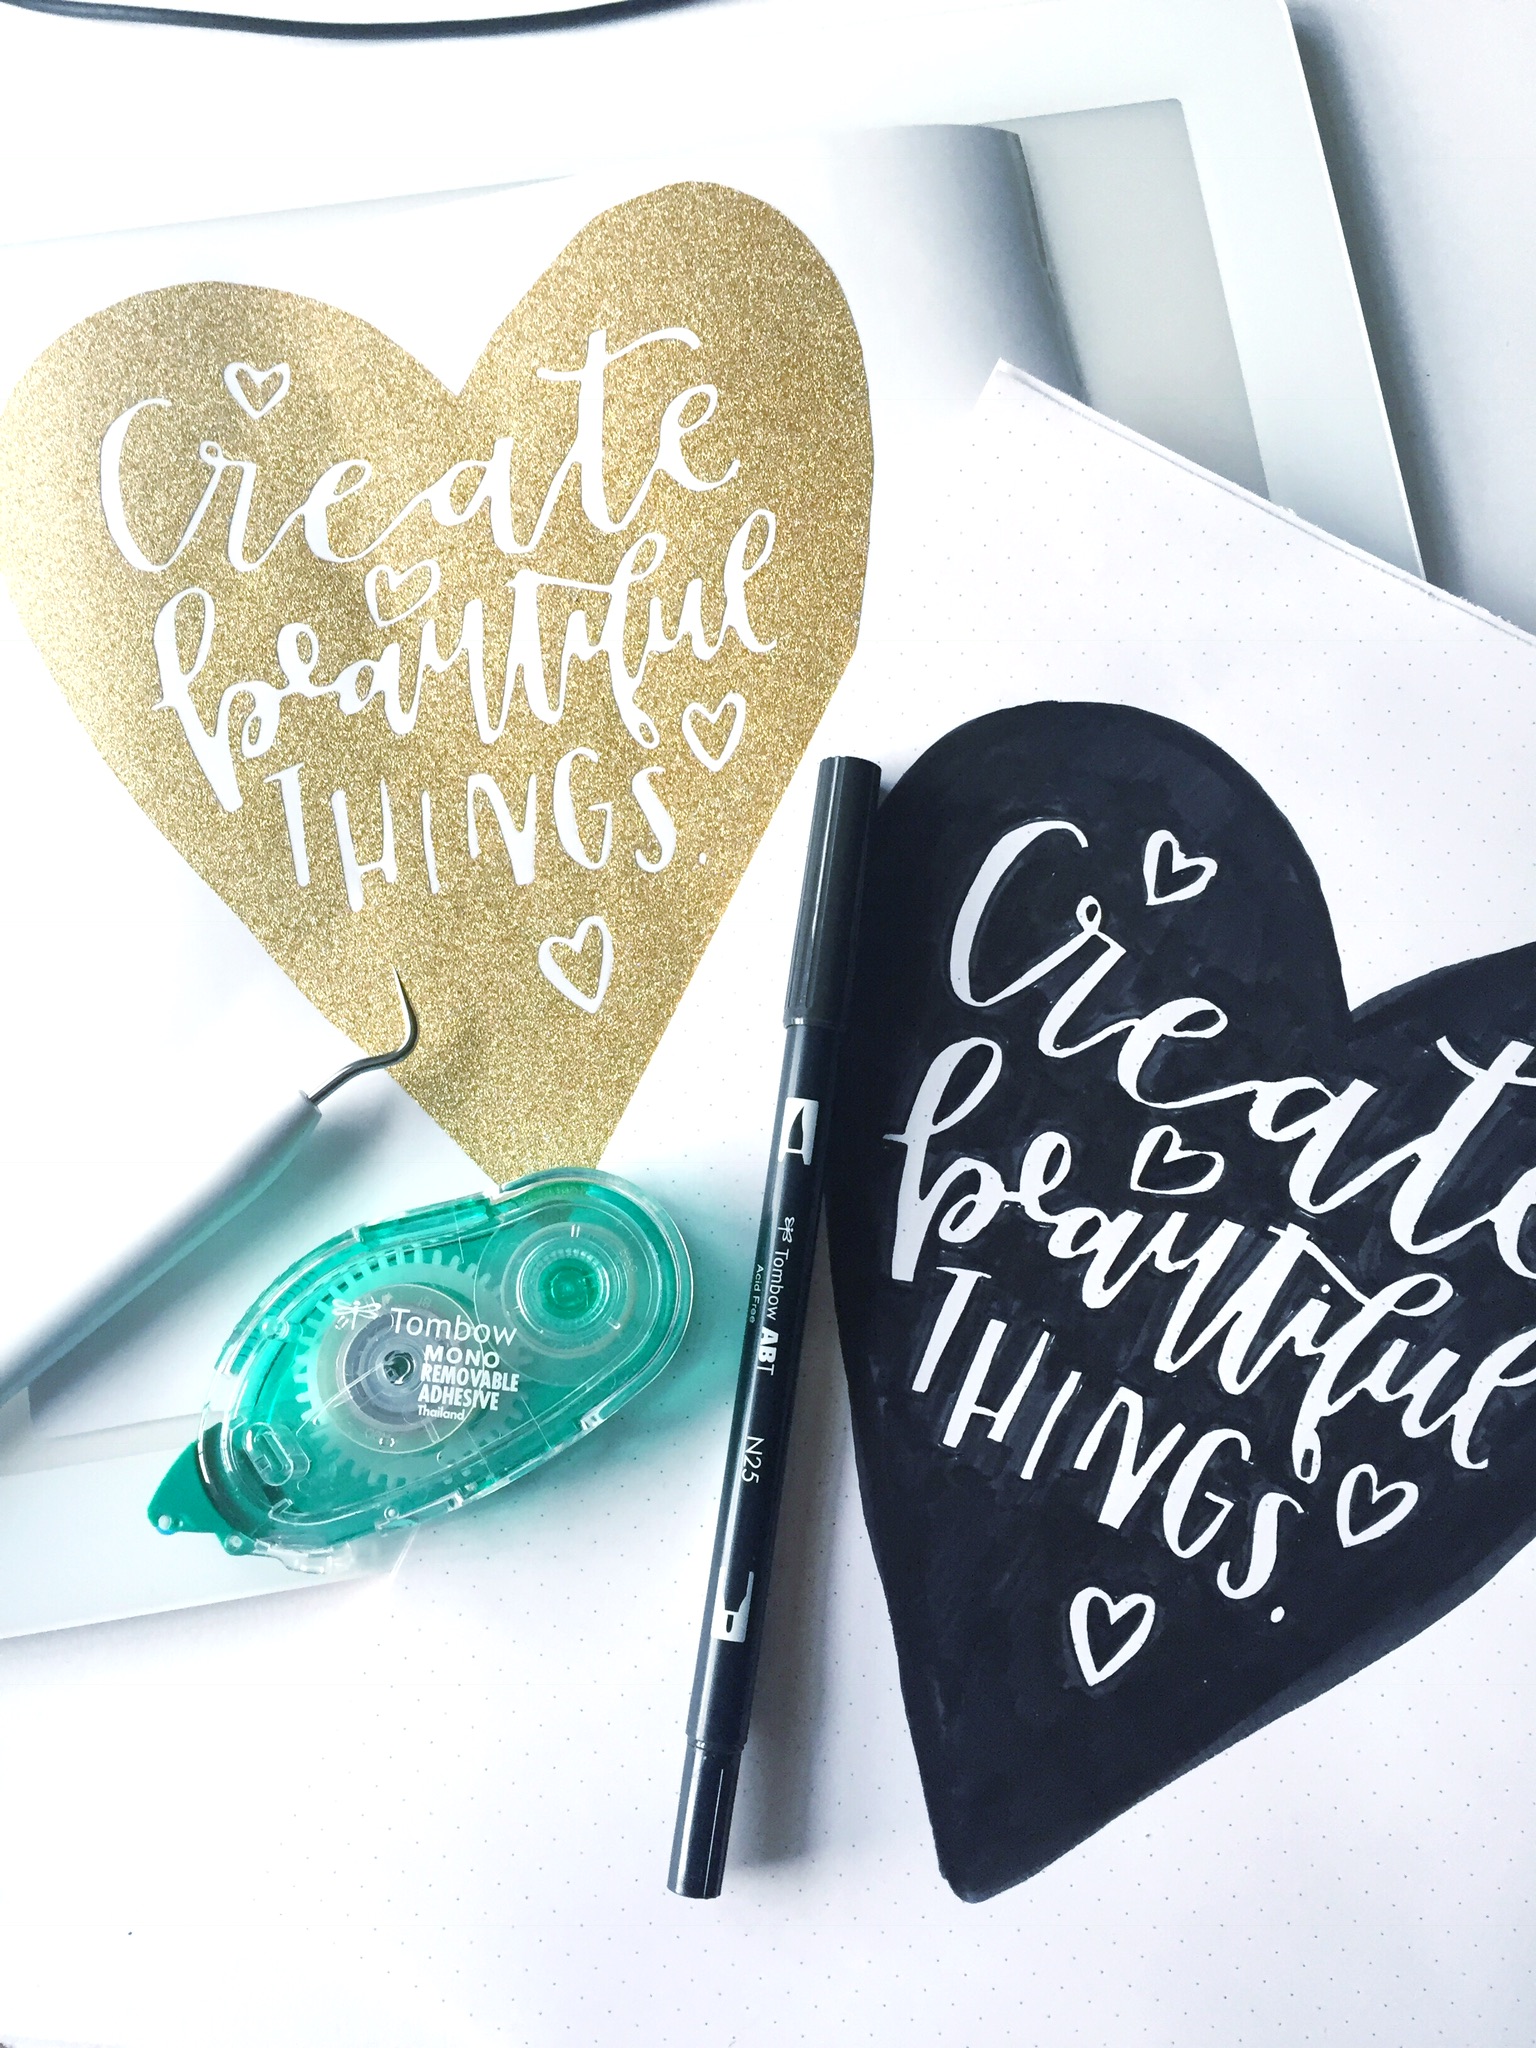
Once the excess vinyl is weeded out, I have my final design that looks just like what I lettered originally with my Tombow Dual Brush Pen. Now I firmly attach transfer tape on top of the front of the vinyl and use a hard plastic object, like the back of the scraper in my Cricut tools. Then turn the vinyl image side down and peel the backing off. The vinyl should be sticking to the transfer tape, if it doesn’t keep rolling the piece back to help it stay put. Then place the transfer tape with the image on whatever you are embellishing, like my clipboard. Carefully apply pressure and then peel the transfer tape off and VOILA! You just created your very own vinyl project using your own lettering design. WOO HOO!
And there you have it… 10 easy steps to such a cute project! I can’t wait to see what you create, but if you want to try it out… I have created an SVG file just for you to download that will be perfect to be placed on your own clipboard or resized to fit really any other object or product! Cool, eh!?
[wpdm_package id=’26141′]
Thanks for stopping by today! Make sure you hop on over to @renmadecalligraphy on Instagram to say hello! For more crafty lettering tips and tricks checkout www.renmadecalligraphy.com!
Happy Lettering!!!!
Ren