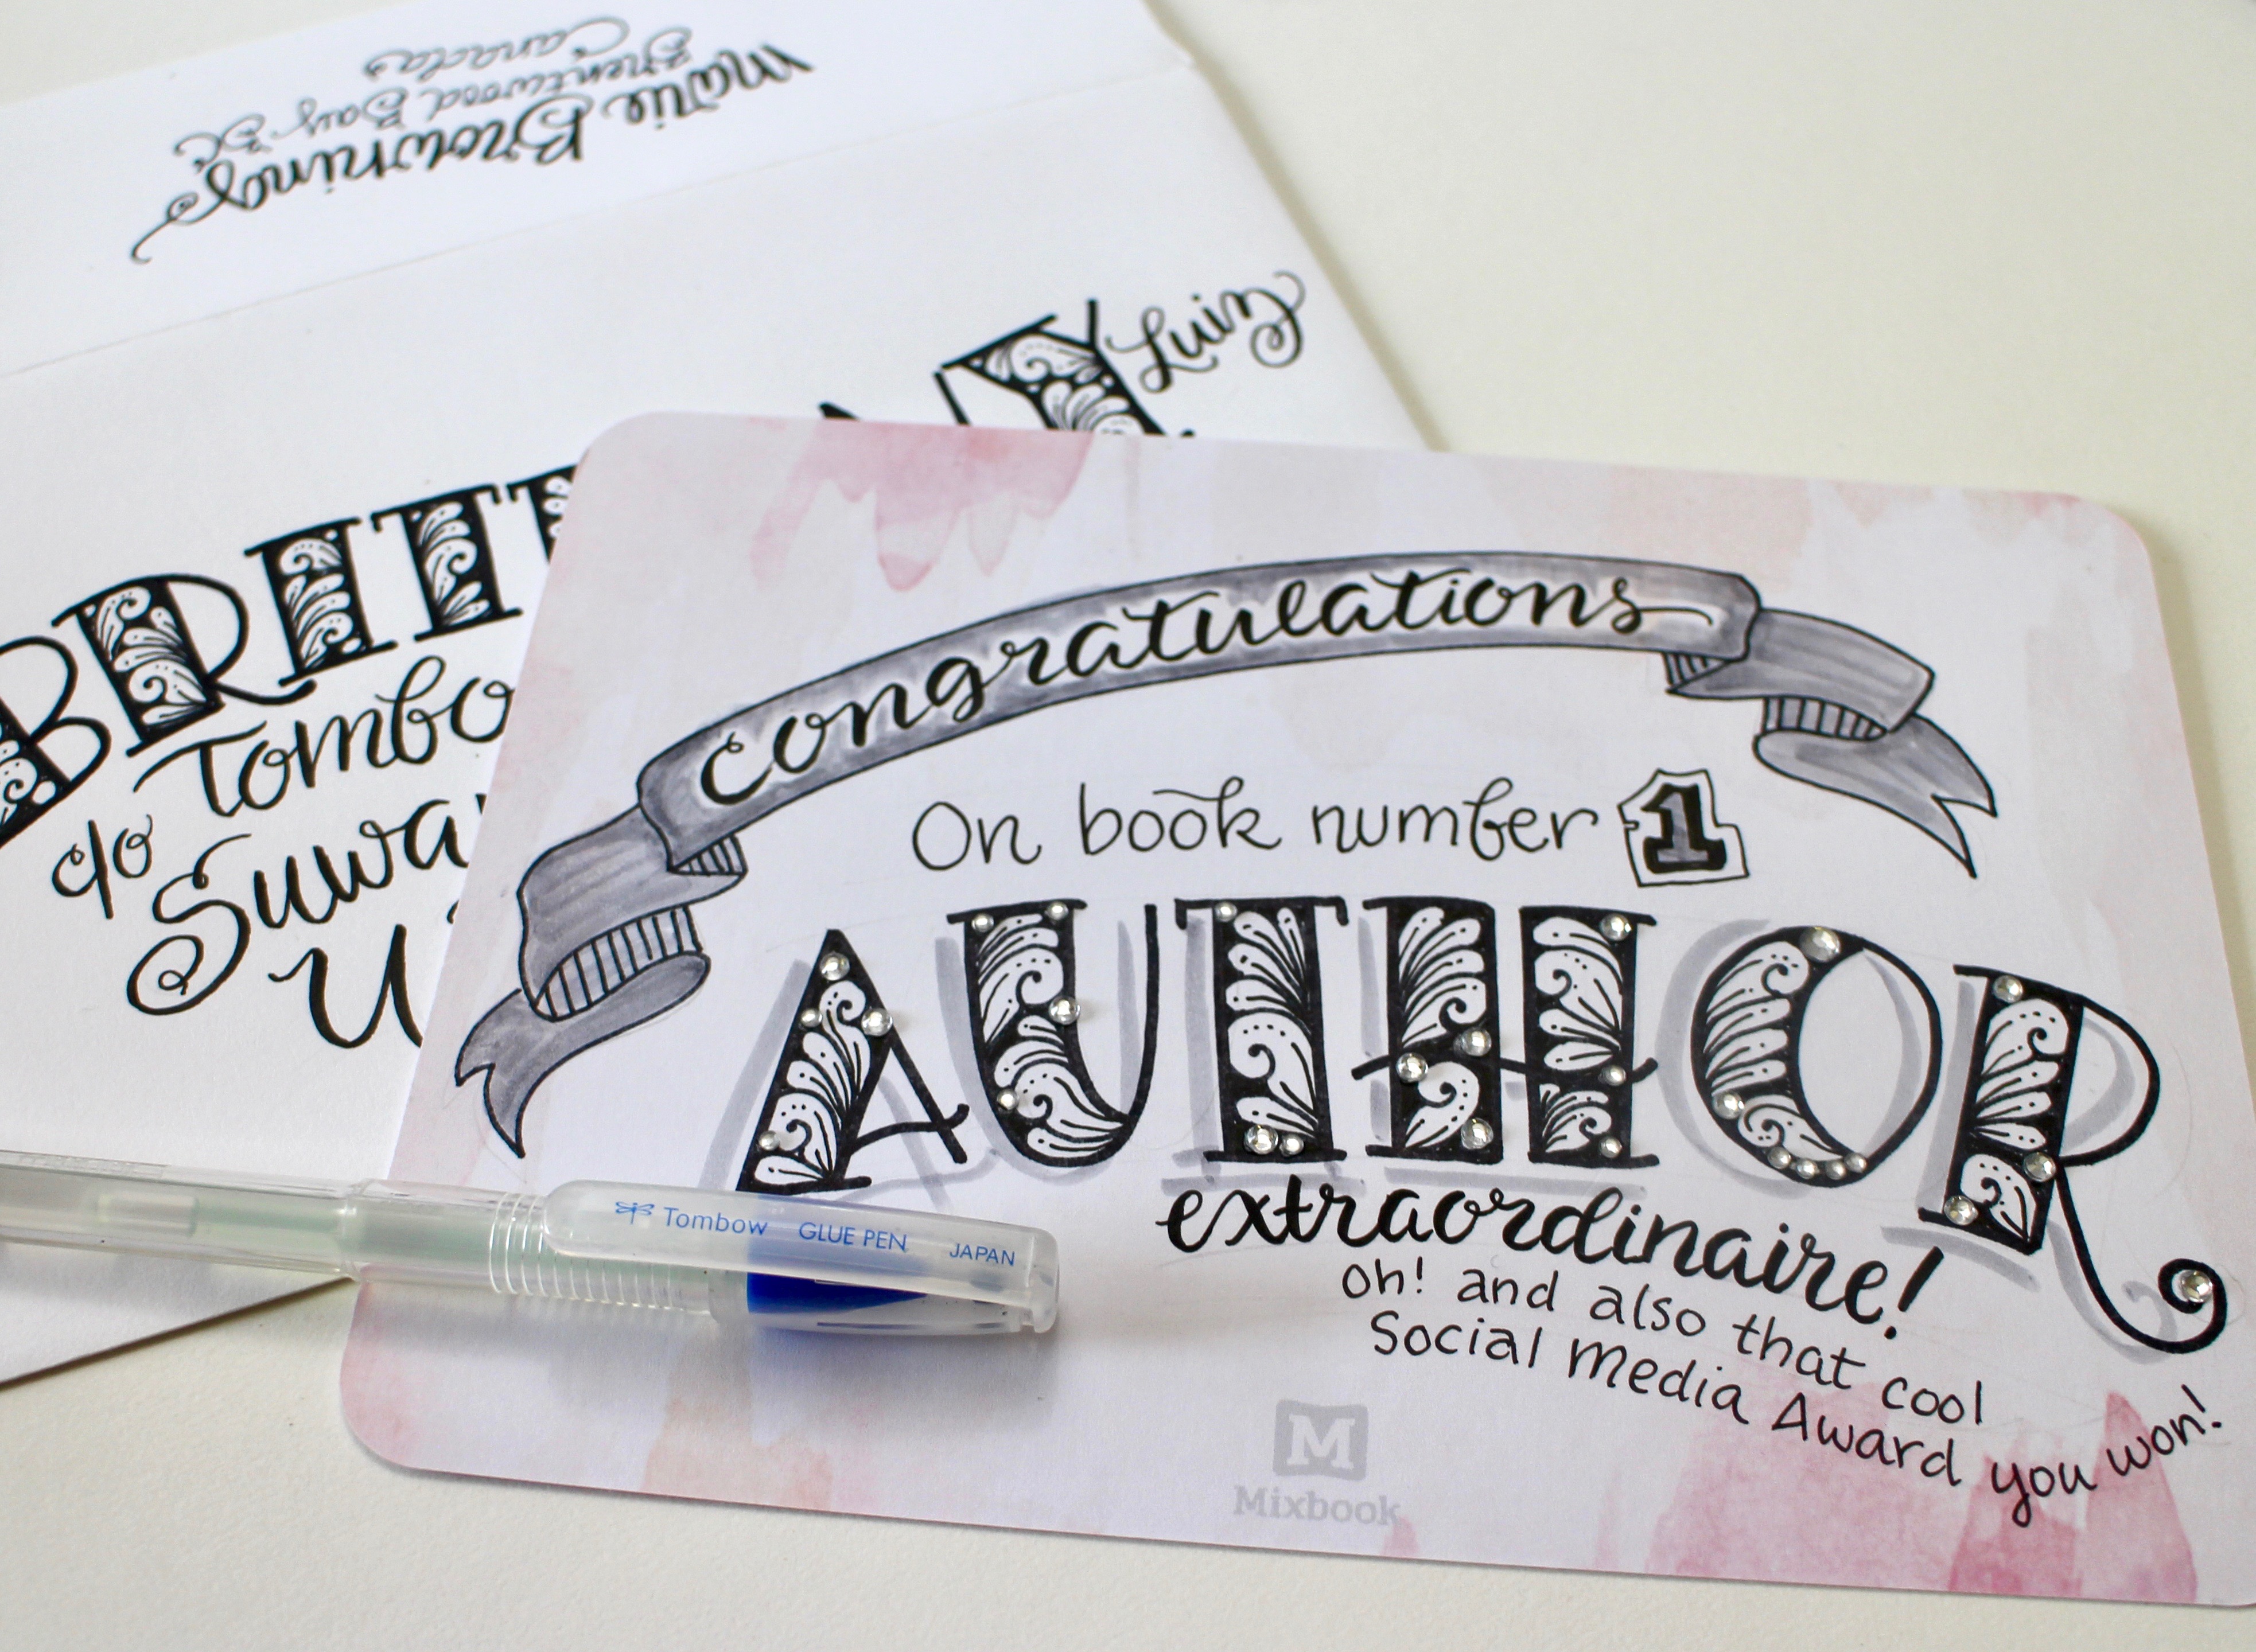
Marie here, and I am thrilled to share some happy mail with you celebrating National Letter Writing Day! I used Tombow’s Beginner Lettering Set and a few other products to create this fun piece of mail. My first step was to choose my stationery; I love the superb quality stationery and envelopes from Mixbook. Thank you Mixbook for sending me the stationery to play with! The paper is a high quality and the markers work beautifully on the paper’s surface.
Plan your Happy Mail Lettering
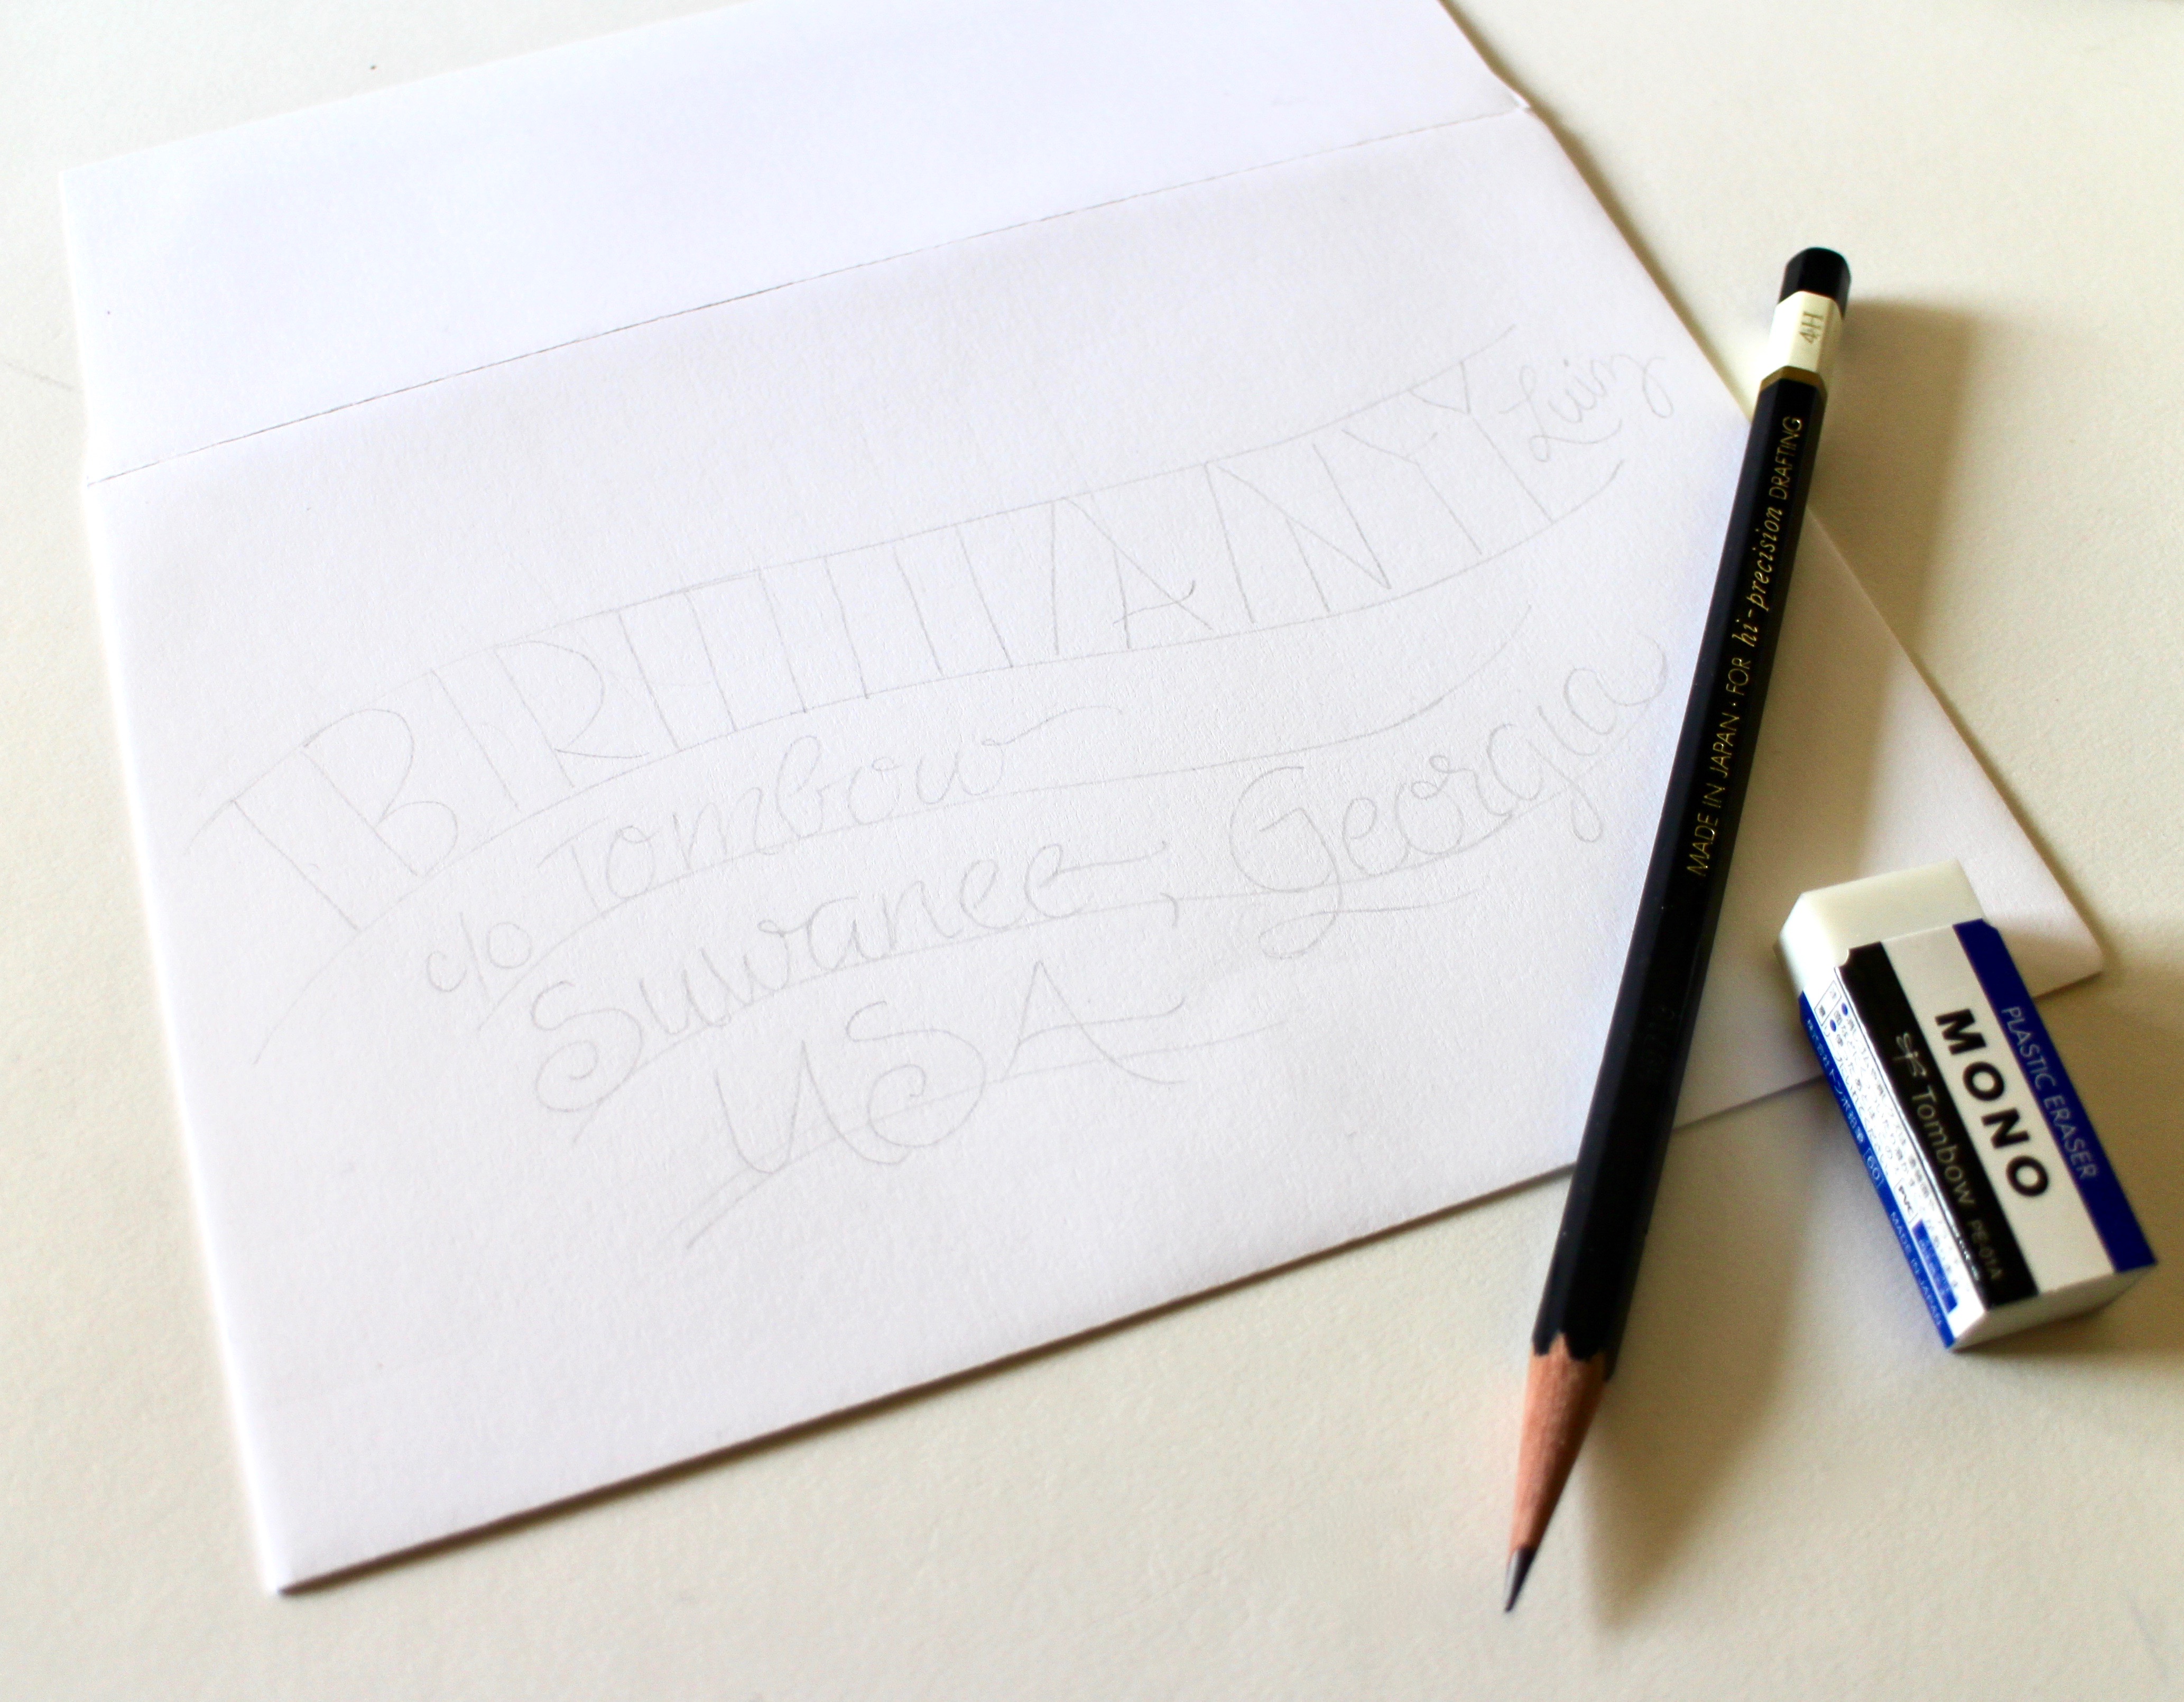
To start, I used the MONO 4H Drawing Pencil and MONO Eraser from the set to plan and sketch out the envelope and card.
Ink your Lettering
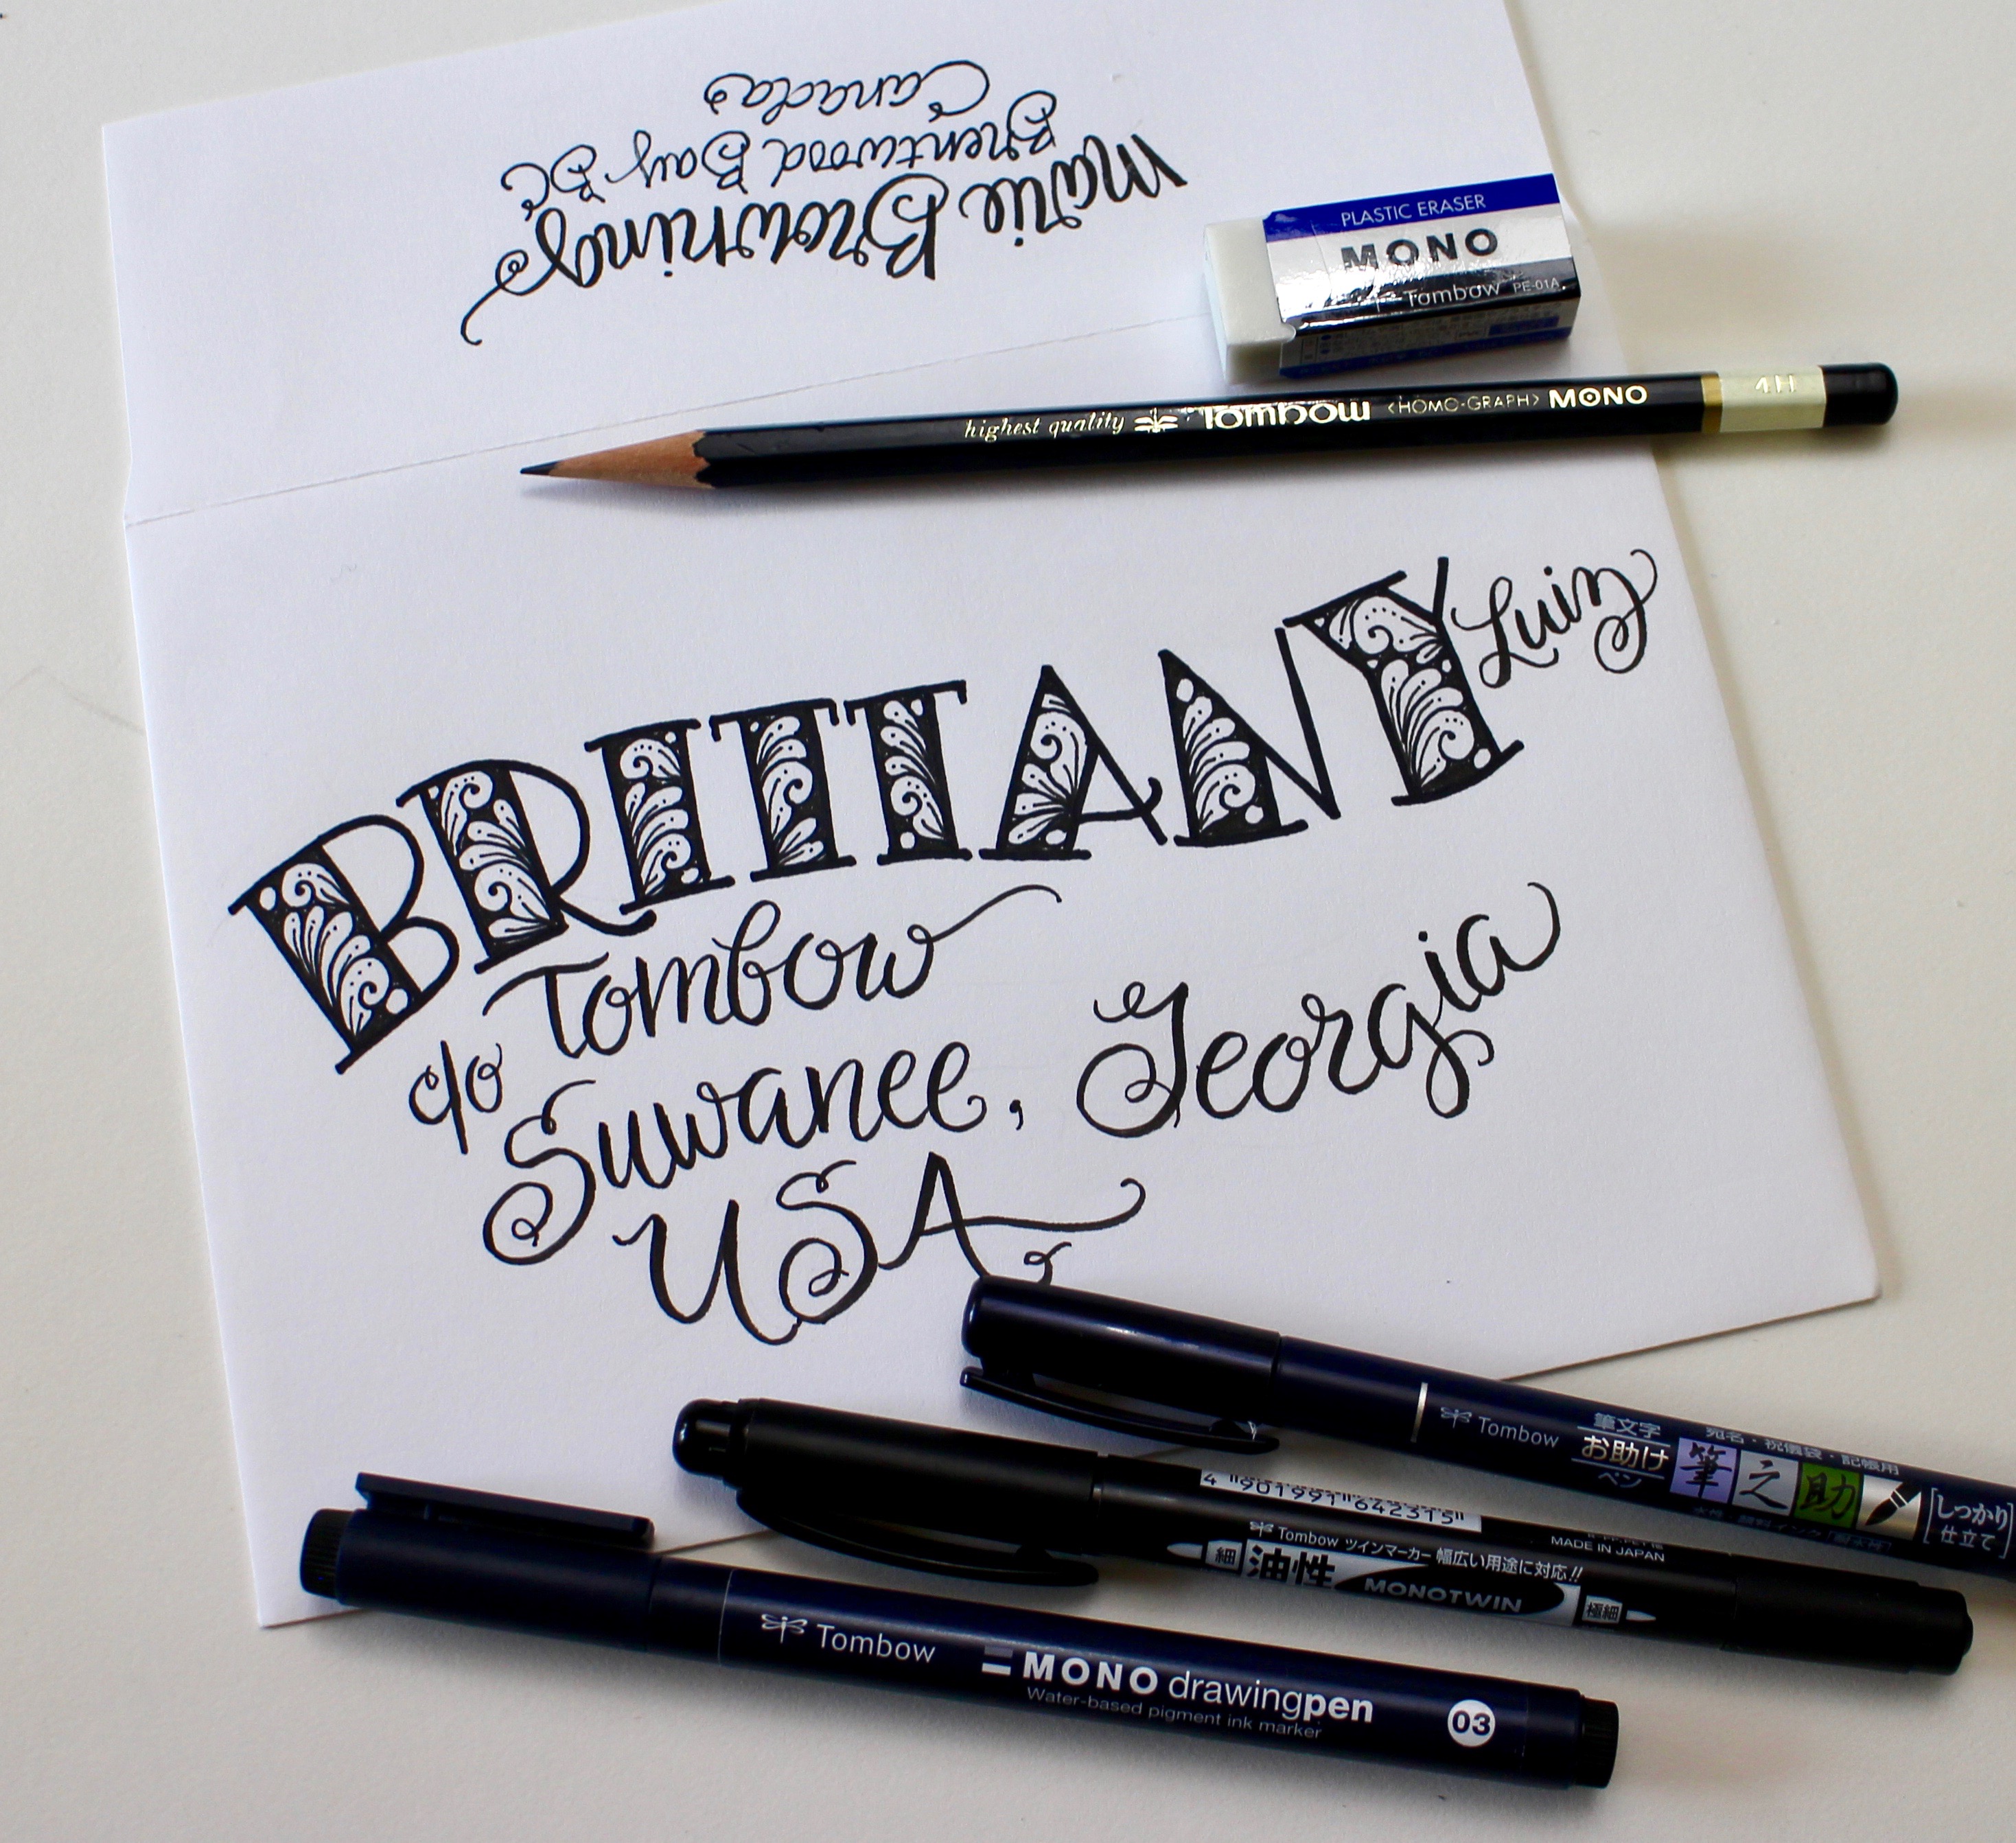
After I sketched in my lettering, I used the MONO Twin Permanent Marker (also in the Beginner Lettering Set) for ‘Brittany’. This fat filler font is easy and so much fun to fill in with different patterns! (Click here to see complete instructions for the Fat Filler Font) I used the large bullet tip for outlining the letters and the fine tip for the design inside the letters. I also use the 03 MONO Drawing Pen for the small details. For the brush lettering I used the Hard Tip Fudenosuke from the lettering set.
Add shadows to your lettering
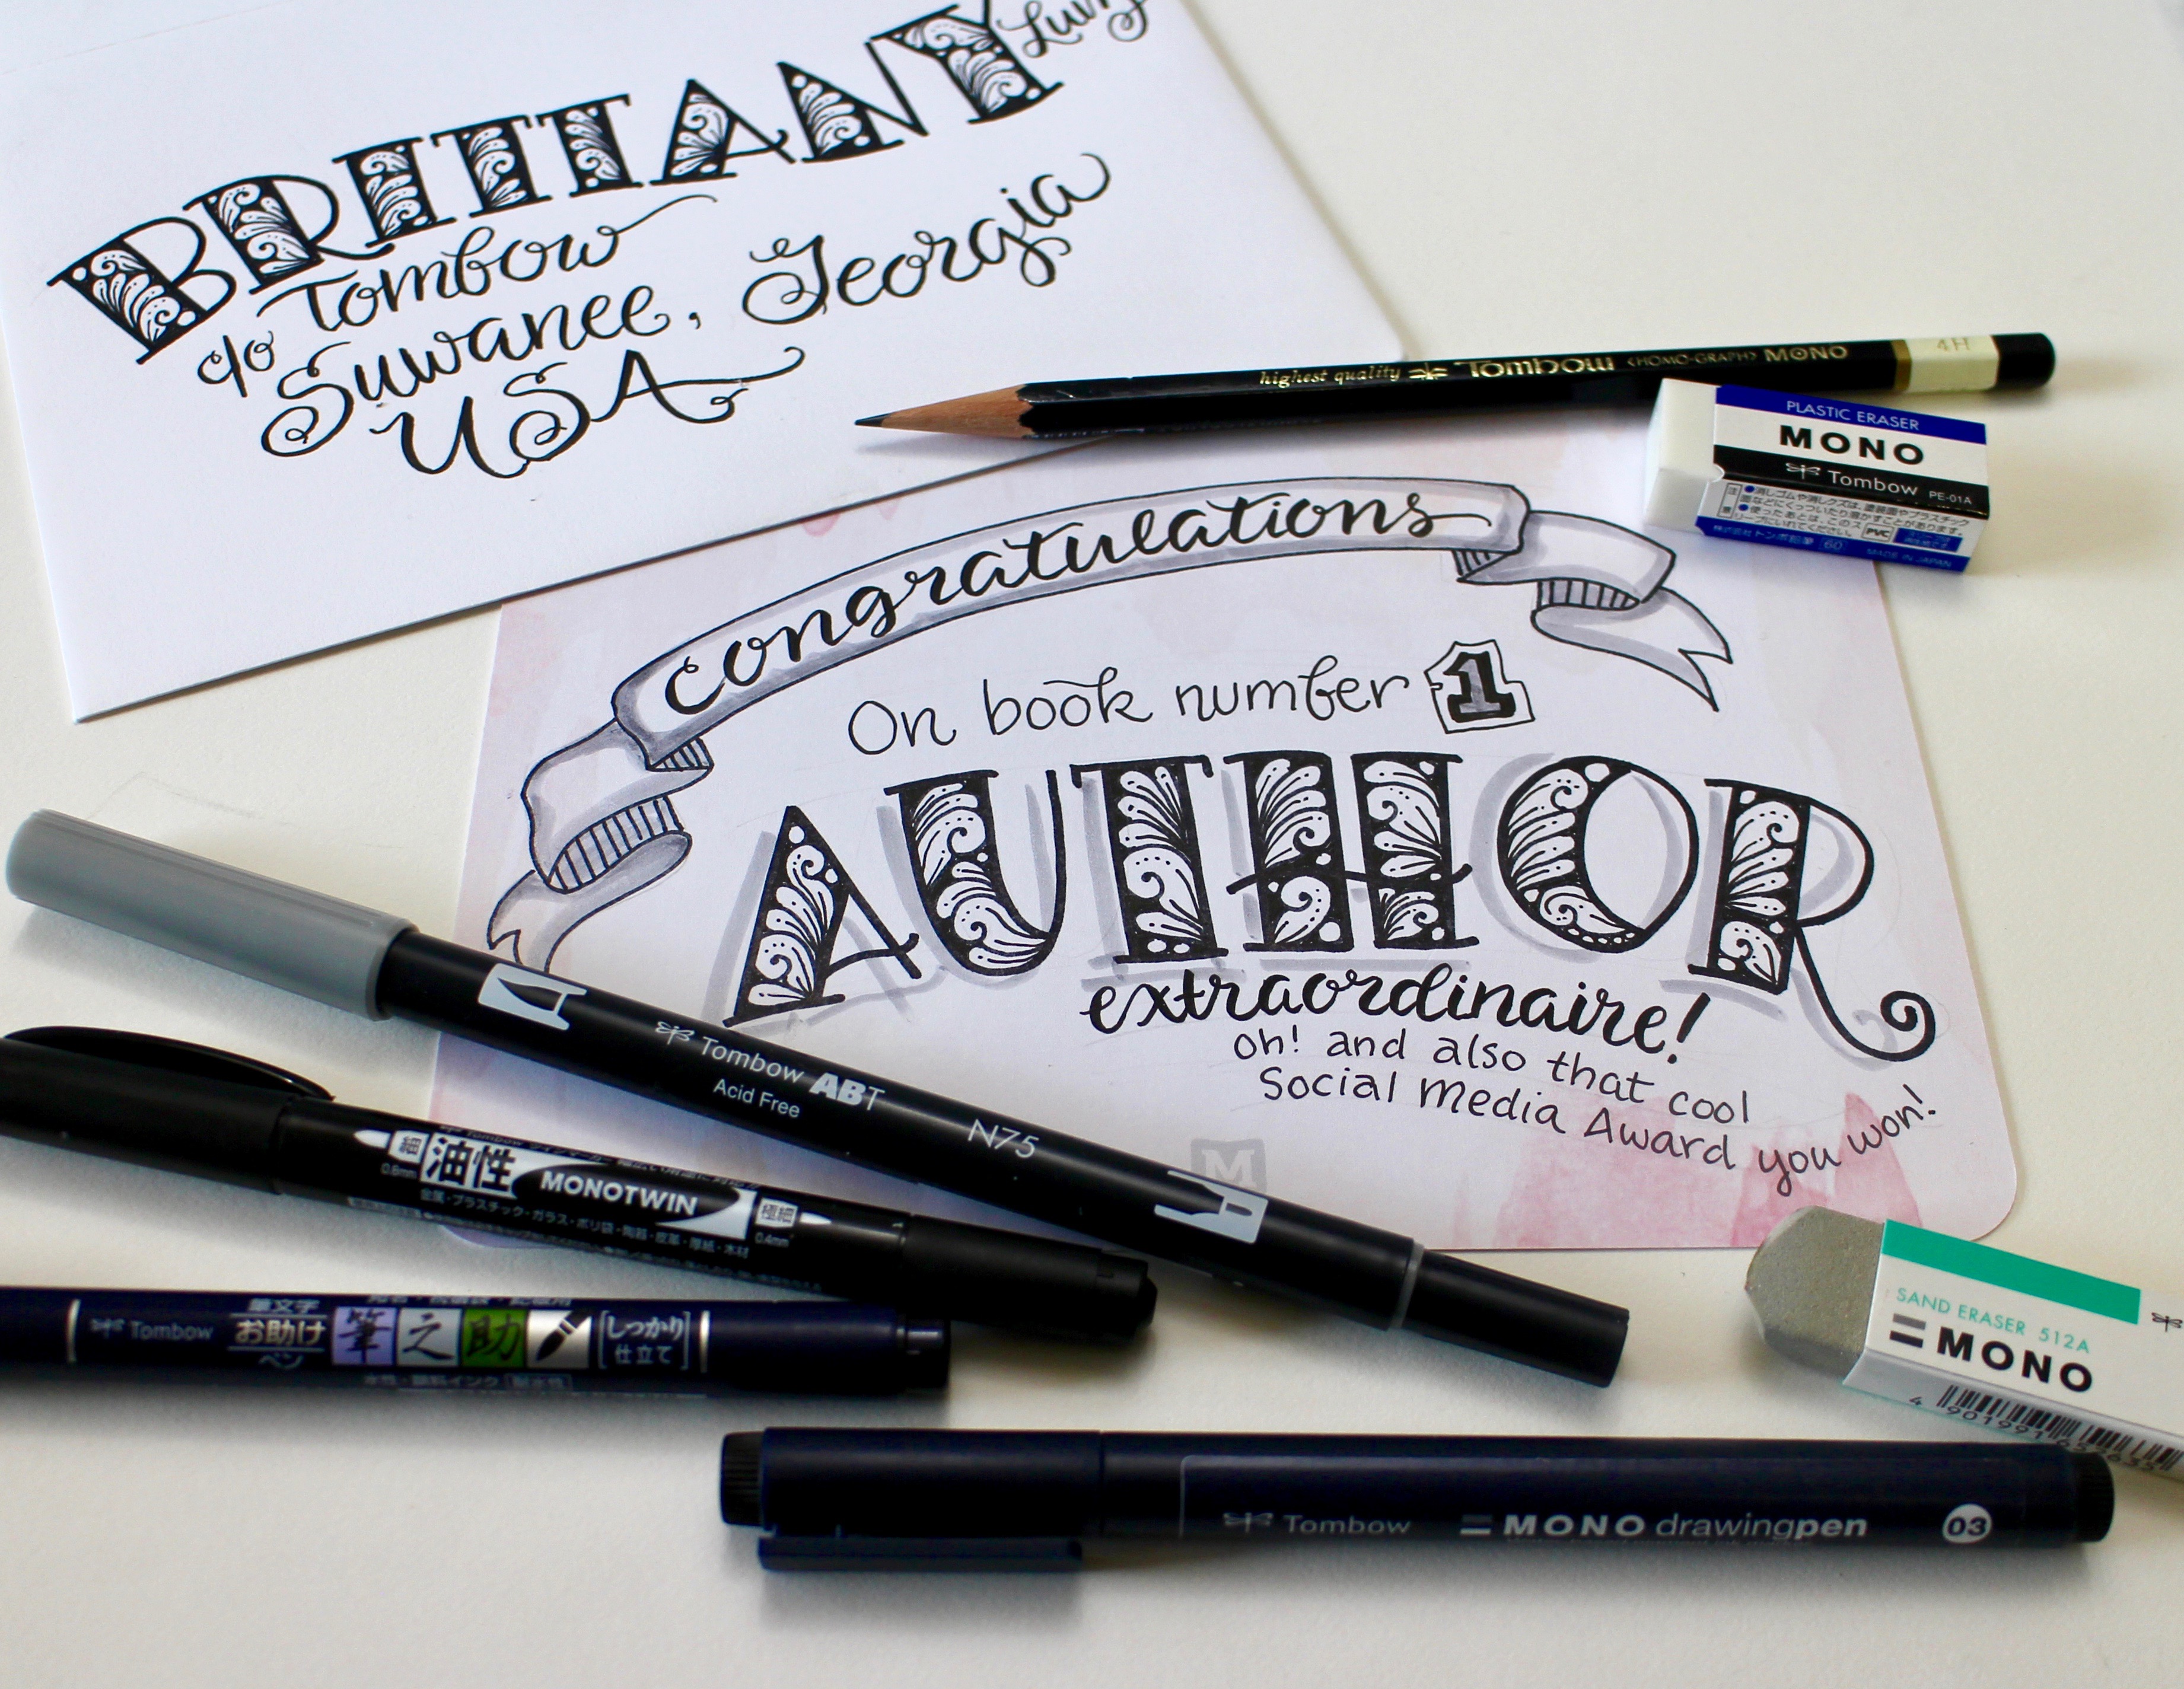
Here the card shows the lettered greeting. I again used the markers from the Beginner Lettering Set, including the N75 Dual Brush Pen for shadows. I made a mistake with the grey marker but saved the card with my ultimate ‘oops’ product, the Sand Eraser. Let the ink dry and then gently erase the mistake. It has saved me on many occasions!
Bling your lettering
For the final touch, I added rhinestones to the lettering with the Glue Pen. The gems are held on securely and can withstand going through the mail. An excellent adhesive for adding small embellishments, glitter or rhinestones to your happy mail! Happy Letter Writing Day! Celebrate by sending a note to someone you love!
