Hello friends! It’s Smitha here today sharing a few lettering tutorials using the new Pastel Dual Brush Pen Set today! I’ll share a few of my favorite lettering tips in this post and there is a video included too!
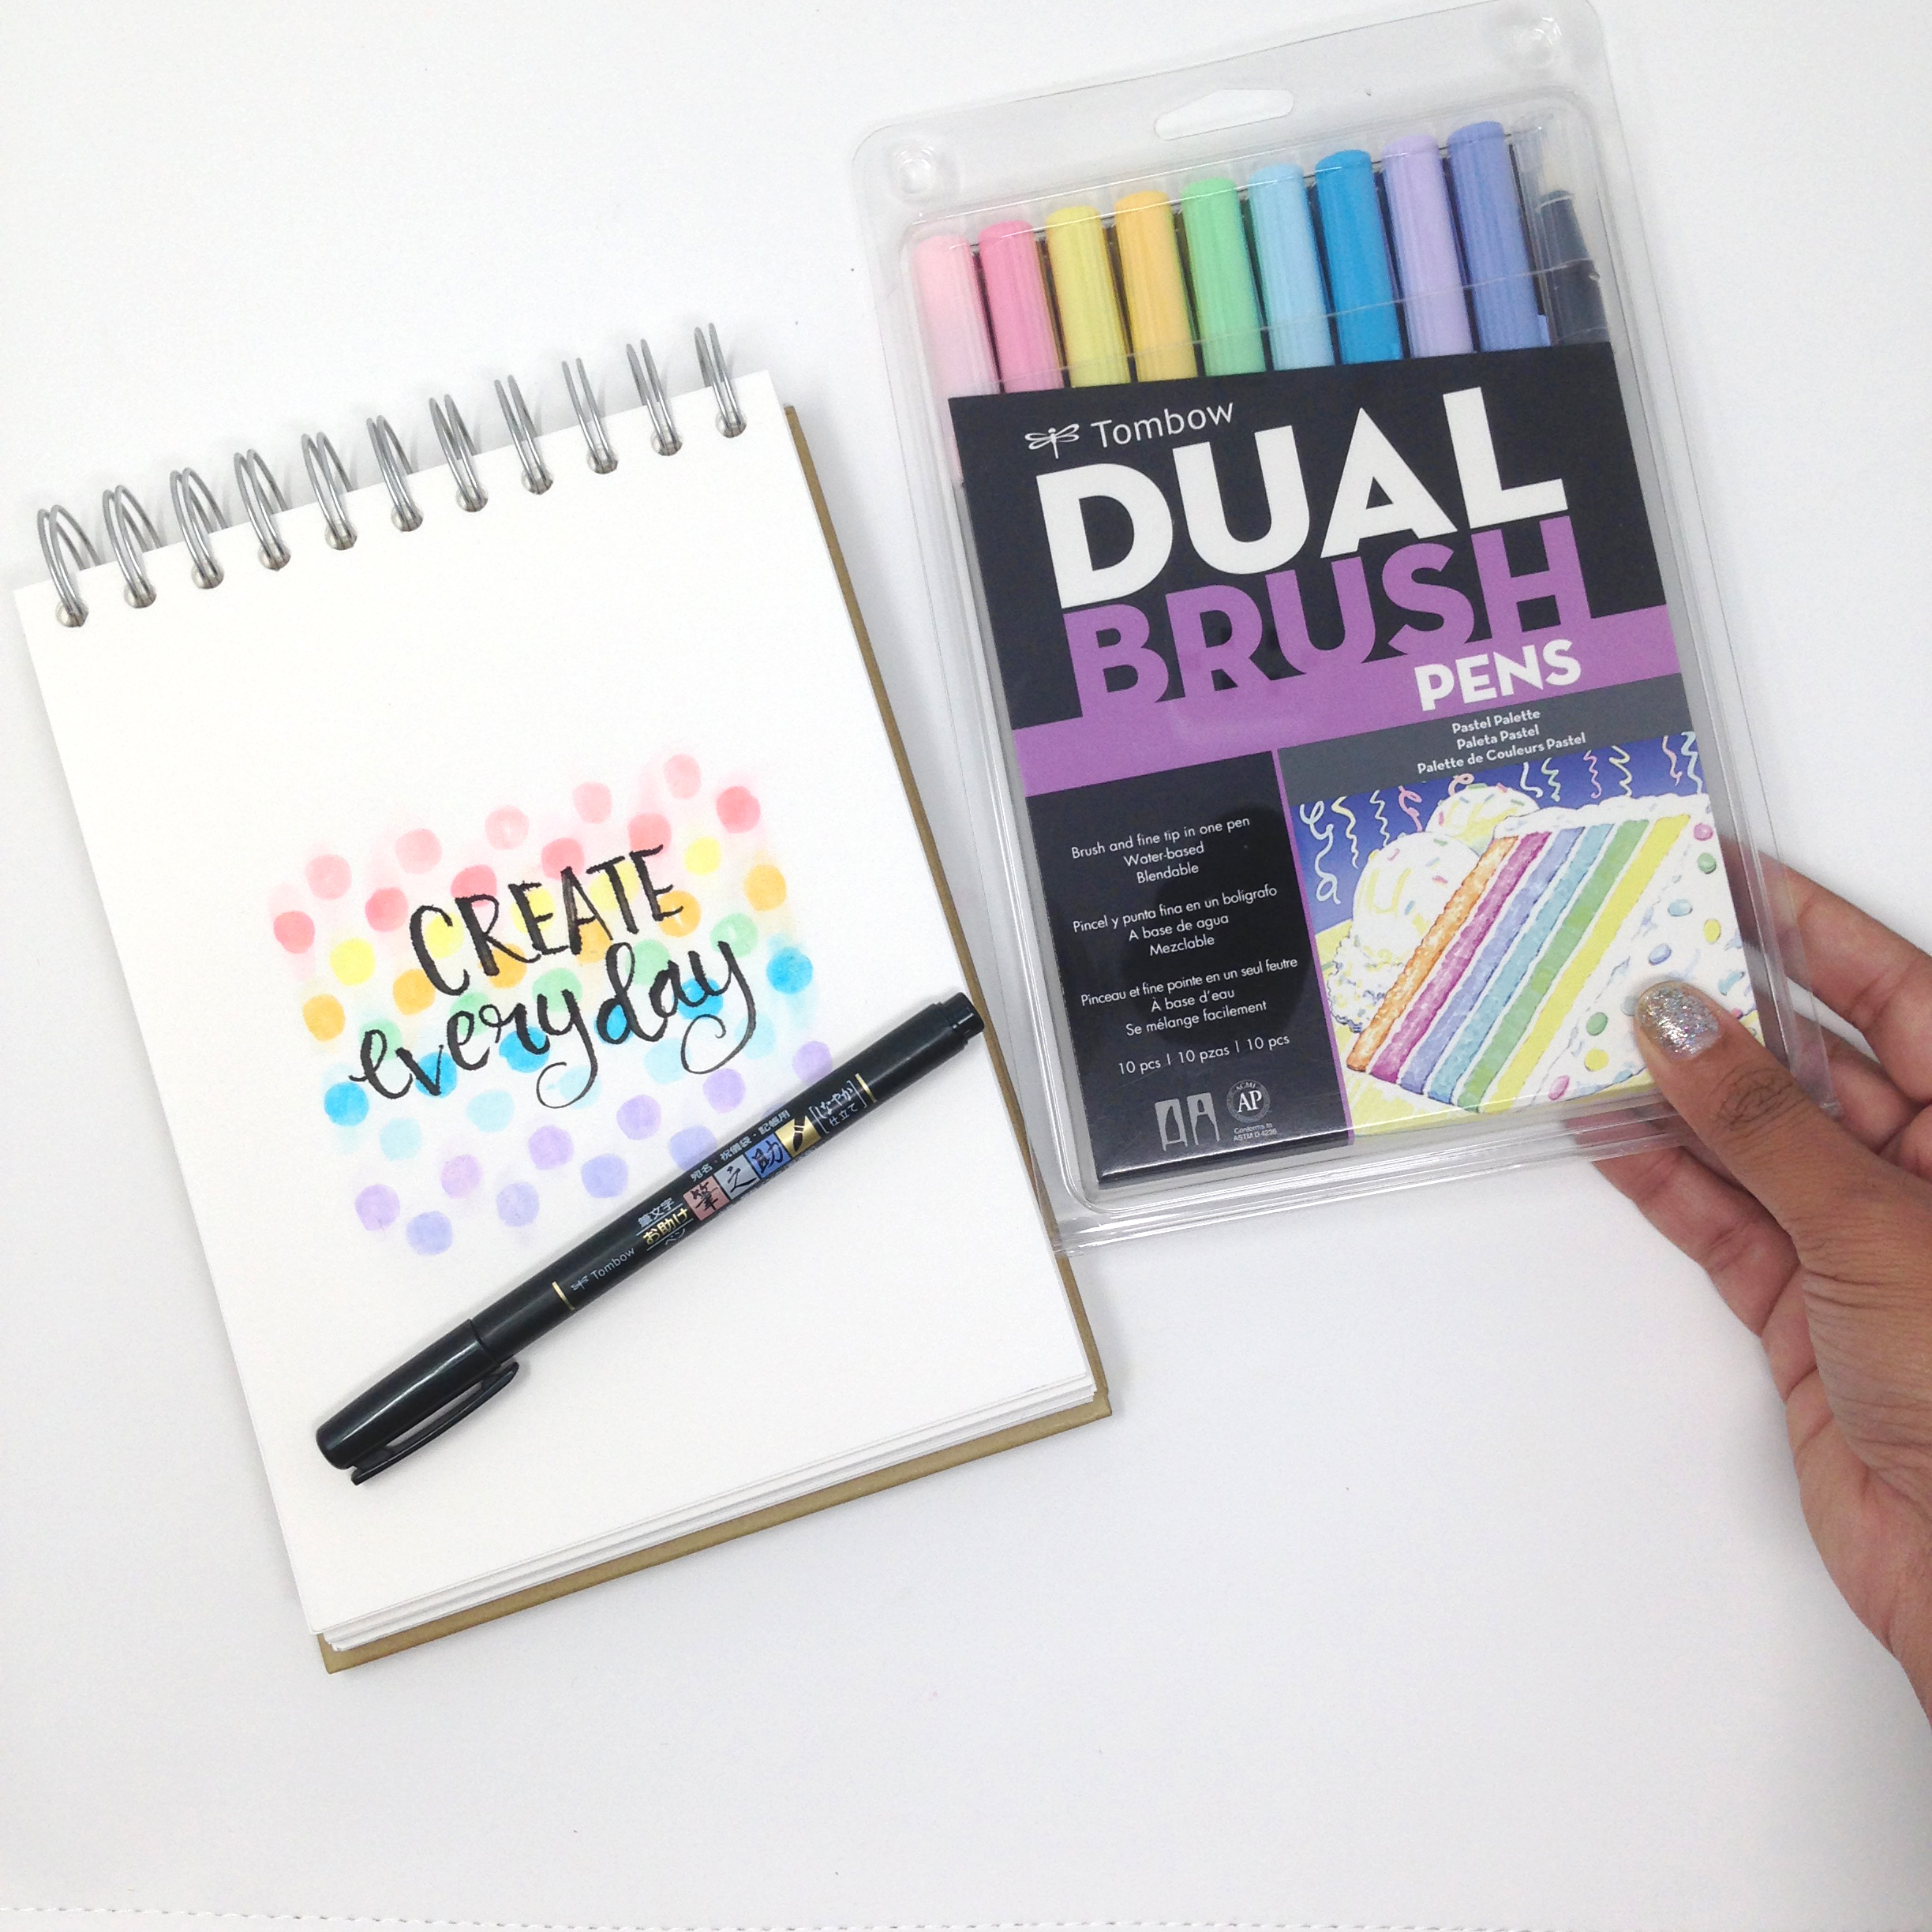
I have been enjoying the soft colors of the Pastel Dual Brush Pen Set, they make me think of flowers and lilacs 🙂
Personally I love having to use just 10 pens – you have an easy color palette already defined for you and these sets are so easy to carry with when you are traveling or going to a craft retreat.
I have a video showing you how to create all 3 of the lettered pieces shown below, hit the play button below and enjoy!

Brush lettering with the Dual Brush Pens is simple and straight forward. You will need a bit of practice to get the look you are seeking but the rules are easy – you press the brush tip of the pen down during the downstrokes but apply very little pressure on the upstrokes so as to create those thin delicate lines. A fun way to add interest to your lettered piece is to not only mix and match colors but mix and match styles as well!
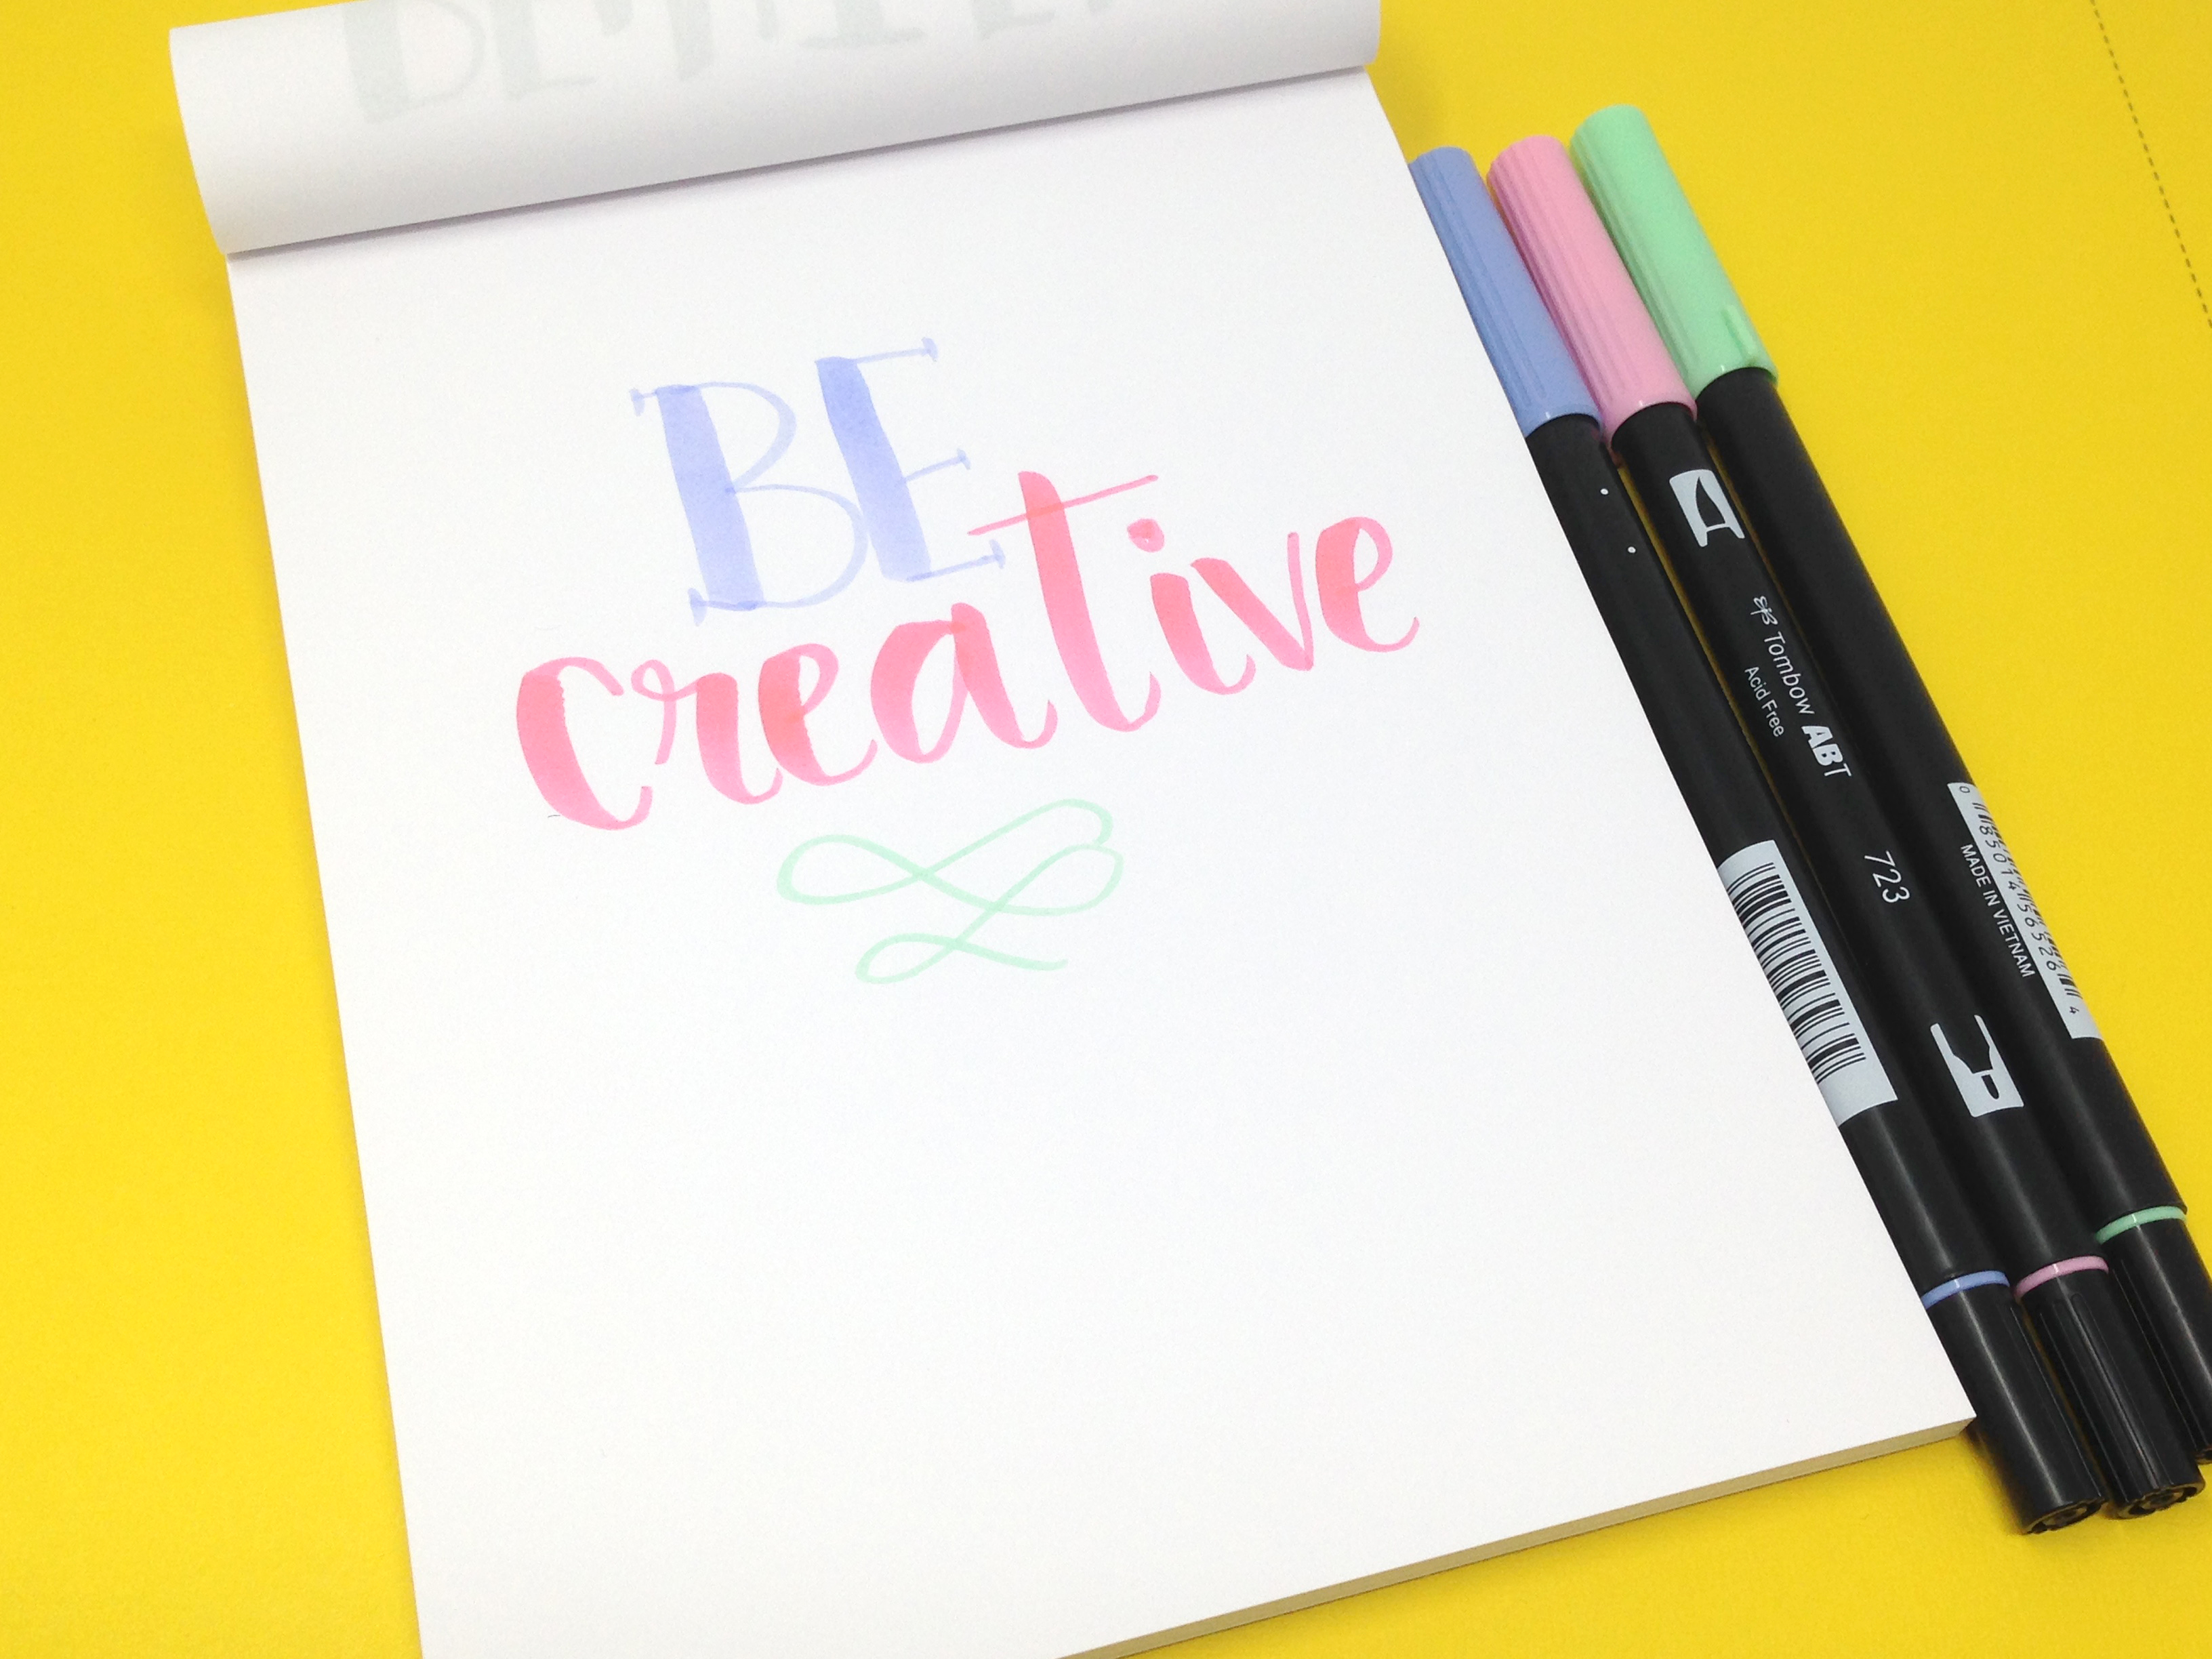
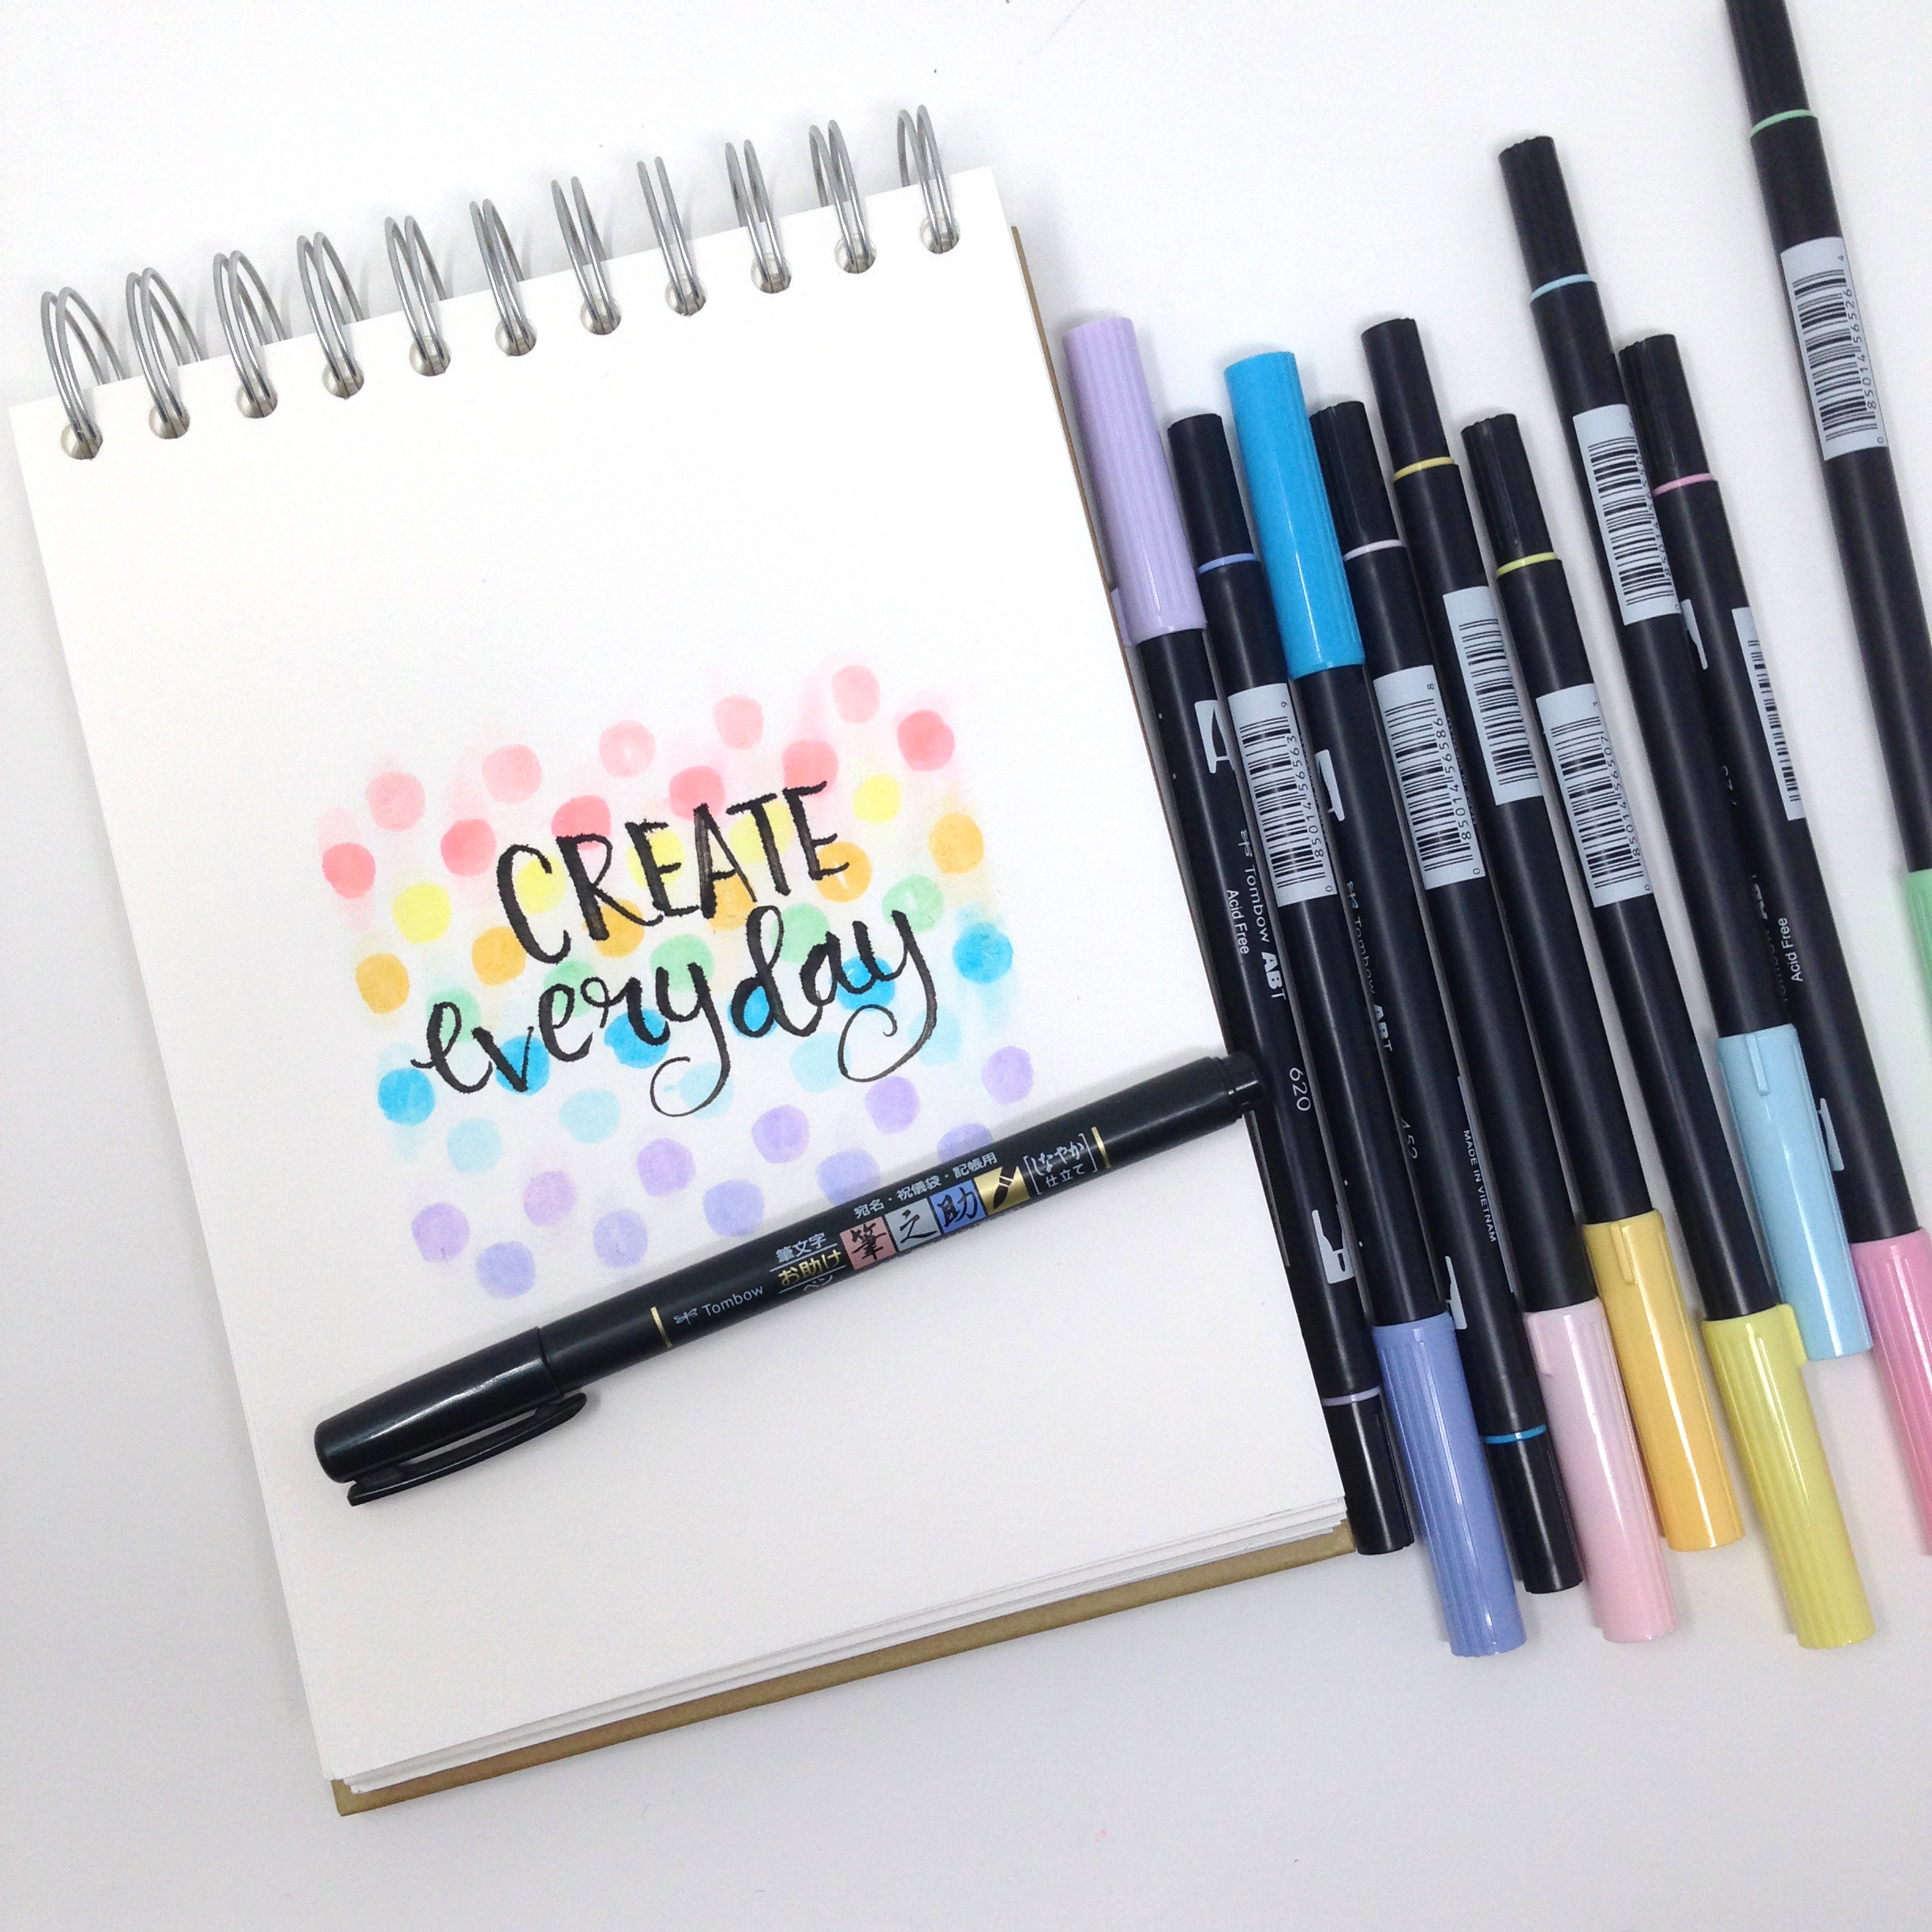
Another fun way to add a layer of depth to your lettering is by adding a thin black line. This is a great way to highlight your lettering, especially when you are using these pastel tones. I used the Tombow Fudenosuke Pen with the soft tip. This is also a brush calligraphy pen, but the tip is just smaller in size compared to the Dual brush pens and this pen is great to add black details like here as well.

My final lettering trick – use those Dual Brush Pens to create a soft background. There are many techniques that you can use these Dual Brush pens for, since they are water based markers (I have a whole YouTube playlist of videos using these Dual Brush Pens, what can I say they are a favorite of mine!)
Today I quickly created a playful colorful background with the help of a stencil. No previous lettering or art experience required for this! The colors of the Pastel Dual Brush Pen Set go together so nicely that you will have a pretty background created in no time! I placed a stencil on the page and then colored in each line with a different colored pen. You can see how I did this in the video above or click here.
So I hope these lettering tips give you some new ideas and inspiration to go ahead and create something of your own!
Happy Lettering!

Pingback: How to Create Pastel Watercolor Easter Eggs - Tombow USA Blog