Hi everyone! It’s Phawnda Moore here today for a fun guest post to show you how to create snowflakes with Tombow’s new Pastel Dual Brush Pen 10-pack! Some of my favorite holiday memories were spent in the snowy woods. It’s so magical with lots of white and sparkle! Those times have been gentle and quiet, watching snowflakes drift down from the sky. I do believe snowflakes are kisses from heaven, don’t you?!
The Tombow Pastel Dual Brush Pen 10-pack reminded me of snowflakes – kinder, gentler and what the world needs right now. Although I use these markers often when I teach brush lettering in Sacramento, California, I decided to create something with the bullet tip for this project. I remembered a style of painting that used only tiny dots called Pointillism. It was developed by Georges Seurat (“Soo-RAH”) in the 19th century in Paris. He made secondary shades of color by putting the dots close to each other in an impressionistic style.
Let’s try his technique and create some beauty for the holidays.
Here are the supplies you’ll need:
- Tombow Pastel Dual Brush Pen 10-pack (we’ll use them all!)
- Tombow MONO Removable Adhesive
- White paper gift bags
- Nice quality drawing paper
- Snowflake images (you can trace them from clip art or use rubber stamps)
- A metallic ink pad for stamps (I prefer a champagne color, which is neither gold nor silver, a nice neutral)
- Washi tape is nice to add around your snowflake print
- Coordinating ribbon and tissue
Draw or stamp your images on drawing paper. For stamps, press firmly and hold as you count to 15 or 20. Color the snowflakes by adding dots in one of two ways – the yellows and greens in one area, and the pinks, blues, lavenders in another area, or multicolored all over.
You can see the results in my experiments below. As you use a color, place that Dual Brush Pen away from the pens you haven’t used so you can separate them.
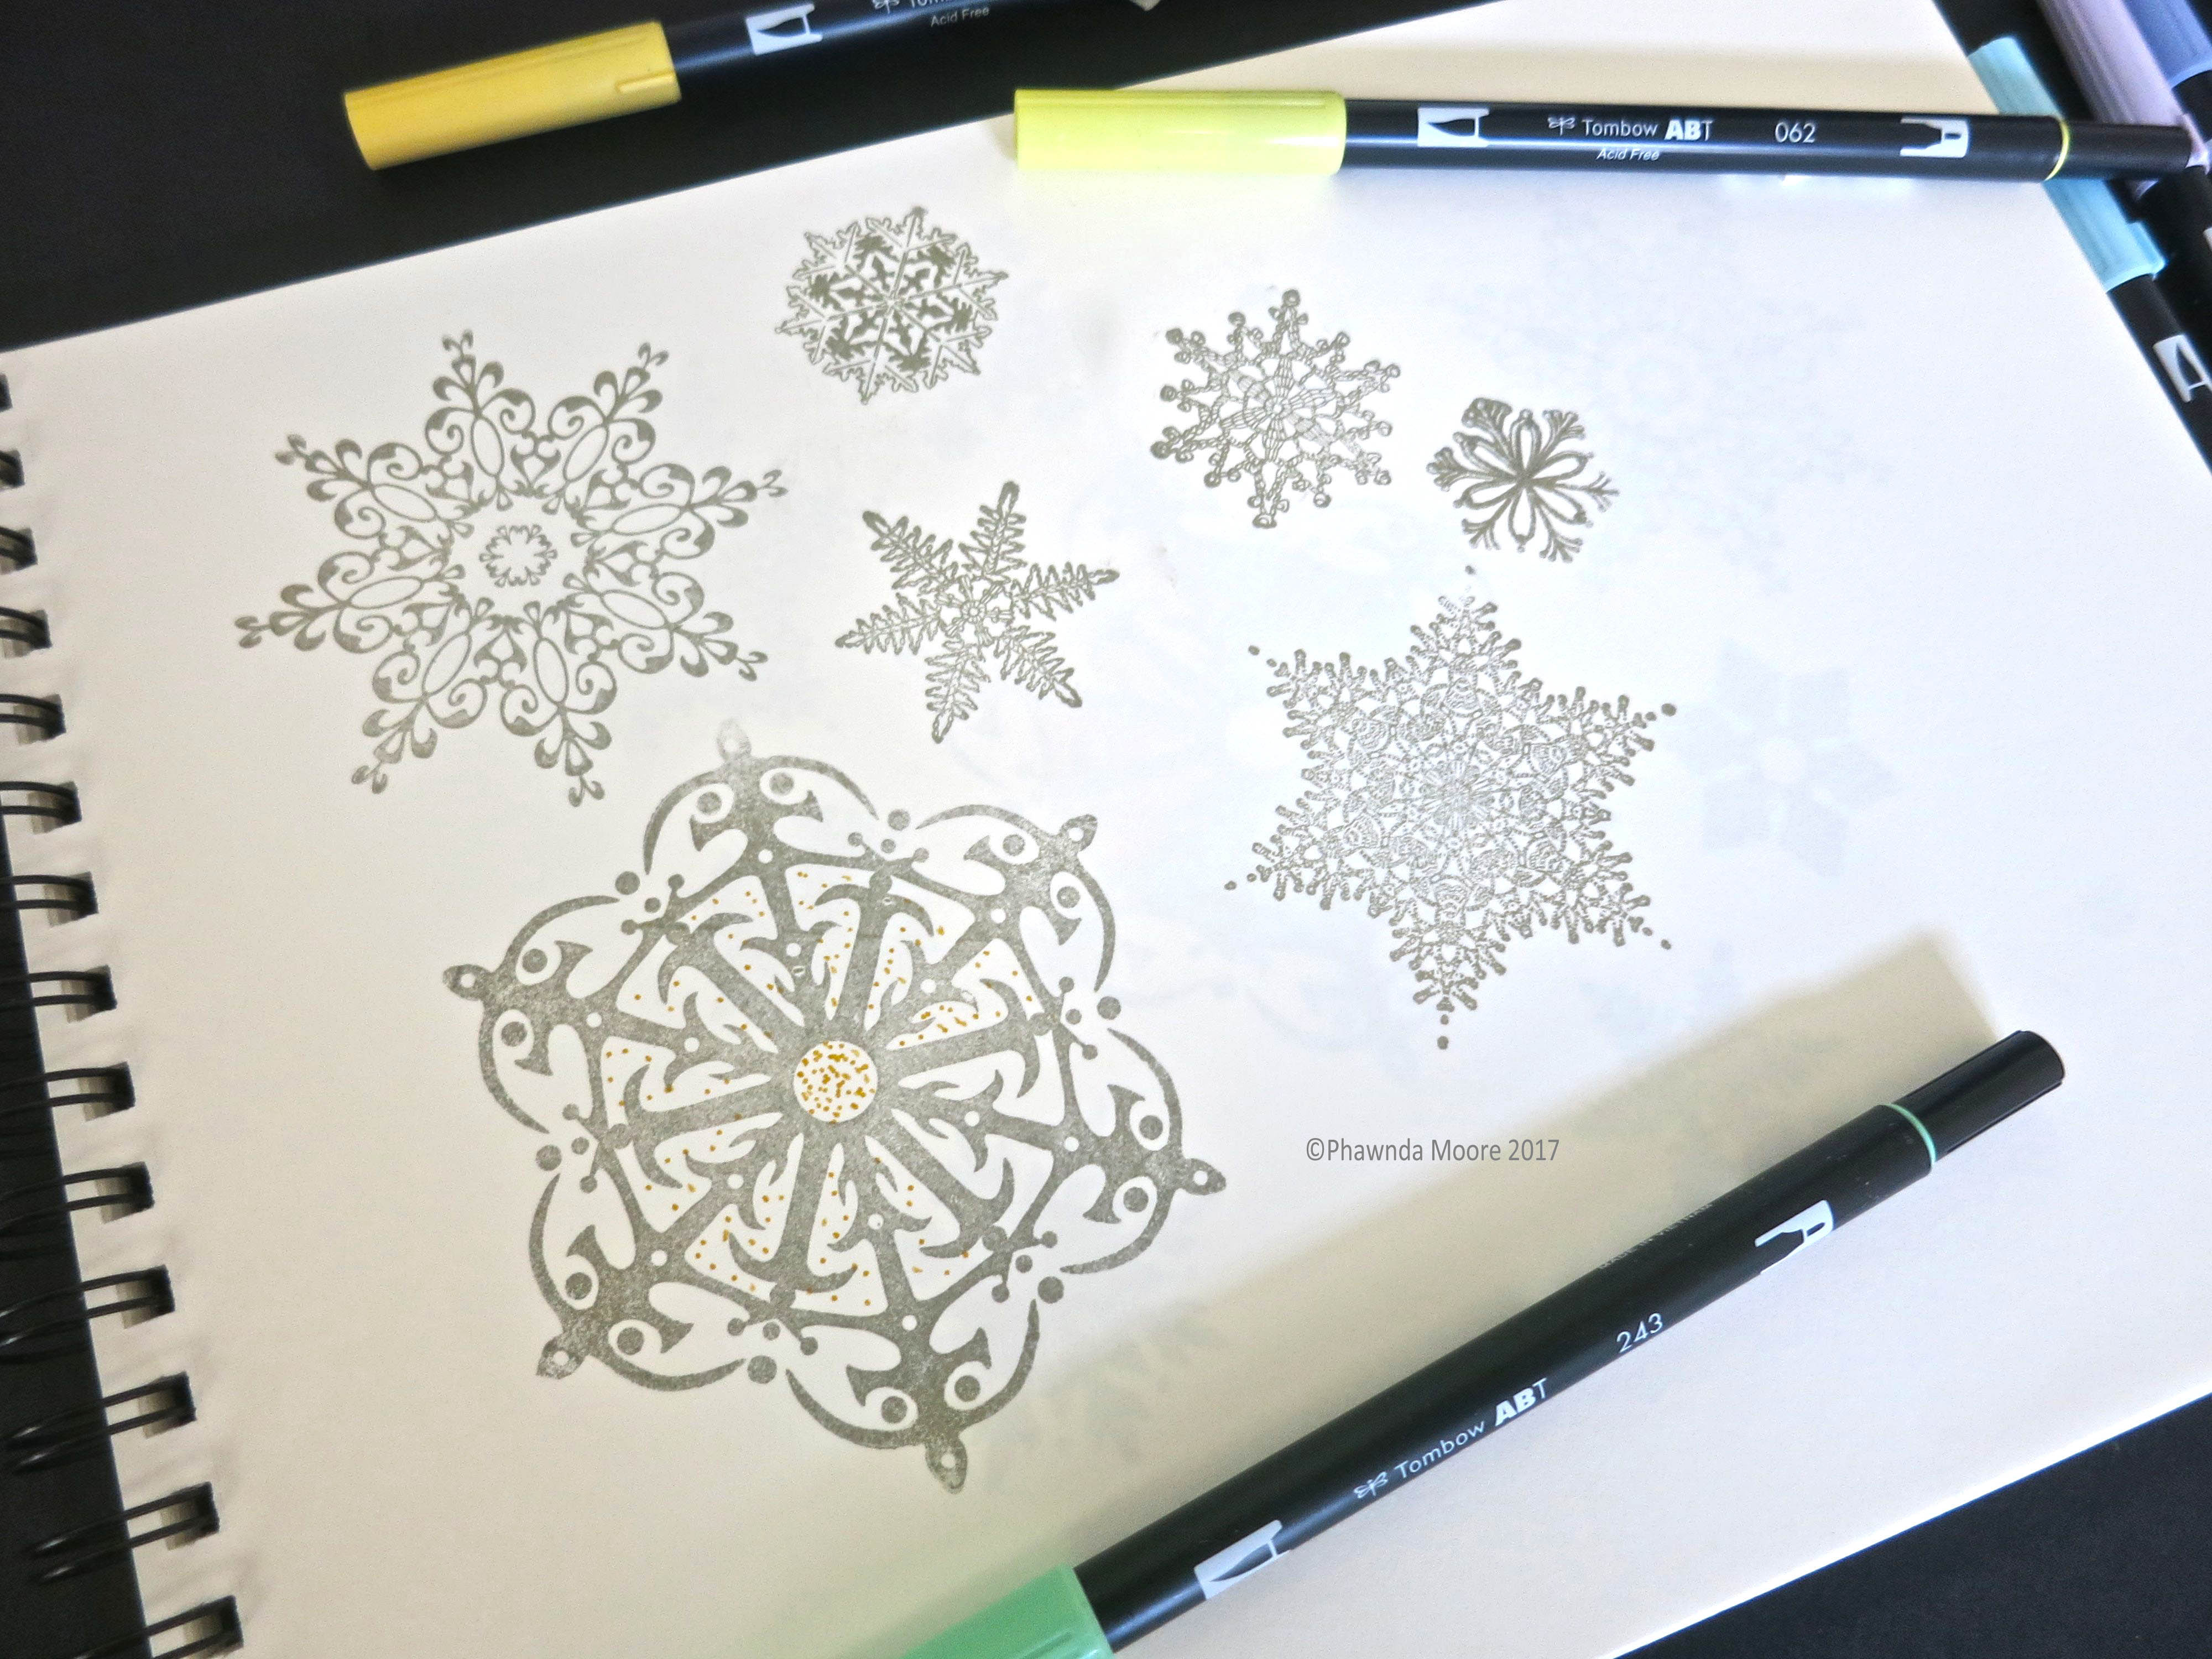
The interesting thing is, the pastels become much brighter, somehow, when they are next to each other!
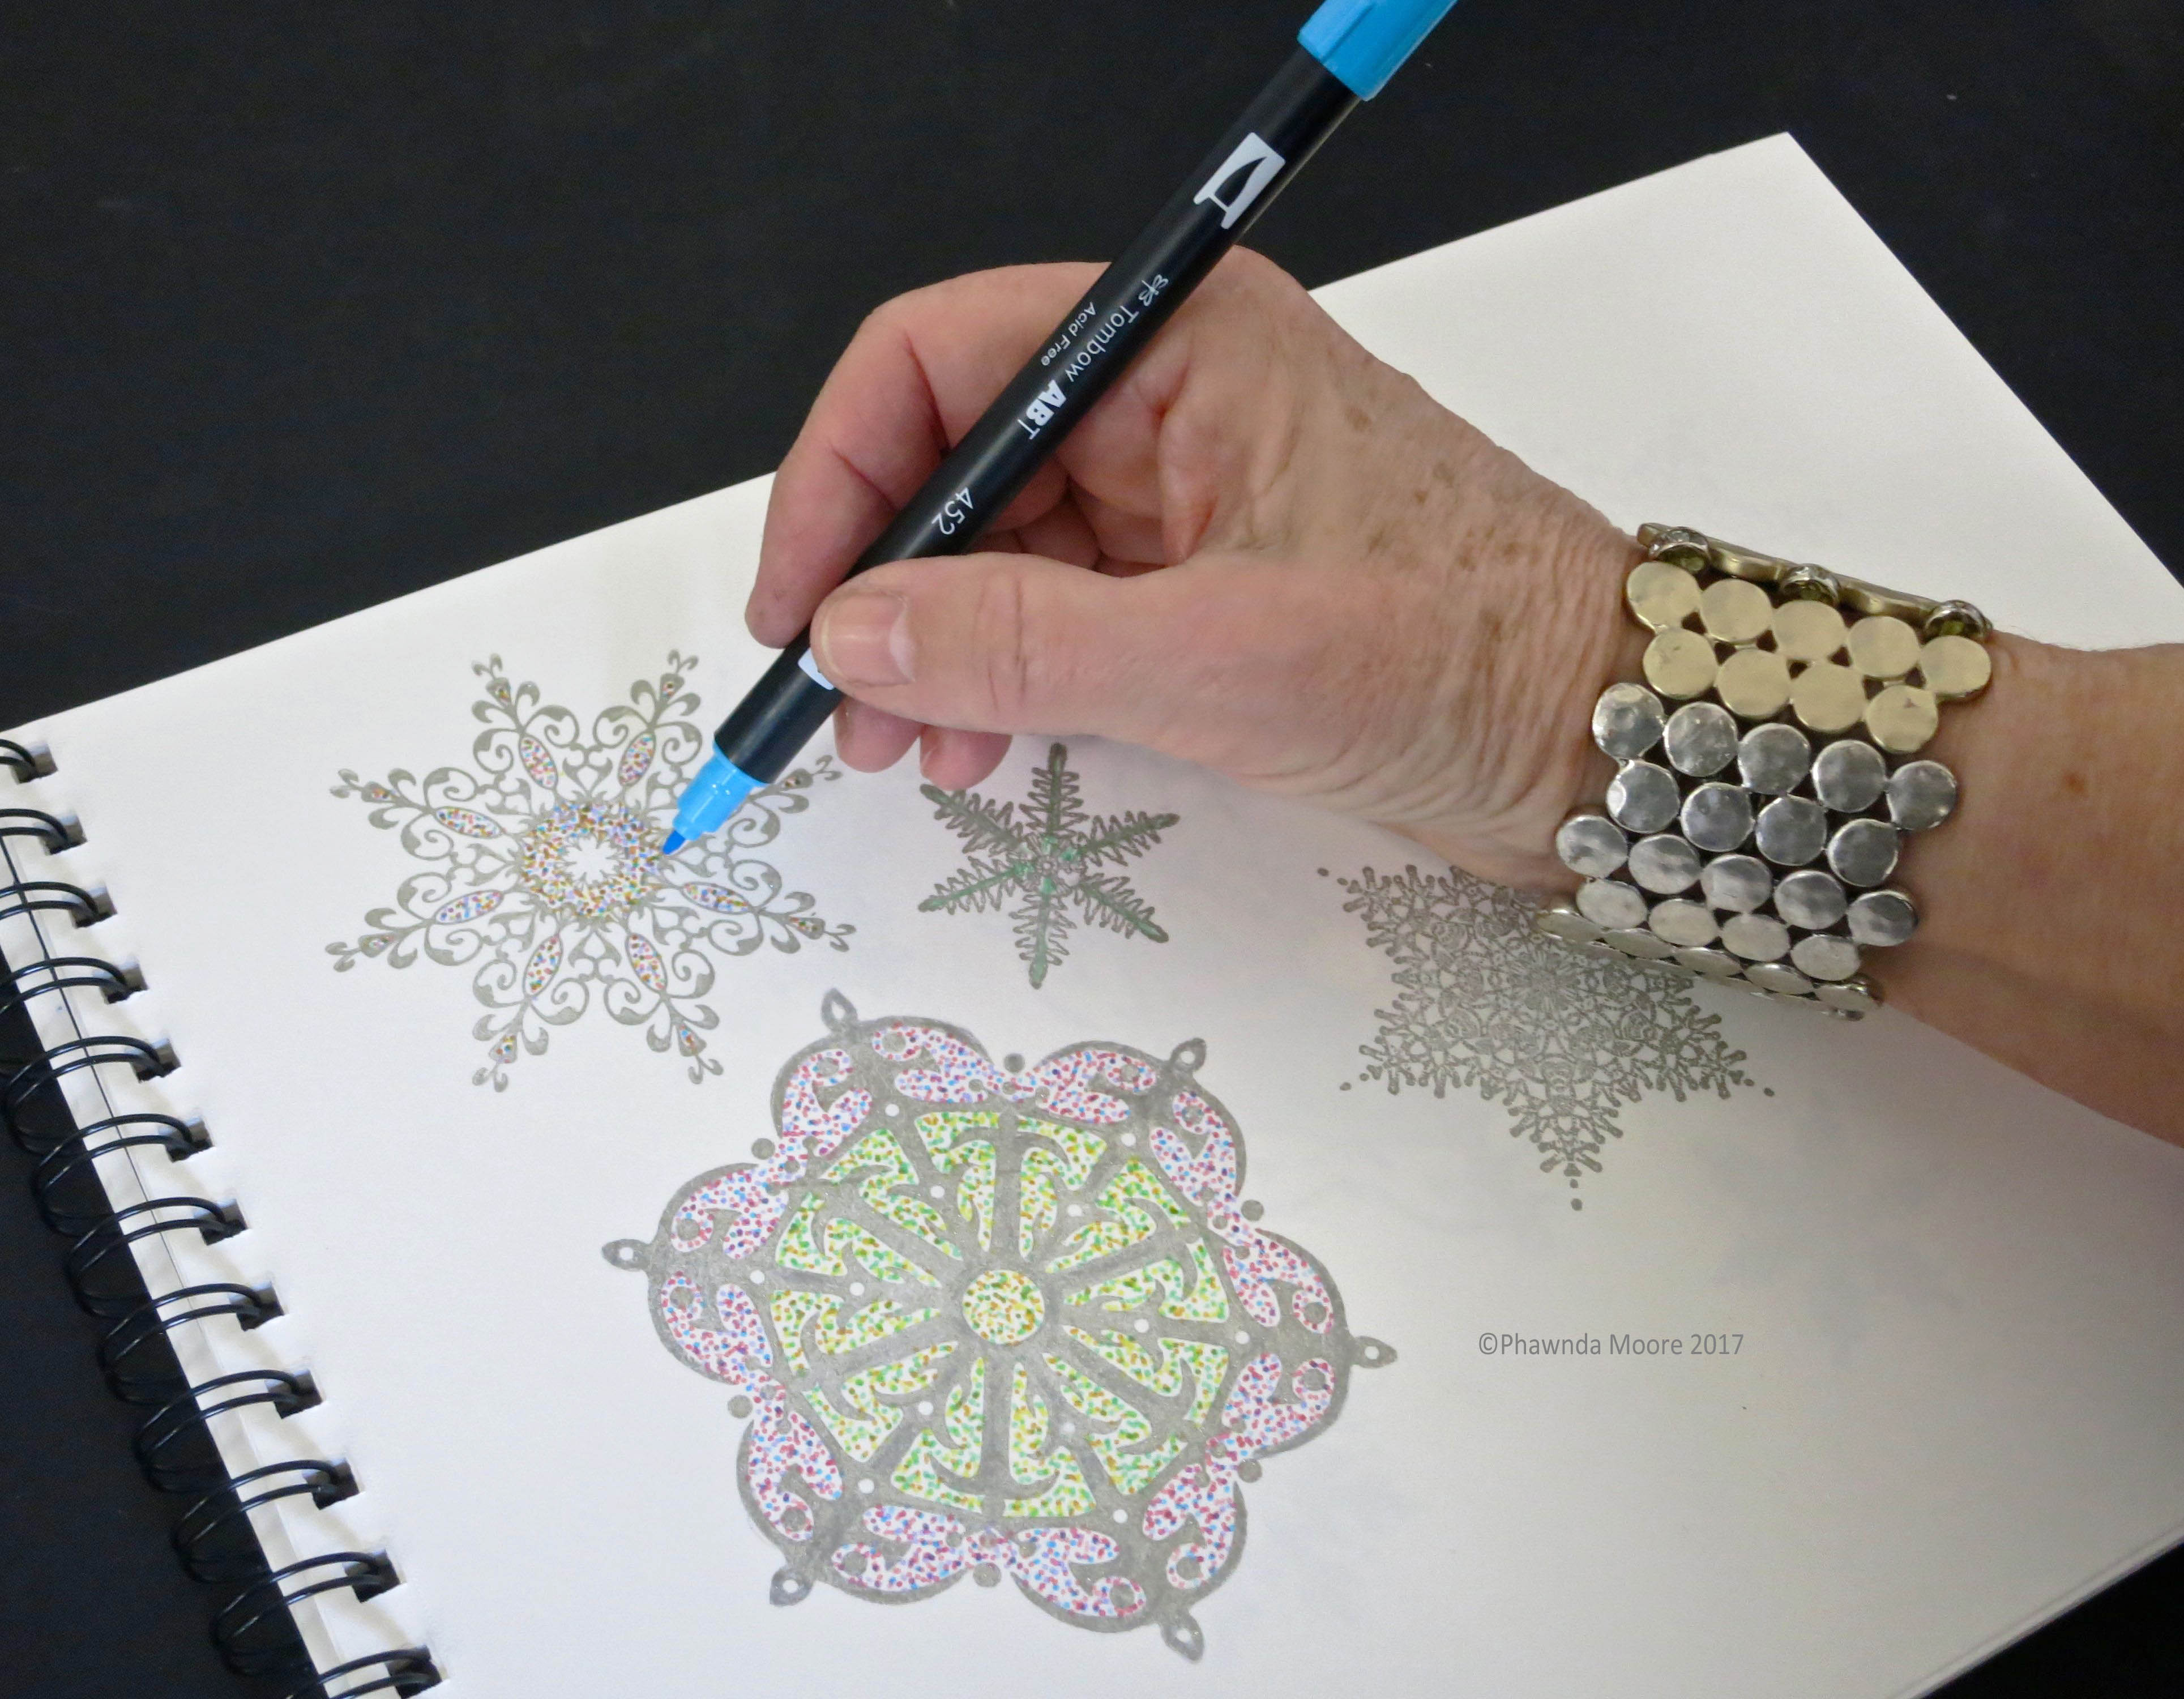
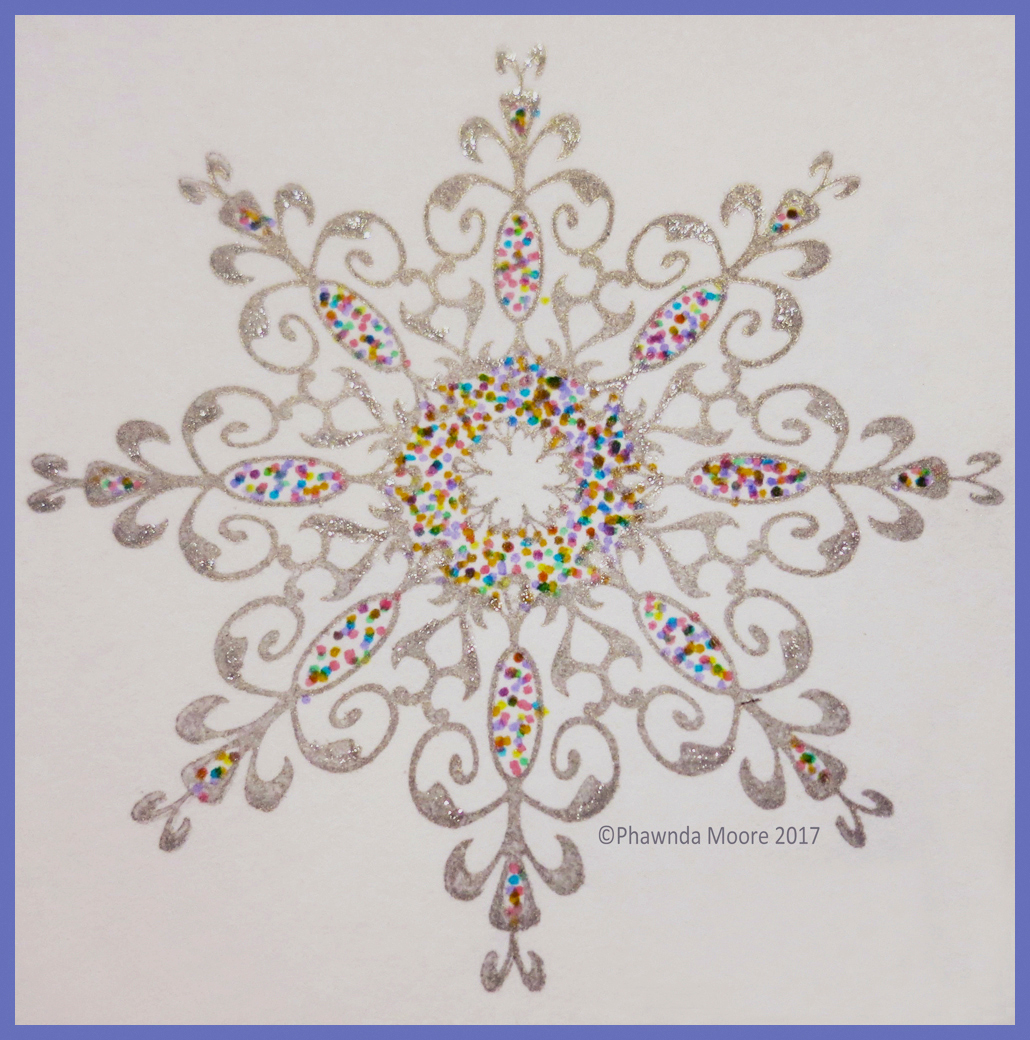
Here’s an example of the multicolor dots. The snowflakes are prettier with a little sparkle, using whatever you have on hand.
The snowflake below shows yellow, gold, green in the center and pink, blue, lavender on the outside. It looks like a stained glass window, doesn’t it?
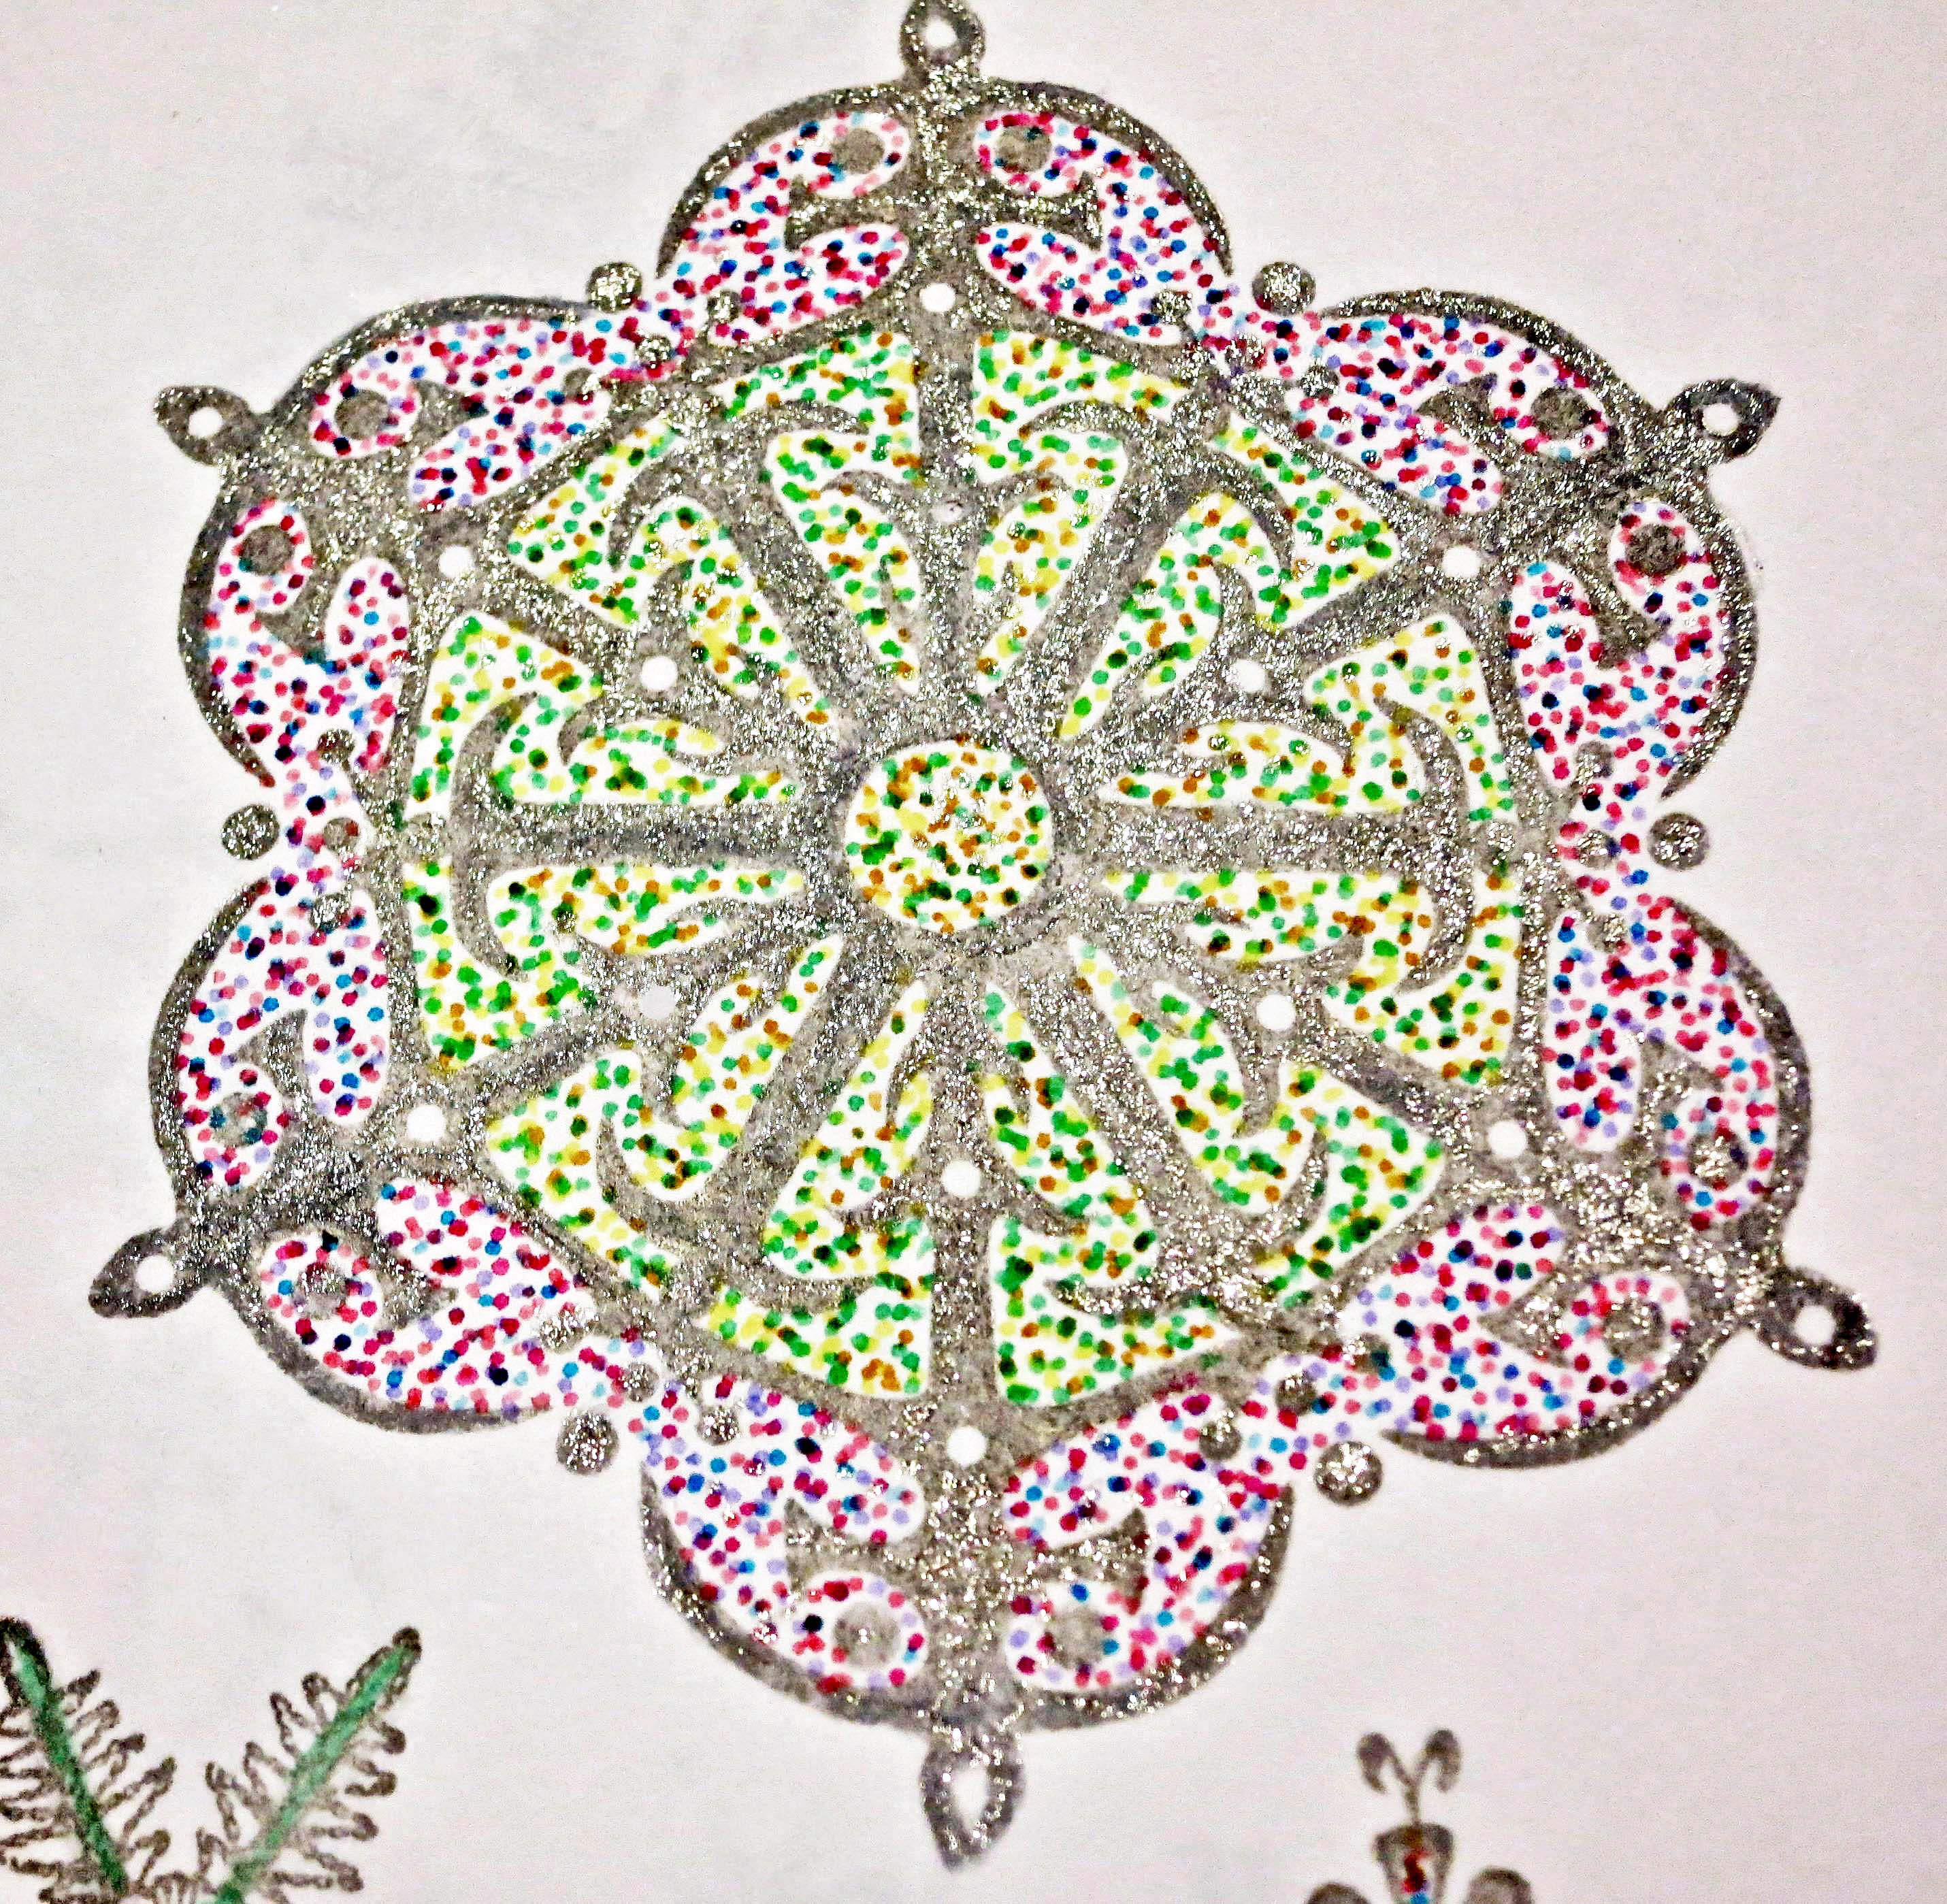
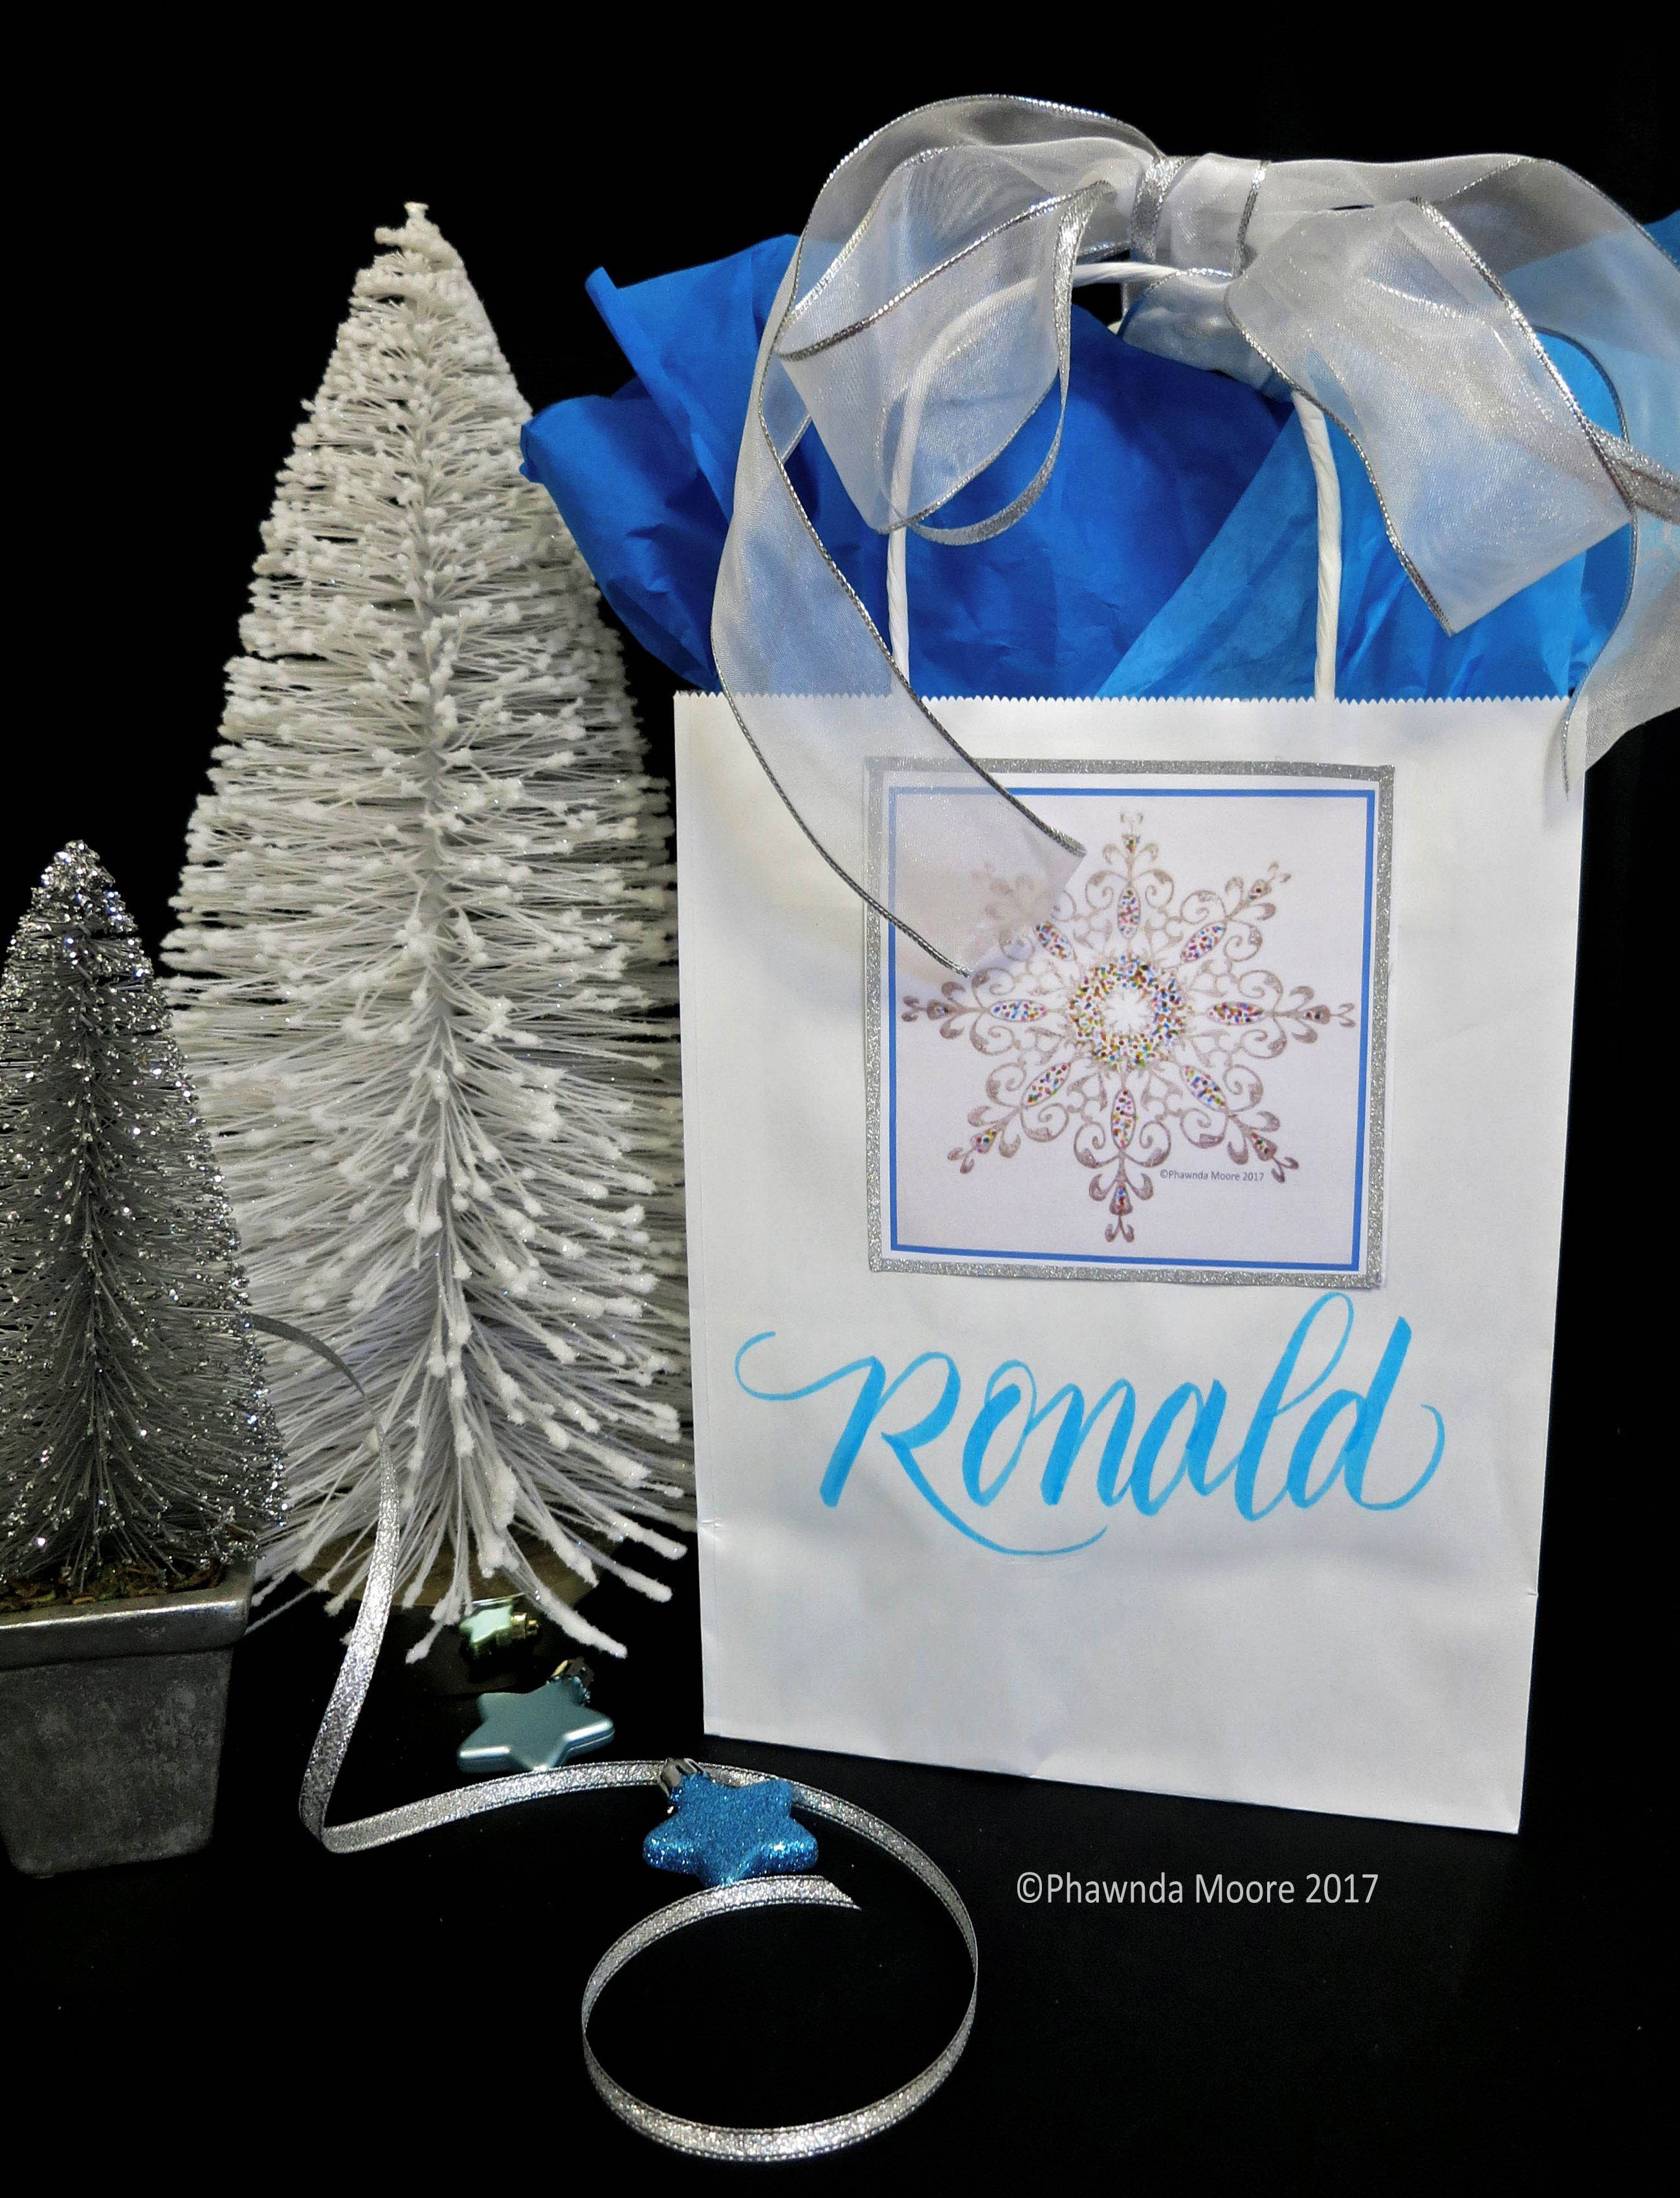
Make color copies of the snowflakes for gift bags. Apply with adhesive. Carefully eye the center of a white gift bag and apply. It’s easier to brush letter the name with the snowflake in place. I might also make tags to match.
I added silver washi tape around the snowflake and voila! A beautiful beginning to a gentler season. May you make special memories this year!

About Phawnda:

Phawnda Moore is a professional calligrapher and nationally-recognized designer, writer and artist. She has a degree in English, a certificate in graphic design from UC Davis, and studies with master calligraphers. Phawnda is a writer at EmptyEasel.com. She also contributes art and articles to three calligraphic societies’ publications as well as Letter Arts Review and Bound & Lettered. She was a graphic designer and editor for 30 years and previously held positions for county and state education offices of communication. Phawnda teaches often throughout California. Her creative, interactive workshops blend modern tools with traditional design principles. To see more of her work, visit her on Facebook.
This is a very beautiful article, I have also posted my blog on posting services, I am getting very good traffic. And I post my blog more often in the same way.