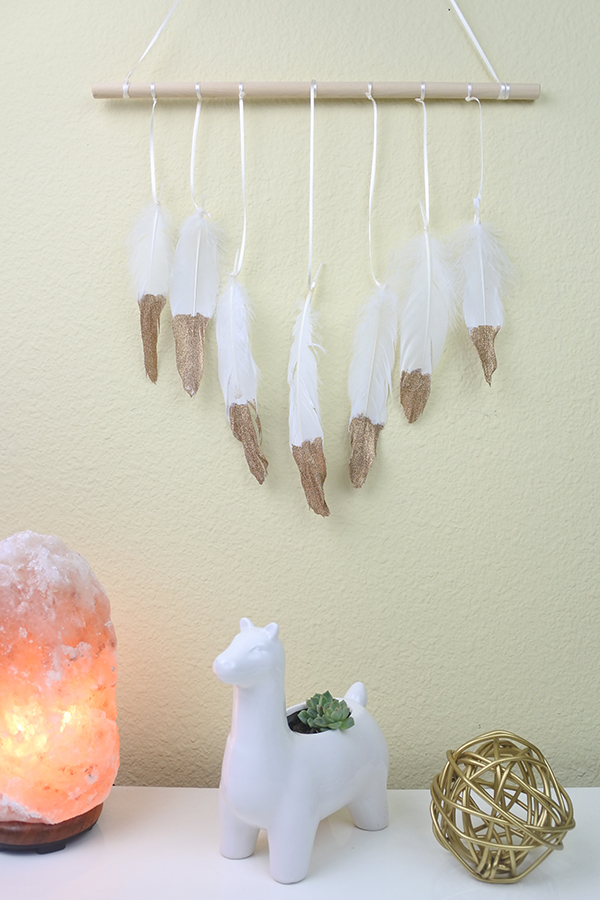
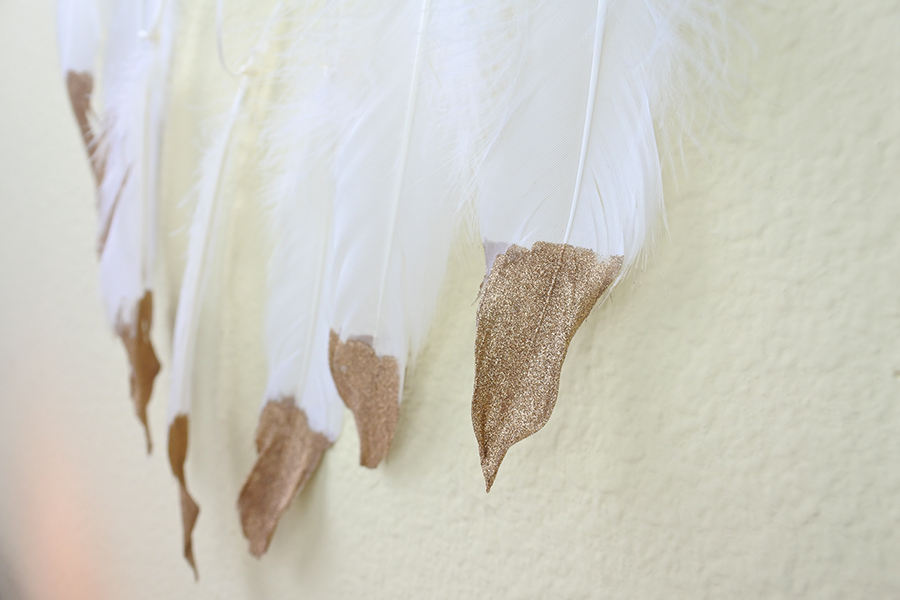
Hi friends! Renee here with thediyday and today I’m sharing a fun glittery DIY feather wall art project! I love feathers, they are so delicate and pretty. But sometimes a plain feather can be a bit blah. Here is an easy and inexpensive DIY feather wall art project that revamps ordinary feathers with some glitter.
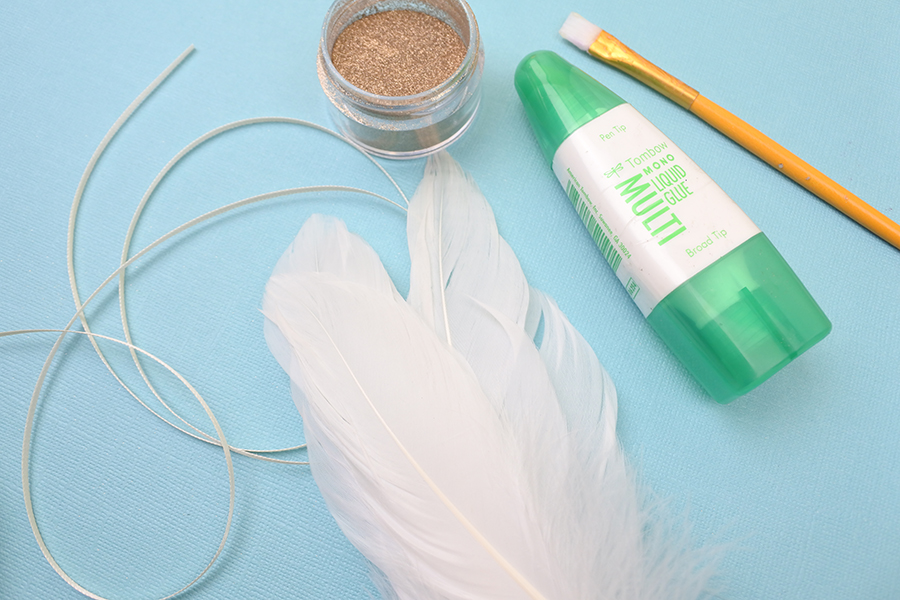
Supplies
- Tombow MONO Multi XL Liquid Glue
- Paint brush (it may get ruined)
- Glitter (fine glitter)
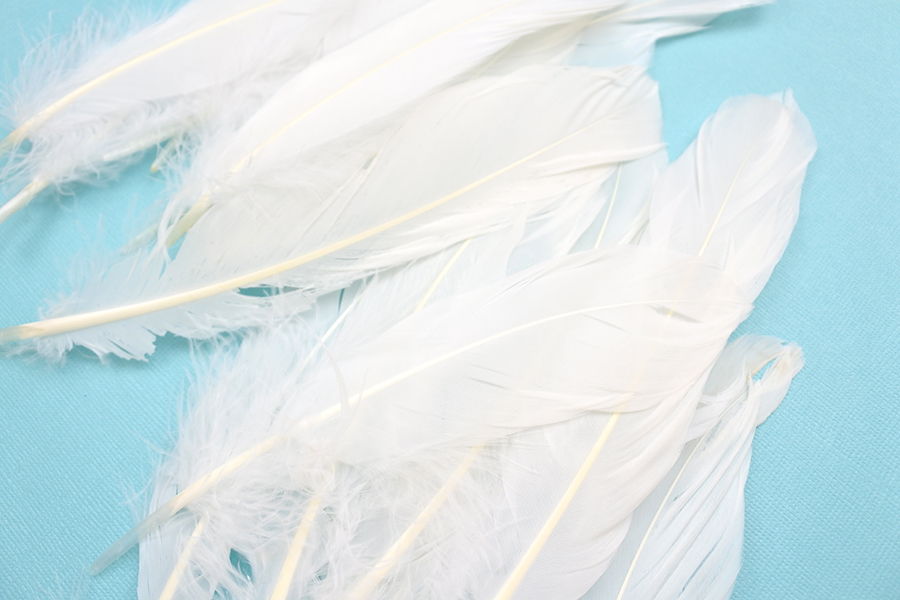
- Feathers (medium-sized) (I did not collect these feathers. I purchased them from a hobby store.)
- Dowel (13”)
- Ribbon
- Gift Tag (optional)
- Tombow Fudenosuke Brush Pen (optional)
- Tombow TwinTone Dual Tip Marker (optional)
Step One
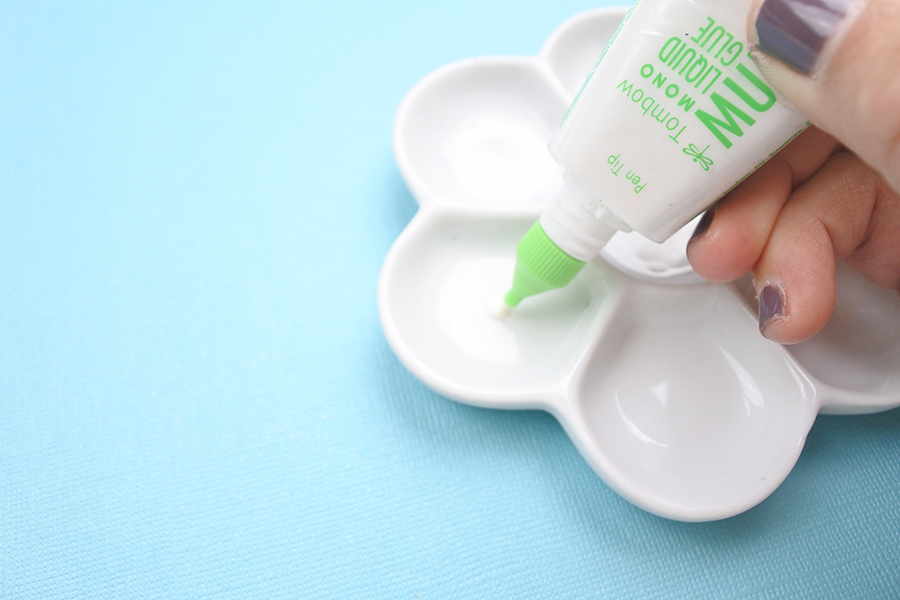
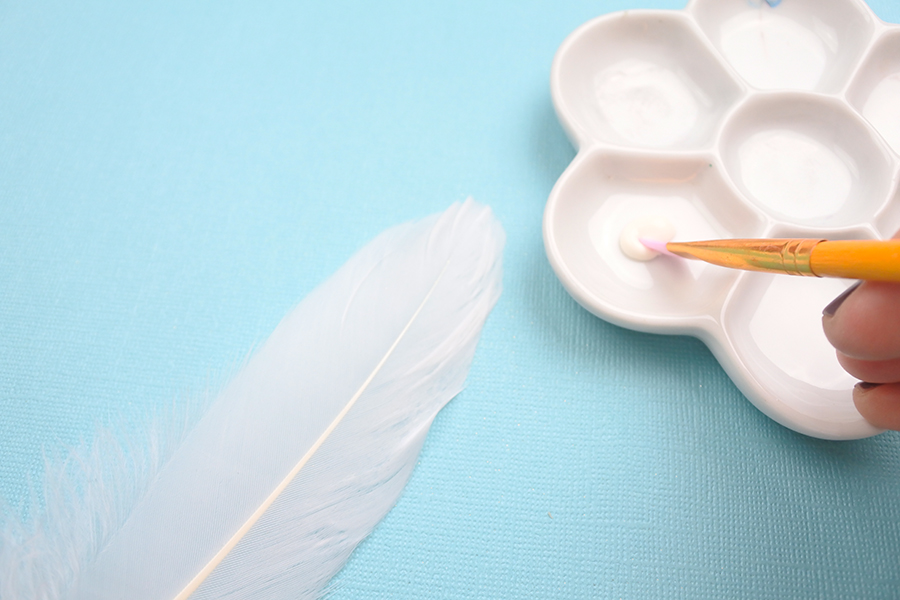
After covering the work area, squeeze some Tombow MONO Multi XL Liquid Glue onto a ceramic dish (a palette or foil will work too).
Step Two
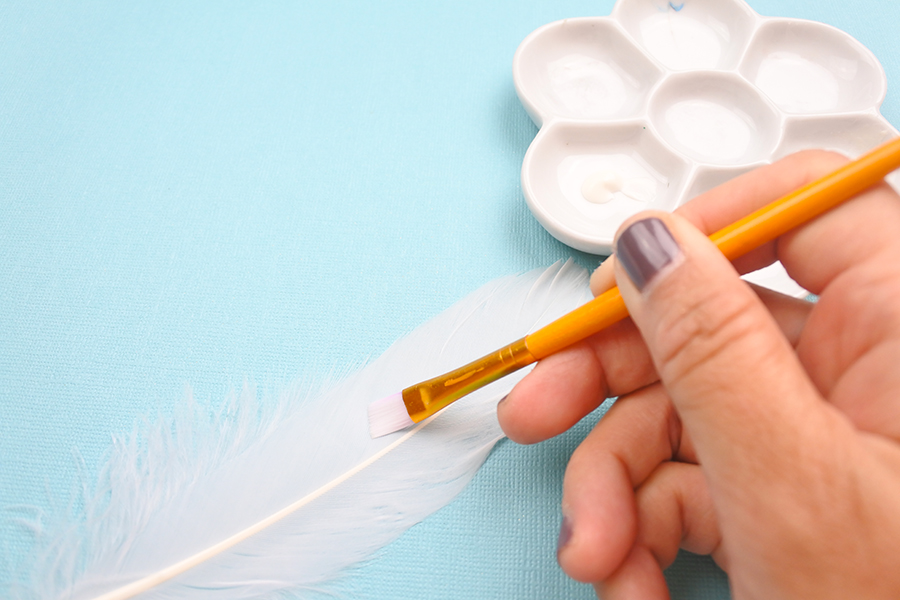
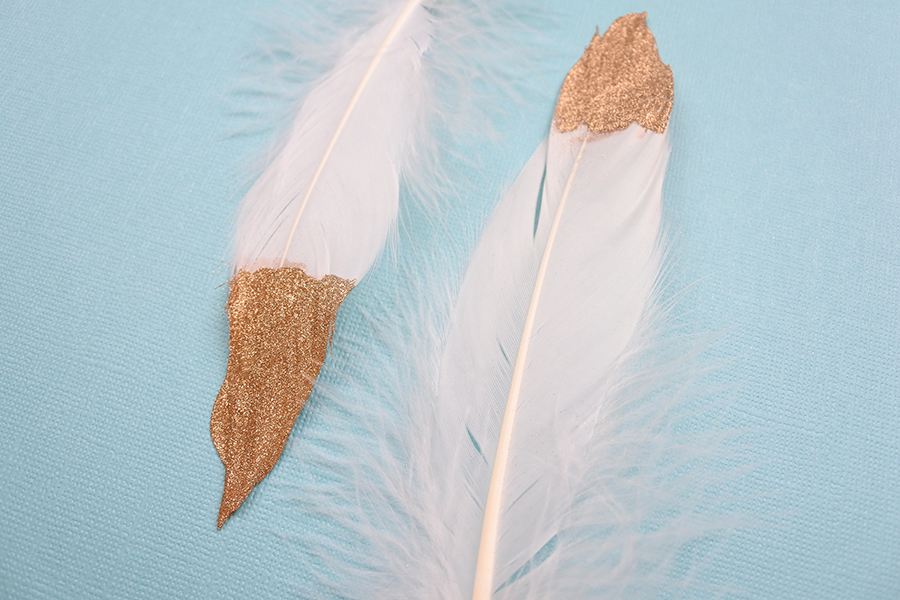
Lightly dip the paint brush into the glue (do not glob it on) and gently “paint” both sides of the feather working from the starting point and ending at the tip of the feather (painting from the feather tip down ruins the feather a bit). I “painted” about 1/8”-1/4″ of the feather but “painting” half of the feather looks good too. Do not let the glue dry.
Step Three
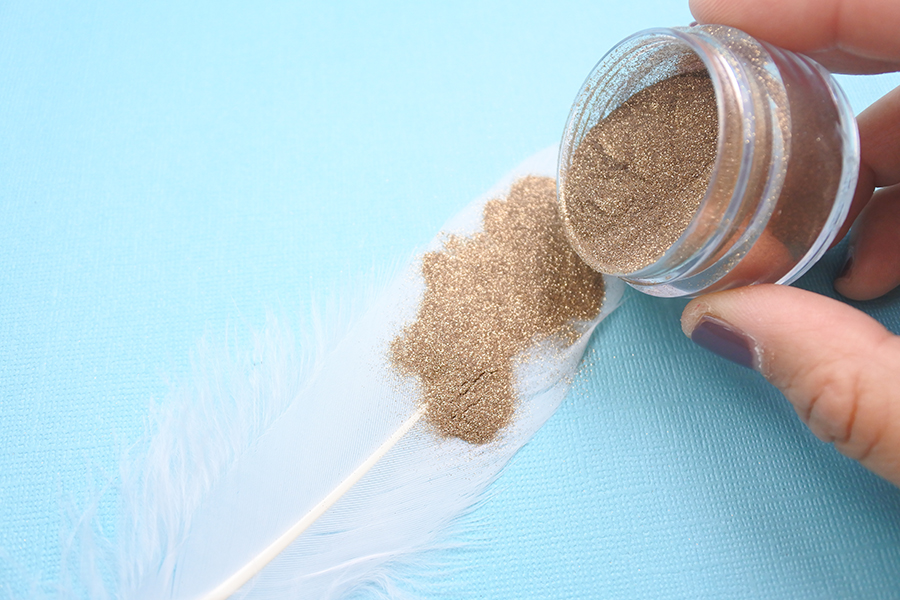
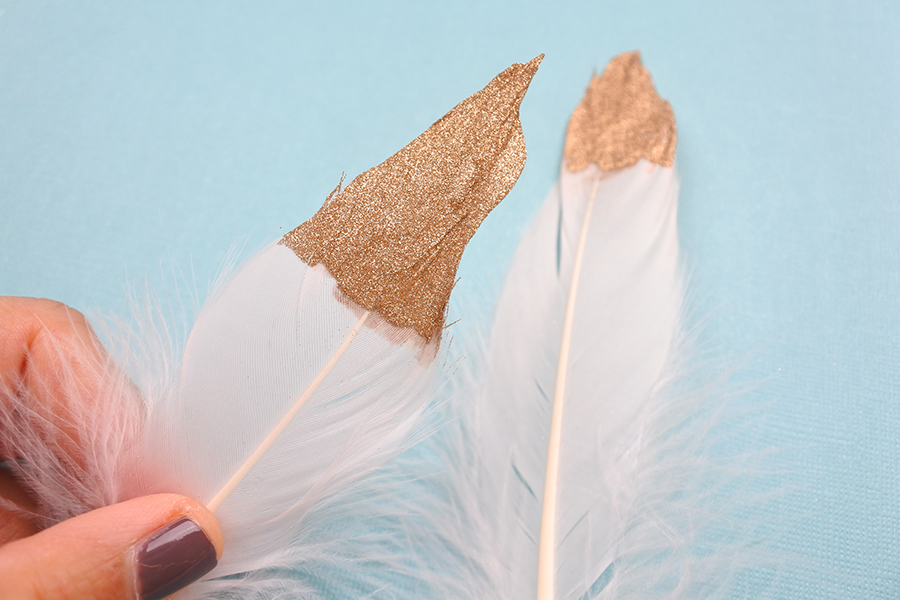
Place a piece of paper under your work. Then grab the glitter and sprinkle it onto both sides of the feather. Once the feather is covered in glitter, shake off the excess (use the paper like a funnel and pour the remaining glitter back into the container). Allow the feather to dry for approximately two hours.
Step Four
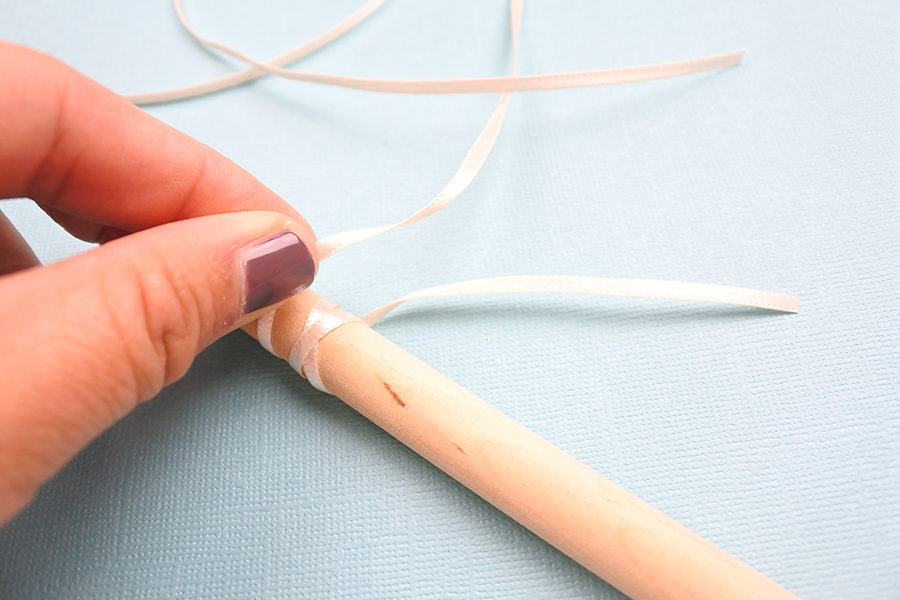
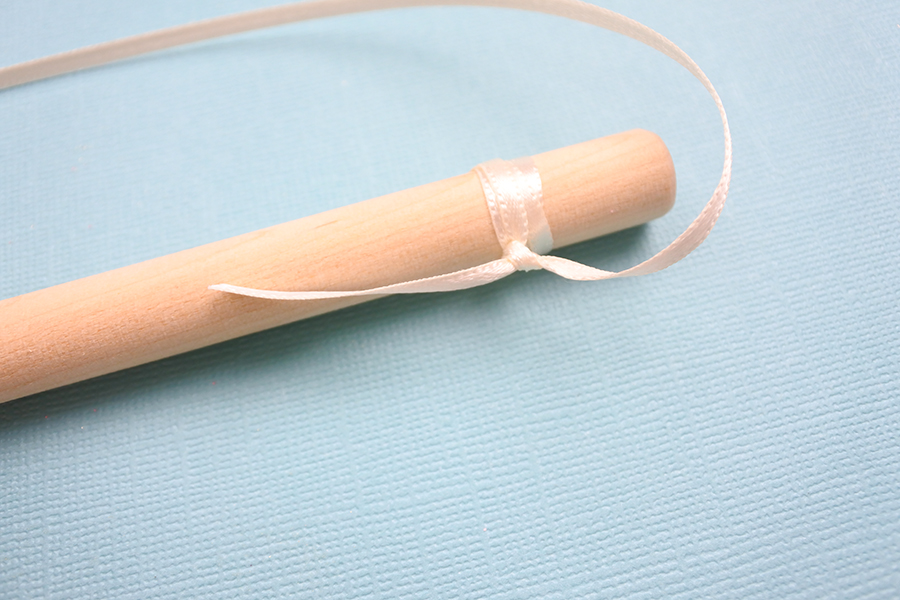
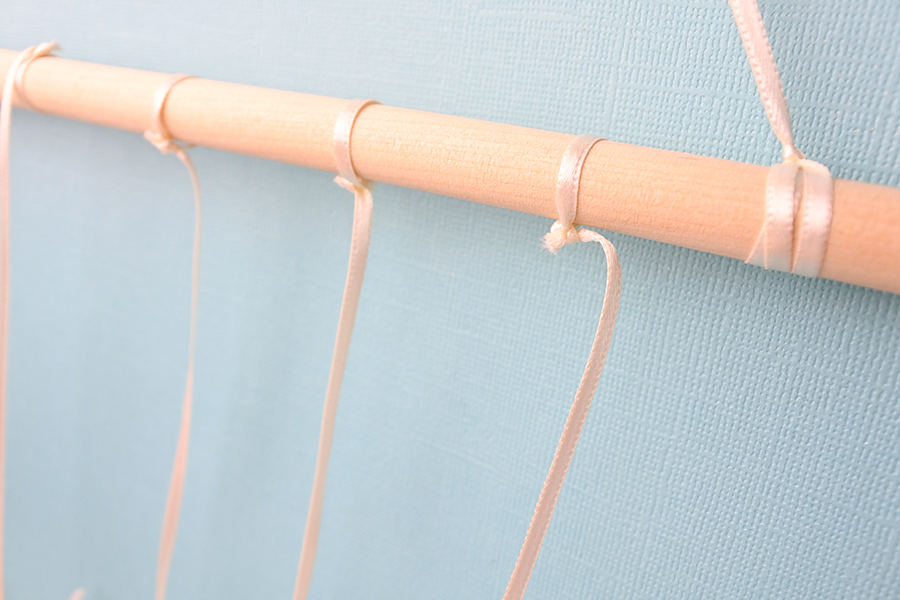
Cut a 24″ piece of ribbon. Wrap one end of the ribbon twice around one side of the dowel then tie and knot that end. Follow the same procedure for the other side of the dowel. Trim the remaining ribbon.
Step Five
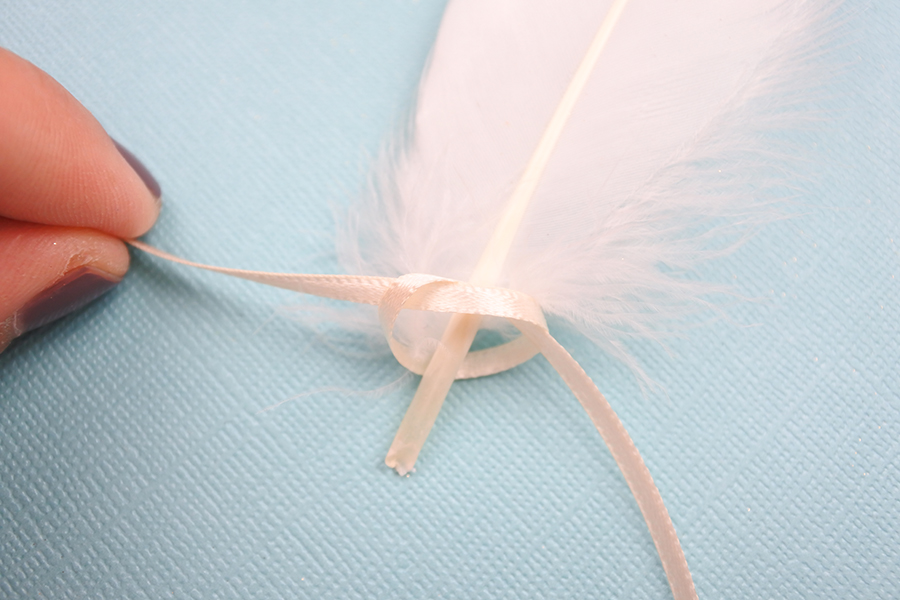
Next, I tied and knotted the ribbon around the base of the feather followed by tying and knotting the loose end of the ribbon around the dowel. The outer ribbons on both sides of the dowel are approximately the same length 6″. The lengths of the ribbon become graduated in length as I worked my way to the center (7″ and 8″). The ribbon in the middle of the dowel hangs longer than the rest at approximately 9″. Trim off any excess ribbon.
Step Six (optional)
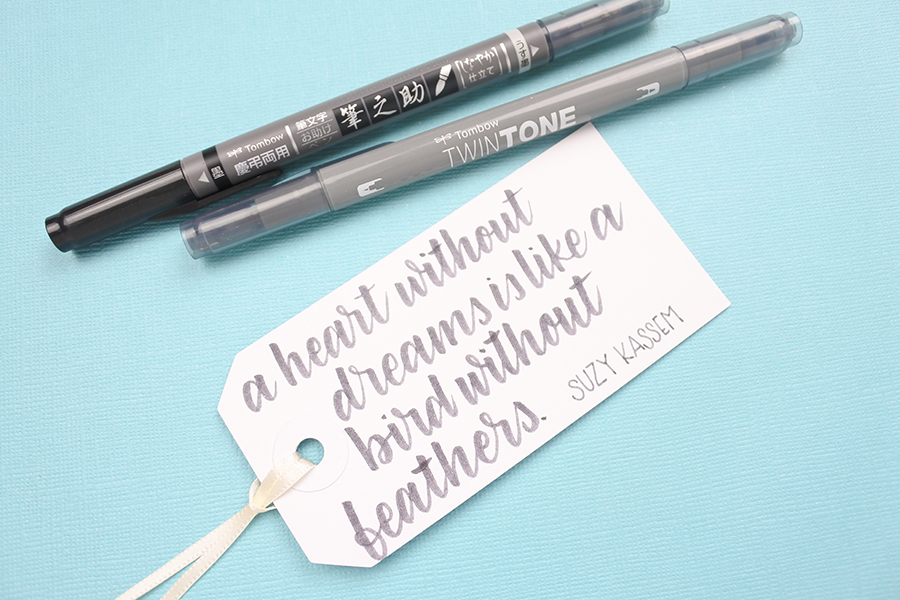
Because I’m gifting this wall art project to a feather lover, I lettered a quote onto a gift tag with this Tombow Fudenosuke Brush Pen and a grey Tombow Twintone Marker.
This project was so fun and easy to make. I’ve decided, since I’m gifting this piece of feather wall art, I now need to make one for myself!
Thank you for following along and I hope to see your completed wall art.
Renee